Crystal Cat Eye
Marble Gel Nail Art — Step-by-Step Tutorial
Create stunning crystal cat eye and marble gel nails featuring translucent color blocks, embedded shell pieces, fine pearl shimmer, and aurora mirror powder details.
This intricate dual nail design combines translucent crystal cat eye effects with delicate shell encapsulation, pearl shimmer, and ethereal blooming patterns. Perfect for nail art enthusiasts looking to elevate their skills with multidimensional textures and glossy finishes.

Steps
- 1Apply diamond fixing gel
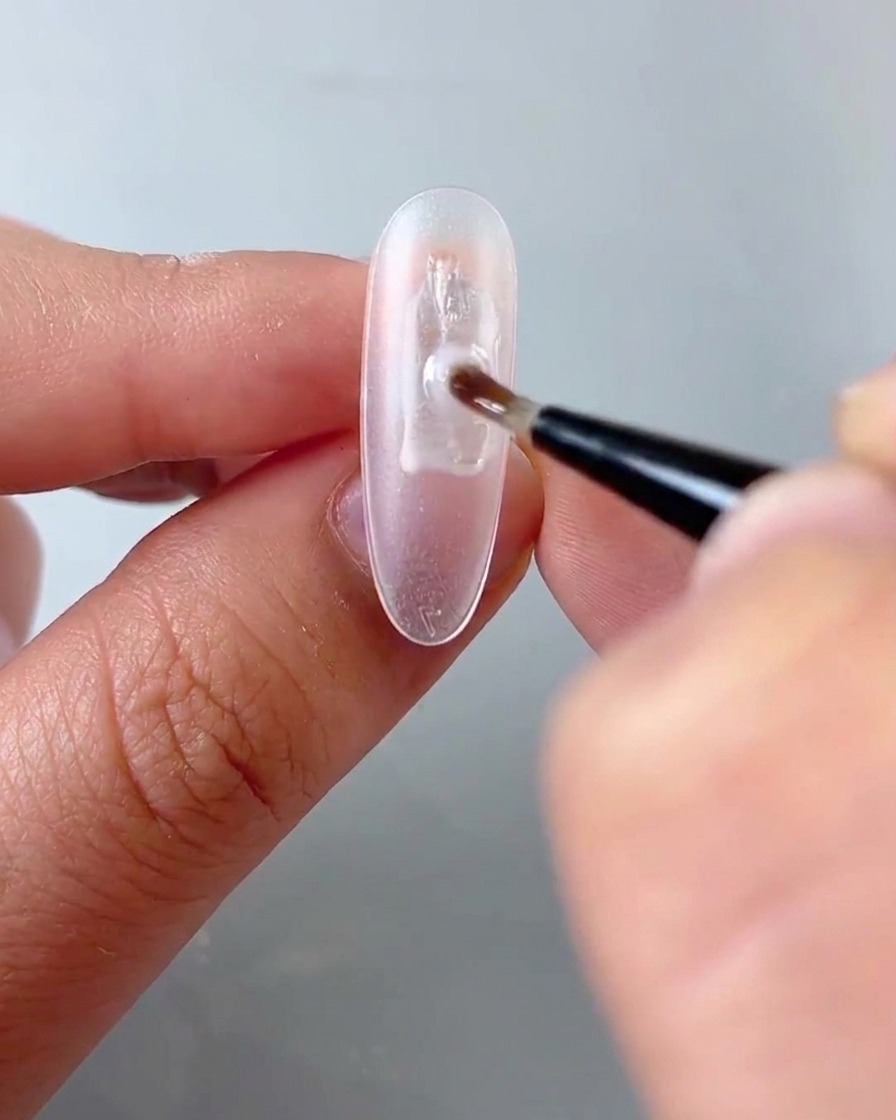
Take a fine detail brush and apply a layer of strong diamond fixing gel directly onto the bare nail plate. This acts as a sturdy adhesive base layer to secure subsequent shell pieces and nail art elements firmly in place.
Tip: Ensure an even coat is applied across the nail bed without touching the surrounding skin to prevent lifting. - 2Embed iridescent shell pieces
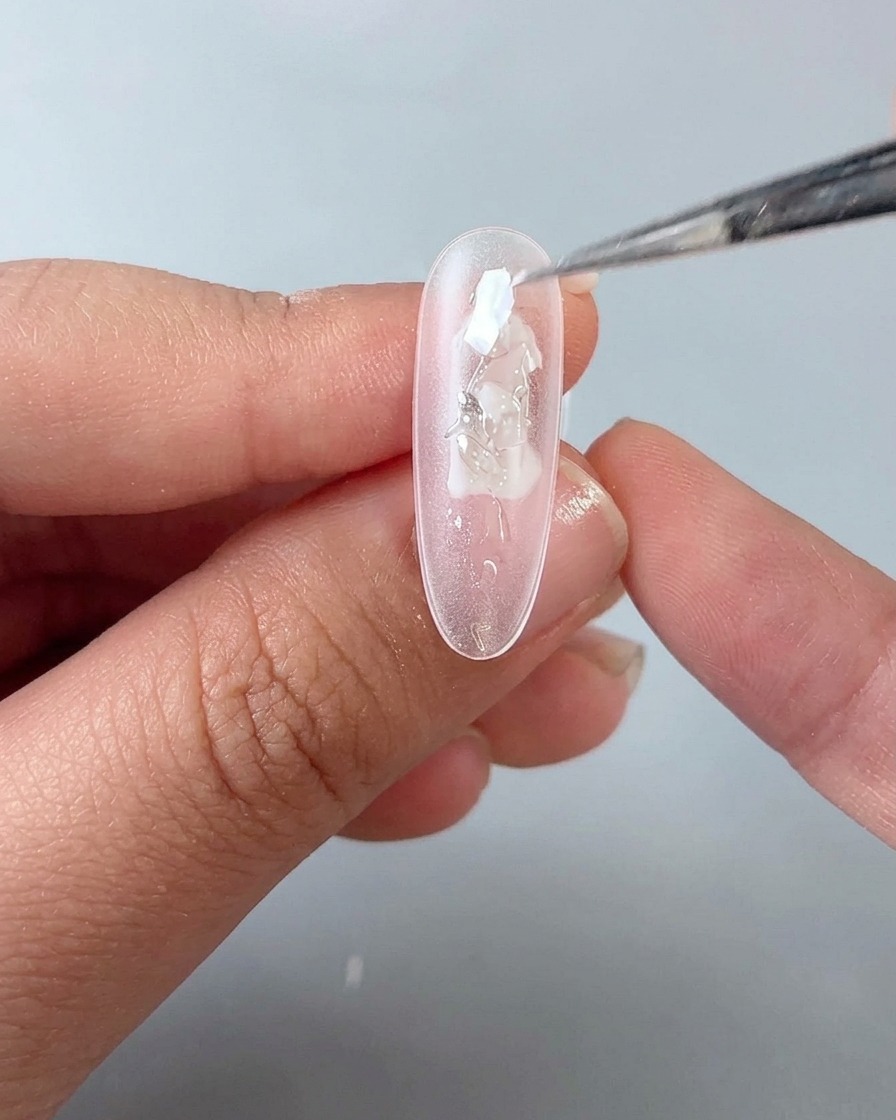
Using the tip of a detailing brush or a tool, pick up iridescent shell pieces and place them carefully onto the wet fixing gel layer on the nail. Arrange them to create an artistic, clustered pattern with varying sizes and orientations. Press them lightly so they anchor securely into the gel layer.
Tip: Vary the orientation of the shell pieces to catch the light from different angles once sealed. - 3Outline with fine pearl gel
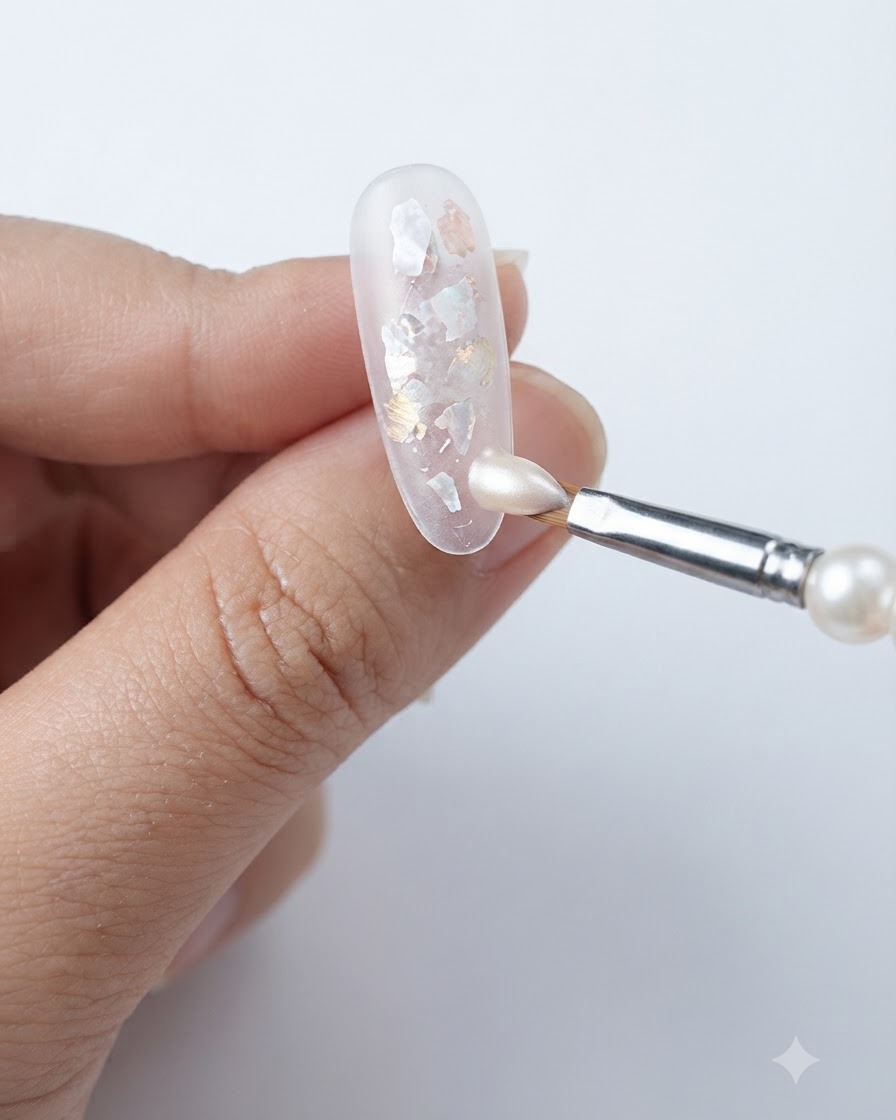
Take Style Valley fine pearl gel no. 3 and use a fine brush to outline around the edges of the embedded shell pieces. This adds a delicate pearlescent definition that frames the shell fragments beautifully. Work carefully around each piece to highlight its contours.
Tip: Keep the pearl gel lines thin and precise to avoid overwhelming the delicate texture of the shell pieces. - 4Mix reinforcing gel and velvet powder
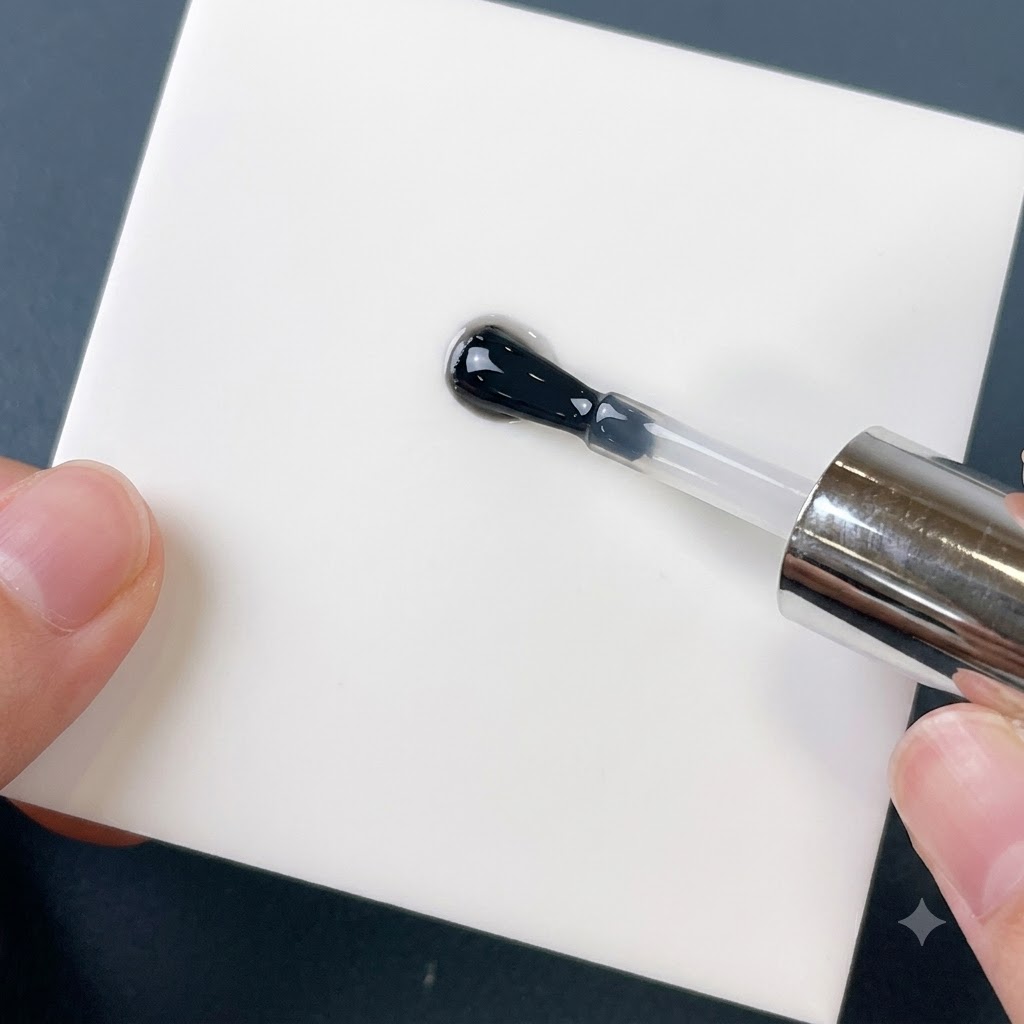
Dispense a drop of soft reinforcing gel onto a clean palette and combine it thoroughly with high-light snow velvet powder. Mix them together until the powder is fully incorporated into the gel, creating a sparkly, textured mixture ready for application. This custom blend gives the nail a unique multidimensional glimmer.
Tip: Mix on a clean ceramic or glass palette to keep the consistency smooth and free of lint or dust. - 5Apply sparkly velvet gel mixture
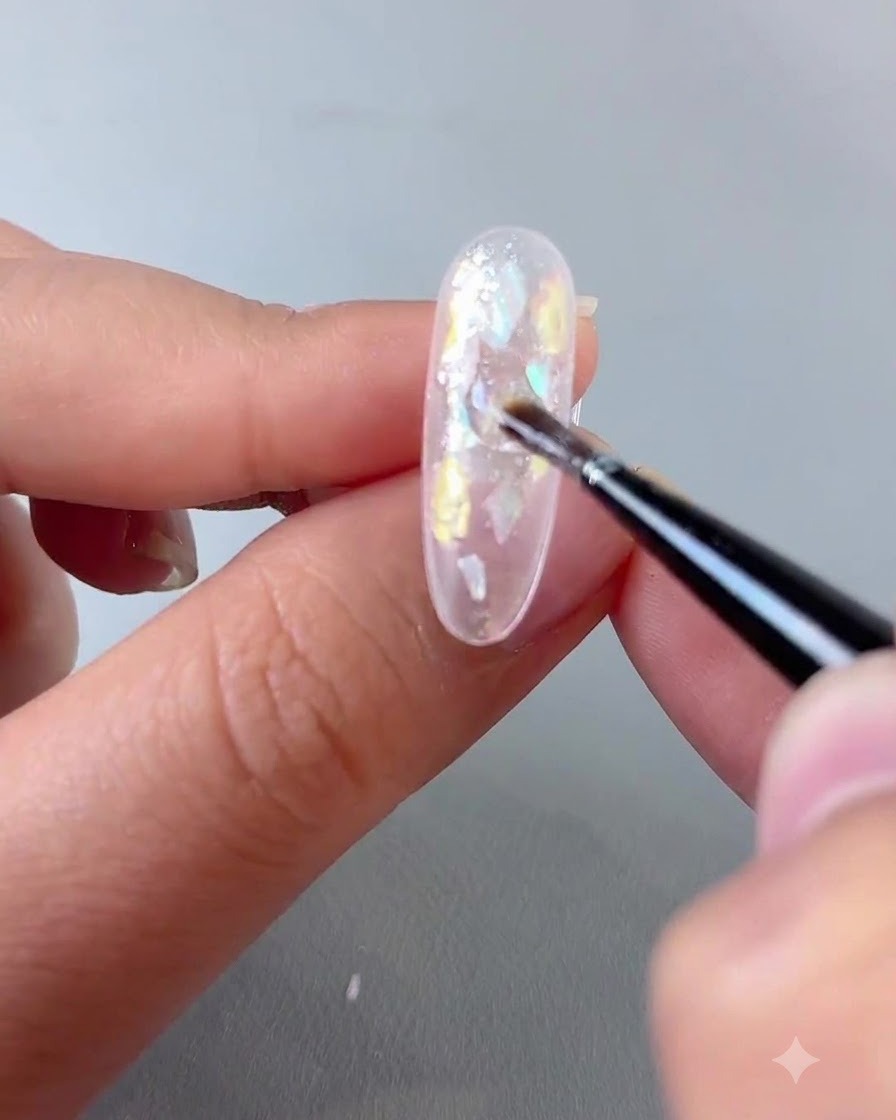
Take the mixed soft reinforcing gel and high-light snow velvet powder mixture and apply it evenly across the entire nail surfacecite: 1. Cover the shell pieces and pearl gel accents completely to encapsulate them. This creates a uniform, sparkly finish over the entire nail designcite: 1.
Tip: Ensure the mixture is distributed smoothly without creating bulky bumps before curing. - 6Cure the glitter layer
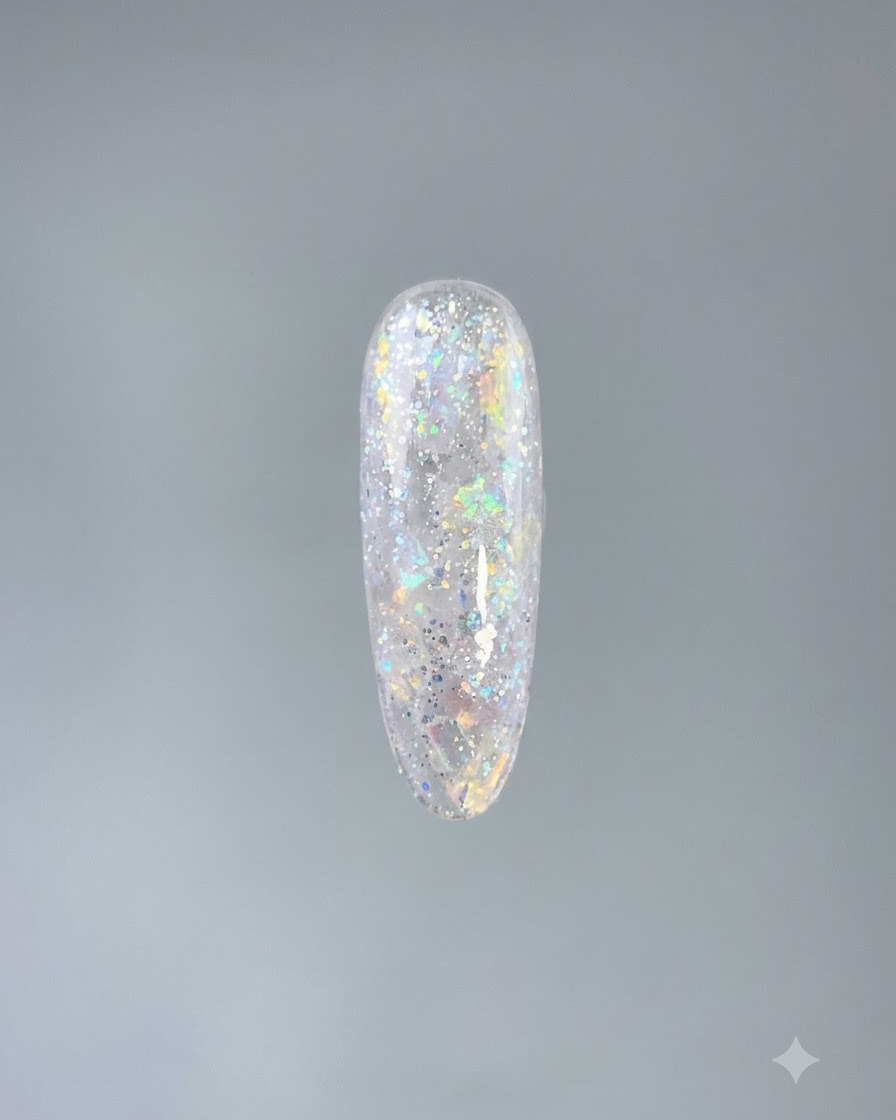
Place the hand under a UV/LED nail lamp to cure the freshly applied sparkly velvet gel layercite: 1. Allow it to cure completely for the recommended time to lock the glitter and gel structure into place. This ensures the layer hardens properly before proceeding with the next step.
Tip: Make sure the hand is positioned centrally under the lamp for an even, thorough cure. - 7Paint color blocks with light-transmitting shade
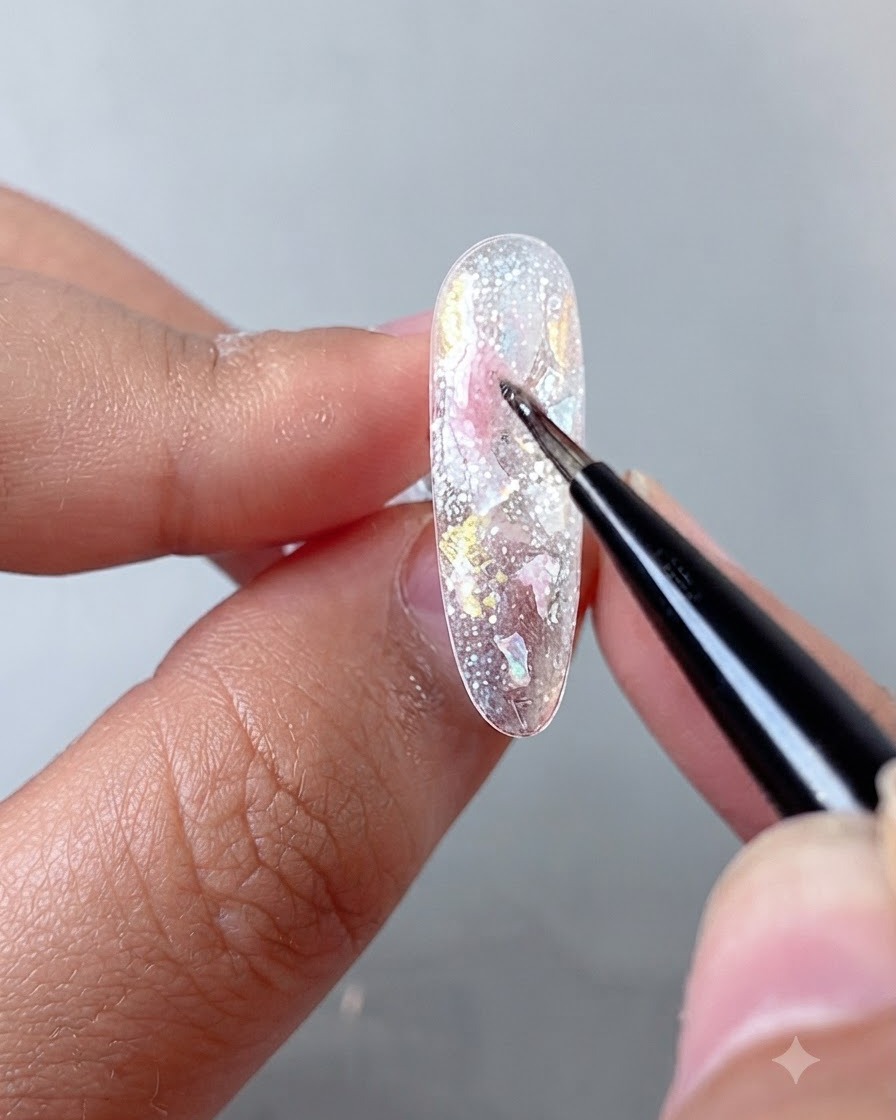
Select Style Valley light-transmitting shade no. 2 and use a brush to create distinct color blocks across the nail surface. This translucent shade helps build dimension and makes the subsequent cat eye effects look brighter and more even.
Tip: Keep the color blocks soft and varied in placement to allow the background sparkle and shell pieces to peek through. - 8Flash cure the color block
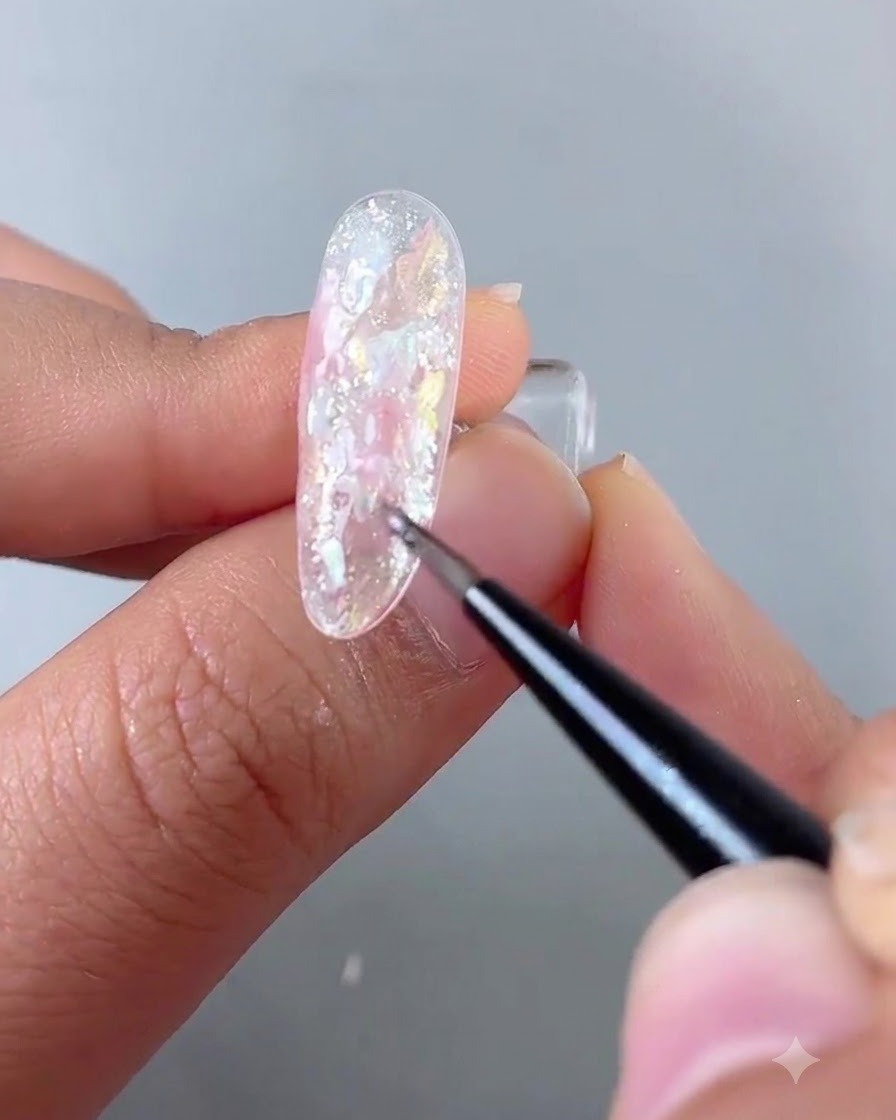
Hold a mini UV flashlight closely over the freshly painted color block to flash cure it in place. Flash curing prevents the wet gel from shifting or running before you move on to the next design element.
Tip: Position the mini flashlight at a steady angle to ensure the entire wet section sets evenly without distorting the shape. - 9Create blooming effect with milky white gel
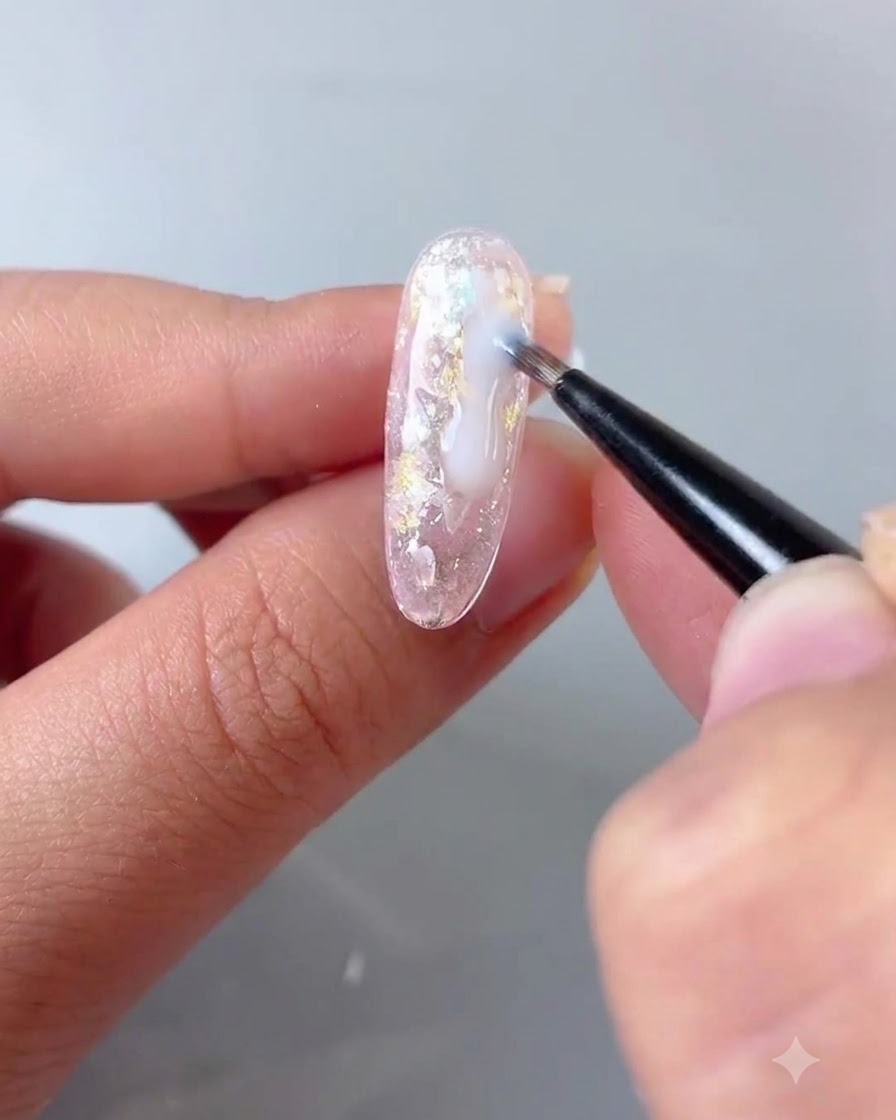
Dispense a small amount of milky white flowing gel directly into the gaps between your design elements. Allow the gel to naturally spread and diffuse to create a soft, seamless blooming effect.
Tip: Work quickly while the gel is fluid so it spreads smoothly into the empty spaces without forming harsh lines. - 10Apply soft reinforcing gel
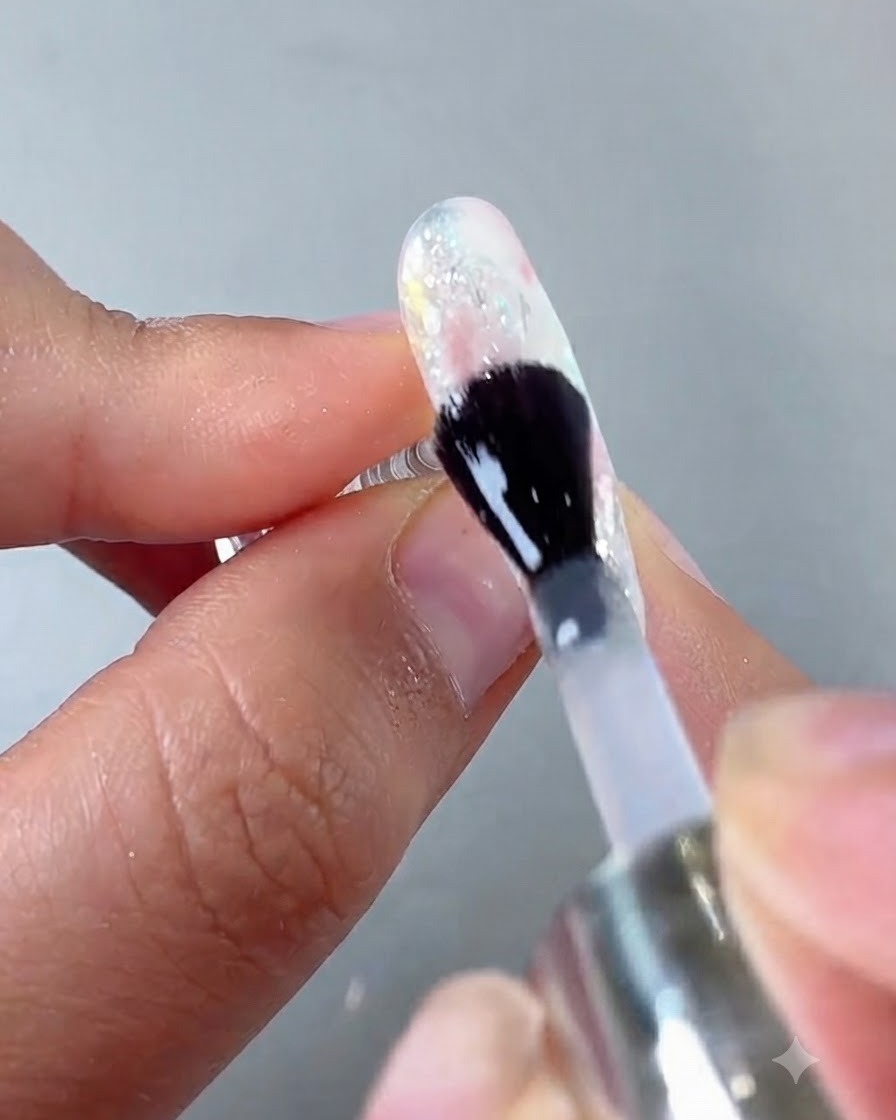
Take a brush with soft reinforcing gel and apply a smooth, protective layer evenly over the entire nail plate. This step encapsulates your nail art elements and builds a smooth foundation structure.
Tip: Cover the entire surface thoroughly, making sure to seal the edges to protect the embedded decorations. - 11Cure gel layer under the lamp
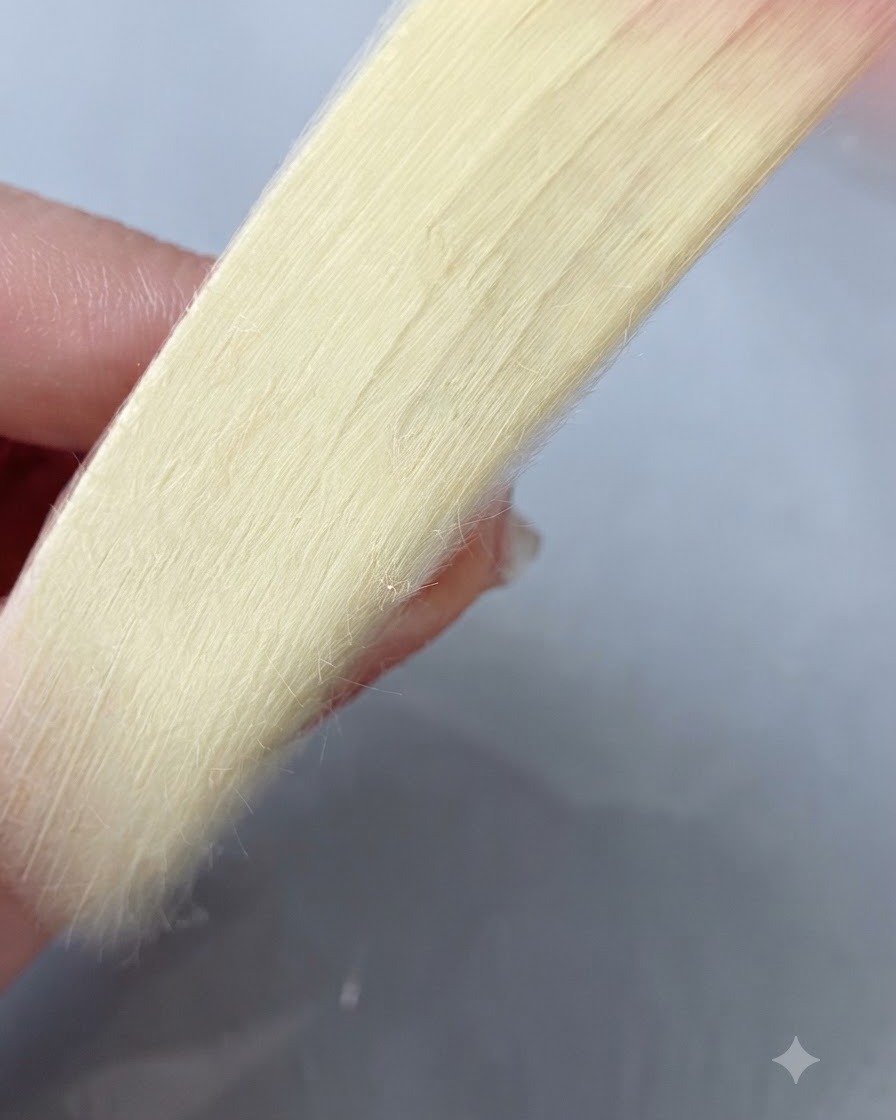
Place the hand inside the UV or LED nail lamp to fully cure the applied gel layer. Follow the standard curing time to ensure the structural layer hardens completely.
Tip: Keep your hand flat inside the lamp to prevent the self-leveling gel from pooling to one side during curing. - 12Buff the Nail Surface Smooth
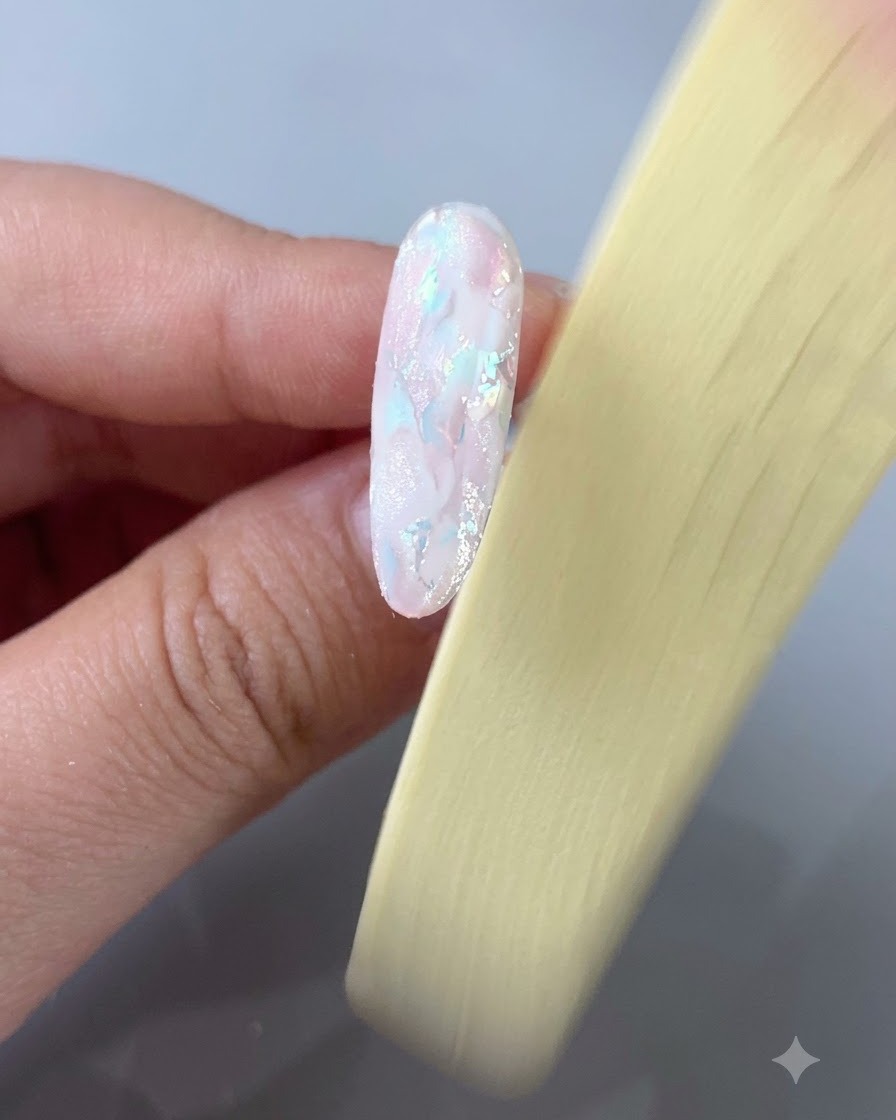
Using a nail file, gently buff the surface of the nail to smooth out any raised areas created by the shell pieces or gel application. Work evenly across the entire nail plate to ensure a completely flat, uniform surface before proceeding to the final top coat.
Tip: A smooth surface prevents the top coat from pooling in indentations or sliding off high spots, resulting in a flawless finish. - 13Wipe away nail dust
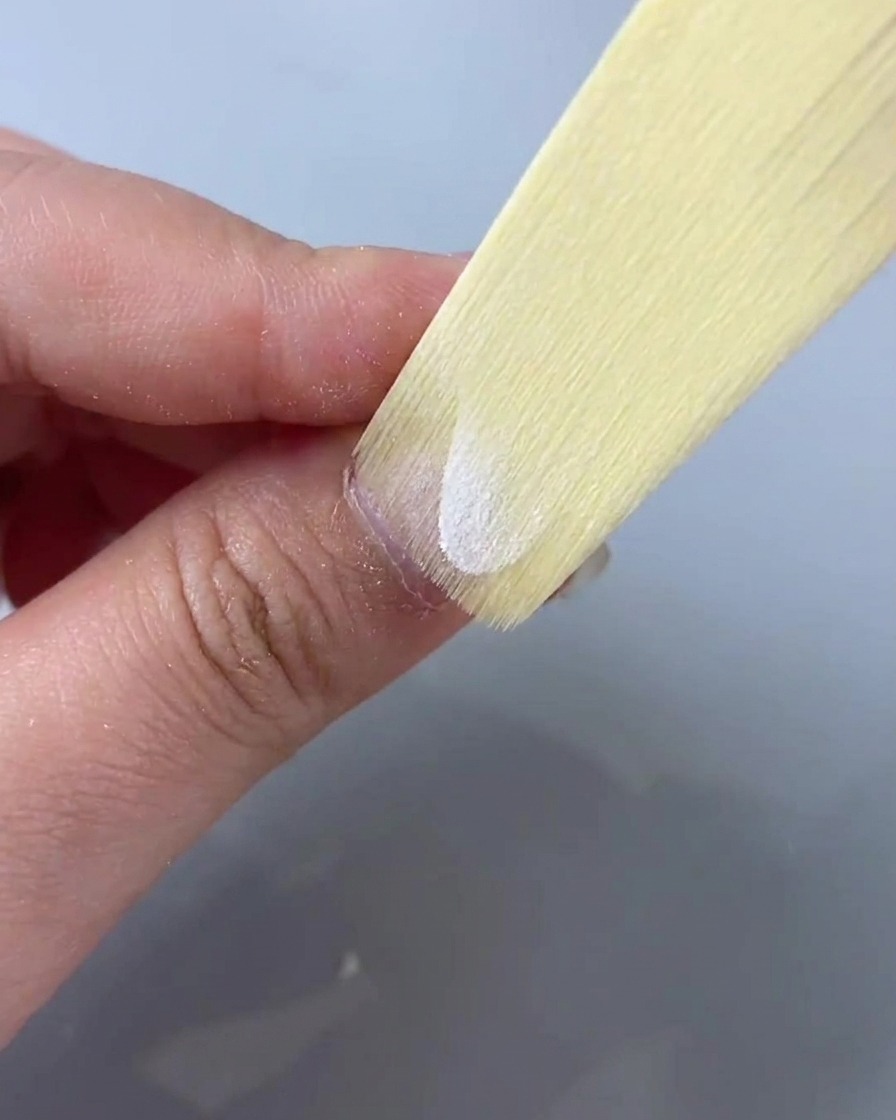
Take a lint-free cleansing wipe moistened with nail cleanser or alcohol and thoroughly wipe away all filing dust and residue from the nail surface and surrounding skin. Ensure the nail is completely clean and dry before applying any top coats or sealing products to guarantee maximum adhesion and a flawless finish.
Tip: Make sure to clean underneath the free edge and around the sidewalls where dust easily gets trapped. - 14Apply silky top coat and cure
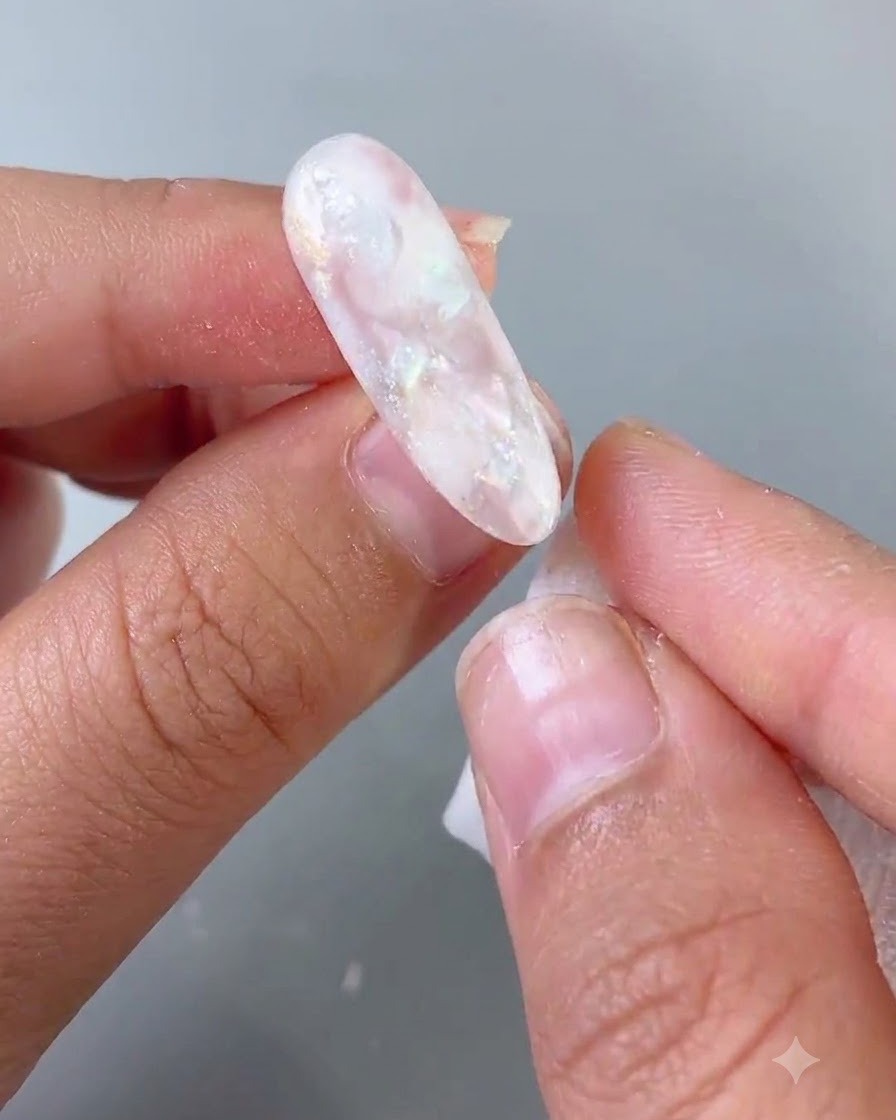
Apply a final layer of silky top coat evenly over the entire nail surface to lock in your design and provide a high-gloss, protective finish. Cap the free edge carefully, then cure under the lamp to complete the first nail style.
Tip: Capping the free edge with top coat prevents chipping and seals the layers underneath for longer-lasting wear. - 15Place Blue Shell Pieces
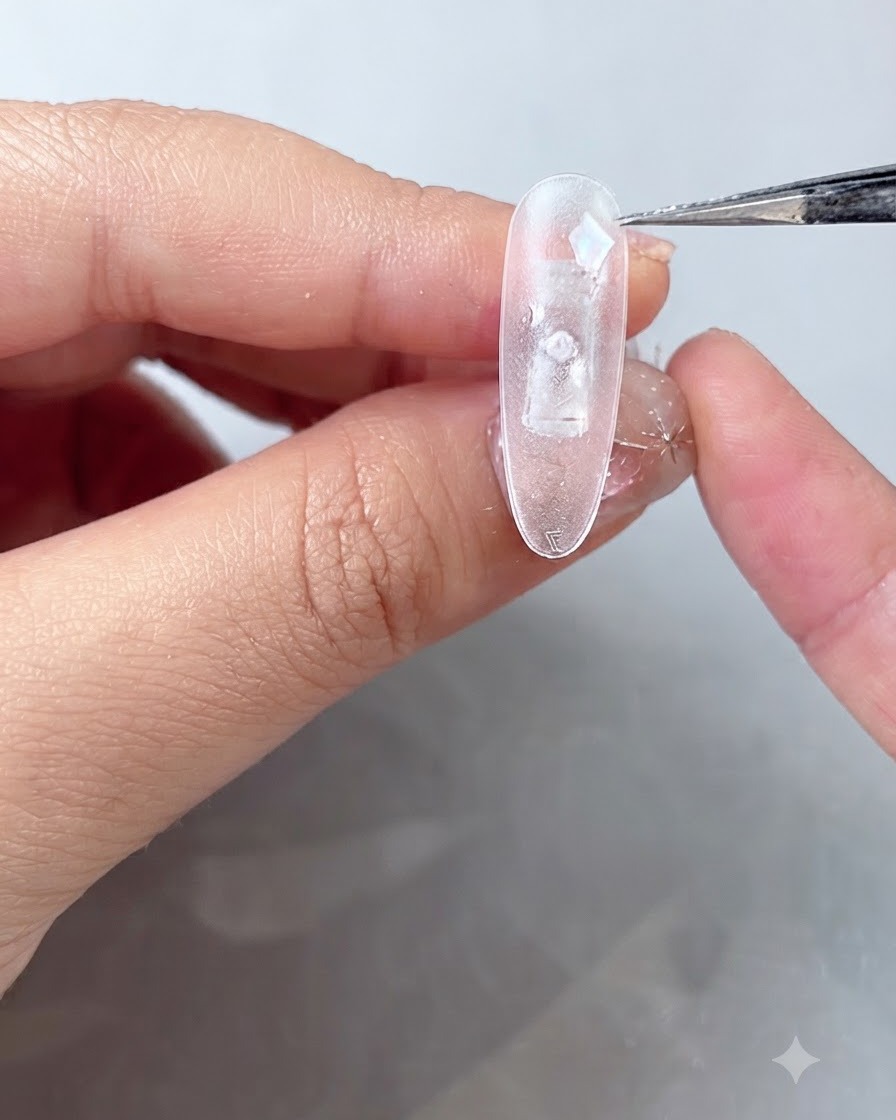
Apply a layer of strong fixing gel to the second nail plate to act as an adhesive. Using precision tweezers or a wax dotting tool, carefully pick up blue shell pieces and press them into the uncured gel. Arrange them randomly, leaving small gaps for the subsequent color blocking.
Tip: Press the shell pieces firmly into the gel so they lay flat. This minimizes the amount of buffing required later. - 16Apply Cat Eye Gel Color Blocks
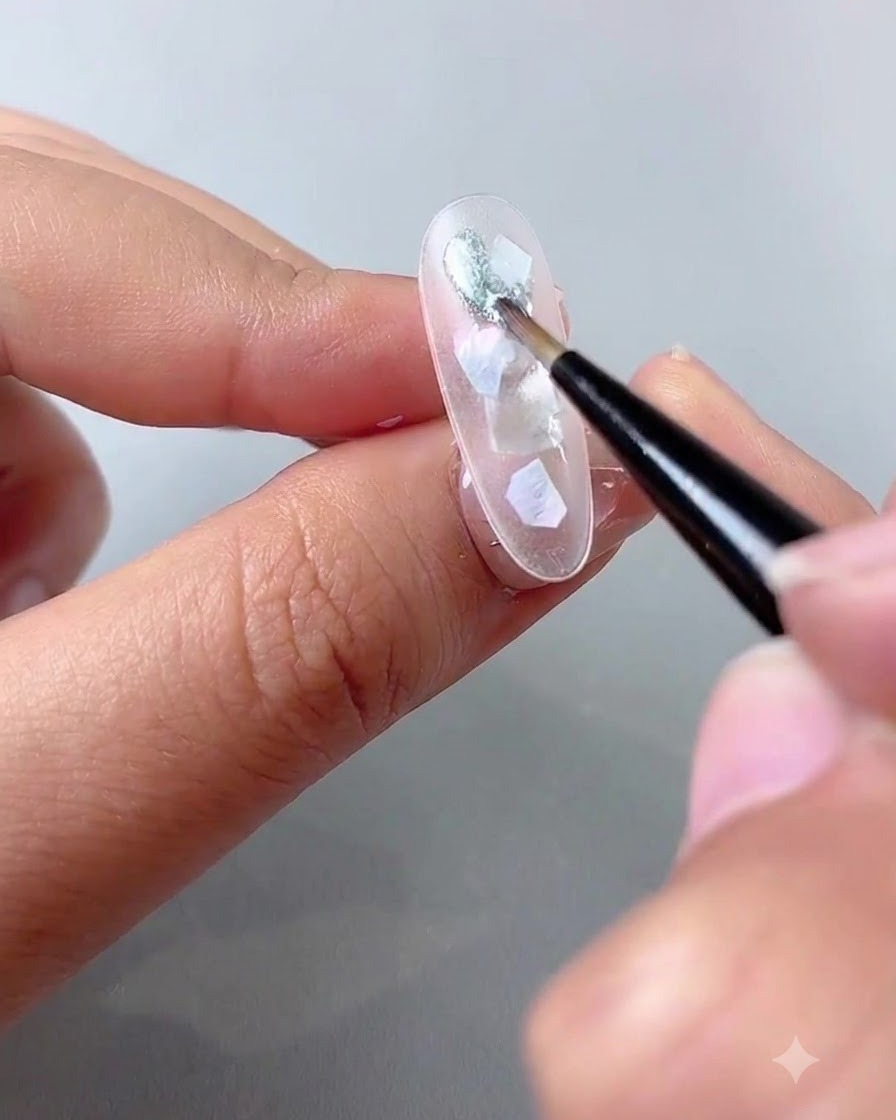
Using a fine detail brush, pick up the rainy sky cat eye gel and dab it over the established color blocks and around the shell pieces. Keep the application concentrated in specific areas to create a textured, multidimensional look rather than painting the entire nail.
Tip: Work in small sections when creating color blocks to maintain control over the product placement and prevent the gel from flooding the cuticles. - 17Cure the cat eye color layer
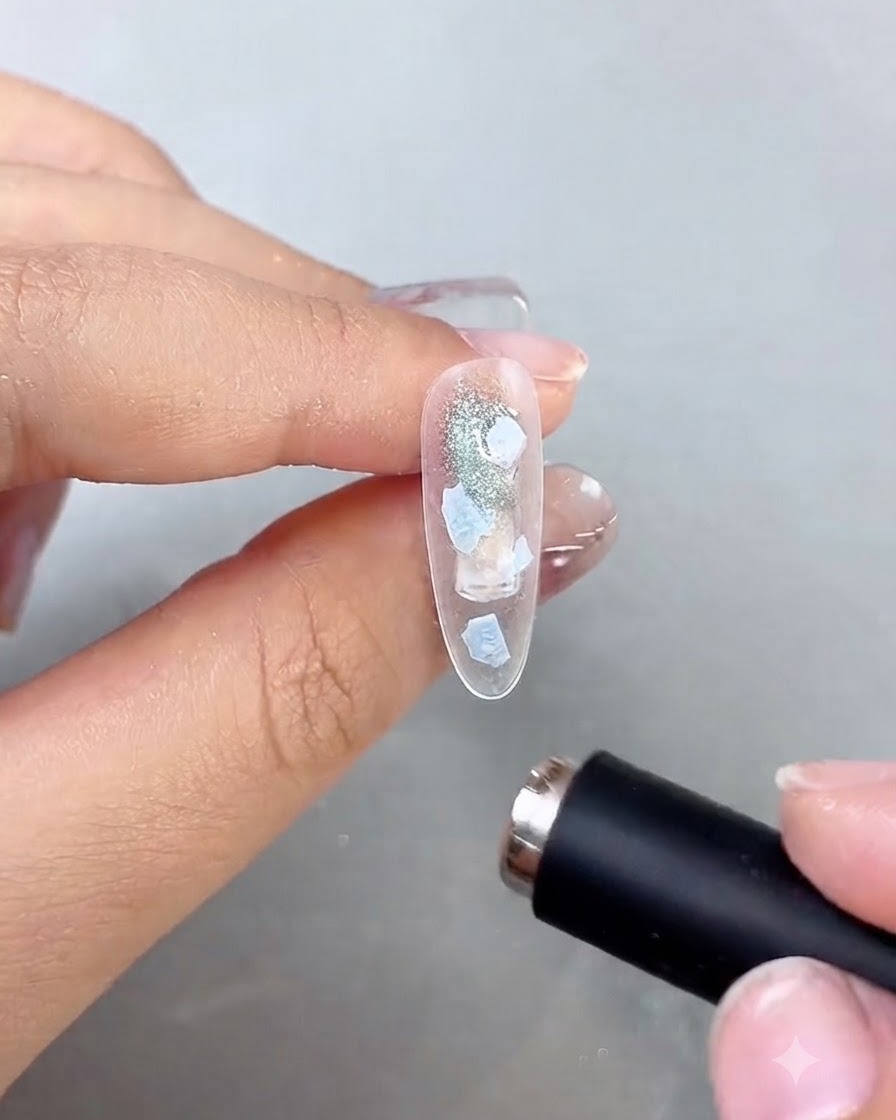
Hold a mini portable UV/LED light close to the nail to flash-cure the cat eye color layer. Flash-curing helps lock the magnetic particles and color blocks in place immediately so they do not shift before the full cure.
Tip: Hold the mini light steady and close to the nail to ensure quick and even setting of the magnetic effect. - 18Apply fine pearl gel in the gaps
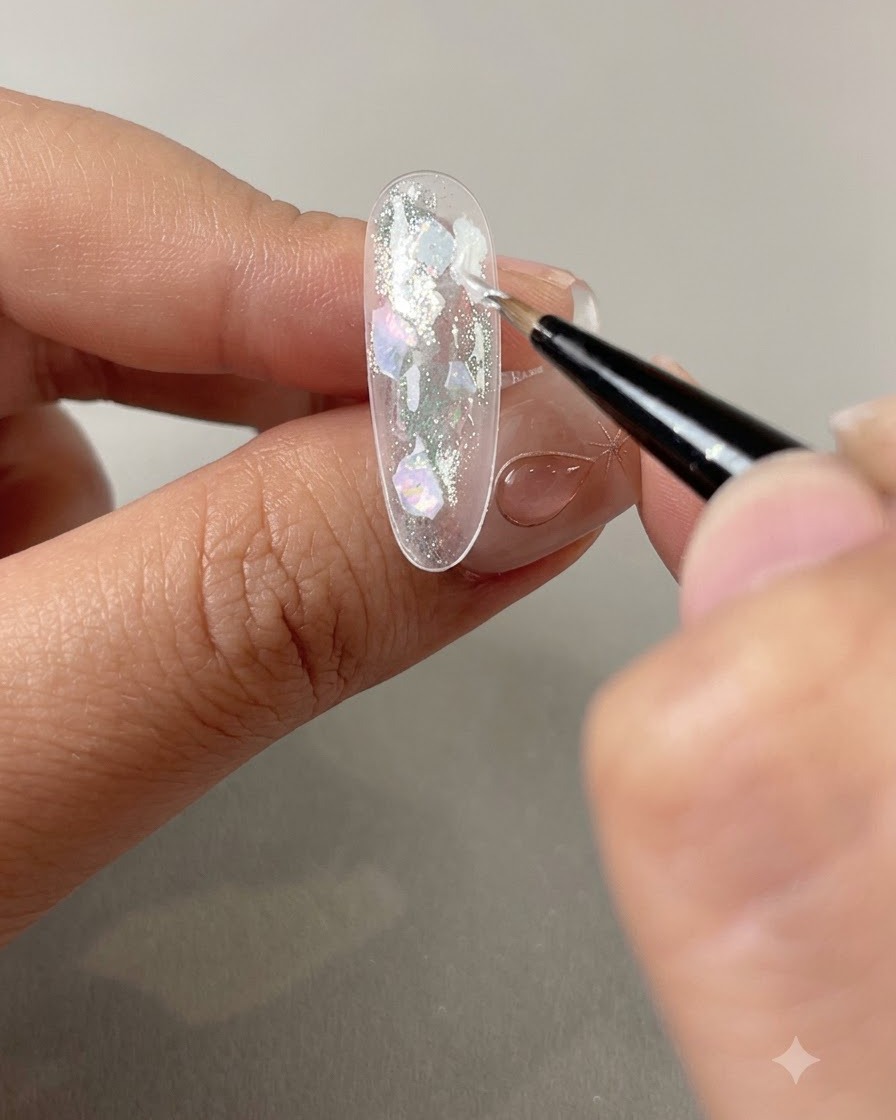
Using a fine nail art brush, carefully apply fine pearl gel no. 1 into the gaps and crevices surrounding the shell pieces. This adds depth, fills empty spaces, and creates a shimmering transition between the embedded elements.
Tip: Use the tip of a fine liner brush for precise application in tight corners between the shell pieces. - 19Cure the pearl gel layer
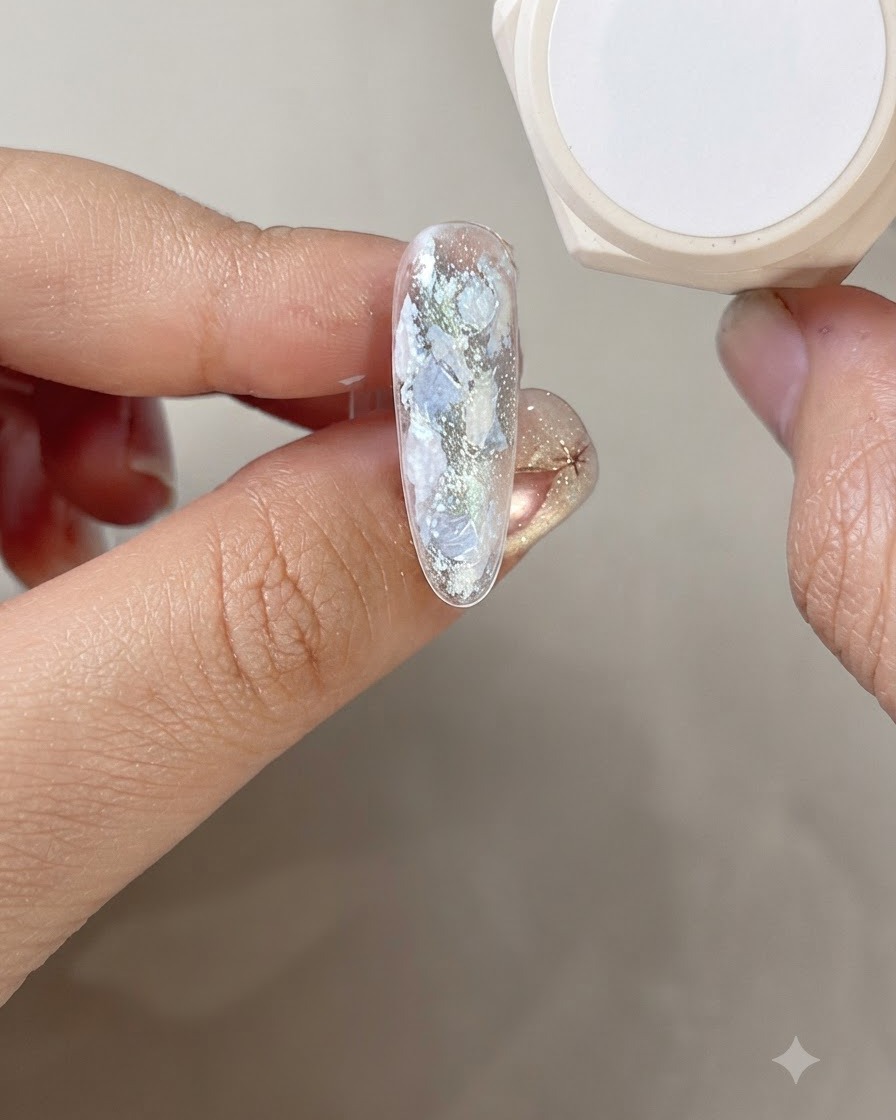
Place the hand under the UV or LED lamp and cure the newly applied pearl gel layer for 45 seconds. Ensure a full and proper cure to provide a solid foundation for the subsequent mirror powder application.
Tip: Double-check that your lamp timer is set correctly to 45 seconds for a complete and secure cure. - 20Rub Ice Island mirror powder
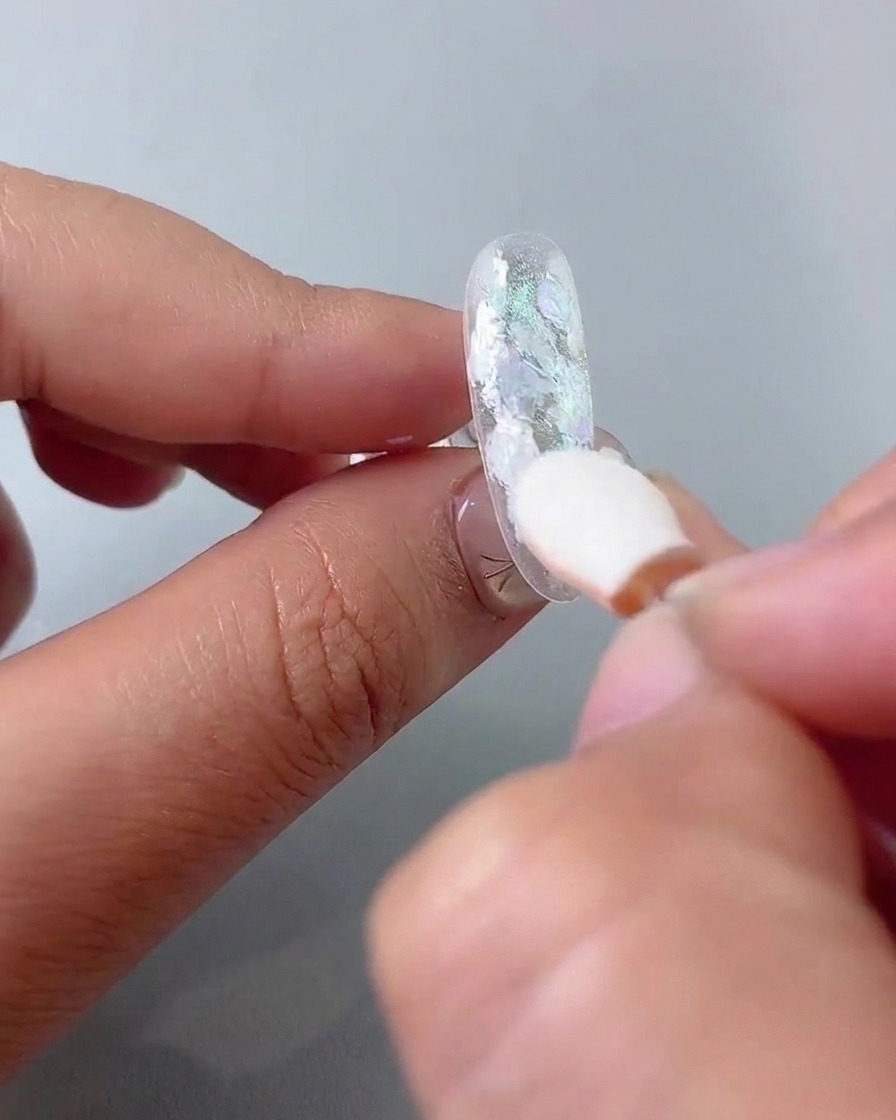
Take a sponge applicator and gently buff Ice Island mirror powder directly onto the cured pearl gel areas. Buffing creates a vibrant, shimmering aurora chrome effect that catches the light beautifully.
Tip: Apply the mirror powder while the gel surface has a slight tacky residue or is freshly cured, depending on the powder type, for maximum adhesion and shine. - 21Fill blank spaces with milky white gel
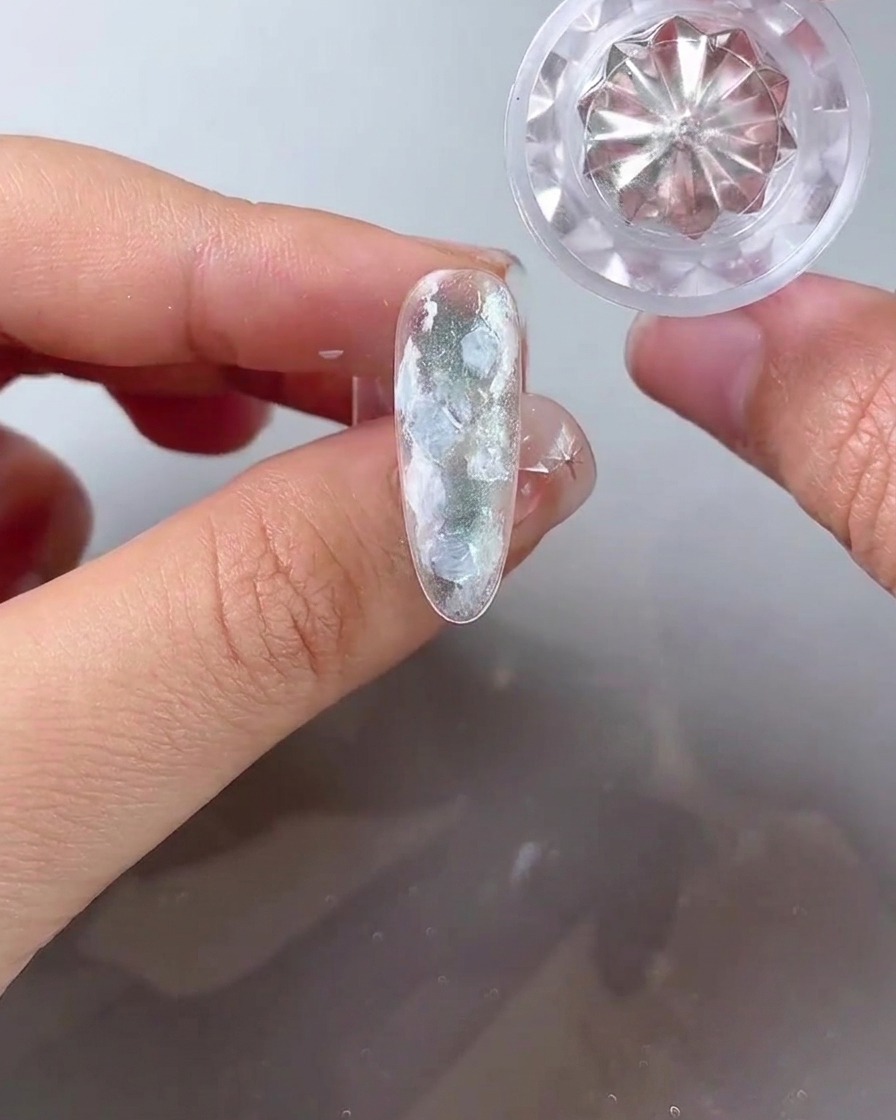
Using a fine detail brush and milky white flowing gel, carefully fill in any remaining blank spaces or gaps between the existing nail art elements. The self-leveling nature of the flowing gel will naturally spread and soften, creating a seamless background for the blooming effects.
Tip: Apply the gel sparingly in small dots or lines, allowing it to expand naturally before curing. - 22Create a smooth blooming effect
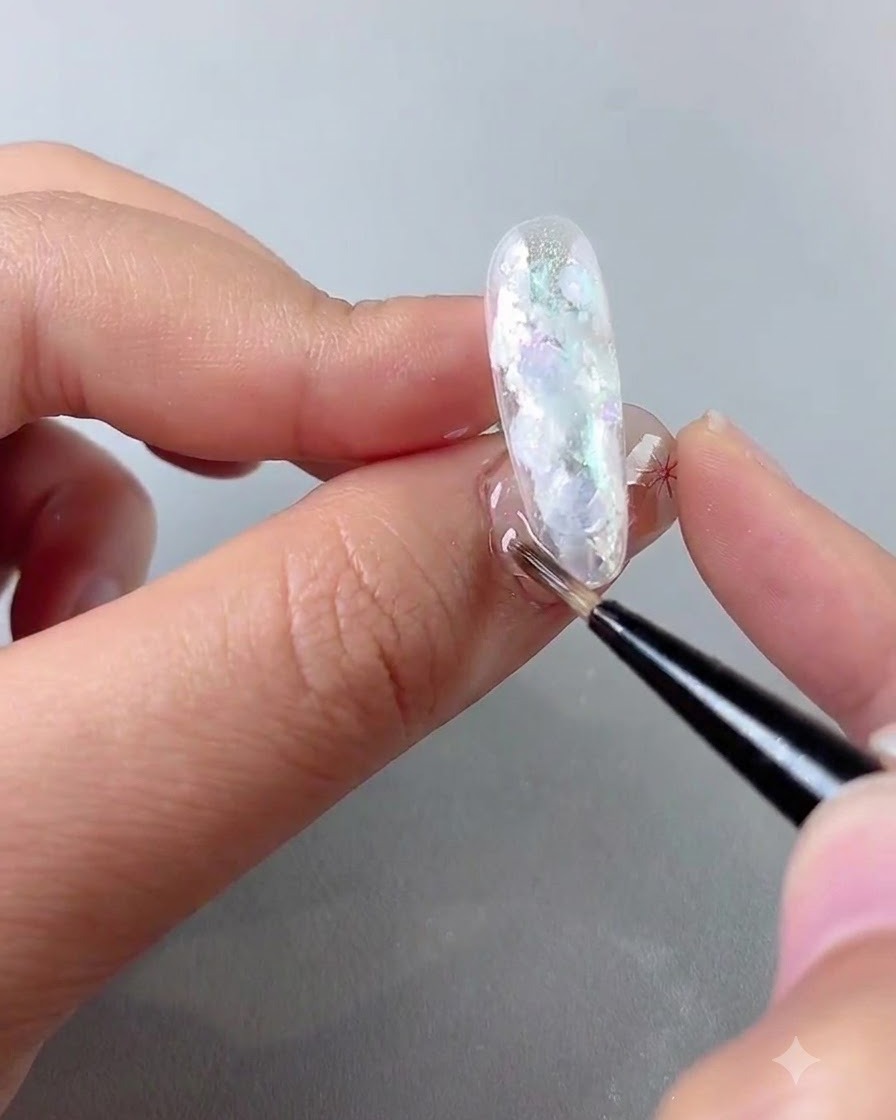
Using a fine brush, gently agitate and blend the wet milky white gel within the gaps to diffuse the color softly. This technique creates a dreamy, watercolor-like blooming effect that adds depth and dimension to the overall nail design.
Tip: Work quickly while the gel is still wet to achieve a soft, gradient fade without harsh lines. - 23Encapsulate with soft reinforcing gel
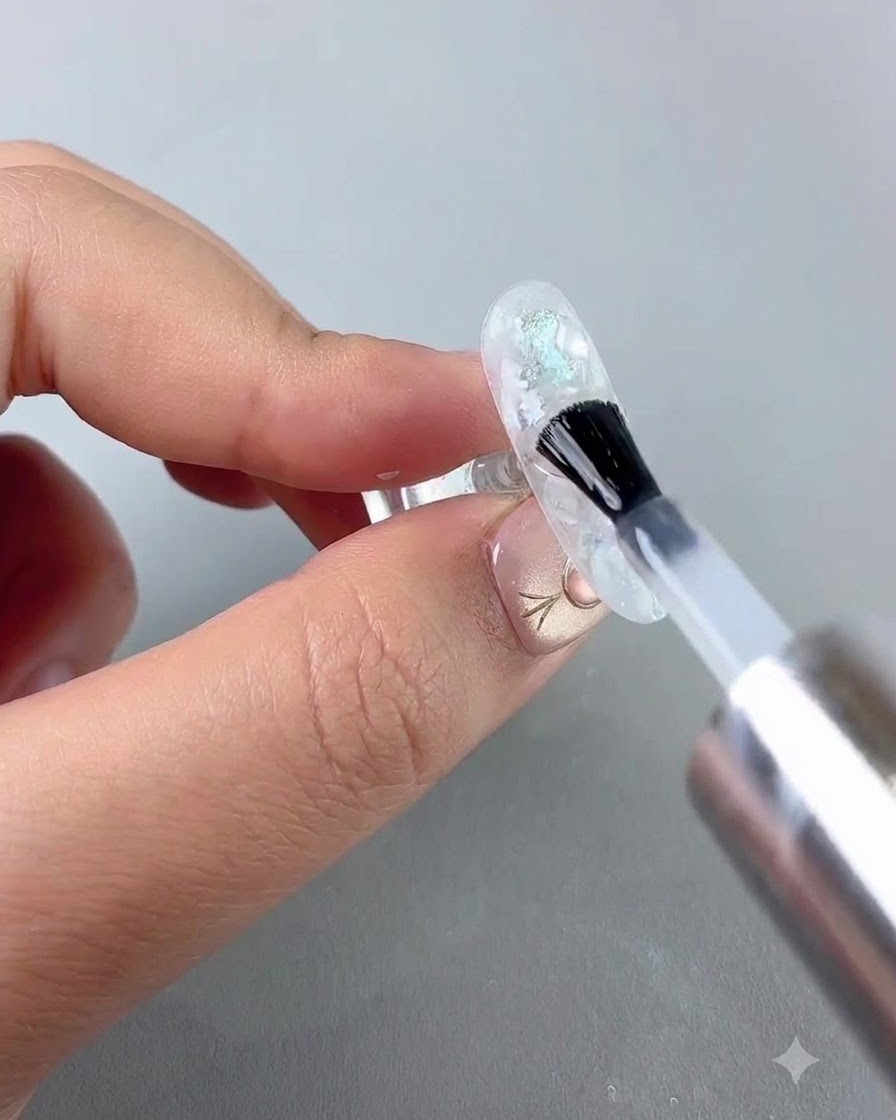
Brush a generous layer of soft reinforcing gel over the entire nail surface, ensuring all embedded shell pieces, powders, and blooming art are fully encapsulated. This creates a strong structural foundation and smooths out any uneven textures from the nail decorations.
Tip: Cap the free edge carefully with the reinforcing gel to prevent chipping and lifting of the encapsulated layers. - 24Cure the encapsulation layer
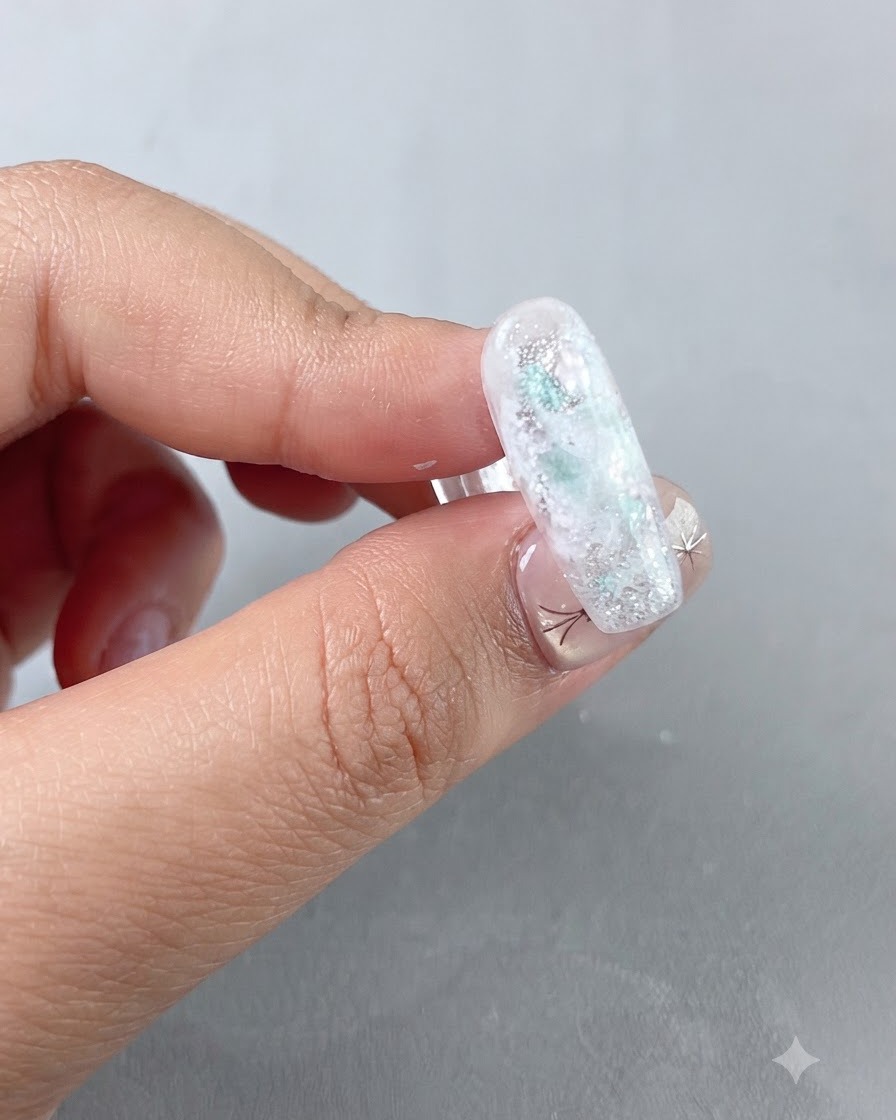
Place the hand under a UV or LED lamp and cure the soft reinforcing gel layer completely according to the product guidelines. This hardens the protective barrier over the nail art and locks all decorative elements securely in place.
Tip: Ensure the hand is placed evenly under the light source to cure the apex and sidewalls thoroughly. - 25Buff and smooth the nail surface
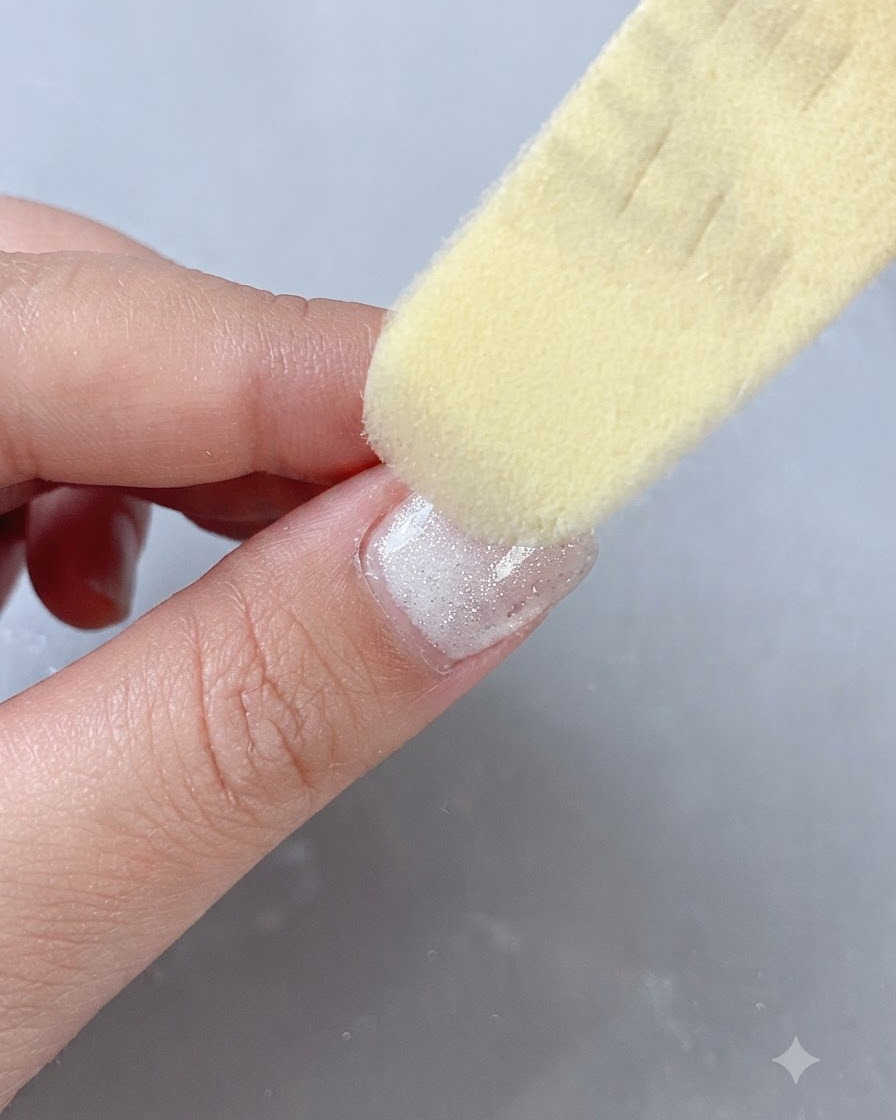
Take a smoothing buffer file and gently refine the cured nail surface, leveling out any bumps, ridges, or thick spots to achieve a perfectly even shape. Wipe away the resulting dust thoroughly before applying the final top coat.
Tip: Use light, sweeping motions with the buffer to avoid thinning out the protective encapsulation layer. - 26Wipe away filing dust
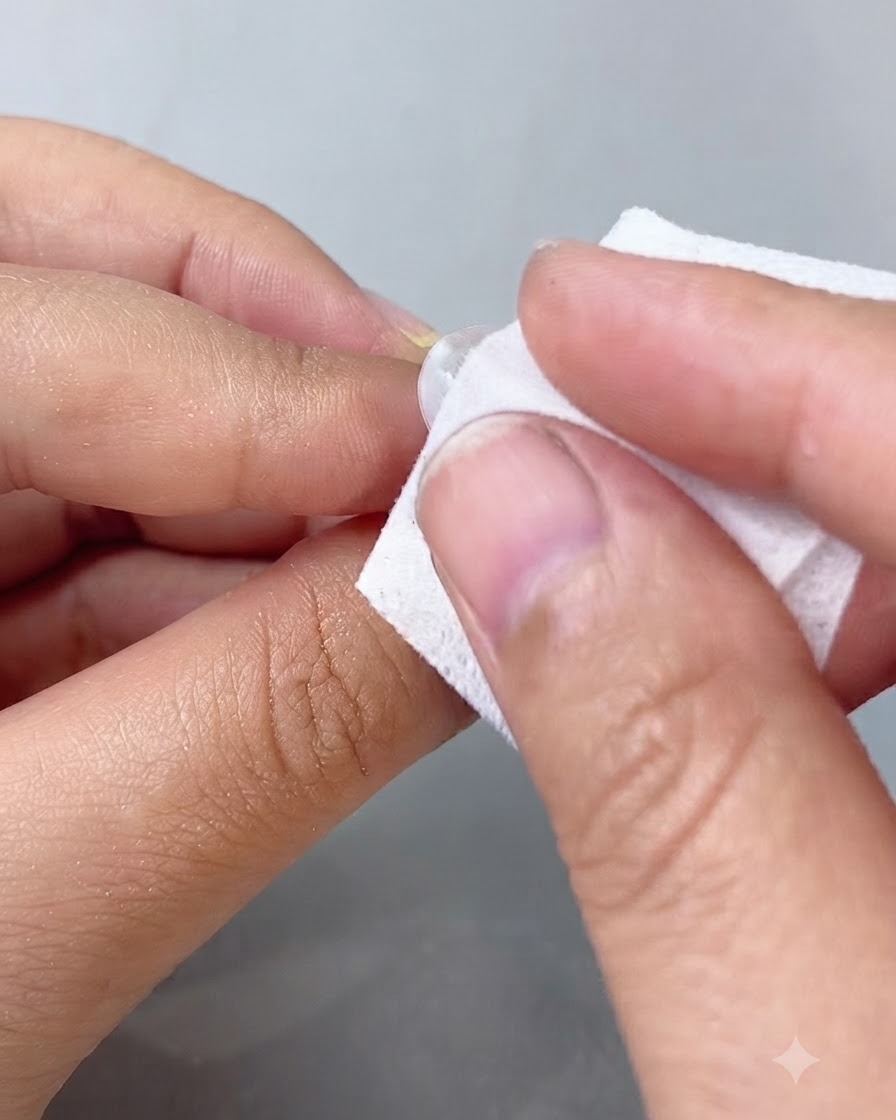
Take a lint-free wipe dampened with cleanser and gently wipe away all filing dust and debris from the nail surface and surrounding skin. A clean surface ensures subsequent layers adhere properly without trapped particles causing bumps or lifting.
Tip: Ensure all dust is completely removed from the cuticle corners and sidewalls before moving on to the next product layer. - 27Apply and blend glass color for watercolor effect
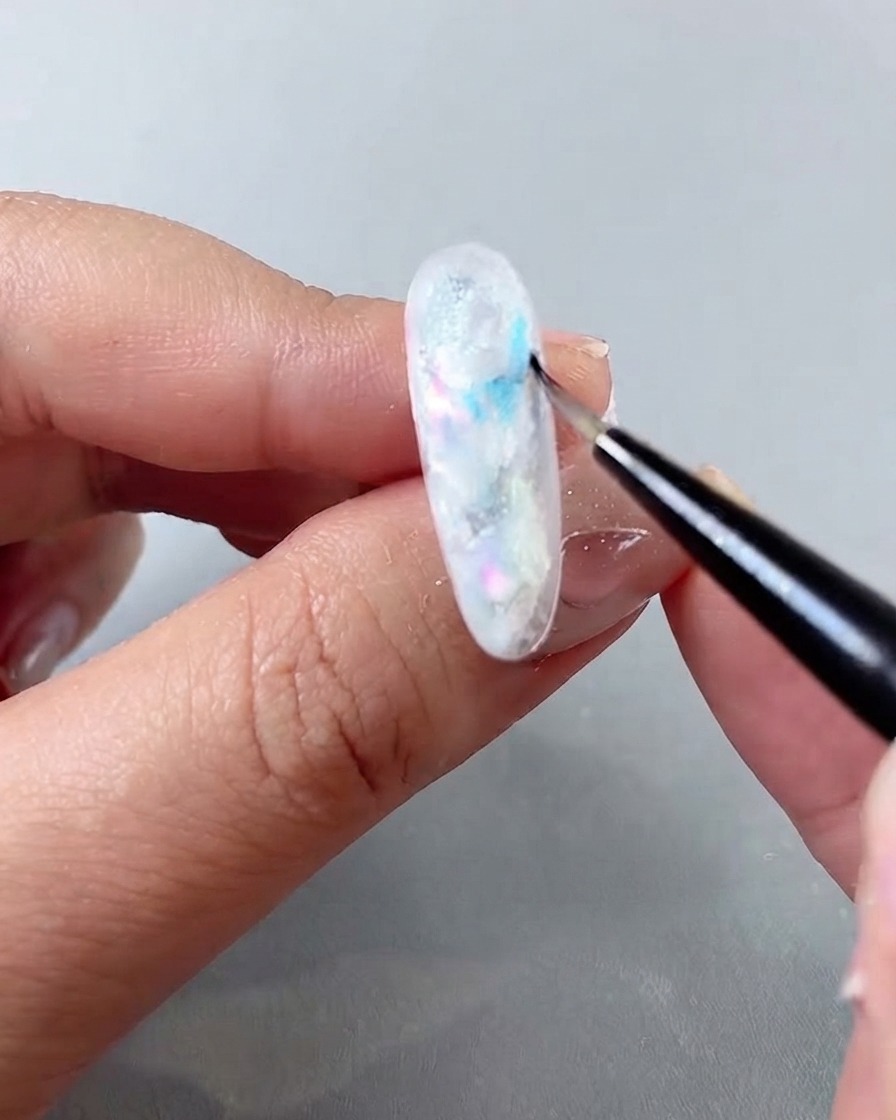
Using a fine detail brush, apply high-transparency glass color no. 2 into the gaps and empty spaces on the nail design. Gently blend the edges to create a soft, translucent watercolor blooming effect that adds depth and dimension.
Tip: Keep your brush strokes light and use a cleaner-dampened brush to soften harsh color boundaries if needed. - 28Cure the glass color layer
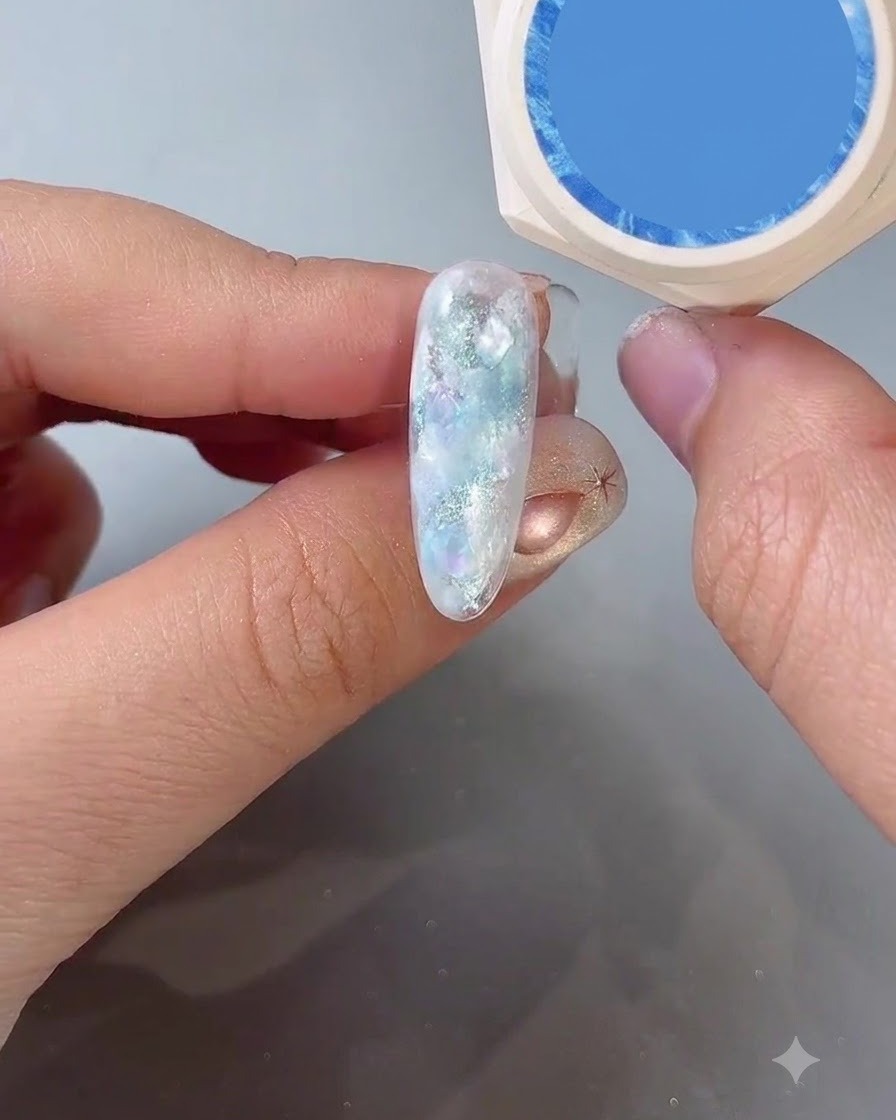
Place the nail under the UV or LED lamp to cure the newly applied glass color layer. Curing locks the watercolor blooming design in place and prevents any unwanted color migration before the top coat application.
Tip: Follow standard curing times for translucent gels to ensure complete polymerization. - 29Apply final silky top coat
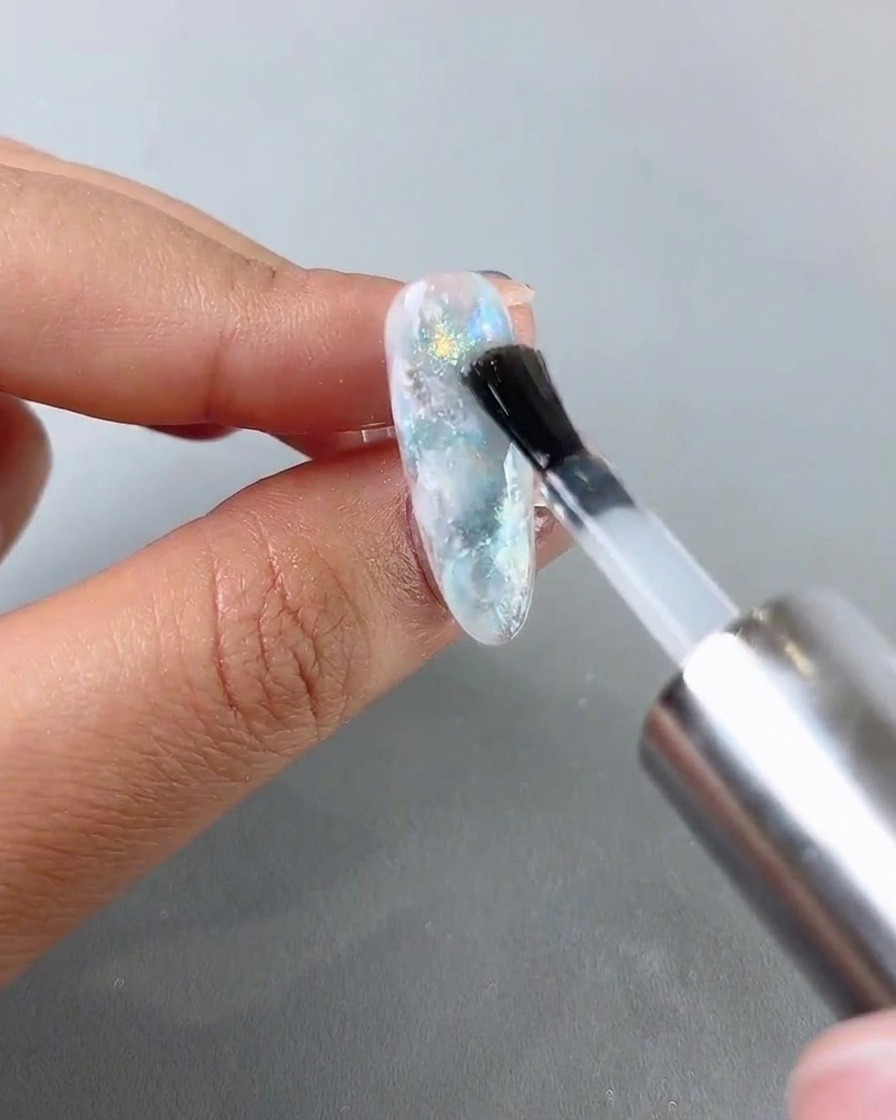
Brush a smooth, even layer of silky top coat over the entire nail surface, making sure to cap the free edge completely. This seals in all the embedded shell pieces, powders, and color layers while providing a brilliant, long-lasting shine.
Tip: Cap the free edge carefully to protect the entire design from chipping and wear.


