New Year Mirror Powder Ribbon
Cat Eye Nail Art — Step-by-Step Tutorial
Ring in the New Year with stunning almond nails featuring gold mirror powder ribbons, soft magnetic cat eye polish, and chic polka dots.
Celebrate the festive season with an exquisite combination of textures and finishes. This New Year nail design pairs glossy nude bases with dazzling gold mirror powder ribbons, multi-dimensional porcelain white cat eye effects, and delicate 3D structural details for an unforgettable holiday look.

Steps
- 1Apply First Coat of Nude Base Polish
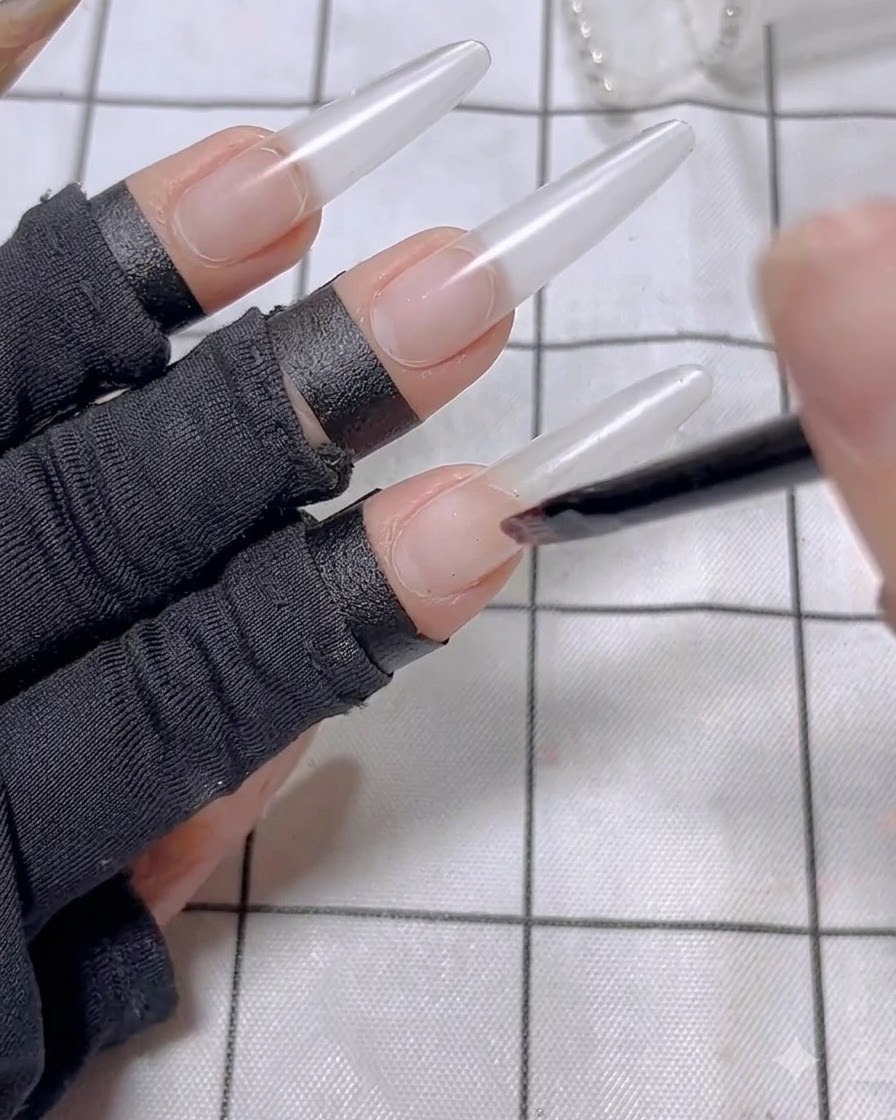
Apply the first coat of nude color base polish smoothly onto the index finger nail extension, ensuring even distribution across the surface.
Tip: Apply in thin, even strokes to avoid pooling near the cuticles. - 2Apply Second Coat of Nude Base Polish
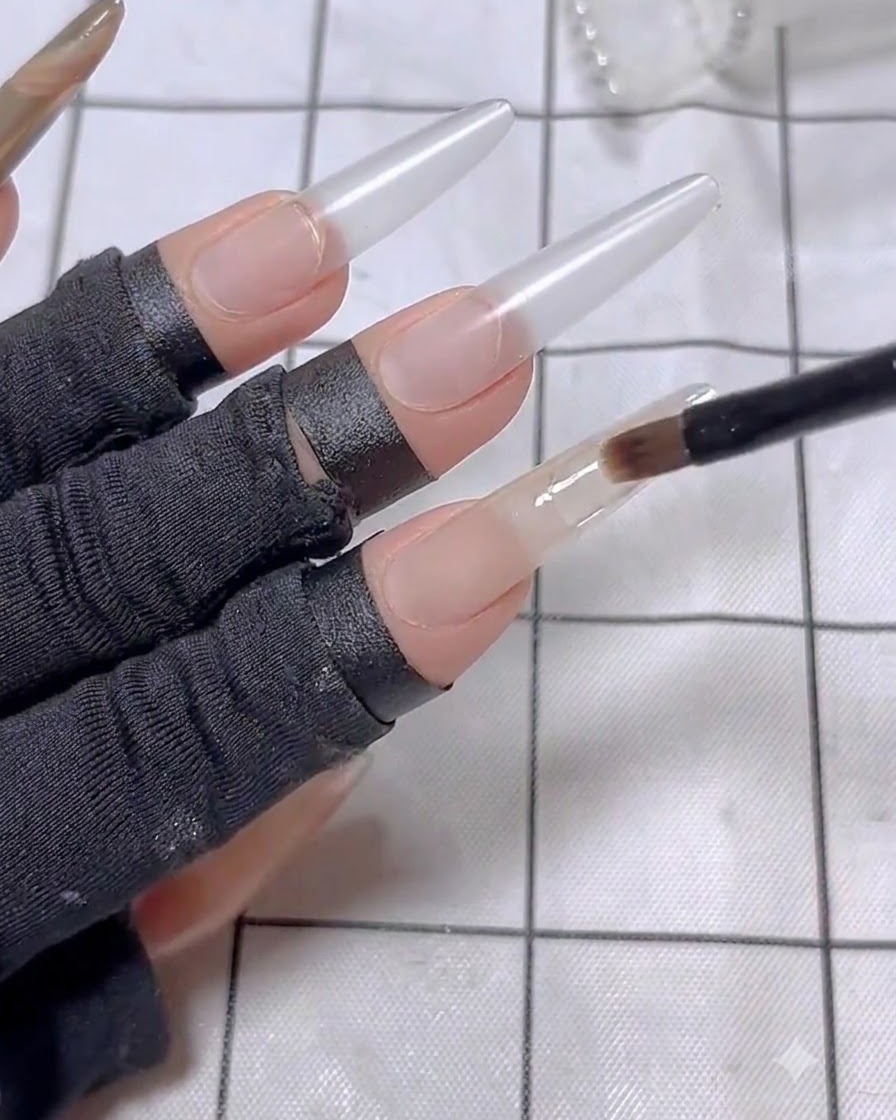
Apply a second coat of nude color base polish to the index finger to achieve opaque and completely even coverage.
Tip: Let the first coat settle slightly before applying the second layer for a smooth finish. - 3Apply Tempered Top Coat and Cure
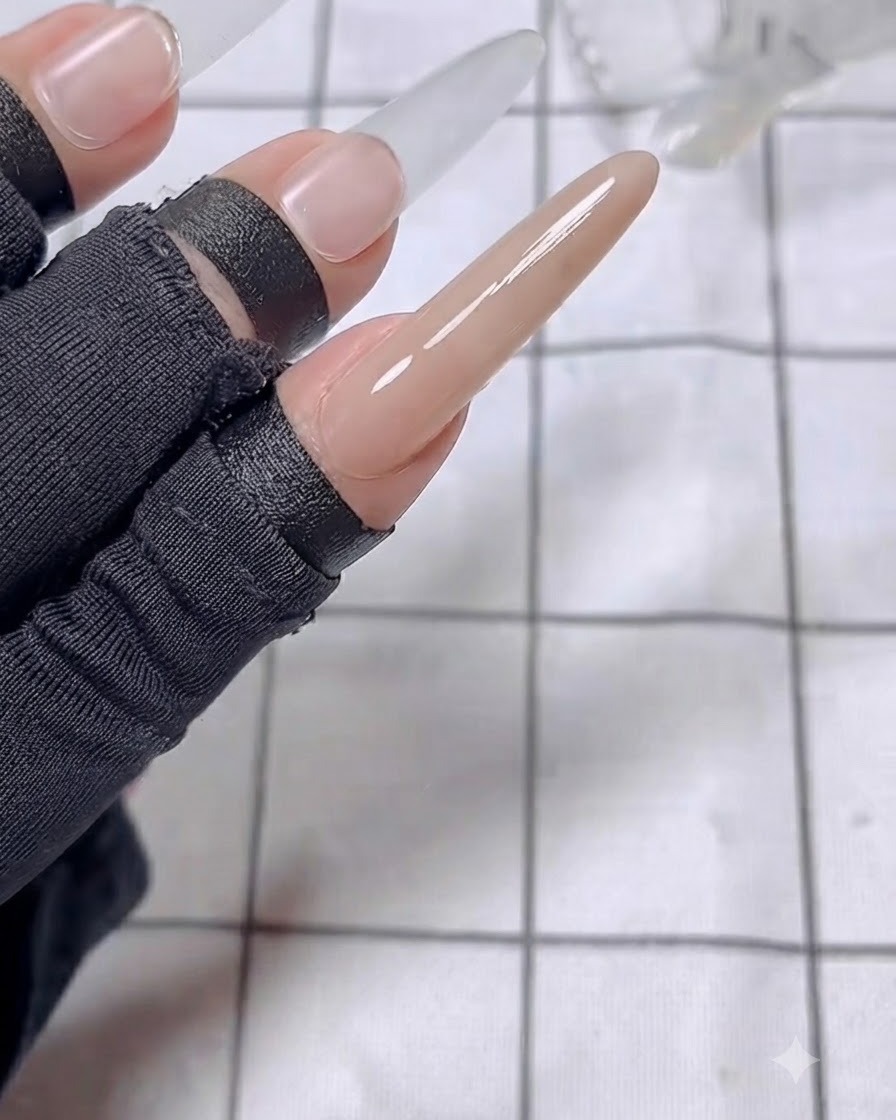
Apply a layer of tempered top coat over the cured nude base polish on the index finger, then cure under a UV or LED lamp for 30 seconds.
Tip: Ensure complete coverage with the top coat to create a smooth, glossy foundation for the mirror powder. - 4Buff Golden Mirror Powder
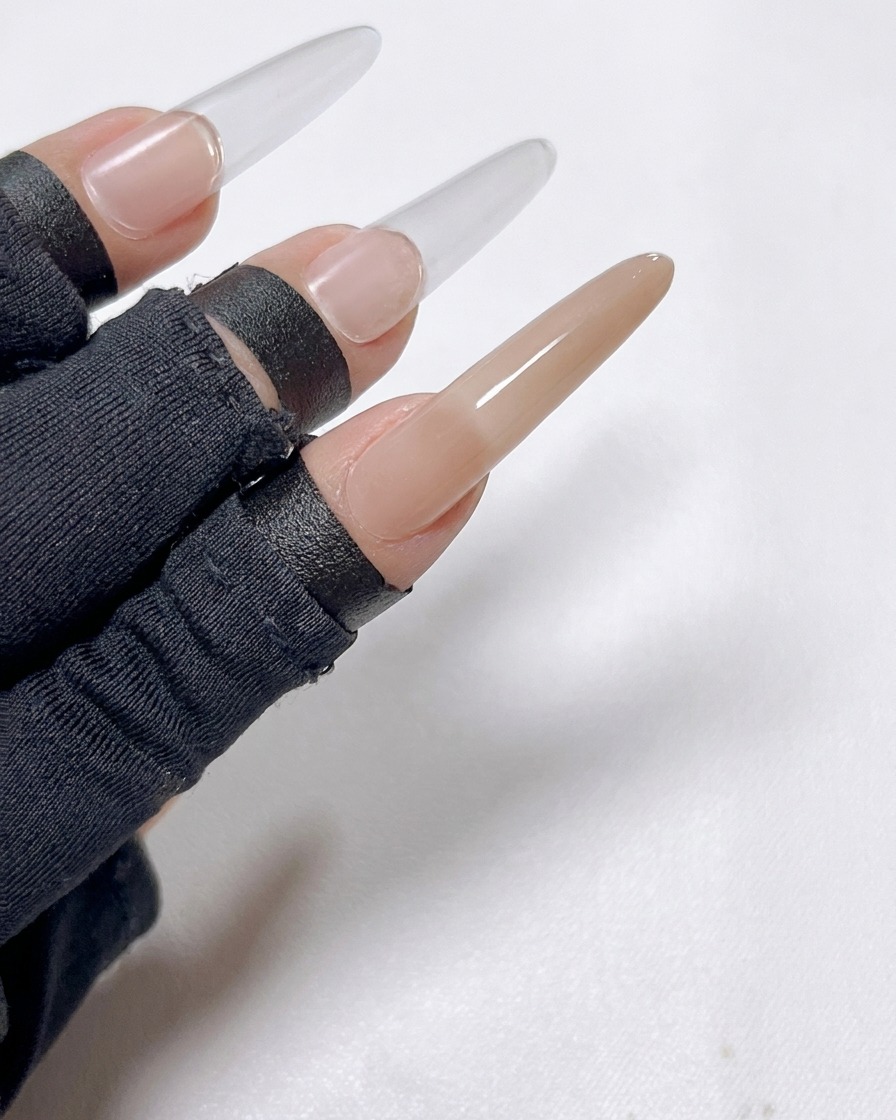
Buff golden mirror powder directly onto the cured top coat surface of the index finger until a reflective metallic finish is achieved.
Tip: Use a soft silicone tool or sponge applicator to rub the powder gently for maximum shine. - 5Encapsulate Mirror Powder with Base Gel
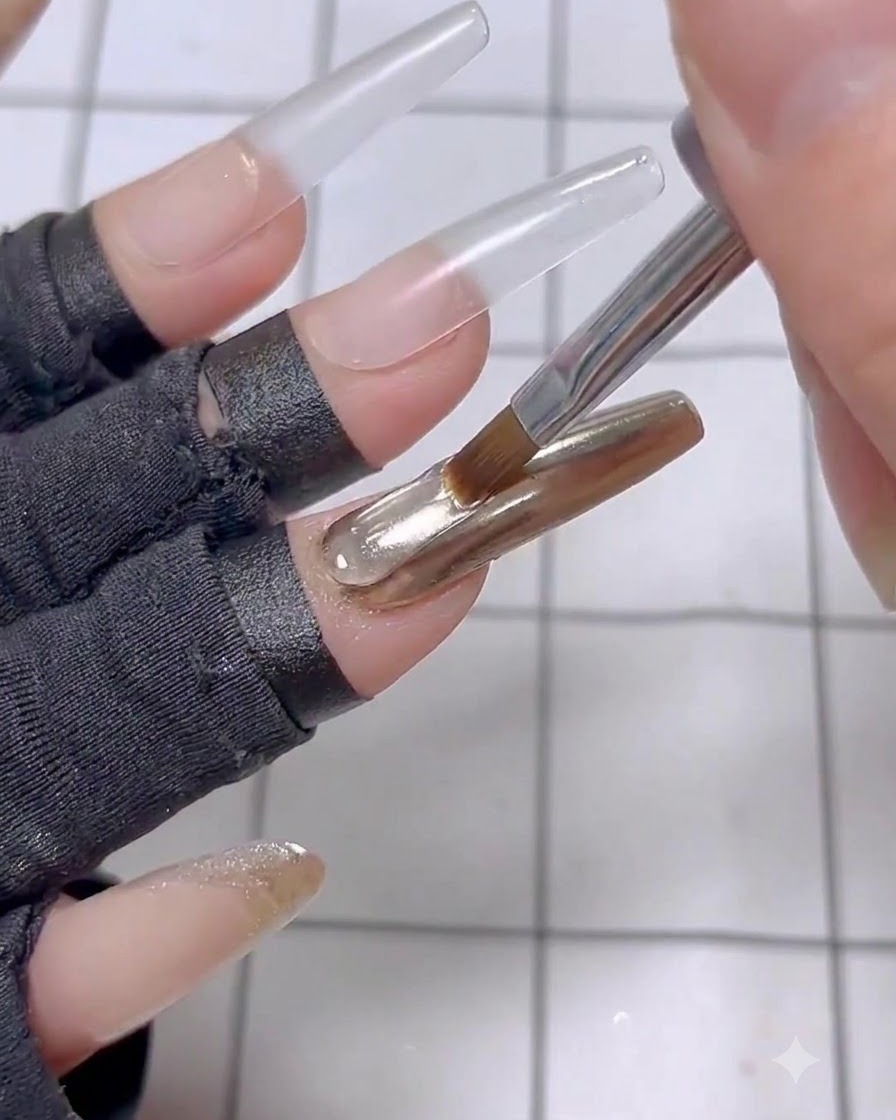
Apply a layer of base gel to completely seal and wrap the mirror powder layer on the index finger, then cure it under the lamp.
Tip: Be sure to cap the free edge with base gel to prevent the mirror powder from chipping or peeling off. - 6Draw Ribbon Pattern
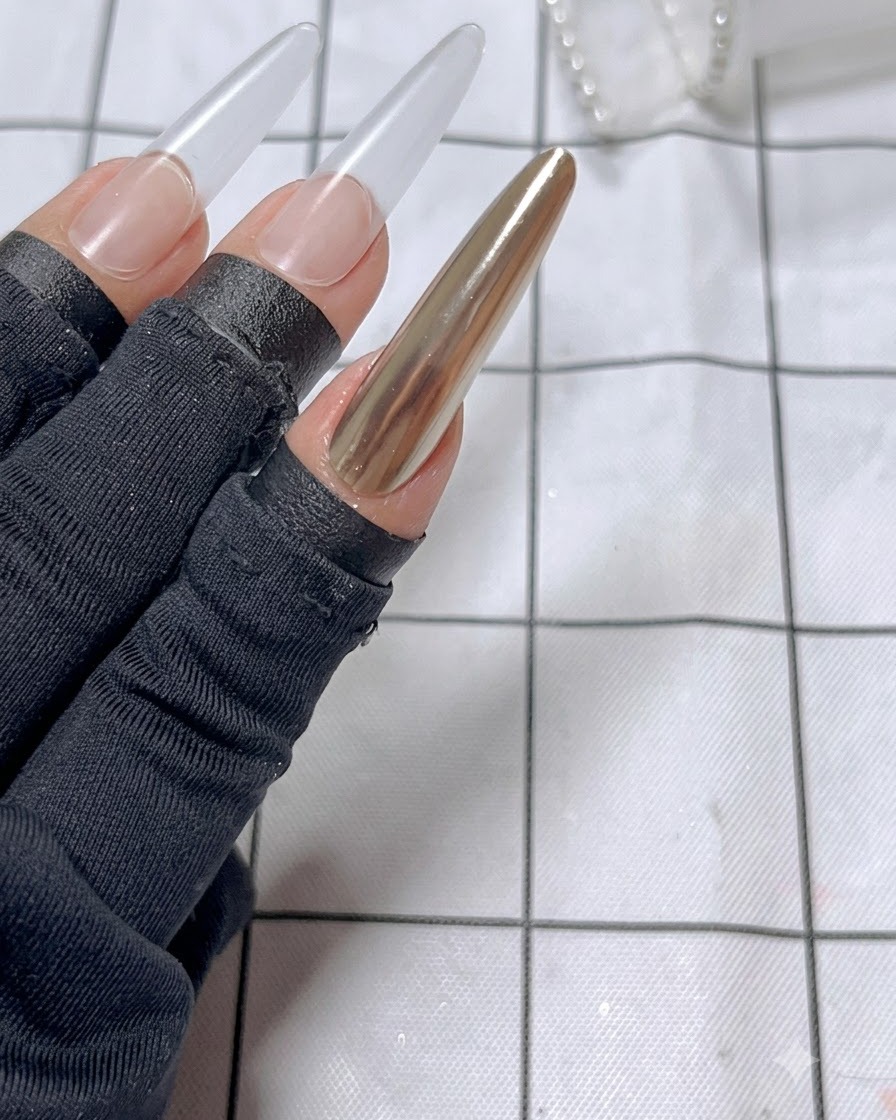
Draw the ribbon design on the index finger by fixing a central dot and connecting it using fine liner brush strokes in an S-shape method.
Tip: Keep a steady hand and use light pressure on the fine liner brush to create graceful curves for the ribbon. - 7Apply First Coat of Nude Base Polish
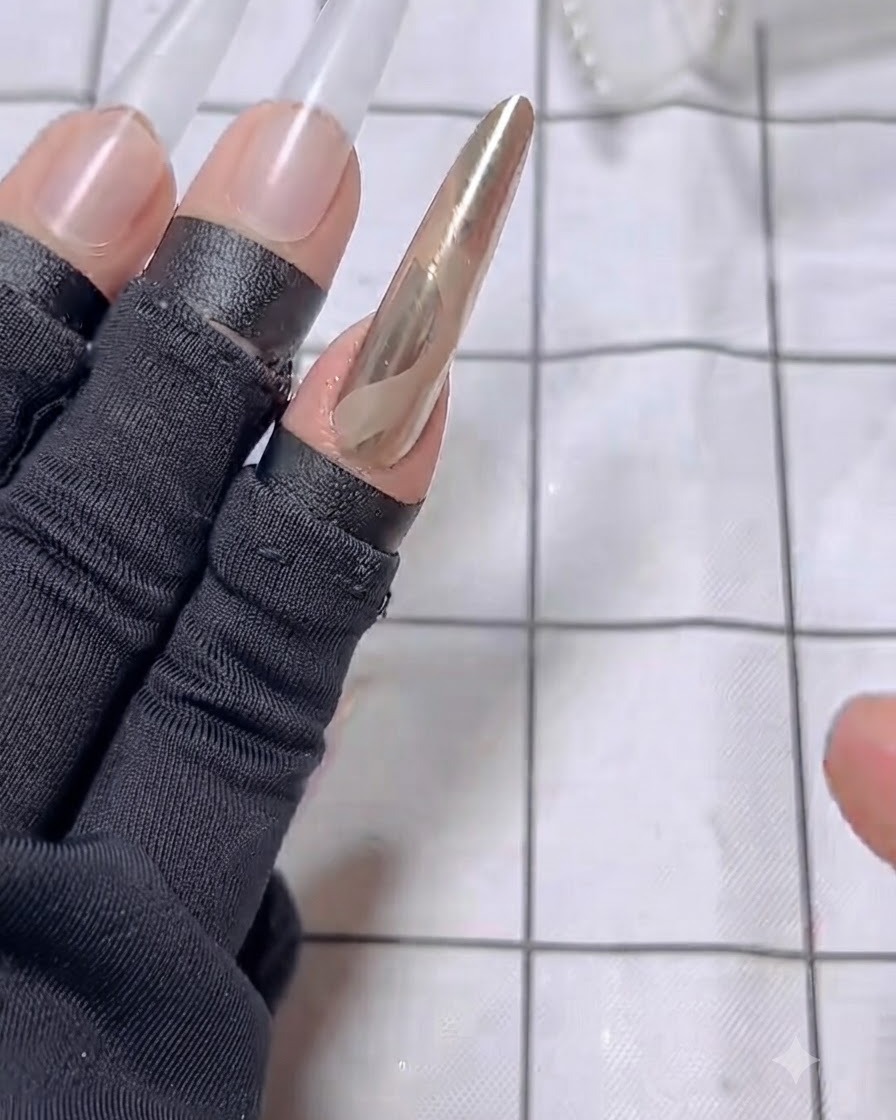
Apply the first coat of nude color base polish onto the middle finger nail extension, ensuring an even layer across the surface.
Tip: Apply in thin, controlled strokes to prevent pooling around the cuticles. - 8Apply Second Coat of Nude Base Polish
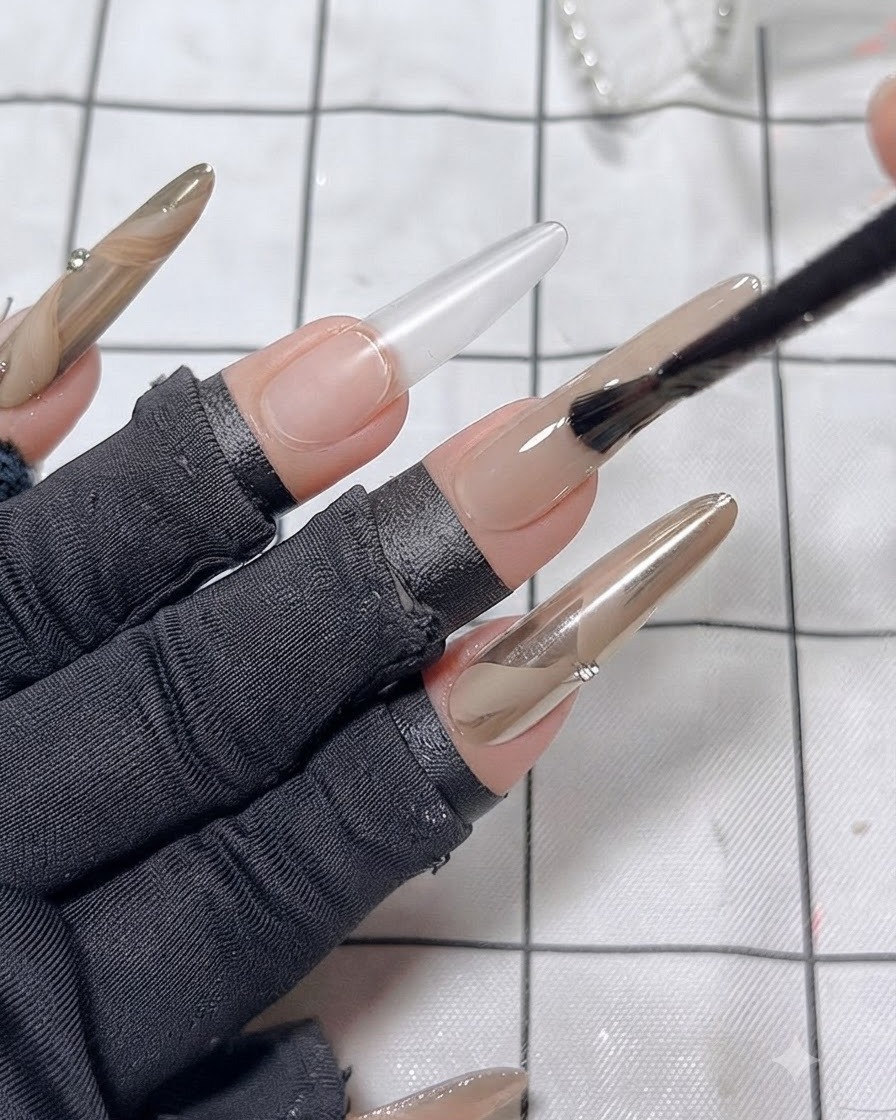
Apply a second coat of nude color base polish to the middle finger to deepen the color and build an opaque, smooth base layer.
Tip: Make sure the first coat is fully leveled before adding the second layer. - 9Apply Porcelain White Cat Eye Gel
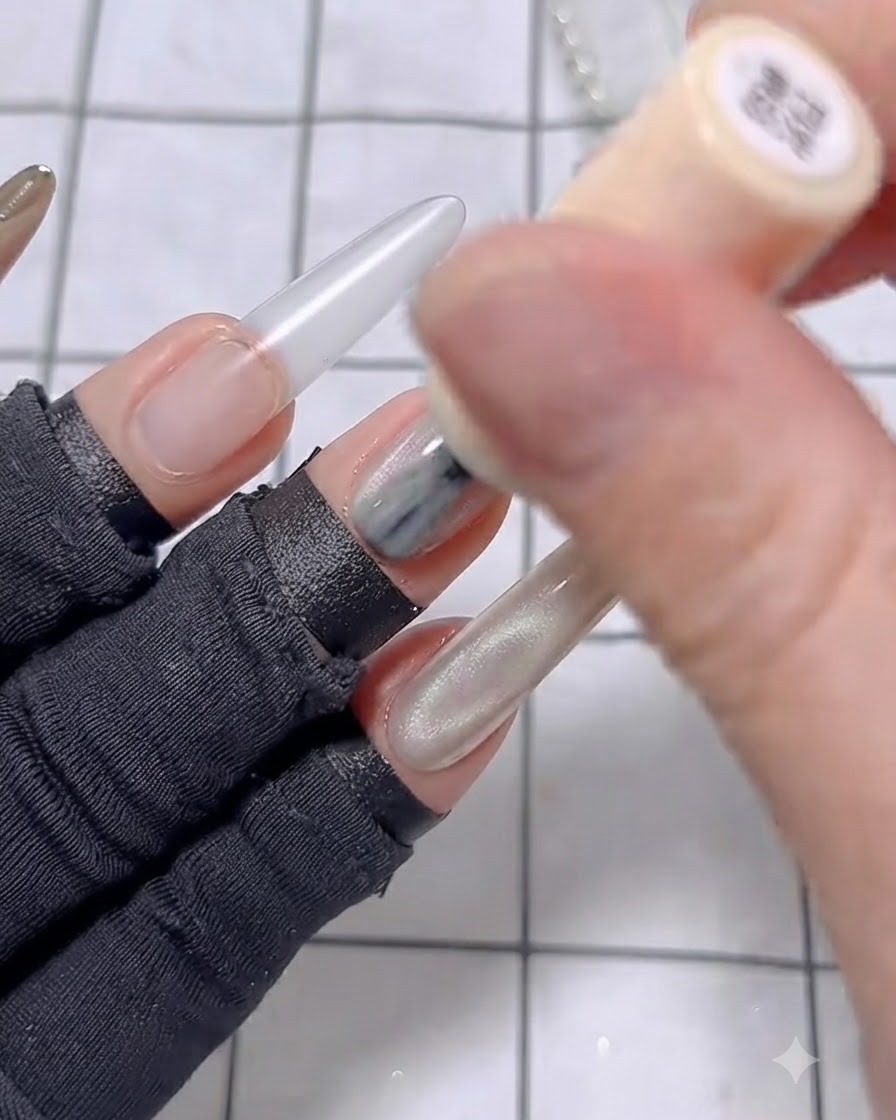
Apply a layer of porcelain white cat eye gel over the nude base on the middle finger, keeping it wet without curing under the lamp yet.
Tip: Keep the coat wet so the magnetic particles can move freely. - 10Draw wide cat eye light on middle finger
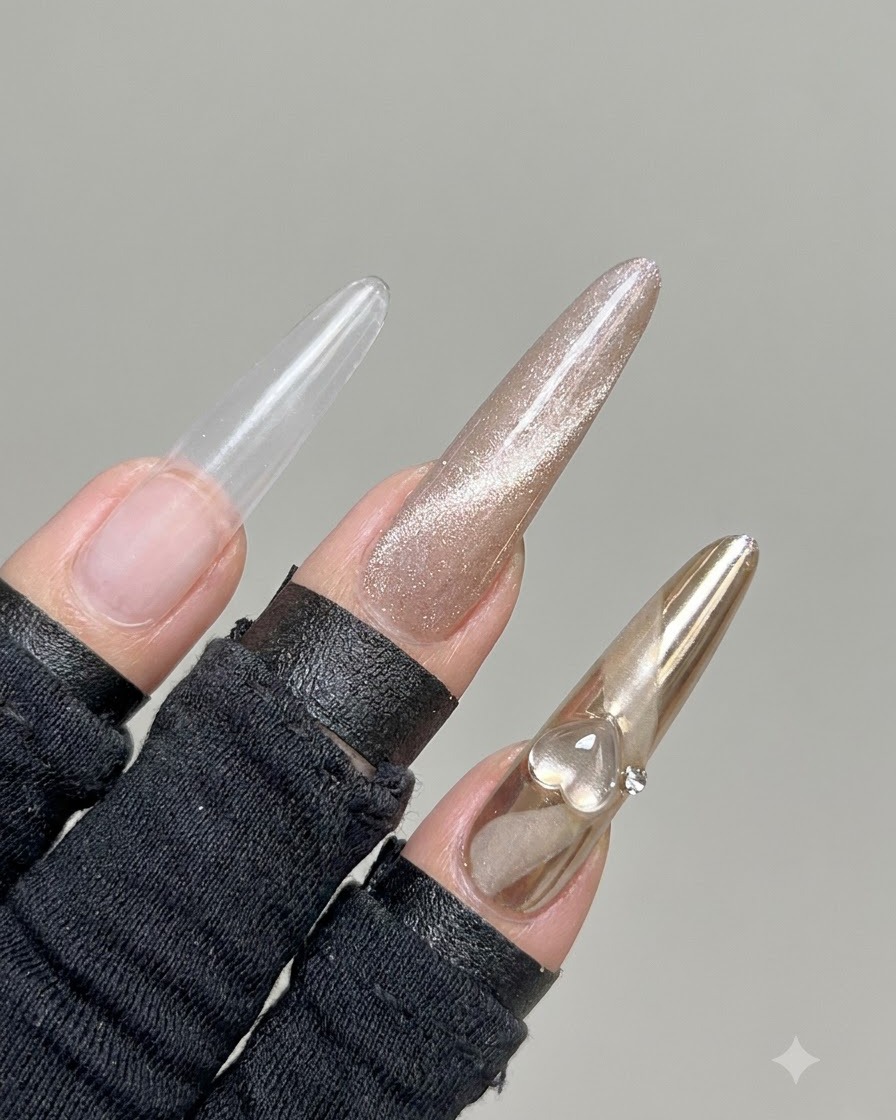
Take the porcelain white cat eye gel without curing it yet, and use a magnet horizontally from side to side to draw out a wide light strip. Then, stand the magnet up to gather and concentrate the cat eye effect for a glowing dimension.
Tip: Keep the magnet steady and close to the nail without touching the wet gel surface to avoid smudging. - 11Concentrate Cat Eye Refraction
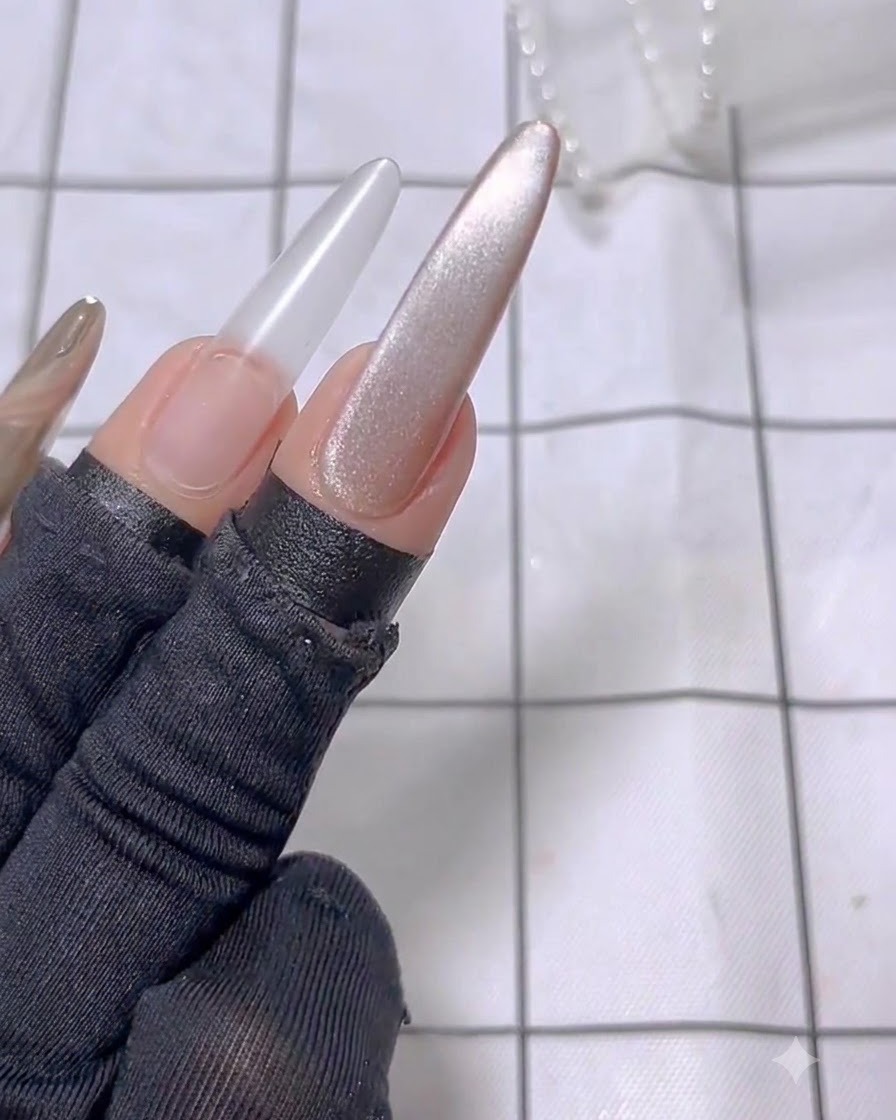
Position the magnet vertically next to the nail to concentrate and narrow the cat eye particles into a sharp, brilliant reflective streak.
Tip: Adjust the distance of the vertical magnet to control the intensity of the light line. - 12Add Black Dots with a Dotting Pen
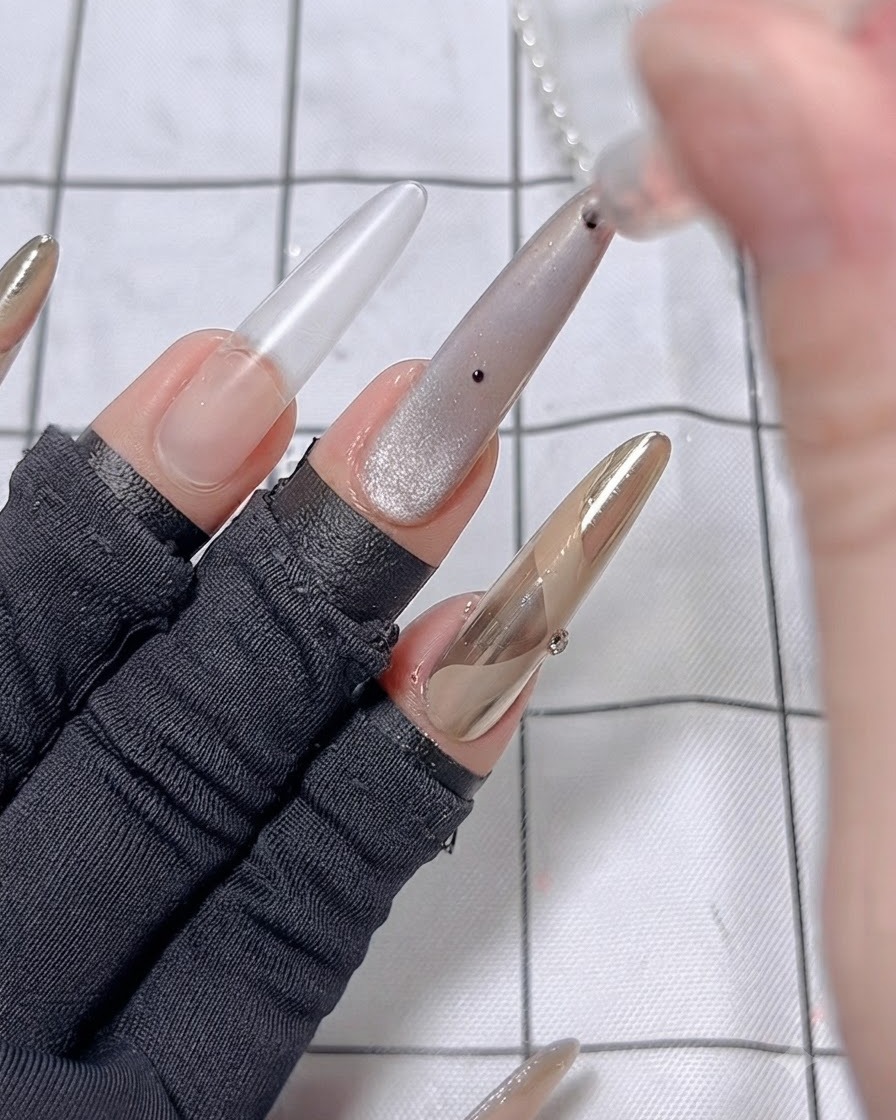
Dip a dotting pen into black color painting gel and place individual dots onto the styled middle finger nail to create accent points.
Tip: Gently dab the pen to ensure uniform dot sizes across the nail design. - 13Apply first coat of nude color on ring finger
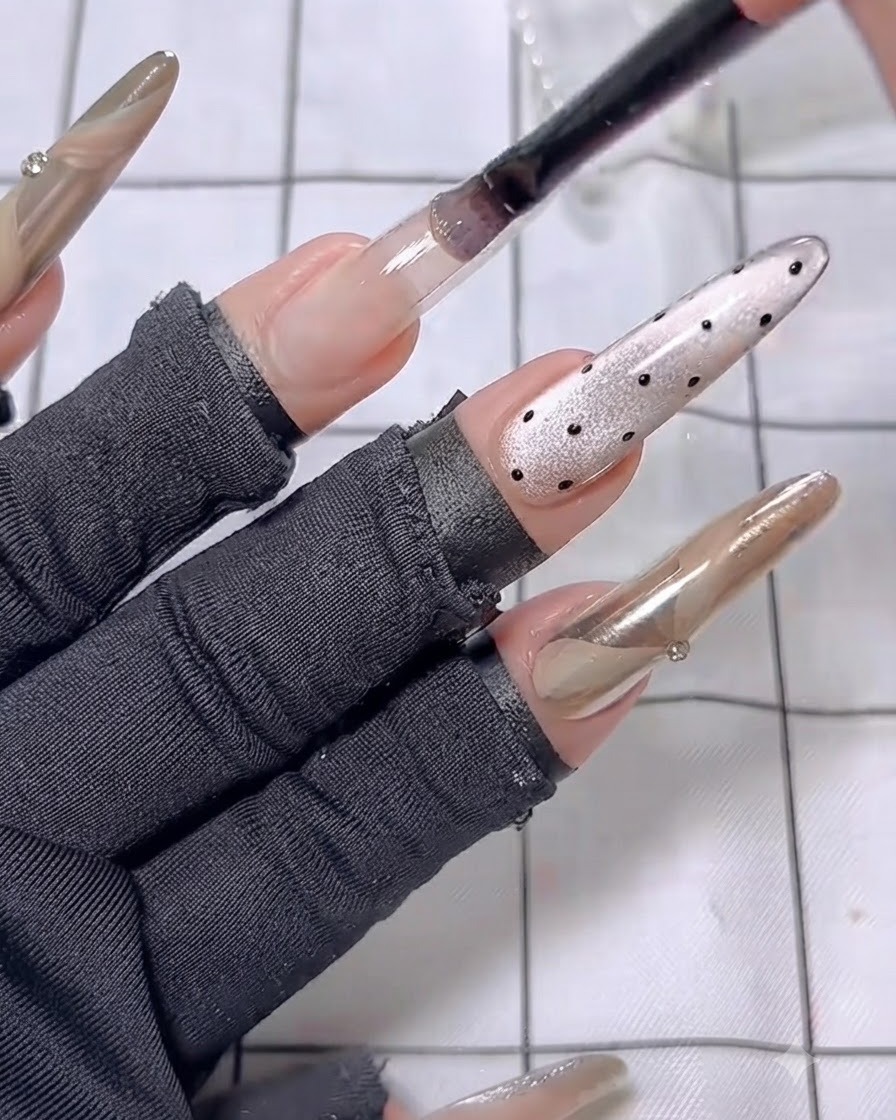
Take the brush with nude color base polish and carefully apply the first thin, even coat onto the ring finger nail extension. Ensure smooth coverage from the cuticle down to the free edge before moving on.
Tip: Apply in thin strokes to prevent pooling around the cuticles and ensure even leveling. - 14Apply second coat of nude color on ring finger
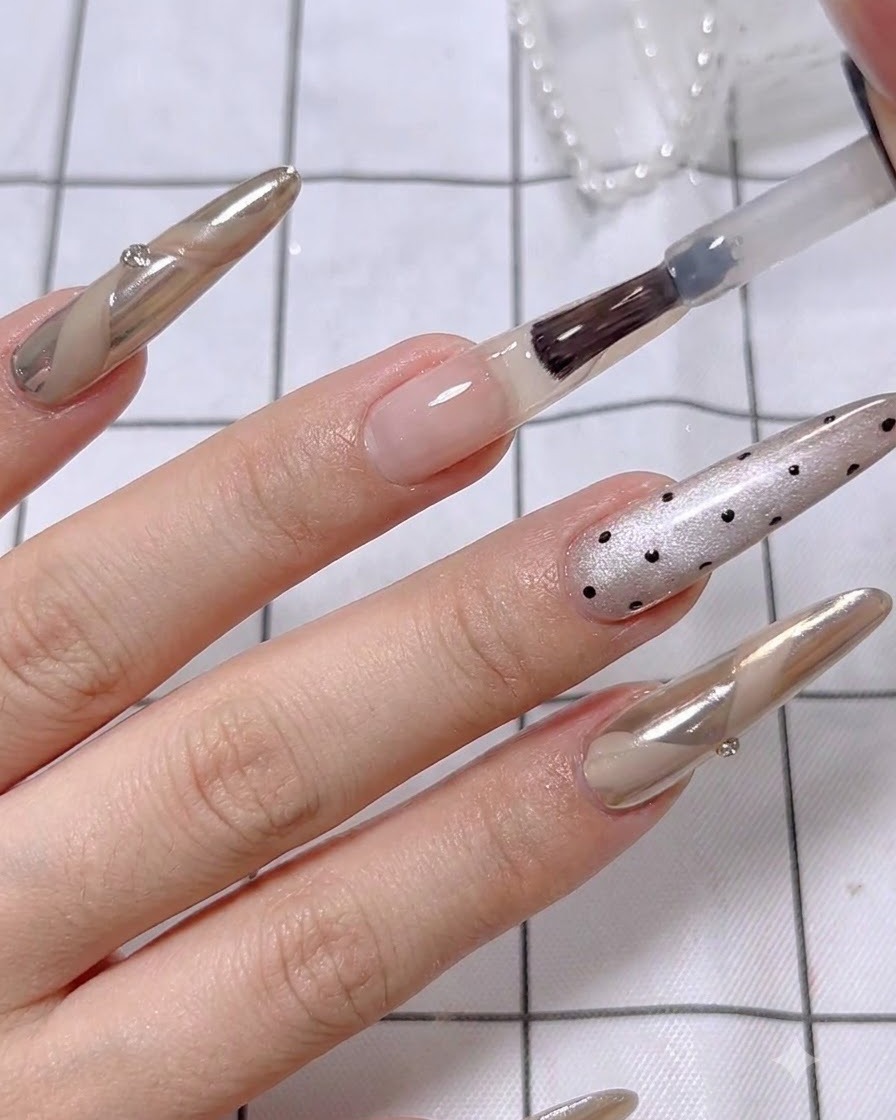
Follow up by applying a second coat of nude color base polish to the ring finger to deepen the opacity and create a rich, uniform base color background.
Tip: Make sure the first coat is fully leveled before laying down the second coat for a streak-free finish. - 15Apply peel-off top coat and cure
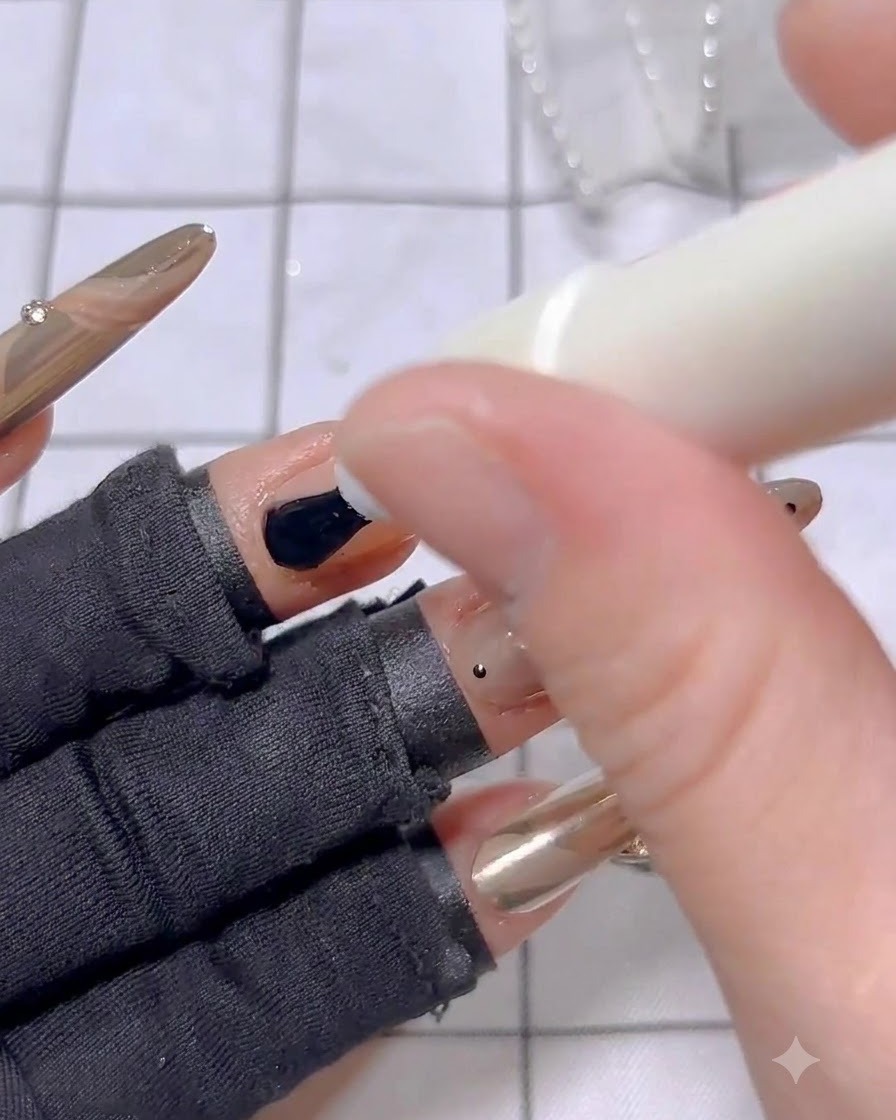
Apply a layer of peel-off top coat evenly over the painted ring finger nail. Place the hand under the UV or LED lamp and cure for a full 120 seconds to set the layer completely.
Tip: Ensure complete coverage so the protective layer seals the color underneath securely. - 16Draw French-style lines with 3D modeling gel
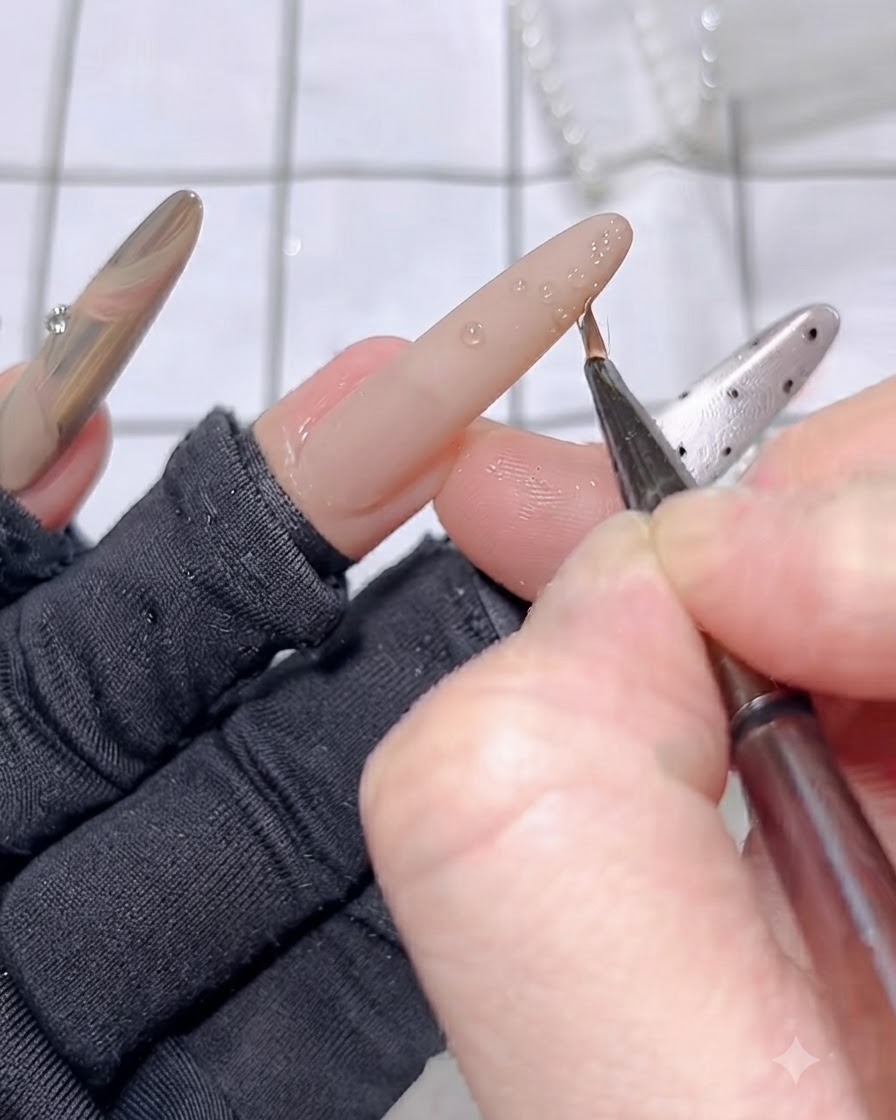
Using a fine detail brush dipped in 3D modeling gel, draw intricate French-style line patterns and textured dots at the fingertip of the ring finger to build structural dimension.
Tip: Work with a light touch on the fine brush to keep the 3D lines crisp and well-defined. - 17Cure 3D details and apply golden mirror powder
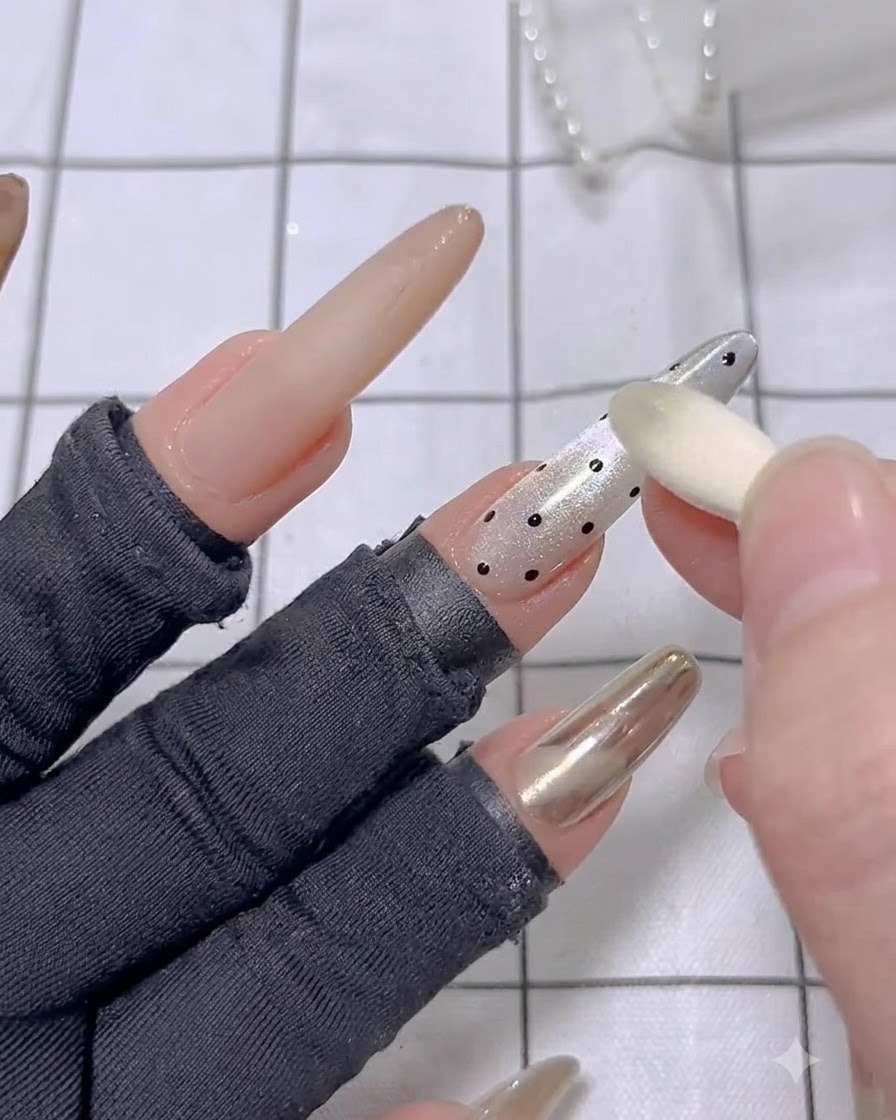
Cure the newly drawn 3D details under the lamp for 30 seconds. Afterwards, use an applicator tool to buff golden mirror powder directly onto the textured lines to complete the stunning ring finger design.
Tip: Buff gently so the powder adheres tightly to the cured 3D texture without dulling the background.


