Christmas Sweater Knit Texture
Aurora Powder Nail Art Tutorial
Create a cozy winter masterpiece with this step-by-step guide featuring 3D sweater knit textures, aurora powder, and festive holiday accents.
Winter is the perfect season to bring cozy textures right to your fingertips. This detailed tutorial combines the modern magic of chrome aurora powder with classic, tactile 3D sweater knit patterns, cute bows, and delicate snowflakes to give your manicure an upscale, festive feel.

Steps
- 1Apply magic chrome powder
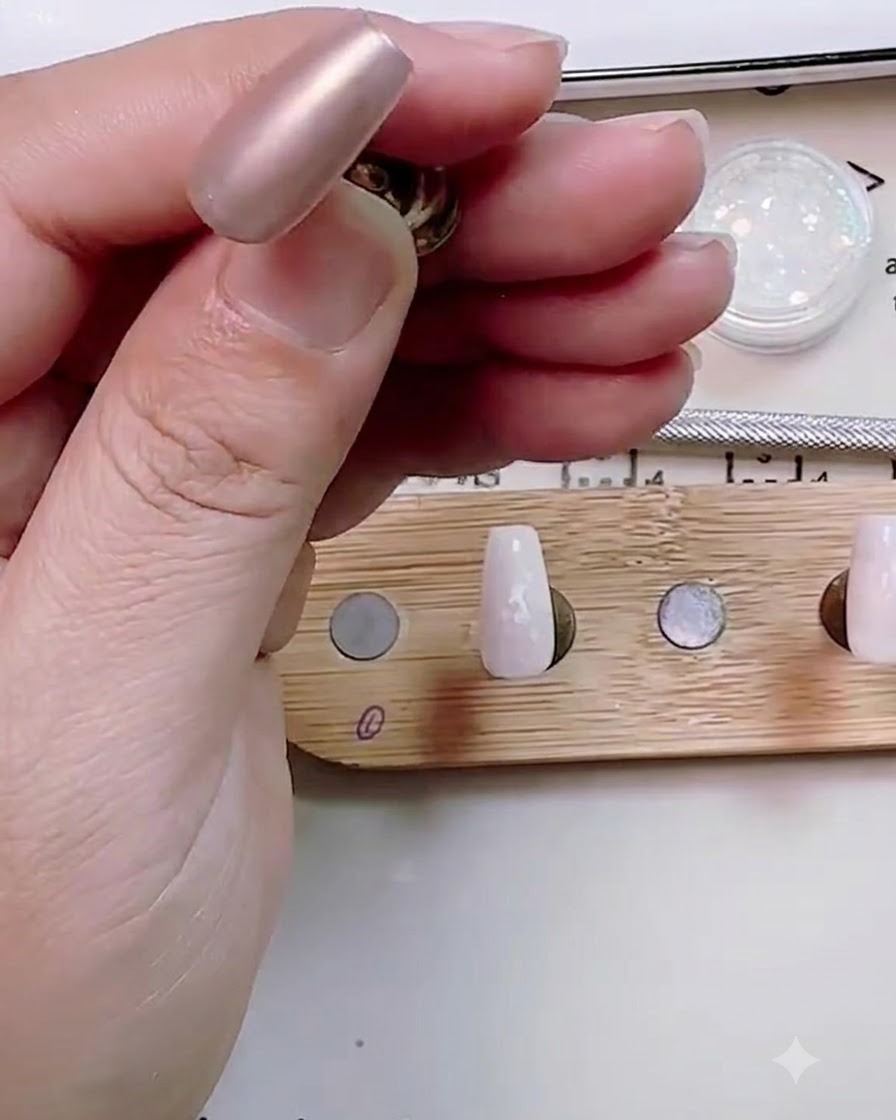
Take a sponge applicator and gently buff the magic chrome powder evenly across the cured or tacky nail surface. Ensure the powder coats the entire nail smoothly to achieve a uniform metallic or pearlescent sheen. Brush away any excess loose powder gently before moving to the next layer.
Tip: Apply the chrome powder using light, circular buffing motions for the most even and flawless mirror finish. - 2Apply matte top coat
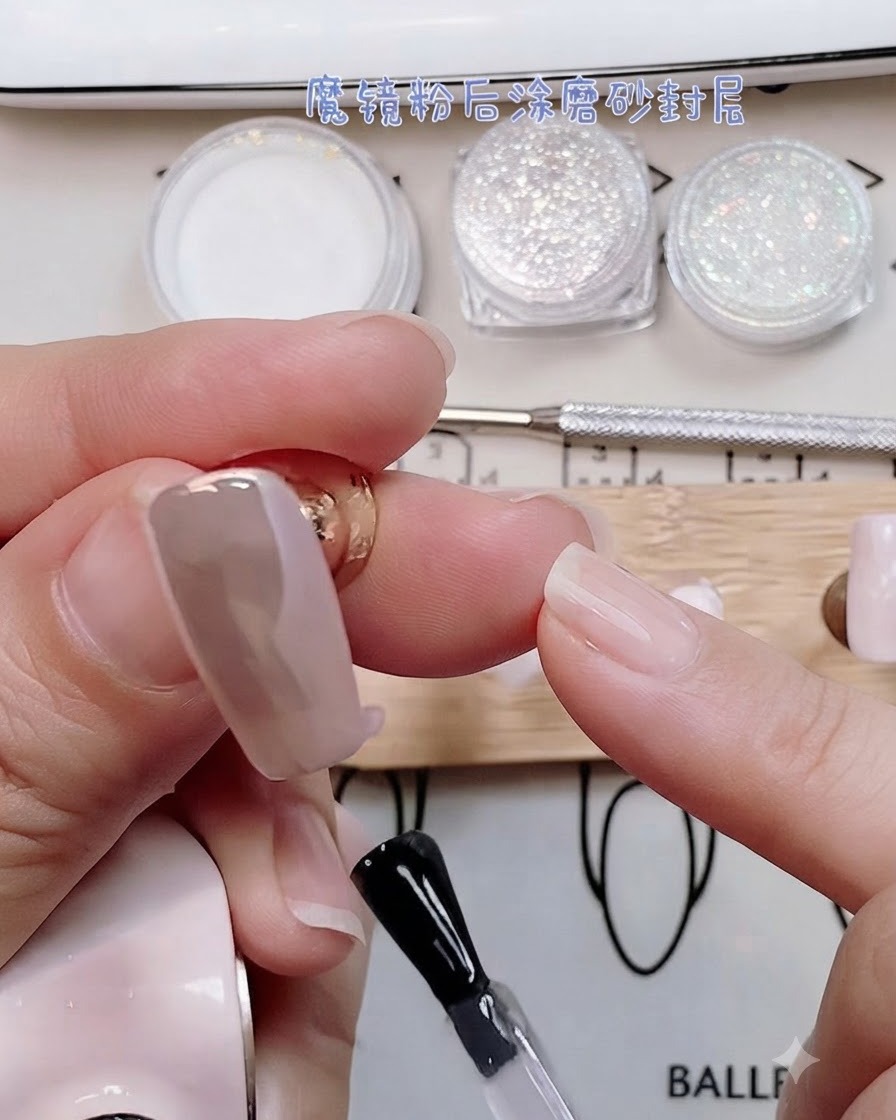
Brush a layer of matte top coat directly over the chrome powder surface without putting it under the UV lamp to cure. Keeping this layer wet and uncured is essential because it prepares the base for the subsequent acrylic powder application to create the velvet texture.
Tip: Make sure the matte top coat layer is applied evenly so that the acrylic powder adheres smoothly across the entire nail. - 3Dip into clear acrylic powder
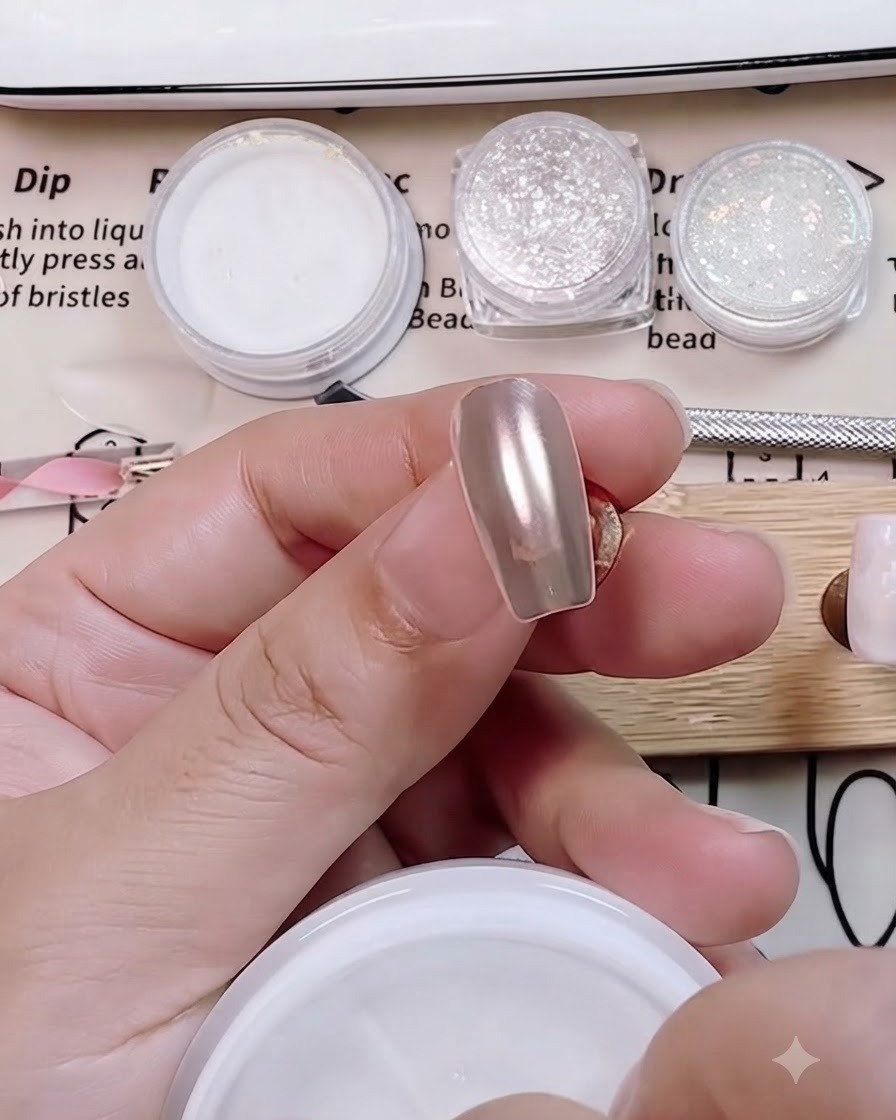
While the matte top coat remains wet and uncured, immediately submerge or dip the nail directly into a container of clear acrylic powder. The powder will embed itself into the wet top coat layer, creating a textured surface that sets up the cozy cashmere effect.
Tip: Do this step quickly right after applying the uncured top coat so the powder adheres thoroughly across the entire nail. - 4Cure for velvet effect
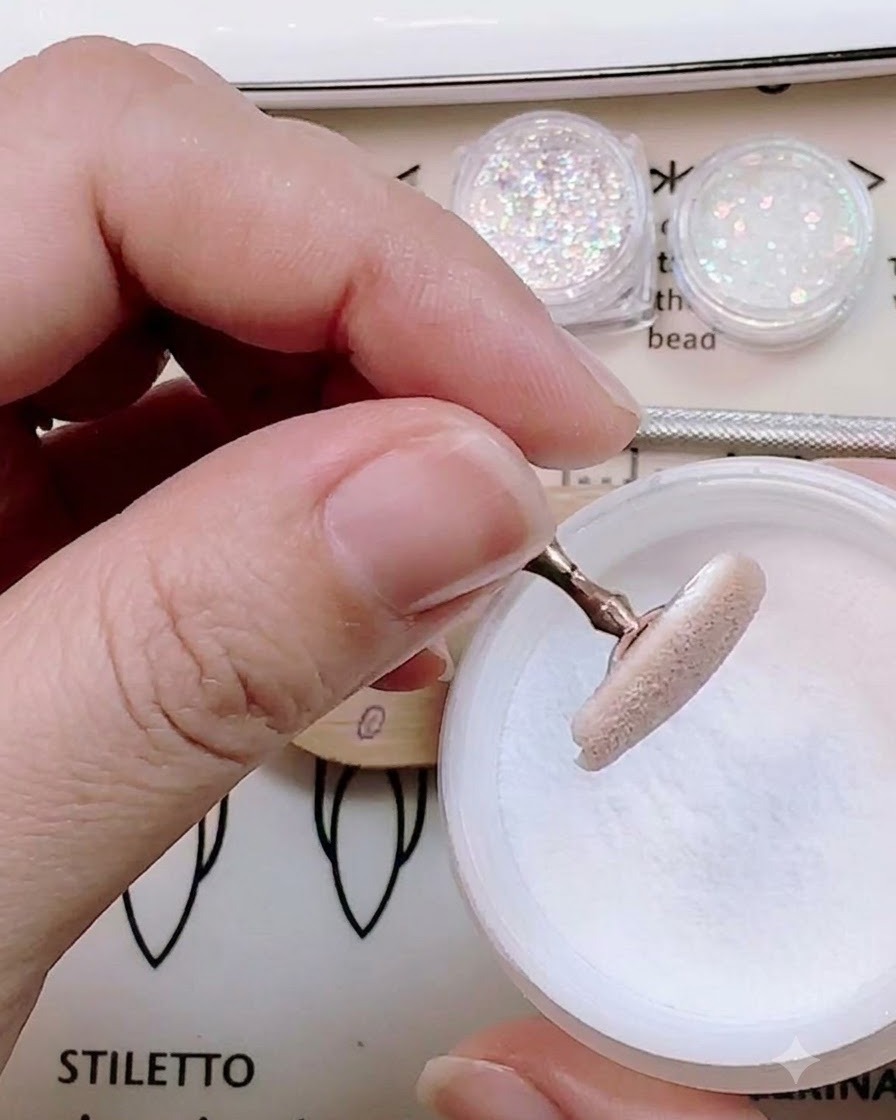
Place the nail inside the UV or LED lamp and cure for a full 60 seconds. This process hardens the mixture of top coat and acrylic powder, locking in the specialized texture and creating a soft, tactile velvet cashmere finish.
Tip: Ensure your lamp is operating at full strength so the thick textured layer cures completely all the way through. - 5Mix custom skin pink gel
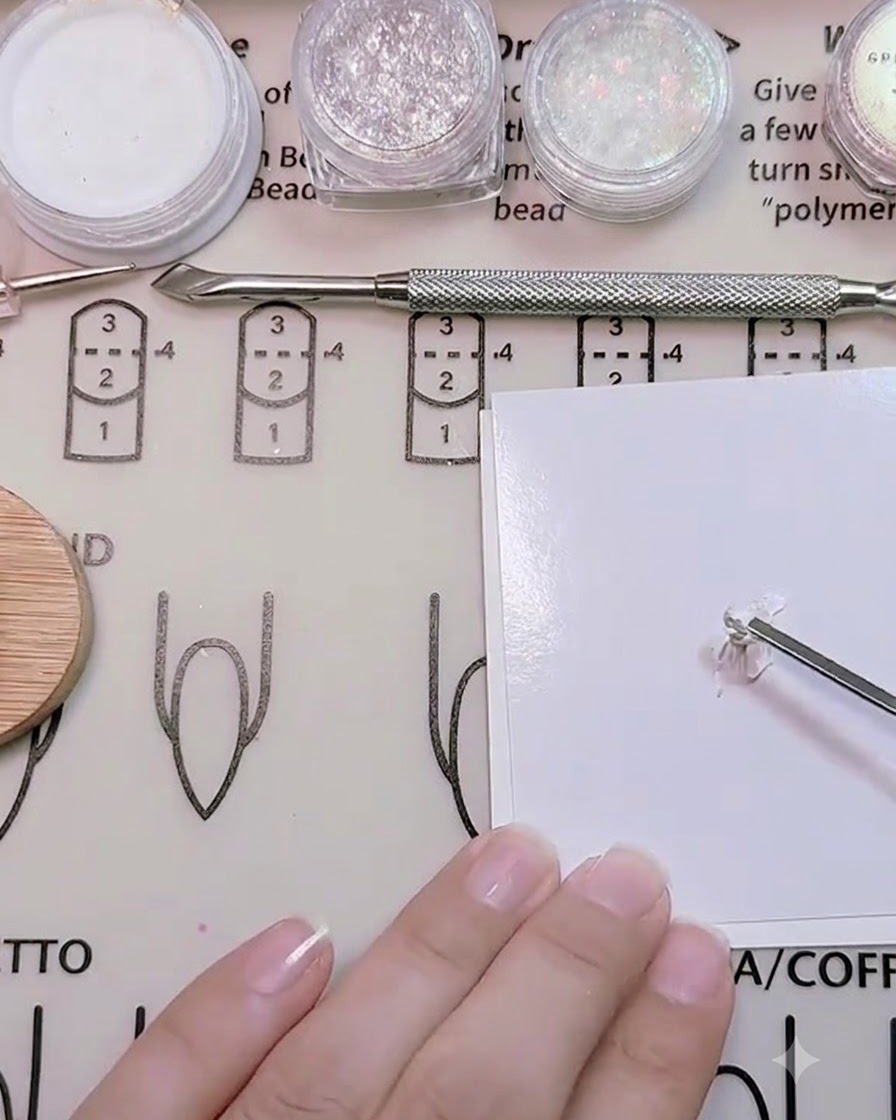
Dispense small amounts of white, skin tone, and rose red gel polish onto a clean mixing palette. Use a metal spatula or mixing tool to blend the colors together thoroughly until you achieve a customized, soft skin pink shade.
Tip: Add colors in tiny increments so you can precisely control the final hue of your custom skin pink mixture. - 6Thin out painting gel consistency
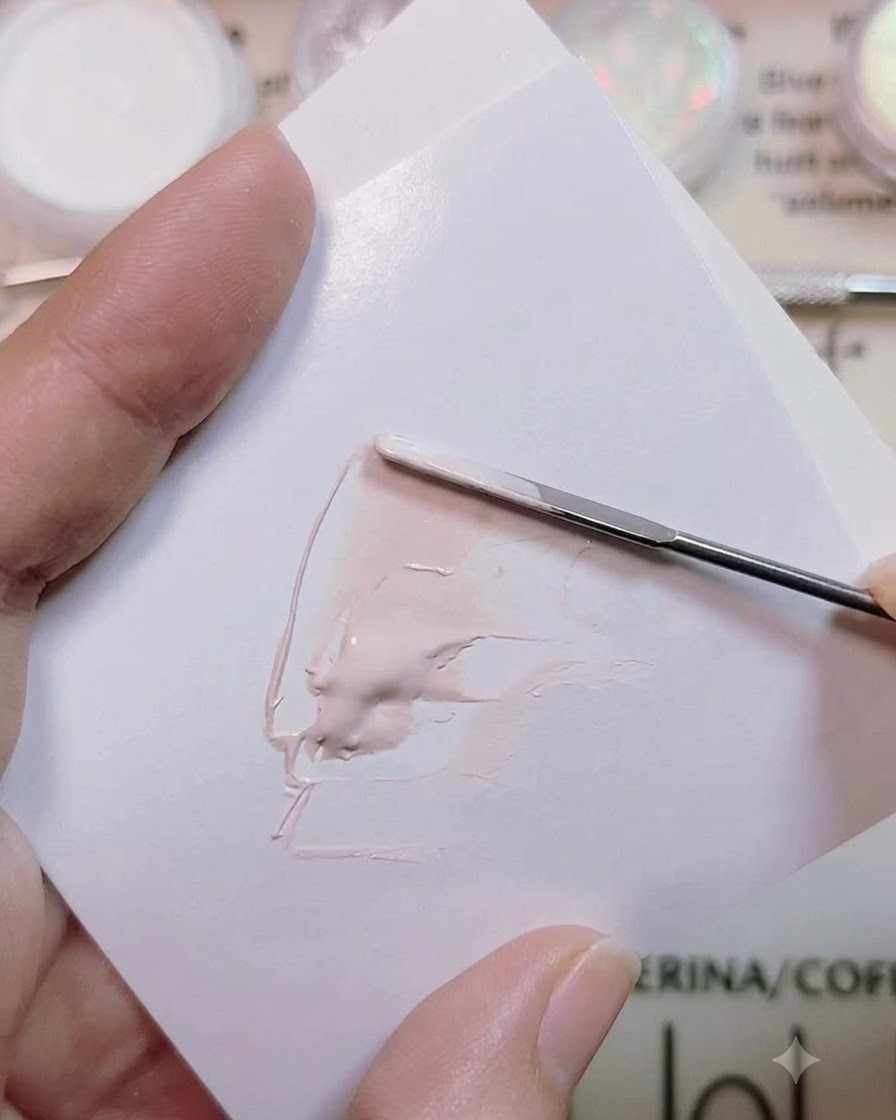
If your custom painting gel mixture turns out too thick for detailed line work, incorporate a small drop of top coat into the blend. Stir it gently with your tool to thin out the consistency, making it smoother and easier to draw precise patterns.
Tip: Only add a tiny drop of top coat at a time to avoid making the painting gel too watery for raised sweater designs. - 7Outline the sweater knit pattern
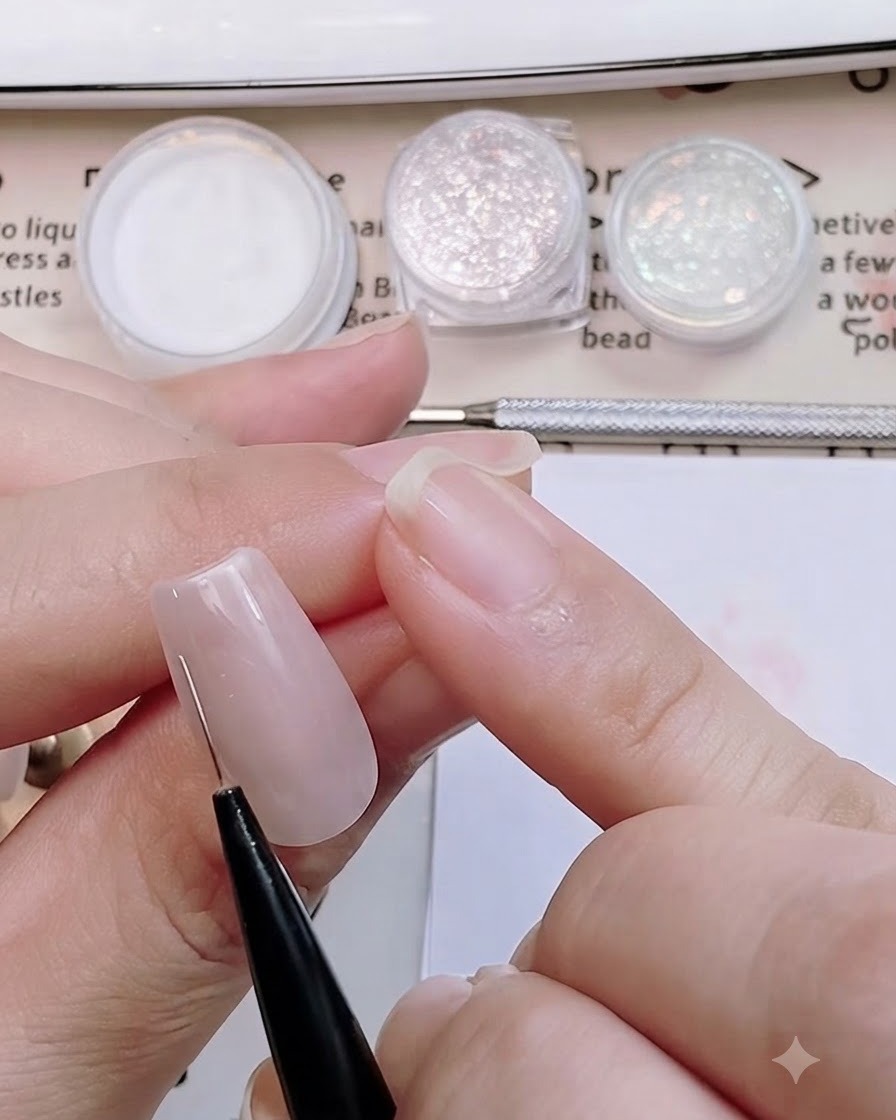
Using a fine liner brush and custom skin-pink gel, carefully draw the initial thin outline lines for the sweater knit pattern on the matte nail surface. Establish the primary placement and alignment for the woven design to ensure symmetry and proper spacing before adding thickness and texture.
Tip: Keep your hand steady and use light pressure to draw crisp, clean guide lines that are easy to build upon. - 8Draw Intersecting Diagonal Lines
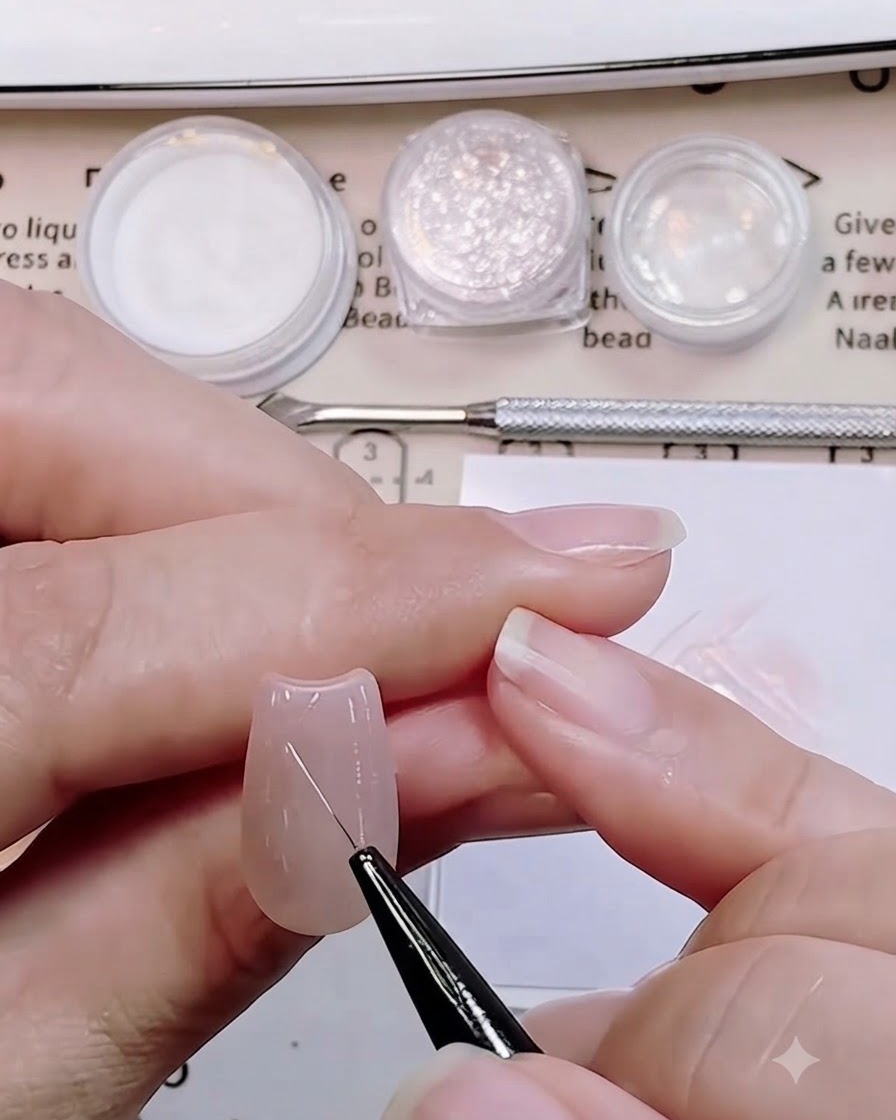
Using a fine nail art brush and your custom skin-pink gel mixture, carefully draw intersecting diagonal lines across the prepped nail surface to establish the core lattice structure of the sweater weave pattern. Maintain a steady hand to keep the lines crisp and evenly spaced. This foundational structure sets the geometric alignment for building up the 3D sweater textures in subsequent steps.
Tip: If your painting gel is too thick, mix in a tiny drop of top coat to thin it out for smoother, more fluid lines. - 9Refine and thicken pattern lines
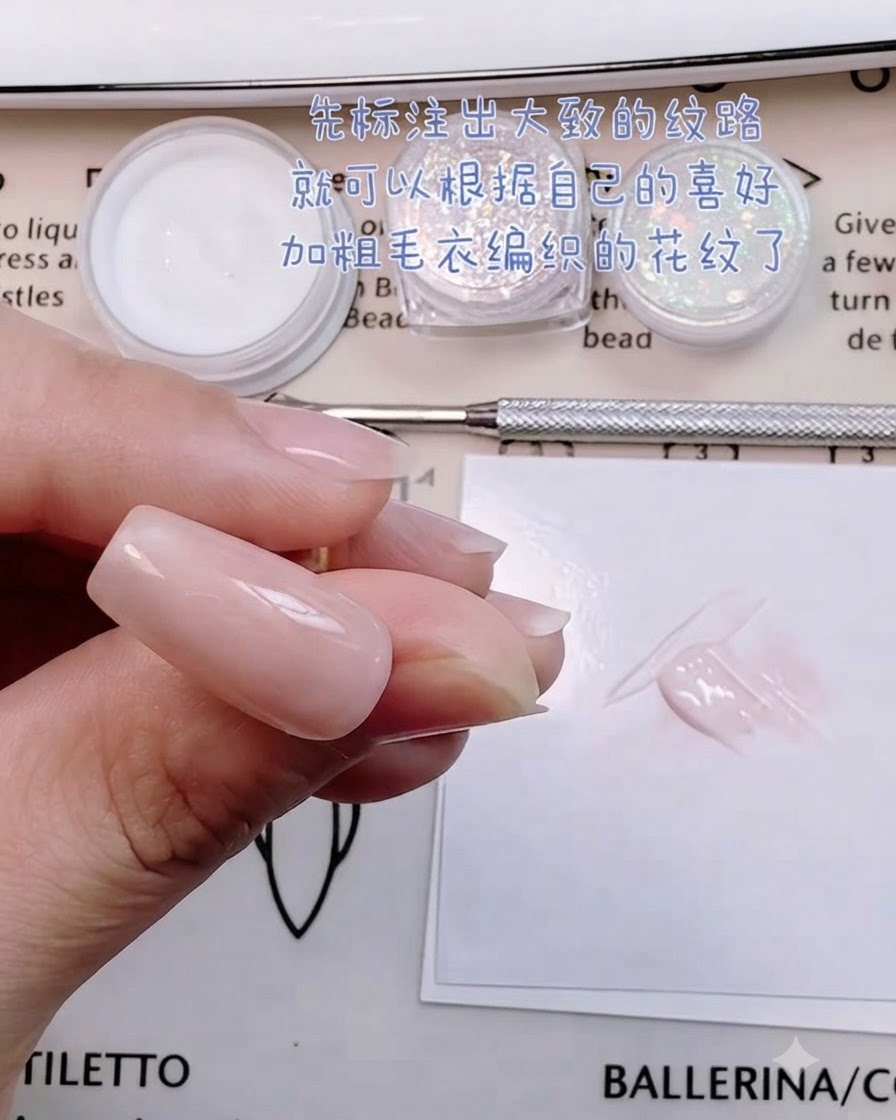
Using the fine brush loaded with skin-pink gel, carefully go over the initial layout to refine and thicken the lines of the sweater knit pattern. Building up dimension is essential for achieving the characteristic 3D raised texture of a knitted winter sweater.
Tip: Build thickness gradually in layers if necessary to prevent the gel from pooling or losing its sharp definition. - 10Add vertical central stitches
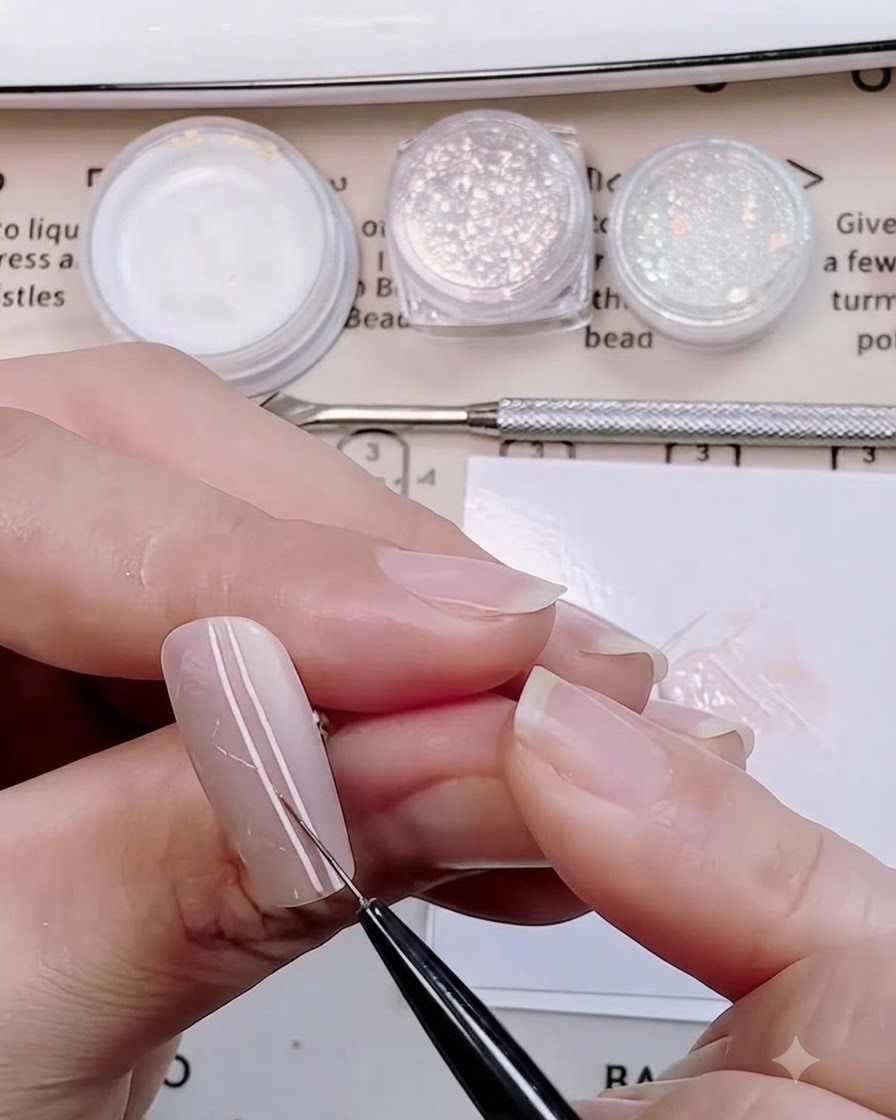
Incorporate vertical central stitch lines down the middle of the knitted pattern design to mimic real fabric ribbing. This central column anchors the surrounding diagonal grid and enhances the intricate depth of the sweater texture.
Tip: Maintain uniform spacing between the parallel vertical lines for a neat, professional finish. - 11Complete side woven lines
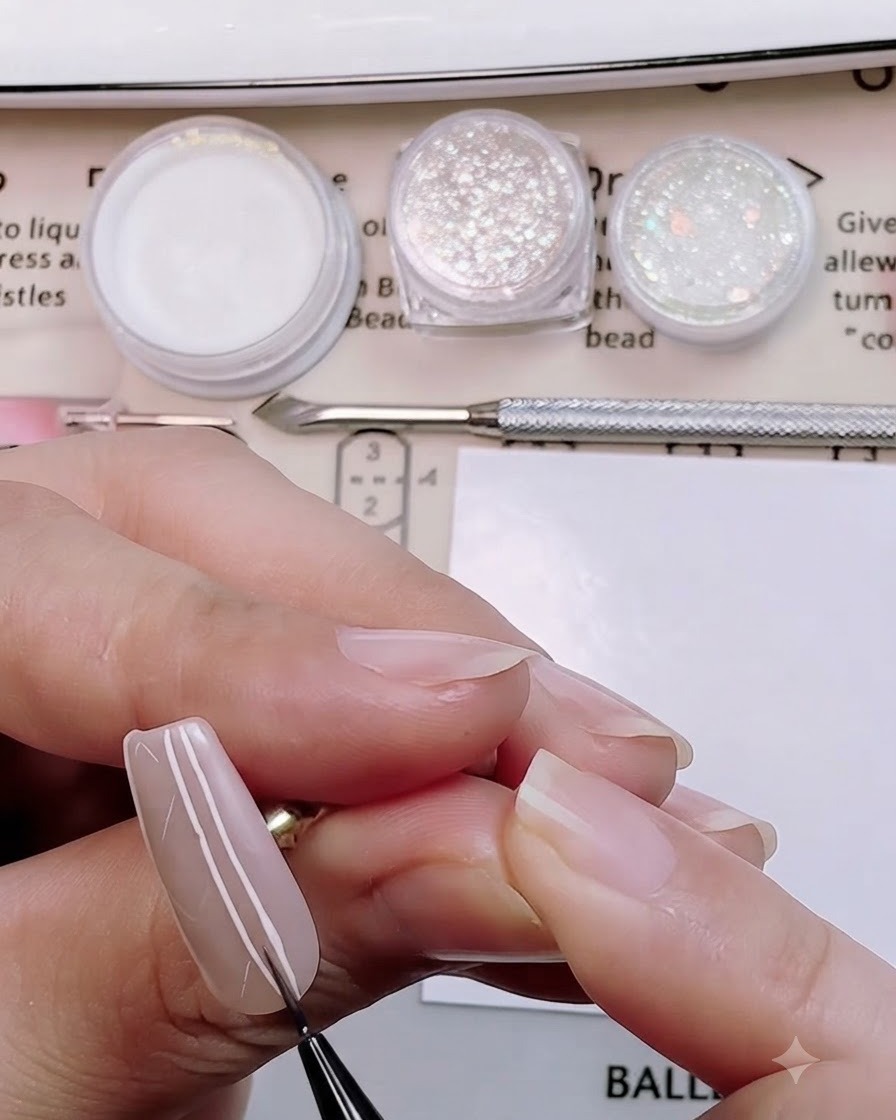
Fill in the sides with complementary diagonal woven lines to complete the intricate sweater texture grid. Every intersecting stitch contributes to the cozy, detailed appearance of the winter knit motif.
Tip: Double-check symmetry on both sides of the central column before finishing the pattern details. - 12Showcase completed 3D knit pattern
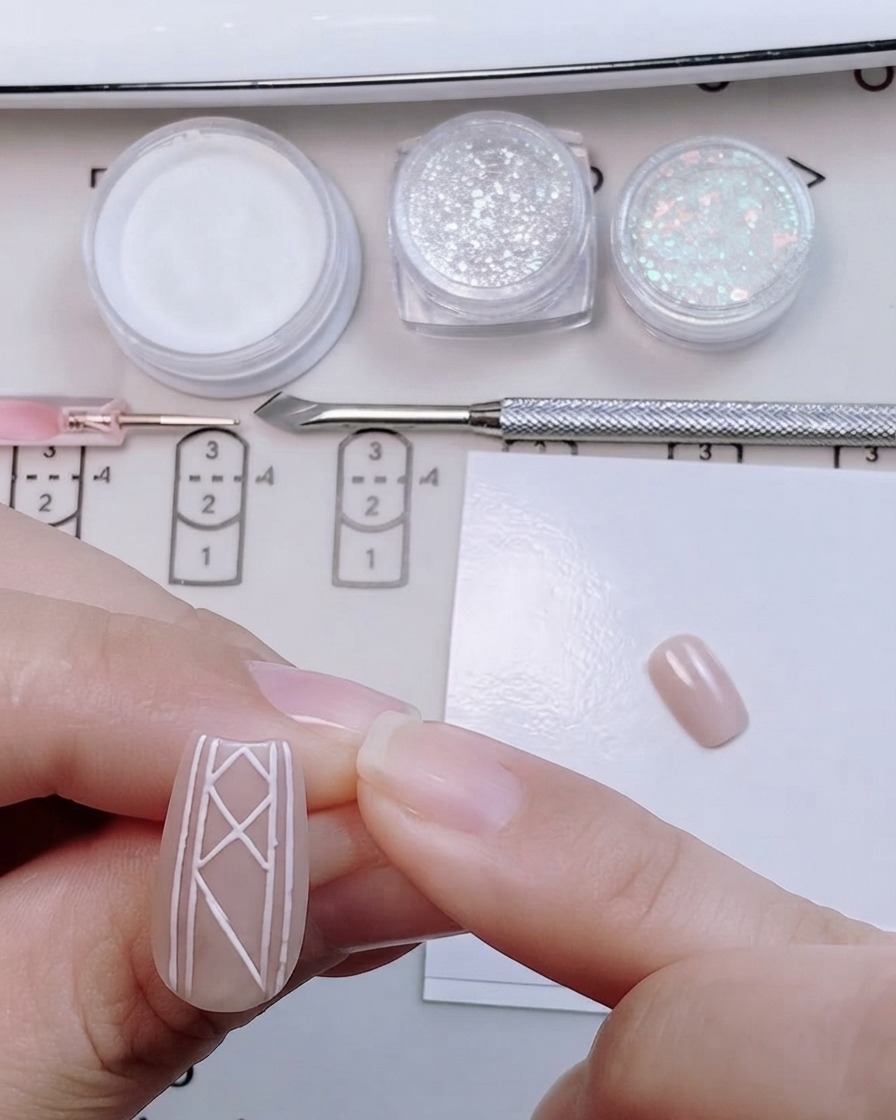
Inspect the fully detailed 3D sweater knit line pattern on the matte pink nail to ensure all structural elements are cleanly aligned before moving on to the curing stage. The dimensional lines are ready to hold velvet or sugar powder effects.
Tip: Check the pattern under good lighting to make sure there are no smudges or uneven line thicknesses. - 13Dip into sugar and flocking powder
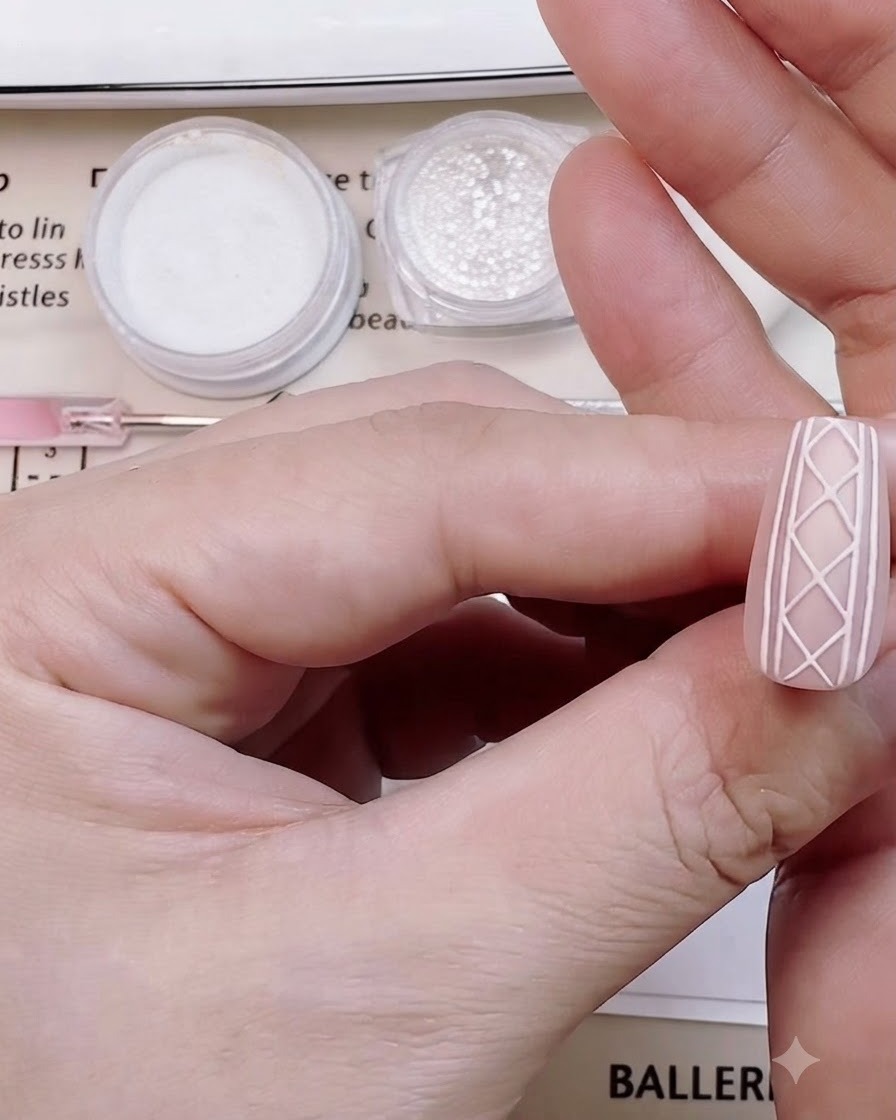
Take your dotting tool or a small applicator and dip it into the container filled with sugar powder and flocking powder. Ensure you have a light coating ready to be applied over your wet detailing to build up the unique textured sweater effect.
Tip: Keep your powders neatly separated or freshly blended depending on the exact texture finish you want to achieve on the nails. - 14Apply Powder to Pattern Intersections
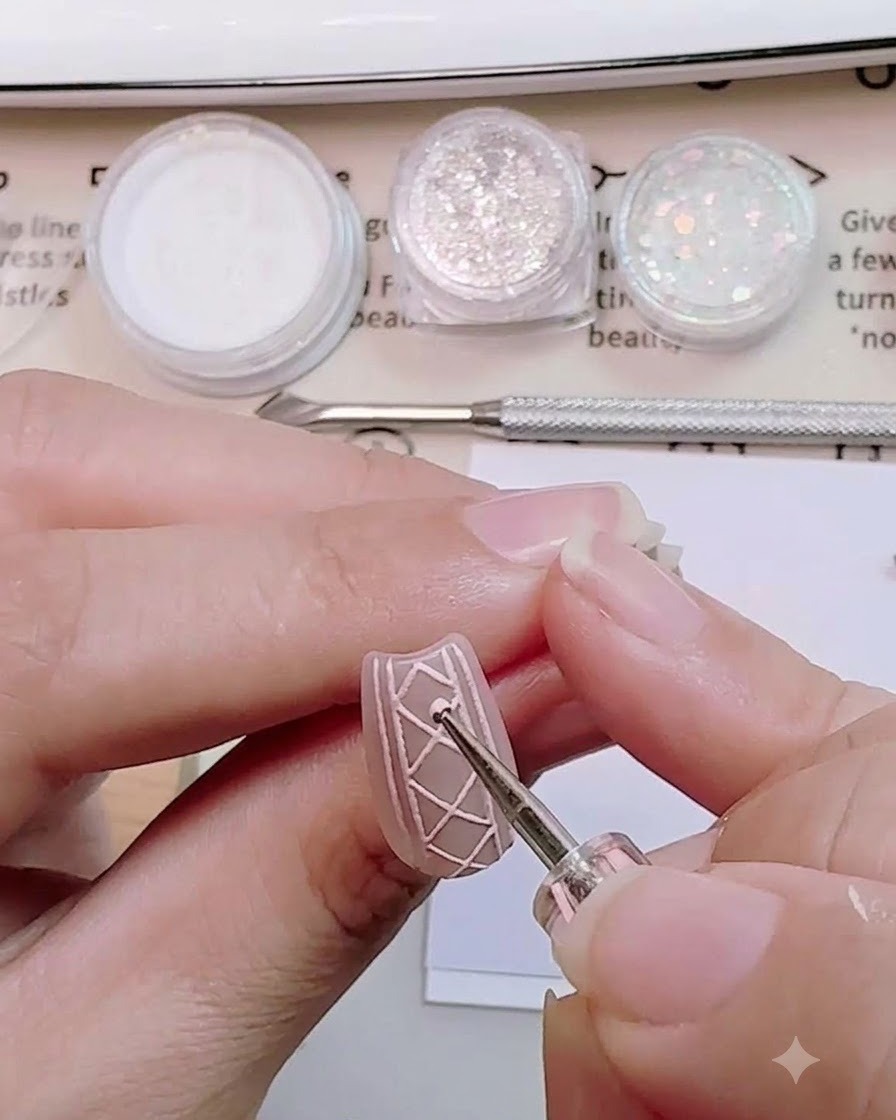
Carefully deposit the collected sugar and flocking powder directly onto the intersections of the drawn sweater pattern lines. These accent dots add multi-dimensional depth and mimic the cozy nodes of a knitted garment. Press the powder gently into the wet gel before curing to lock the velvet texture securely in place.
Tip: Be precise when placing the powder so it only lands on the desired intersections without muddying the clean lines around it.


