Cat Eye Aurora Powder Nail Art — Step-by-Step Tutorial
Create an enchanting multi-dimensional manicure combining soft blush gradients, glowing aurora chrome powder, and glass cat eye reflections.
The combination of soft blush gradients, iridescent aurora chrome powder, and shimmering cat eye gel creates a truly mesmerizing look that catches the light from every angle. This tutorial guides you through each precise layering technique required to achieve salon-quality depth and shine at home.

Steps
- 1Apply nude pink base color
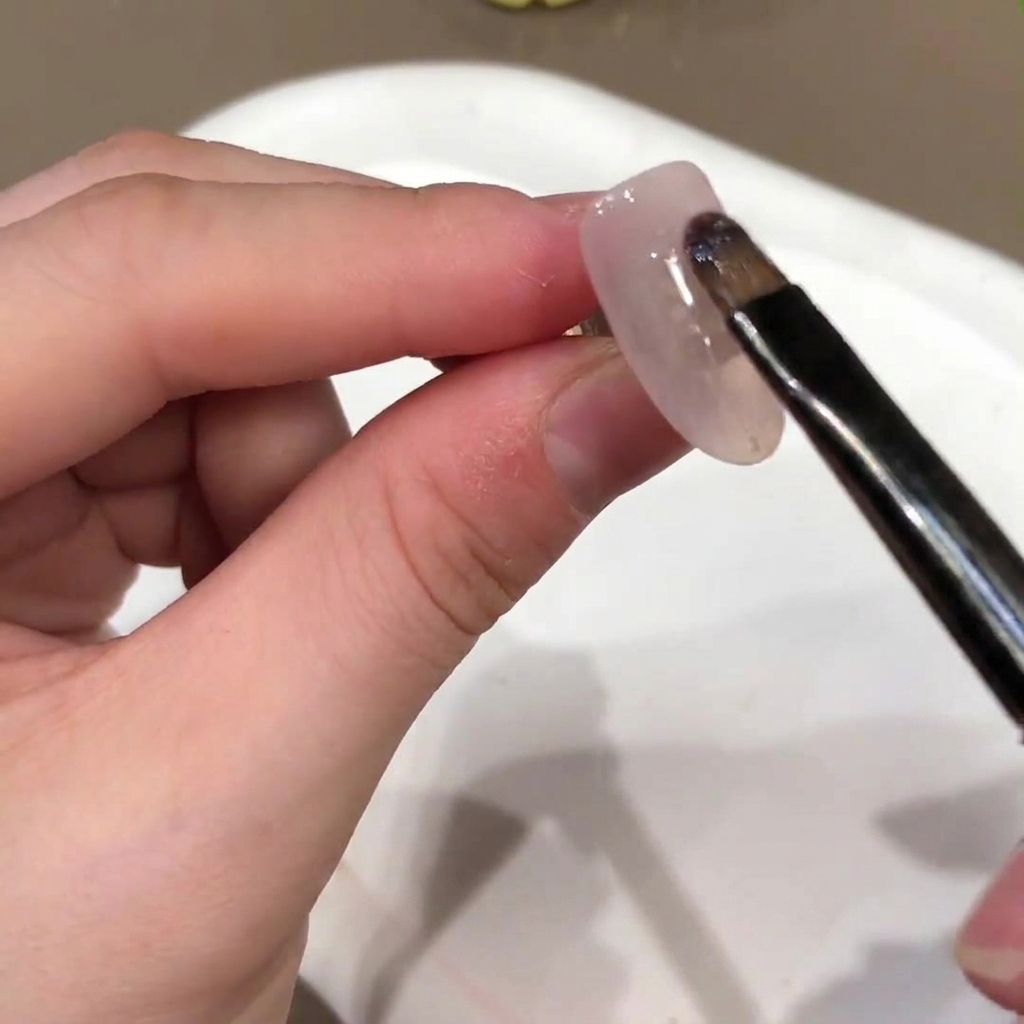
Select a versatile nude pink color base and use a brush to apply an even layer over the nail surface. Ensure smooth coverage from the cuticle to the free edge before curing under the lamp.
Tip: Apply in thin, controlled strokes to prevent pooling around the cuticles and ensure an even cure. - 2Wipe off sticky inhibition layer
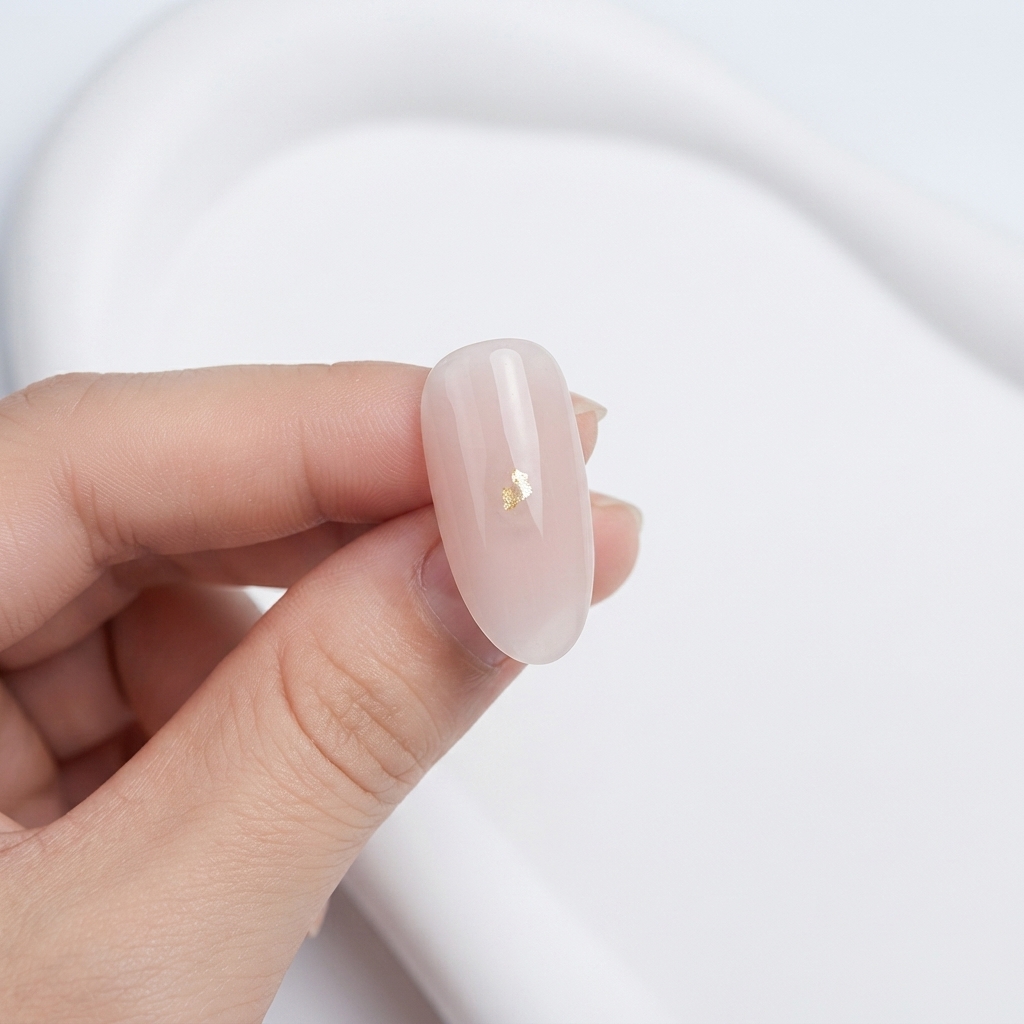
After curing the base layer under the UV or LED lamp, take a lint-free wipe dampened with cleanser to thoroughly remove the sticky inhibition layer from the nail surface.
Tip: Removing the sticky layer creates a clean, smooth surface for subsequent layers of gel or powder application. - 3Apply blush-colored gel blob
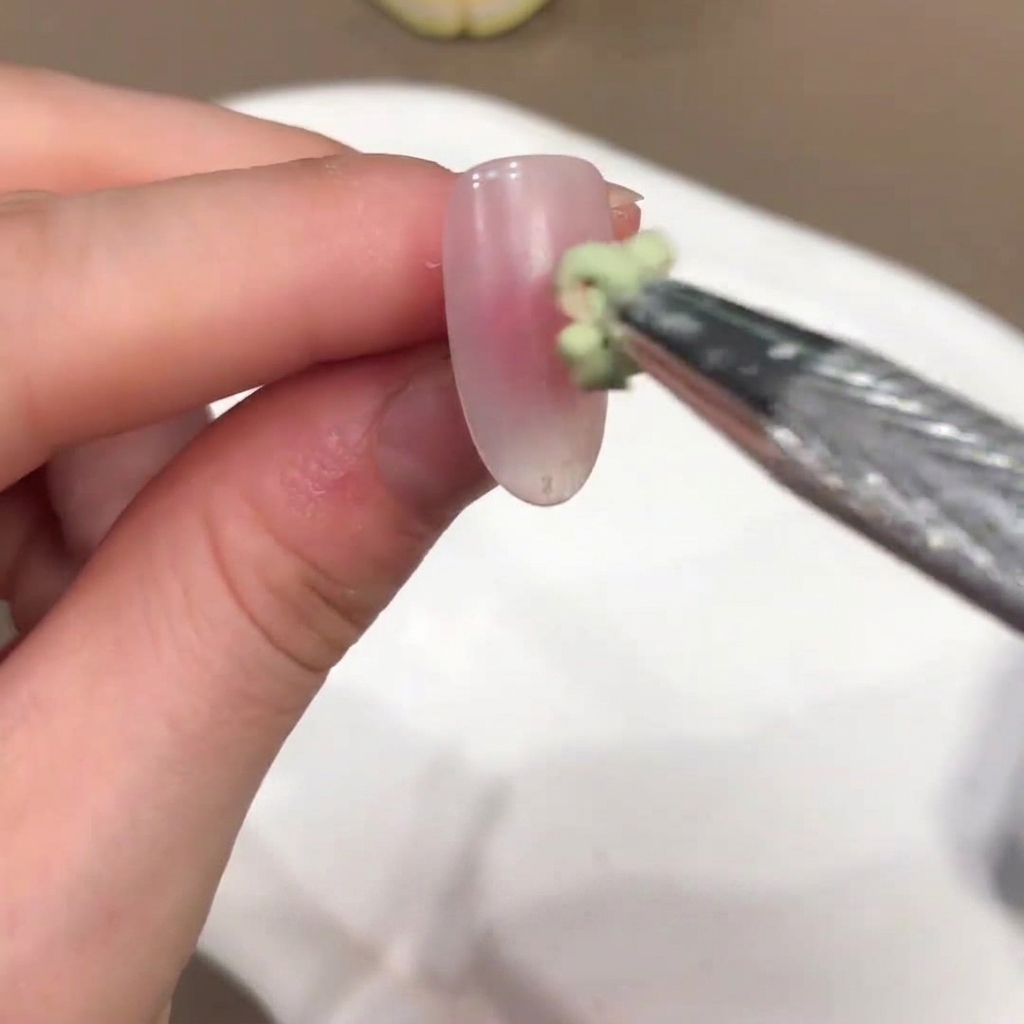
Using a small detail brush, pick up a blob of blush-colored gel and place it directly in the middle of the nail plate. Repeat this application twice to build up the desired color intensity.
Tip: Keep the color centered to create a soft, diffused gradient or blush effect on the nail. - 4Apply and blend the blush color
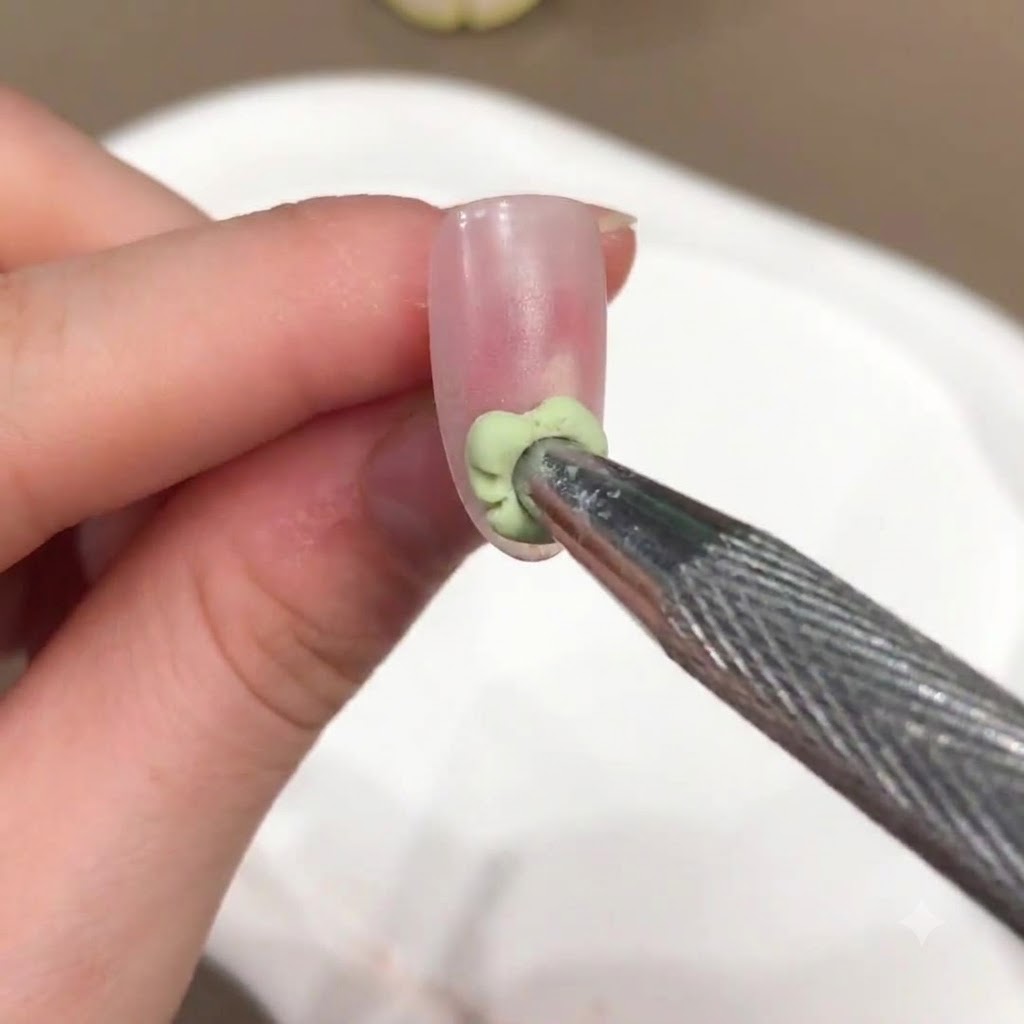
Using a dotting tool or a small detail brush, apply a small amount of colored gel onto the nail surface. Gently blend and smooth the edges to create a soft, diffused blush effect in the center of the nail plate before curing.
Tip: Keep the center saturated while feathering out the perimeter for a natural gradient look. - 5Apply non-wipe top coat
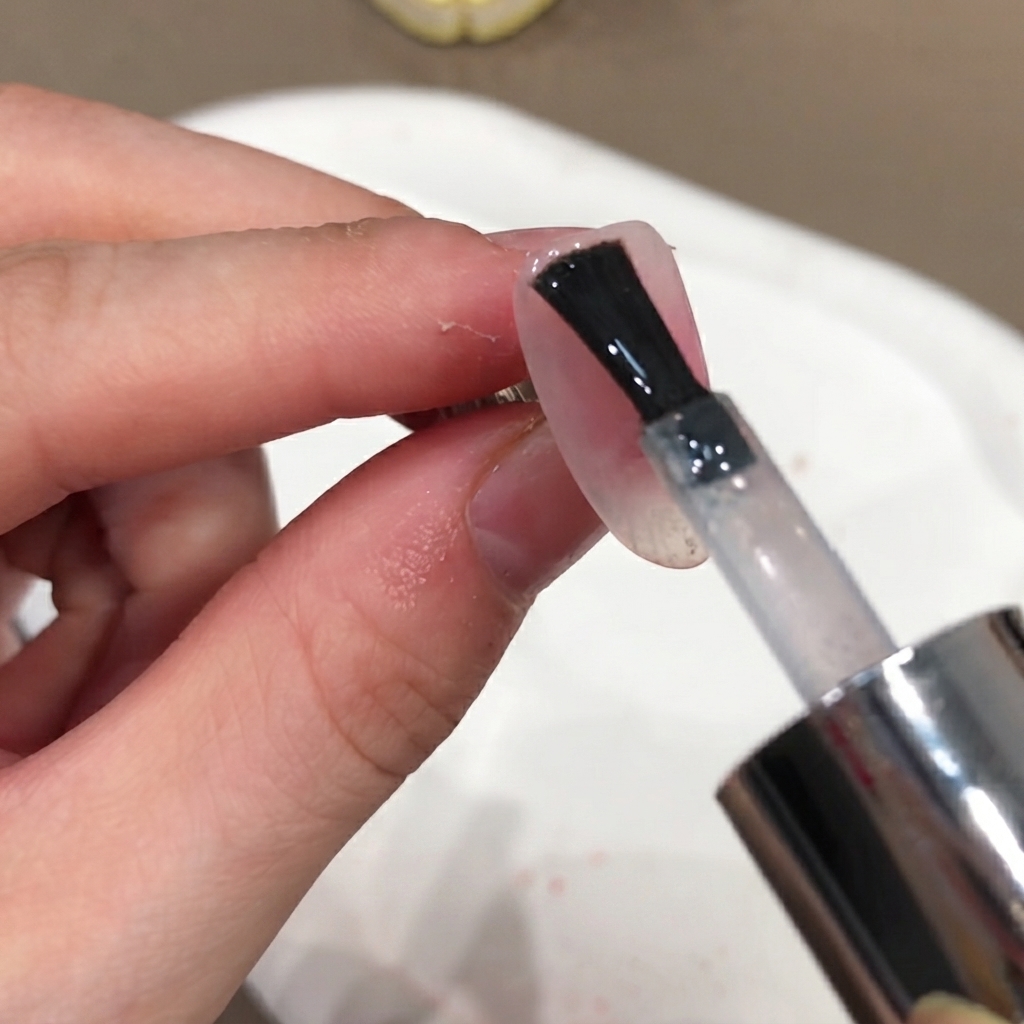
Apply an even layer of non-wipe top coat across the entire nail surface, sealing in the design and any embedded elements. Ensure the free edge is capped thoroughly to prevent chipping, then cure completely under the UV or LED lamp.
Tip: A smooth top coat layer is essential before applying aurora powder so the powder buffs evenly without catching on texture. - 6Pat aurora powder onto the nail
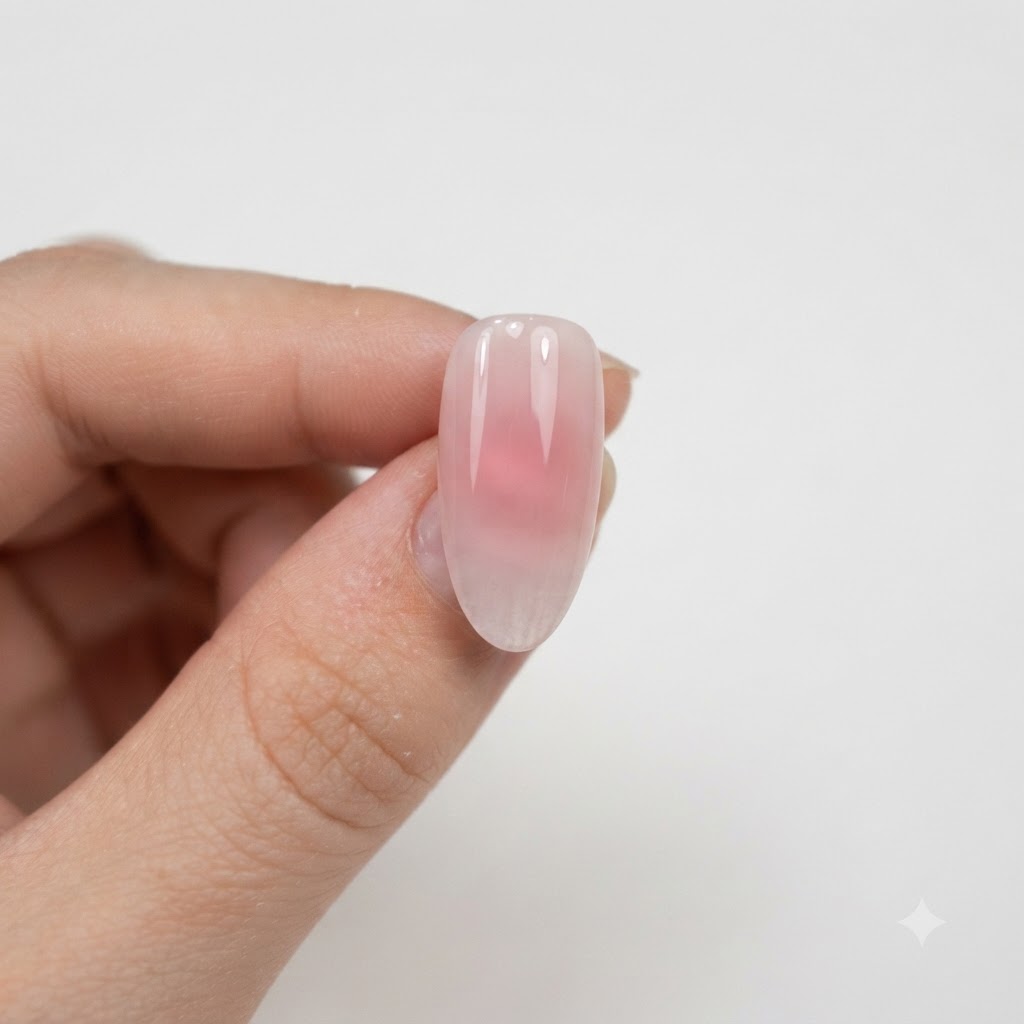
Take a small amount of aurora powder on your fingertip or a silicone applicator and gently pat it onto the designated position on the nail. Press and rub the powder firmly into the cured top coat layer until a vibrant, reflective chrome shine appears.
Tip: Apply aurora powder while the surface is still slightly warm right out of the lamp for maximum adhesion and shine. - 7Rub on aurora powder
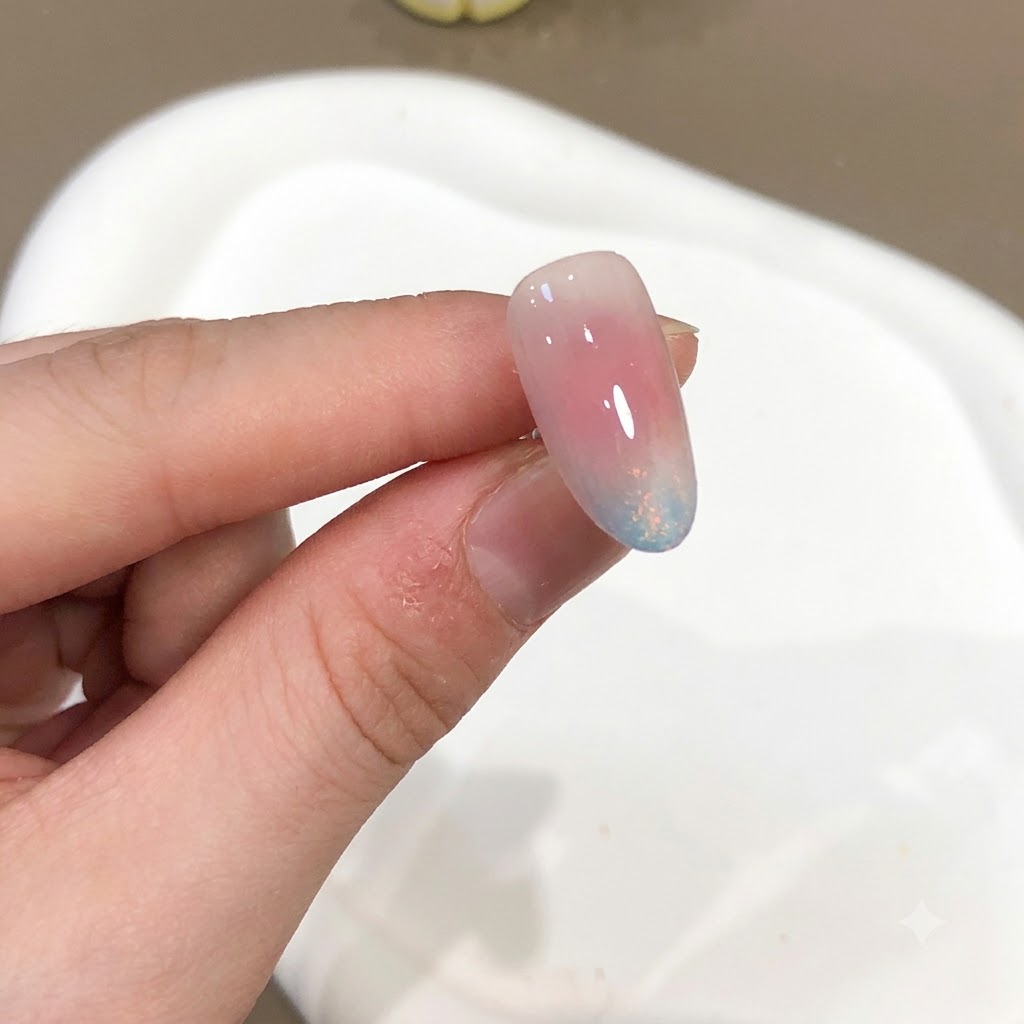
After applying a non-wipe top coat over the entire nail, use your fingertip to pat the aurora powder into position. Press and rub firmly until the surface achieves a high-shine, lustrous chrome finish.
Tip: Rubbing with a clean finger helps generate friction and evenly distributes the pigment for a mirror-like shine. - 8Clean up excess powder and define edges
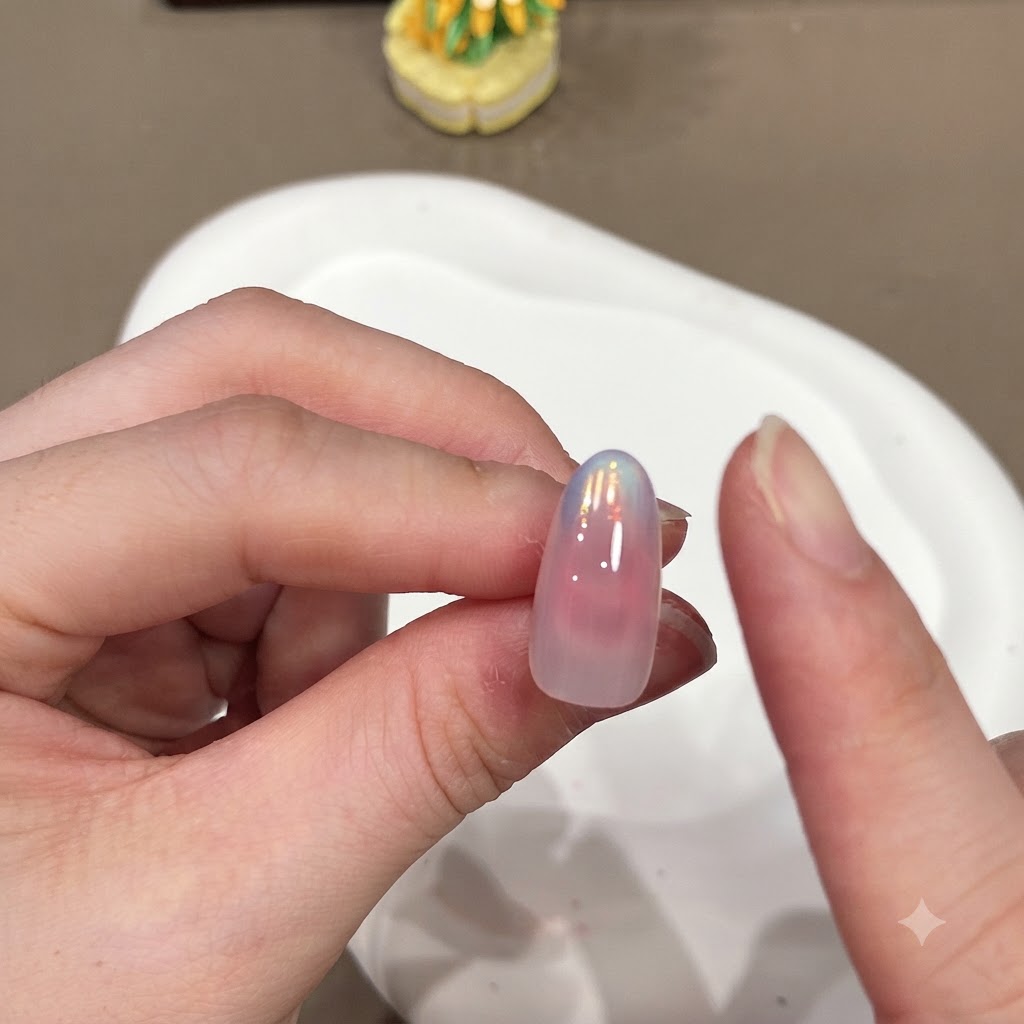
Take a clean finger to gently wipe away any loose or excess aurora powder surrounding the nail. Use this motion to precisely define the edge line and keep the surrounding skin clean.
Tip: A clean swipe along the borders ensures crisp boundaries between the nail art and the skin. - 9Wipe away dust with a cotton pad
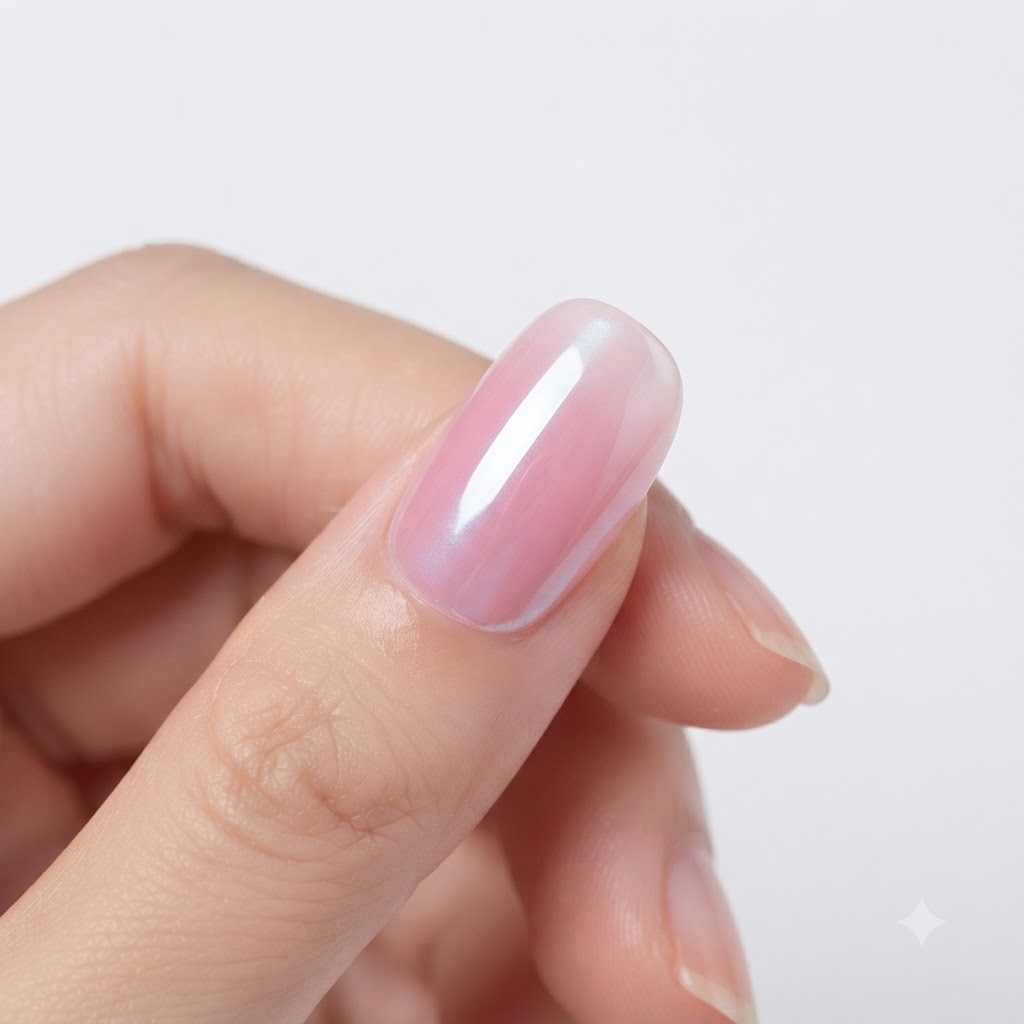
After buffing the sides, take a clean cotton pad to thoroughly wipe away any lingering dust or particles from the nail edges and surface before the final top coat application.
Tip: Ensure all dust debris is completely removed so the final top coat goes on flawlessly smooth. - 10Apply clear glass cat eye gel
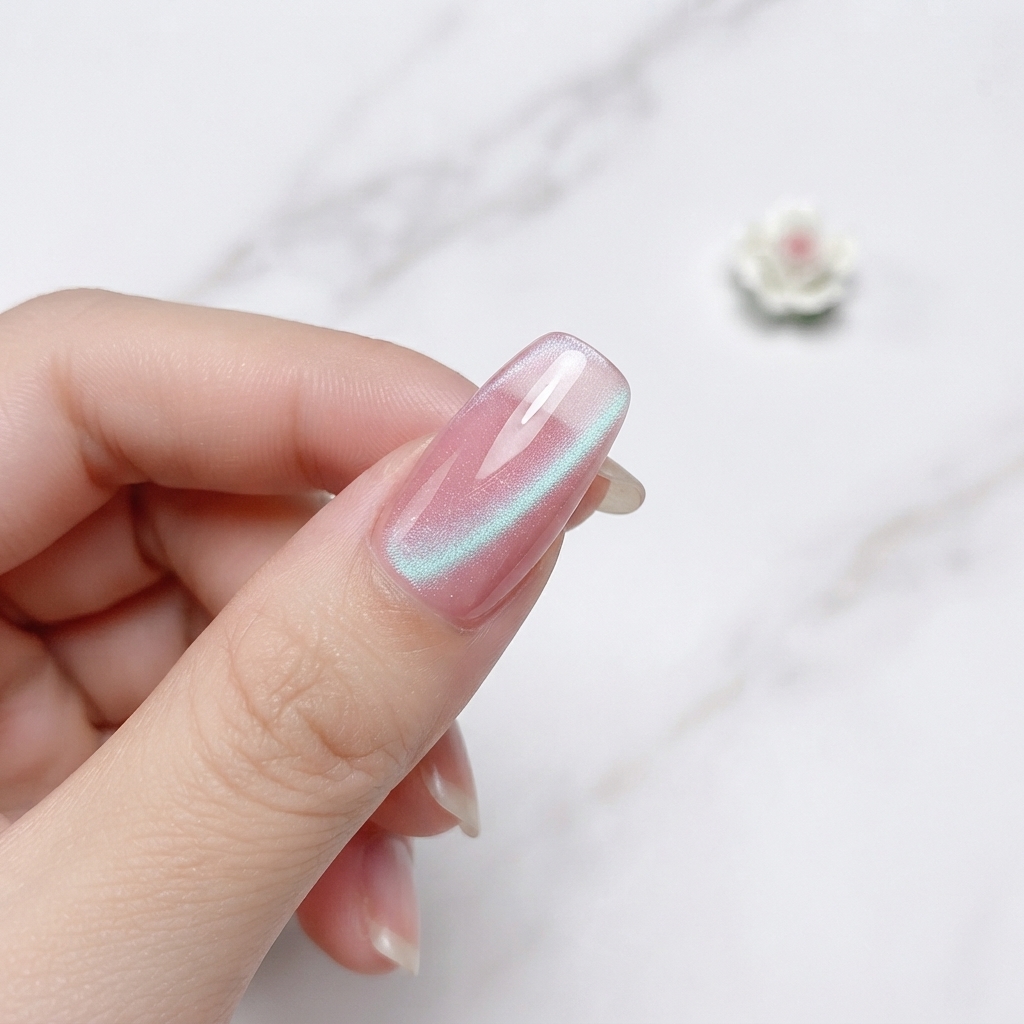
Apply a coat of clear glass cat eye gel across the entire surface of the nail. This gel contains magnetic particles that will create the dimensional, light-reflecting effect once activated.
Tip: Ensure an even layer is applied across the nail bed so the magnetic particles can move uniformly. - 11Draw out the side cat eye reflection
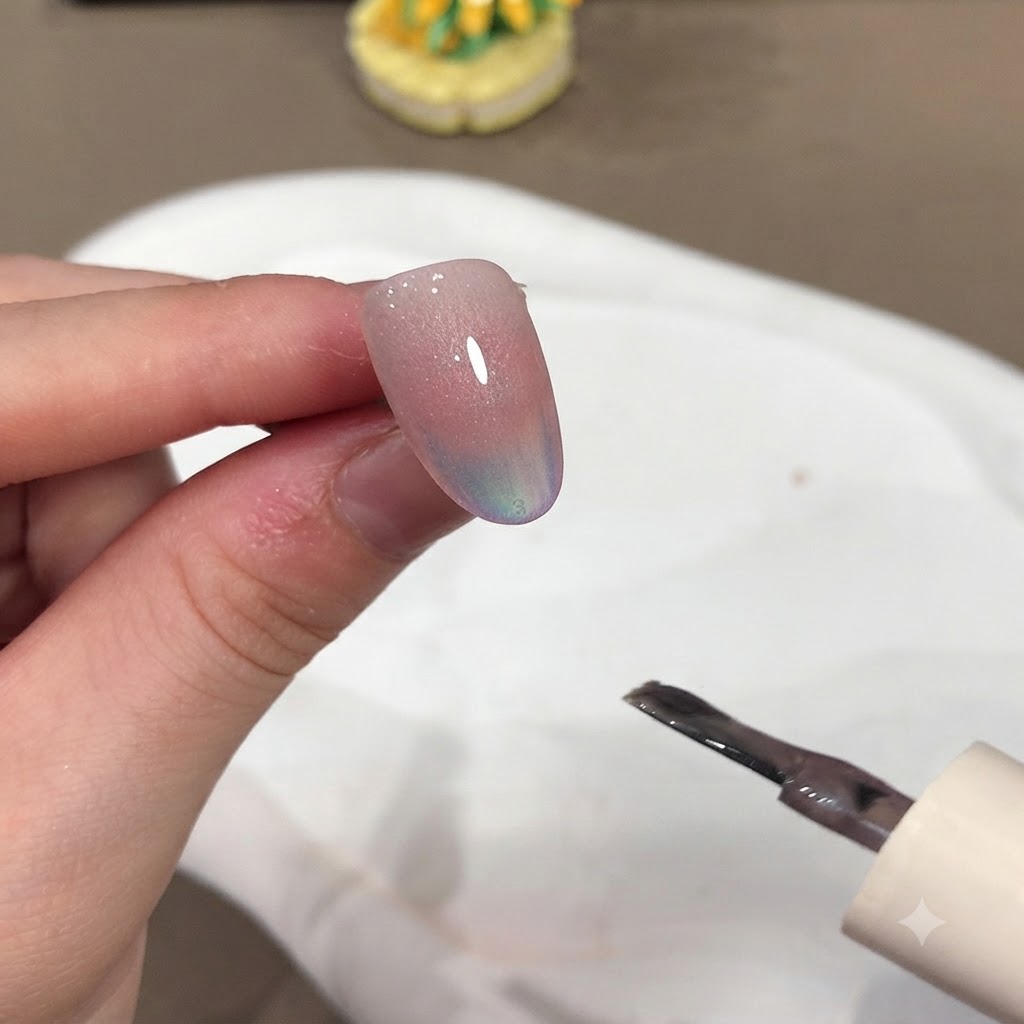
Hold a magnet close to the side of the nail without touching the wet gel surface. Keep it steady for a few seconds to pull the magnetic particles toward the edge, creating a sharp, glowing side reflection line.
Tip: Do not touch the gel with the magnet; maintain a small, consistent gap to guide the light beam cleanly. - 12Apply final top coat and cure
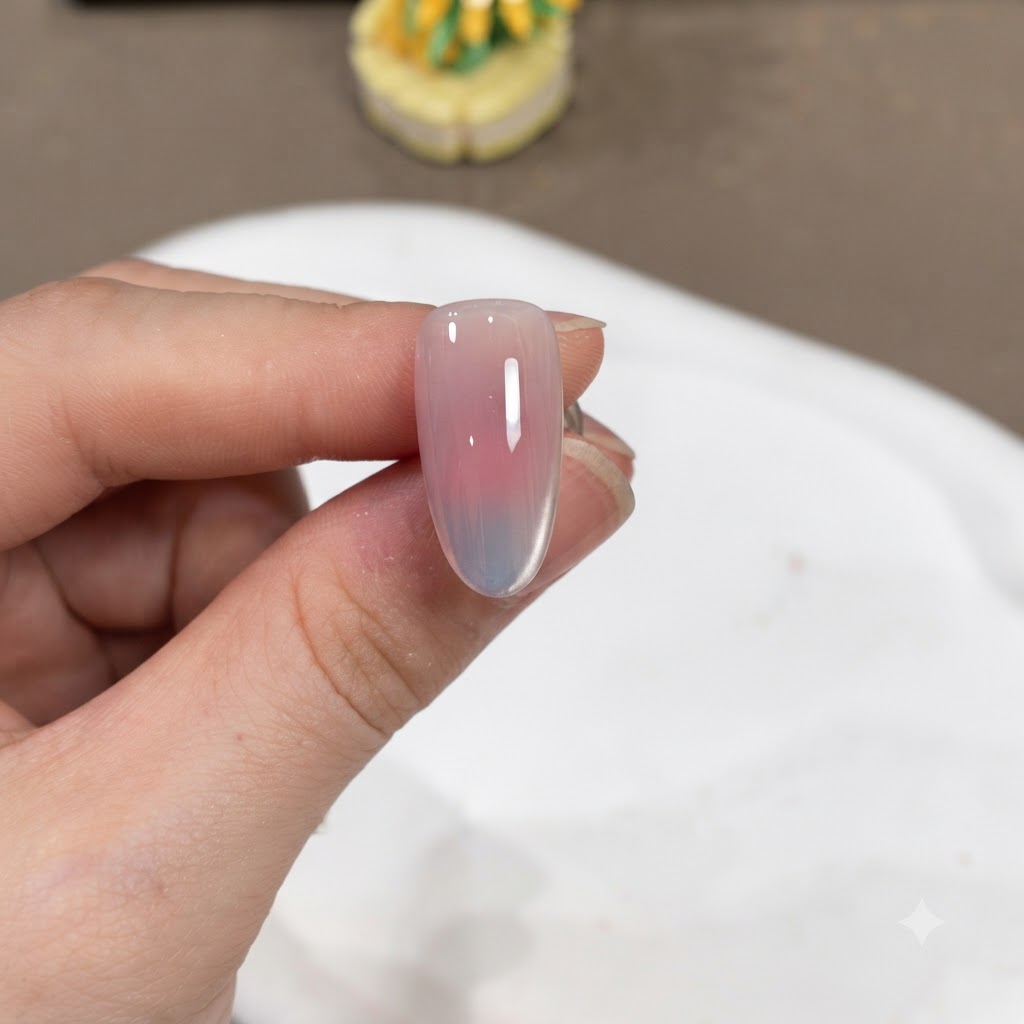
Apply a final layer of sealing top coat over the entire nail to protect the cat eye design and lock in the shine. Cure thoroughly under your UV or LED lamp to complete the manicure.
Tip: Cap the free edge with the top coat to prevent chipping and extend the wear time of your manicure.


