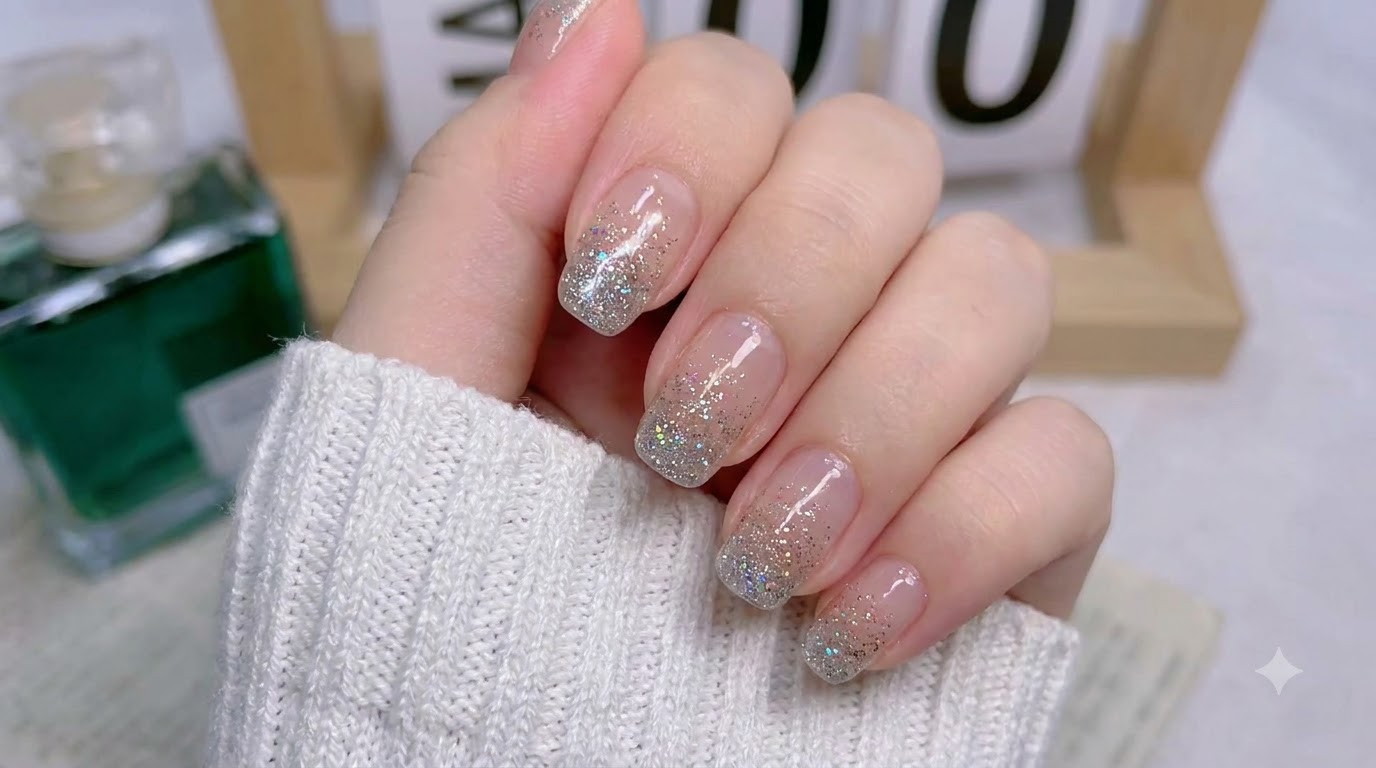
Silver Glitter Gradient Nail Stickers — Easy Step-by-Step Tutorial
Achieve a stunning silver glitter gradient and French tip look instantly using convenient nail stickers with a high-gloss finish.
Glitter gradients bring a sparkling elegance to your fingertips without the mess of loose glitter powders. This step-by-step guide shows you how to seamlessly apply and fit silver glitter gradient nail stickers for a professional salon look at home.

Steps
- 1Choose your glitter nail sticker
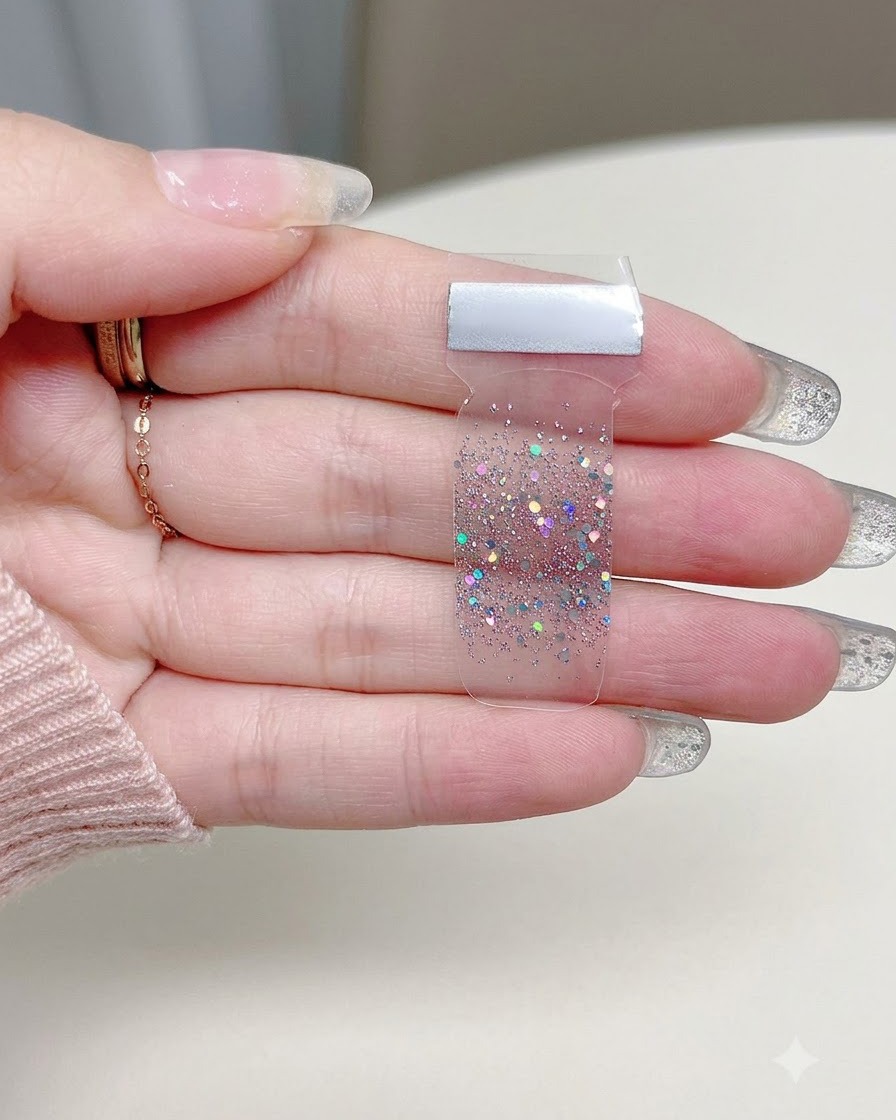
Select the appropriate size and design of the silver glitter gradient nail sticker from the sheet, ensuring it matches your nail bed dimensions before application.
Tip: Compare the sticker width to your natural nail while still on the sheet to find the ideal fit. - 2Peel the sticker from the backing
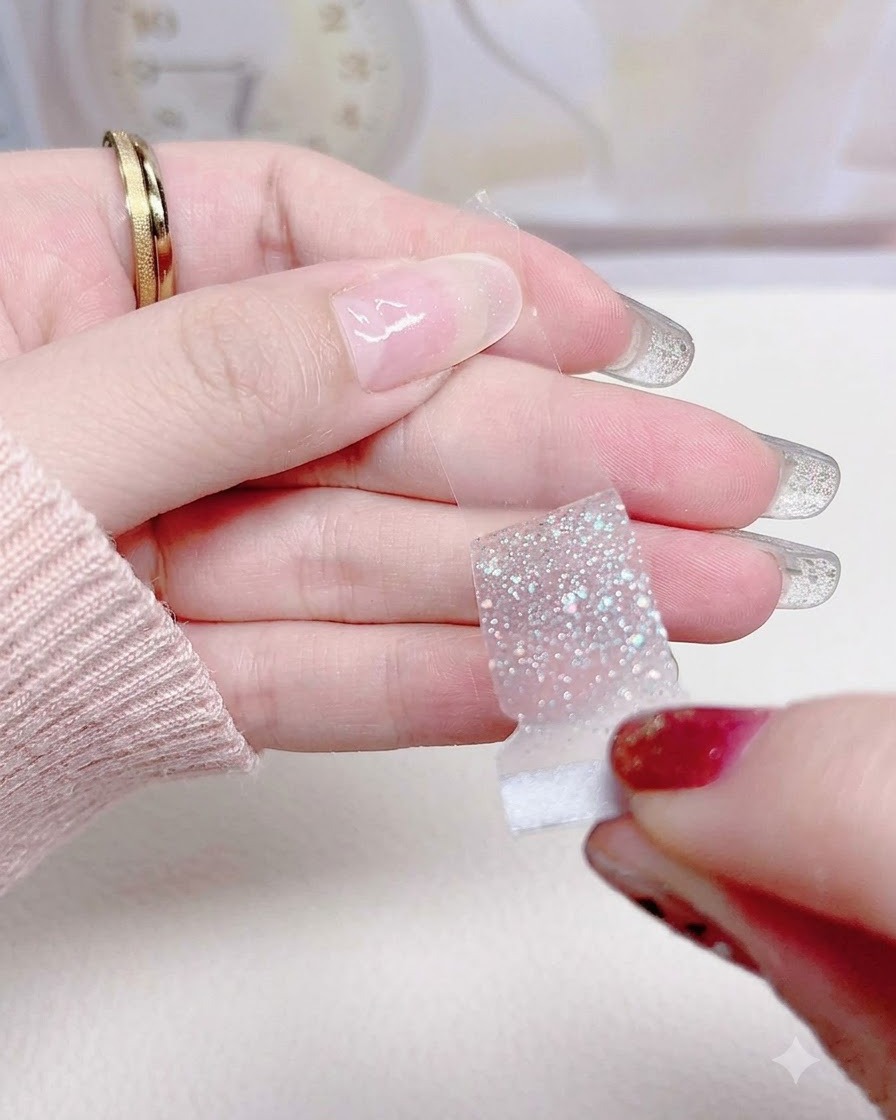
Gently lift the selected silver glitter sticker off the transparent backing sheet using your fingernails or tweezers, taking care not to stretch or distort the sticker material.
Tip: Lift from the silver tab edge to avoid touching the adhesive backing with your fingers. - 3Align with the cuticle
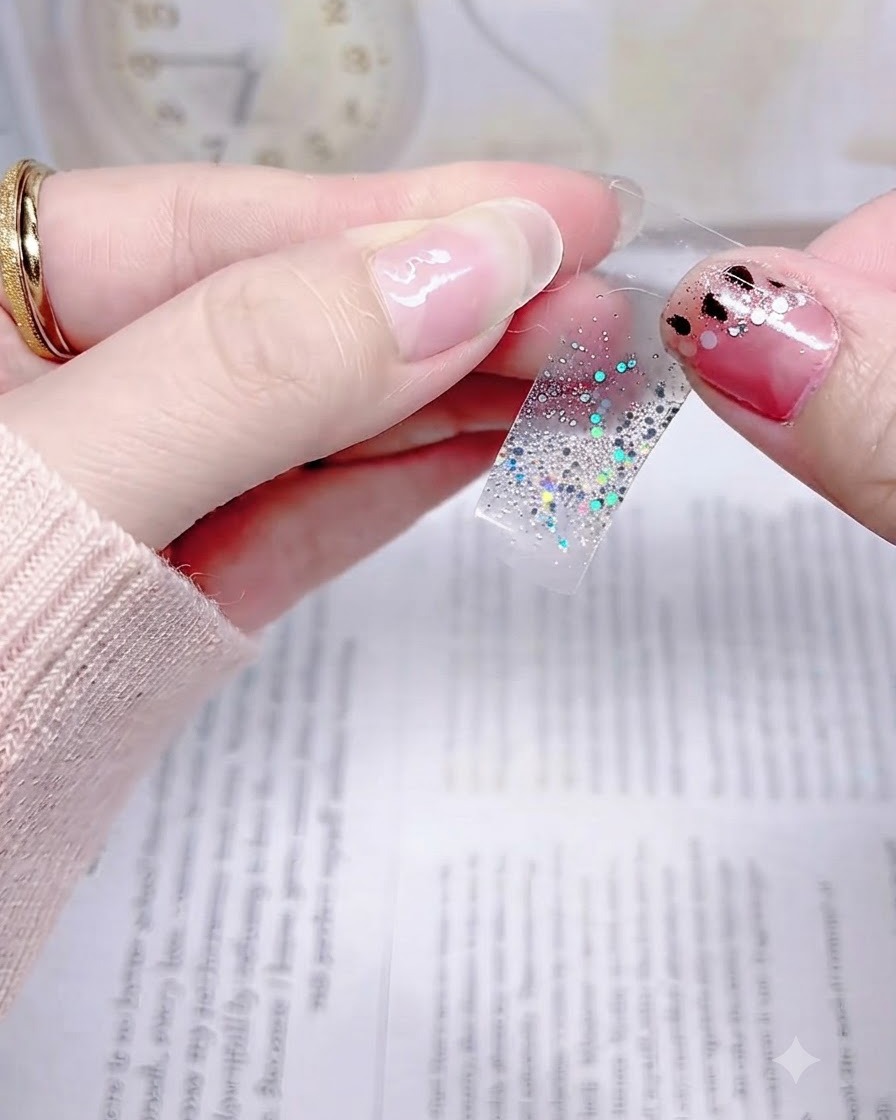
Position the silver glitter sticker just above the cuticle line, carefully lining up the curved edge of the sticker with the natural contour of your nail bed.
Tip: Precise alignment at the cuticle ensures a natural look and prevents lifting near the base. - 4Press sticker onto the nail
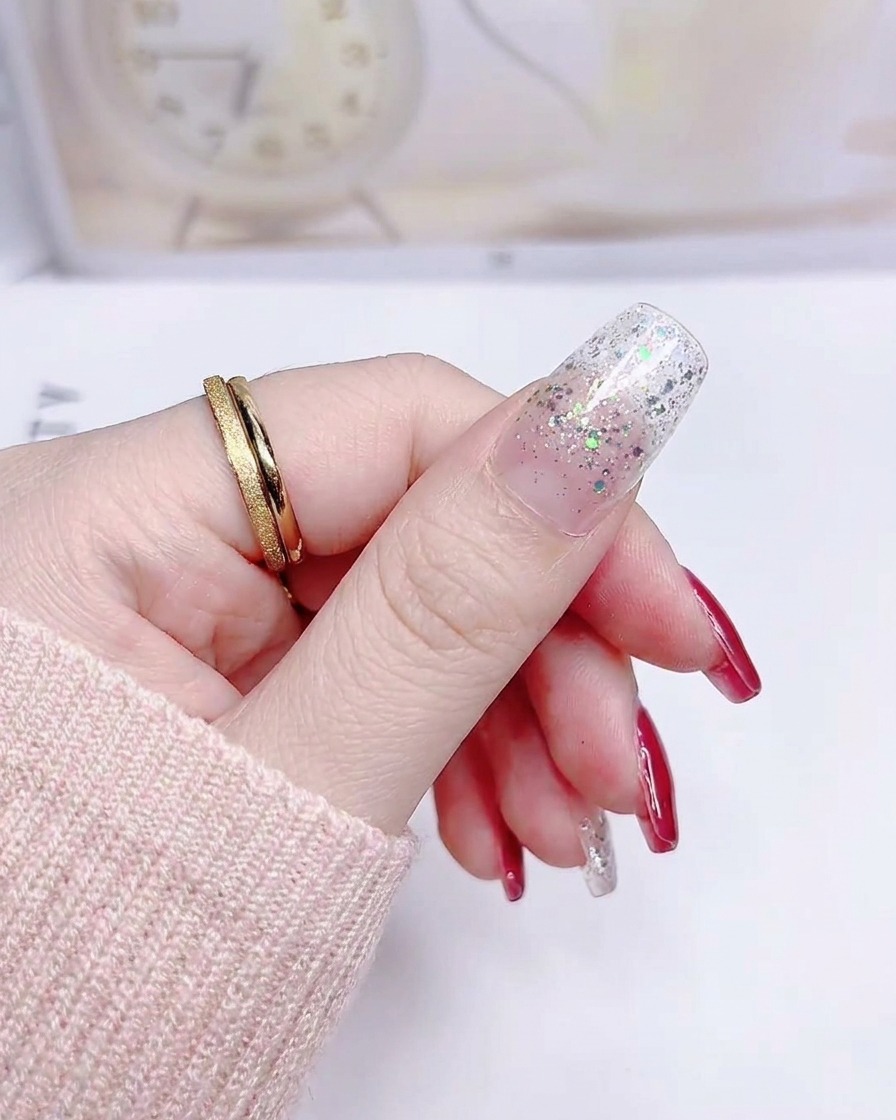
Press the silver glitter sticker firmly down onto the center of the nail surface, moving smoothly from the cuticle area outward toward the free edge.
Tip: Apply light downward pressure along the centerline to anchor the sticker securely. - 5Smooth and secure the edges
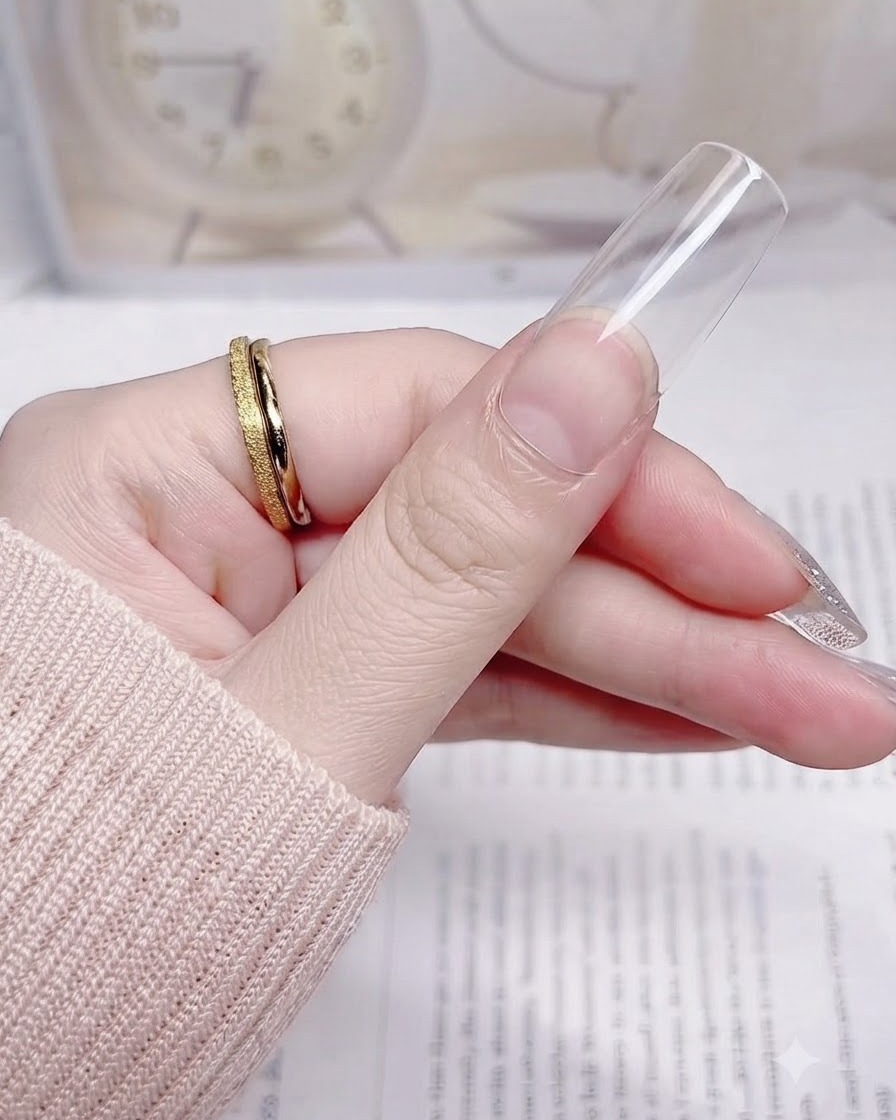
Using your finger or a soft tool, smooth the silver glitter sticker outward across the center and toward the tip of the nail to eliminate any trapped air bubbles.
Tip: Smooth outward toward both side walls to ensure complete adhesion across the entire nail plate. - 6Press down cuticle edges
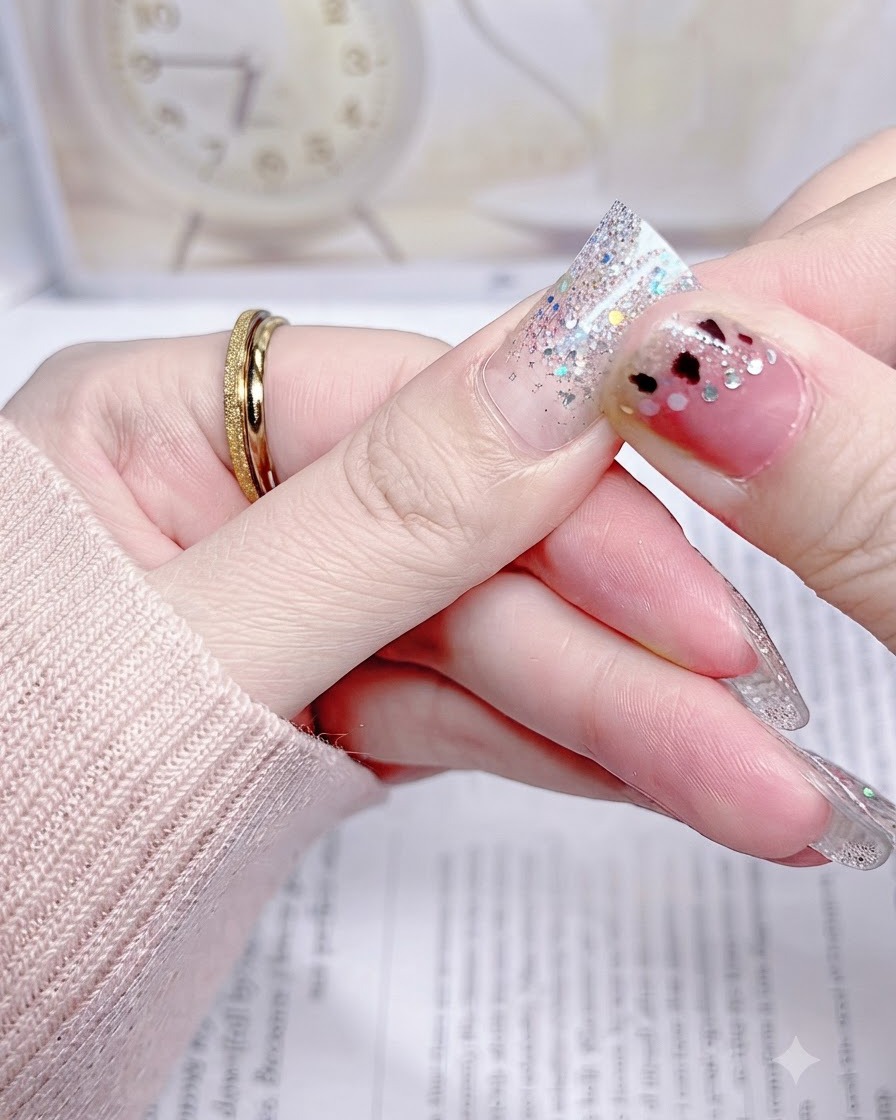
Carefully press down the edges of the silver glitter sticker around the cuticle zone to ensure a seamless seal and prevent premature peeling.
Tip: Run a rubber hoof stick or fingertip along the margins to tightly seal the sticker edges. - 7Refine sticker fit along sidewalls
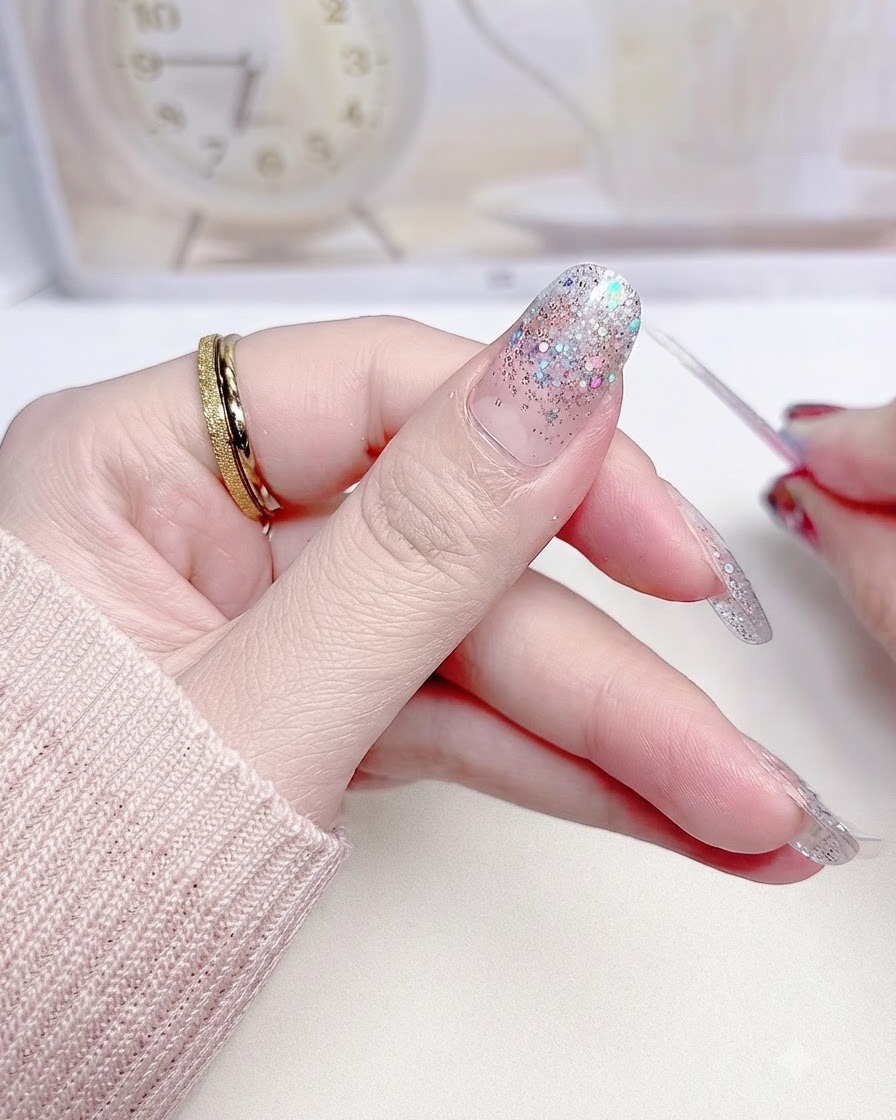
Carefully trim or file away any excess material along the sidewalls of the nail to ensure the sticker sits flush and does not overlap onto the skin. A precise fit prevents premature lifting and creates a clean, professional finish.
Tip: Keep the file at a slight downward angle when removing excess material to prevent tearing the sticker edge.