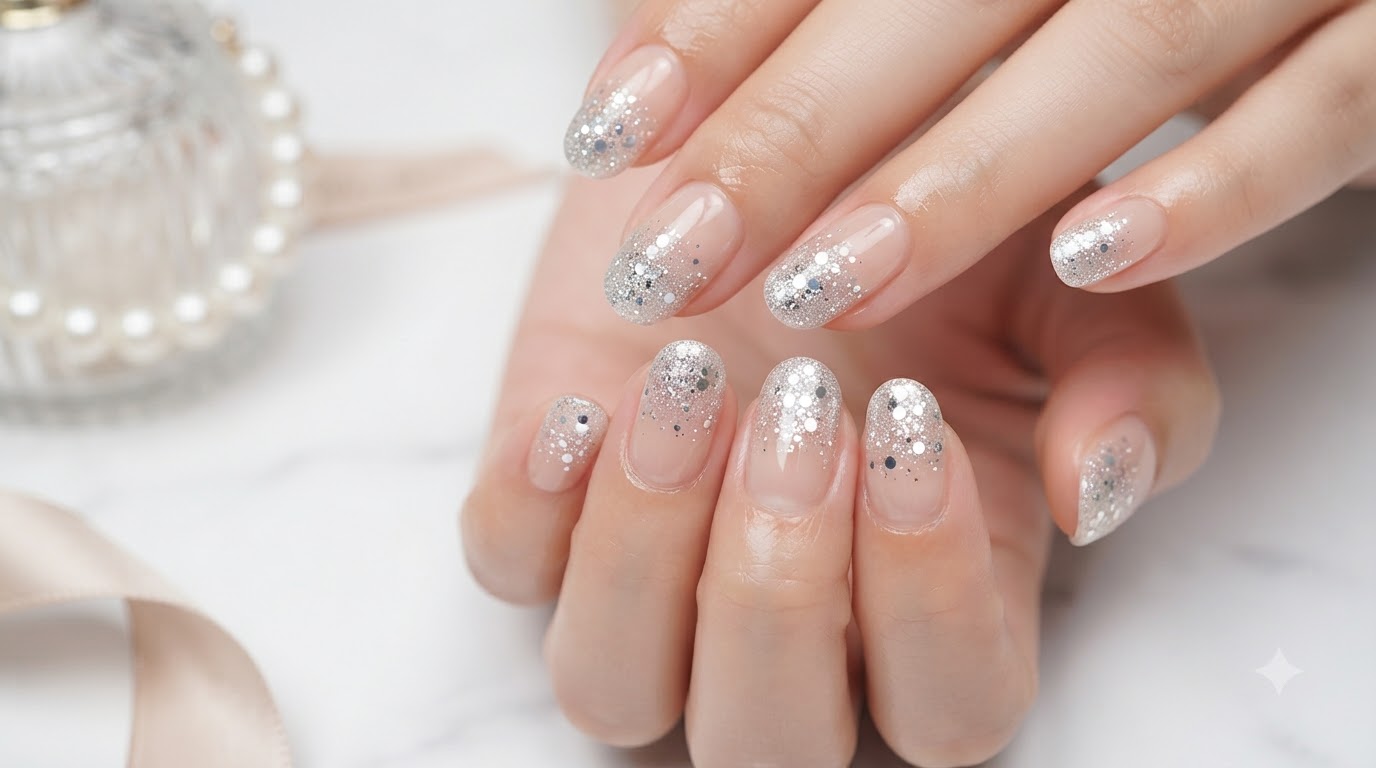
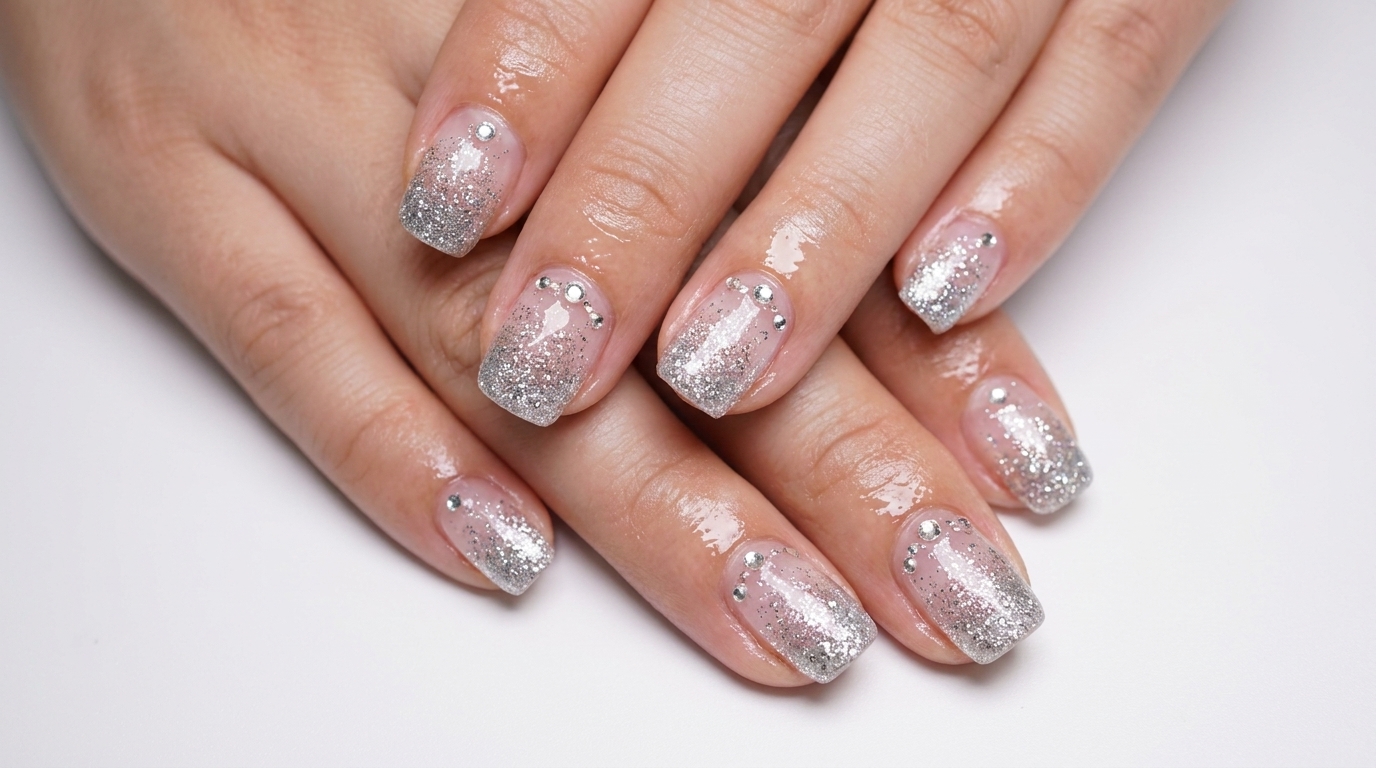
Silver Glitter Gradient Press-On Nails — Beginner Application Tutorial
Achieve a dazzling, salon-quality manicure in minutes with this silver glitter gradient press-on nail tutorial. Learn how to perfectly size, apply, and secure sparkling false nails for a flawless, long-lasting finish.
Glitter gradients offer a beautiful way to add sparkle without overwhelming the nail, making them a highly requested look for both everyday wear and special occasions. Press-on nails have revolutionized at-home manicures, allowing you to skip the salon and achieve this intricate gradient instantly. This tutorial breaks down the essential application steps to ensure your press-ons look incredibly natural and stay securely in place without lifting.
Steps
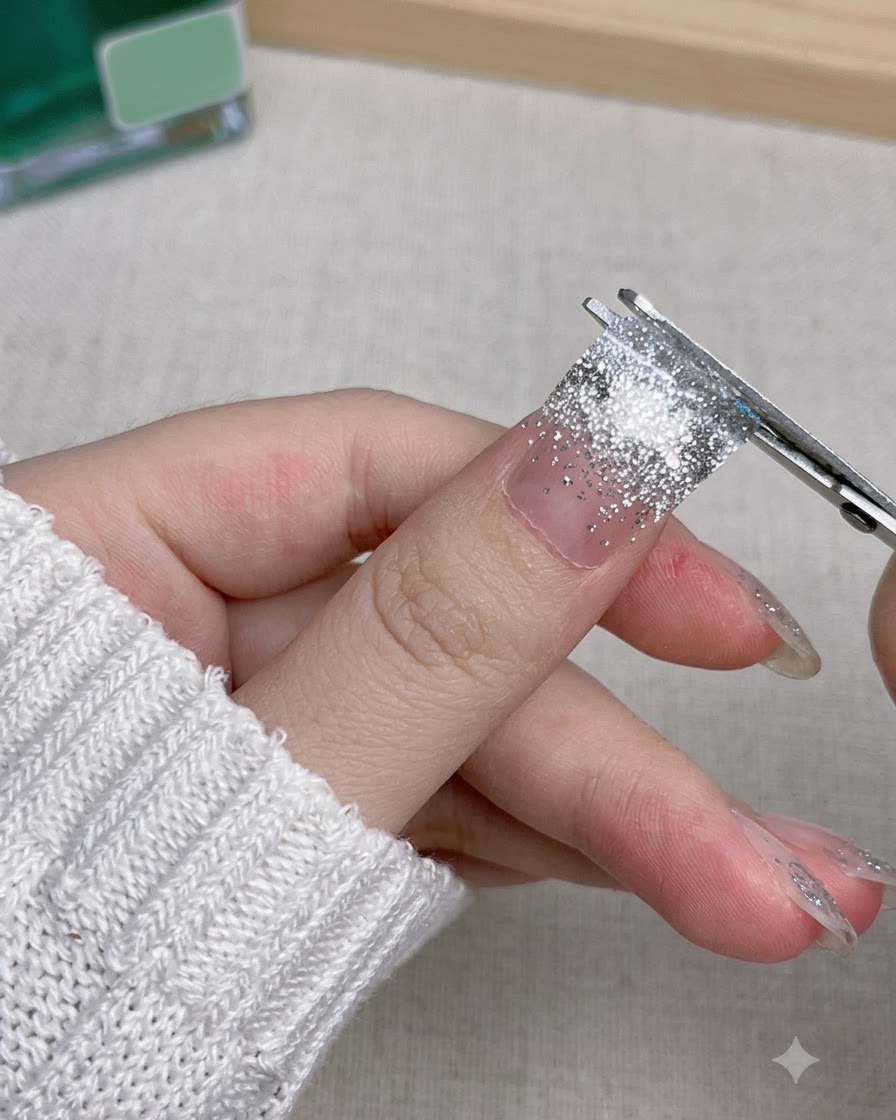
- 1Trim and adjust the false nail
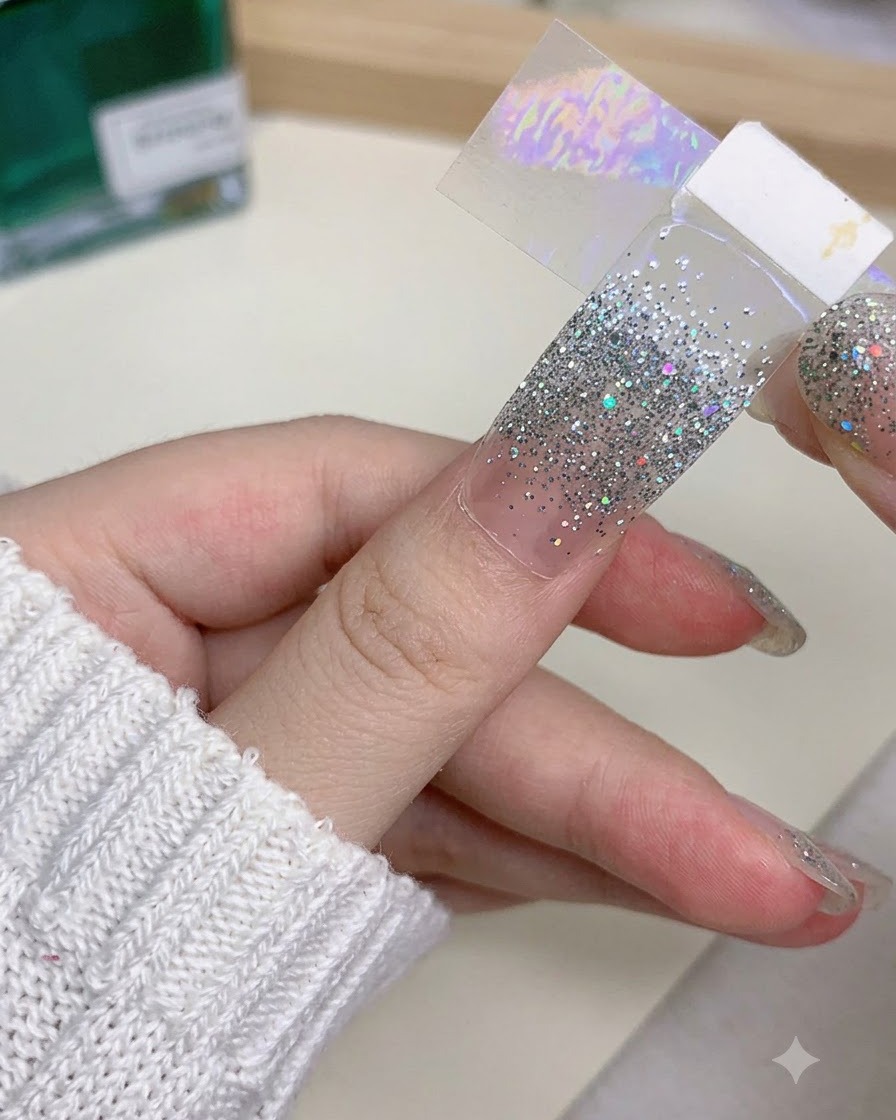
Using a small tool or nail file, gently trim or adjust the edge of the false nail while holding it securely. This ensures the extension fits the desired dimensions and shape before application.
Tip: Make small adjustments incrementally to avoid over-trimming the false nail edge. - 2Align and press the false nail
Align the silver glitter gradient false nail carefully with the cuticle line and press it firmly onto the natural index fingernail. Ensure there are no air bubbles trapped underneath for secure adhesion.
Tip: Press firmly from the center outward to push out any trapped air pockets. - 3Press and smooth the nail
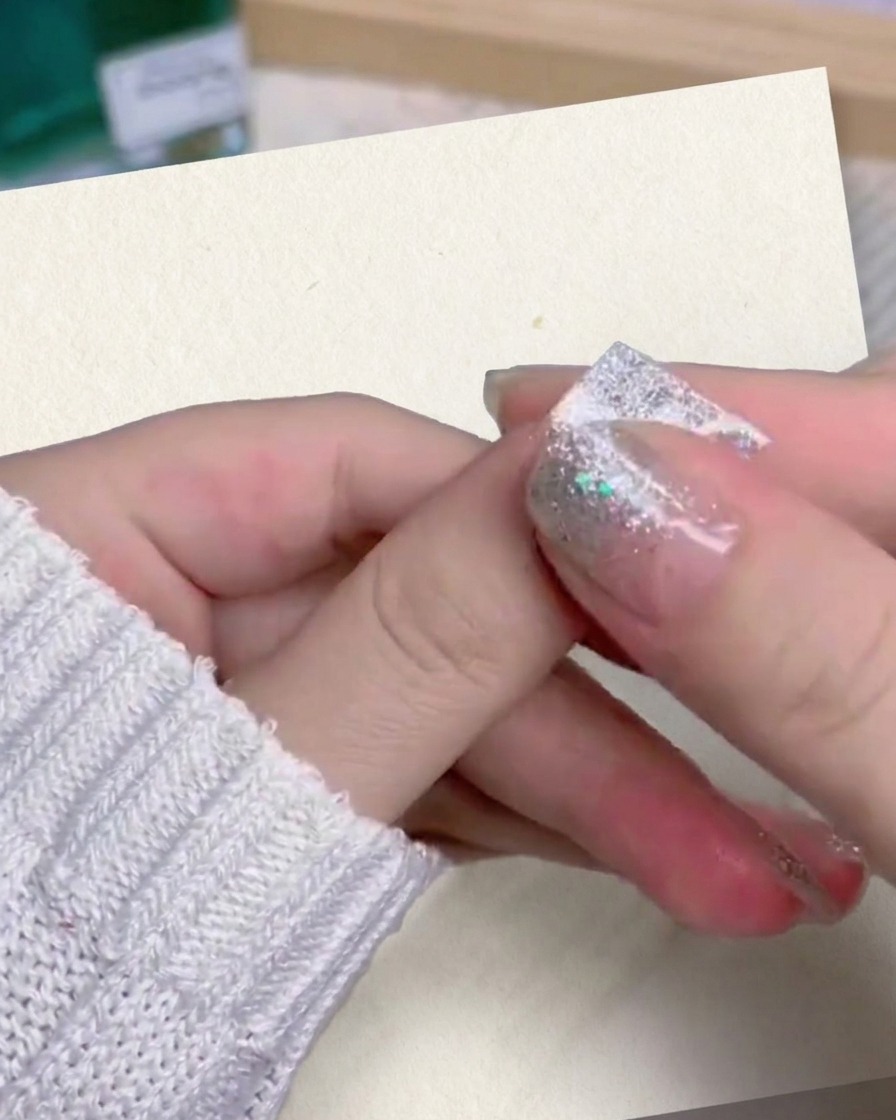
Firmly press down on the applied silver glitter nail, using your opposite thumb and index finger to smooth it out. Apply even pressure across the entire nail surface, working from the center out to the edges to secure the adhesion and prevent any air bubbles from forming.
Tip: Applying firm, steady pressure for a few seconds ensures the adhesive bonds completely to your natural nail. - 4Inspect the applied index nail
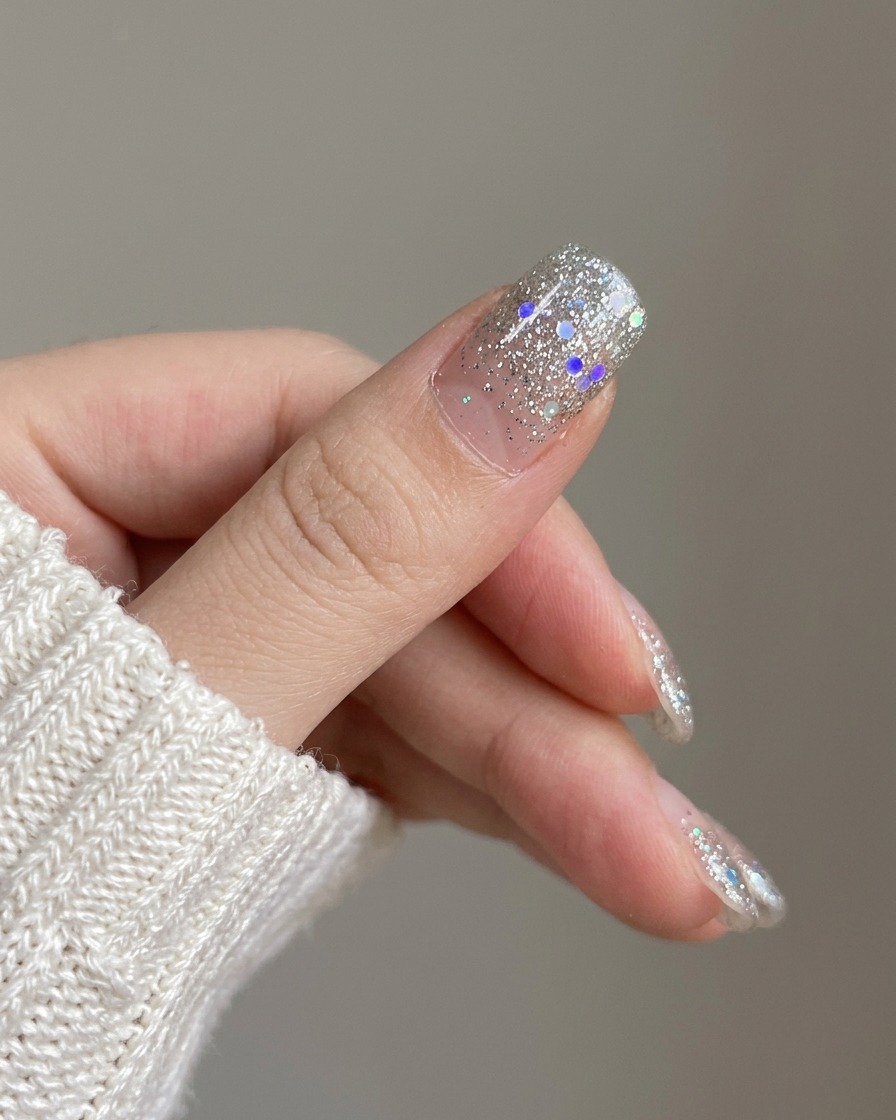
Showcase the newly applied silver glitter gradient nail on the index finger next to the remaining bare nails. Check the alignment and bond to ensure it sits correctly before proceeding.
Tip: Compare the placement angle with adjacent fingers to ensure a natural look. - 5Display the completed press-on set
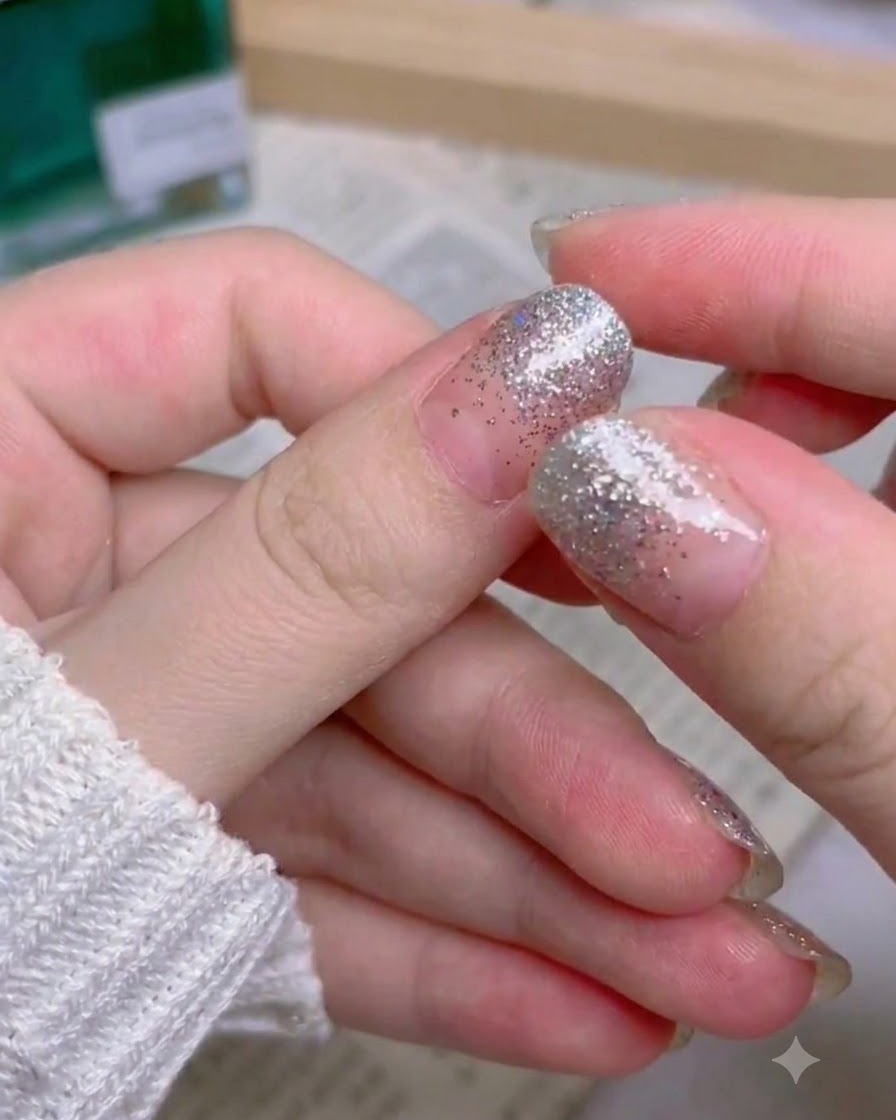
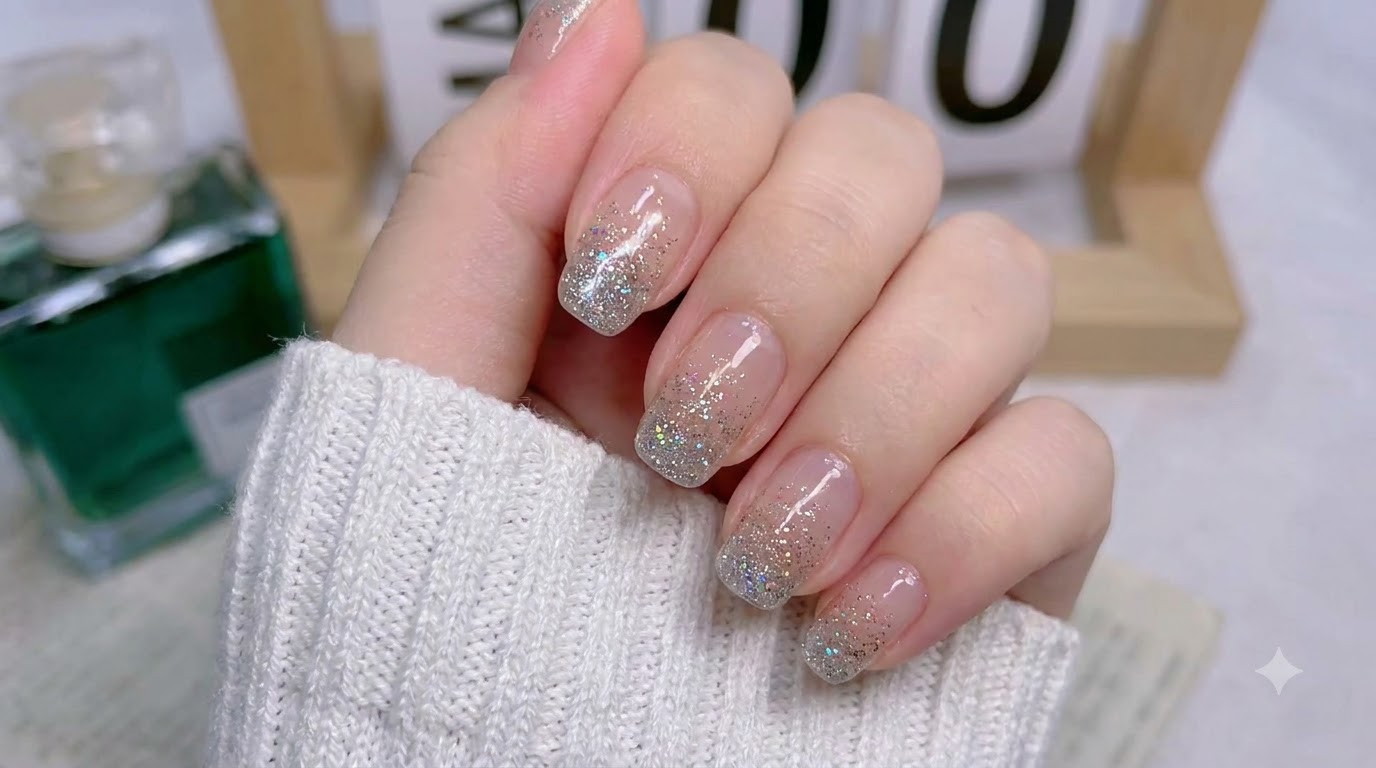
Display the completed full set of silver glitter gradient press-on nails applied across the hand. Verify that all nails are firmly secured and neatly aligned.
Tip: Check each nail edge to ensure no lifting or misalignment occurred during application.