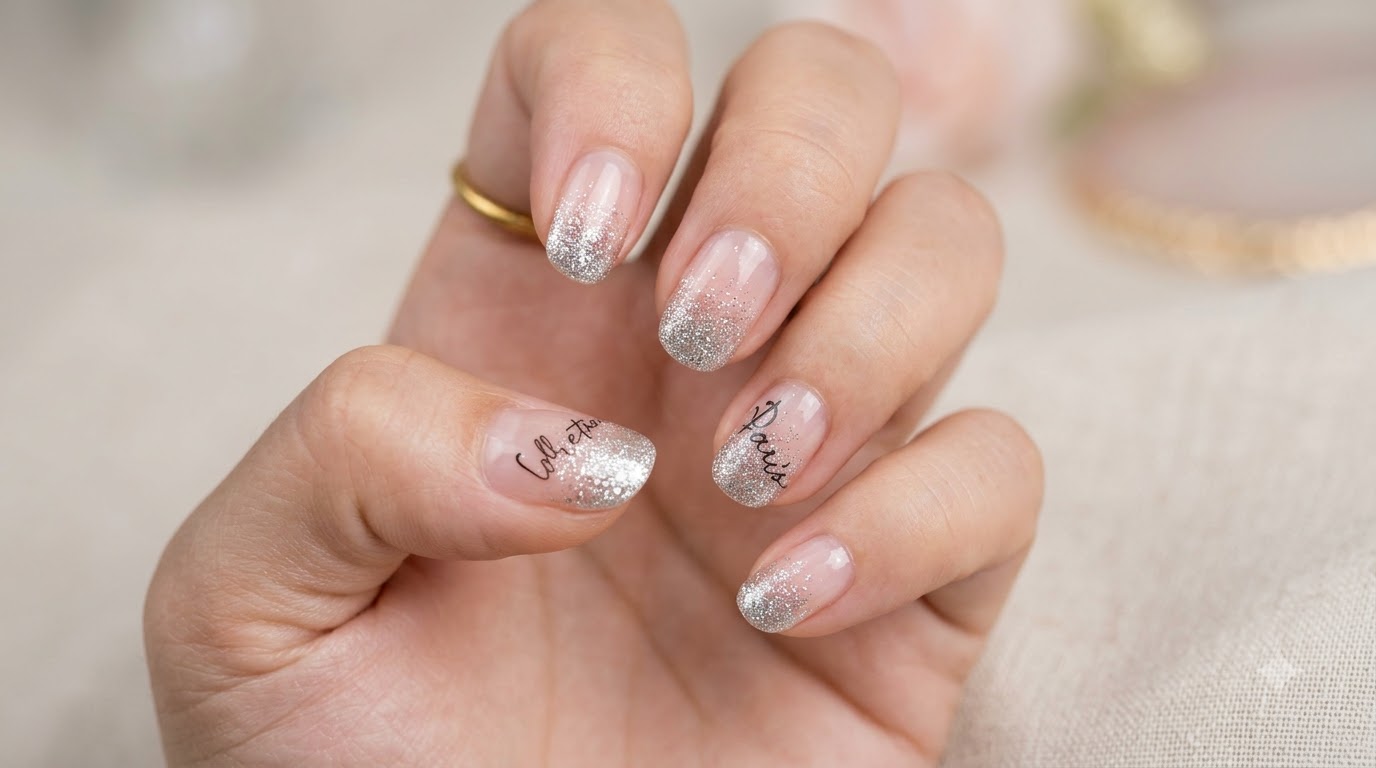
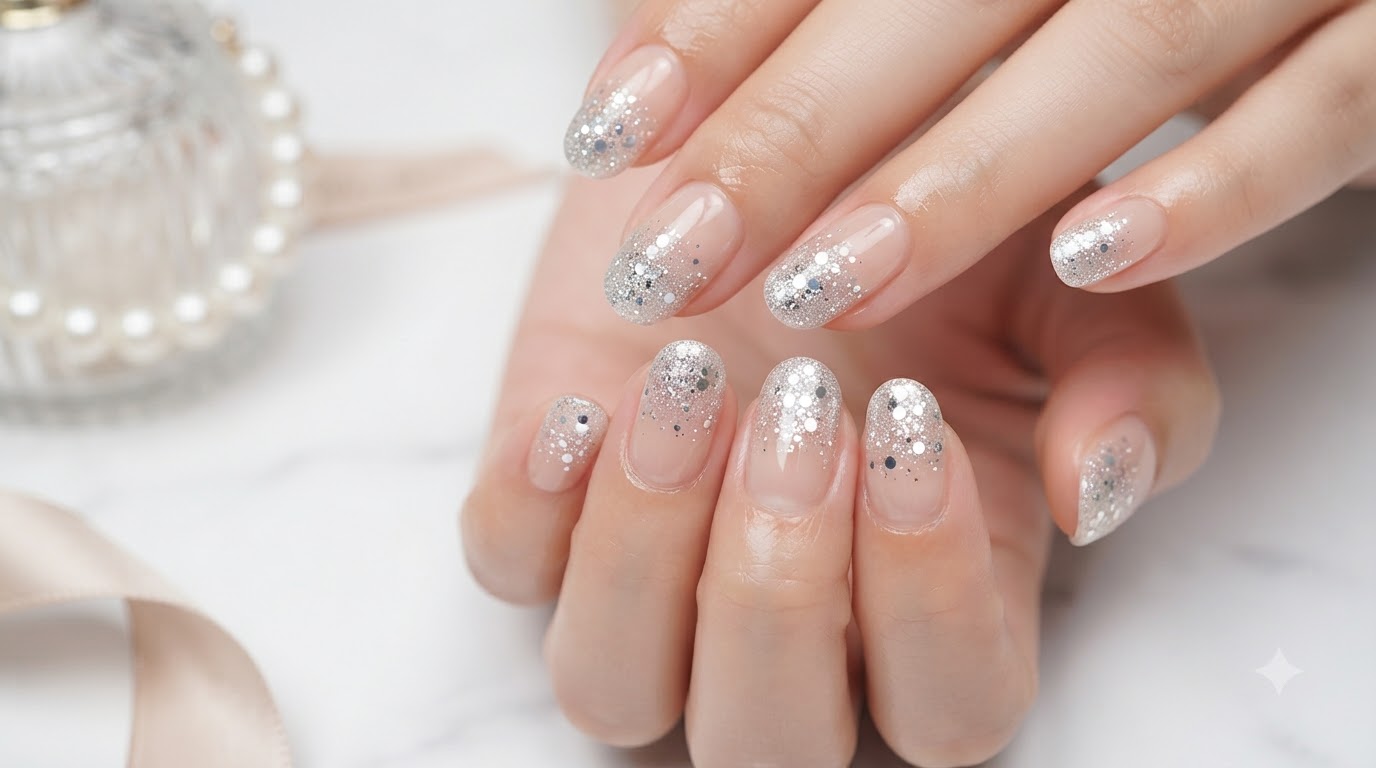
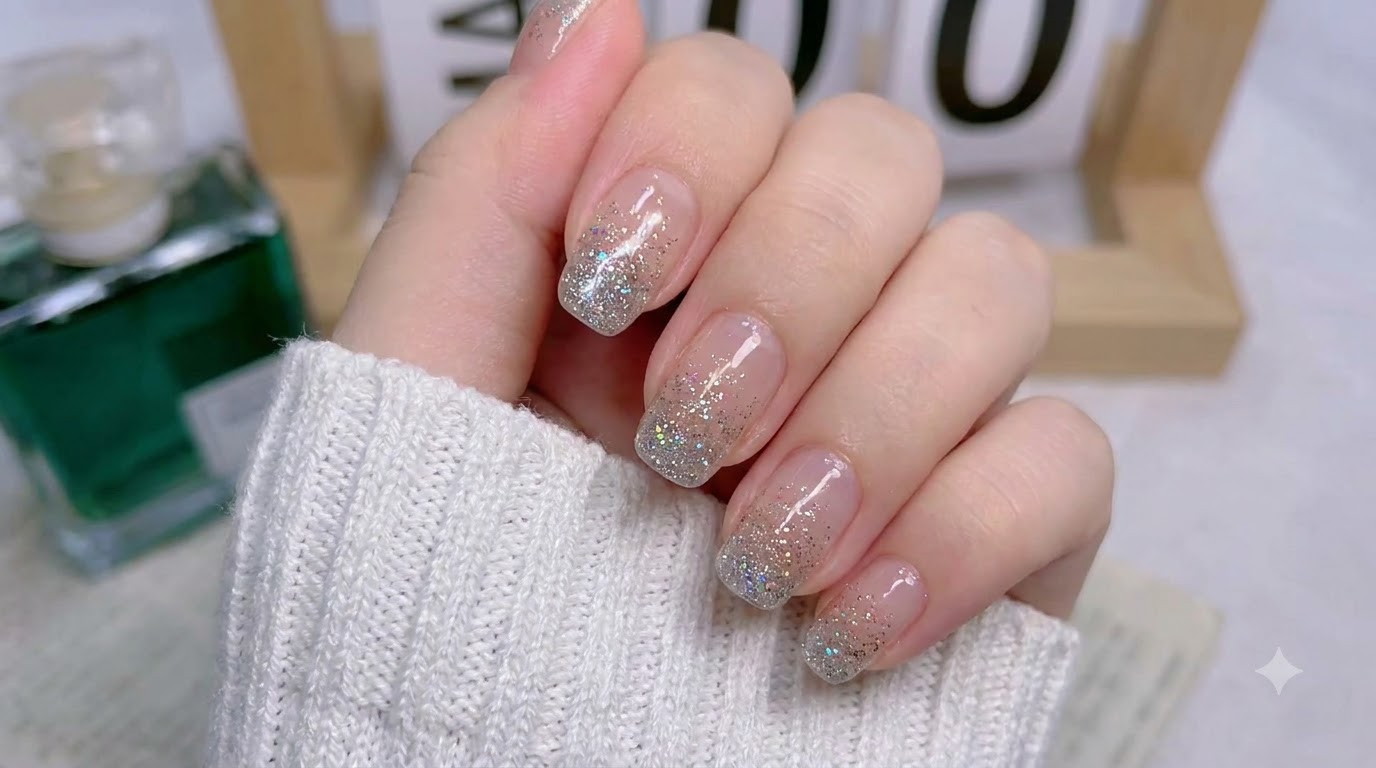
Silver Glitter Gradient Nail Art
Crystal Embellishments — Step-by-Step Tutorial
Discover how to create dazzling silver glitter gradient nails paired with delicate crystal embellishments for an elegant, sparkling finish.
Silver glitter gradients combined with precise crystal details offer a timeless look that brings both texture and sophisticated shine to your fingertips. This tutorial guides you through each stage from the initial prep to sealing your sparkling design under the lamp.
Steps
- 1Examine prepped nails
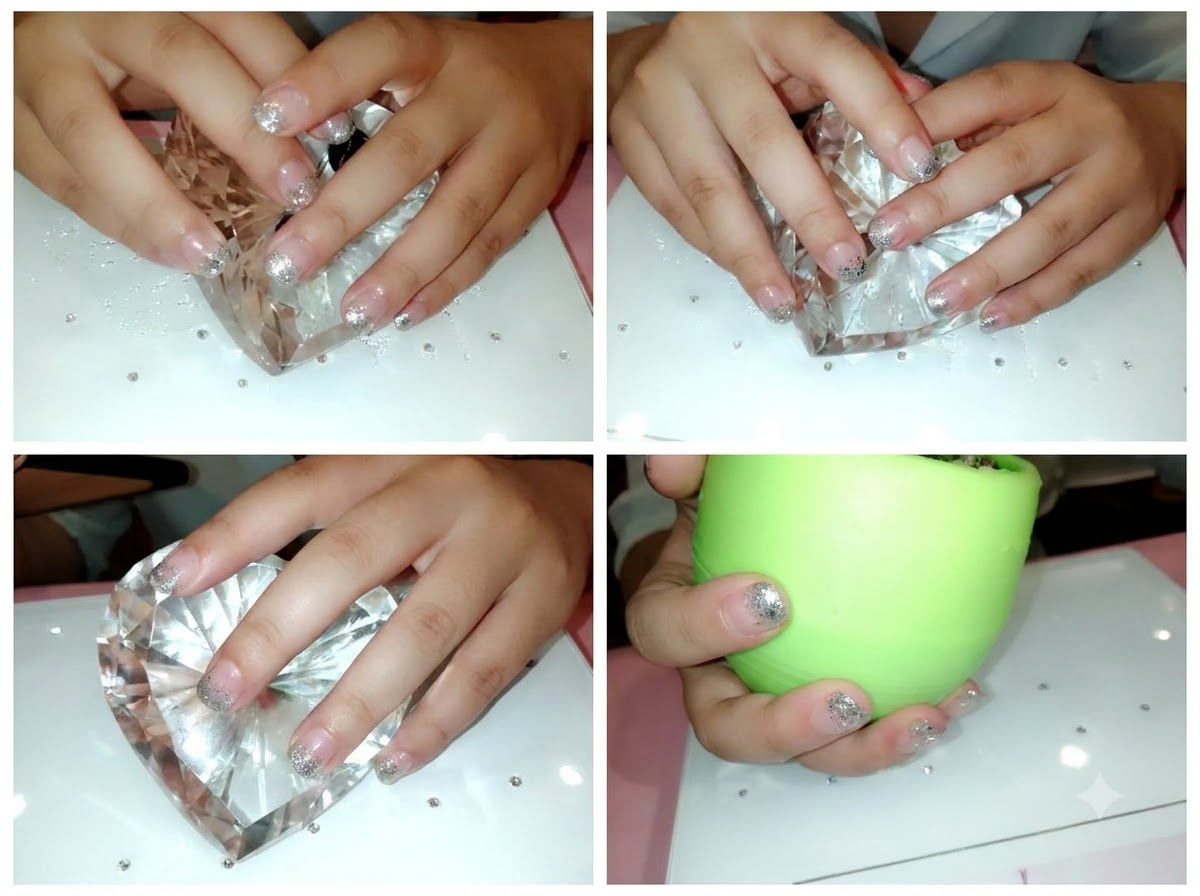
Inspect the prepped and cleaned nail surface before beginning the glitter application. Ensure the nails are free of oil, dust, and moisture so that the upcoming product layers adhere smoothly and securely.
Tip: A clean, dehydrated nail surface is the key to preventing premature lifting and peeling. - 2Apply clear base coat
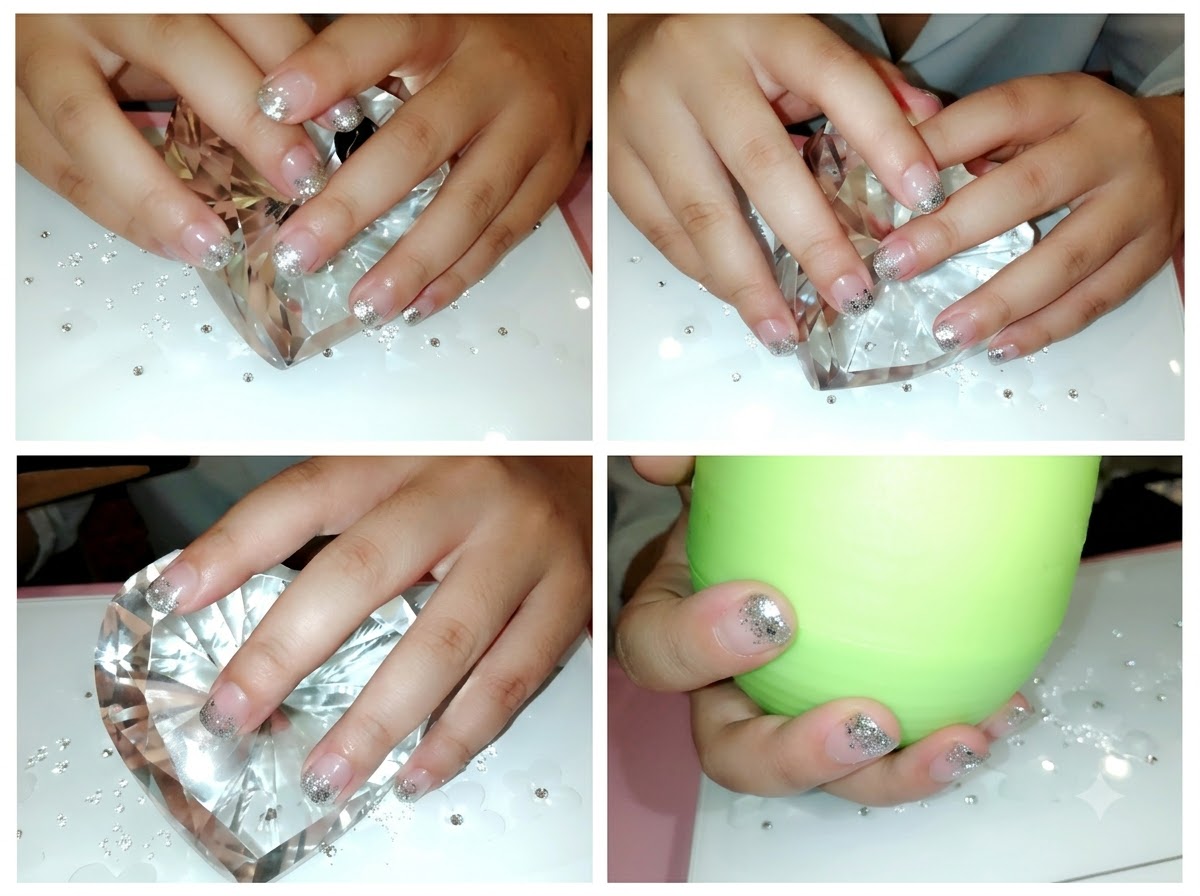
Brush a thin layer of clear base coat gel evenly across the entire nail plate to create an adhesive foundation. This layer helps grip the glitter particles and ensures long-lasting wear without damaging the natural nail underneath.
Tip: Keep the base coat layer thin to prevent pooling around the cuticles and ensure a proper cure under the lamp. - 3Apply silver glitter to tips
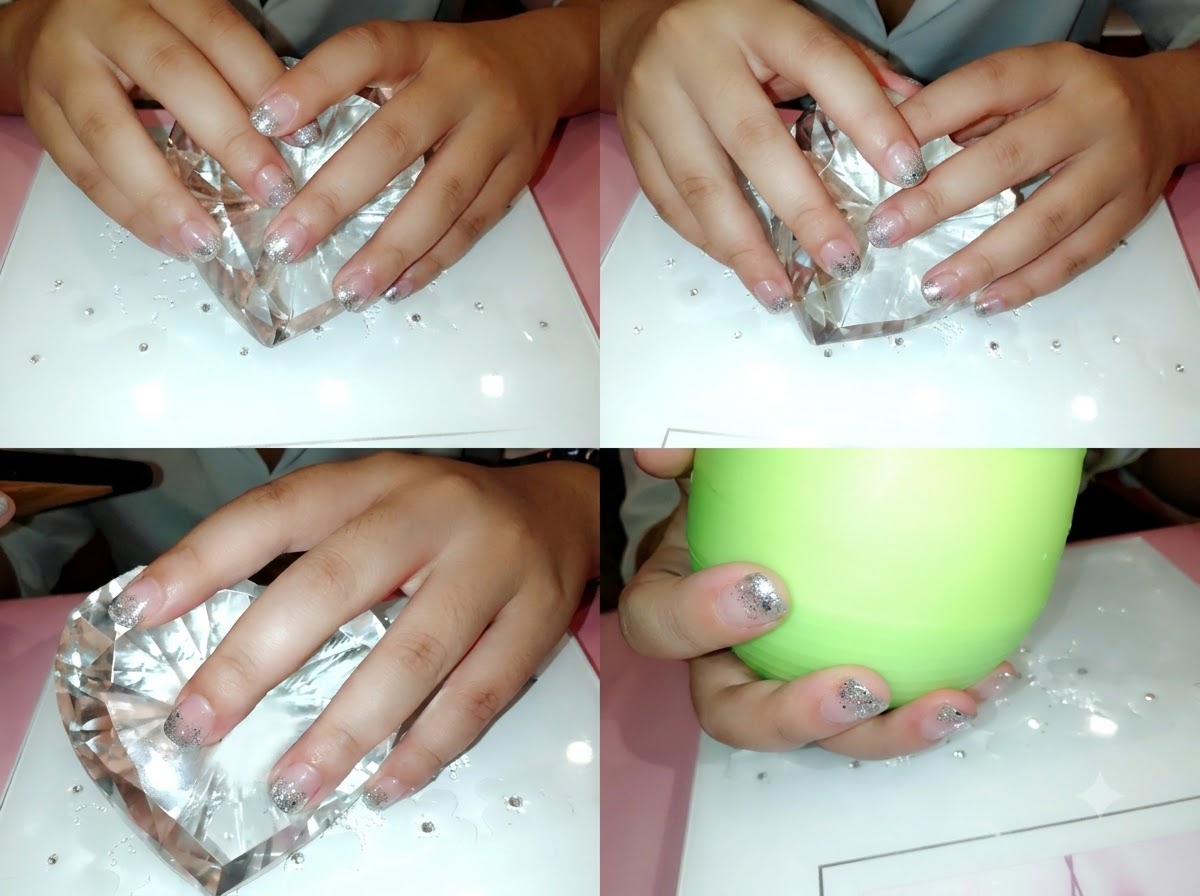
Using a fine brush or sponge tool, concentrate the silver glitter gel densely along the free edge of the nail. Build up the coverage near the tip to establish the foundation of the sparkling gradient design.
Tip: Concentrate most of the product on the very edge of the nail to create a striking contrast. - 4Blend the silver glitter
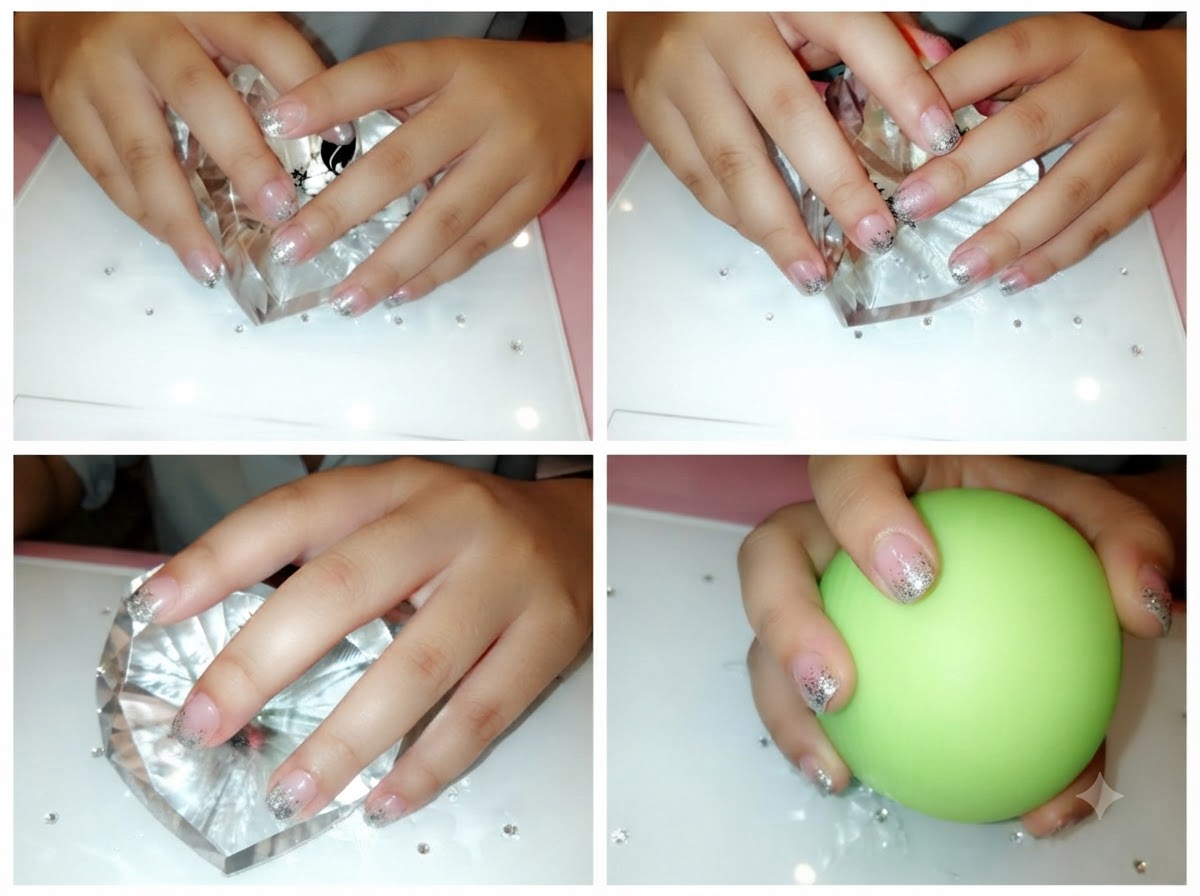
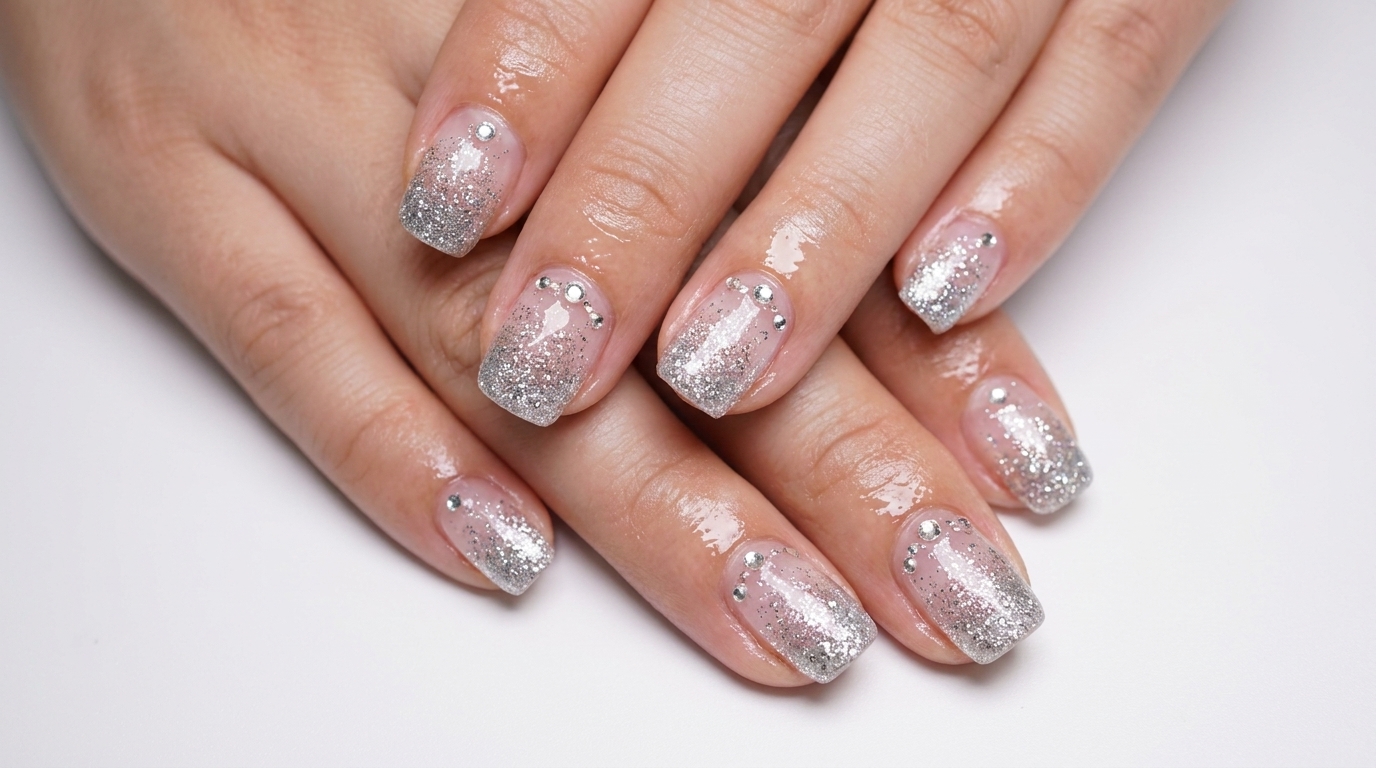
Using your brush or application tool, gently blend and diffuse the silver glitter particles upward toward the center of the nail to create a smooth, tapered gradient effect.
Tip: Work lightly to avoid shifting too much glitter toward the cuticle area. - 5Place cuticle crystals
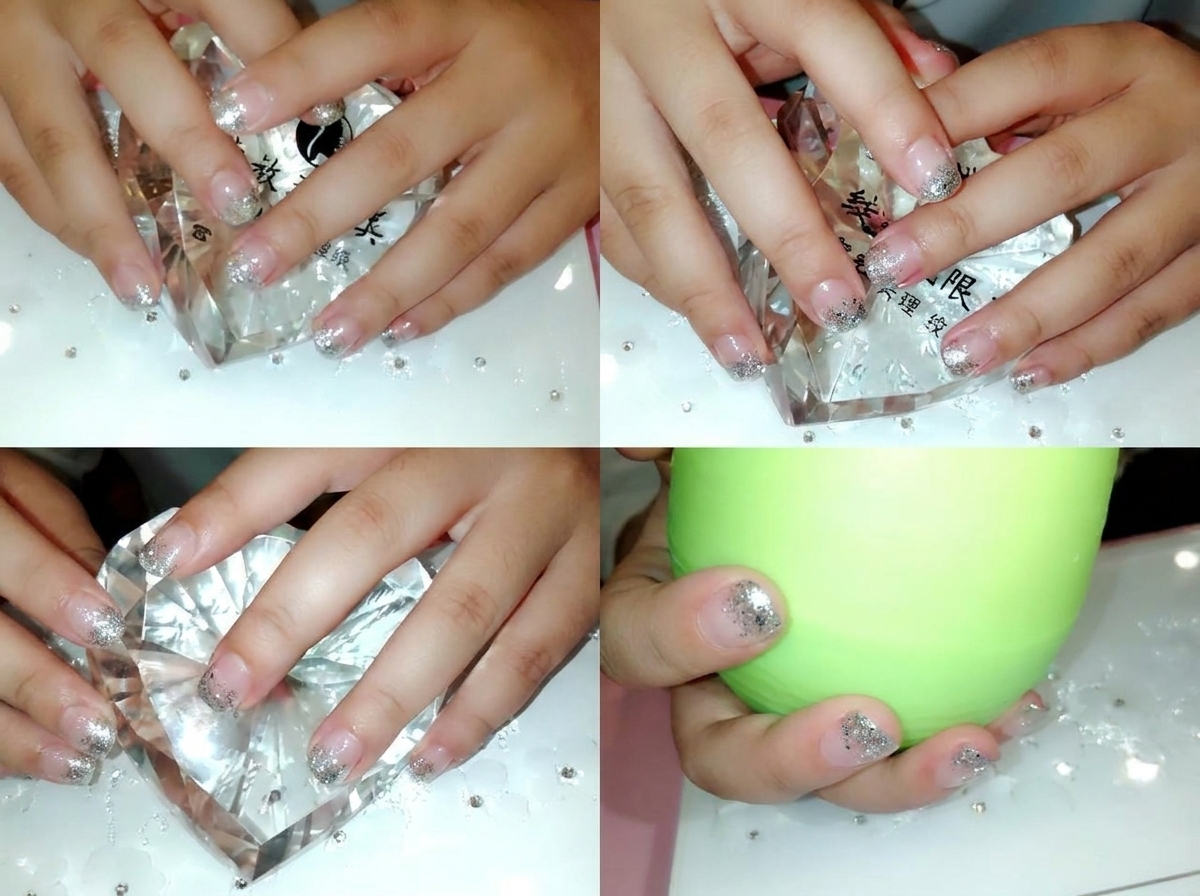
Pick up small individual clear crystals using precision tweezers and place them carefully near the cuticle base. Press them gently into a small dot of clear gel or glue to secure their placement.
Tip: Work quickly while placing stones so the adhesive does not dry or shift out of position. - 6Cure under UV or LED lamp
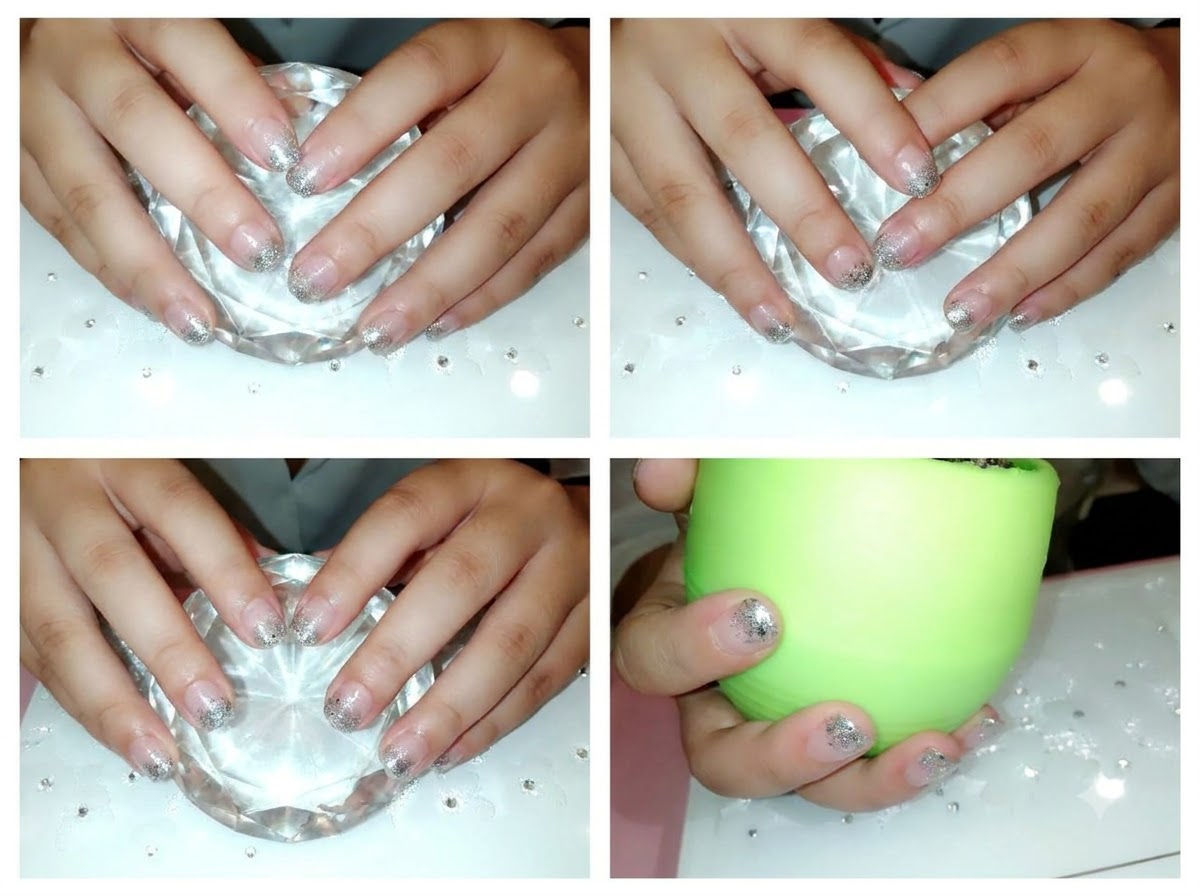
Place your hands inside the UV or LED lamp to thoroughly cure the top coat and underlying gel layers, ensuring a long-lasting and durable finish.
Tip: Keep your fingers flat inside the lamp to ensure even curing across all nails.