Silver Glitter Gradient Sticker Manicure — Easy Step-by-Step Tutorial
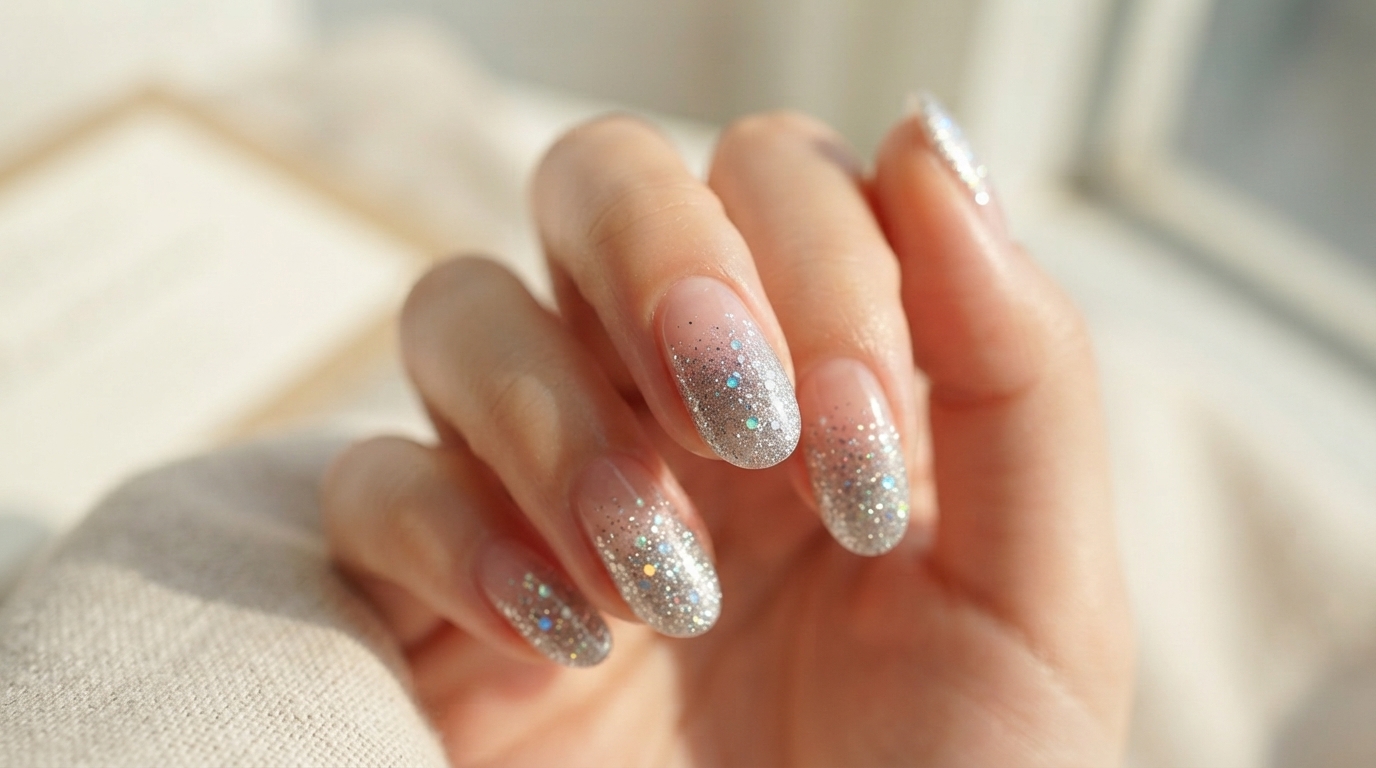
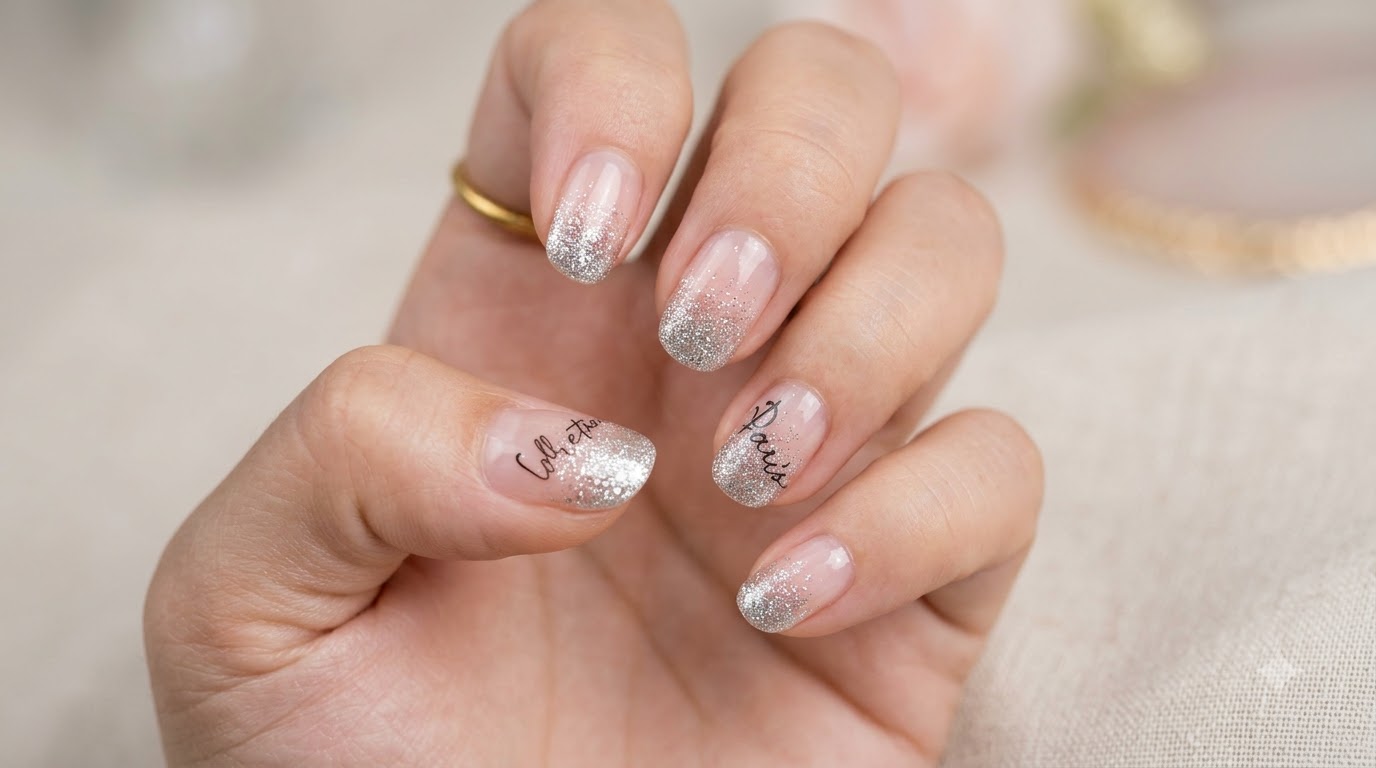
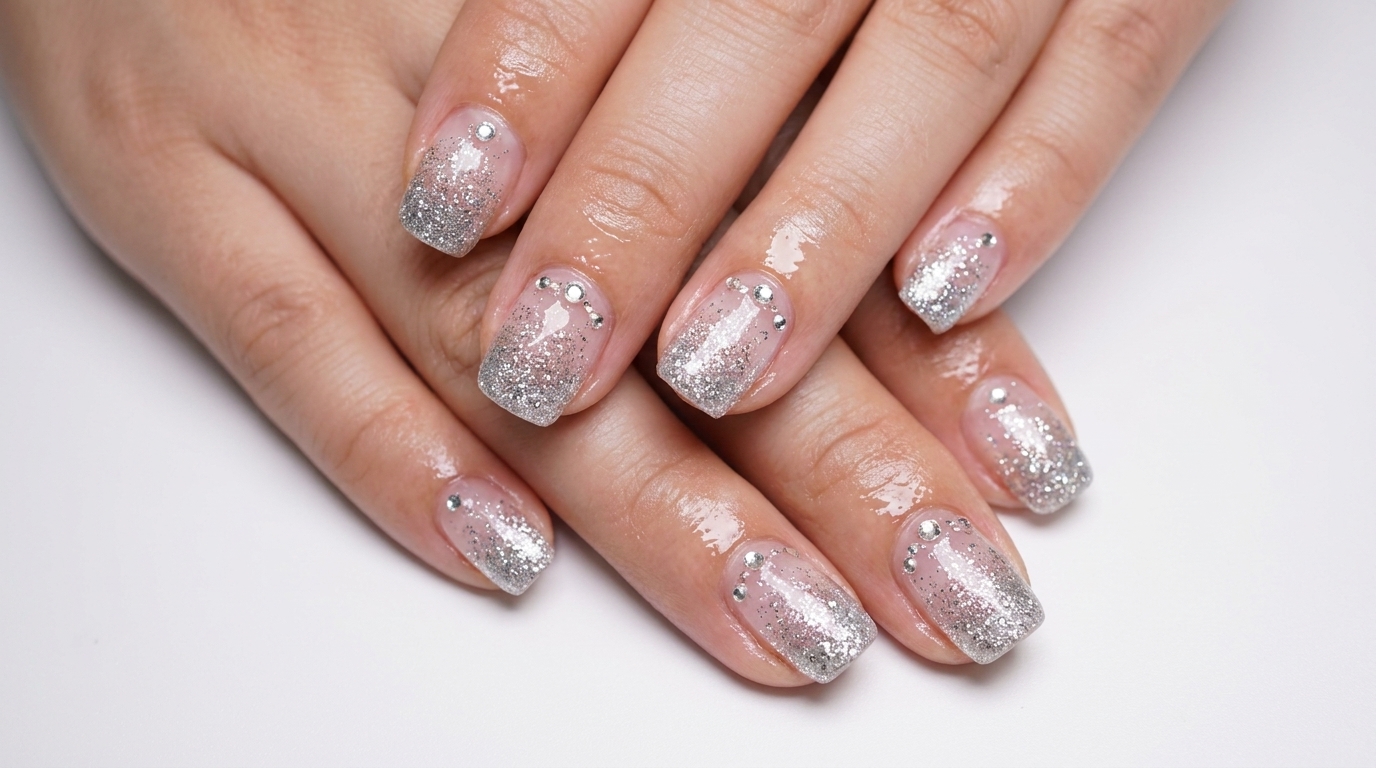
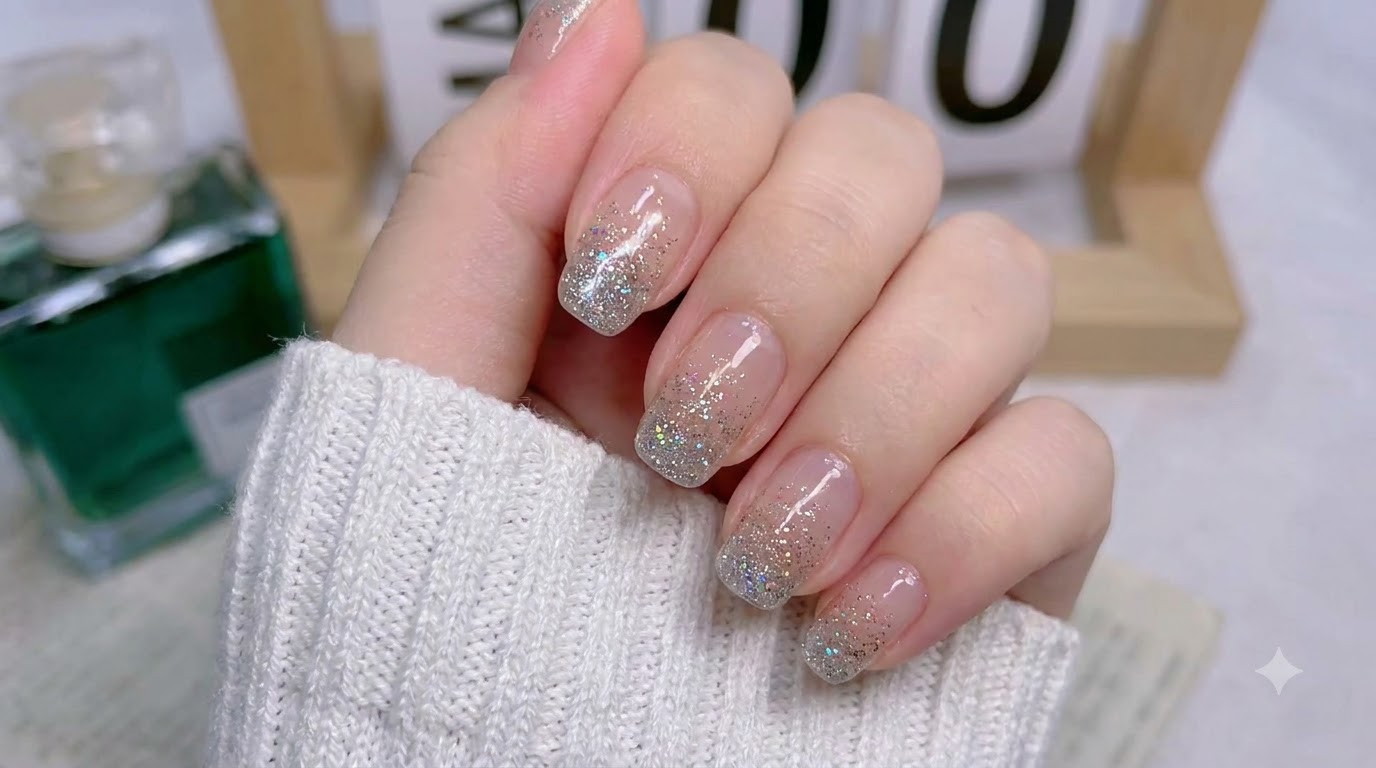
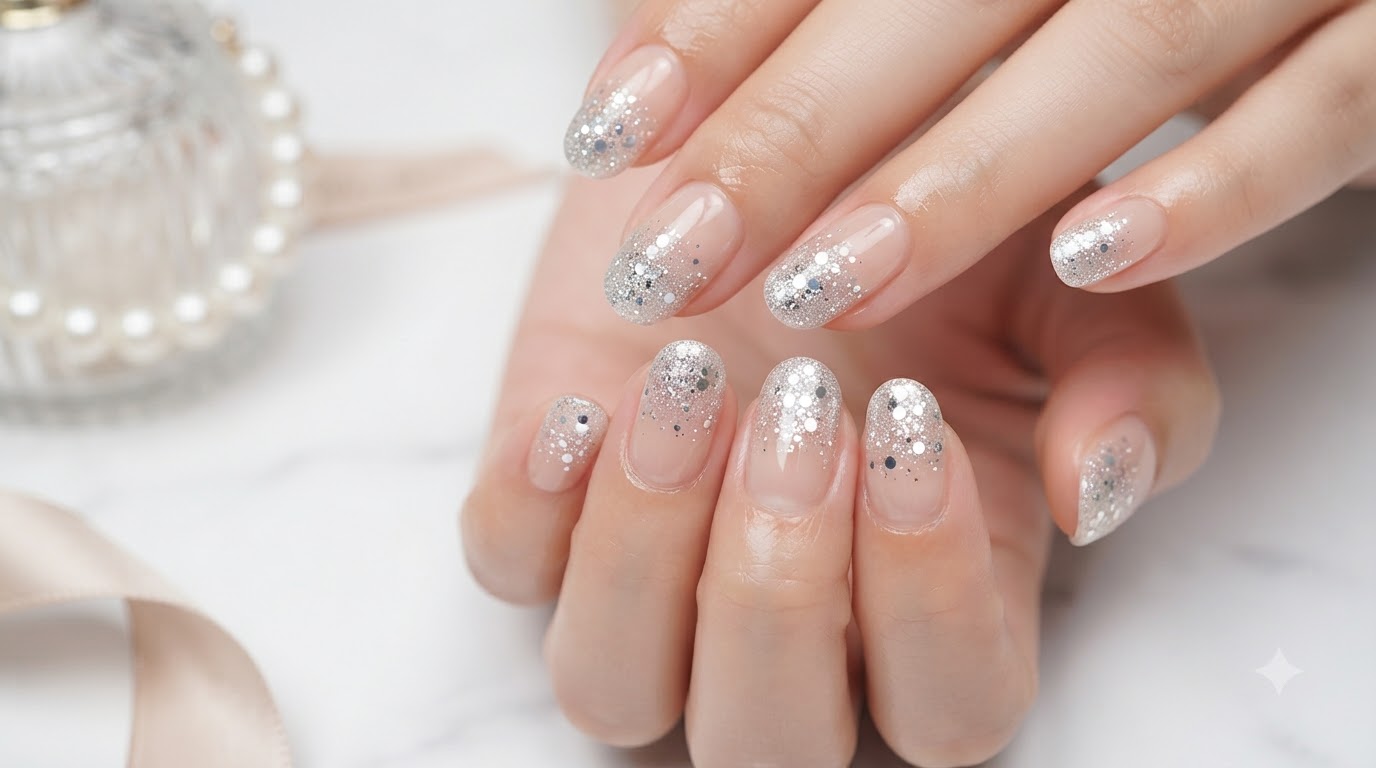
Create a stunning silver-white glitter gradient manicure instantly using easy-to-apply nail stickers with a dazzling holographic finish.
Glitter gradient nails bring a touch of effortless glamour to your everyday style, capturing light with every movement. This gorgeous silver-white design blends clear cuticles into dense holographic glitter and chunky hexagon flakes for a salon-quality look. Best of all, using premium nail stickers makes achieving this sophisticated gradient clean, quick, and beginner-friendly without the mess of loose glitter.
Steps
- 1Display the nail stickers
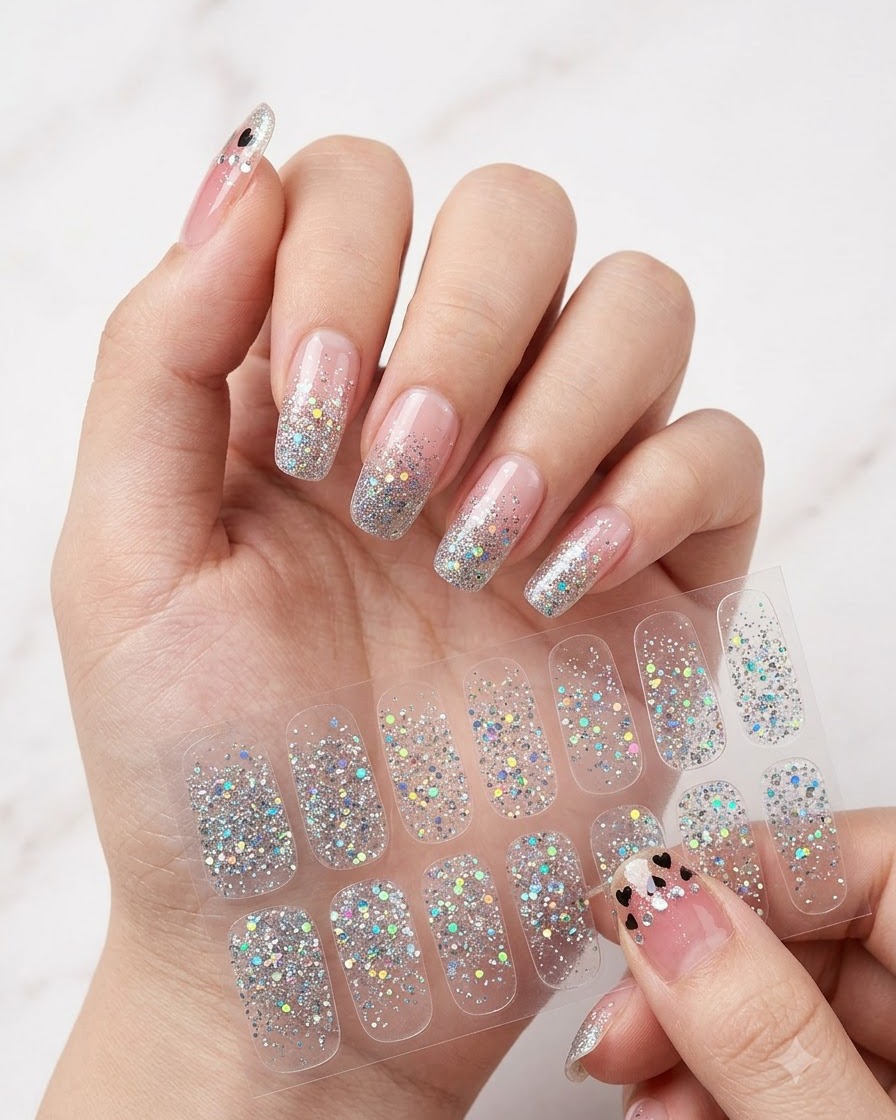
Hold up and display the transparent nail sticker strip. These feature a beautiful, dense silver glitter gradient design that adds an instant sparkling effect to your nails.
Tip: Measure the stickers against your natural nails before peeling to find the perfect fit for each finger. - 2Prep the natural thumb nail
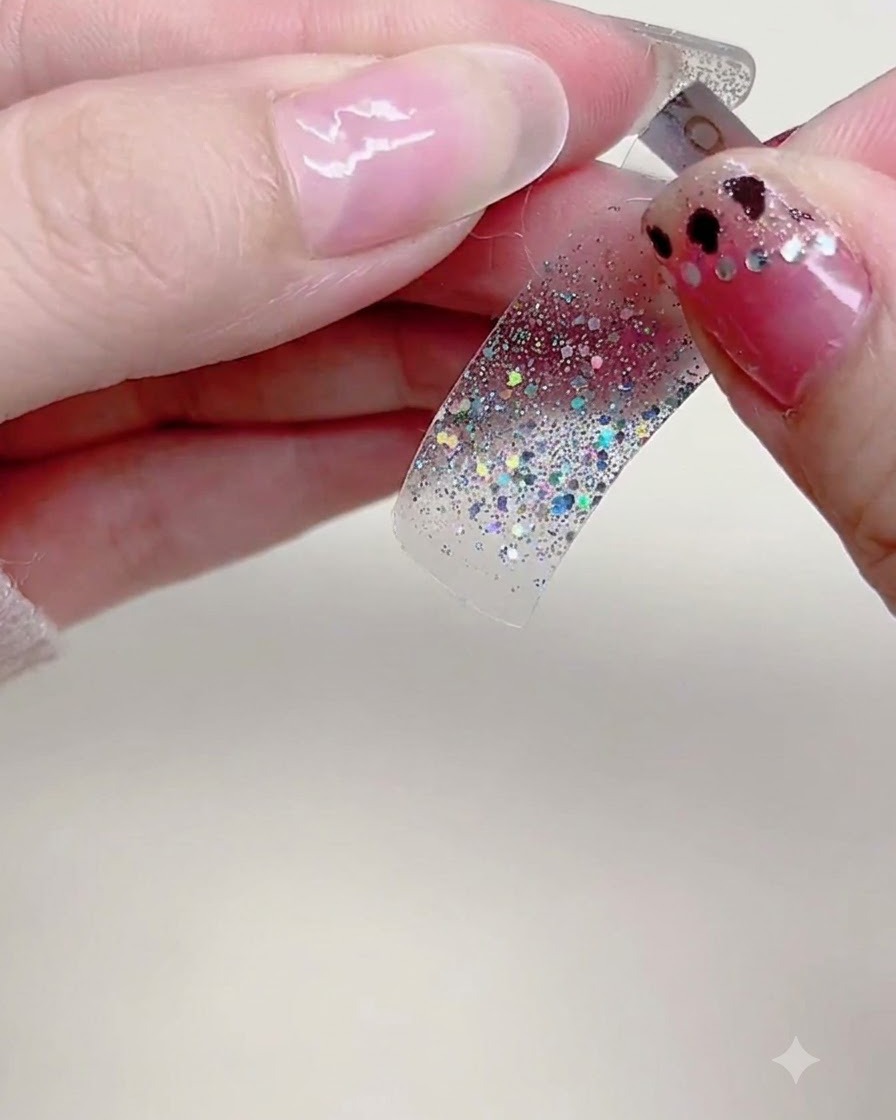
Expose your bare, clean natural thumb nail to ensure the surface is completely free of oils, dust, or moisture before applying any nail stickers. A clean base maximizes adhesion and prevents premature lifting or bubbling.
Tip: Wipe the nail surface with a lint-free pad saturated in rubbing alcohol right before application for optimal stickiness. - 3Align at the cuticle
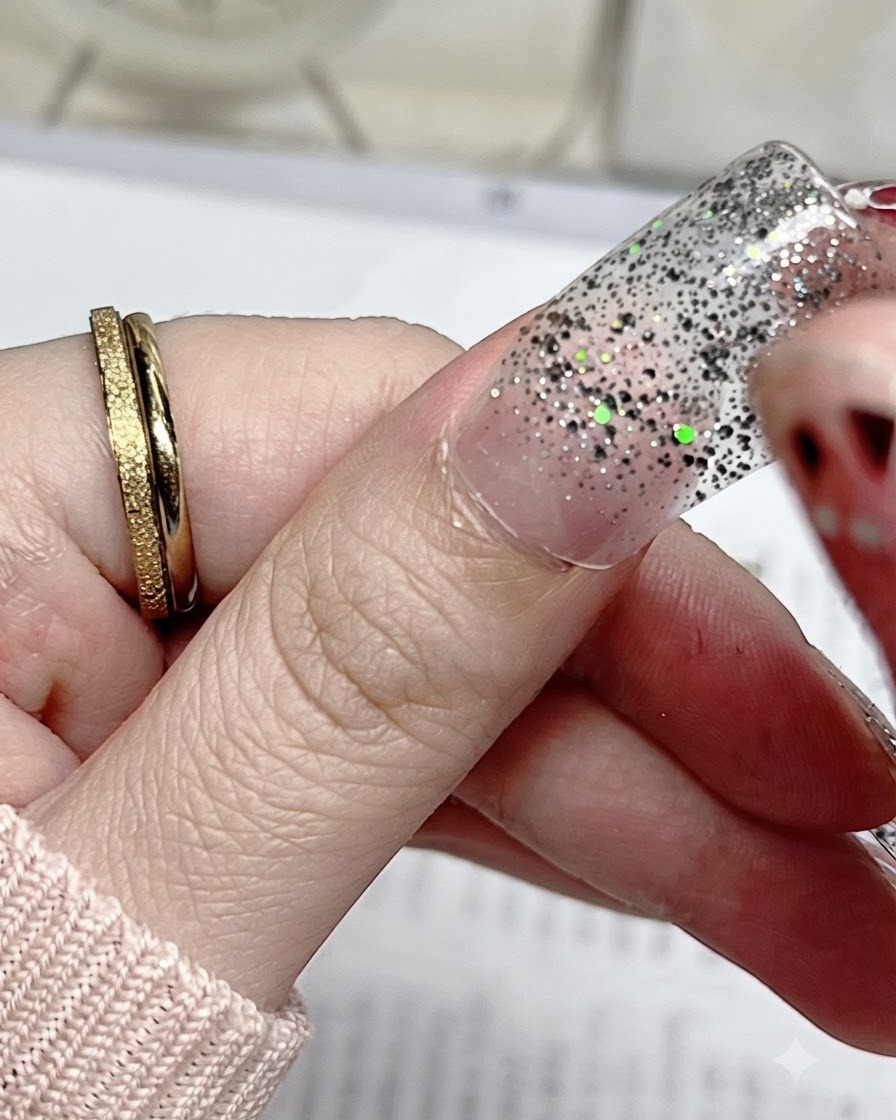
Carefully align the rounded base edge of the glitter sticker with your thumbs cuticle line. Take your time to ensure the sticker is centered perfectly before committing to the final placement.
Tip: Leave a tiny microscopic gap between the cuticle and the sticker to prevent lifting. - 4Press the center down
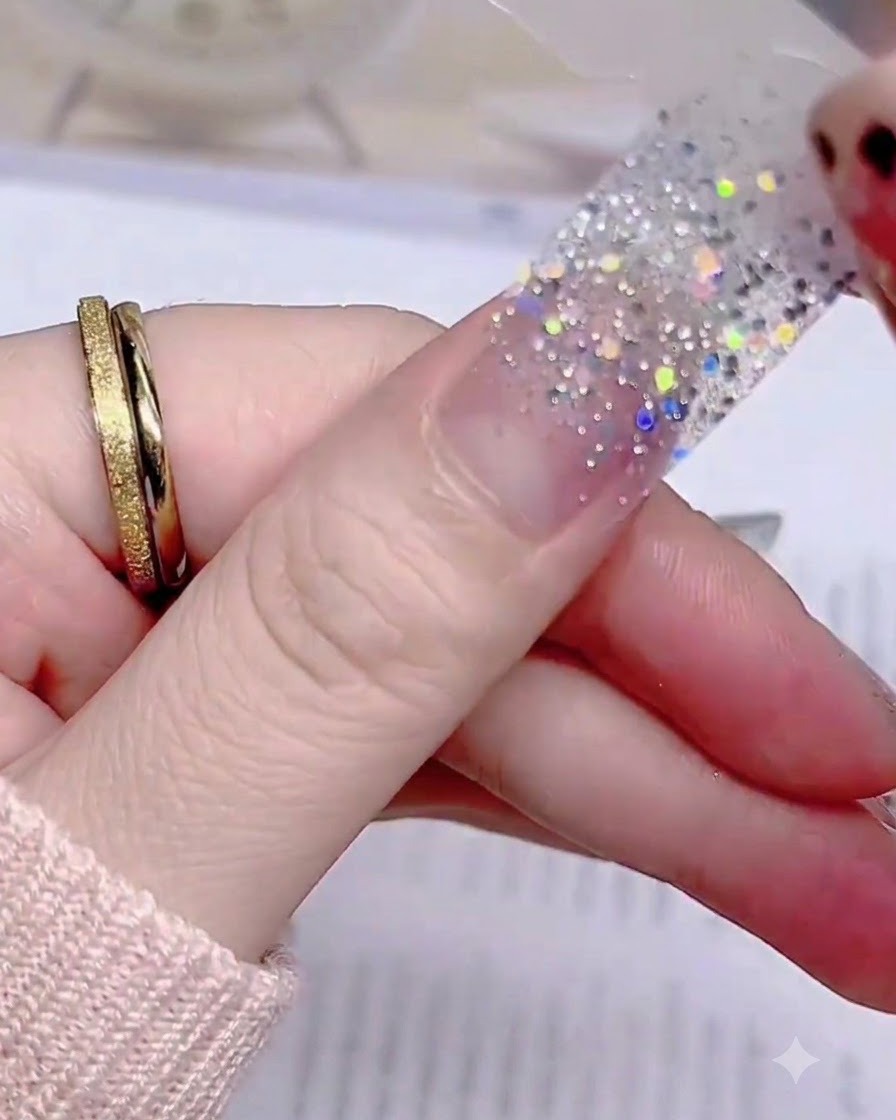
Once the base is properly aligned, press the center of the sticker down firmly onto the nail plate. Smooth it straight down the middle to secure the initial placement without shifting the design.
Tip: Always smooth down the center first before pressing the sides down to prevent air bubbles from forming. - 5Smooth down the sticker
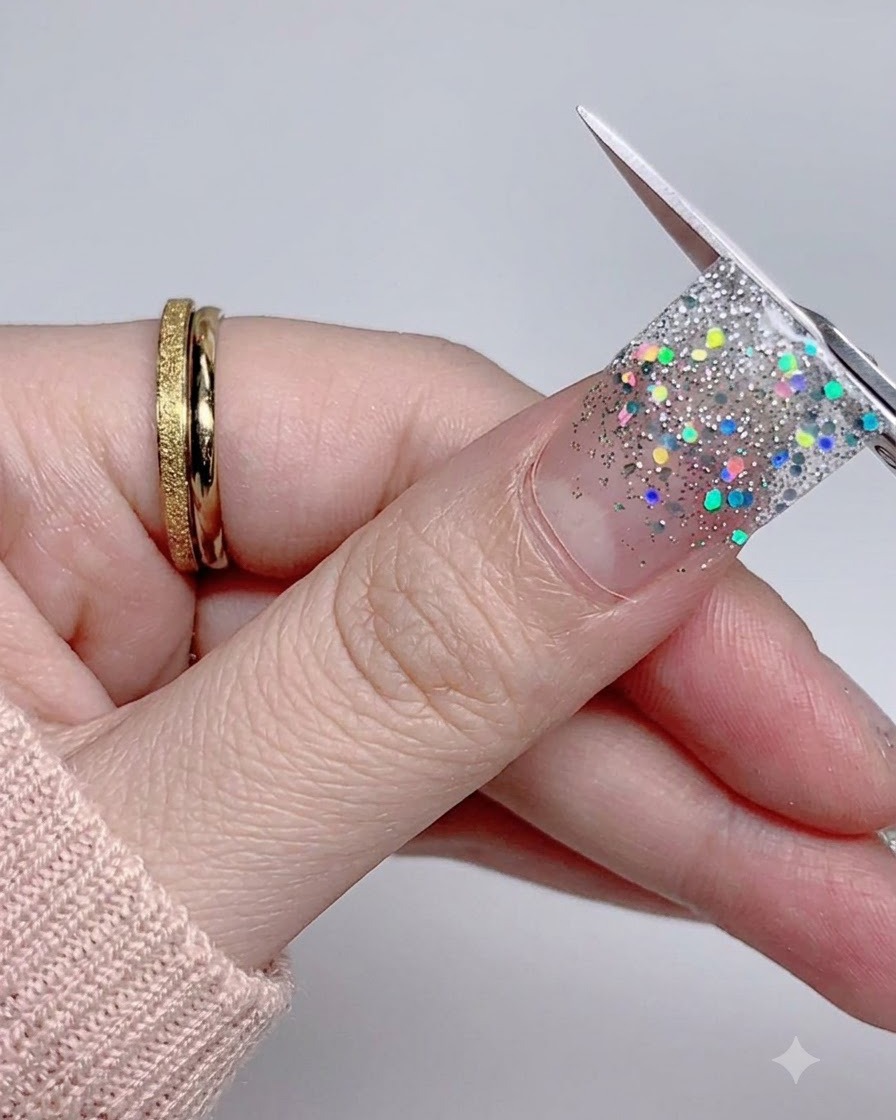
Using your opposite thumb, gently rub and smooth down the left side of the nail sticker to eliminate any trapped air bubblescite: 1. Work firmly from the center outward to ensure complete contact with the nail surface.
Tip: Pressing firmly removes micro-bubbles that can cause the sticker to lift prematurely. - 6Smooth the edges
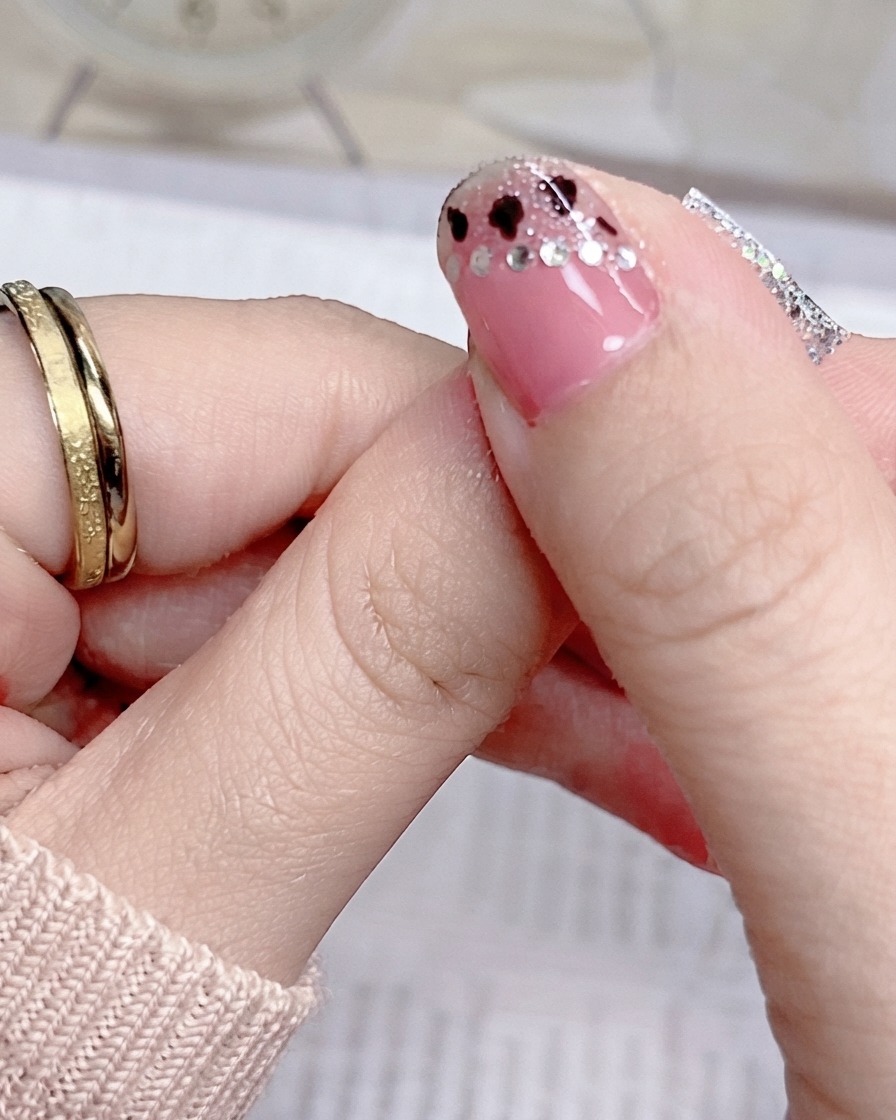
Press and smooth the right edge of the sticker down firmly, ensuring full adhesion across the entire nail bed. Use your opposite thumb to apply direct pressure along the side to secure the adhesive.
Tip: Rubbing the edges gently helps warm up the adhesive slightly, allowing the sticker to grip the nail better. - 7Fold and pinch the sticker over the free edge
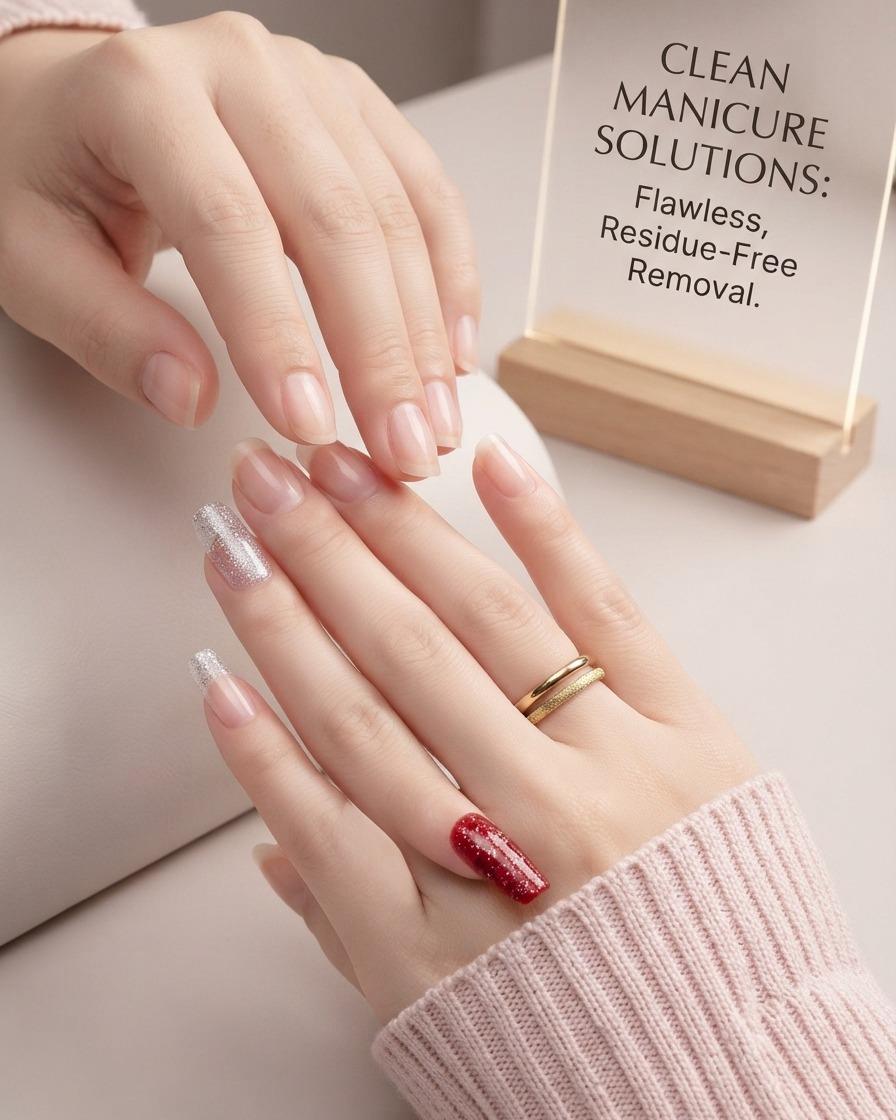
Firmly fold and pinch the excess length of the sticker downwards over the free edge of your thumb nail. Ensure the material conforms smoothly to the curve of the tip without any air bubbles or loose edges, creating a clean seal before filing off the remainder.
Tip: Pinch the edges securely with your fingertip to ensure the sticker bonds tightly right along the edge. - 8Trim excess sticker
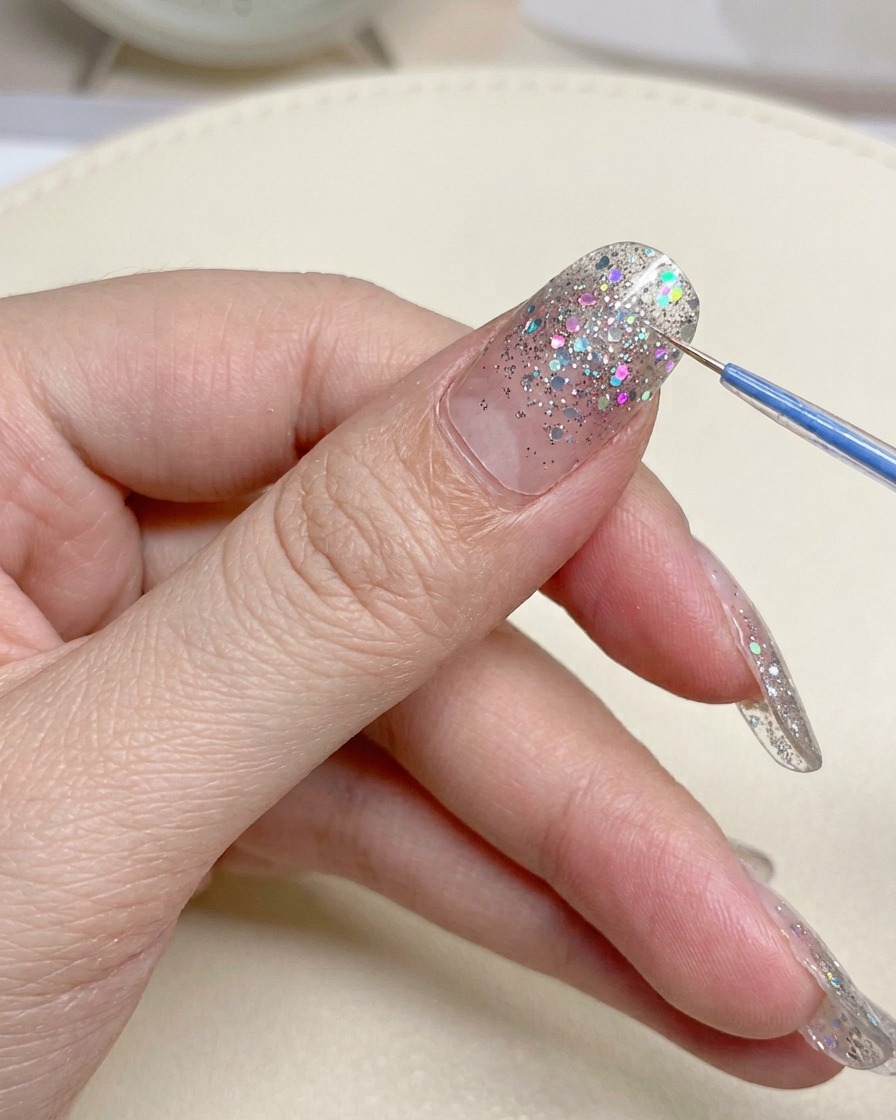
Take a pair of precision metal nail clippers and carefully trim away the excess sticker material that is overhanging past the tip of the nail. Keep the clipper blades flush against the natural edge for a clean, even cut.
Tip: Clip slightly away from the edge first if you are unsure, then file down the remainder for a flawless finish. - 9Remove excess sticker material
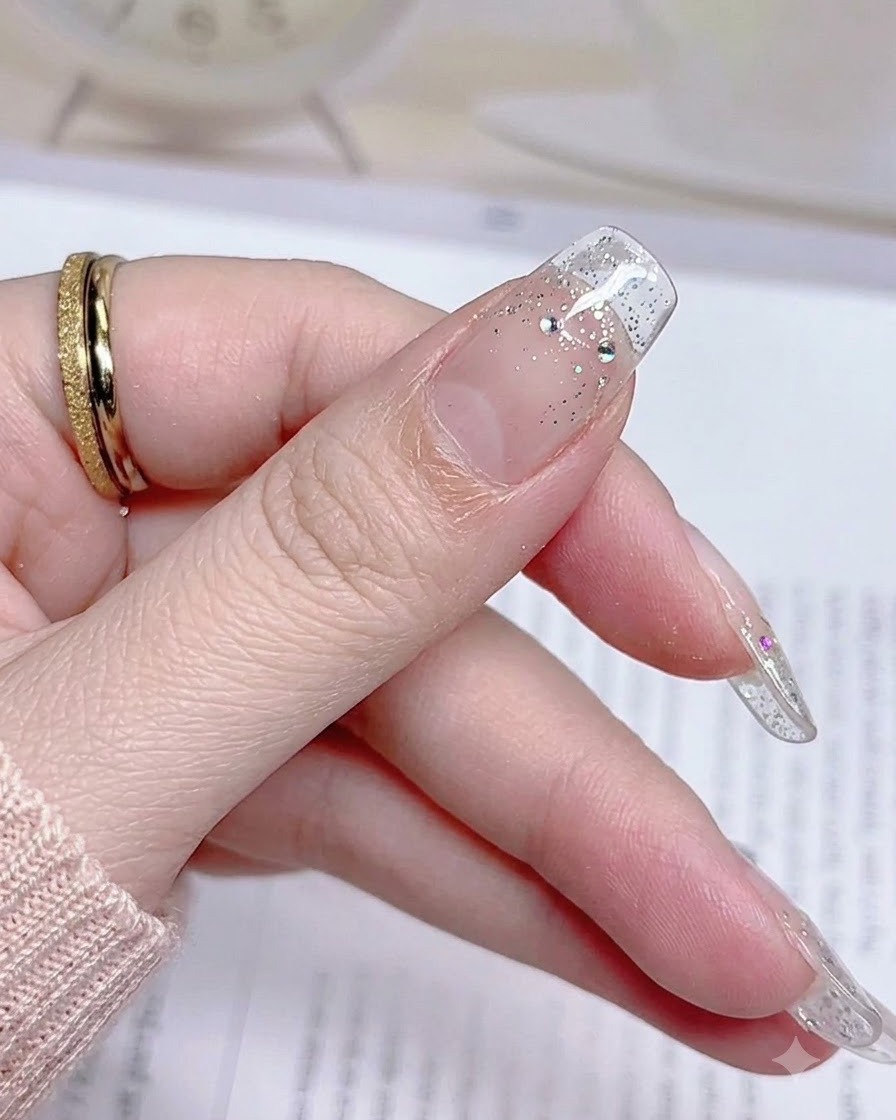
Gently pull away the severed piece of excess sticker material from the nail tip, leaving behind a clean and precisely trimmed edge that contours perfectly to the shape of your thumb.
Tip: Pull the excess film downward and away at a low angle to avoid tearing or lifting the sticker off the nail plate.