Silver Glitter Ombre Press-On Nails — Easy Step-by-Step Application Guide
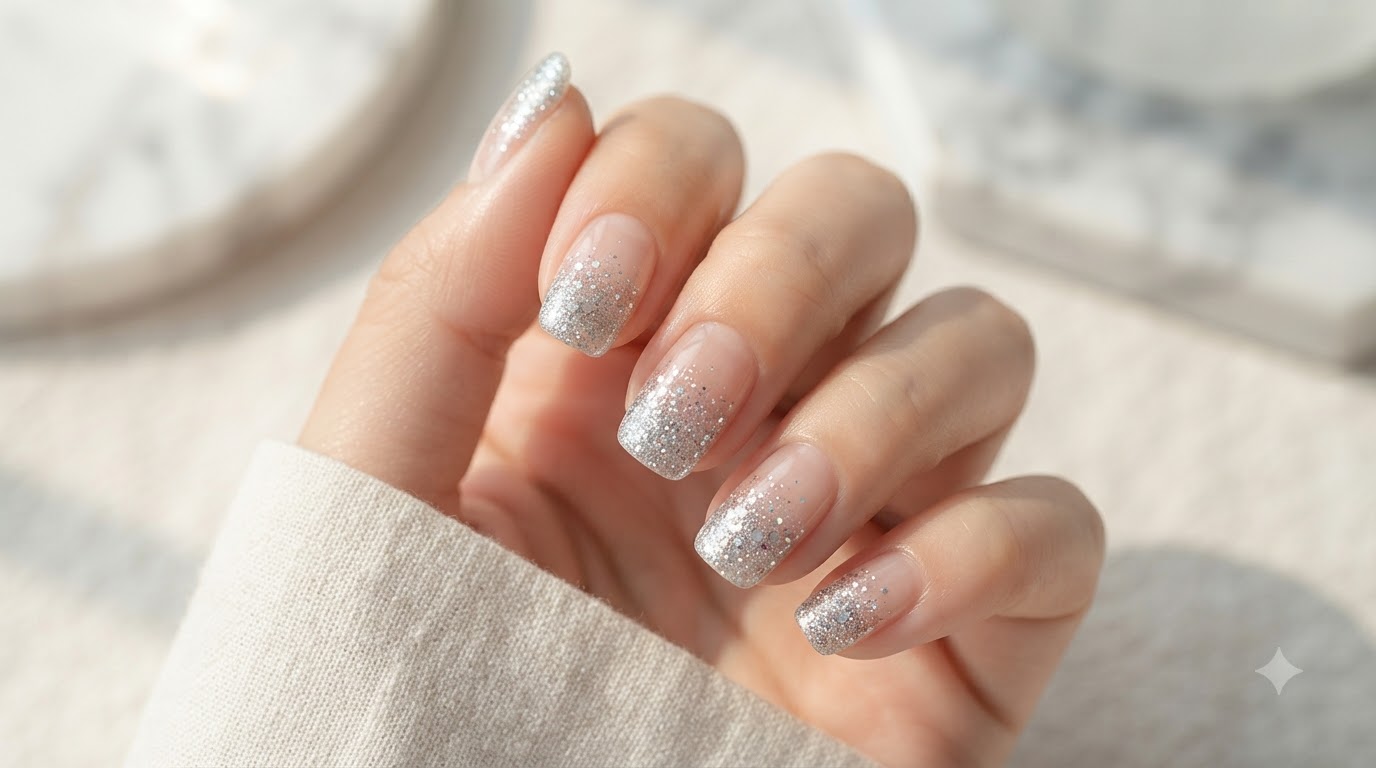
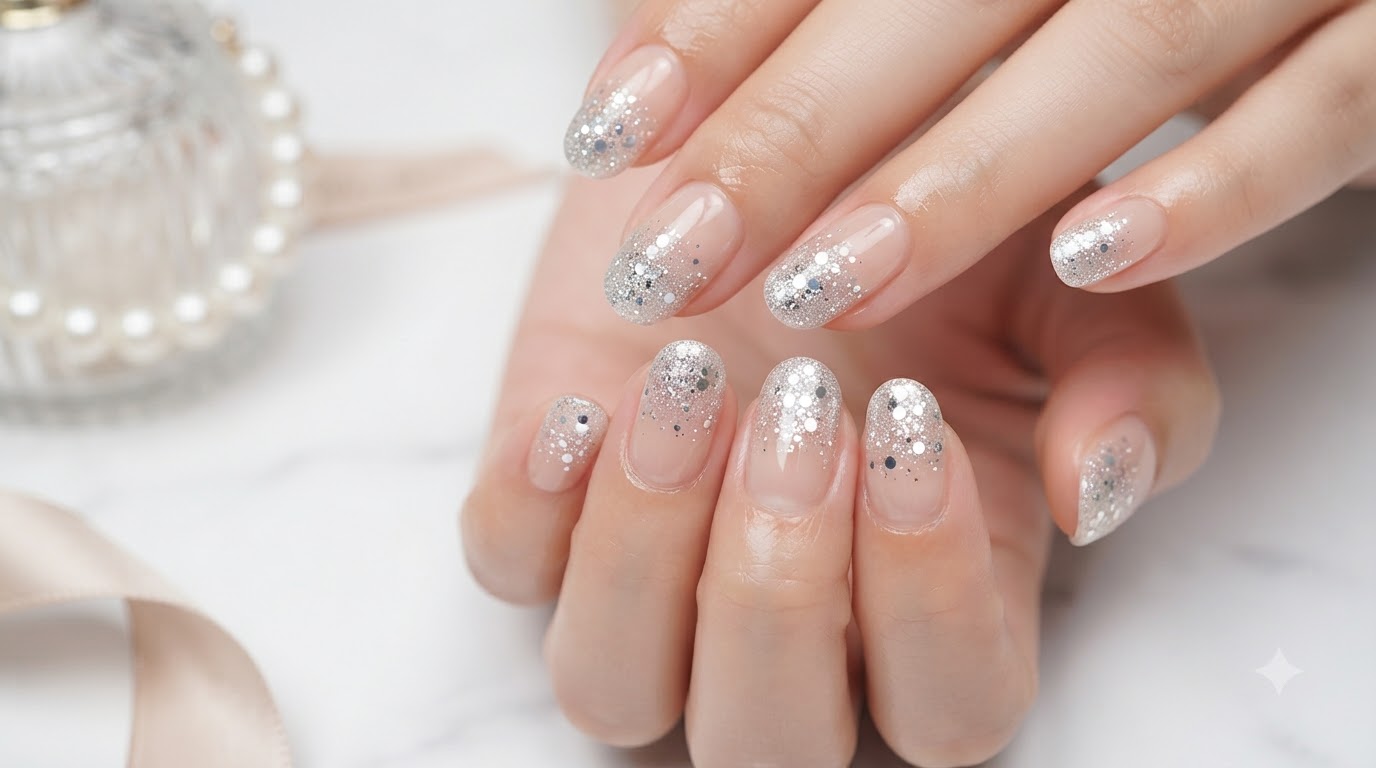
Achieve a dazzling salon-quality manicure at home with sparkling silver glitter ombre press-on nail stickers that catch the light beautifully.
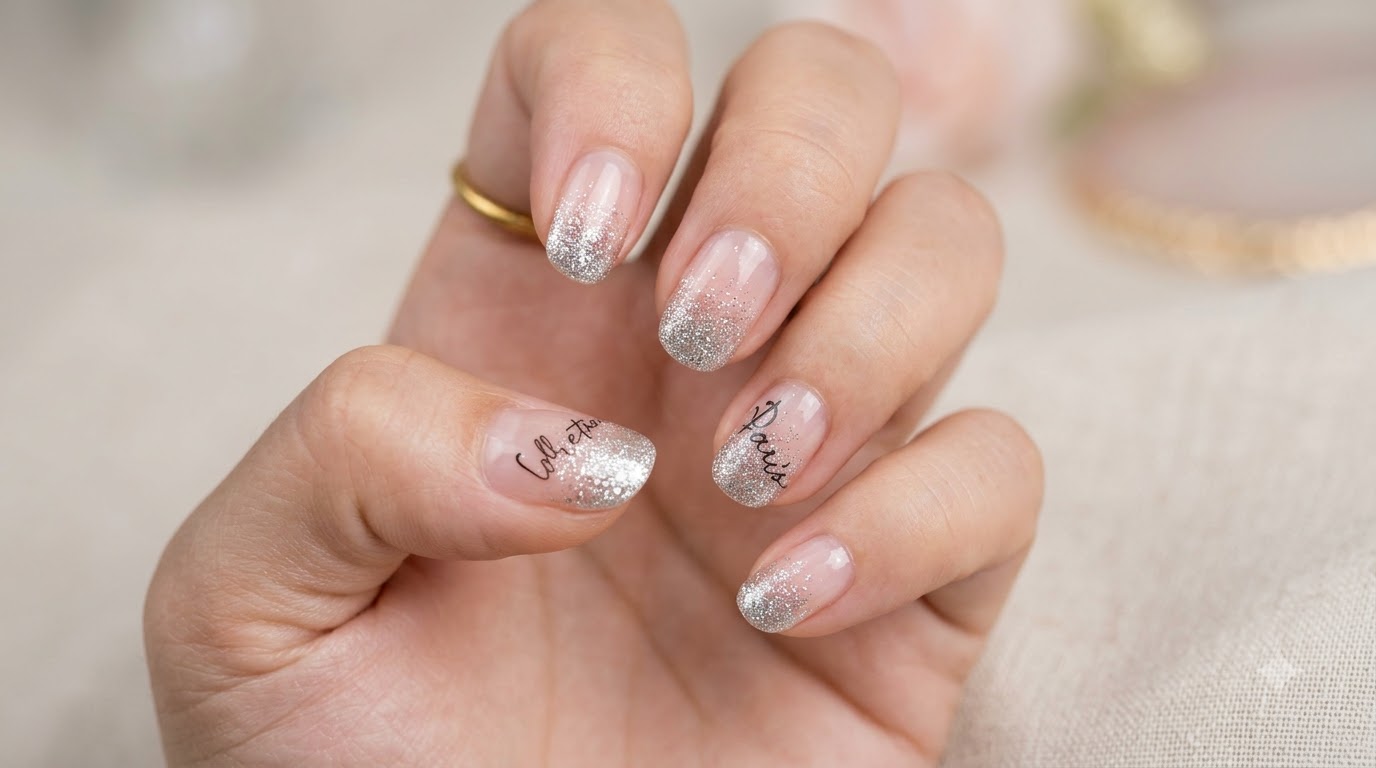
Glitter ombre nails offer a stunning balance of subtle elegance and eye-catching sparkle. This versatile gradient style effortlessly elevates your everyday look, bringing a touch of sophisticated shimmer to your fingertips without the hassle of messy liquid glitter.

Steps
- 1Apply the nail wrap
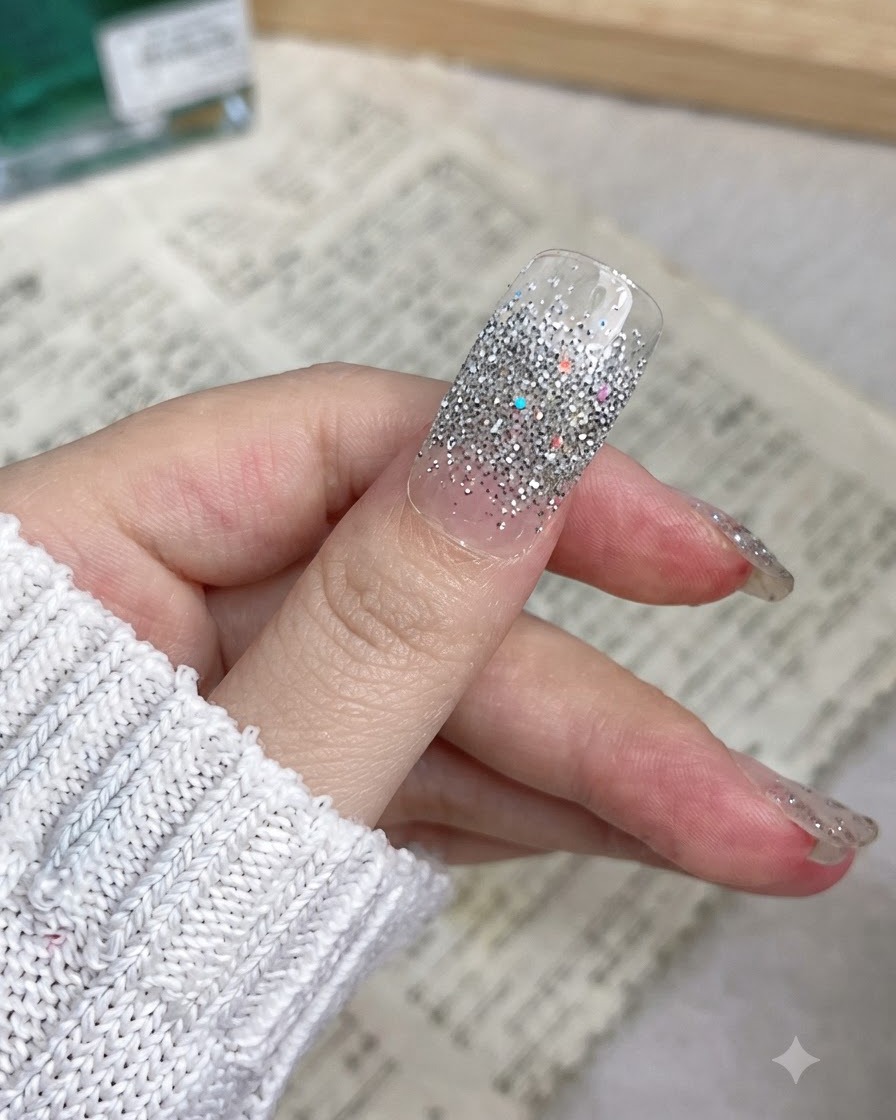
Carefully align the silver glitter nail wrap with your cuticle line and press it down flat onto the center of the bare fingernail bed. Smooth the wrap outward toward the edges and down toward the free edge to eliminate any wrinkles or air bubbles.
Tip: Make sure your nails are completely clean and oil-free before application to ensure maximum adhesion. - 2Trim excess nail wrap
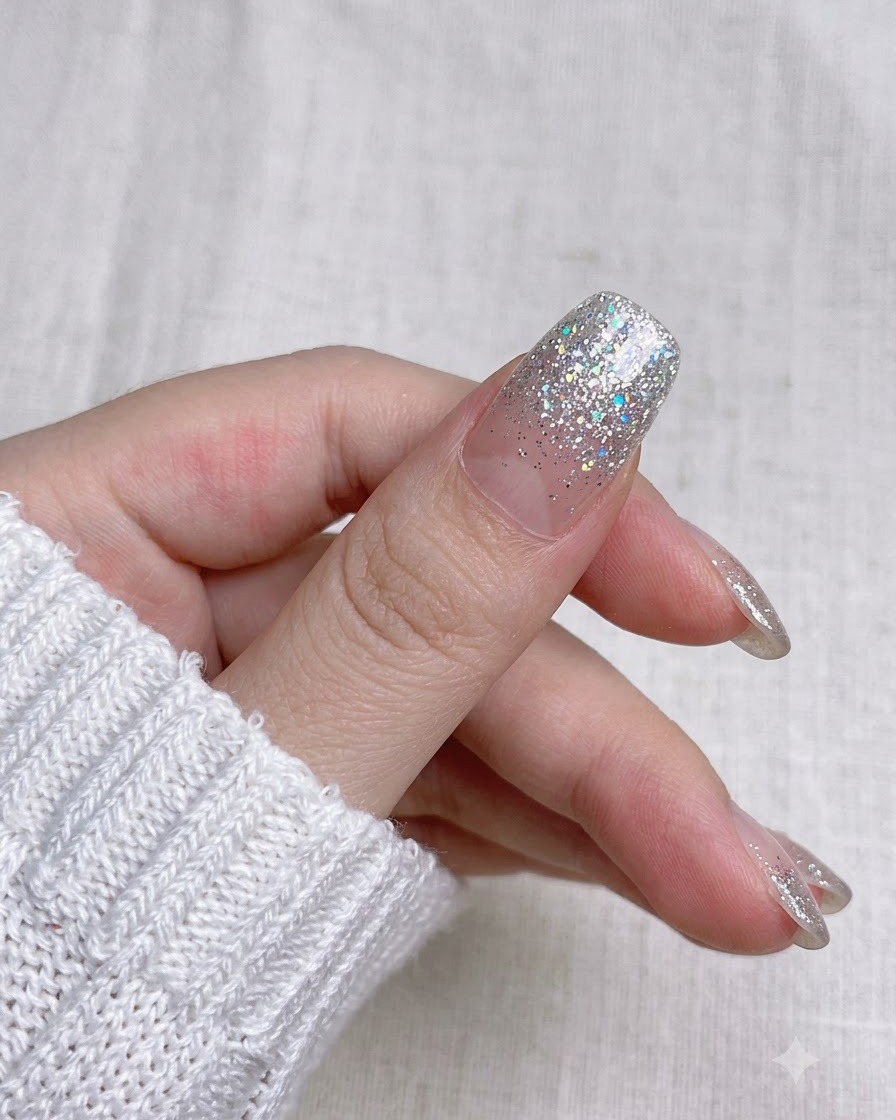
Take a small pair of precision manicure scissors and carefully trim away the leftover hanging nail wrap material closely following the curve of the natural nail tip.
Tip: Leave a tiny fraction of a millimeter of extra material to allow for a clean edge when filing down. - 3Press and smooth edges
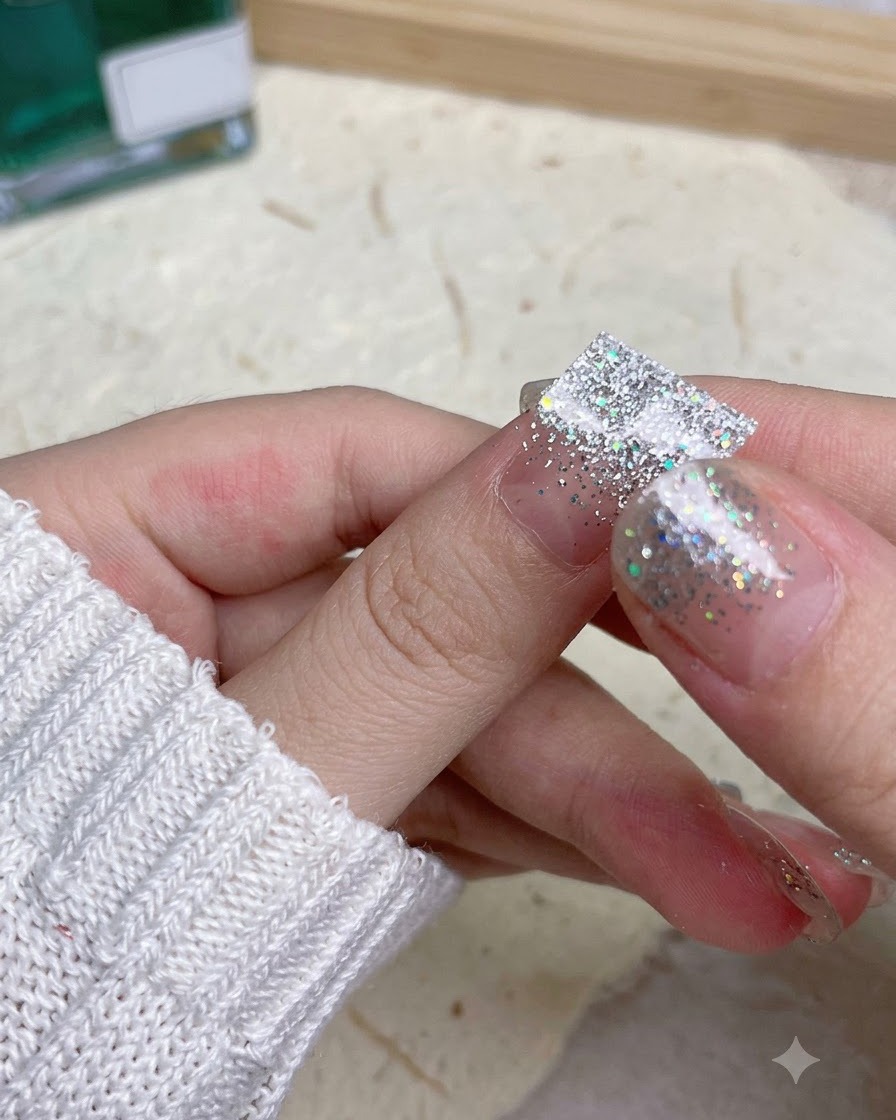
Firmly press down along the sides and tip of the nail using your thumb to seal the edges of the glitter wrap completely against the nail plate.
Tip: Applying firm pressure helps activate the adhesive and prevents peeling or lifting at the corners. - 4File away excess material
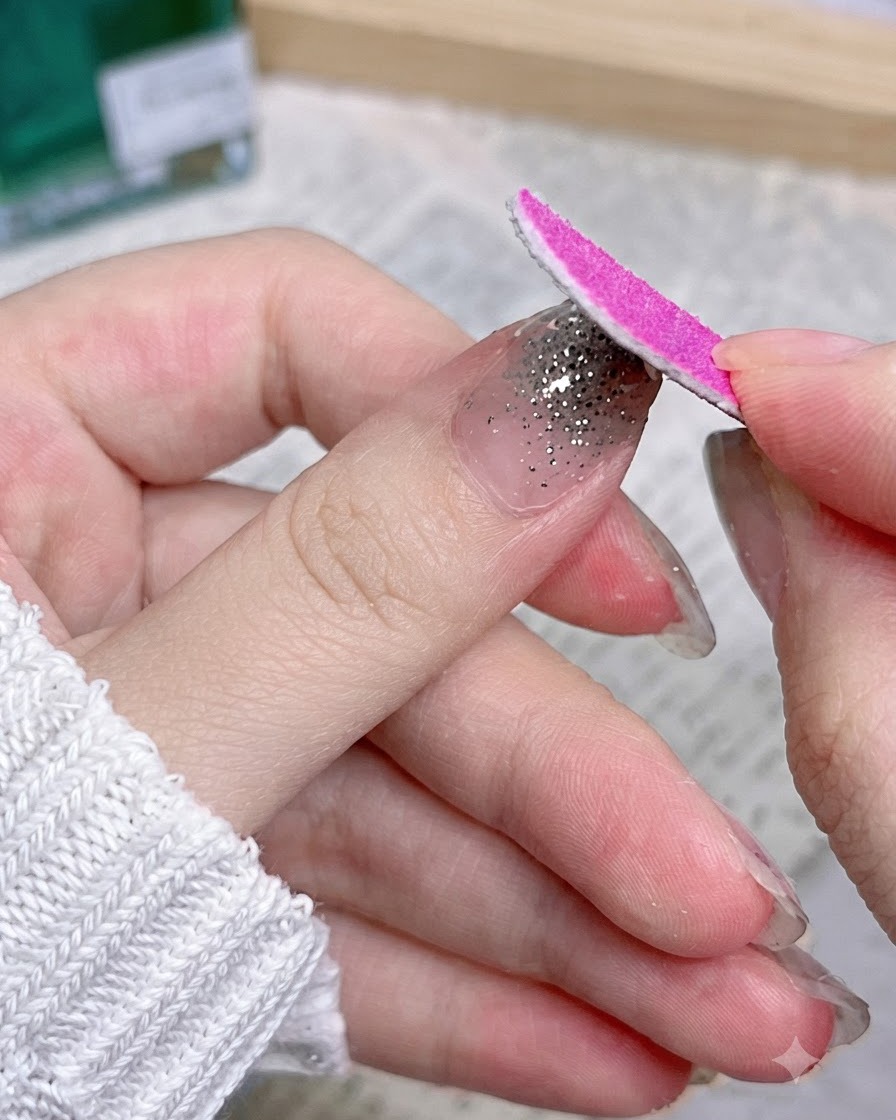
Take a fine-grit nail file and gently file downward along the free edge of the nail at a 90-degree angle. This cleanly shears off any remaining excess sticker material and seals the tip.
Tip: Always file in a downward motion only; filing upward or sawing back and forth will tear the wrap edge. - 5Inspect the finished nail
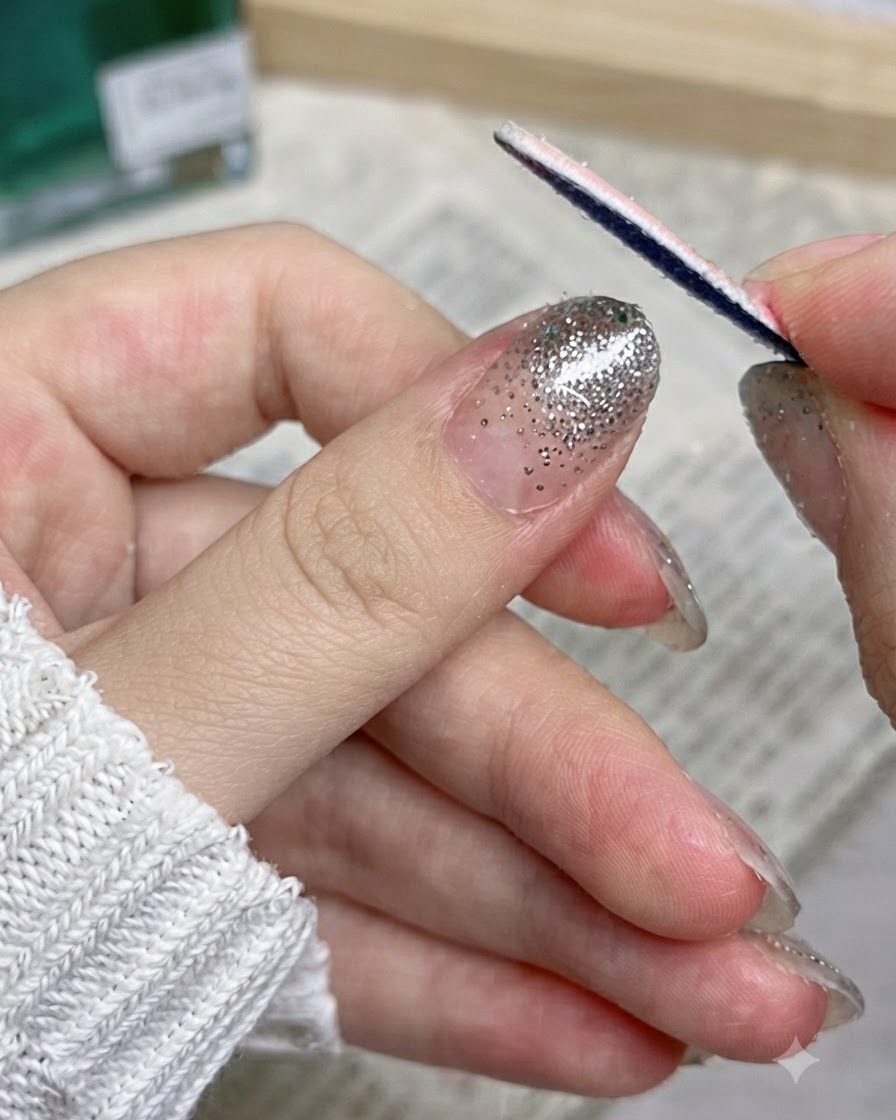
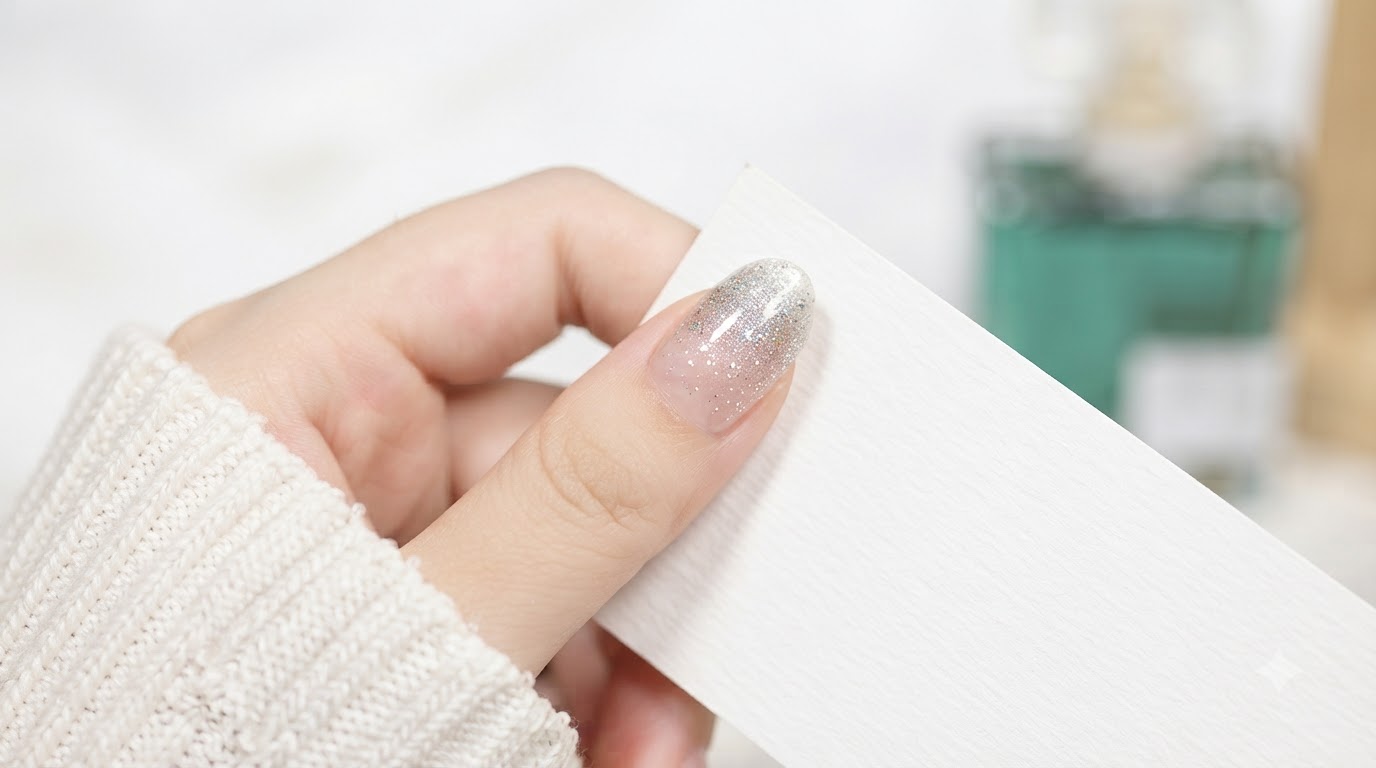
Inspect your finished single nail application to ensure the edges are clean, smooth, and well-sealed with a seamless sparkling silver glitter ombre transition.
Tip: Check the tip to make sure the wrap is completely flush with the natural nail edge to prevent snagging.