Silver Glitter Gradient Nail Stickers — Easy Step-by-Step Tutorial
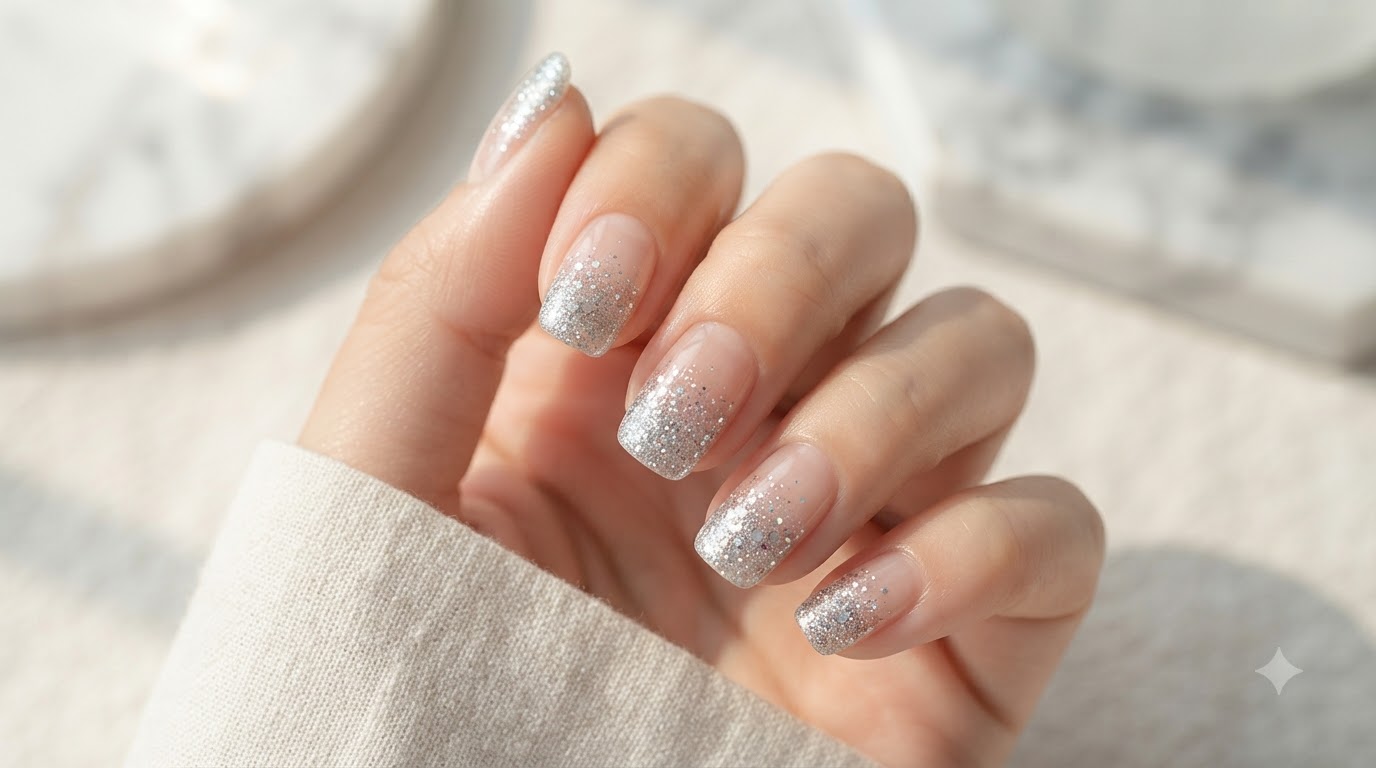
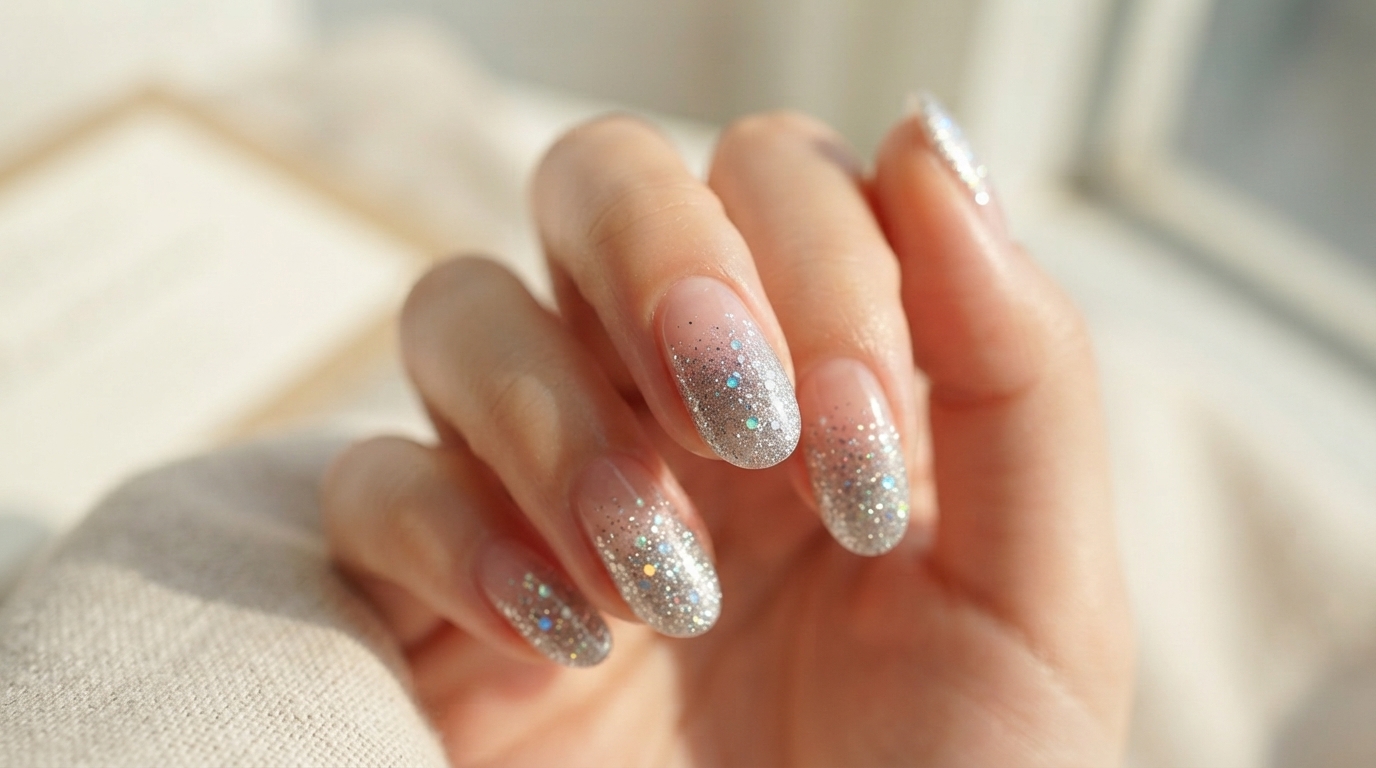
Create a flawless, high-end silver glitter gradient manicure in minutes. This sparkly, fashionable look uses convenient nail stickers for zero-mess, perfect results every time.
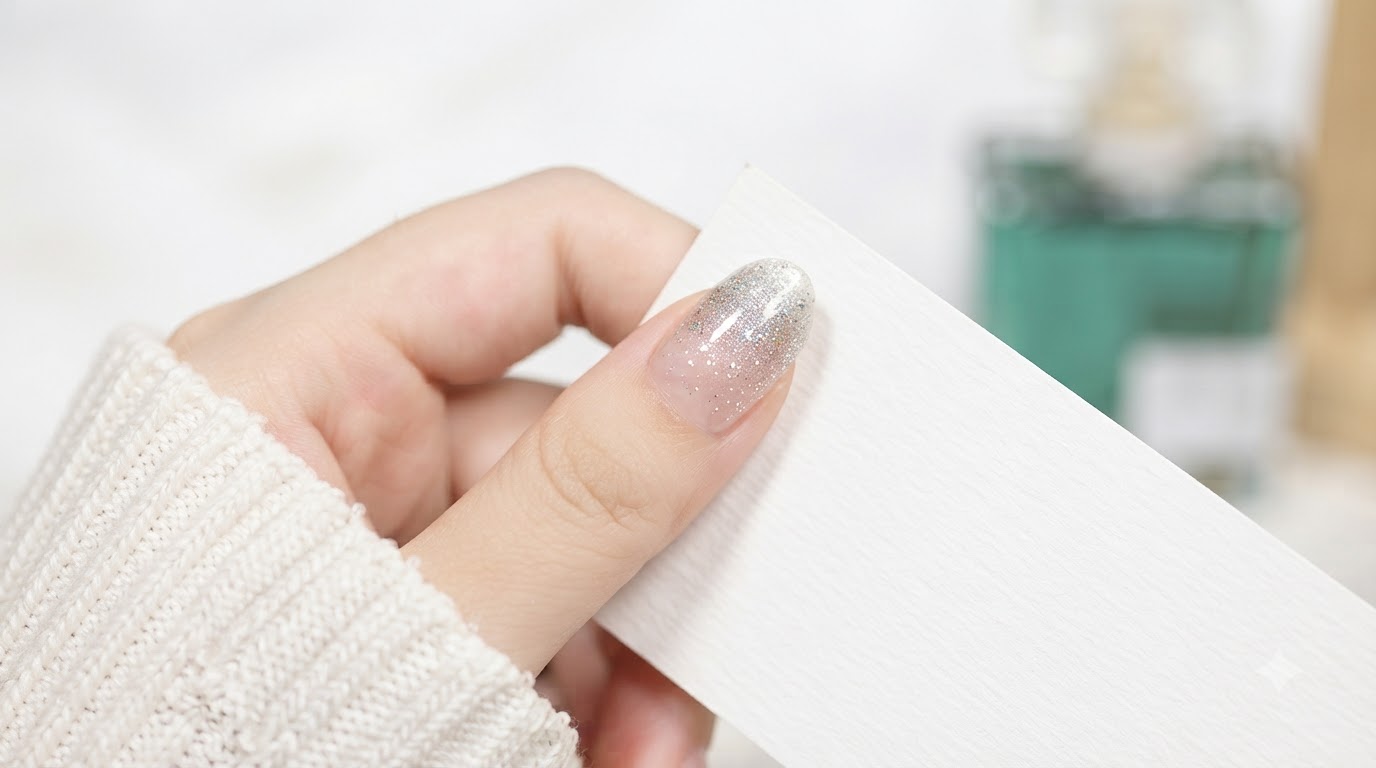
Glitter gradients are incredibly chic but can be notoriously difficult and messy to achieve with traditional polish. Nail stickers offer a fast, fool-proof alternative that mimics a salon-quality gel manicure without the hassle. This ethereal light silver look transitions from a sheer nude pink base to dense, holographic tips for an exquisite, high-end aesthetic.
Steps
- 1Prepare the nail sticker
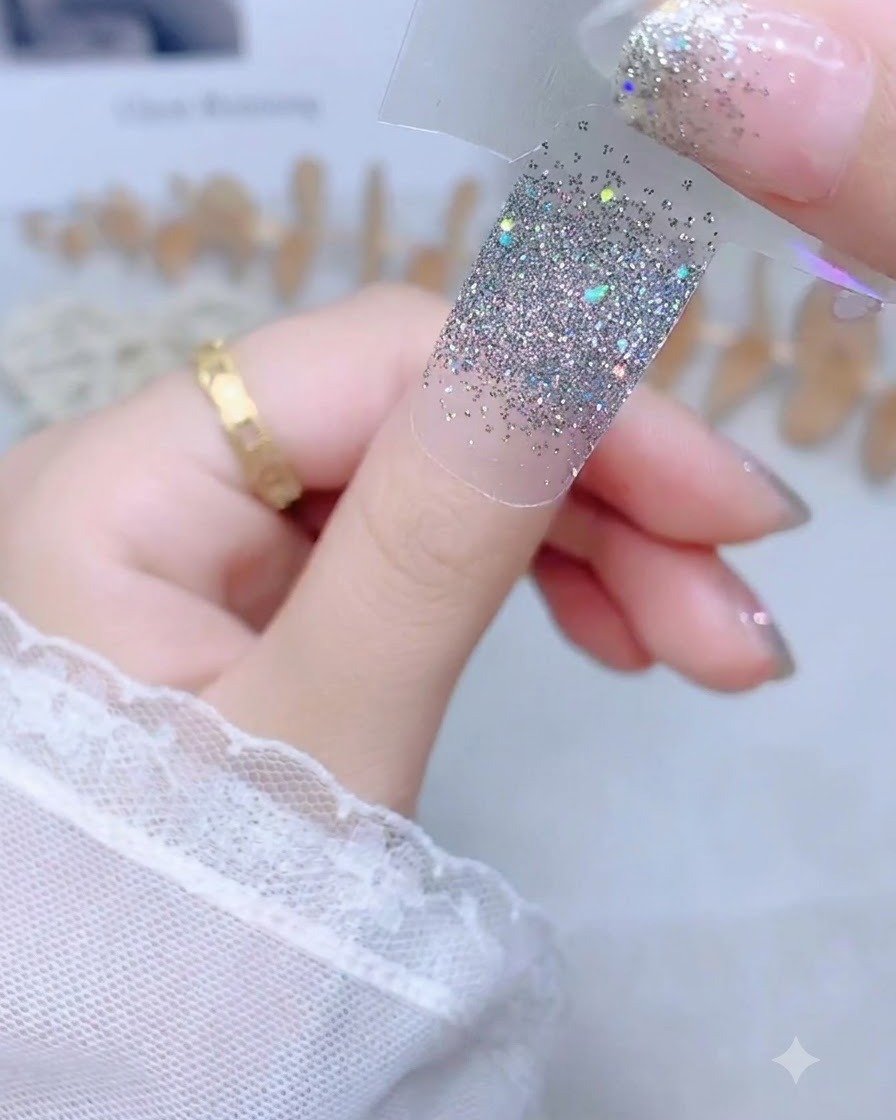
Hold the peeled silver glitter nail sticker by its clear plastic backing strip, preparing to apply it to the thumb. Ensure the nail surface is completely clean and dry before application to maximize adhesion.
Tip: Avoid touching the adhesive side of the sticker with your fingers to maintain maximum stickiness. - 2Position at the cuticle
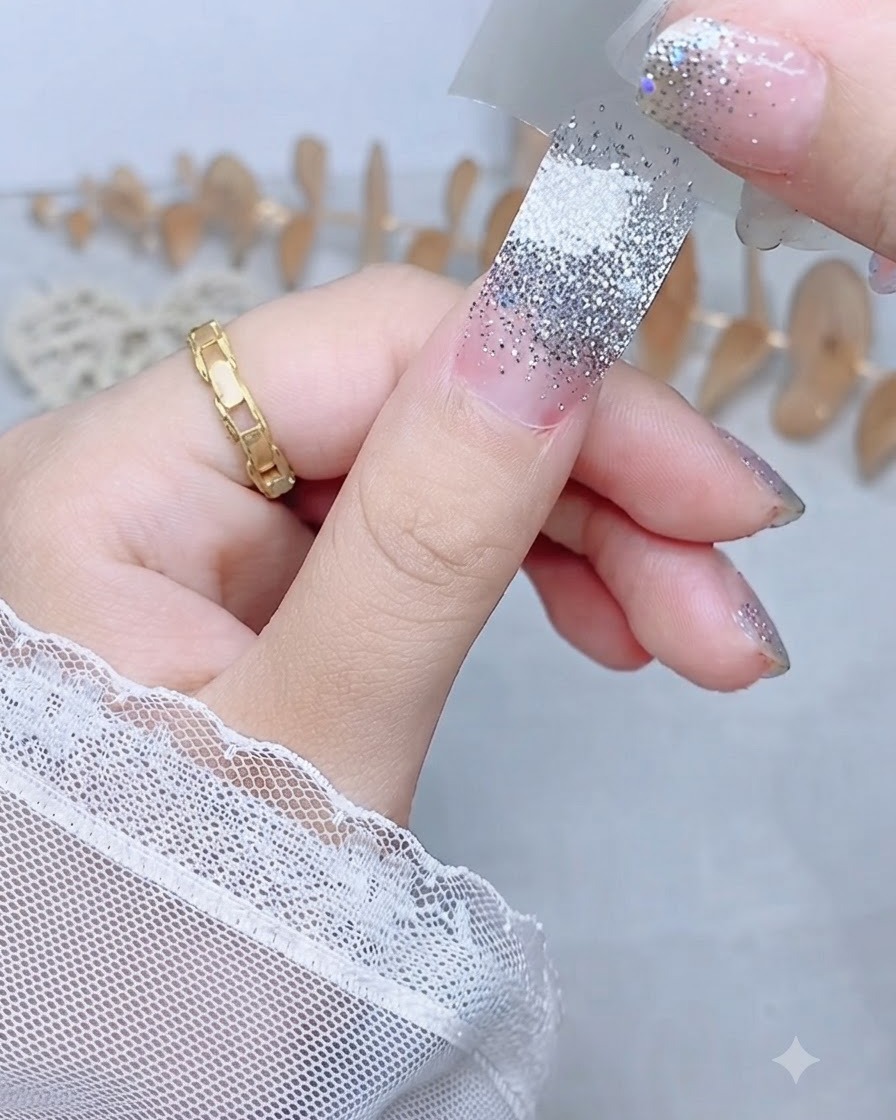
Position the rounded base of the silver glitter sticker carefully near the thumbs cuticle area. Take your time to align it perfectly before pressing it down to ensure a neat, professional look.
Tip: Leave a tiny hairline gap between the sticker and the cuticle skin to prevent premature lifting. - 3Press down the center
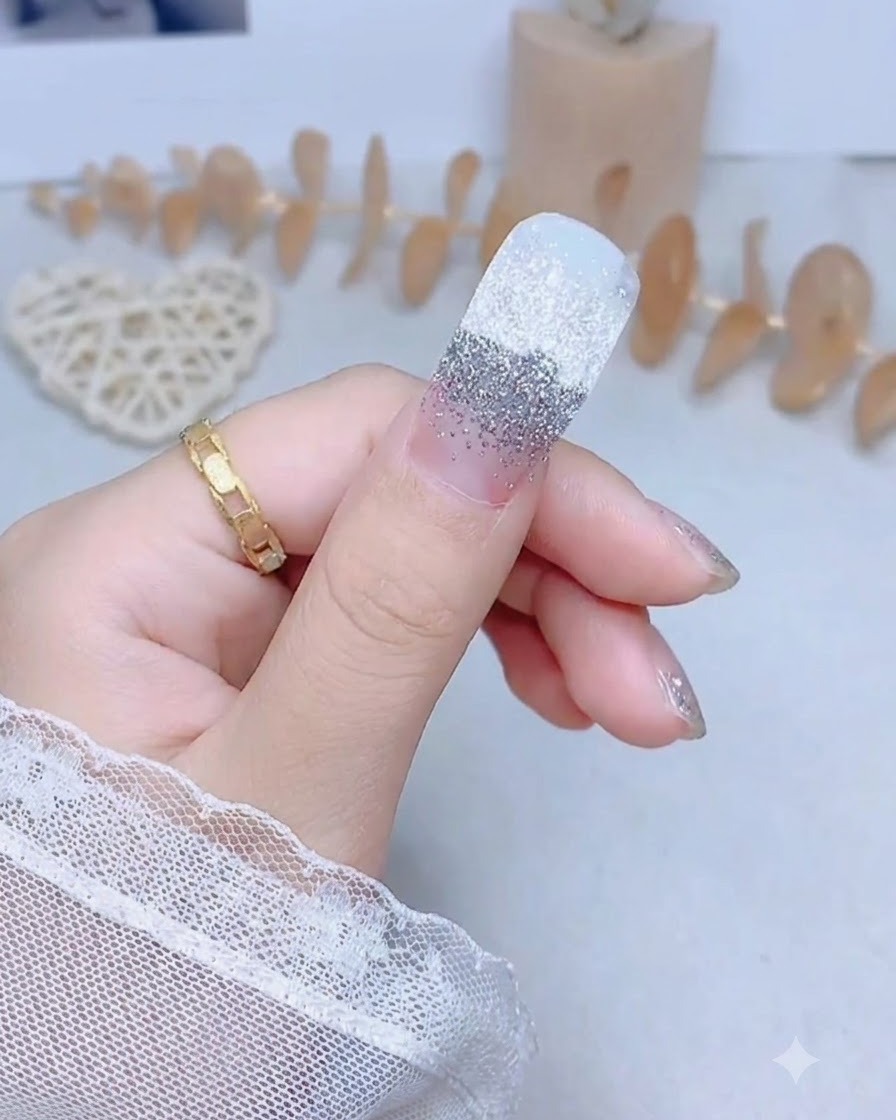
Press the center of the nail sticker down firmly onto the center of the thumb nail plate. Smooth it gently from the cuticle area toward the free edge to eliminate any trapped air bubbles.
Tip: Applying firm pressure down the center first anchors the sticker and makes smoothing the sides much easier. - 4Secure the sticker edge
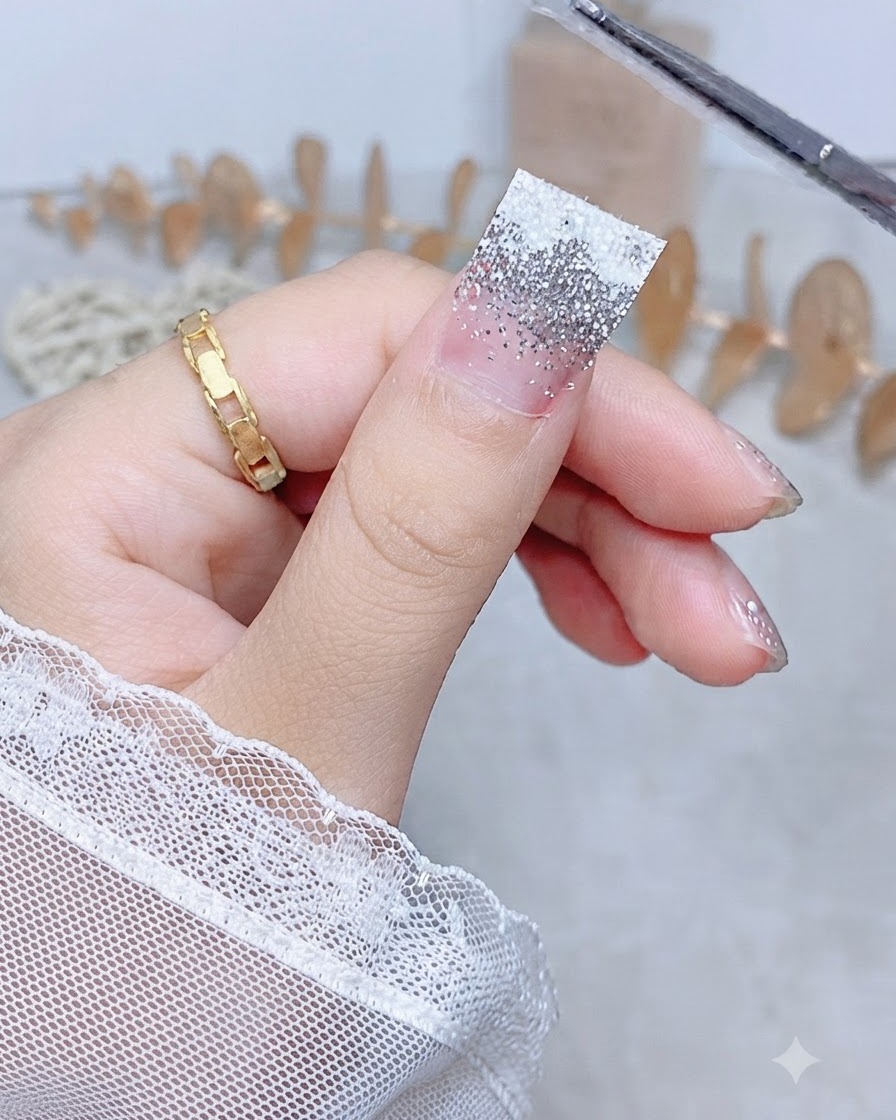
Smooth the left edge of the glitter sticker down against the side of the nail to firmly secure it. Press along the sides carefully to eliminate any gaps, wrinkles, or trapped air, ensuring a smooth and seamless fit.
Tip: Take your time pressing the edges completely flat to prevent the sticker from lifting or catching on hair and clothing. - 5Secure the sides
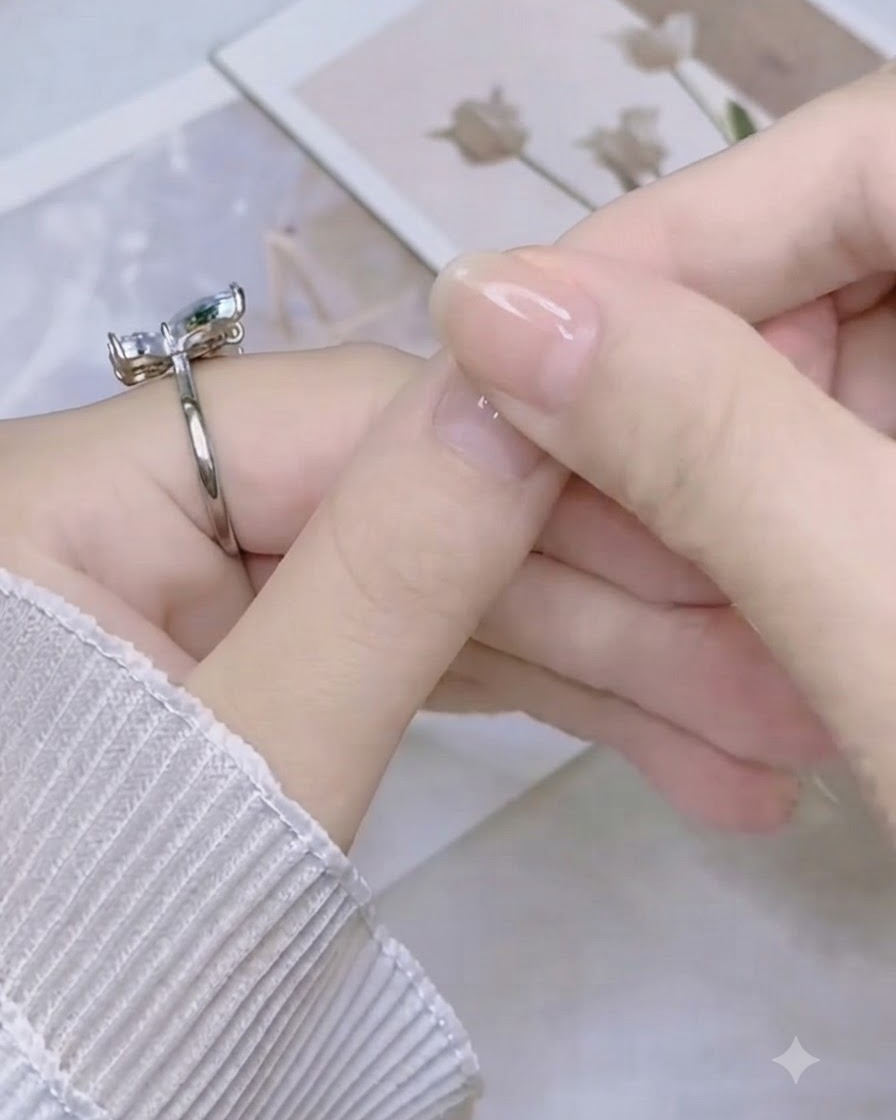
Rub the right side of the sticker to ensure complete, flat adhesion without any air bubbles. Use firm pressure to smooth the sticker perfectly flat against the natural curve of your nail.
Tip: You can use a silicone tool or a soft cuticle pusher to help rub the edges of the sticker down flawlessly. - 6Pinch the excess
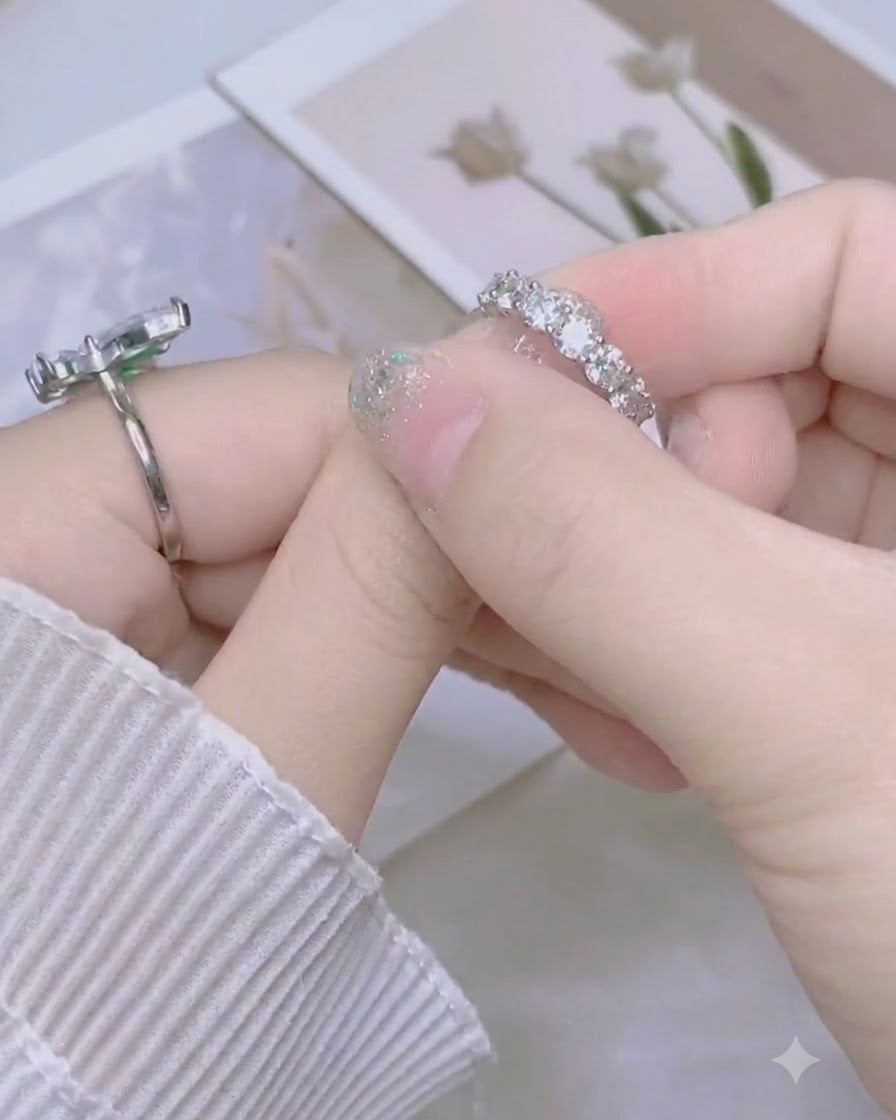
Pinch the excess length of the sticker at the free edge of the nail using your opposite thumb and index finger. This creates a crease along the nail tip that makes it much easier to remove the remaining material securely.
Tip: Pinching firmly over the free edge also helps to temporarily seal the sticker around the tip of your natural nail. - 7Fold over the tip
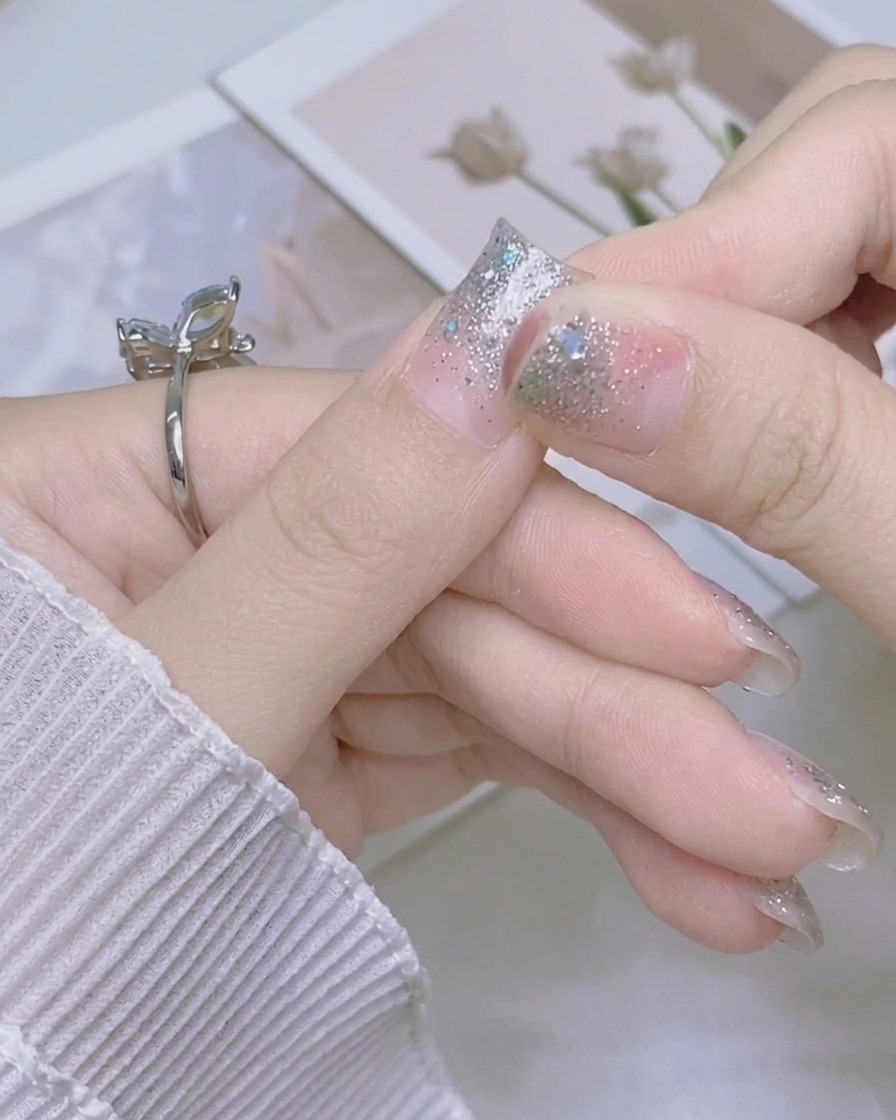
Take the excess length of the sticker and fold it firmly downwards over the tip of your natural nail. Pressing it tightly against the free edge creates a sharp crease that conforms to your nail shape, perfectly preparing it for the final filing.
Tip: Make sure the sticker is completely flattened across the entire nail bed before pulling and folding the tip to avoid dragging it out of alignment.