Purple Tweed and Gradient Gel Nails
Pearls — Luxury Step-by-Step Tutorial
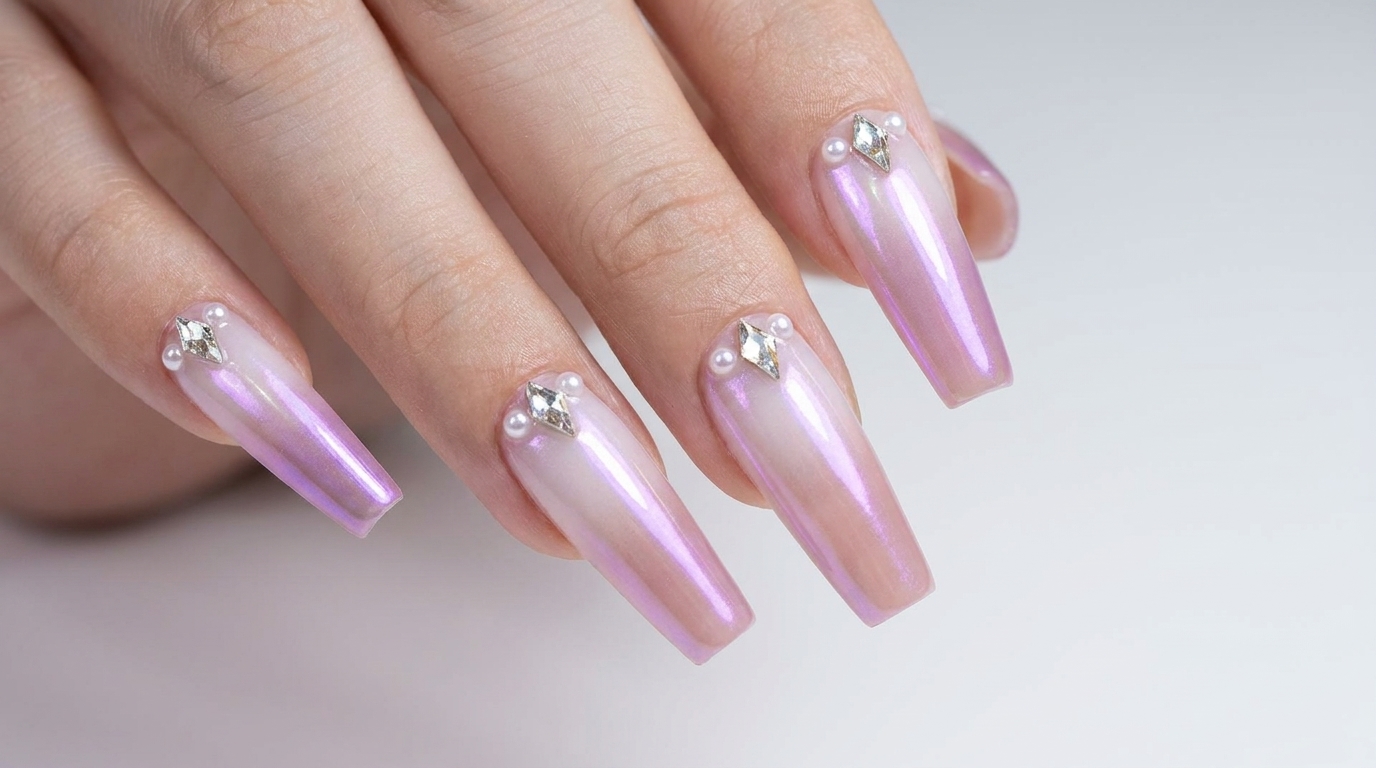
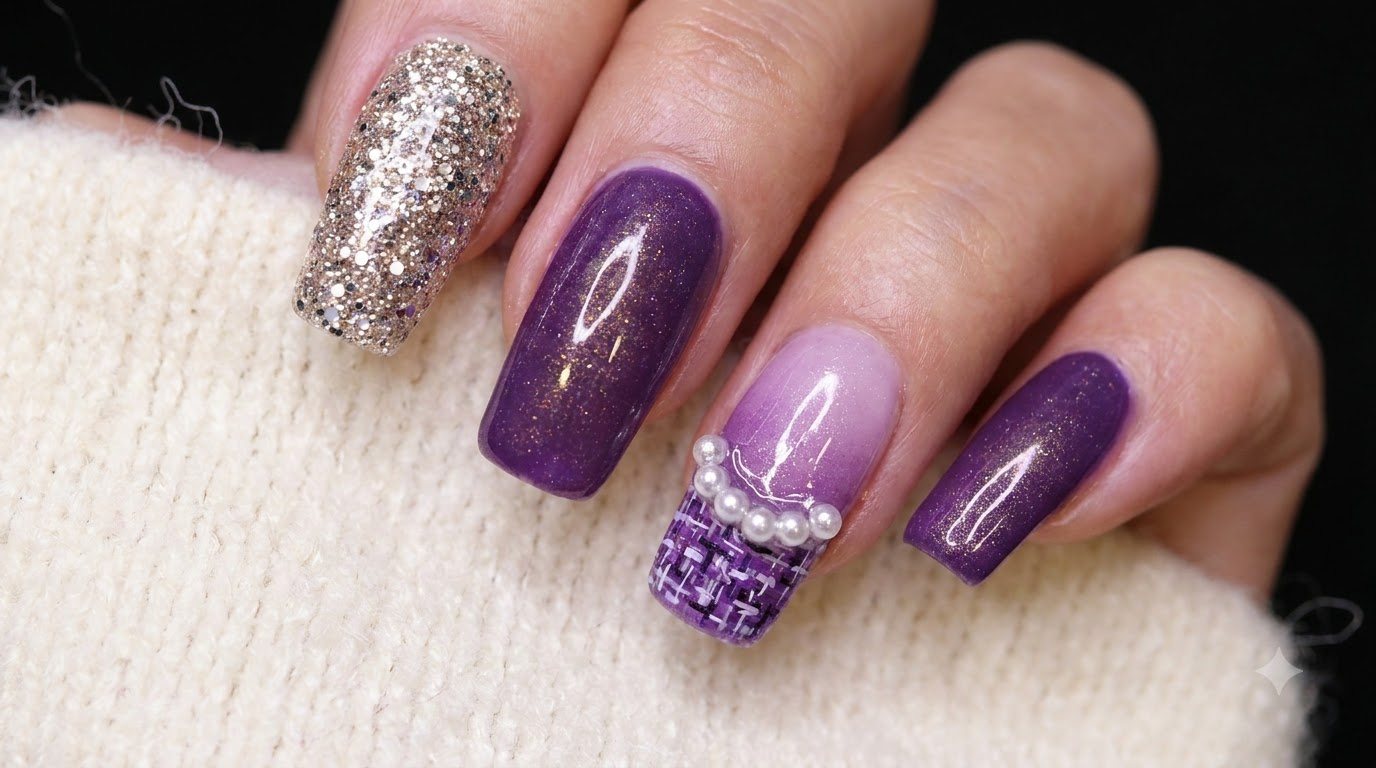
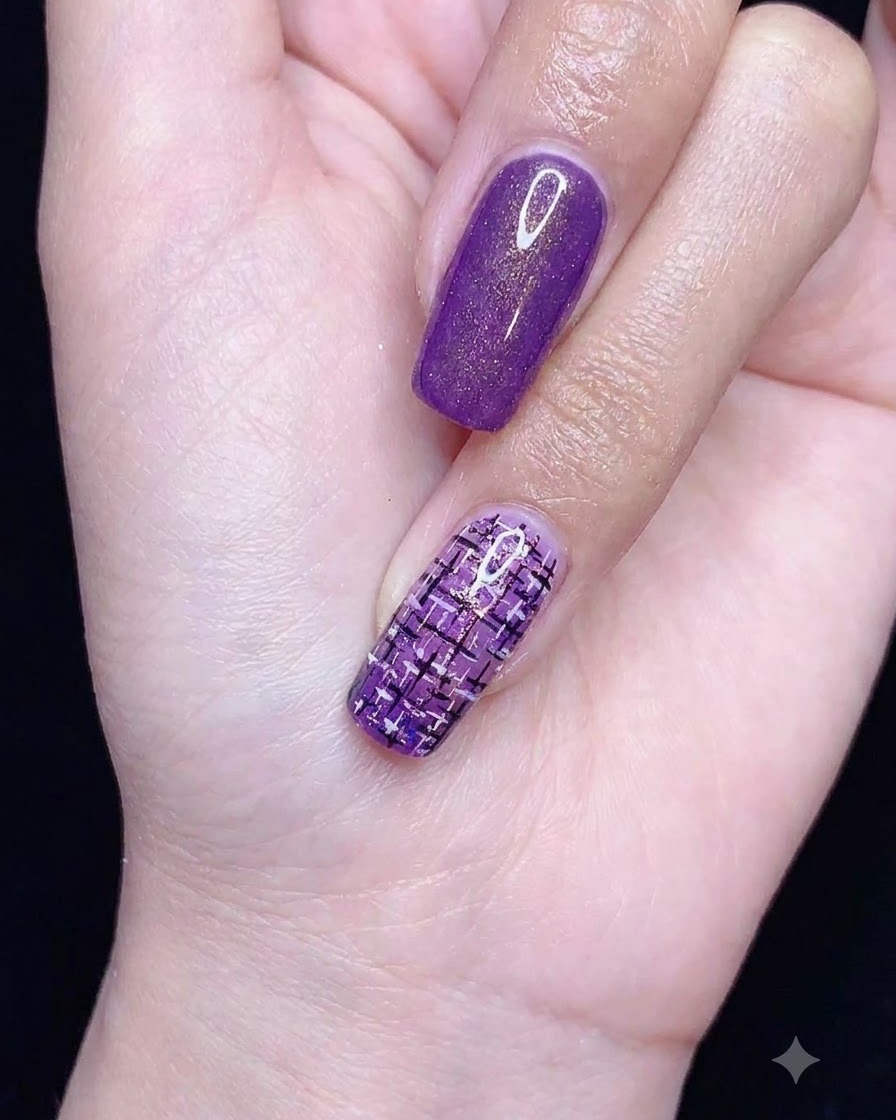
Create a luxurious manicure featuring a shimmering purple ombre gradient, delicate woven tweed patterns, sparkling glitter, and elegant white pearls.
Tweed nail art combined with rich purple gradient bases and delicate pearl embellishments brings a touch of high-fashion sophistication right to your fingertips. This detailed tutorial guides you through layering glitter, blending gradients, painting intricate fabric lines, and securing pearls for an upscale salon look.
Steps
- 1Apply glitter base
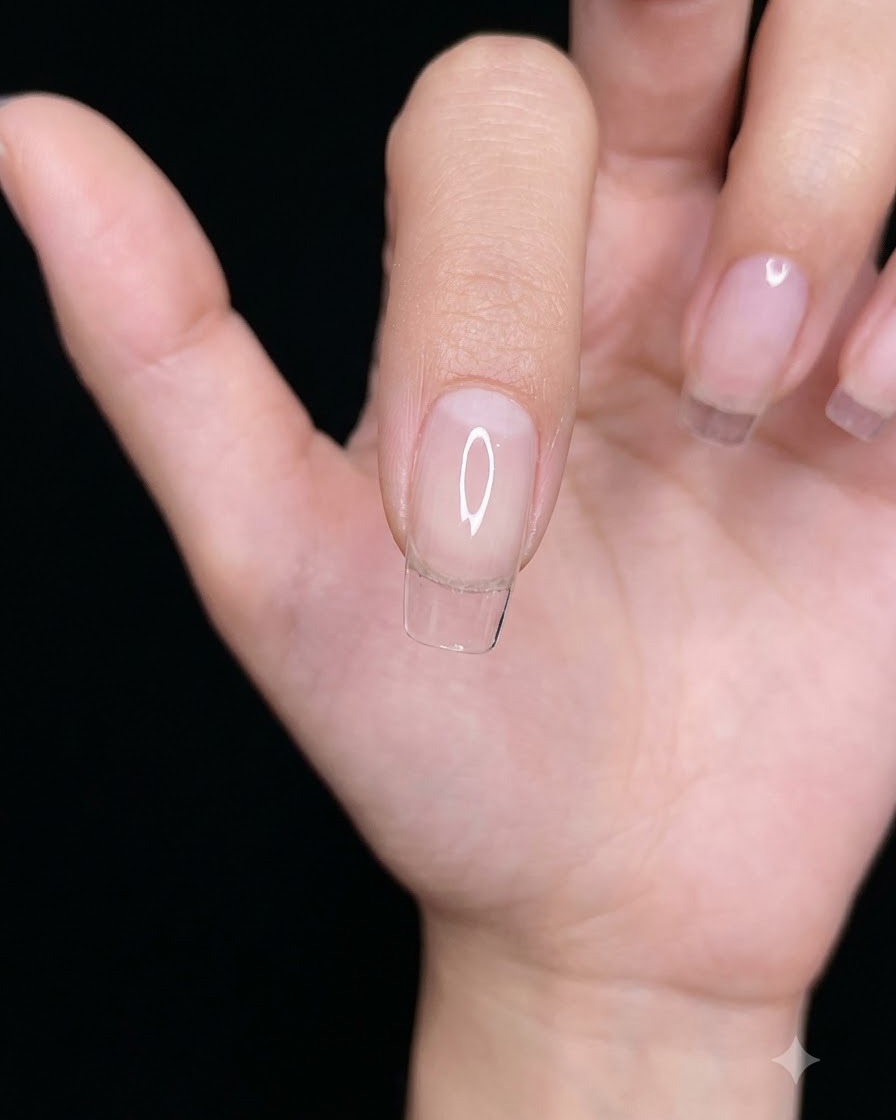
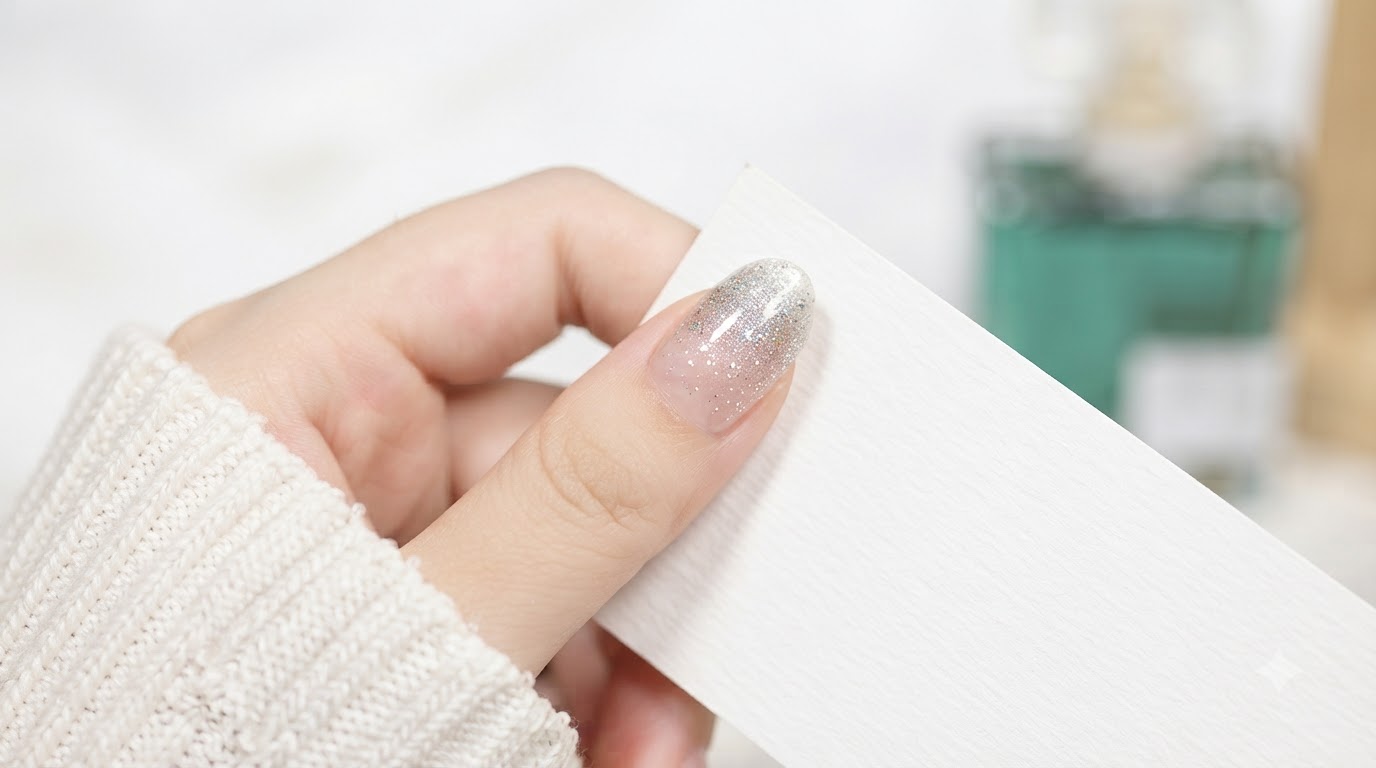
Apply a clear gel base to the nail tip and gently pour fine silver and gold glitter powder over the uncured surface to build a dense, sparkling foundation. Ensure the glitter is evenly distributed across the designated area before gently tapping off any excess powder.
Tip: Hold the glitter container slightly above the nail and tap it gently to control the flow and prevent clumping. - 2Check glitter coverage
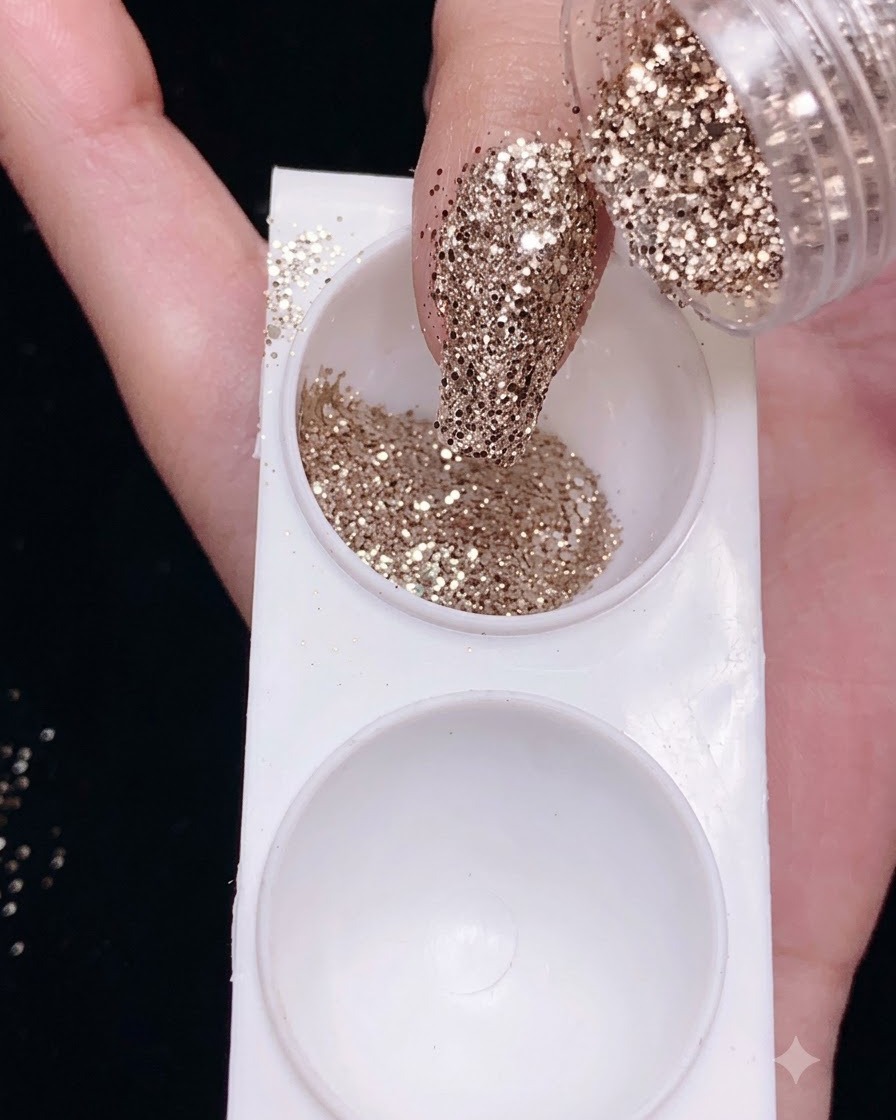
Inspect the nail tip to ensure the fine silver and gold glitter powder completely covers the clear gel base with uniform density and sparkle. Lightly press down any loose particles if necessary, then cure the layer under your UV or LED lamp.
Tip: Gently pressing the glitter into the uncured gel layer helps secure the particles and prevents patchiness after curing. - 3Apply Purple Gel Polish
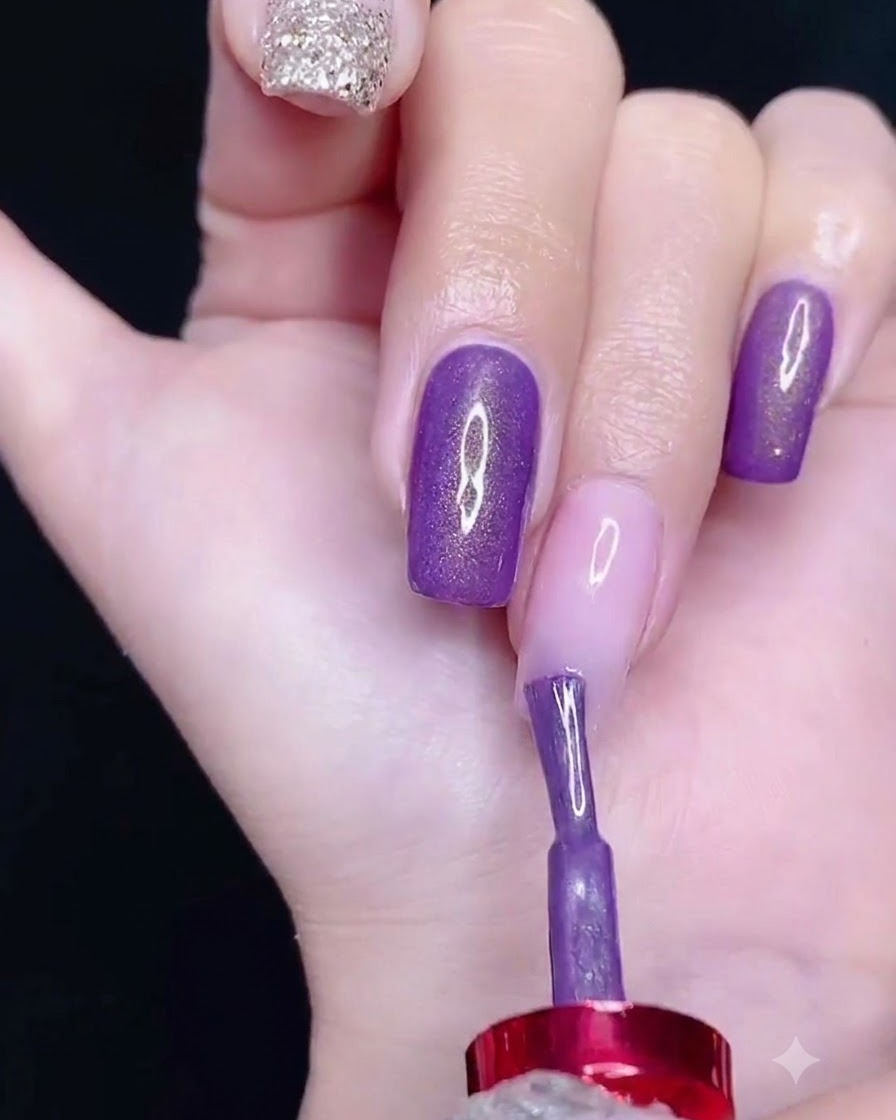
Apply a vibrant purple gel polish to the upper portion of the nail plate, carefully working around the gradient area to create a seamless transition. Ensure the application is smooth and even before moving on to detailing.
Tip: Keep your brush strokes light and steady to avoid creating harsh lines where the colors meet. - 4Blend purple ombre gradient
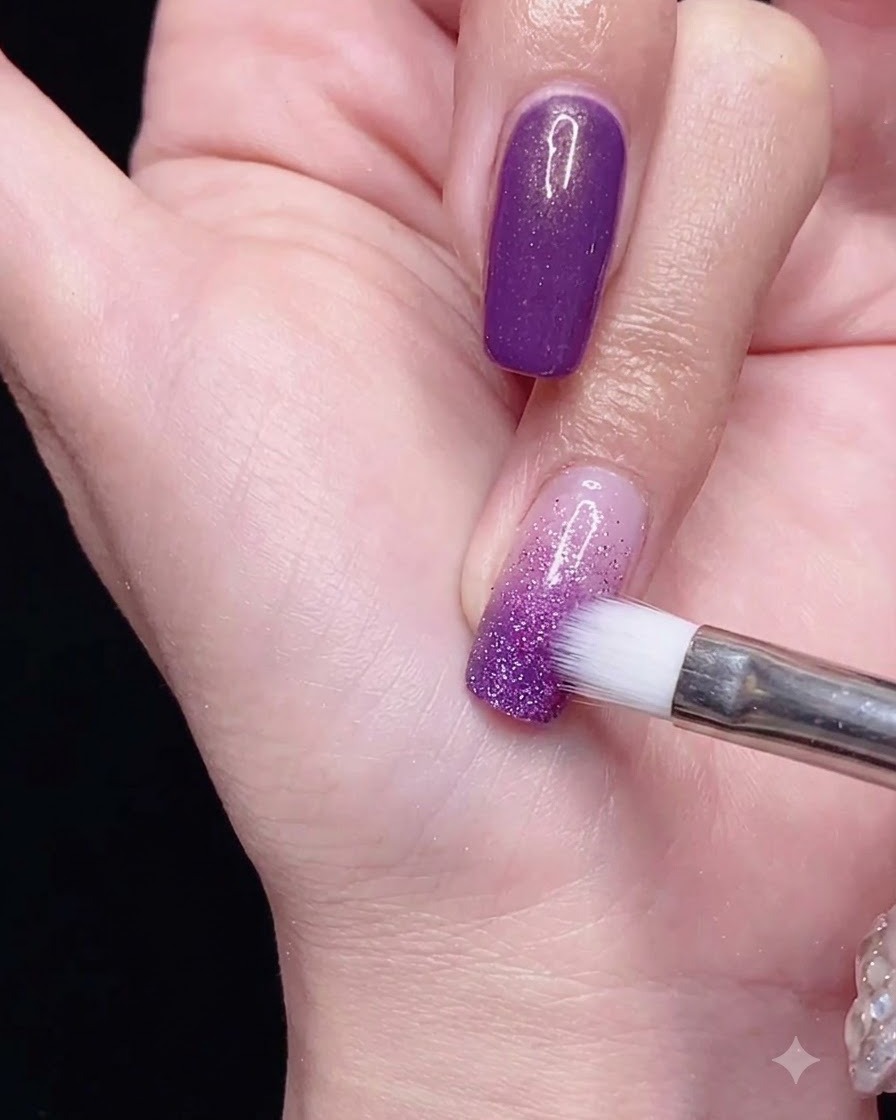
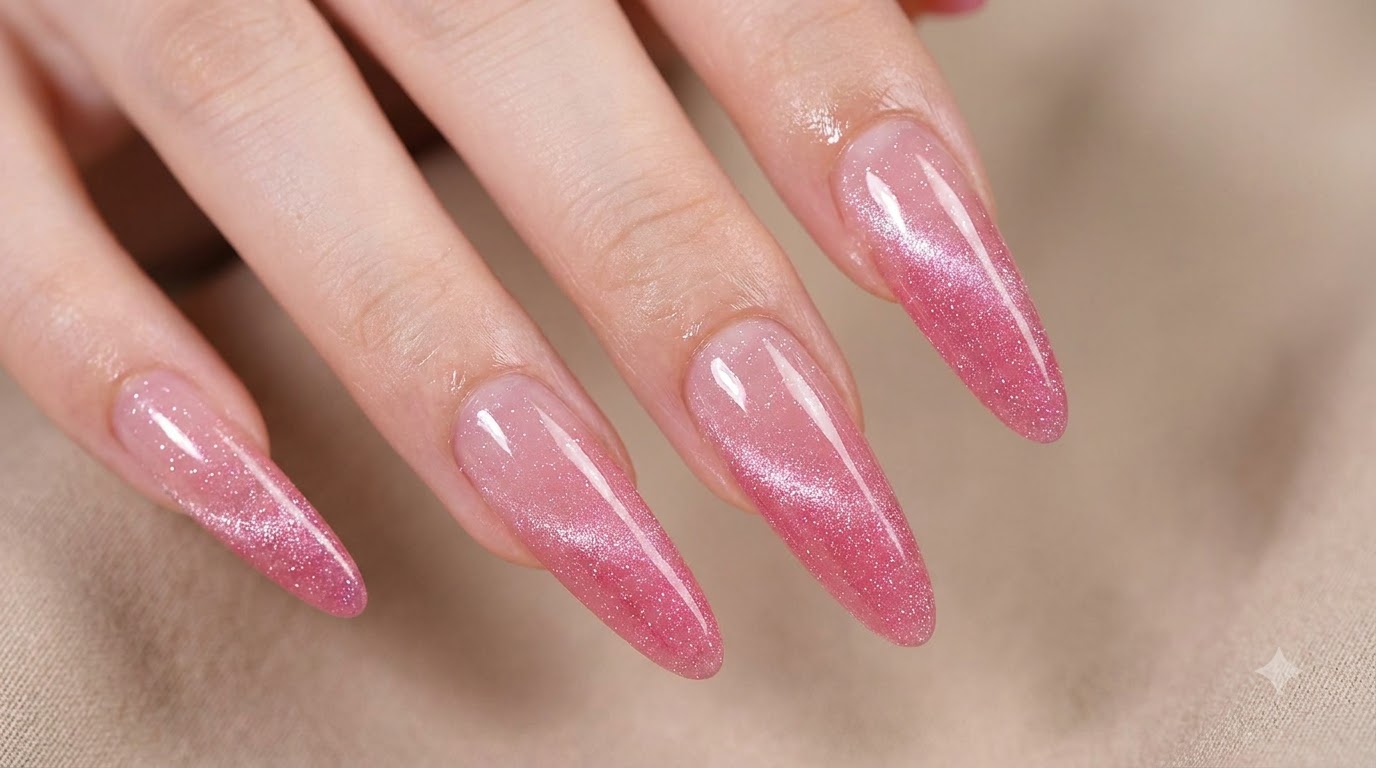
Take a clean gradient brush and gently dab the lower edge of the purple gel polish downward toward the tip to fade it seamlessly into the glitter layer. This creates a smooth, diffused ombre transition between the purple color and the sparkling base.
Tip: Use light, feathering motions with the gradient brush to avoid harsh lines and achieve a seamless color fade. - 5Paint vertical tweed lines
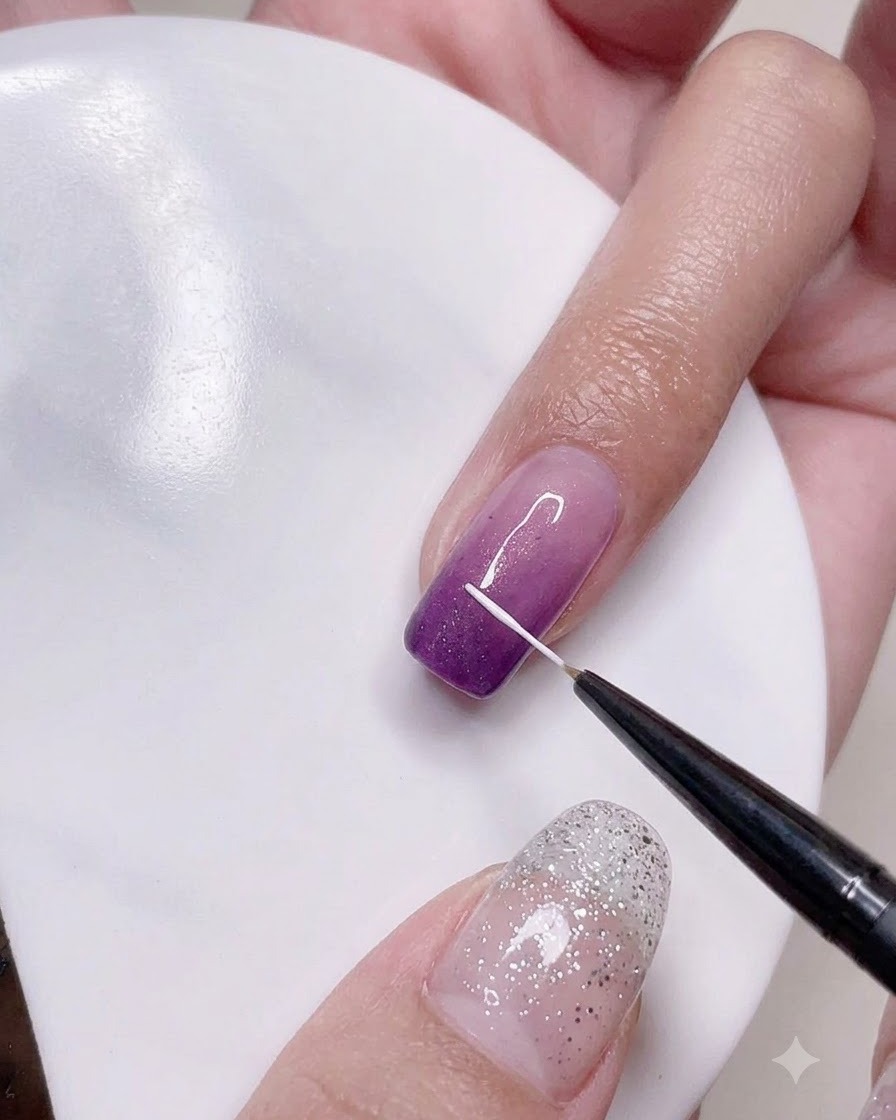
Dip a fine liner brush into white gel and carefully paint straight vertical lines down the length of the purple ombre nail. These lines serve as the foundational structure for the classic tweed pattern design.
Tip: Keep a light hand and steady pressure on the liner brush to ensure the lines remain thin, straight, and uniform. - 6Cross-hatch horizontal tweed lines
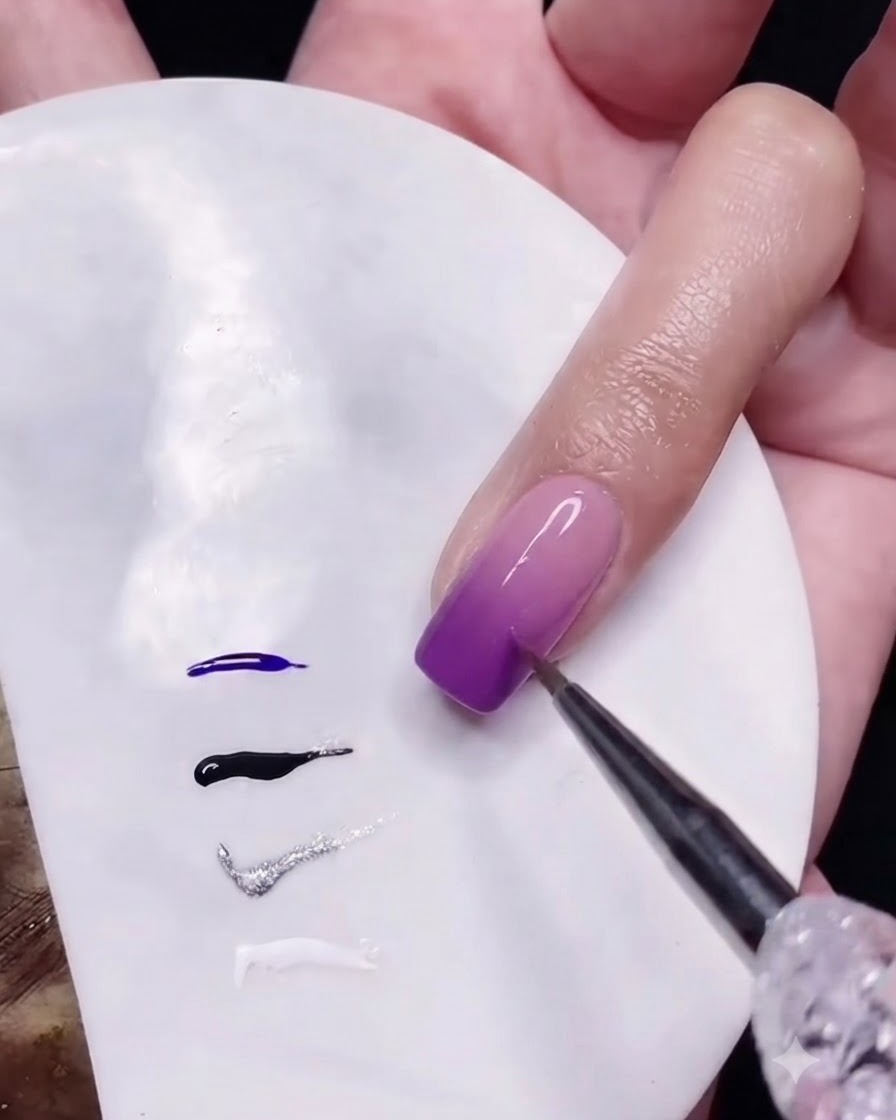
Using the fine liner brush with white gel, cross-hatch short horizontal lines intersecting the vertical lines across the nail surface. This overlapping technique creates the signature woven texture of a sophisticated tweed pattern.
Tip: Vary the length and spacing of the intersecting strokes slightly to mimic the authentic look of woven fabric. - 7Paint Tweed Pattern Details
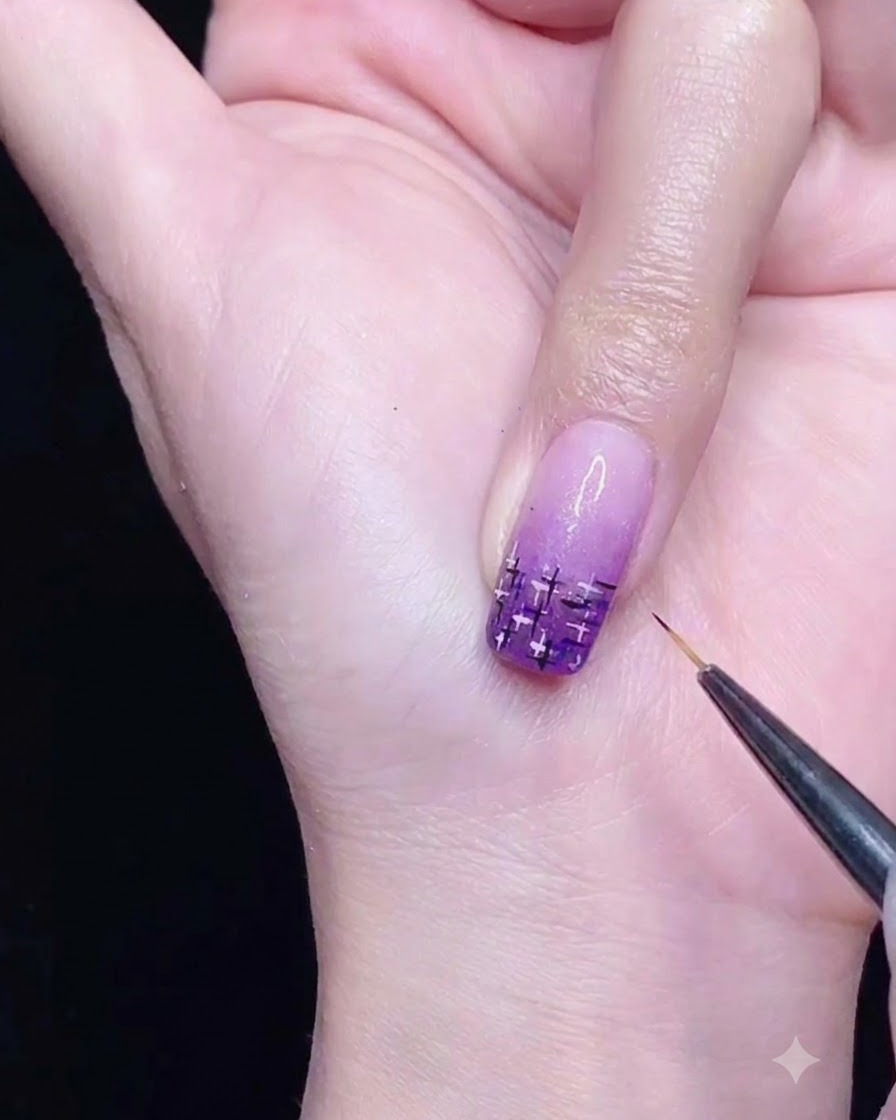
Using a fine liner brush, carefully paint intersecting black and silver lines over the base pattern to build the textured tweed design. Add fine cross-hatch strokes to create depth and intricate dimension within the nail art.
Tip: Wipe excess product off your fine liner brush before drawing lines to ensure crisp, thin details. - 8Embellish with Pearl Beads
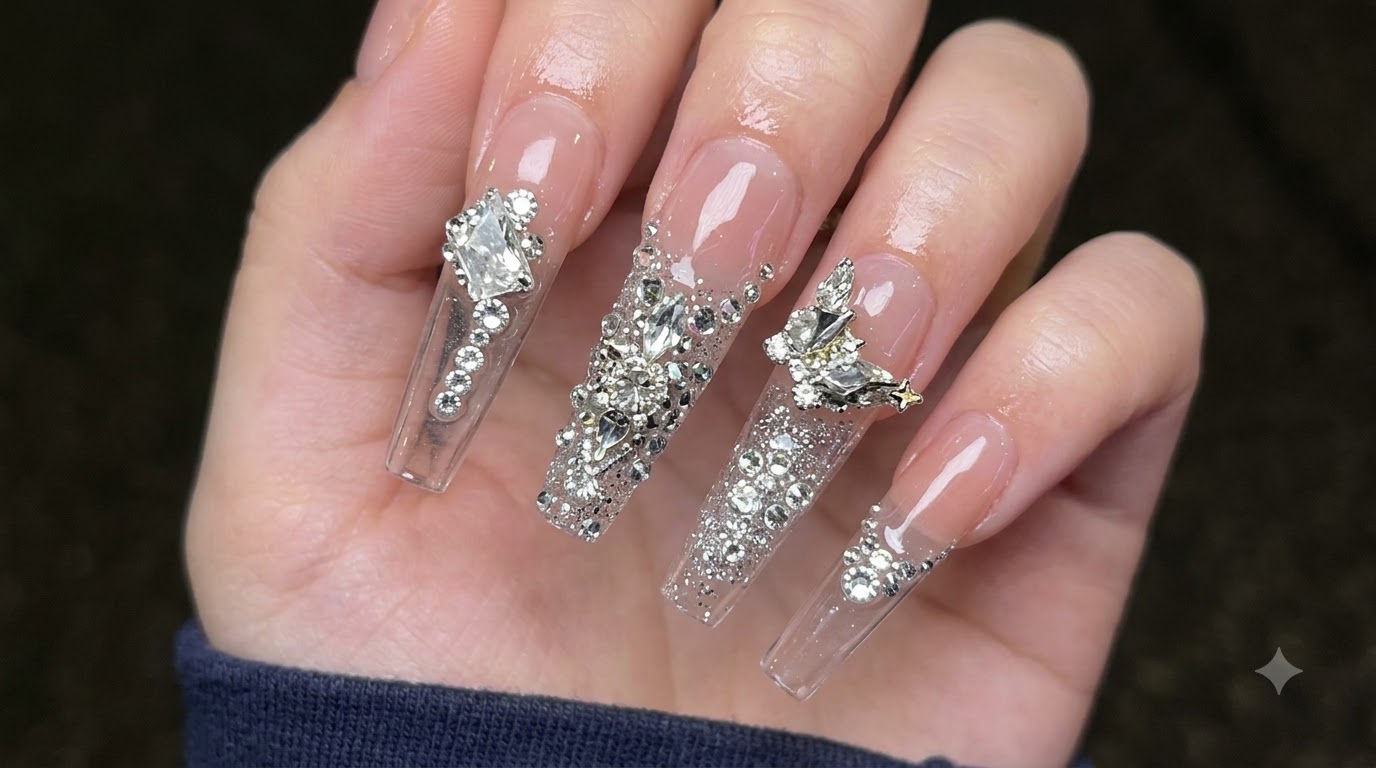
Using a fine pickup tool, carefully place small white pearl beads along the base of the tweed design to complete the luxurious aesthetic. Secure the pearls with a dab of top coat or gel adhesive and cure under the lamp.
Tip: Pick up each pearl gently and press it lightly into the uncured gel or top coat to ensure it stays firmly in place after curing.