Pink Gradient Cat-Eye Nails — Summer Sparkle Step-by-Step Tutorial
Discover how to create stunning pink gradient cat-eye nails using sweet pink pat-pat gel and flash magnetic shimmer for a radiant summer look.
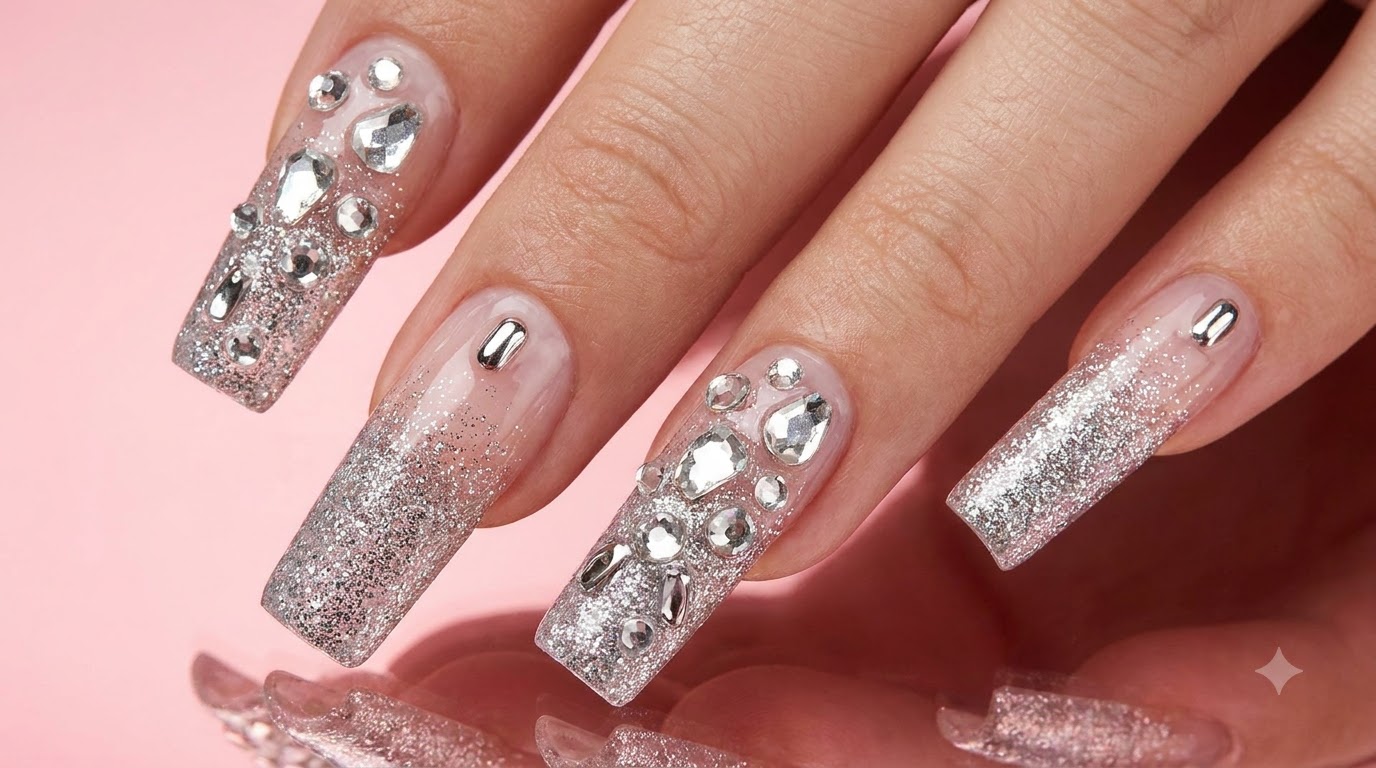
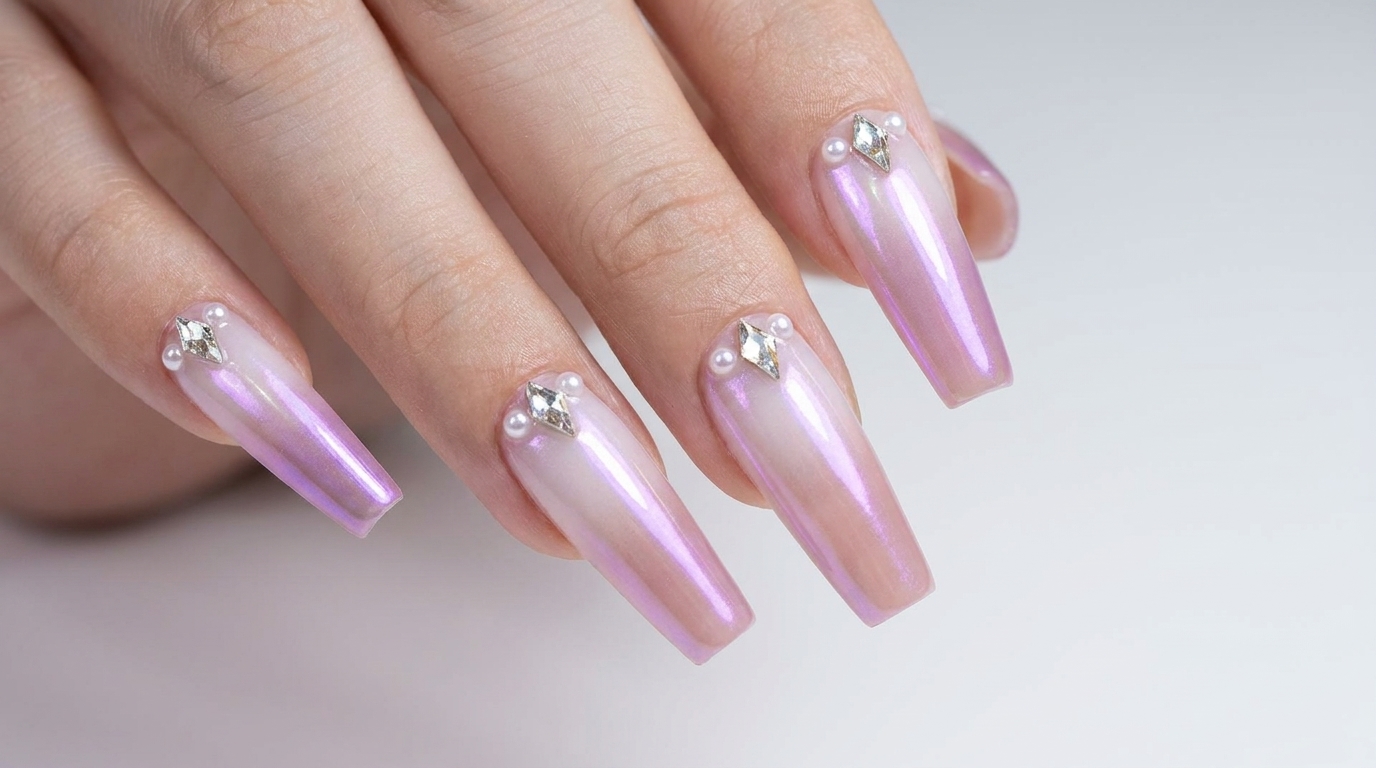
Pink gradient cat-eye nails offer a gentle, skin-brightening finish that captures both subtle elegance and brilliant sparkle. By combining a smooth sponge-dabbed ombre transition with modern flash cat-eye gel, this style delivers a multidimensional glass ball effect that stands out effortlessly during the summer season.
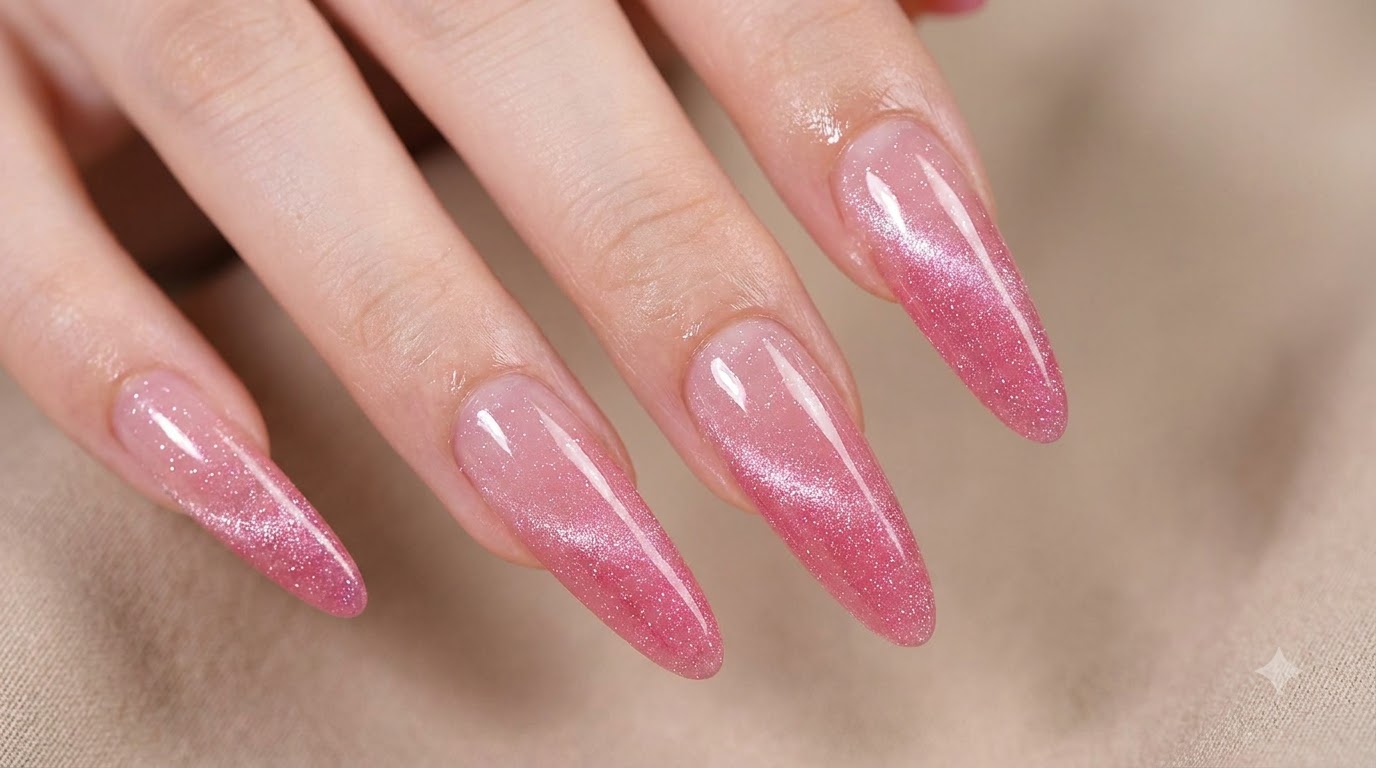
Steps
- 1Apply base gel
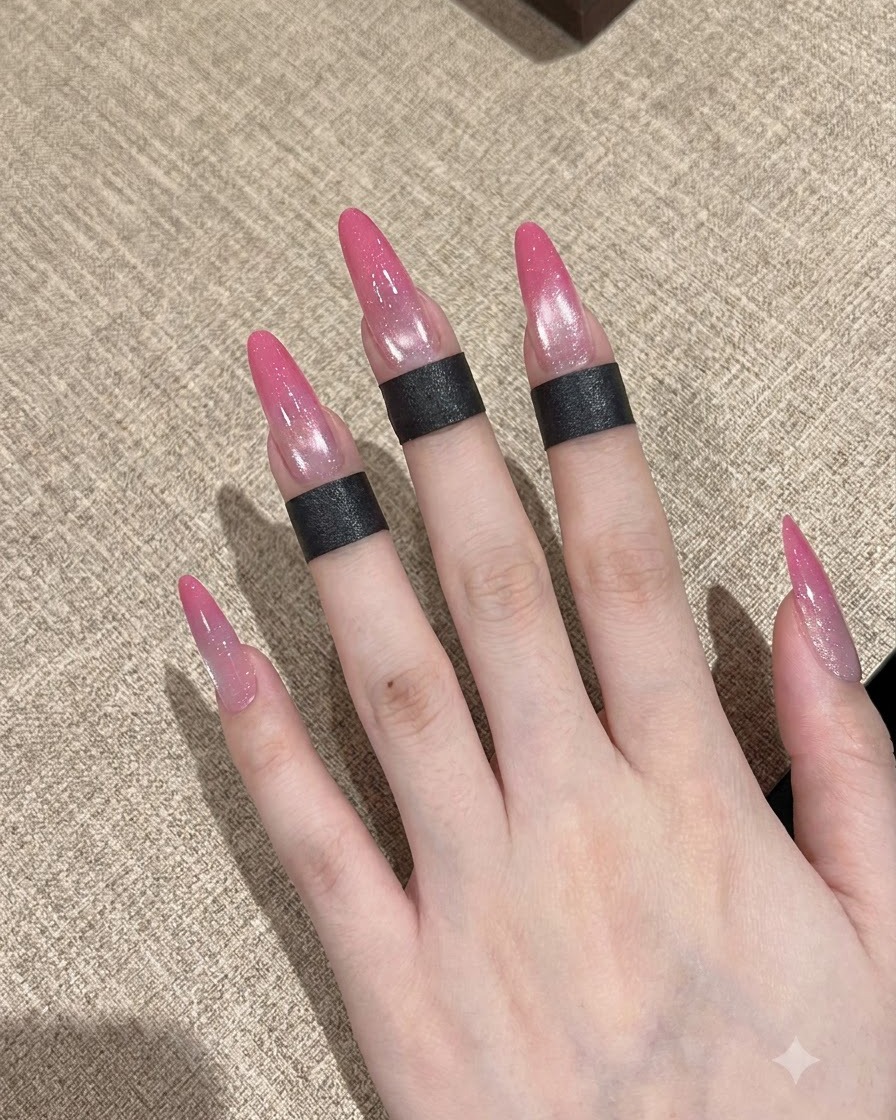
Apply a thin layer of base gel evenly across the prepped nail plate to ensure strong adhesion for subsequent layers. Cap the free edge to prevent lifting, and cure under a UV or LED lamp as directed.
Tip: Keep the layer thin to avoid shrinking or bubbling during the curing process. - 2Apply pink gel at the tips
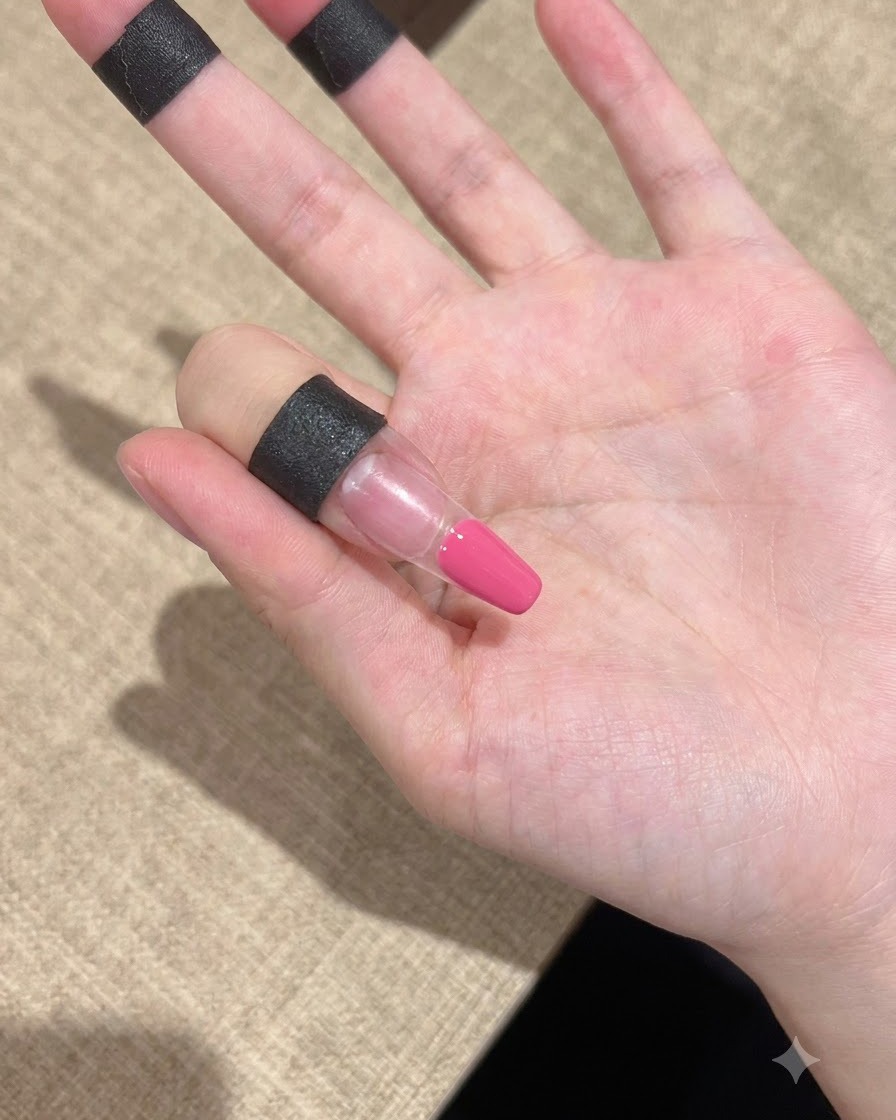
Take the sweet pink pat-pat gel and apply it specifically onto the nail tip areacite: 1 to lay down the color foundation for the gradient design. Ensure precise placement along the free edge.
Tip: Applying the color directly to the tip makes building a smooth vertical gradient much easier. - 3Pat for gradient effect
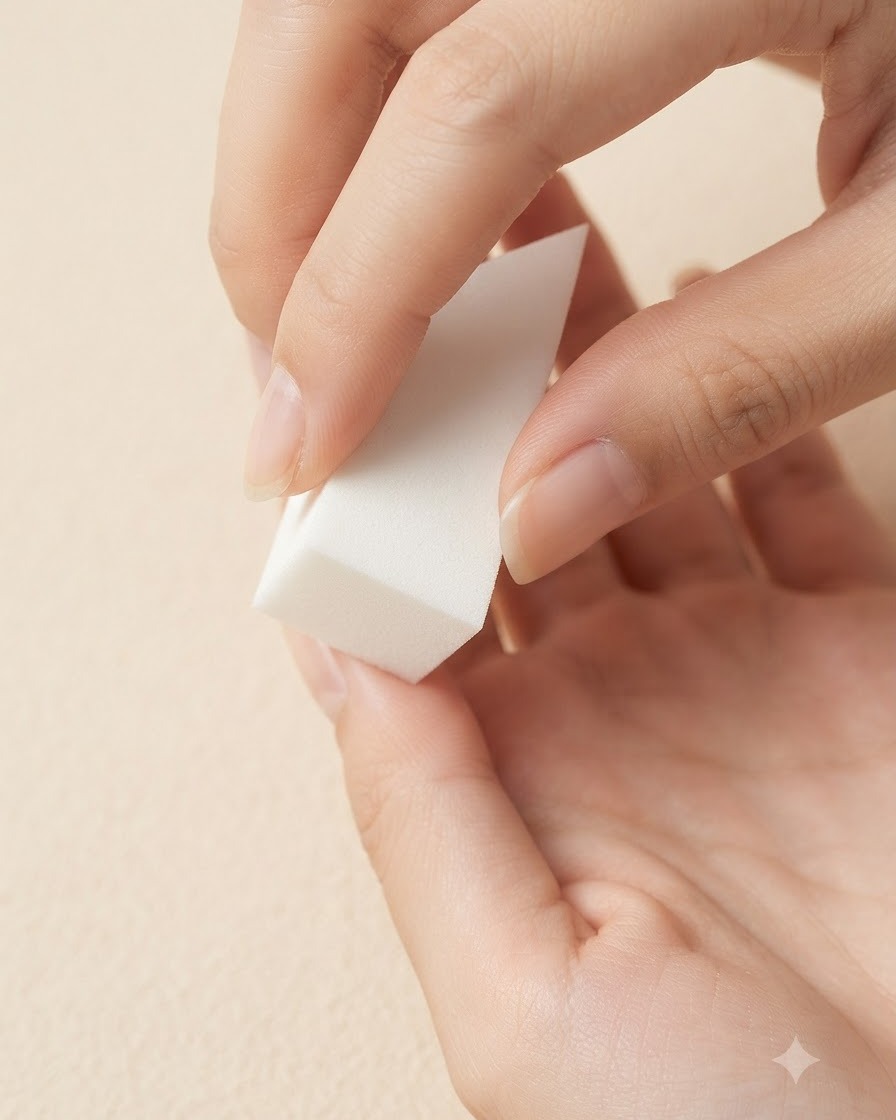
Take a clean white sponge and gently dab the pink gelcite: 1 starting from the tip and moving slightly upward toward the nail bed. This softens the transition line and creates a seamless, natural gradient appearancecite: 1.
Tip: Use light, vertical patting motions rather than wiping to keep the gradient soft and diffuse. - 4Cure the gradient layer
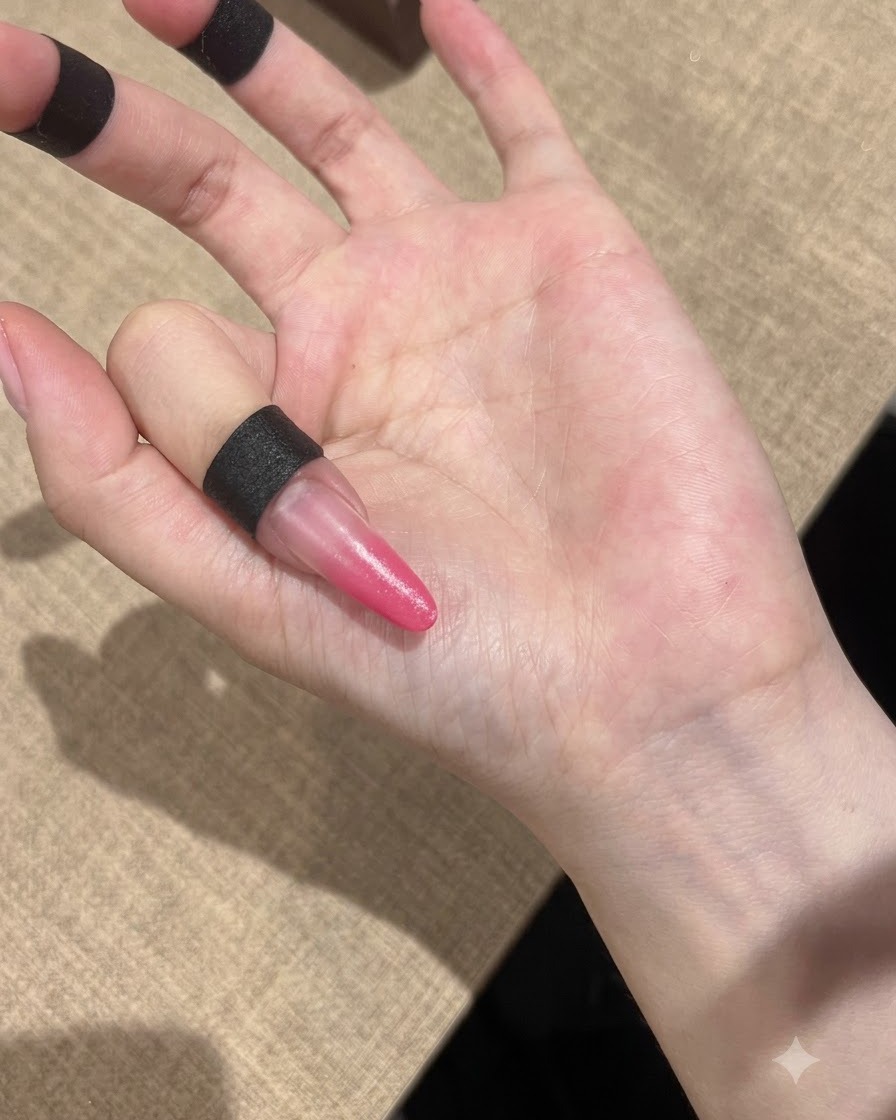
Place the hand under a portable UV/LED lamp to cure the newly created gradient layercite: 1. Ensure it cures completely before moving on to the next product application.
Tip: Check that the lamp is positioned directly over the nail to cure the gradient evenly. - 5Apply flash cat-eye gel
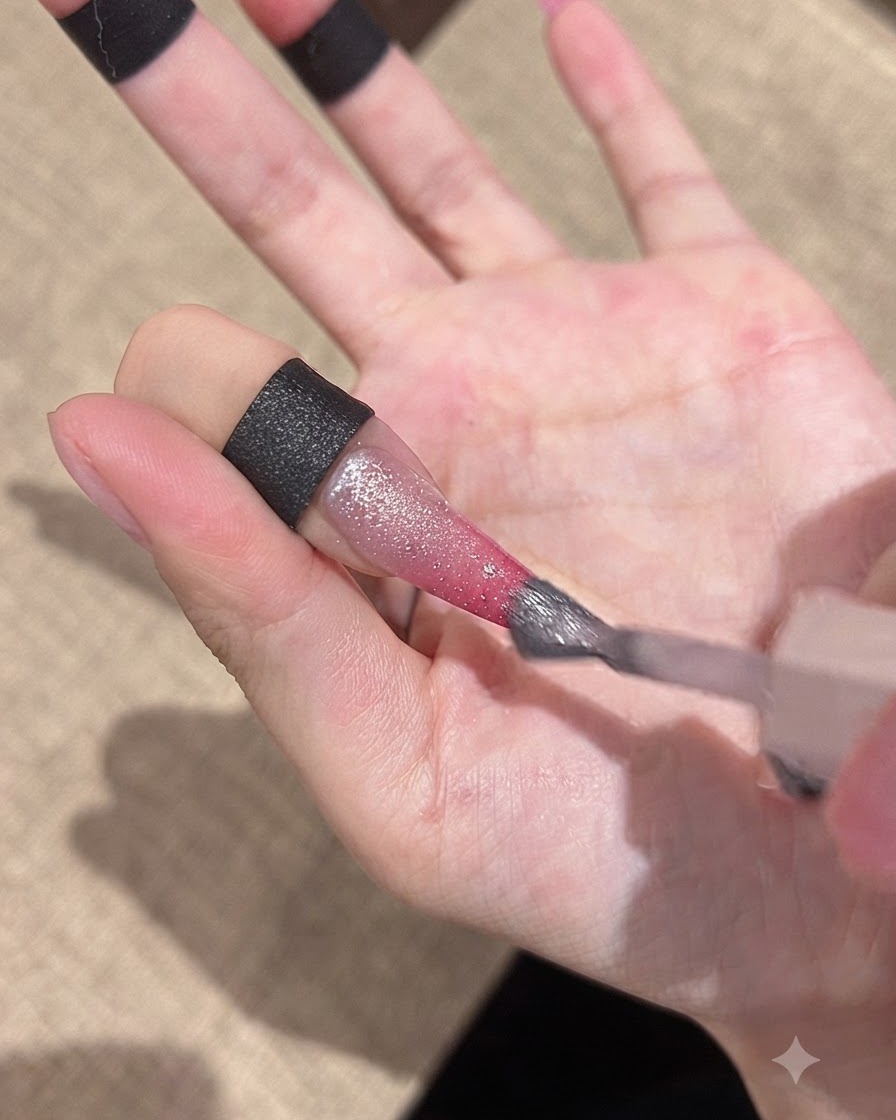
Apply flash cat-eye gel number 03 uniformly across the entire surface of the nailcite: 1. This special gel contains built-in fine flash materials that sparkle even before magnetizingcite: 1.
Tip: Apply an even coat so the reflective particles disperse smoothly across both the pink tip and clear base. - 6Review flash texture
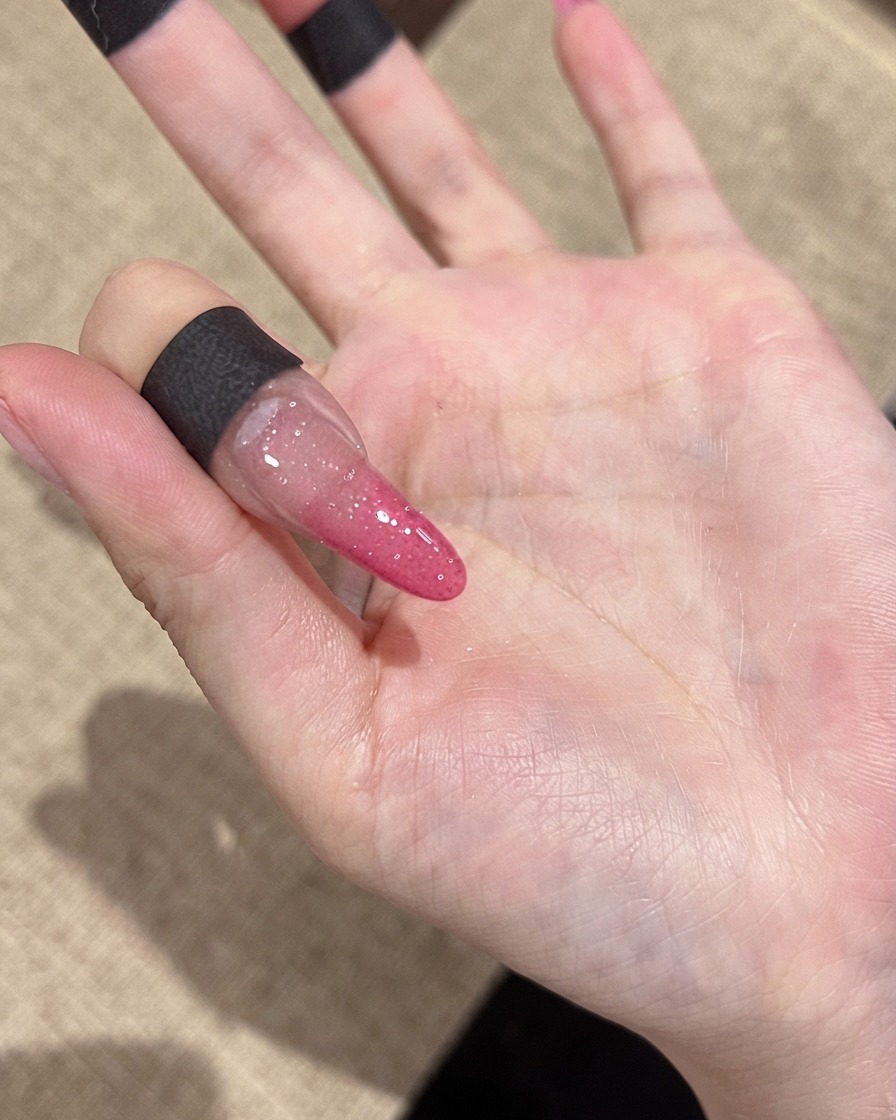
Observe the nails under normal room lighting to check the distribution of the fine flash particlescite: 1. The embedded shimmer looks vibrant and catches the light even prior to using the magnetcite: 1.
Tip: Inspect the coverage from multiple angles to ensure the glitter particles look balanced. - 7Shape the cat-eye light effect
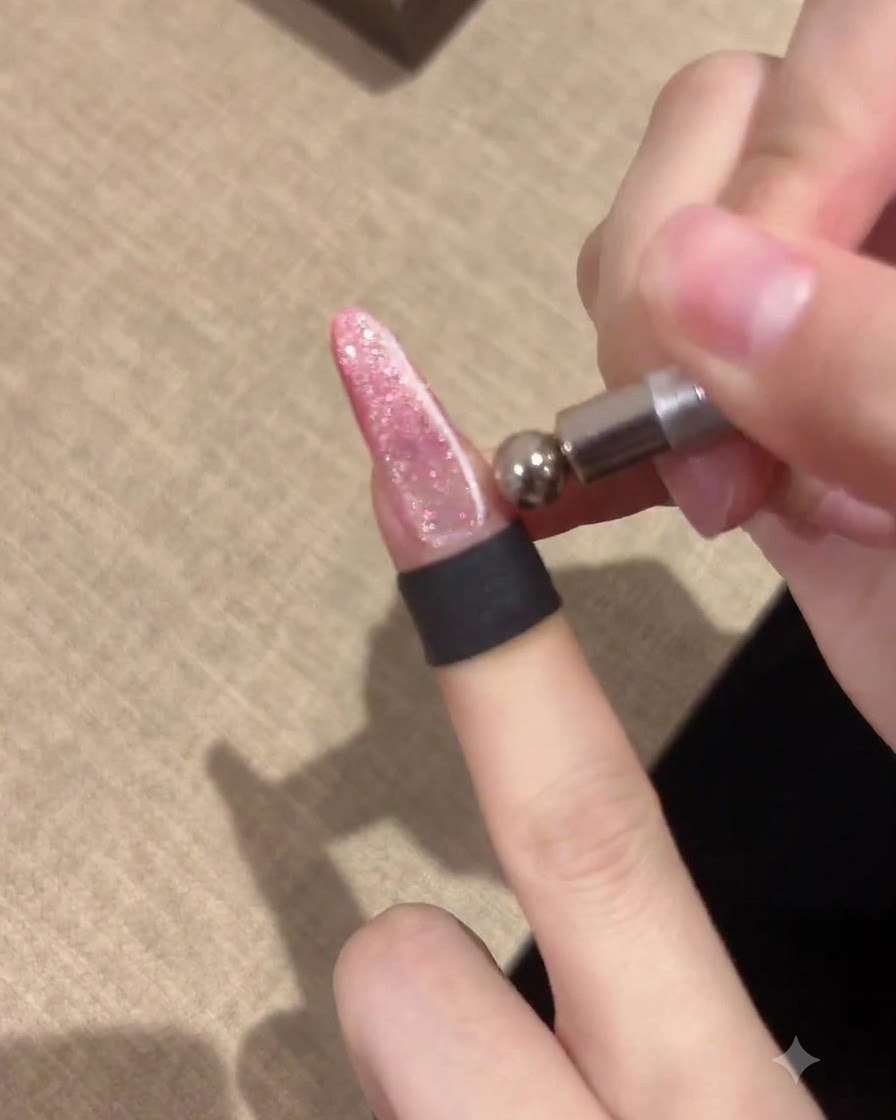
Take a magnetic tool and glide it back and forth along the sides of the nail to pull out a wide magnetic beam. Afterward, move the magnet in a circular motion near the center to concentrate the particles and create a glowing glass ball cat-eye effect. Cure under the lamp once the desired dimension is achieved.
Tip: Keep the magnet steady and close to the nail without touching the wet surface to prevent smudging the fresh cat-eye gel layer. - 8Apply building top coat
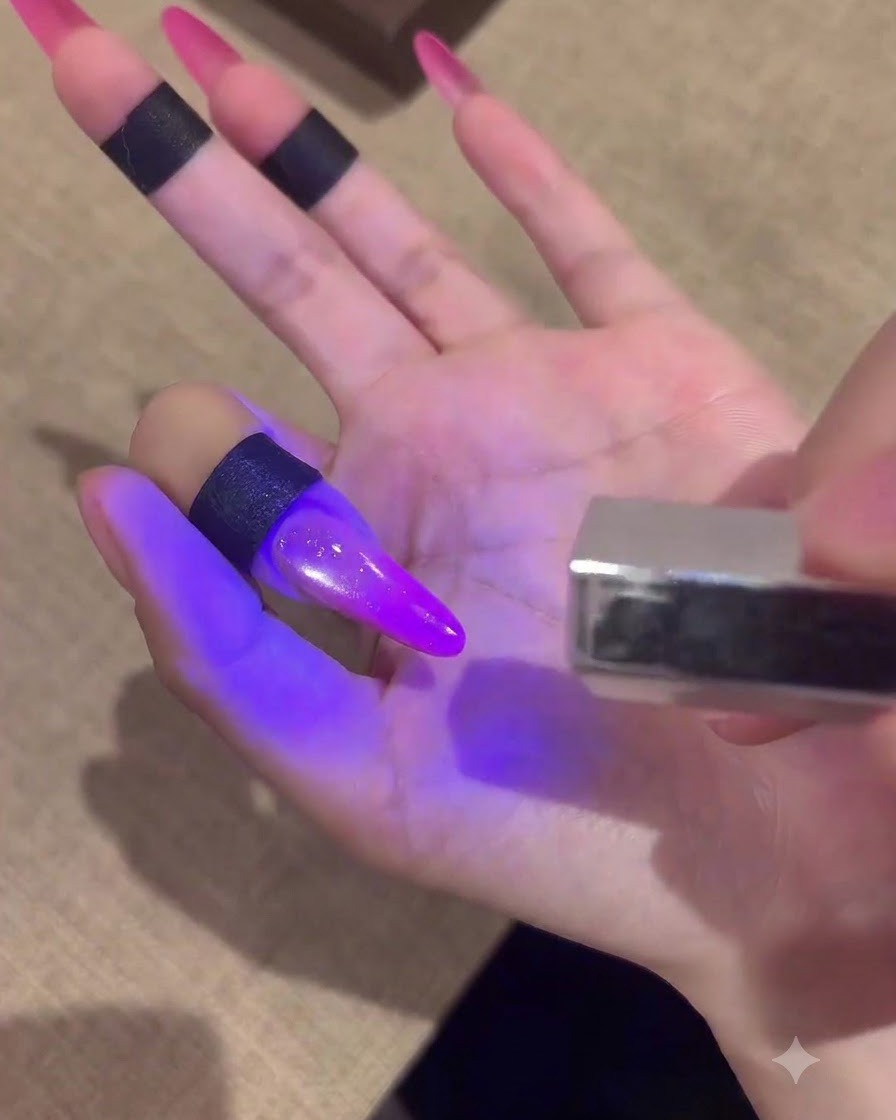
Brush a layer of building top coat smoothly over the fully cured cat-eye gel layer to seal the nail art and add structural depth. Ensure the entire surface is evenly covered and cap the free edge completely.
Tip: Building top coat helps smooth out any unevenness and provides extra durability and a plump, glossy finish. - 9Cure the final top coat
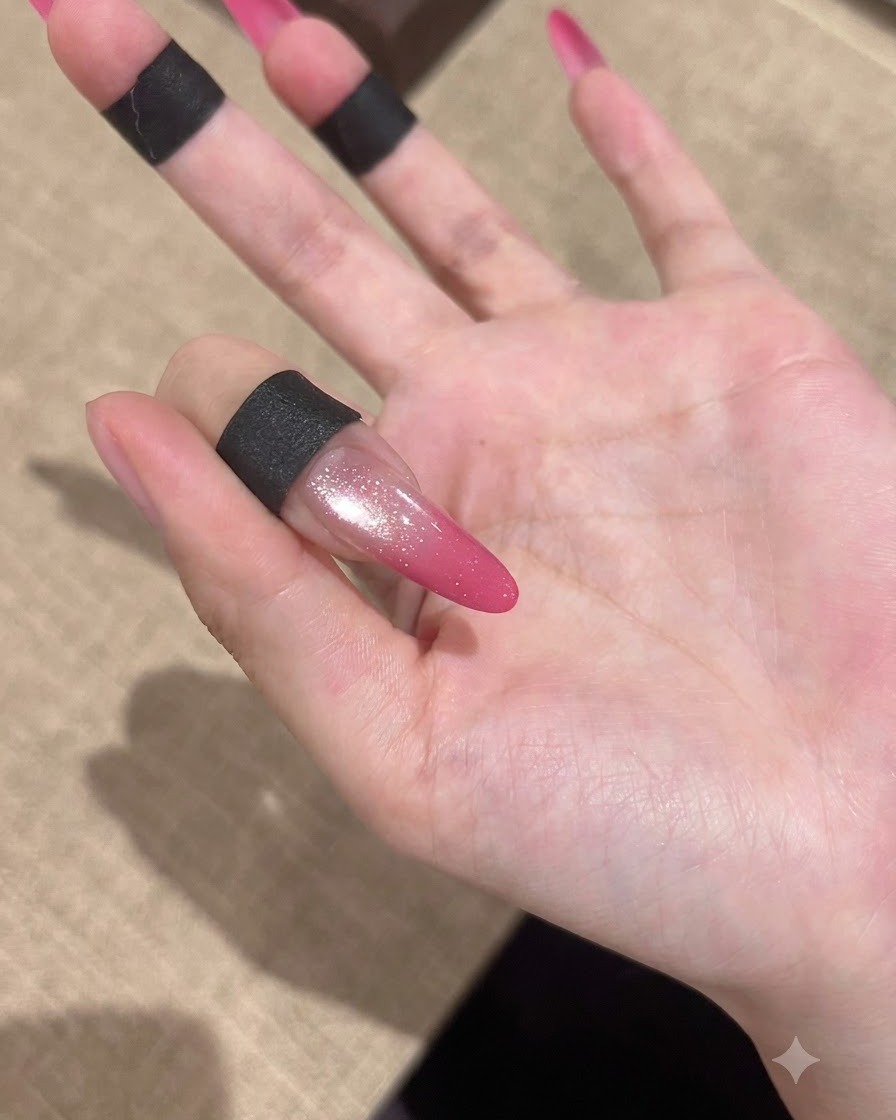
Place the hand under the UV or LED lamp to cure the final top coat layer thoroughly. Once cured, wipe away any residual inhibition layer if necessary to reveal the long-lasting, glossy finished nail look.
Tip: Ensure full cure time is met for the top coat to prevent dullness or tackiness on the final surface.