Silver Glitter Gradient
Diamond Embellished Luxury Nail Art Tutorial
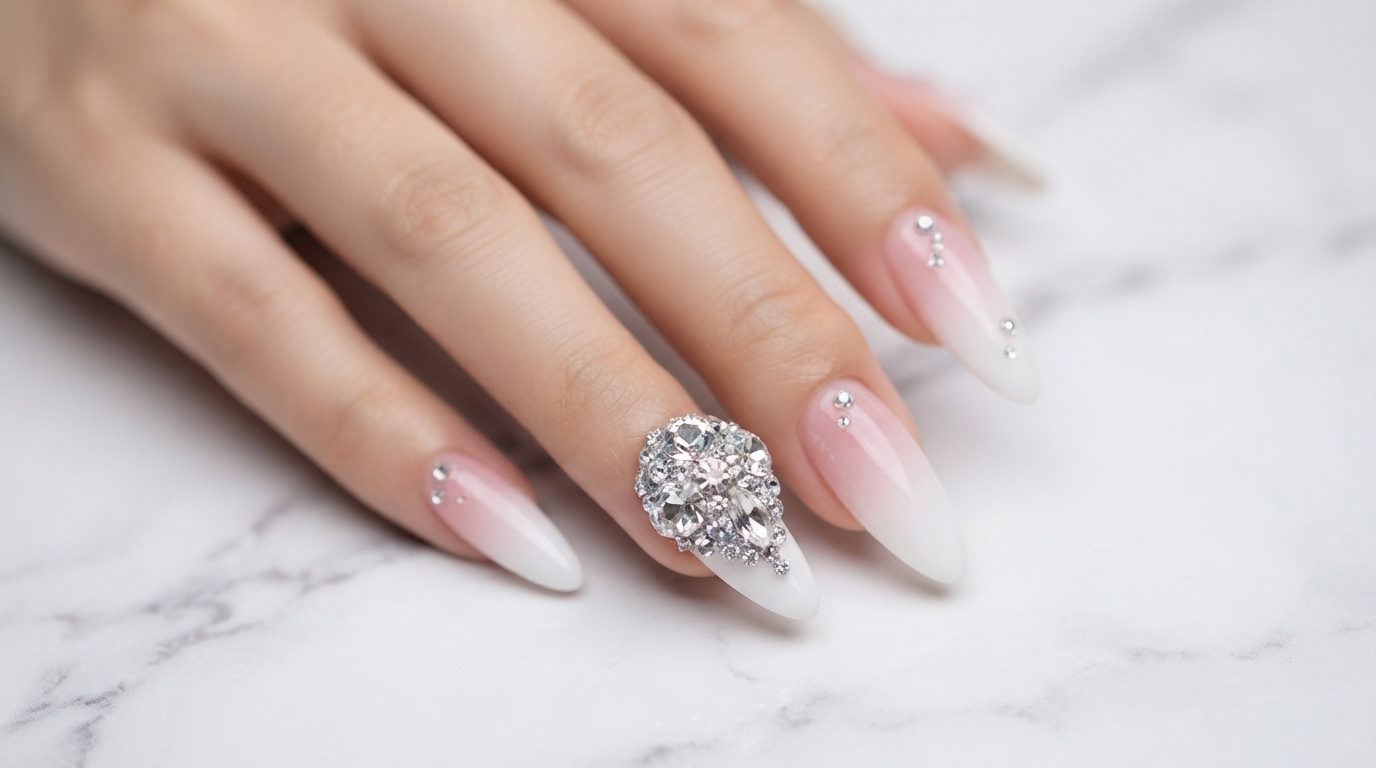
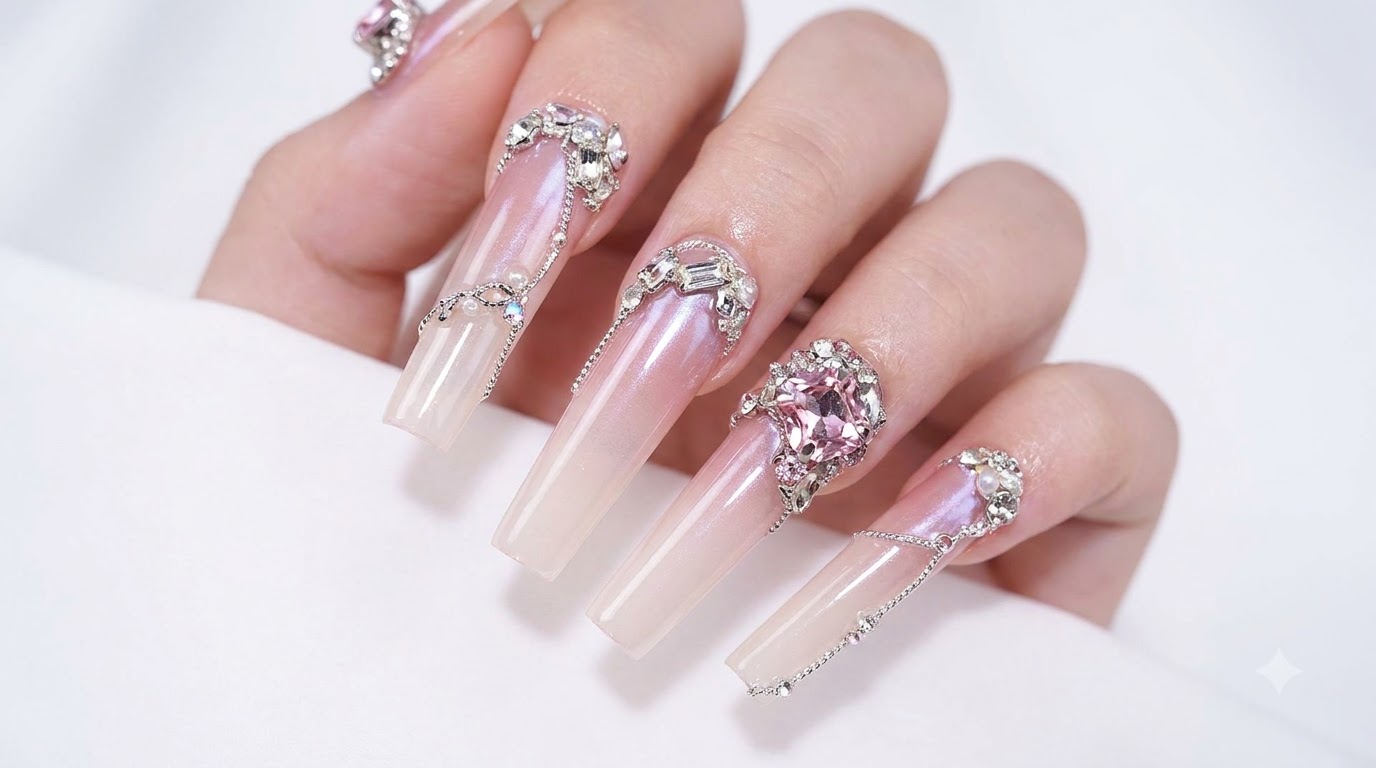
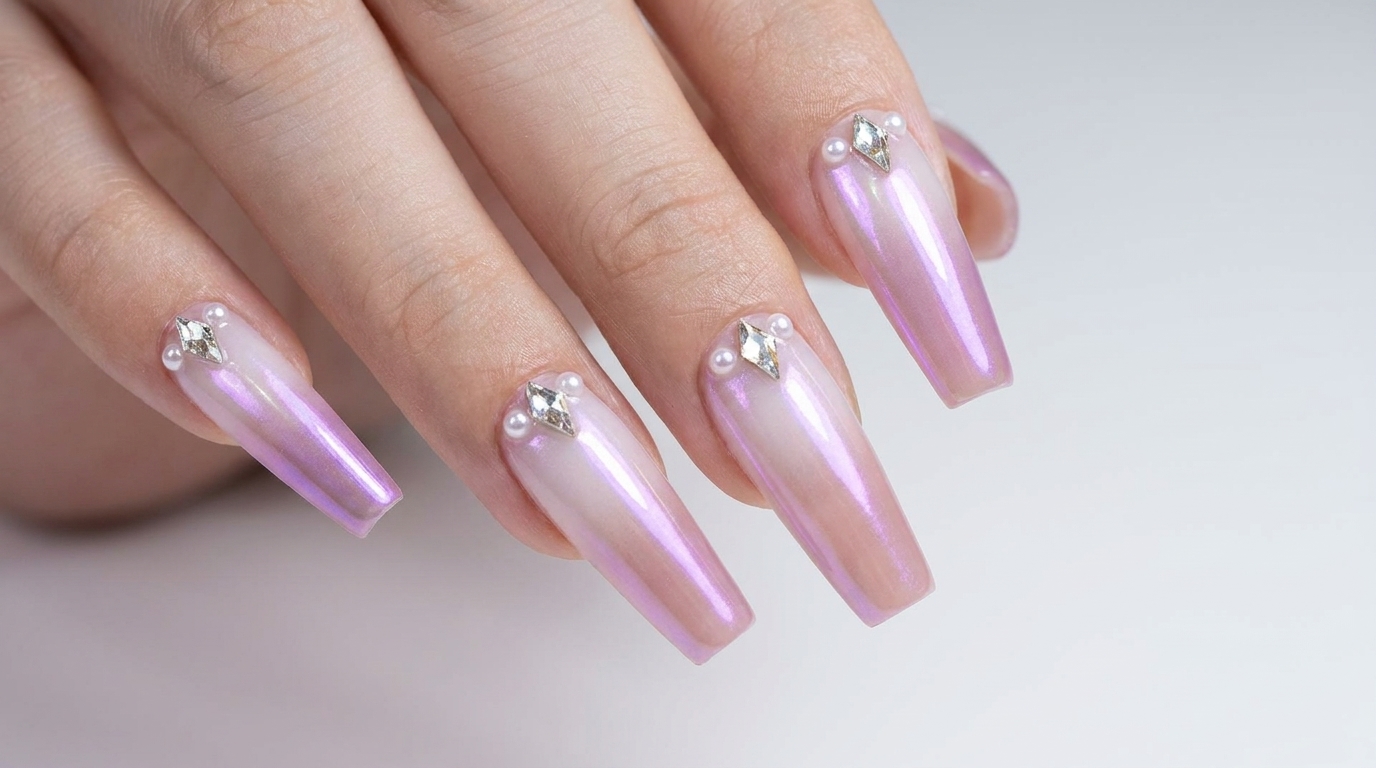
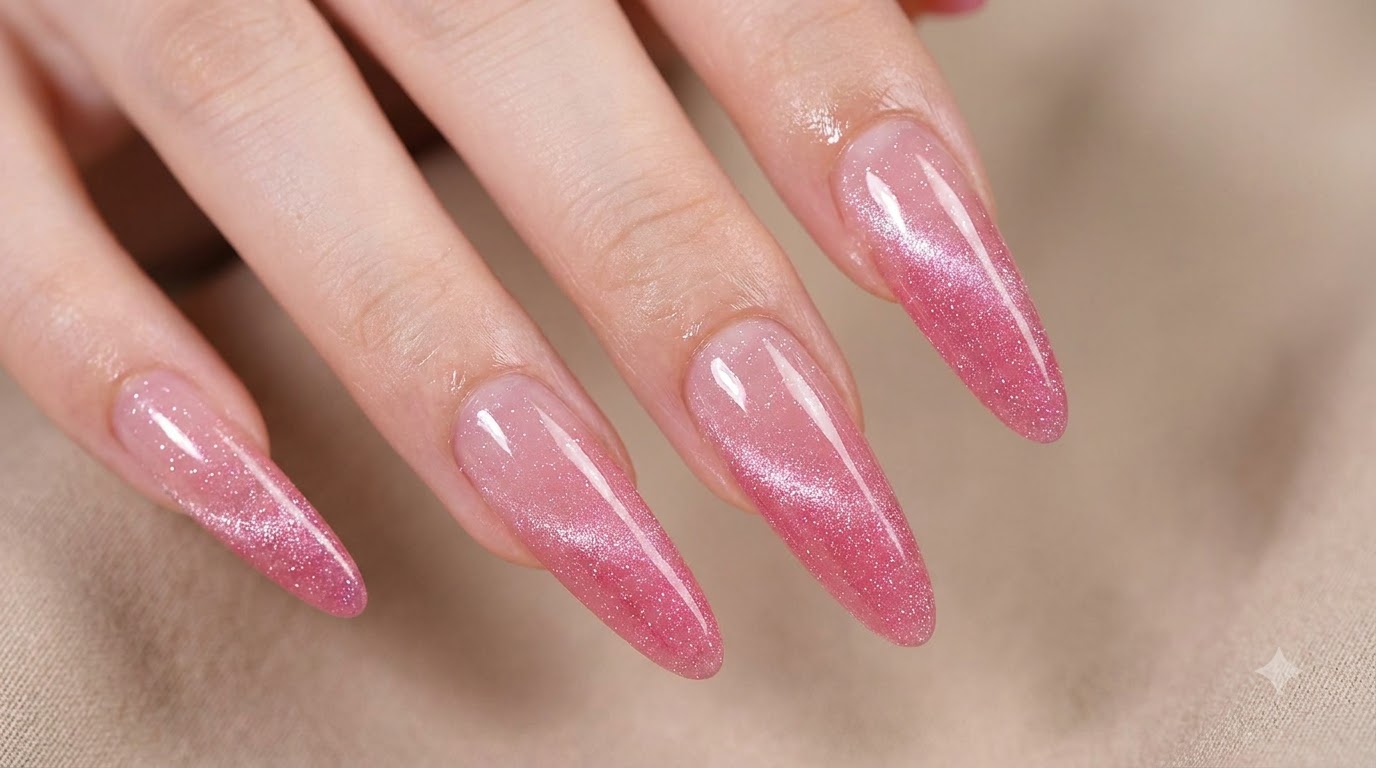
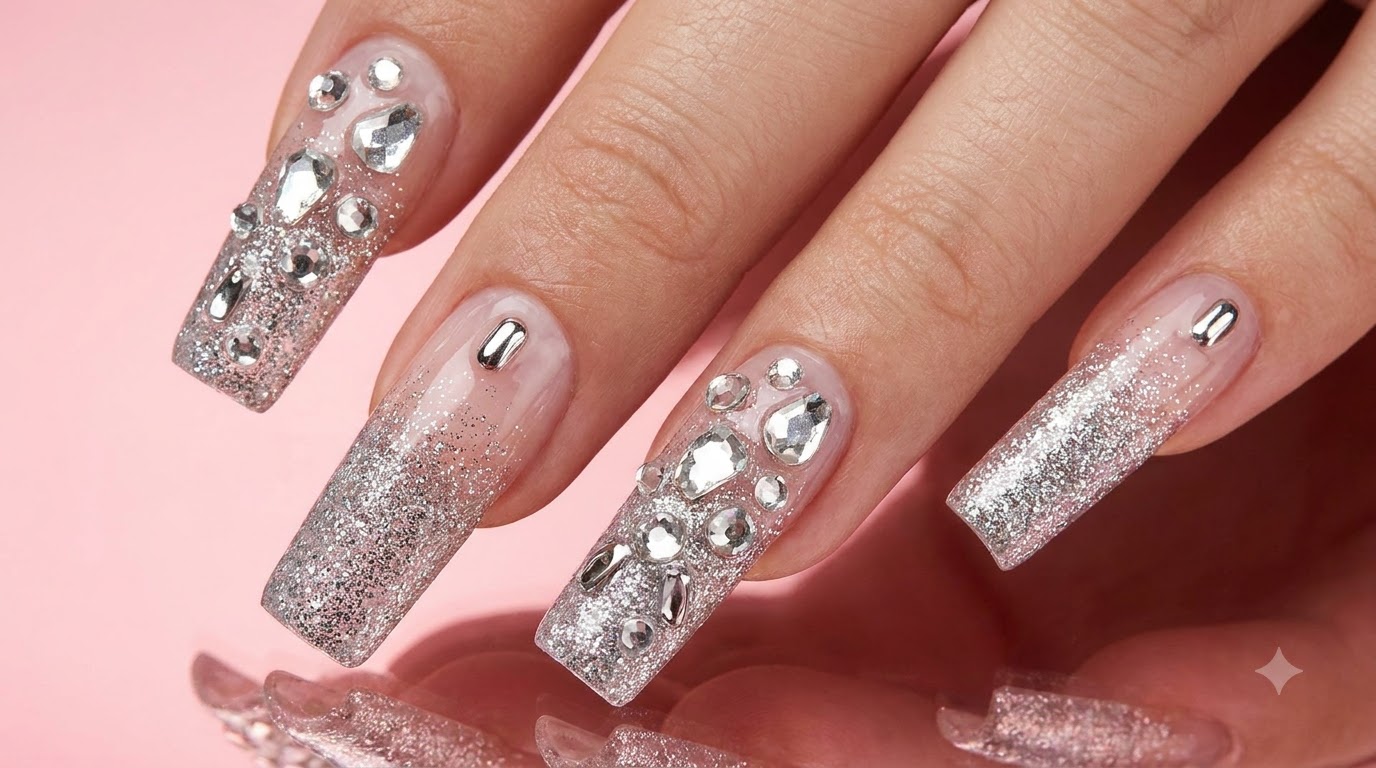
Create stunning luxury nail art featuring a sparkling silver glitter gradient, elegant magic mirror chrome accents, and dazzling irregular rhinestones.
Everyone is trying out trendy sparkling gradient styles, but perfecting the look can sometimes be tricky. This detailed step-by-step tutorial walks you through achieving a clean, professional finish complete with shimmering glitter, chrome powder, and gorgeous diamond embellishments right at home.
Steps
- 1Apply dark gel polish layer
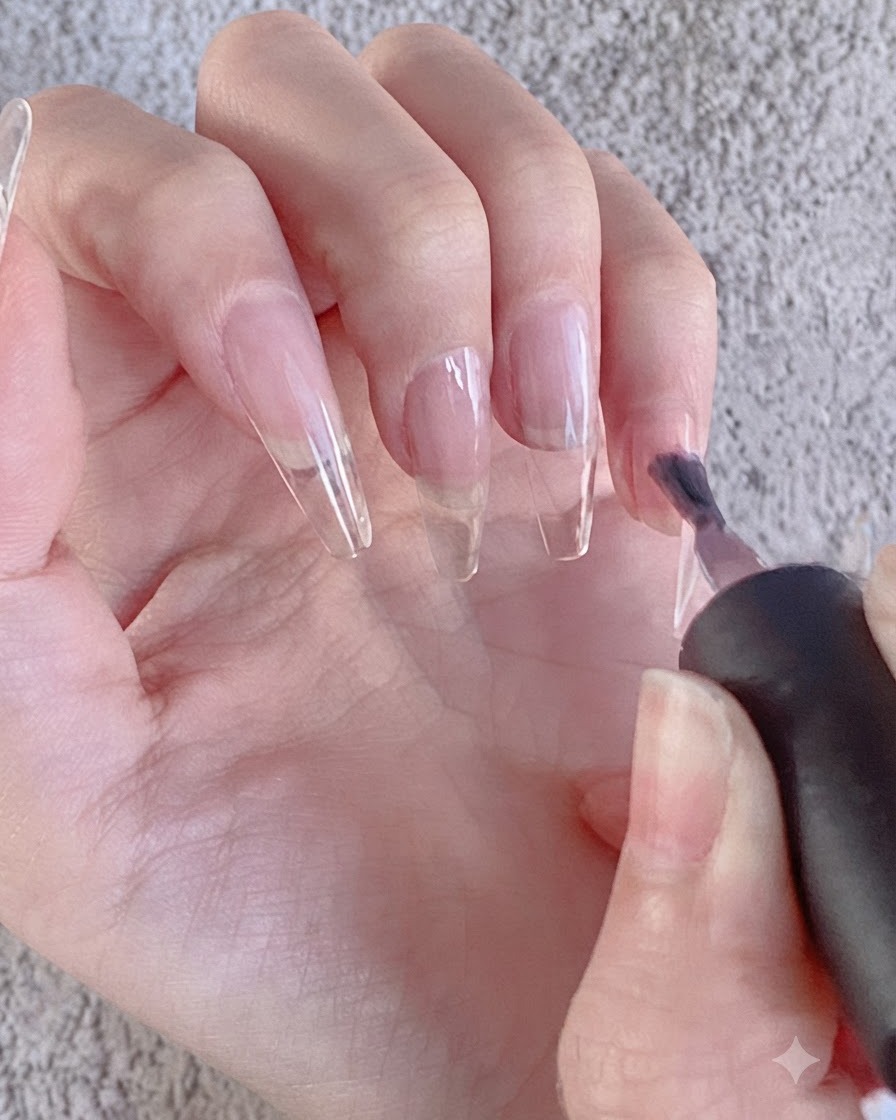
Brush a thin, even layer of dark gel polish onto the clear nail extension surface, making sure to cover the area smoothly. Ensure the application is neat and avoid flooding the sidewalls or cuticle areas. Cure under the UV or LED lamp as required.
Tip: Apply dark colors in thin layers to prevent wrinkling or uneven curing under the lamp. - 2Apply milky nude base color
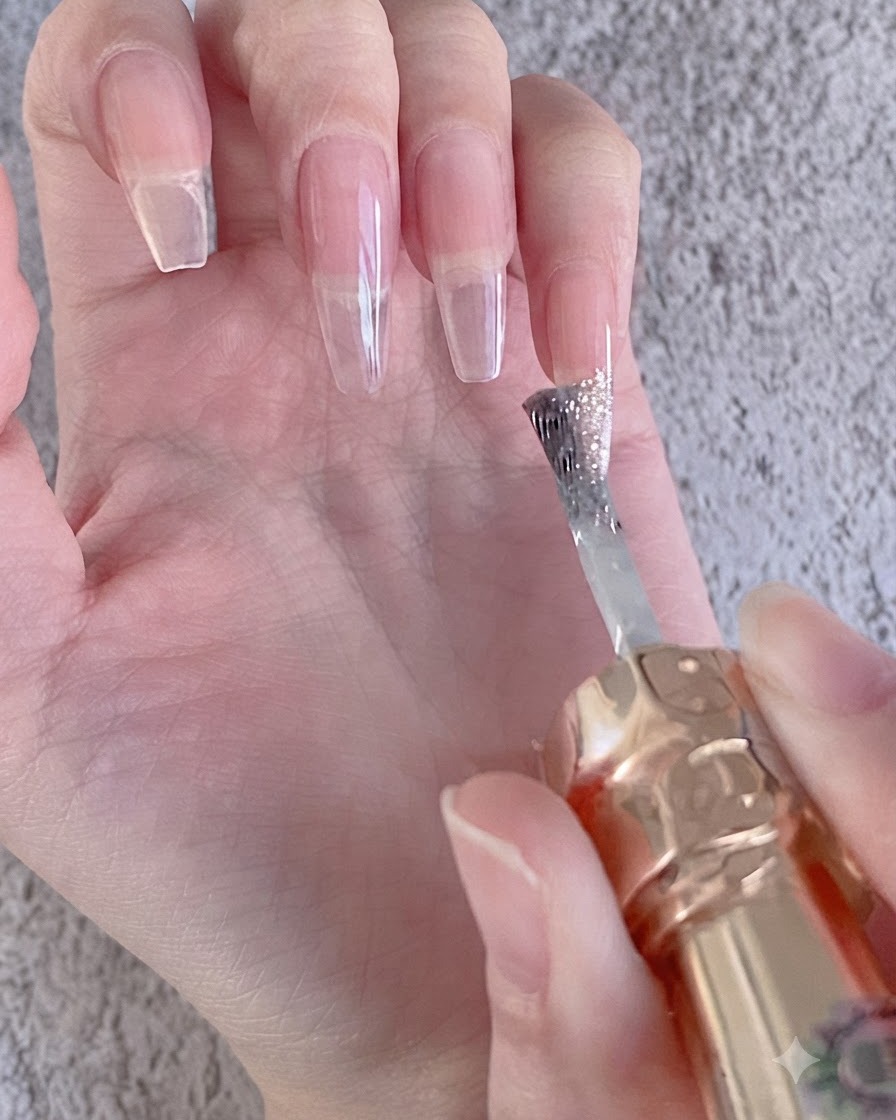
Apply a coat of milky nude #4 base color evenly across the nail plate. Ensure the application is smooth to create a clean foundation for the subsequent gradient and nail art steps.
Tip: Keep the base coat layers thin and even to prevent pooling around the cuticles. - 3Apply colored rhinestone glitter gel
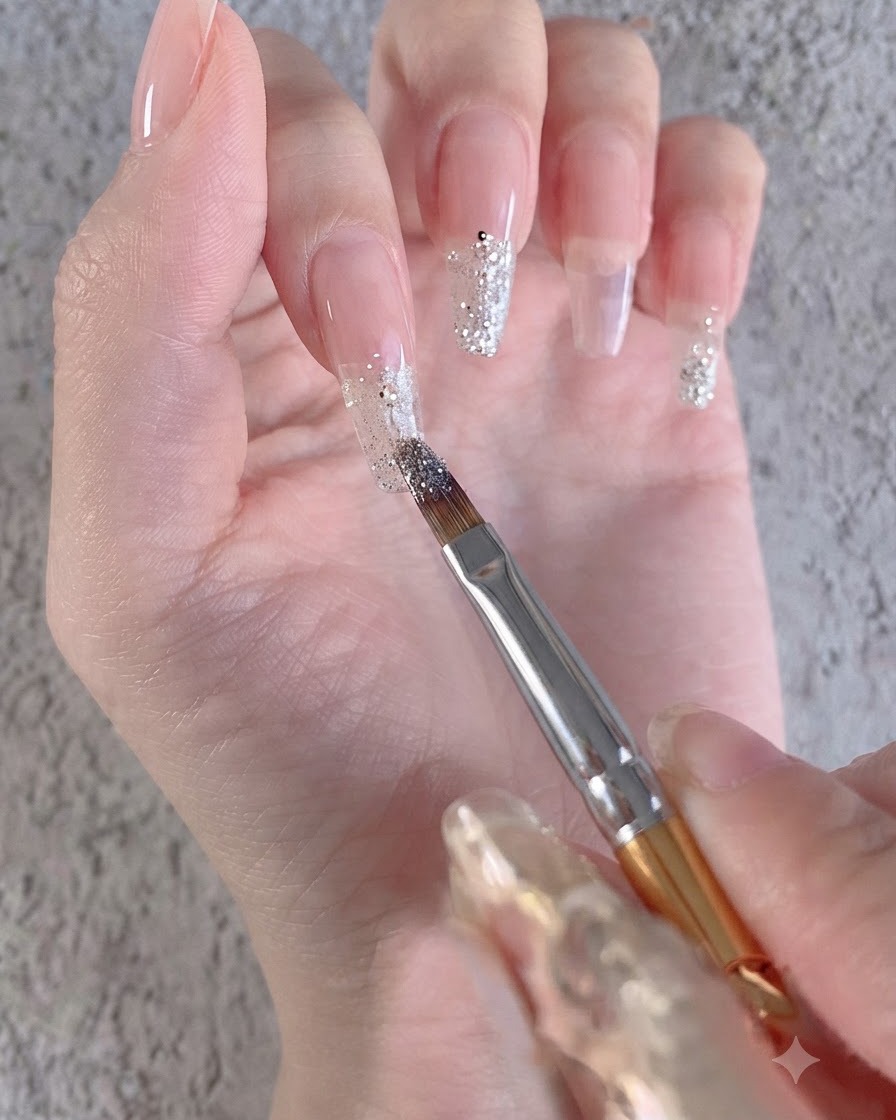
Apply colored rhinestone gel onto the nail surface to prepare for the gradient effect. This gel provides a sparkling, textured base that adds depth to the overall design.
Tip: Distribute the gel evenly to ensure the glitter particles spread nicely when creating the gradient. - 4Brush a small glitter gradient
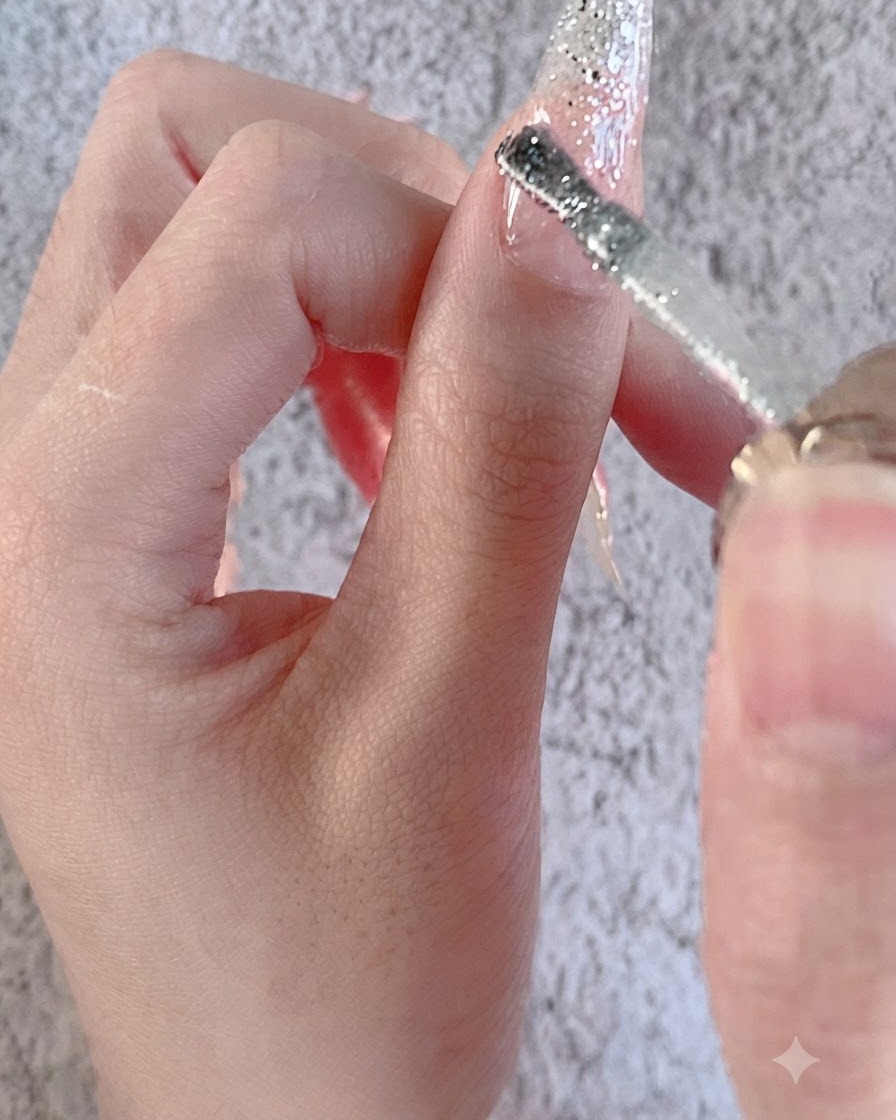
Brush a small gradient starting from the tip of the nail and working downwards. This gradient technique is very easy to apply and builds a delicate transition of sparkle.
Tip: Start with a small amount of product on your brush to maintain control over the gradient spread. - 5Smooth out the glitter gradient
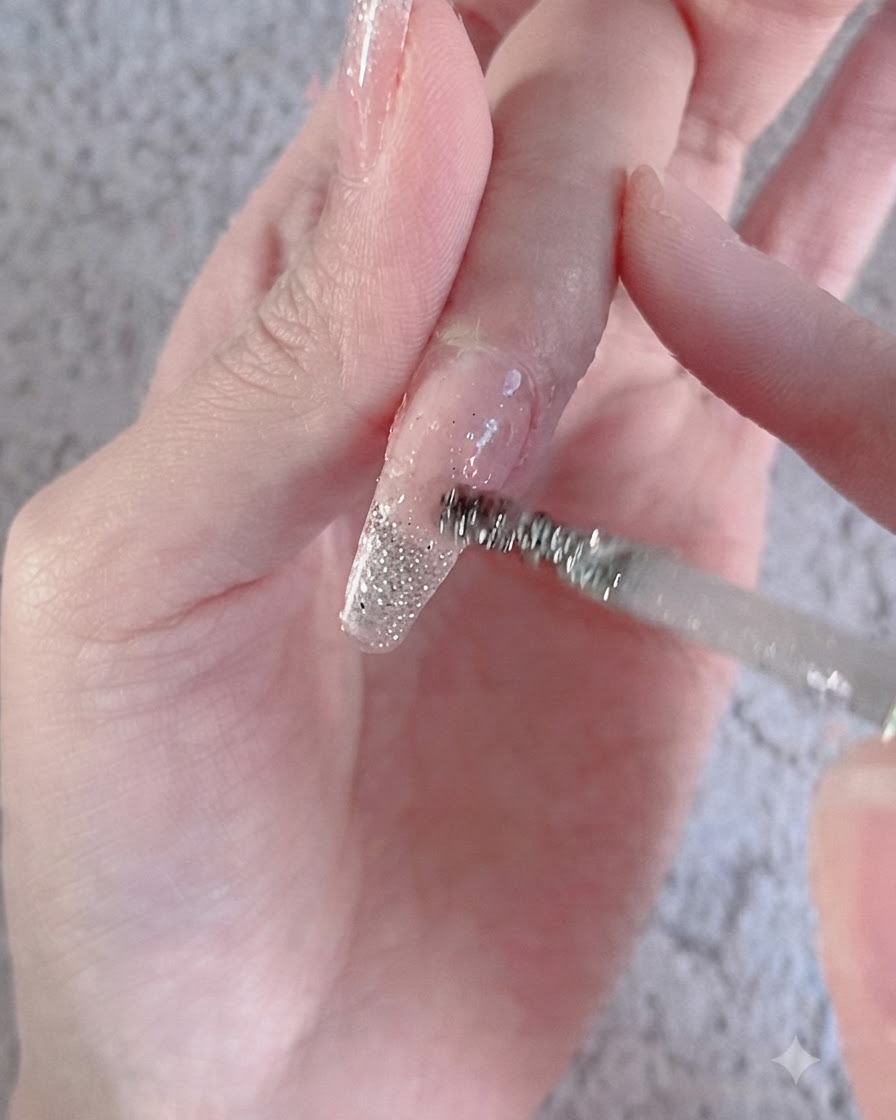
Wipe your brush clean, then simply swipe up and down along the nail to smooth out the gradient transition. This ensures a seamless blend without harsh lines.
Tip: Ensure the brush is thoroughly wiped clean before blending so you don excess product back onto the nail. - 6Apply matte top coat on ring finger
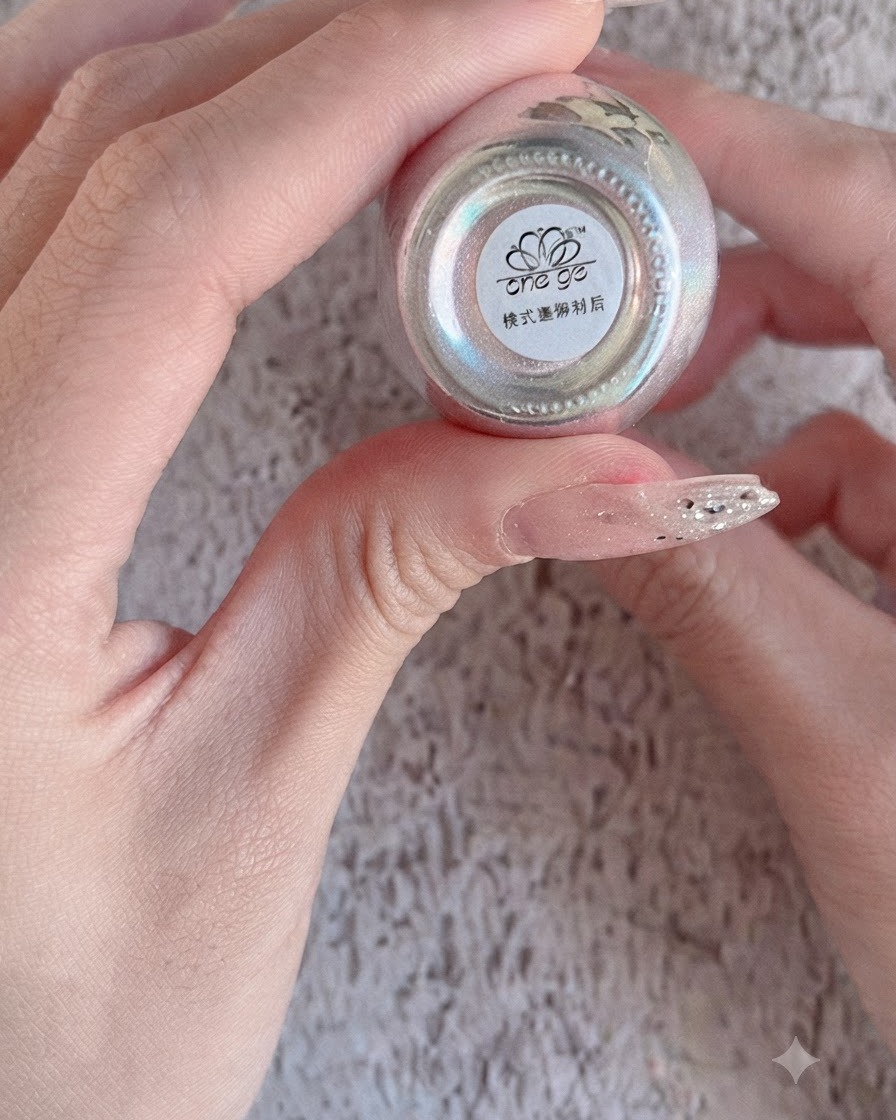
Take the matte top coat and apply a smooth layer specifically onto the ring finger nail plate. This prepares the textured or specific nail surface so that magic mirror powder can adhere properly to it in the next steps. Cure thoroughly after application.
Tip: Make sure the matte top coat is evenly distributed without streaks for a clean chrome effect later. - 7Prepare the ring finger surface
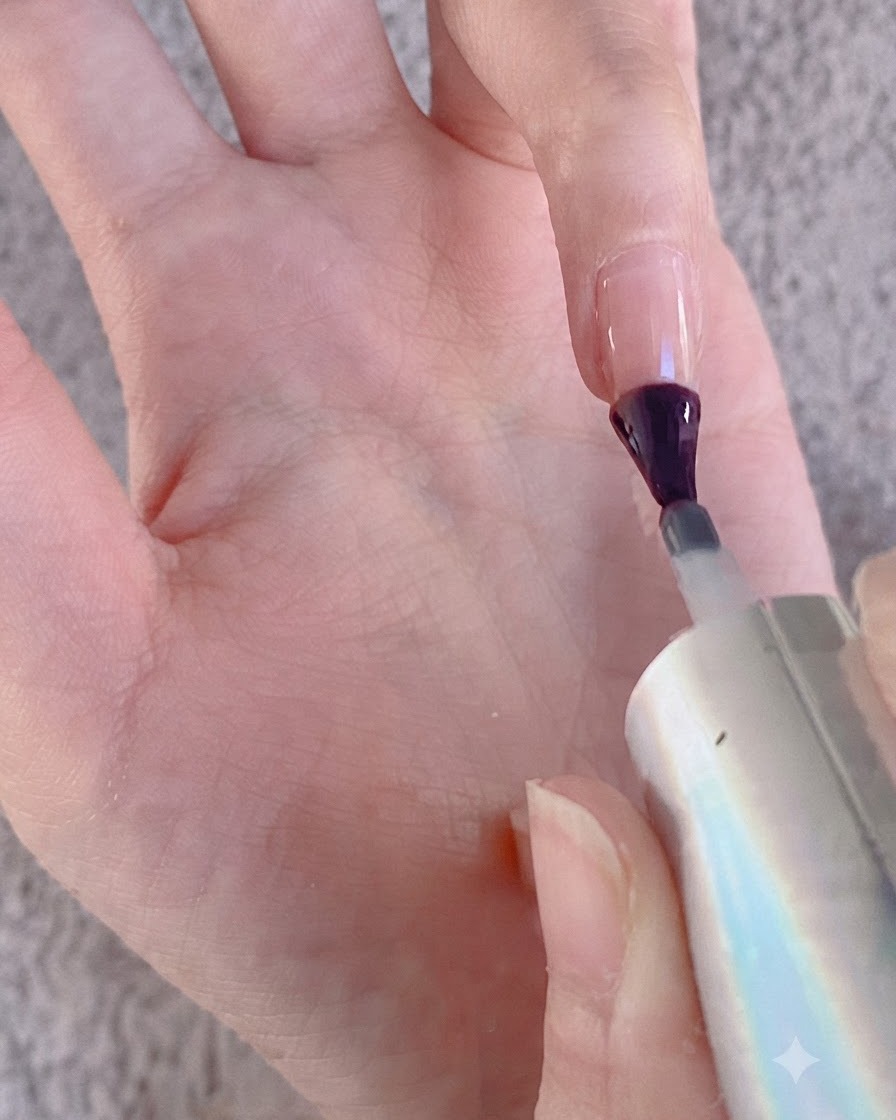
Cure the applied layer or prepare the ring finger nail surface so that it is ready for the magic mirror chrome powder application. Ensure the surface is completely dry and set before rubbing on any powder.
Tip: Proper curing ensures the chrome powder buffs into a smooth mirror finish instead of sticking unevenly. - 8Place silver gradient nail sticker
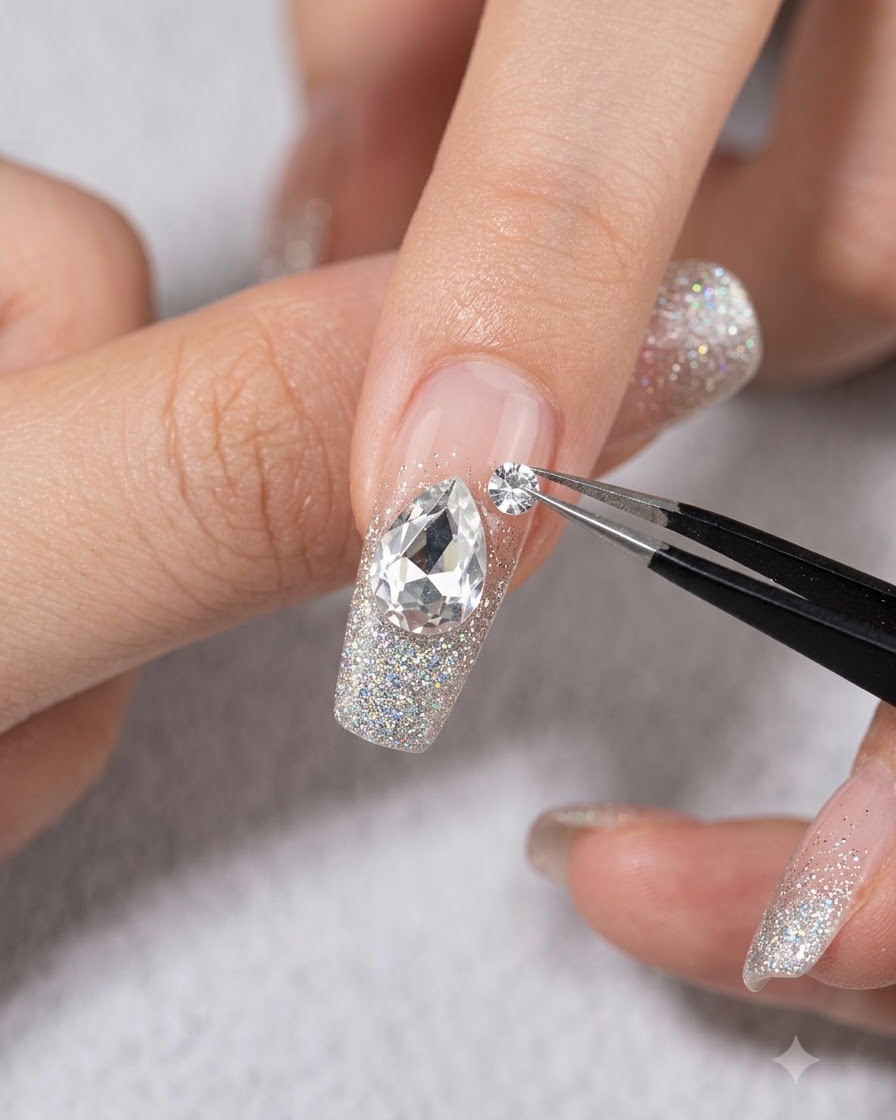
Using a pair of precision tweezers, pick up the silver gradient nail sticker elements and carefully place them onto the prepared nail surface. Press down gently to ensure the sticker adheres flatly without air bubbles or lifted edges.
Tip: Use fine tweezers to position stickers accurately without tearing or bending the delicate material. - 9Add irregular flat-bottomed rhinestones
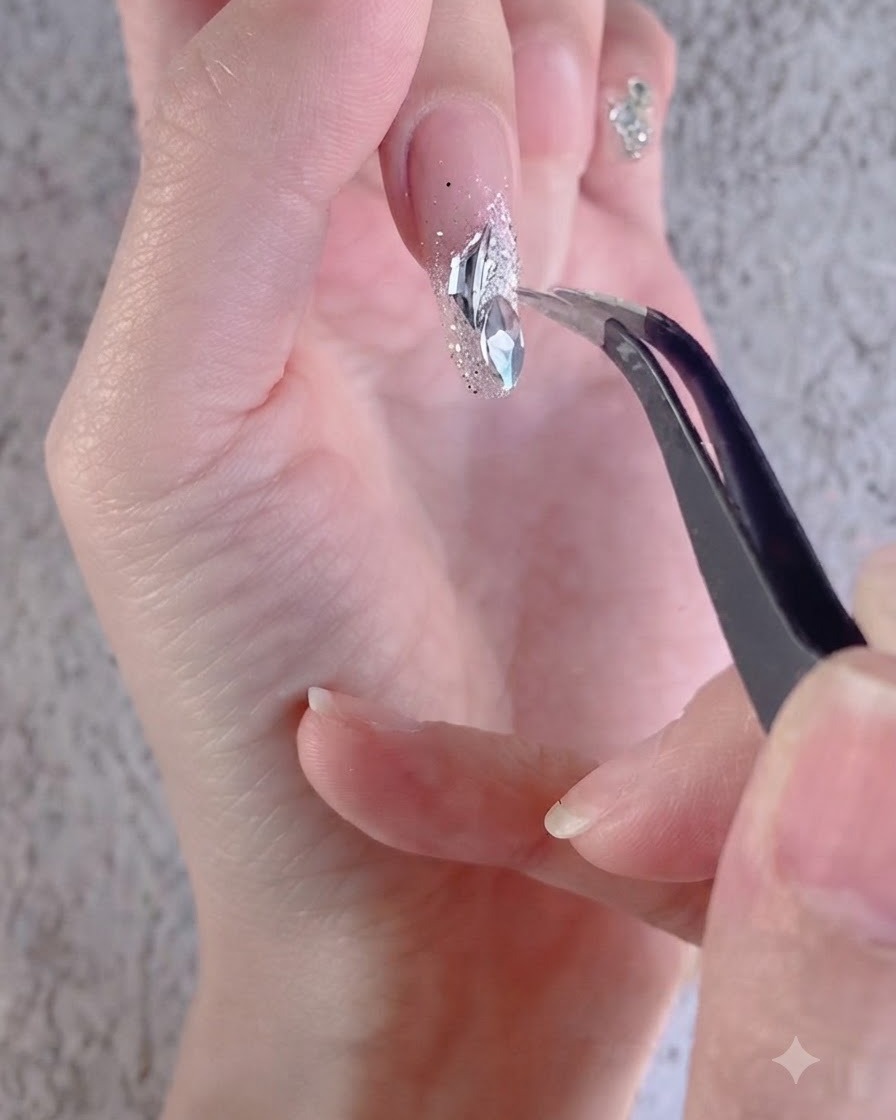
Carefully pick up white irregular flat-bottomed rhinestones using your tweezers and place them onto the nail over your base or glue layer. Arrange them artfully to complement the design elements already on the nail.
Tip: Place a small bead of rhinestone glue or gel first to anchor the flat-bottomed stones securely. - 10Accent with small crushed diamond pieces
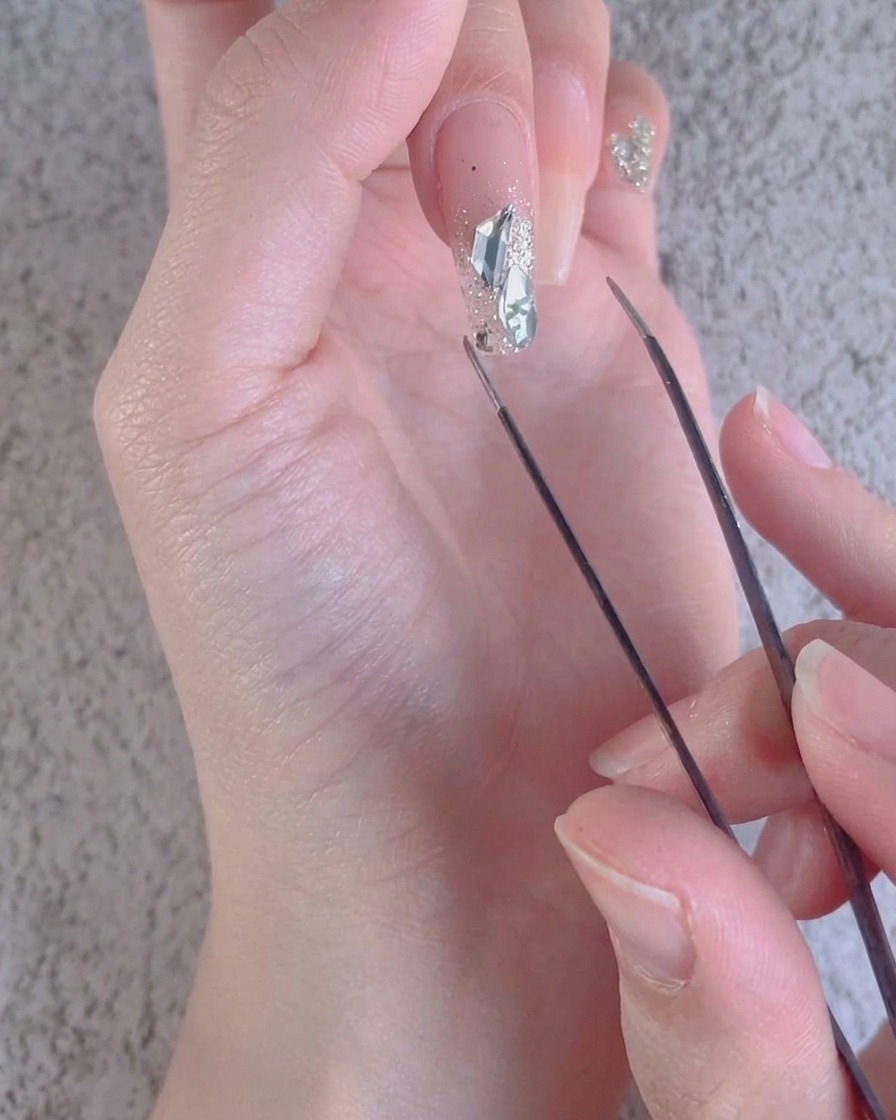
Add a few small crushed diamond pieces around the large rhinestones using tweezers to accent the design. This fills in empty spaces and adds extra sparkle and texture to your nail art composition. Cure when satisfied with the placement.
Tip: Group smaller crushed stones closely around the base of larger gems to create a cohesive clustered look. - 11Apply rhinestone glue bead
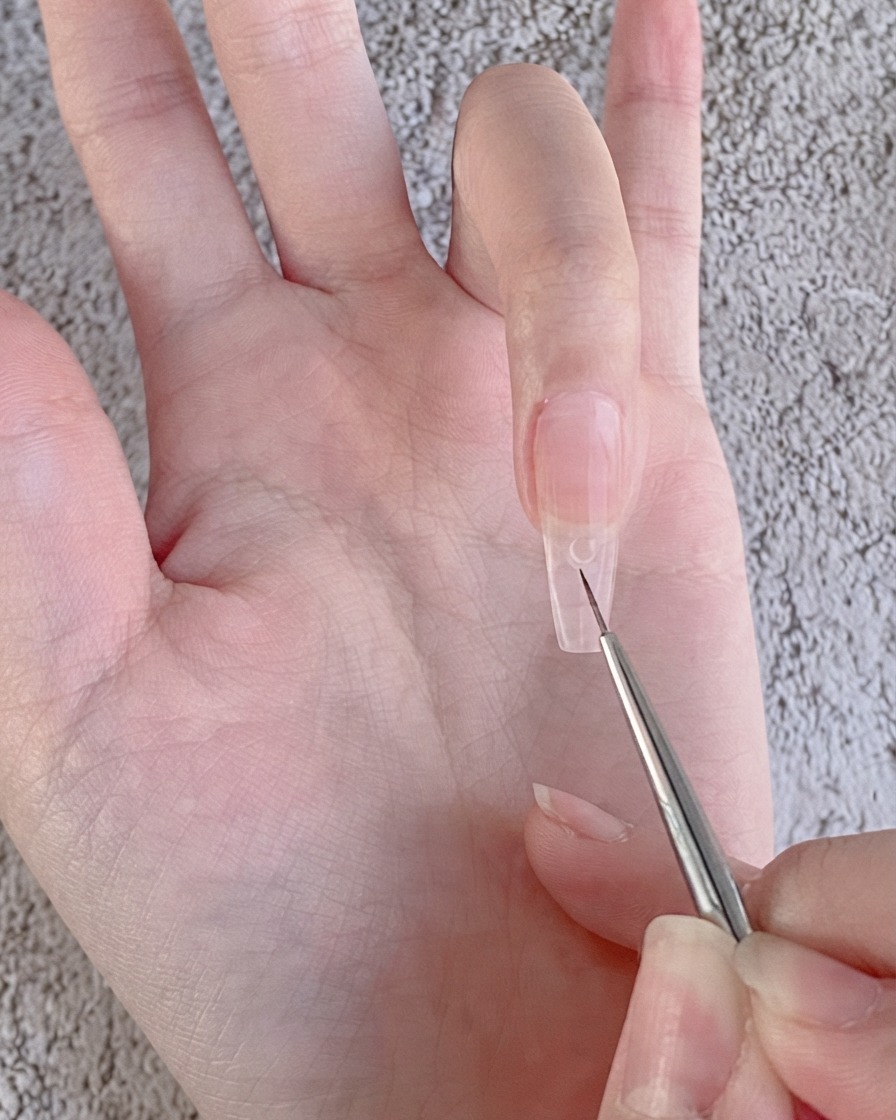
Using a fine liner brush, pick up a small amount of non-wipe rhinestone glue and apply it onto the nail surface to create a precise raised bead. This acts as the anchor point for positioning the charms and rhinestones securely.
Tip: Keep the glue bead small and controlled so it does not spill out past the edges of your rhinestones. - 12Drag gel bead and adjust shape
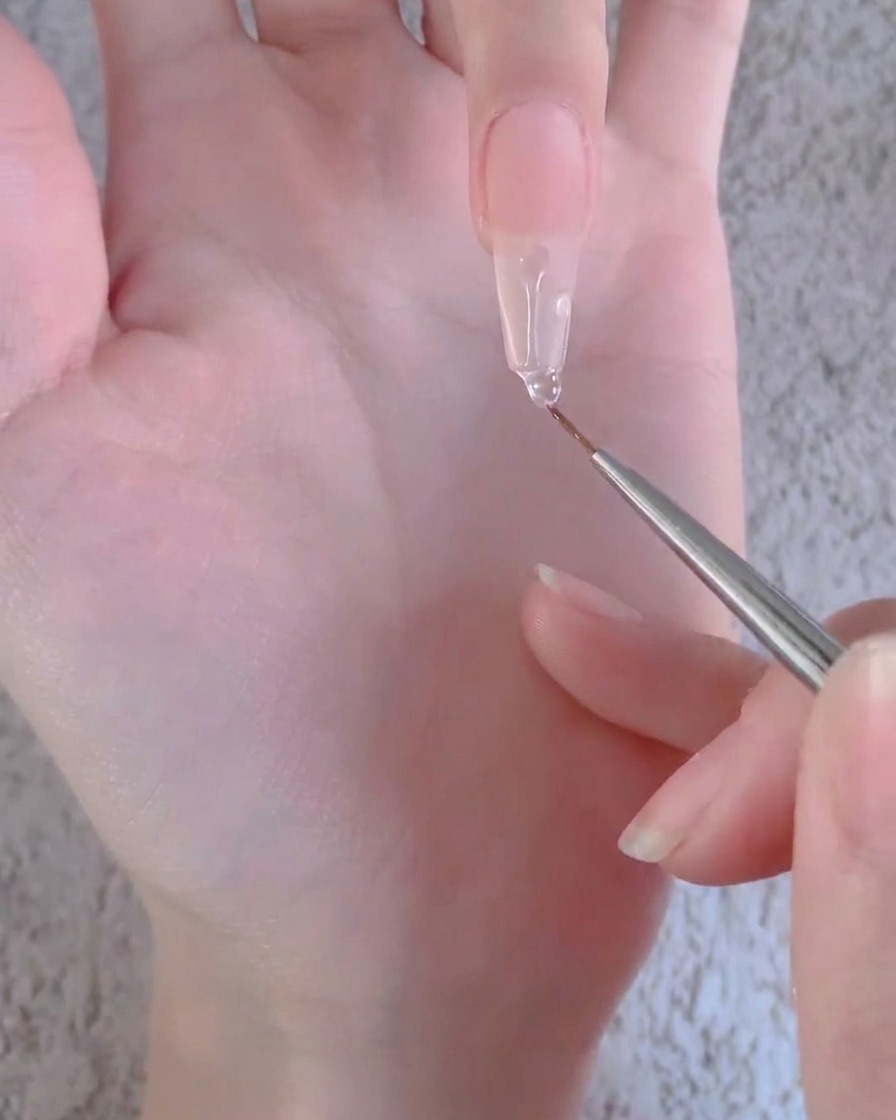
Carefully drag the applied rhinestone glue bead downwards along the nail plate using your brush to smooth out the placement base. Adjust the contour near the nail tip to ensure a balanced foundation for your nail art elements.
Tip: Work with a light hand to elongate the gel bead smoothly without creating air bubbles. - 13Cure the gel under lamp
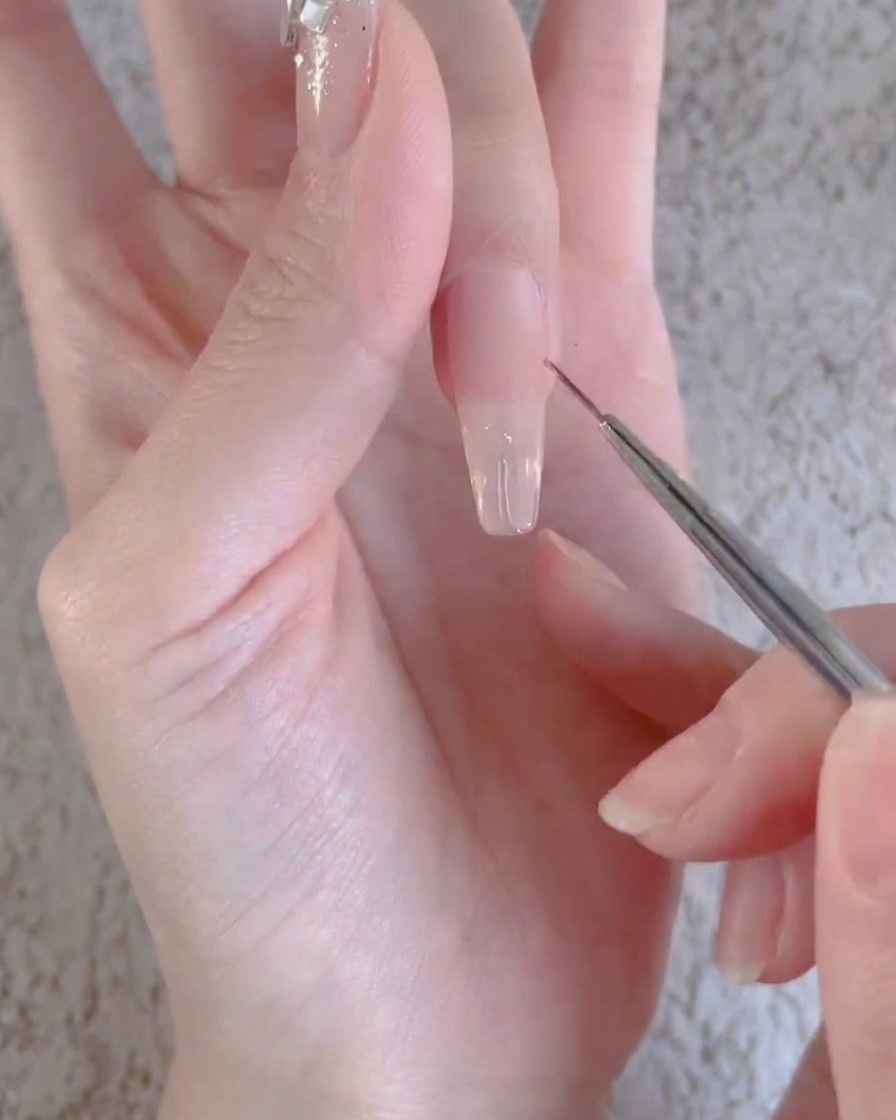
Place your hand inside the UV or LED nail lamp to fully cure the applied rhinestone glue base. Ensure the hand is positioned evenly under the light source so the gel hardens completely without shifting.
Tip: Follow your specific gel brand guidelines for curing times to prevent under-curing or shifting of the structure. - 14Apply magic mirror powder
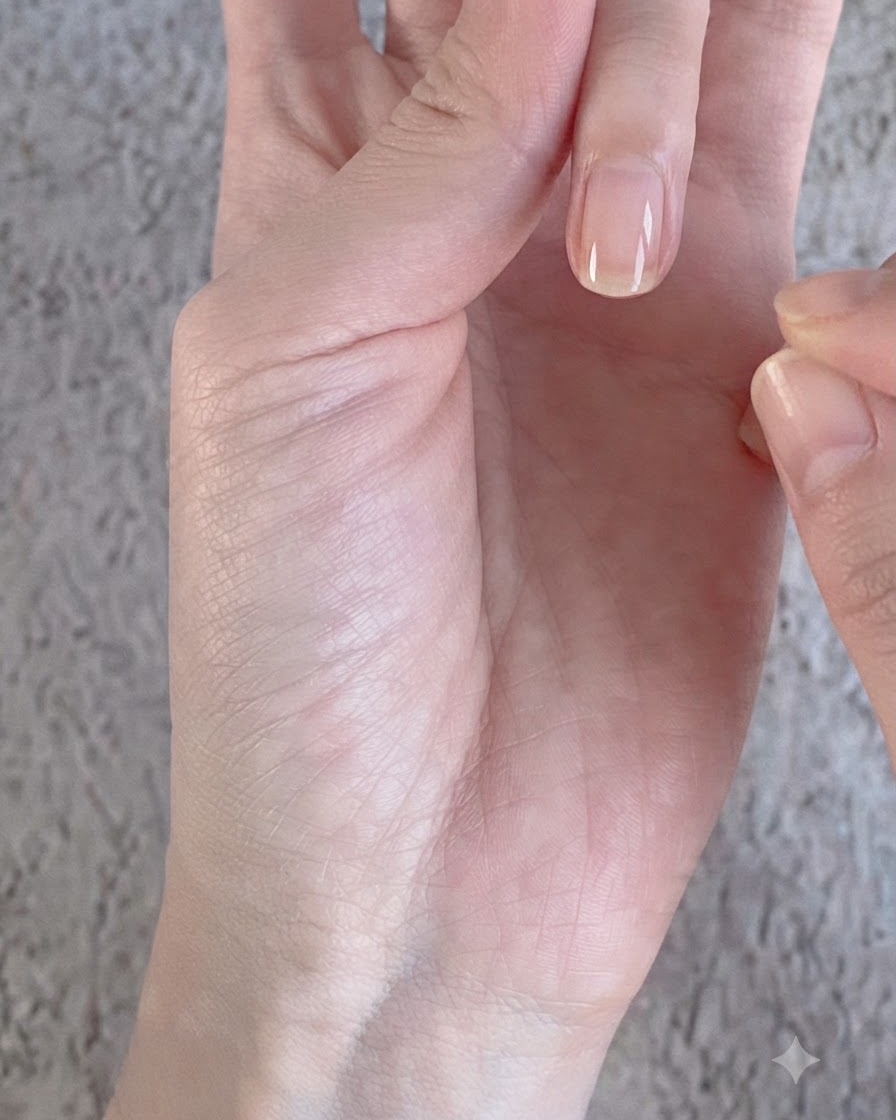
Take a small sponge applicator and gently buff magic mirror chrome powder over the cured nail surface. Buff in smooth, circular motions until a uniform, reflective metallic finish develops across the entire area.
Tip: Apply chrome powder when the cured top coat or base has just the right amount of residual tack or smoothness depending on the specific powder type used. - 15Outline rhinestone edges
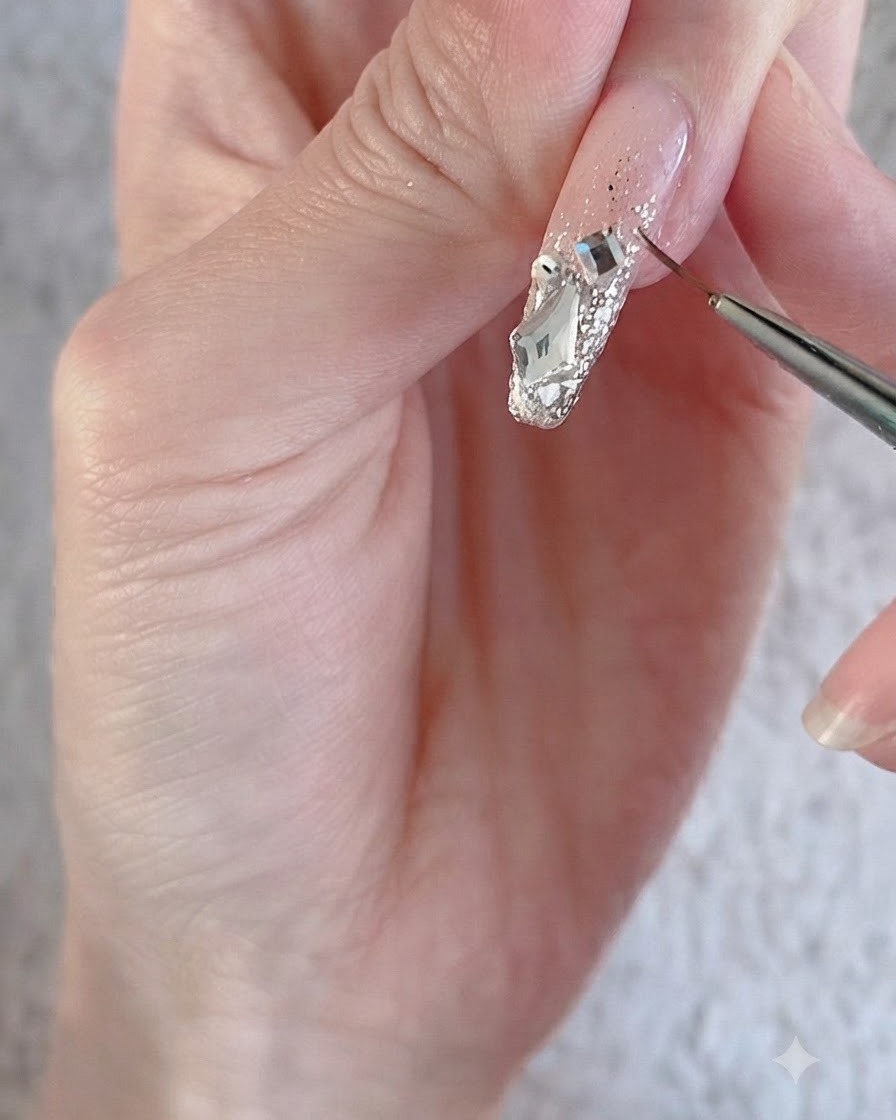
Using a fine detail brush and sealing gel, carefully trace around the outer edges of the irregular rhinestones and decorative charms. This locks the gems in place and seals the gaps to prevent snagging or lifting.
Tip: Be thorough when sealing around large stones to lock them down completely for long-lasting wear. - 16Apply final reinforcement top coat
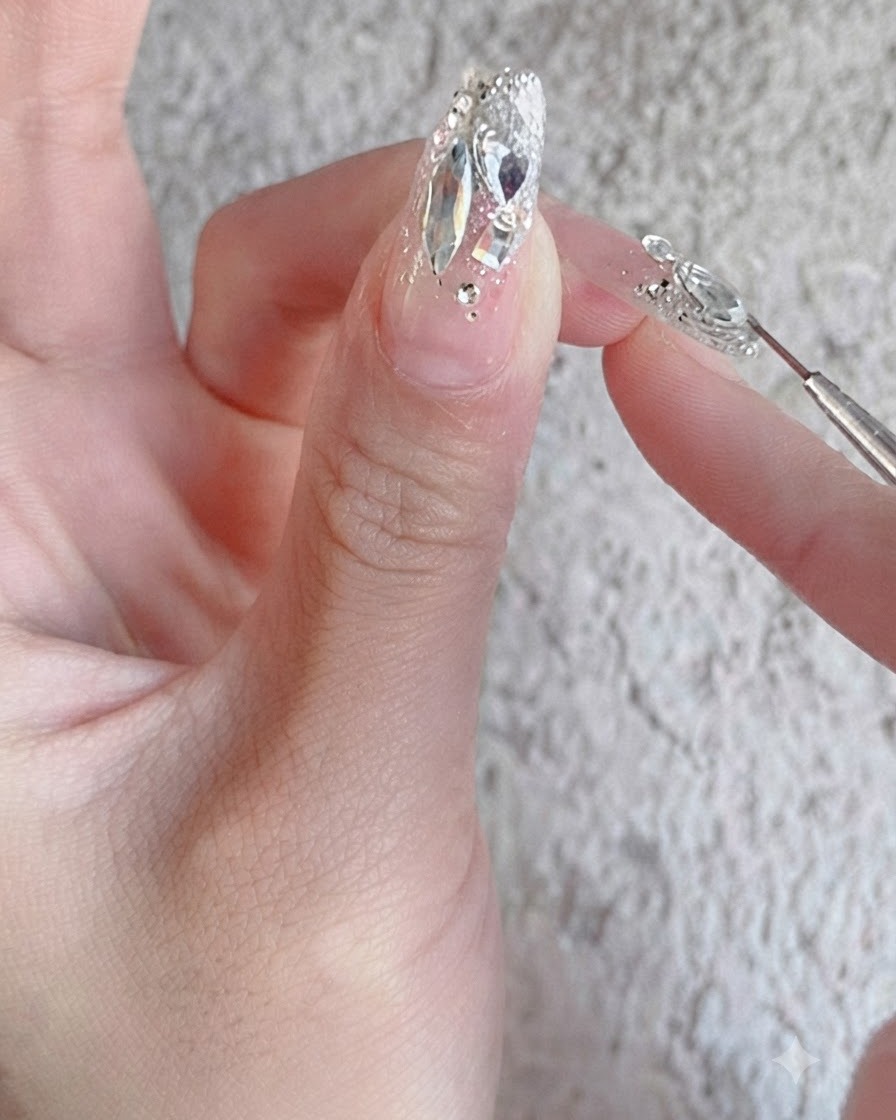
Brush a layer of reinforcement top coat over the entire nail design, covering all stones and surface details completely to seal the look. Cure under the lamp and wipe away any inhibition residue to reveal a glossy, protected finish.
Tip: Cap the free edge carefully with top coat to prevent chipping and protect the intricate rhinestone arrangement.