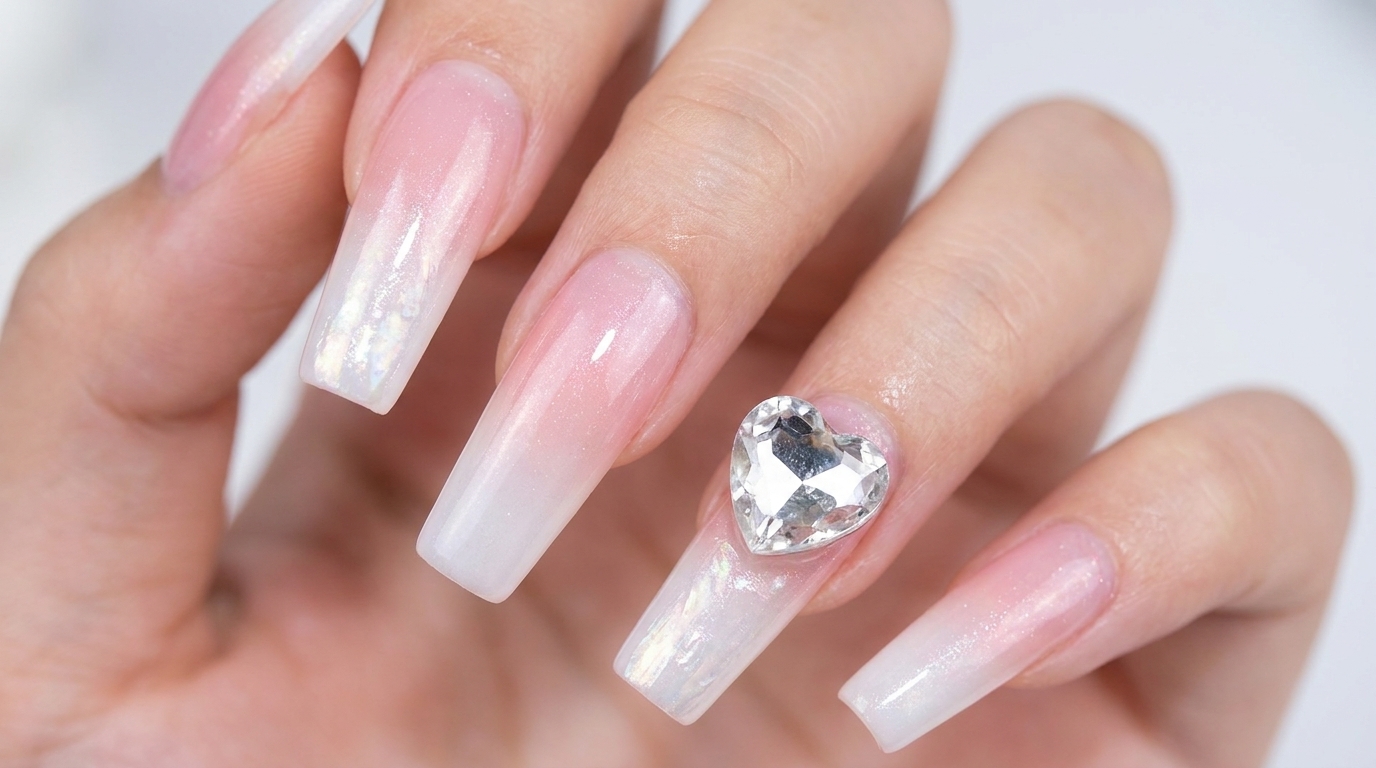
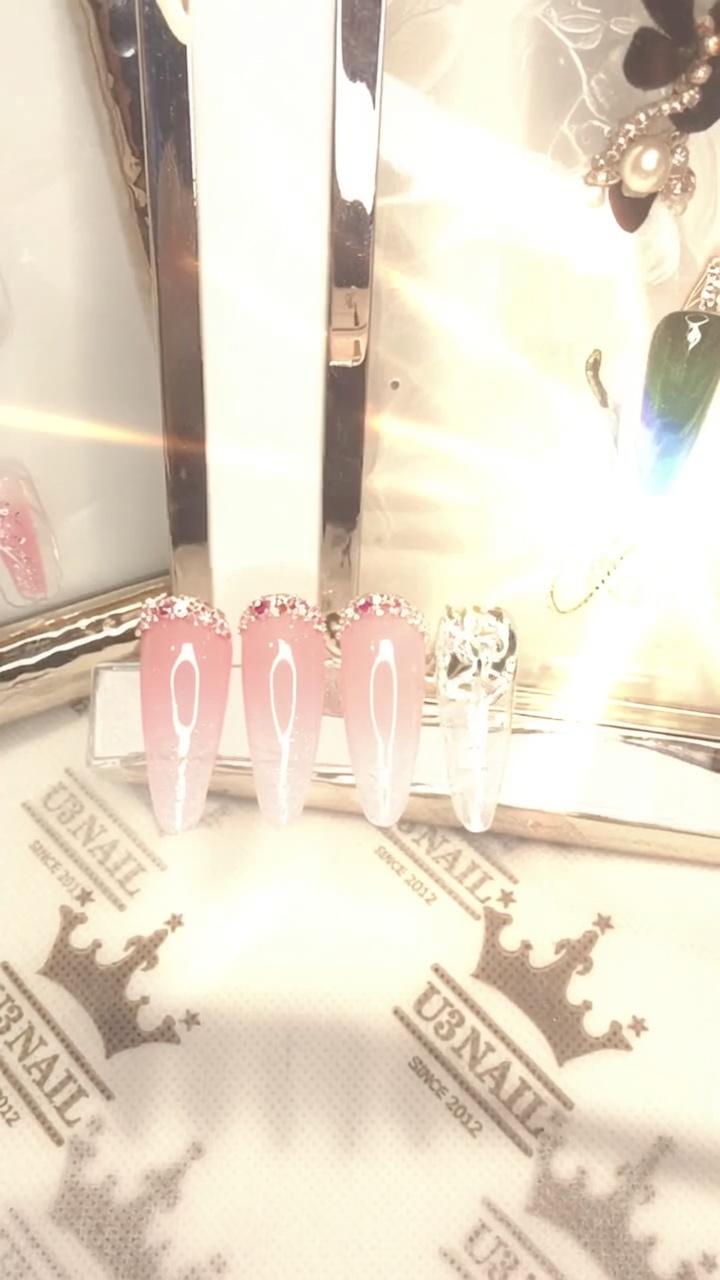
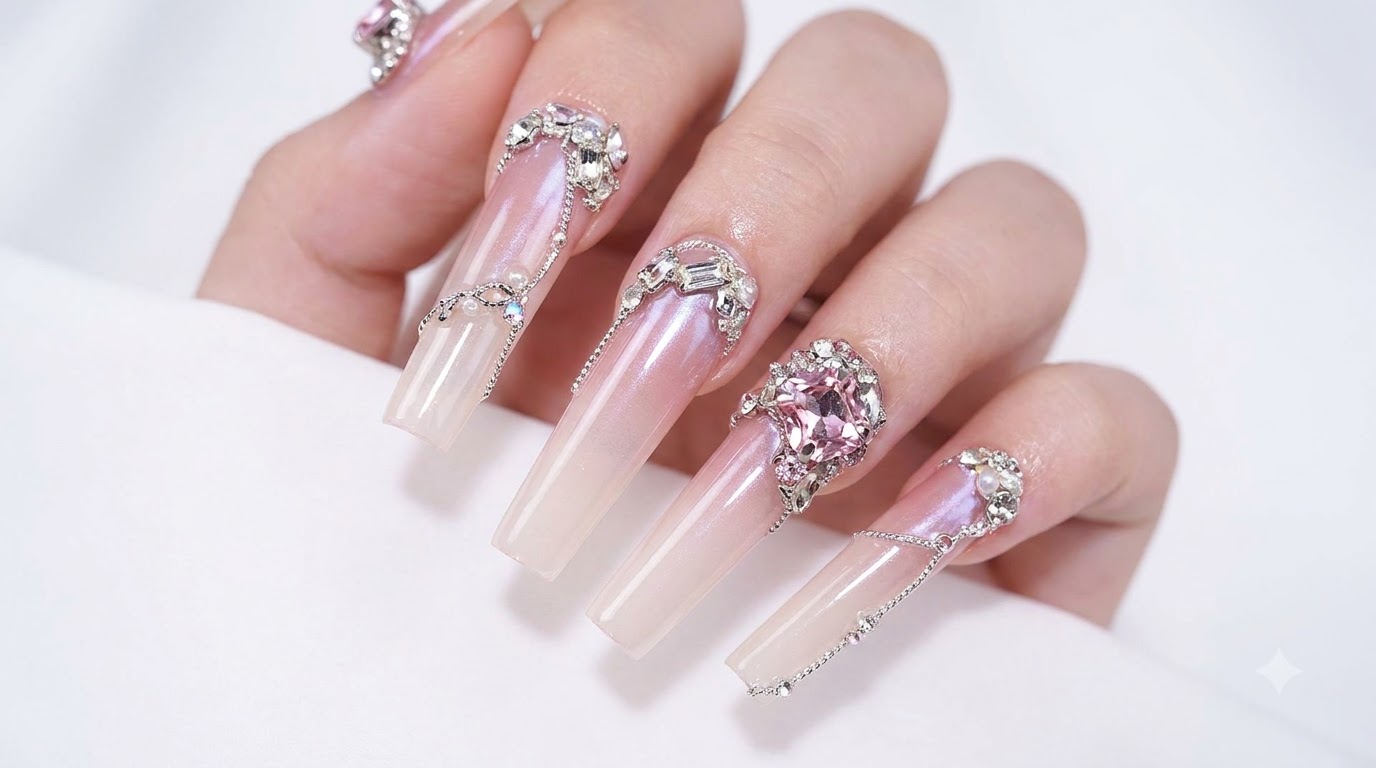
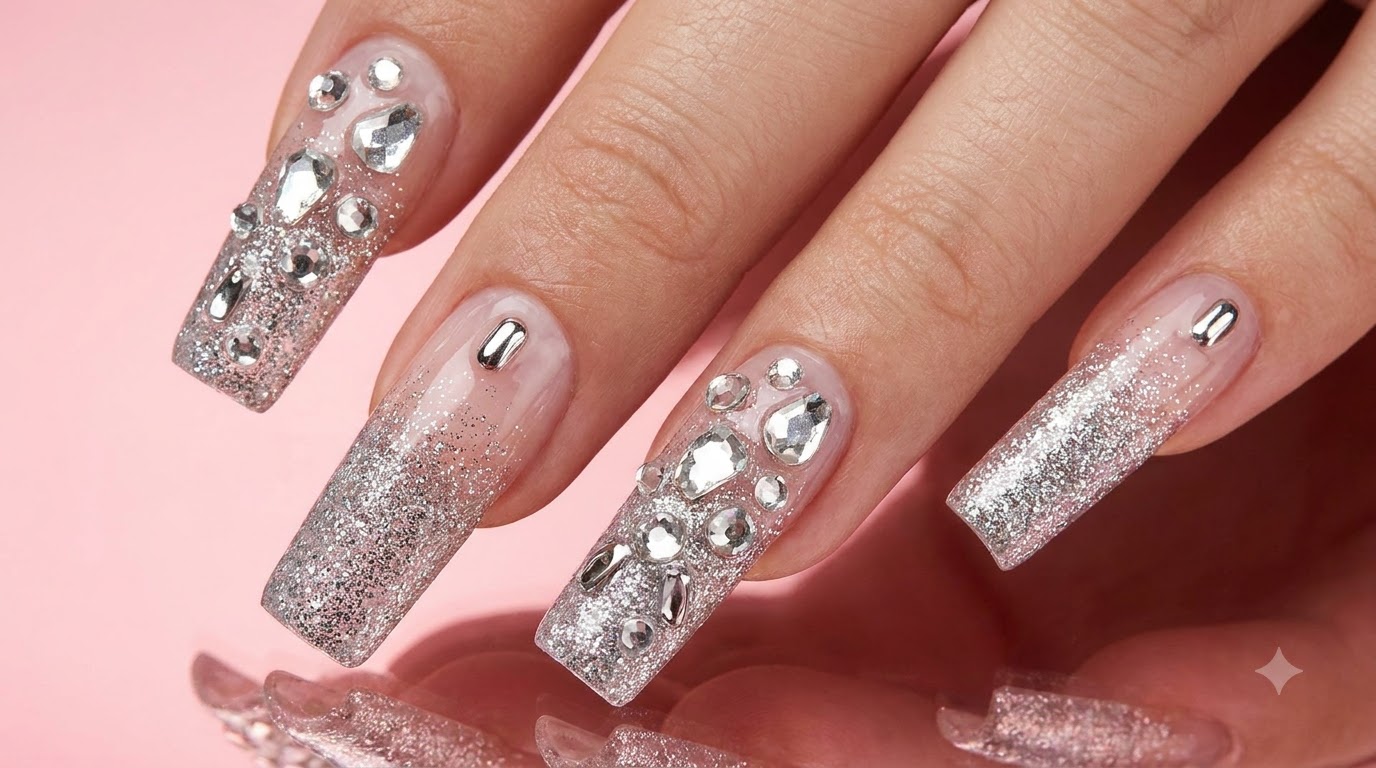
Luxurious White and Pink Gradient Stiletto Nails
Diamond Rhinestones
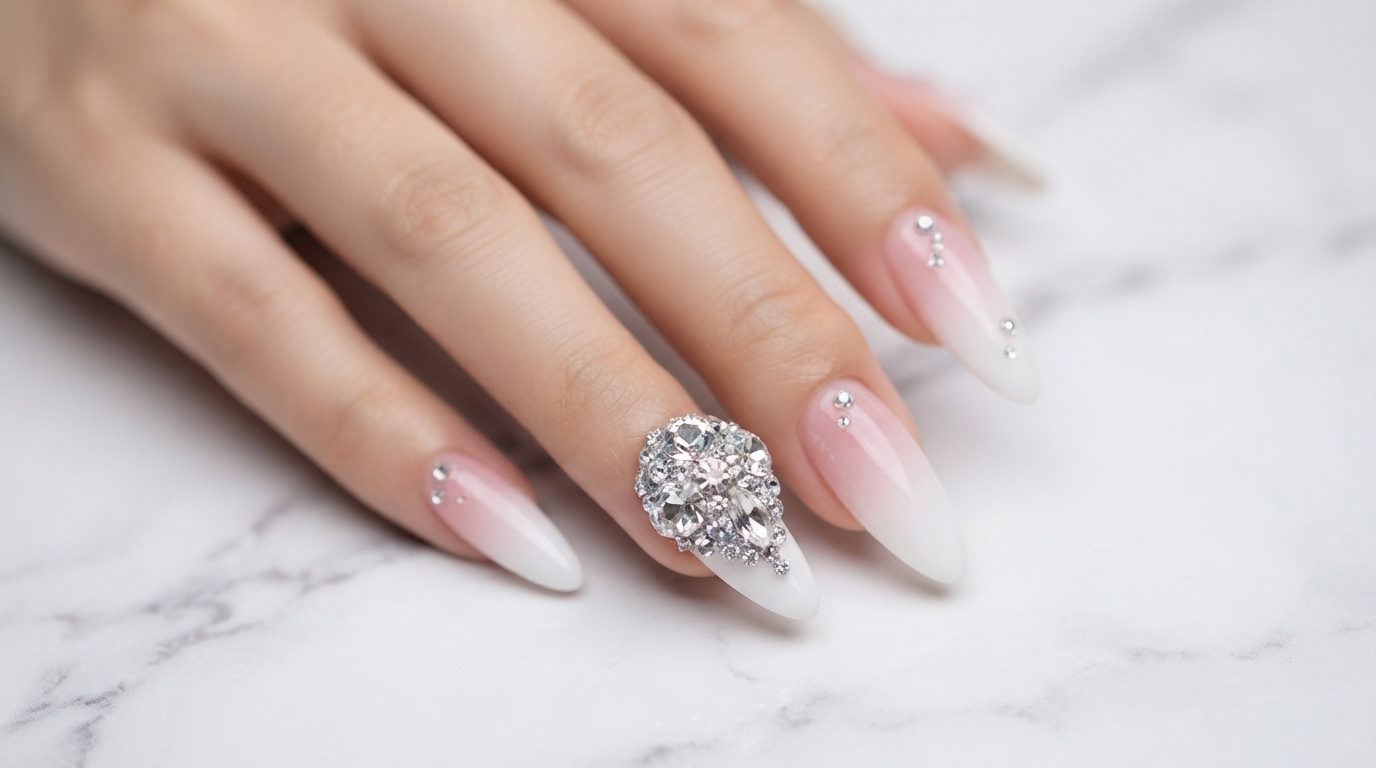
Create breathtaking luxury nails featuring a seamless white and pink gradient base adorned with a magnificent multi-dimensional crystal rhinestone cluster.
White and pink gradient nails paired with opulent crystal rhinestone clusters offer an elite level of luxury and sophistication. This tutorial guides you through achieving a flawless ombre foundation and constructing intricate diamond jewel arrangements that catch the light from every angle.
Steps
- 1Push back cuticles
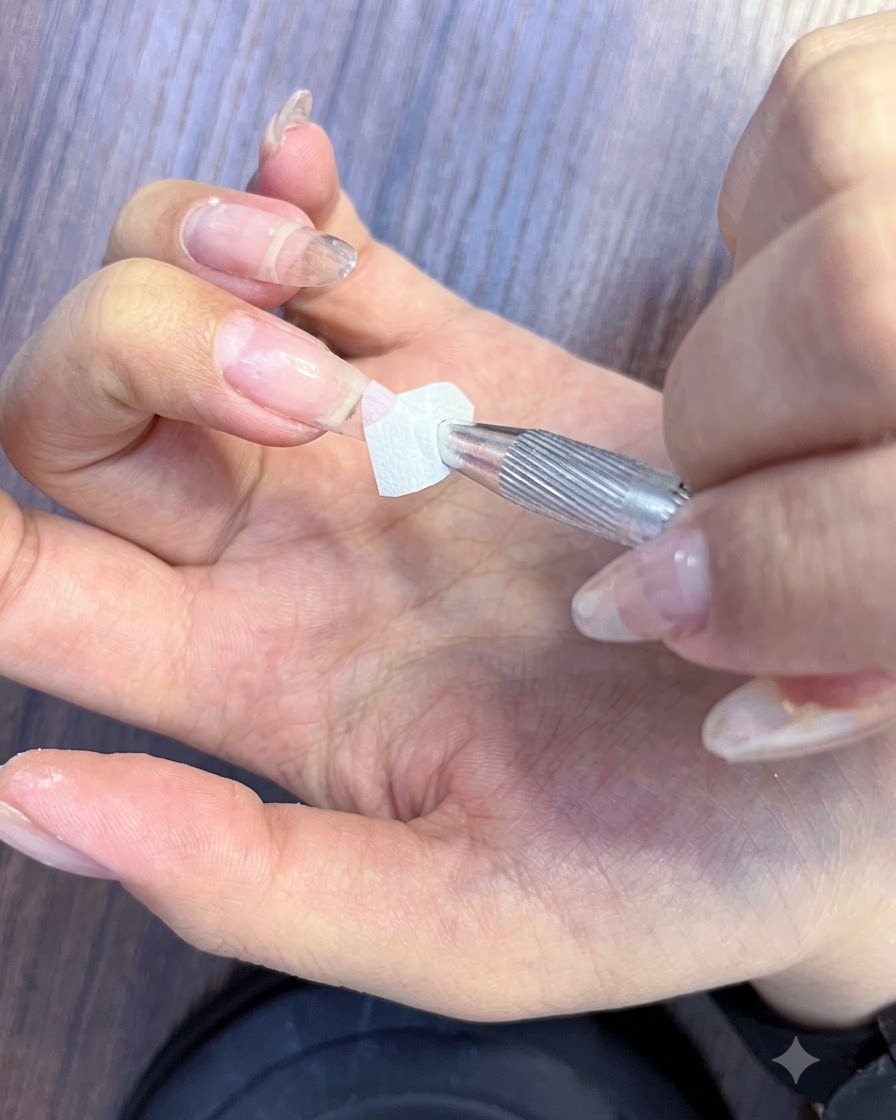
Gently use a metal cuticle pusher to push back the cuticles on the nail plate, preparing a clean surface for nail enhancement.
Tip: Be gentle to avoid damaging the delicate skin around the cuticle area. - 2Apply blooming gels for ombre
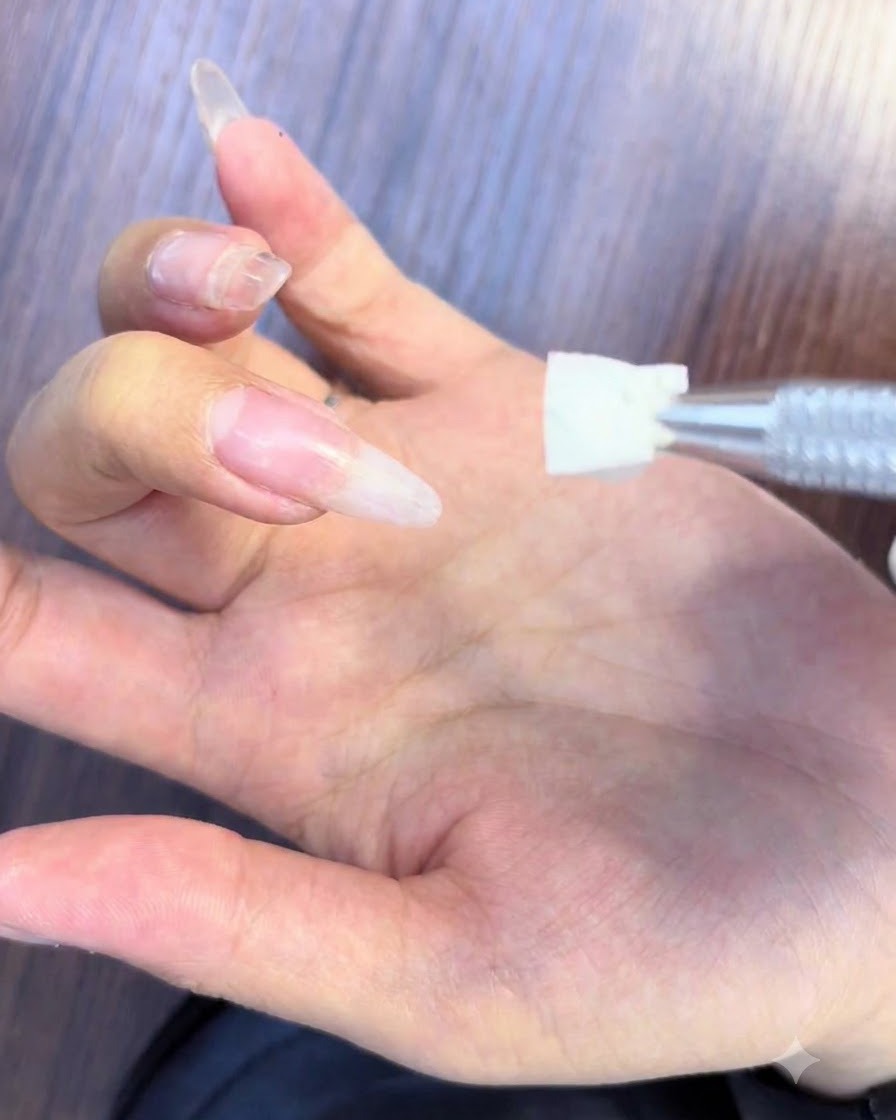
Apply white blooming gel and pink blooming gel onto the nail to create a smooth ombre gradient effect before curing.
Tip: Blooming gel allows the colors to naturally disperse and blend together seamlessly. - 3Cure the gradient color
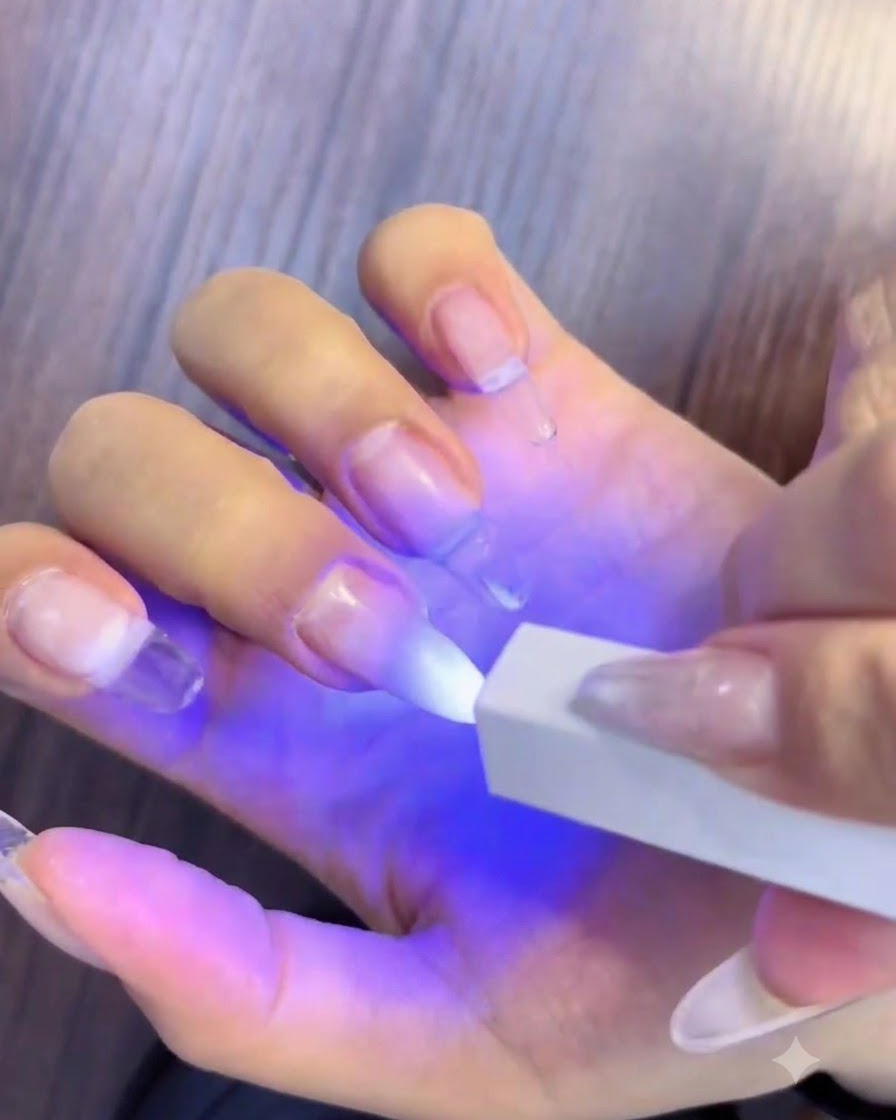
Place the hand under a portable UV or LED mini lamp to cure the blooming gradient color and set the design.
Tip: Hold the portable lamp steady over each finger to ensure complete and even curing. - 4Smooth and adjust gel surface
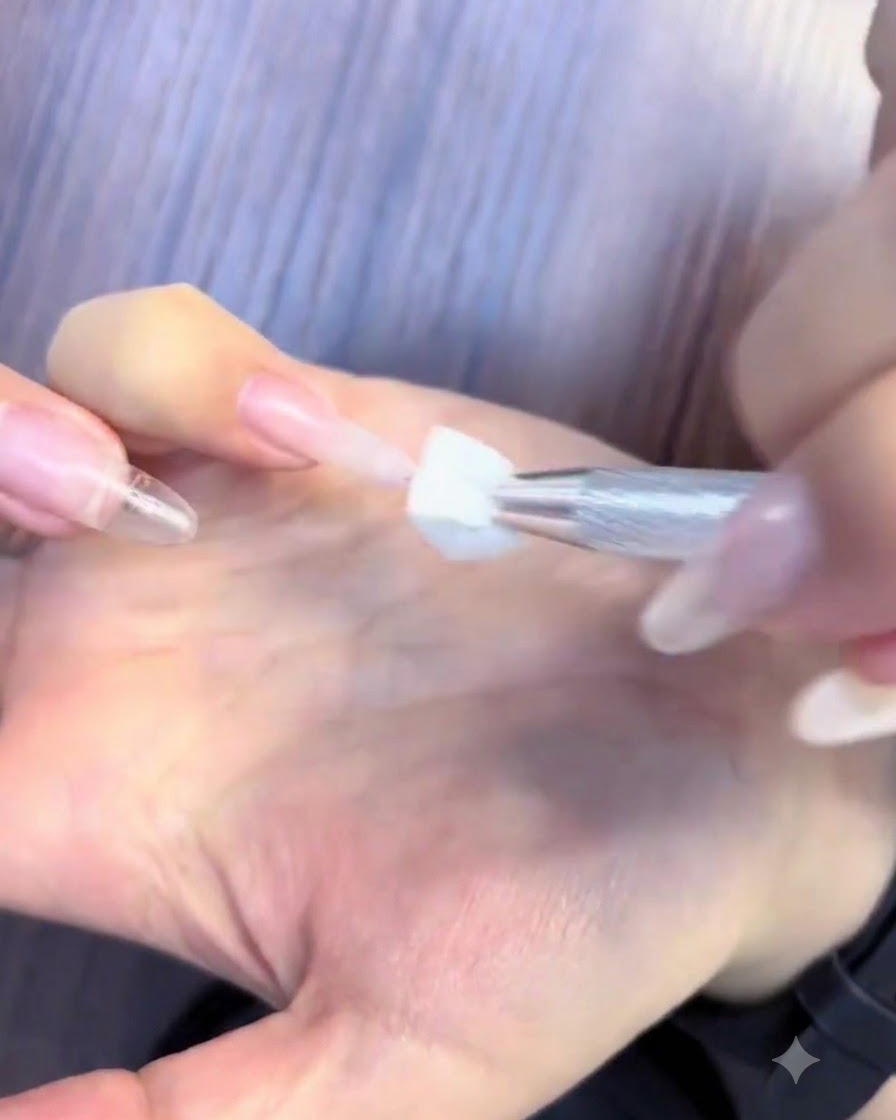
Use a tool to carefully smooth or adjust the gel on the nail surface after the initial curing phase.
Tip: Ensure the gel layer is completely uniform before moving on to the next step. - 5Cure the nails again
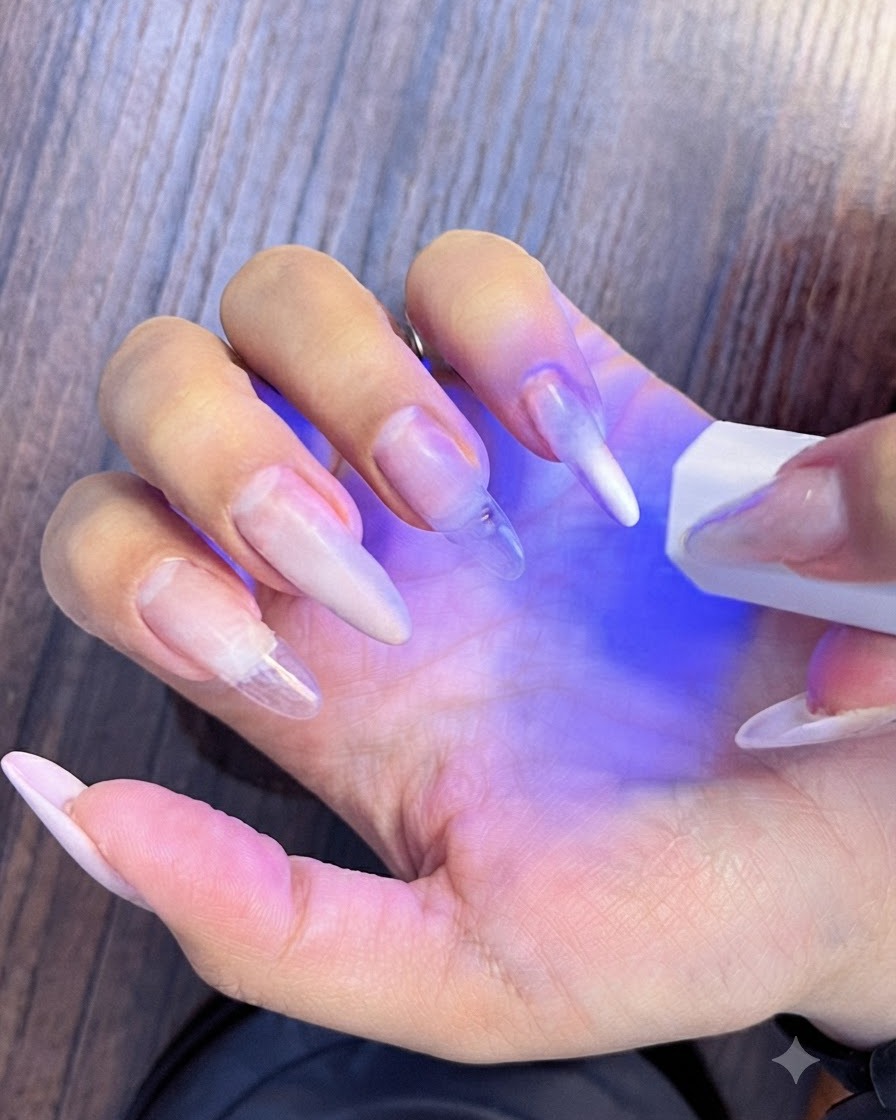
Place the nails under the UV/LED mini lamp once more to fully set the adjusted gel layers.
Tip: Double-curing ensures maximum durability and prevents lifting of the gel layers. - 6Place primary diamond rhinestone
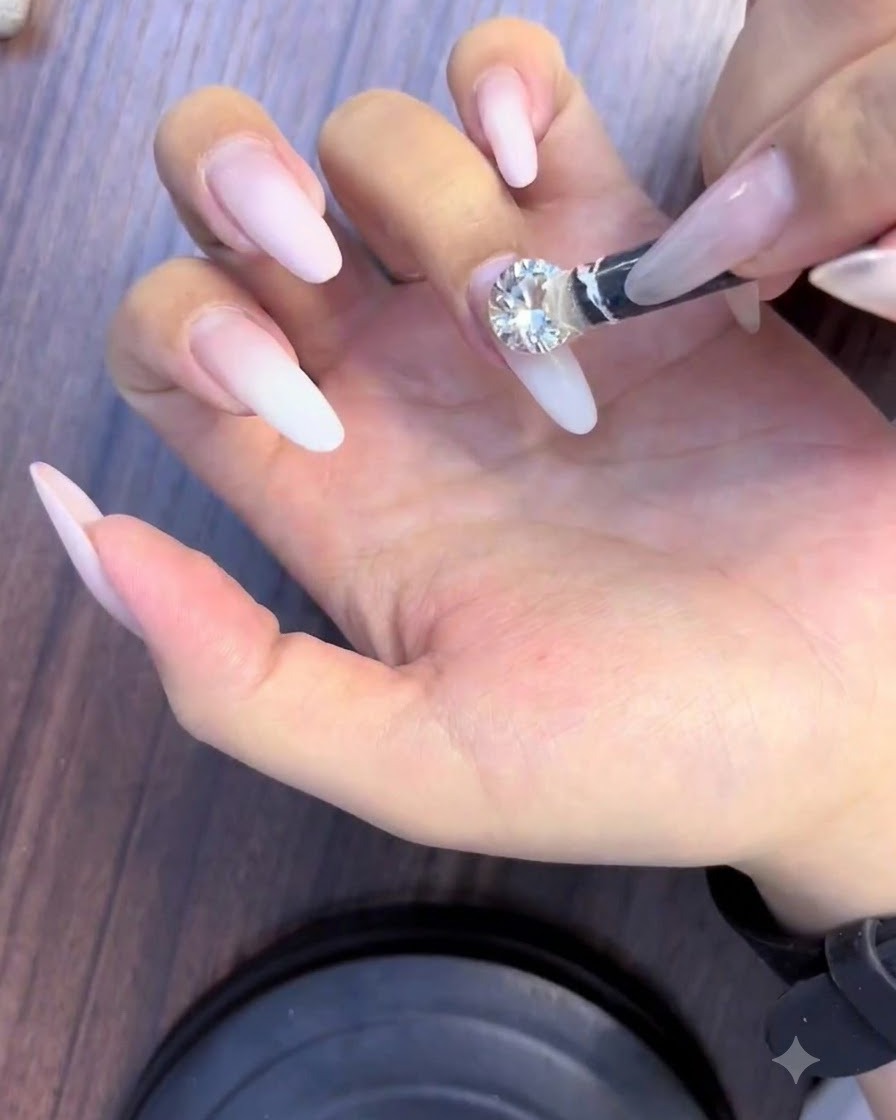
Pick up a large primary diamond rhinestone using a pickup tool and place it precisely onto the center of the ring finger nail.
Tip: Apply a dab of thick rhinestone glue or clear builder gel to secure the large diamond in place before curing. - 7Cure main diamond position
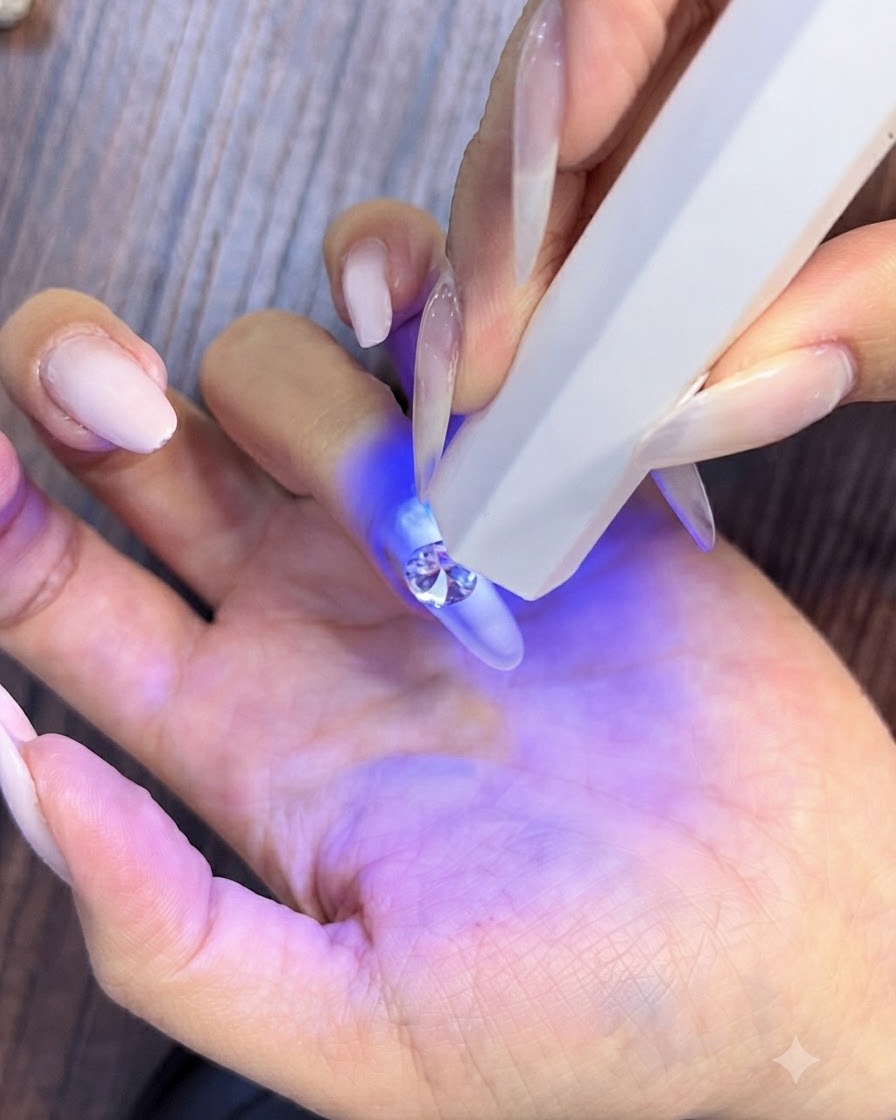
Position the primary large diamond on the nail and use a handheld UV/LED curing light to flash cure and lock it securely in place. This prevents the large crystal from shifting while you work on adding smaller surrounding rhinestones.
Tip: Hold the mini curing light steady for about 10 to 15 seconds to ensure the heavy diamond is completely anchored before building up the rest of the cluster. - 8Select surrounding rhinestones
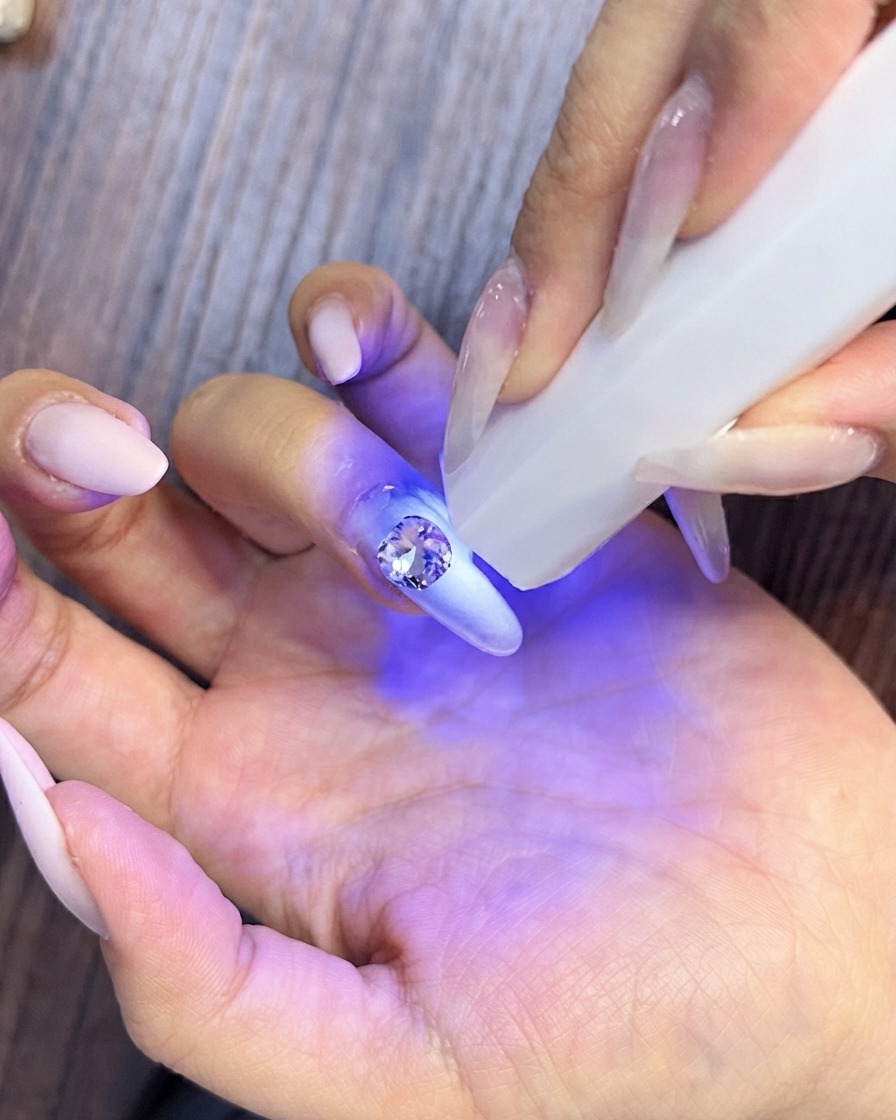
Pick up additional large and small rhinestones using a wax picker tool to prepare them for placement around the central diamond. Having your gems organized and ready allows you to efficiently build a full, multi-dimensional crystal cluster.
Tip: A wax picker tool or a dampened rhinestone pencil is much more effective for grabbing and placing loose crystals than metal tweezers. - 9Flash cure added rhinestones
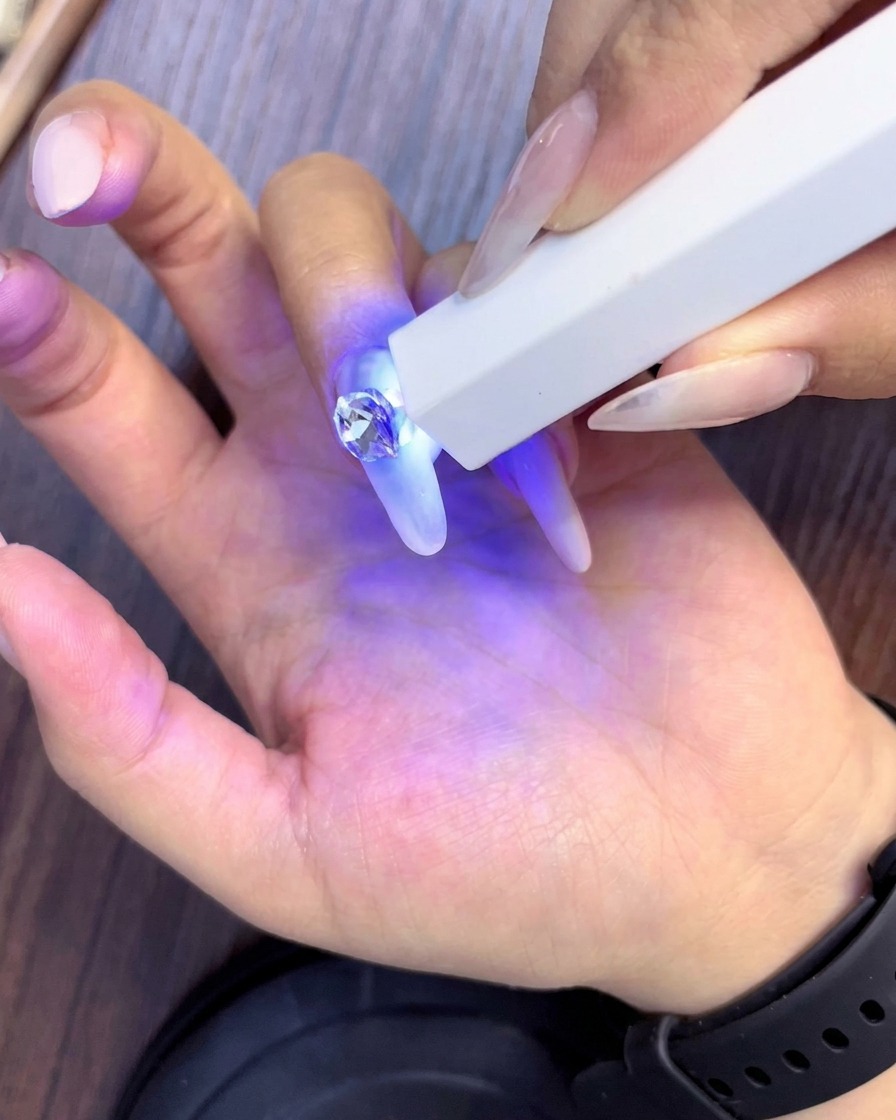
Use the handheld UV/LED light to cure the newly placed surrounding rhinestones. This locks each newly added element into the design structure so the overall cluster maintains its shape.
Tip: Cure each addition incrementally so the arrangement does not slide out of place while you are still working on neighboring gaps. - 10Fill base and sides with small rhinestones
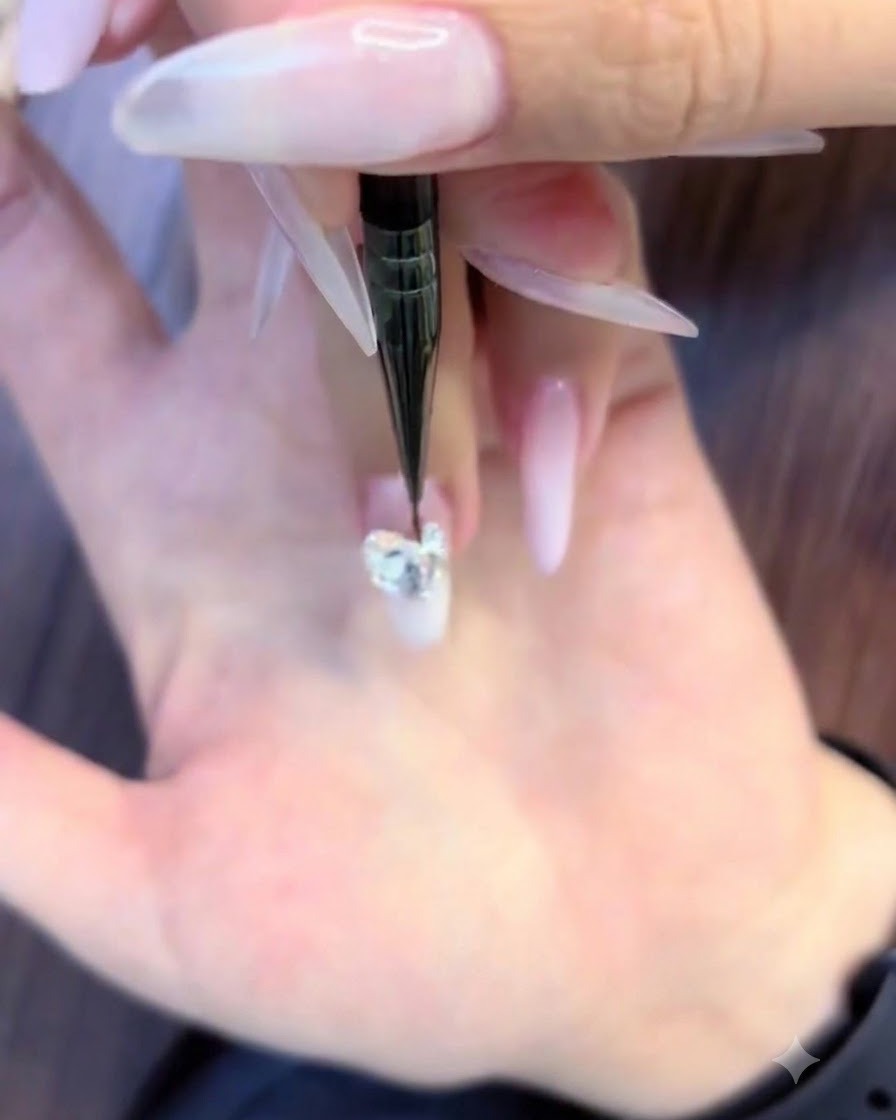
Using a fine detail brush or precision tool, place small round rhinestones into the gaps along the base and sides of the main crystal arrangement. This creates a seamless, packed rhinestone cluster effect.
Tip: Work in small sections around the primary stone, filling empty pockets systematically to create a rich and luxurious textured look. - 11Apply micro rhinestones to final gaps
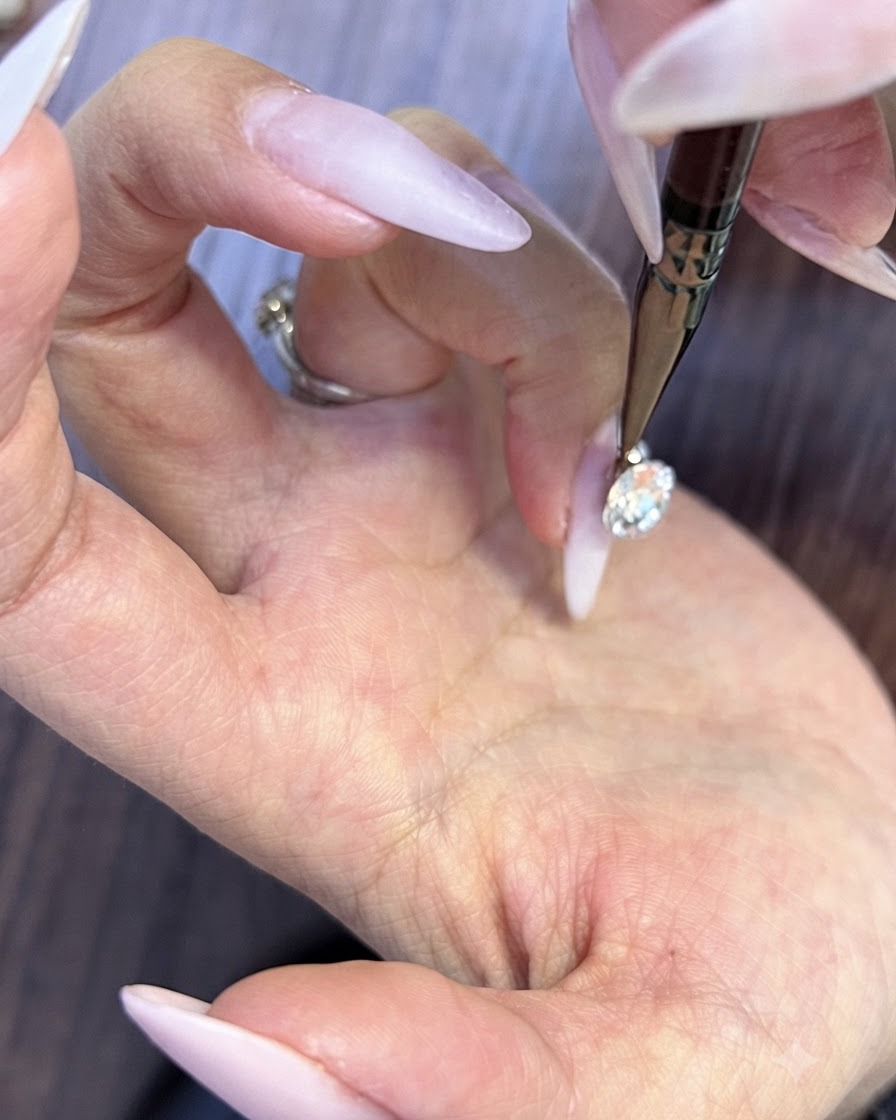
Select the smallest micro round rhinestones and place them tightly into the remaining crevices underneath the cluster. These tiny fillers ensure no exposed glue or empty spots remain visible.
Tip: Micro beads or smallest round stones are essential for bridging empty spaces between larger gems to give a professional, polished finish. - 12Seal rhinestone gaps with gel
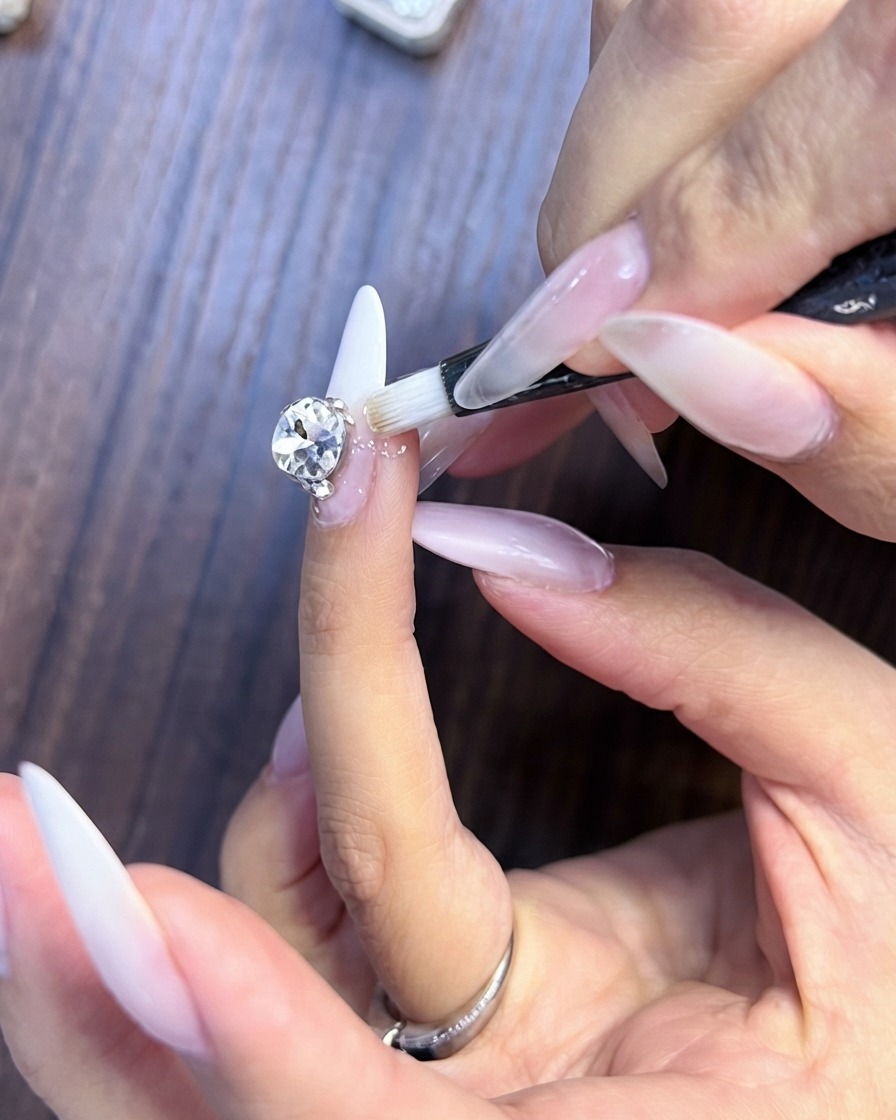
Carefully brush rhinestone glue or sealing gel around the entire base and remaining gaps of the crystal cluster. This locks every single gem securely in place and prevents hair or clothing from catching on loose edges.
Tip: Take care not to flood the top facets of the diamonds with gel, as this will dull their natural sparkle and brilliance. - 13Form a small crystal cluster
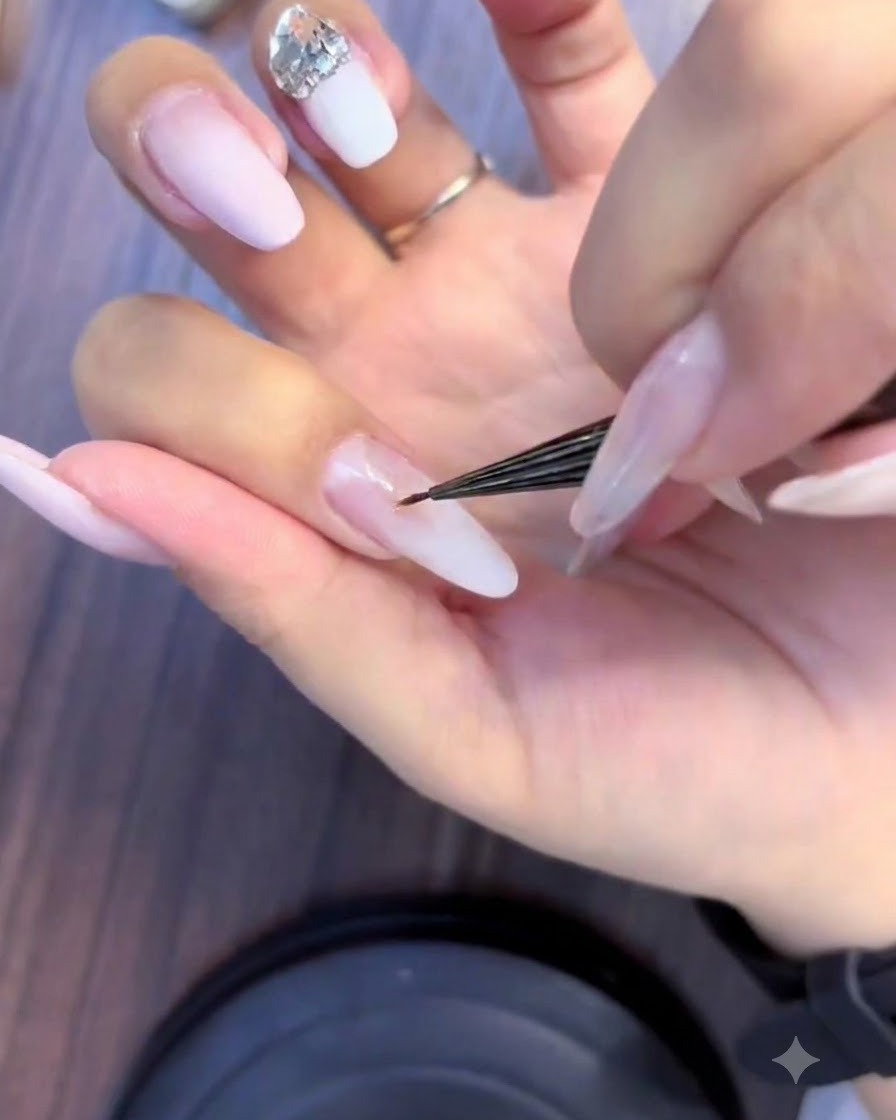
On another finger, apply the base placement gel and carefully arrange three small round diamonds to form a compact and delicate crystal cluster near the cuticle area. Press each tiny rhinestone gently into the gel to secure its placement before curing.
Tip: Using a fine-tipped detailing brush or wax pickup tool helps position tiny round rhinestones accurately without shifting adjacent stones. - 14Pick up and place rhinestones
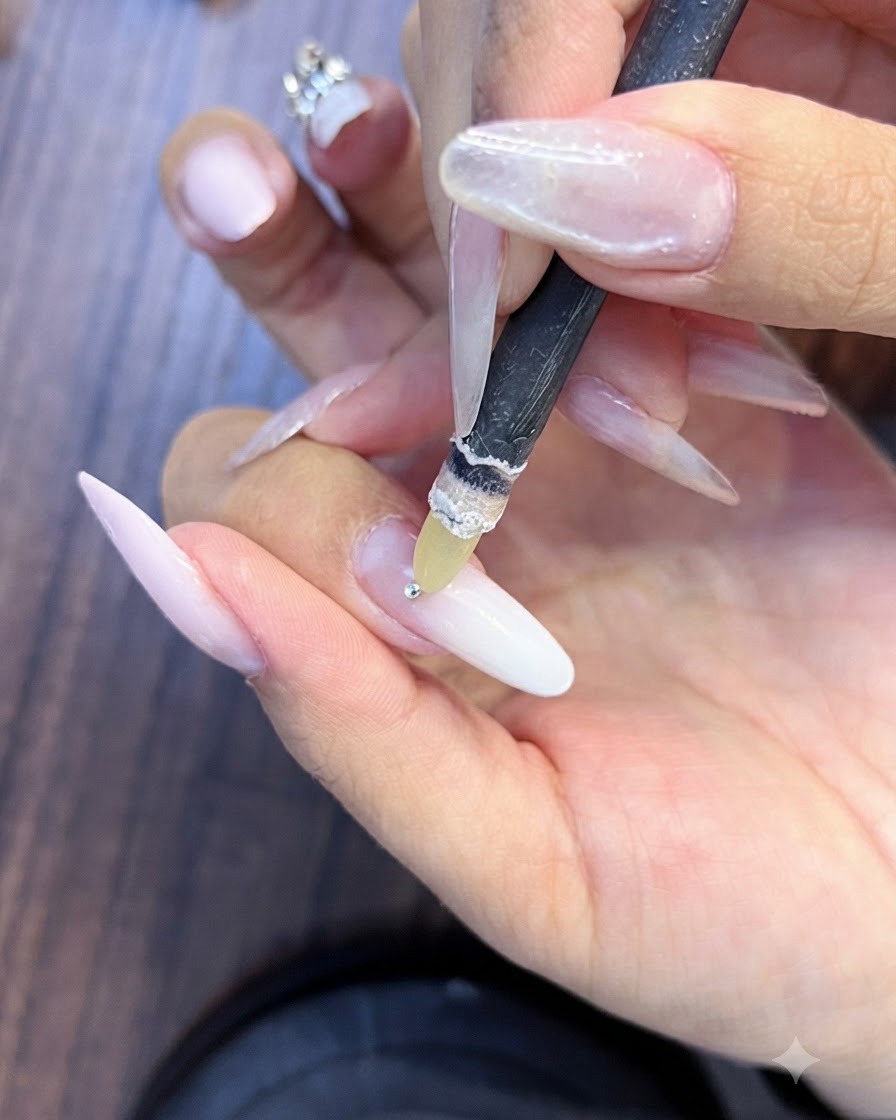
Use a specialized wax pickup pencil tool to easily pick up individual small rhinestones and place them precisely onto the wet adhesive gel on the nail surface. Adjust the alignment as needed before curing the adhesive under the lamp.
Tip: A wax pickup pencil or rhinestone picker tool is much faster and more reliable than tweezers for handling tiny nail crystals. - 15Fill gaps and secure rhinestones
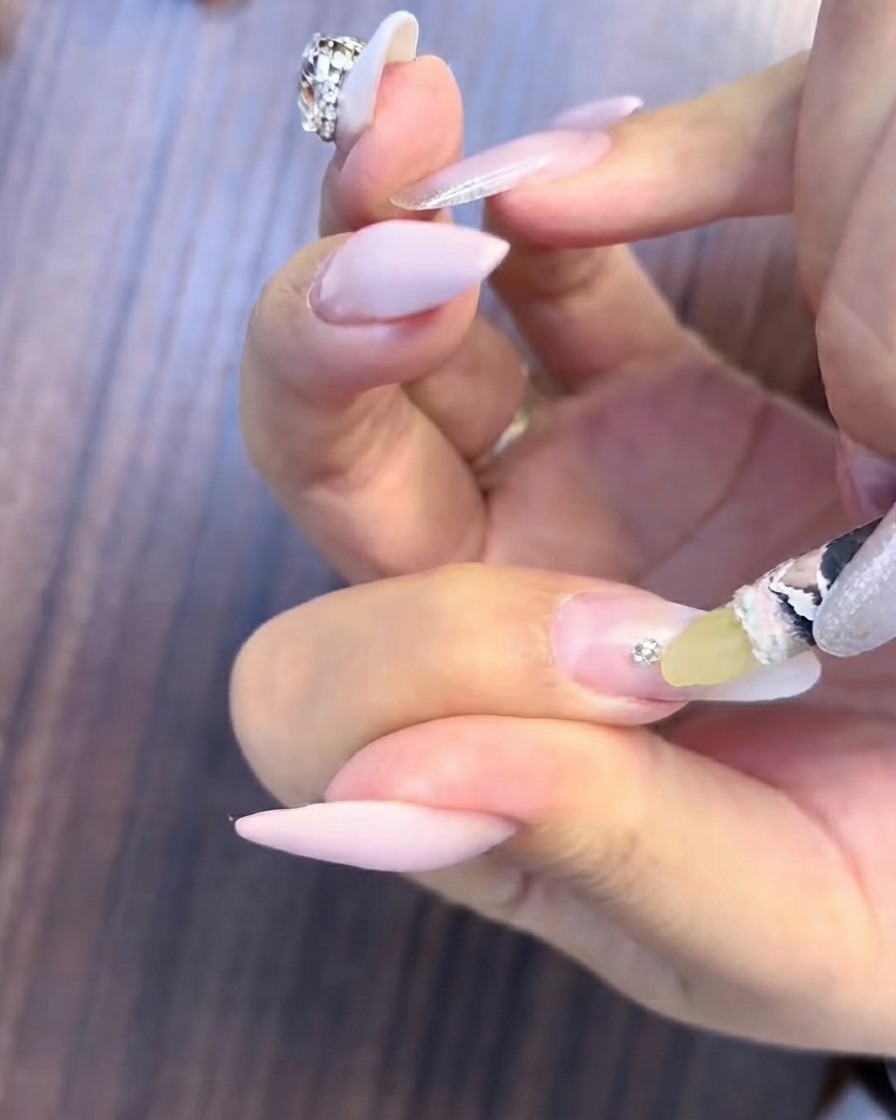
Apply a specialized filling gel or sealing gel around the joints and gaps between the small rhinestones to lock them securely in place. This prevents hair or clothing from catching on the stones and ensures long-lasting wear without losing components.
Tip: Ensure the filling gel completely surrounds the base of each stone without covering the top facets, so the diamonds maintain their brilliant sparkle after curing.