Gradient Heart Rhinestone Nail Art — Step-by-Step Tutorial
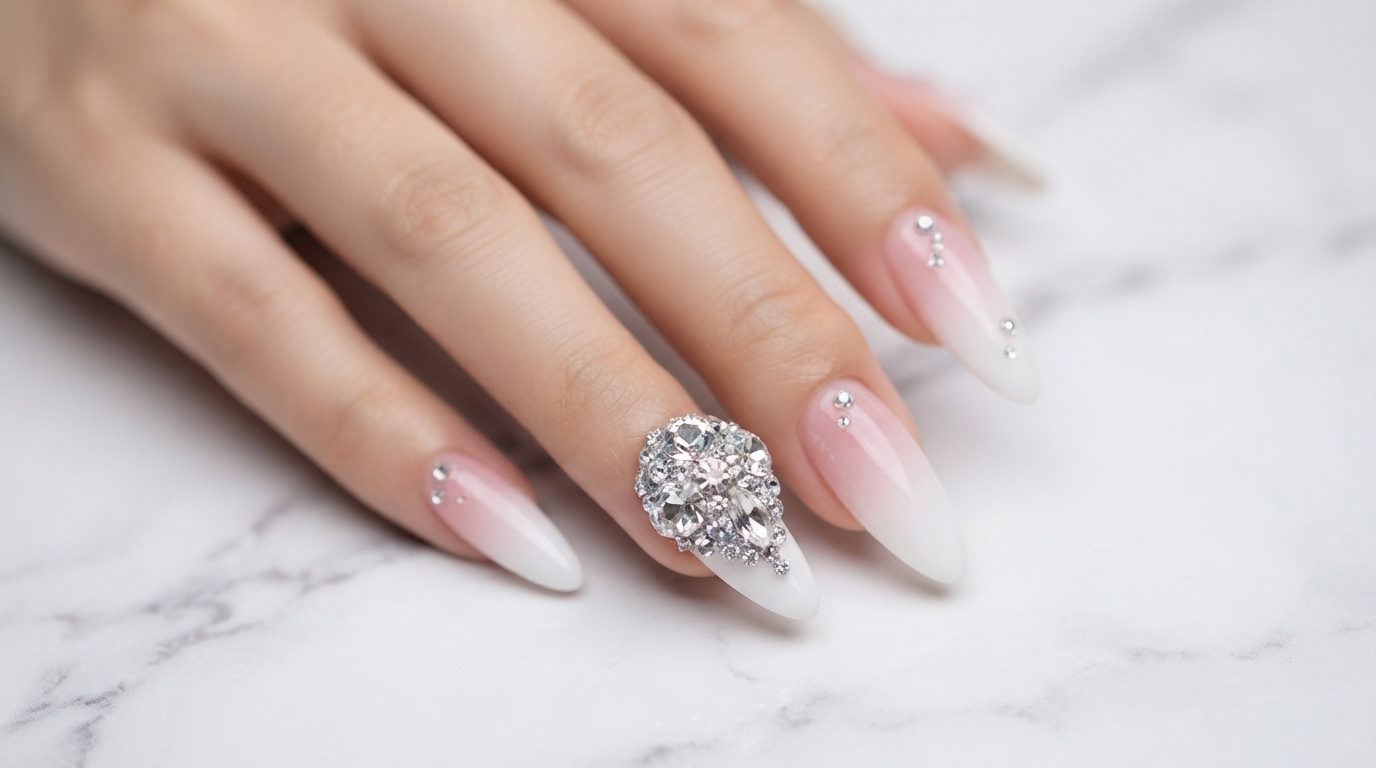
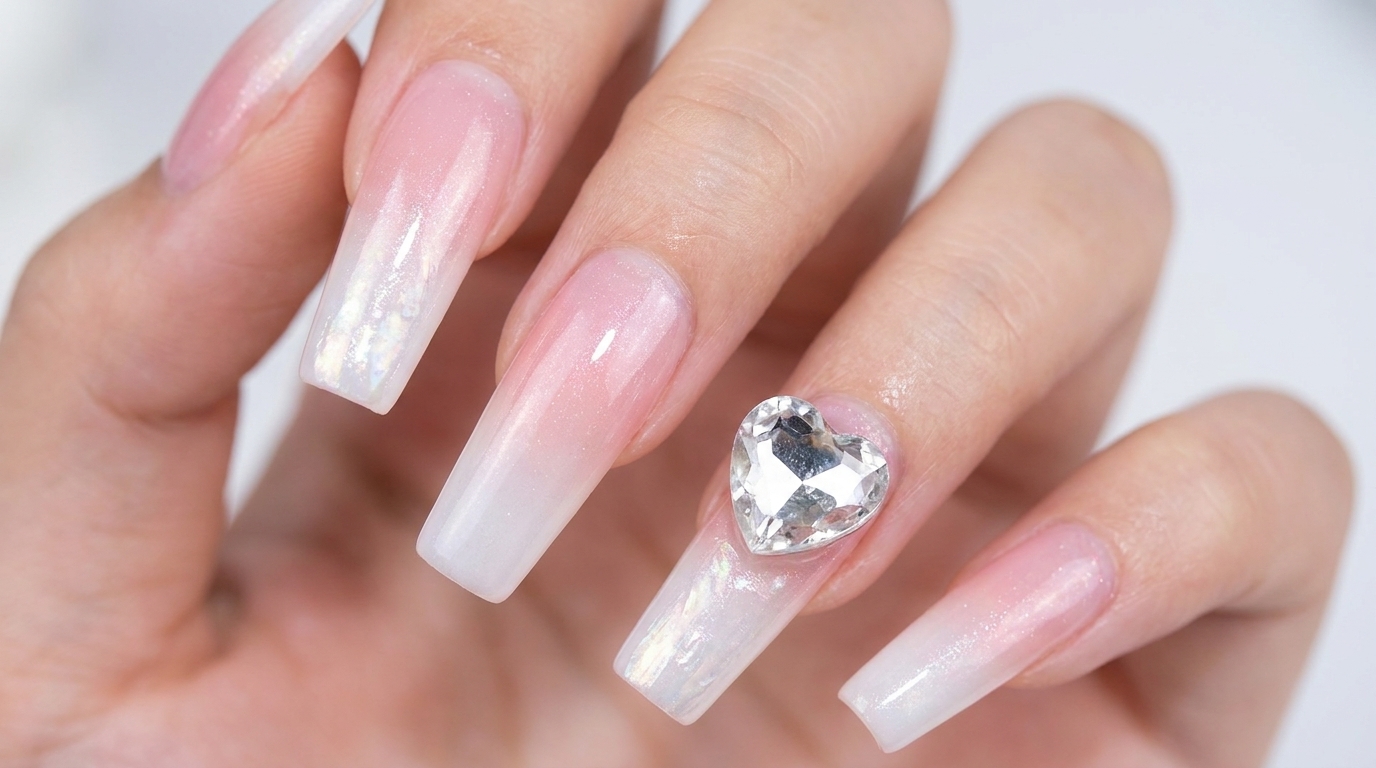
Create stunning long square gradient nails featuring an iridescent shell texture finish and a sparkling statement heart rhinestone.
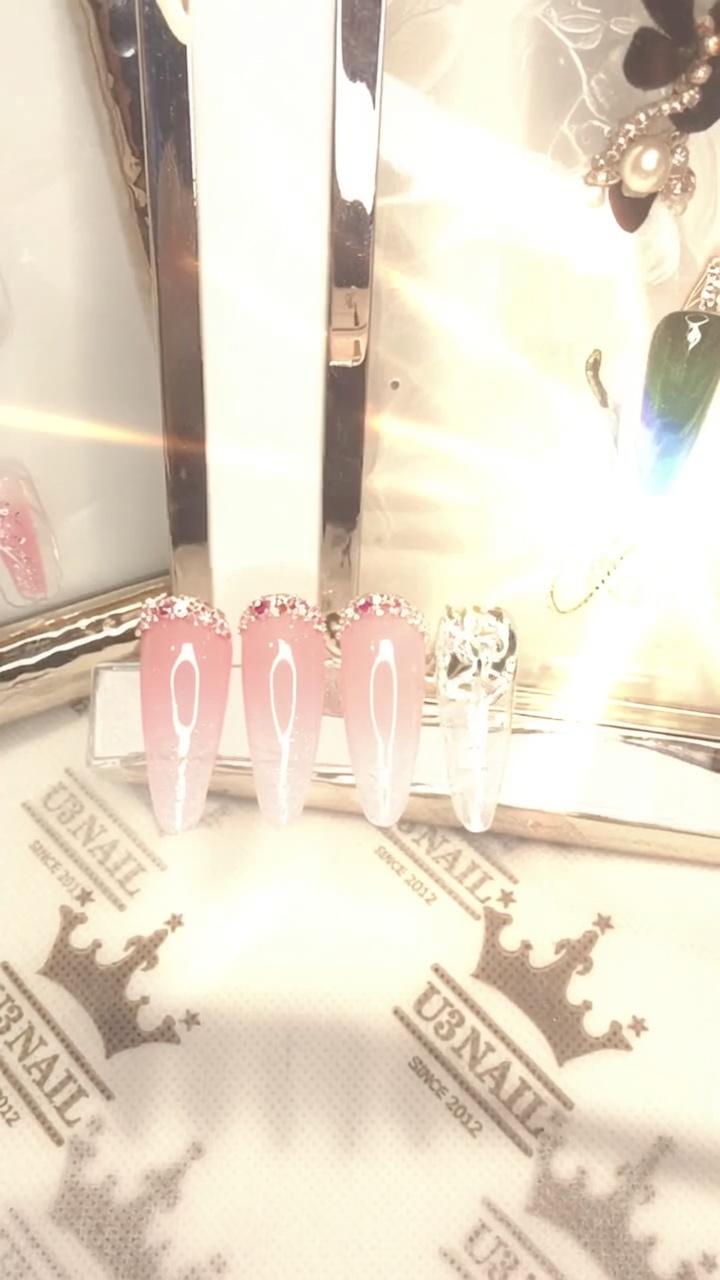
Combining a delicate pink and milky white gradient with iridescent shell shimmer creates an ethereal, high-fashion finish. Adding a statement heart rhinestone elevates this look into a true showstopper, perfect for special occasions or whenever you want your hands to sparkle.
Steps
- 1Apply First Layer of Pink Base Coat
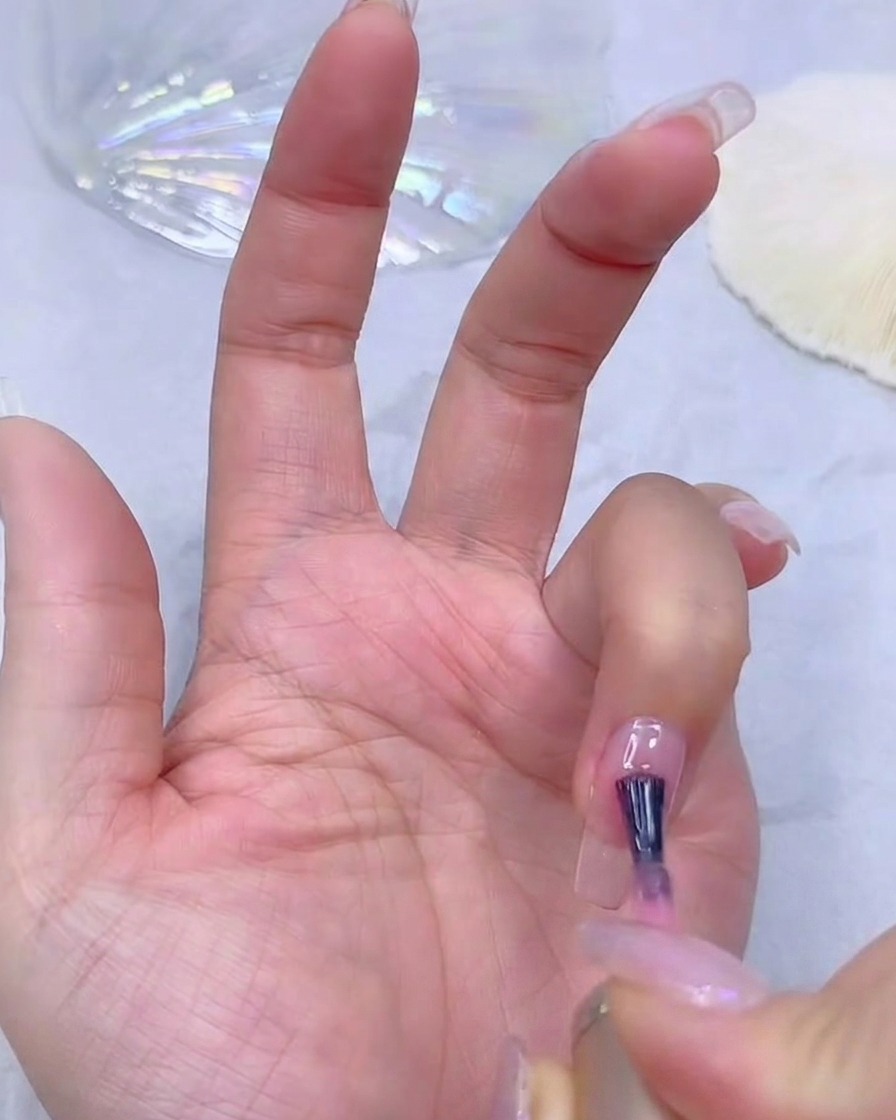
Apply a thin, even layer of pink base coat onto the prepared nail plate. Ensure you cover the entire surface while keeping a tiny margin near the cuticles to prevent flooding. This sheer layer creates the foundation for your gradient design.
Tip: Keep your first layer sheer and even to prevent pooling at the nail edges. - 2Apply Second Layer of Pink Base Coat
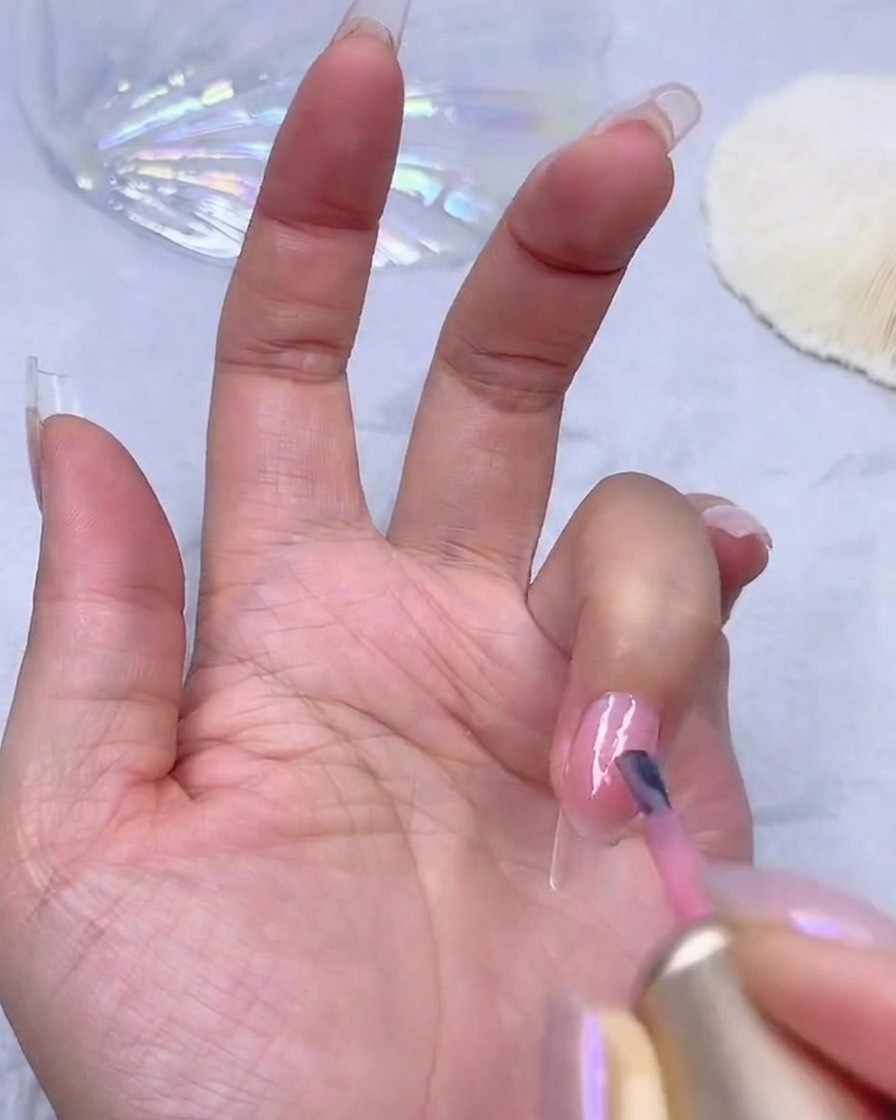
Go in with a second layer of the pink base coat to build opacity and smooth out any unevenness from the first coat. This double layer establishes a beautiful, uniform blush tone across the nail. Cure according to your lamps instructions.
Tip: Curing fully between layers ensures the gel sets properly and prevents wrinkling. - 3Start Milky White Gradient
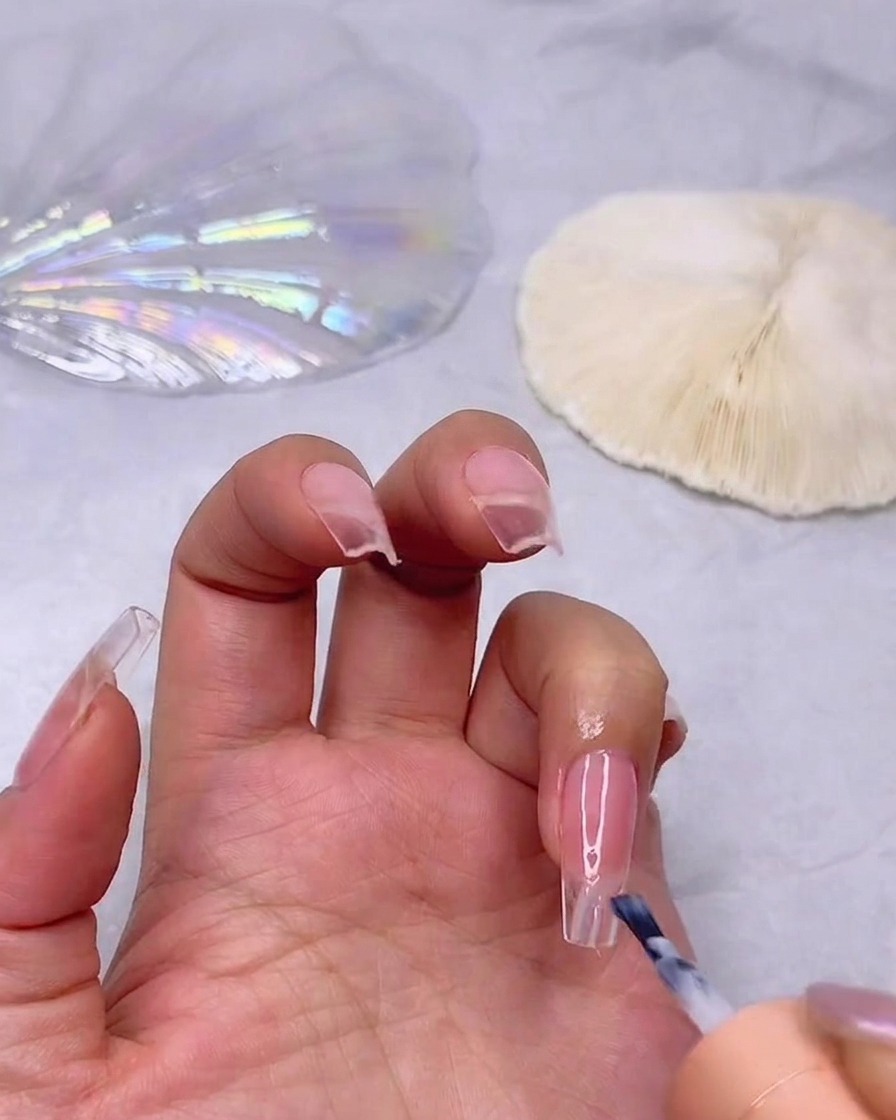
Begin the gradient effect by applying a small amount of milky white gel toward the free edge of the nail. Carefully blend it upward toward the center, creating a soft fade into the pink base.
Tip: Use a light hand when blending to achieve a seamless transition between the white and pink. - 4Deepen the Gradient
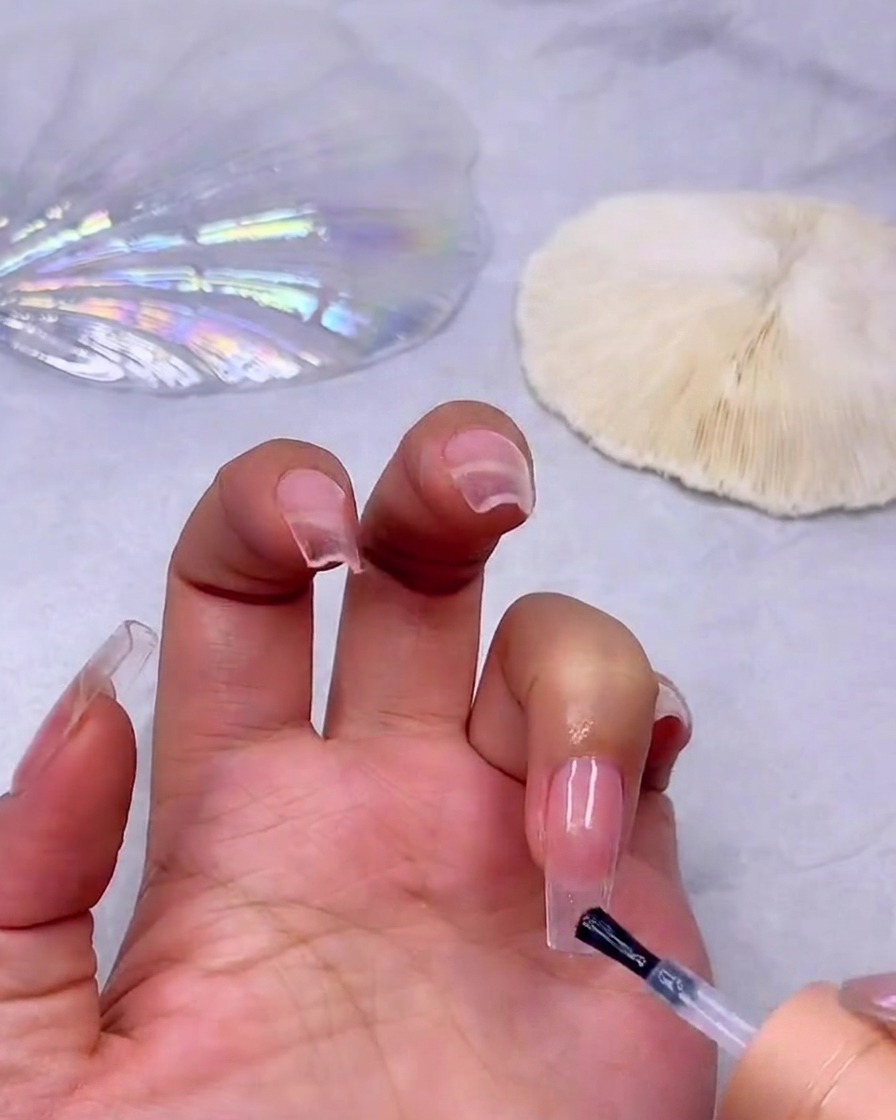
Apply a second layer of milky white gel, concentrating the color slightly closer to the tip than the first layer. Blend the top edge gently so the gradient builds smoothly without harsh lines.
Tip: Wiping your brush before blending helps pull less product and creates a softer fade. - 5Finalize White Gradient
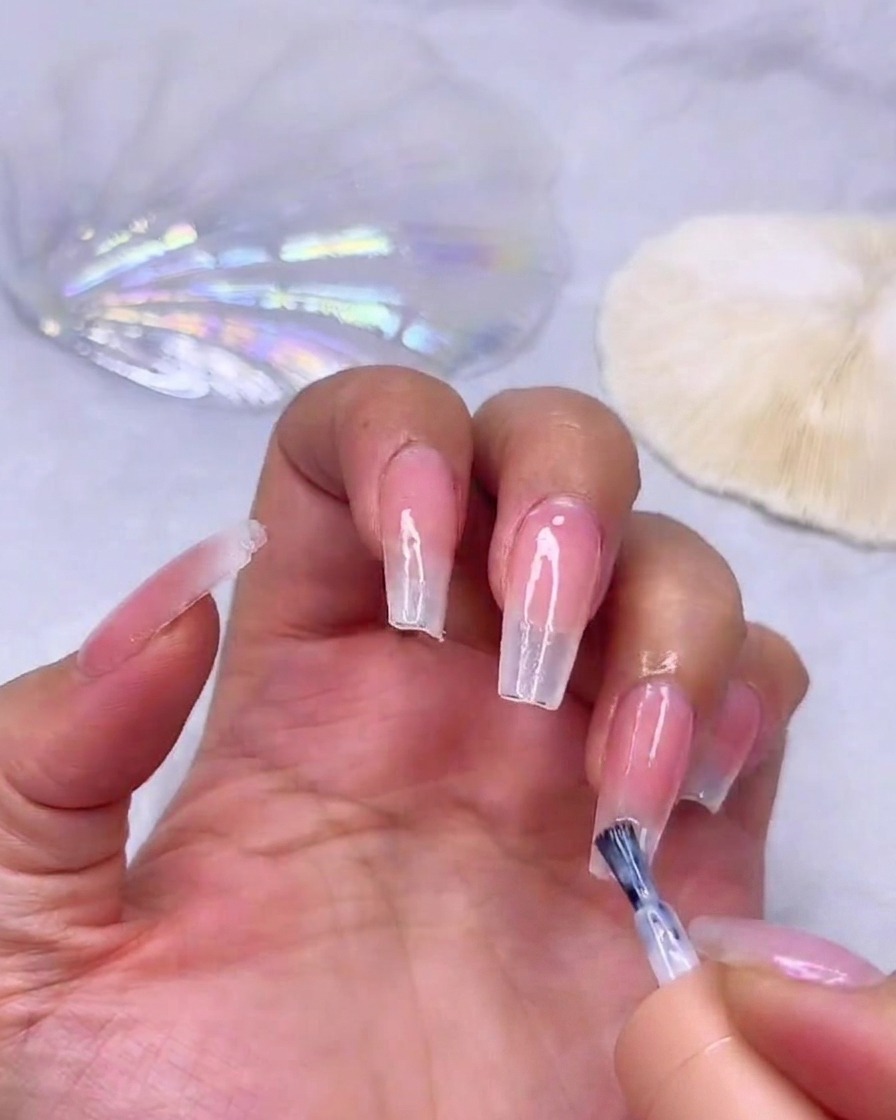
Add a third and final layer of milky white gel strictly to the very tip of the nail. This gives maximum opacity at the free edge, perfecting the beautiful milky gradient transition.
Tip: Ensure the product does not get too bulky at the tip; keep the application thin but pigmented. - 6Apply Shell Texture Gel
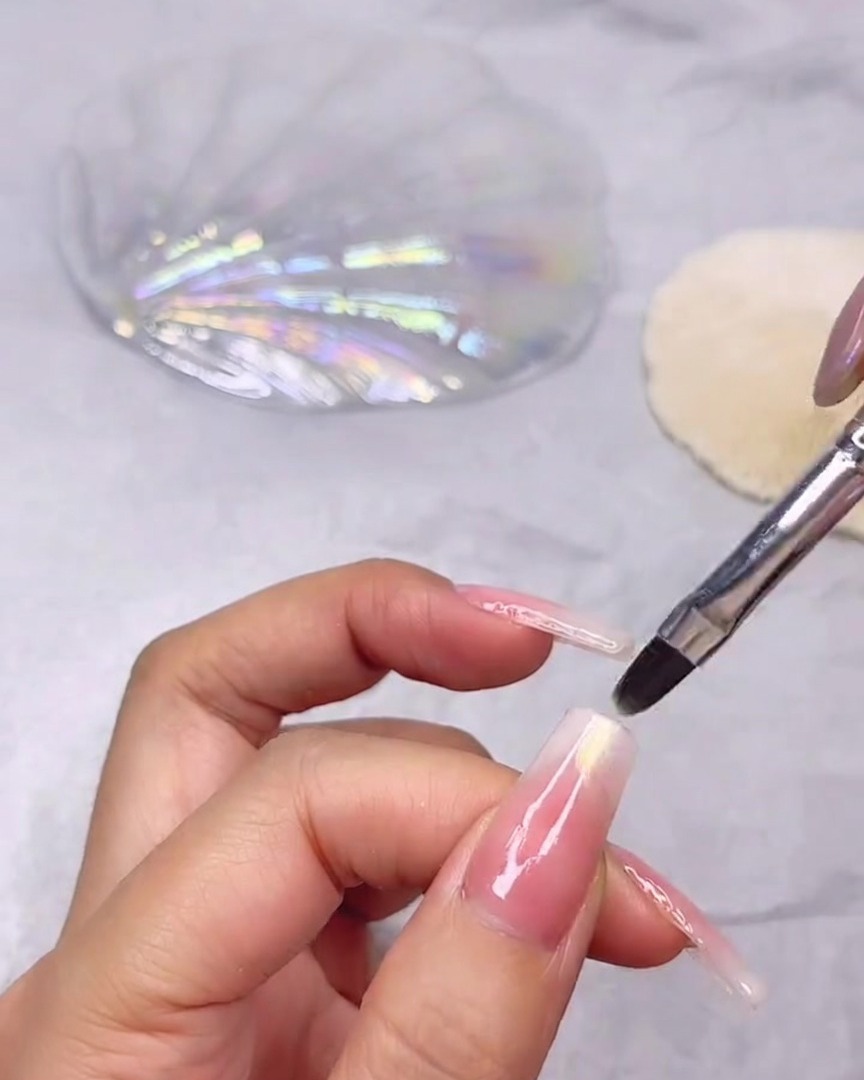
Using a fine detail brush, apply a shimmering shell texture gel to the tip of the nail. Blend it slightly downwards to create a subtle, luminous fingertip gradient that smoothly transitions into the milky white base.
Tip: Apply the gel lightly to keep the shimmer concentrated at the very tip, fading softly towards the center of the nail. - 7Apply Rhinestone Adhesive
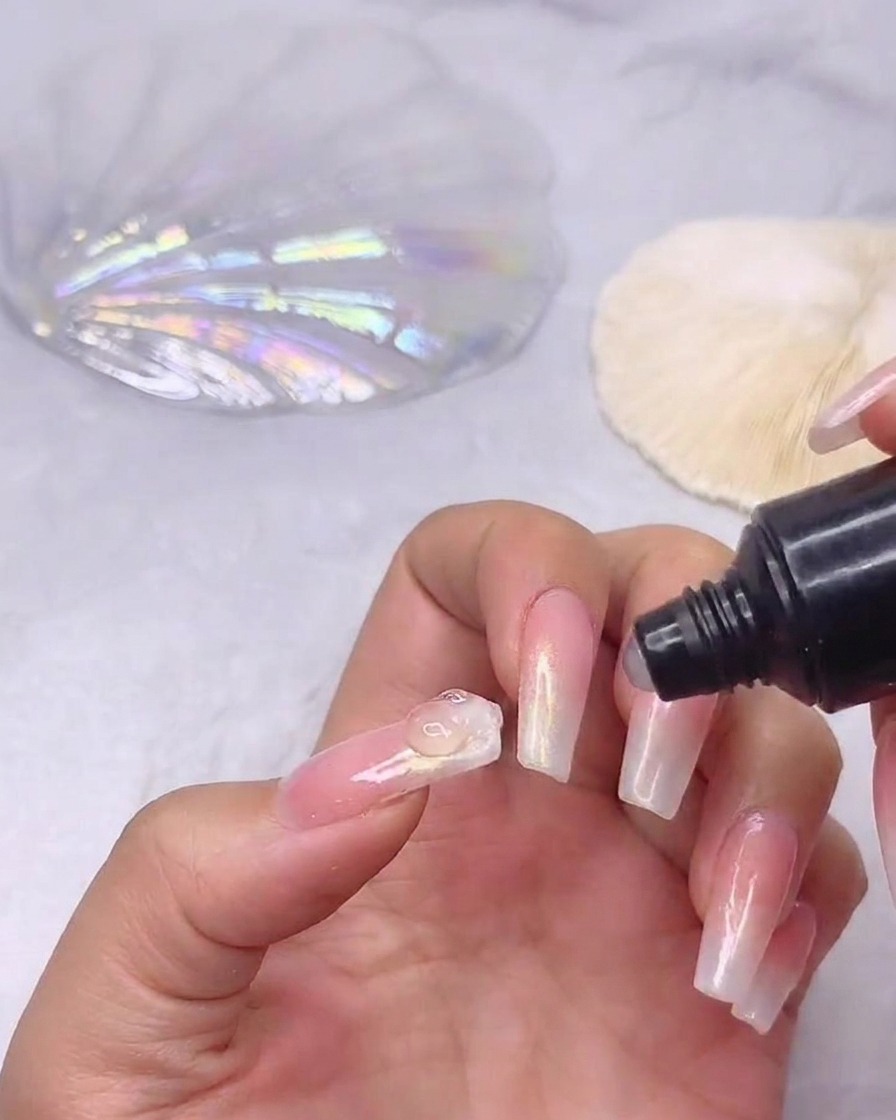
Squeeze a small, concentrated dot of strong rhinestone adhesive gel directly onto the center of the nail where you plan to place the heart gem. Keep the adhesive amount minimal to prevent it from oozing out from under the stone.
Tip: Using a dedicated rhinestone gel instead of regular nail glue provides more working time to perfectly center the gem before curing. - 8Secure The Heart Rhinestone
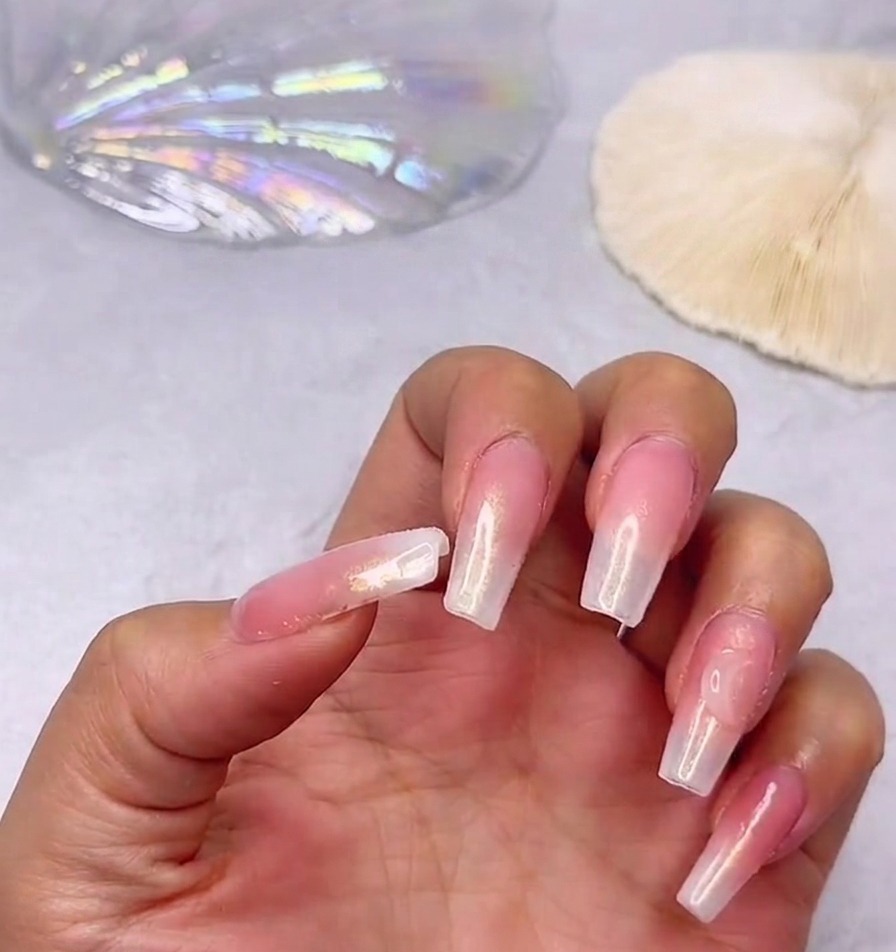
Apply a small amount of rhinestone glue to the nail surface and carefully position the large heart shaped rhinestone onto the adhesivecite: 1. Press gently to ensure it sits flush and securely in place before moving on to fill the gapscite: 1.
Tip: Use a wax picker tool or tweezers to handle the rhinestone, keeping its surface clean and free of smudgescite: 1. - 9Seal Gaps Around Rhinestone
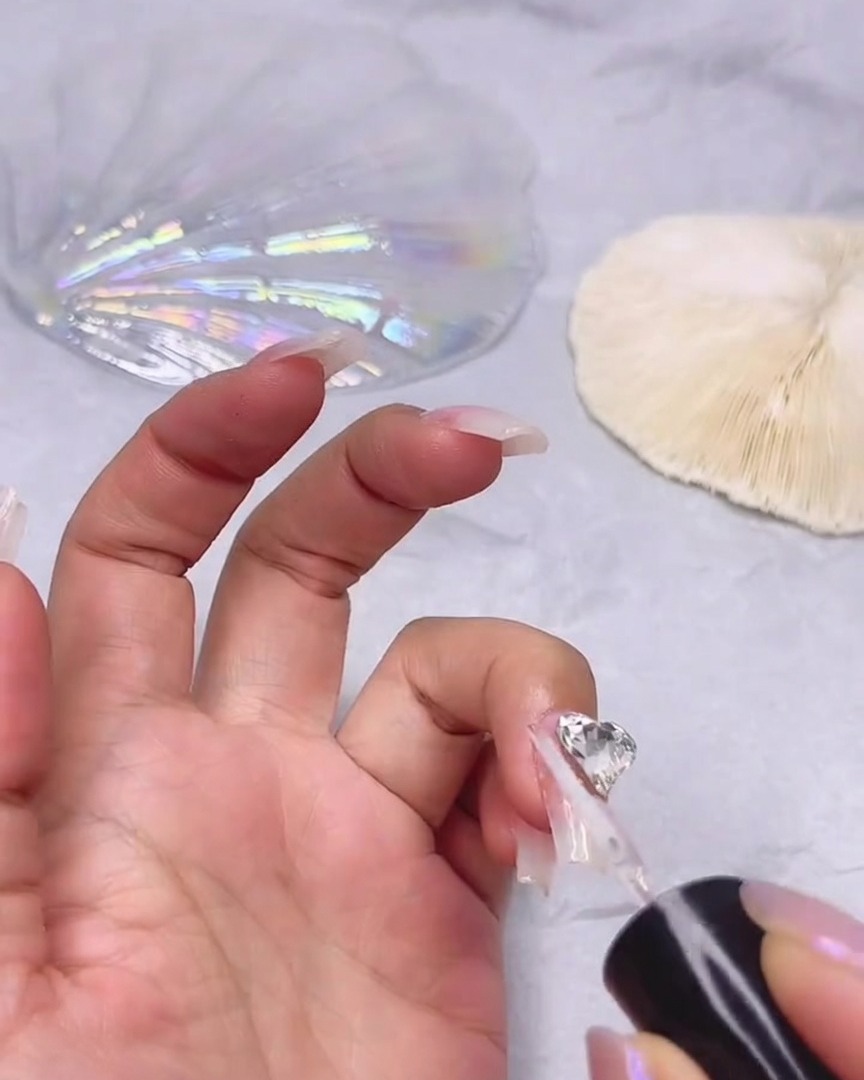
Using a thin detail brush or the applicator from a gap-filling gel bottle, carefully outline the perimeter of the heart rhinestone. Fill in any spaces between the nail surface and the flat back of the gem to anchor it securely. Make sure to avoid getting any gel on the faceted top surface.
Tip: Thoroughly sealing the edges prevents hair from catching under the rhinestone and significantly increases its longevity. - 10Apply Final Top Coat
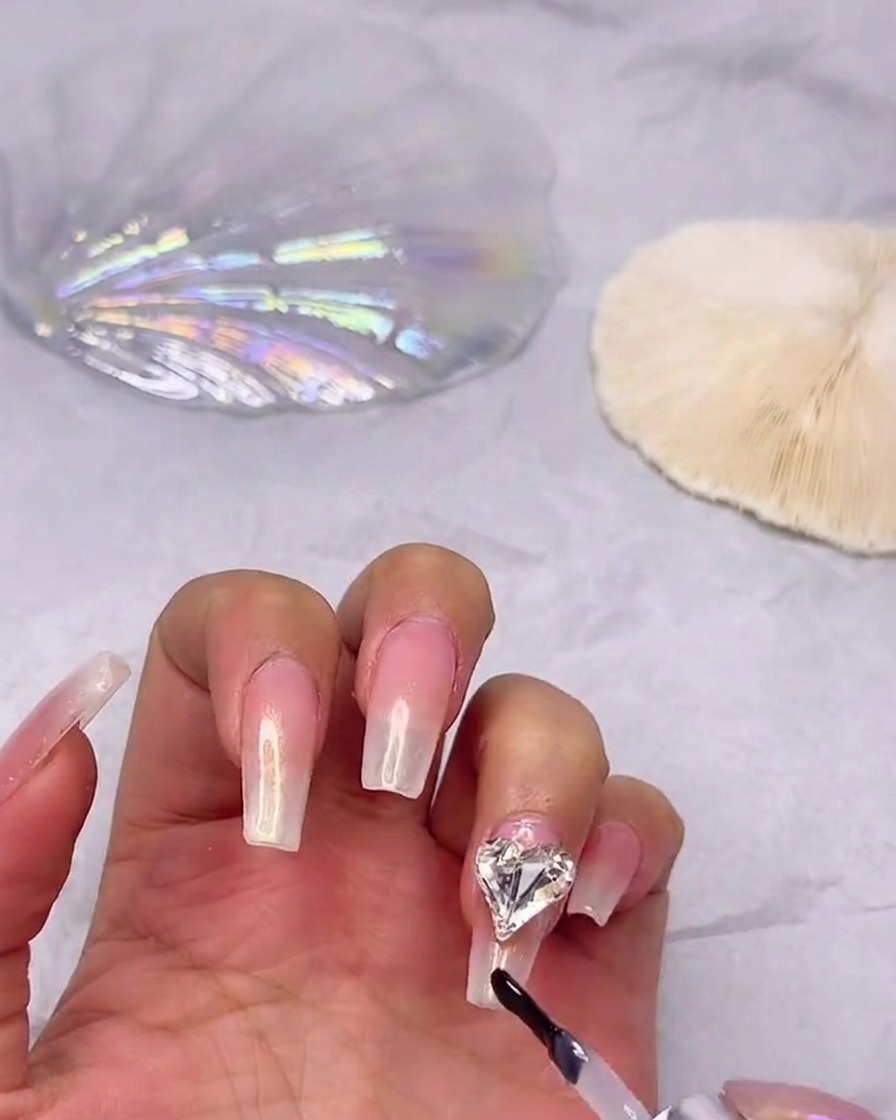
Brush a layer of glossy top coat over the entire exposed nail surface to seal the gradient design and finish the look. Work carefully around the heart rhinestone, making sure not to coat the gem itself, as top coat will dull its faceted sparkle. Cure fully under your lamp.
Tip: If your standard top coat brush is too large, use a fine detail brush to carefully apply top coat into the tight corners around the gem.