3D Macaron Glitter Bow Nails — Step-by-Step PVC Gel Tutorial
Create a cute, vibrant 3D macaron bow nail look perfect for summer. Learn how to mix solvent-resistant glitter with PVC gel to sculpt beautiful custom accents.
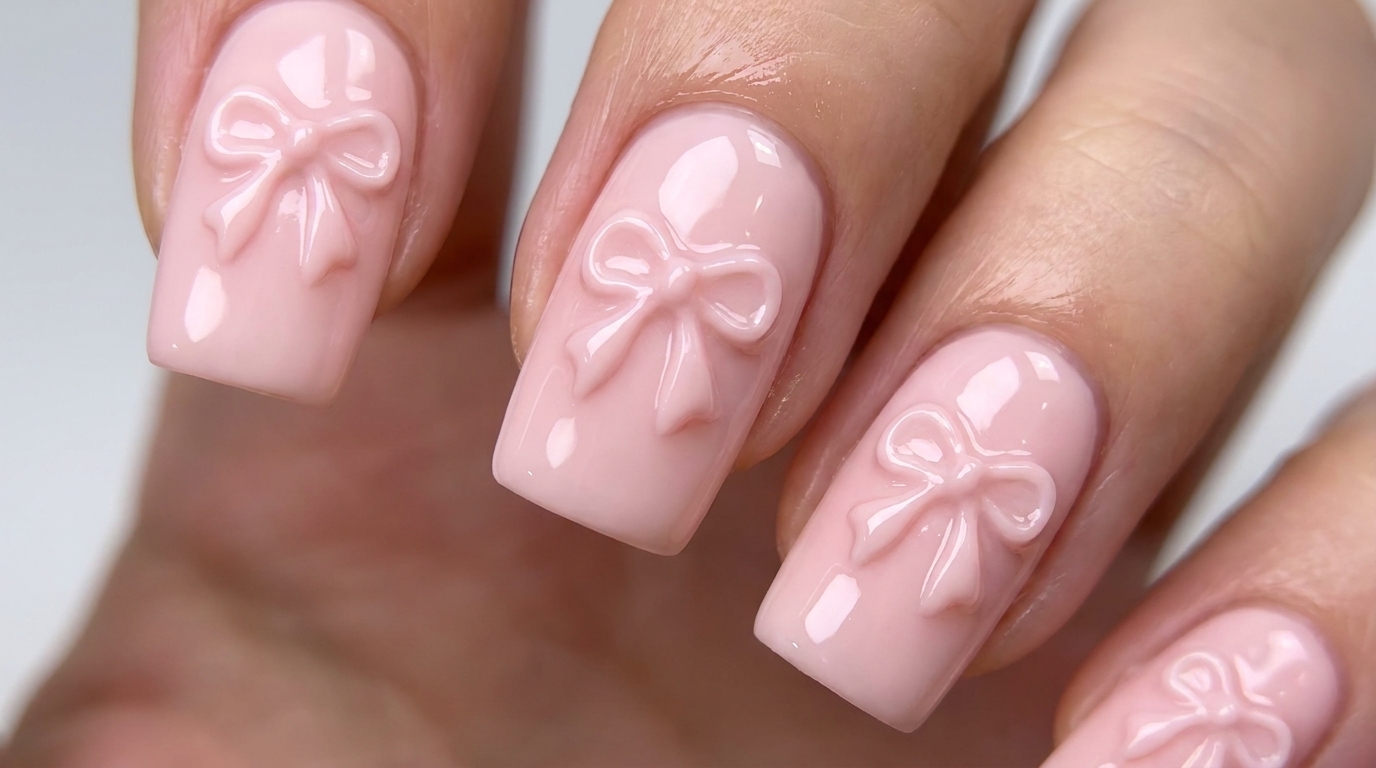
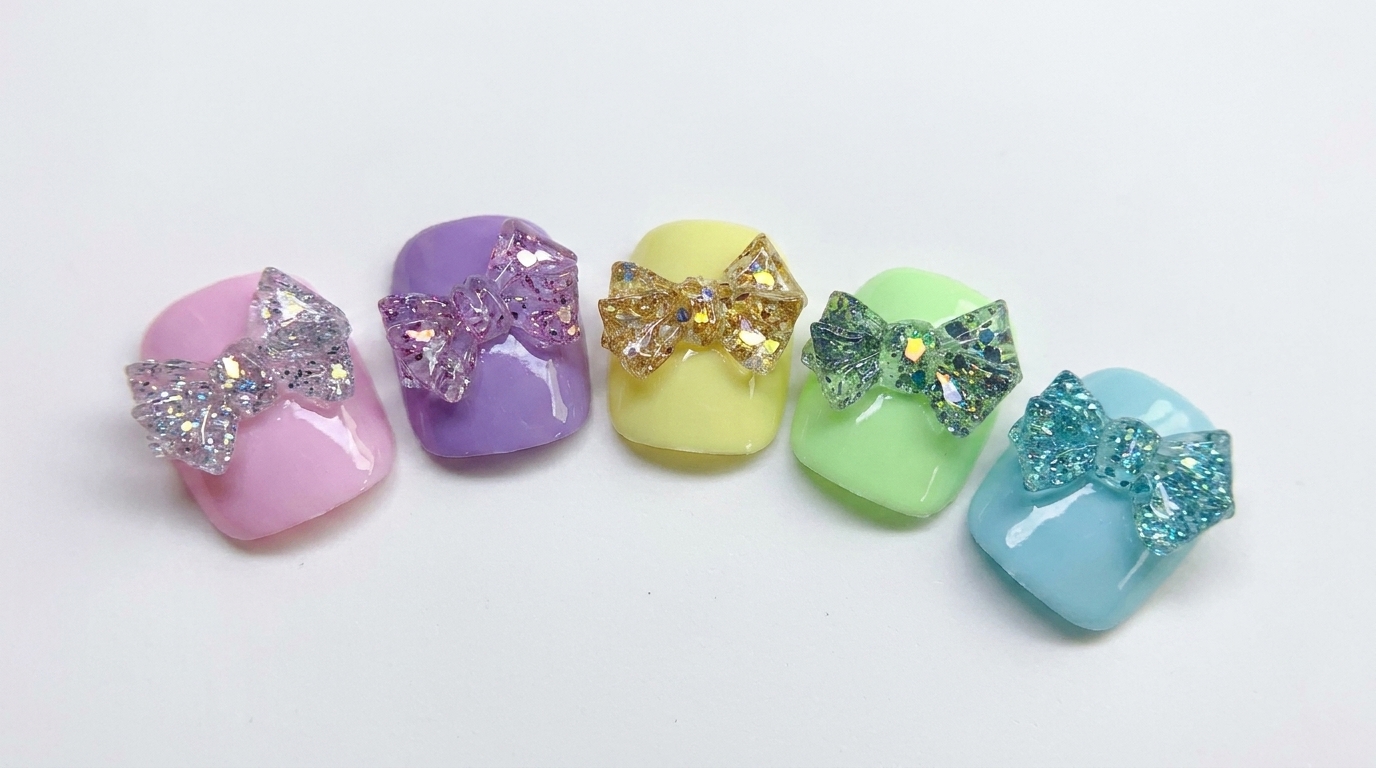
3D nail art is taking center stage, and this pastel macaron bow design is the ultimate playful summer look. By mixing solvent-resistant glitter with sculpting PVC gel, you can create custom-colored 3D elements that perfectly match your aesthetic. Because PVC gel is non-leveling, you have unlimited time to perfect the shape of your bow before curing, making this technique surprisingly beginner-friendly.
Steps
- 1Apply macaron pink base color
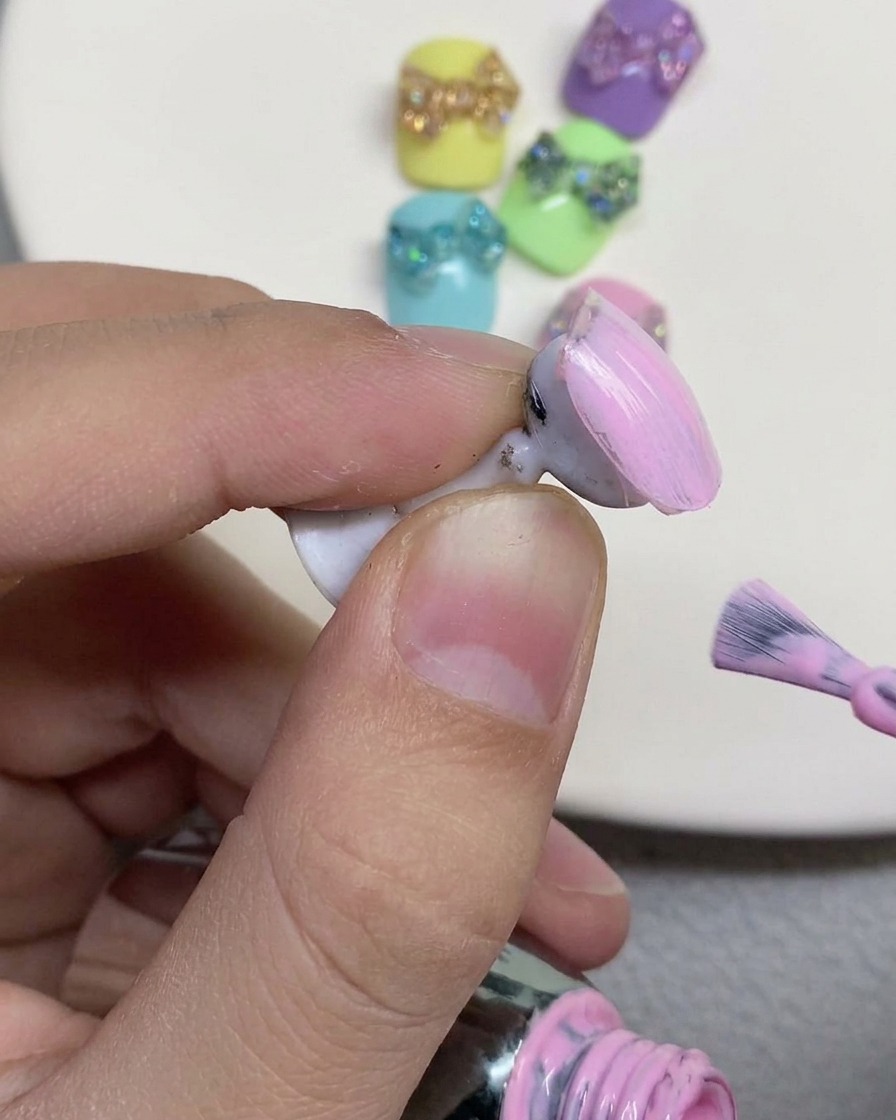
Apply a smooth layer of pink gel polish from the macaron collection onto the surface of the nail. Ensure the color is distributed evenly to create a vibrant and pastel base for the bow design. Cure the layer under the nail lamp as needed.
Tip: Apply thin, even strokes to avoid streaks or pooling near the cuticle edges. - 2Apply reinforcing gel
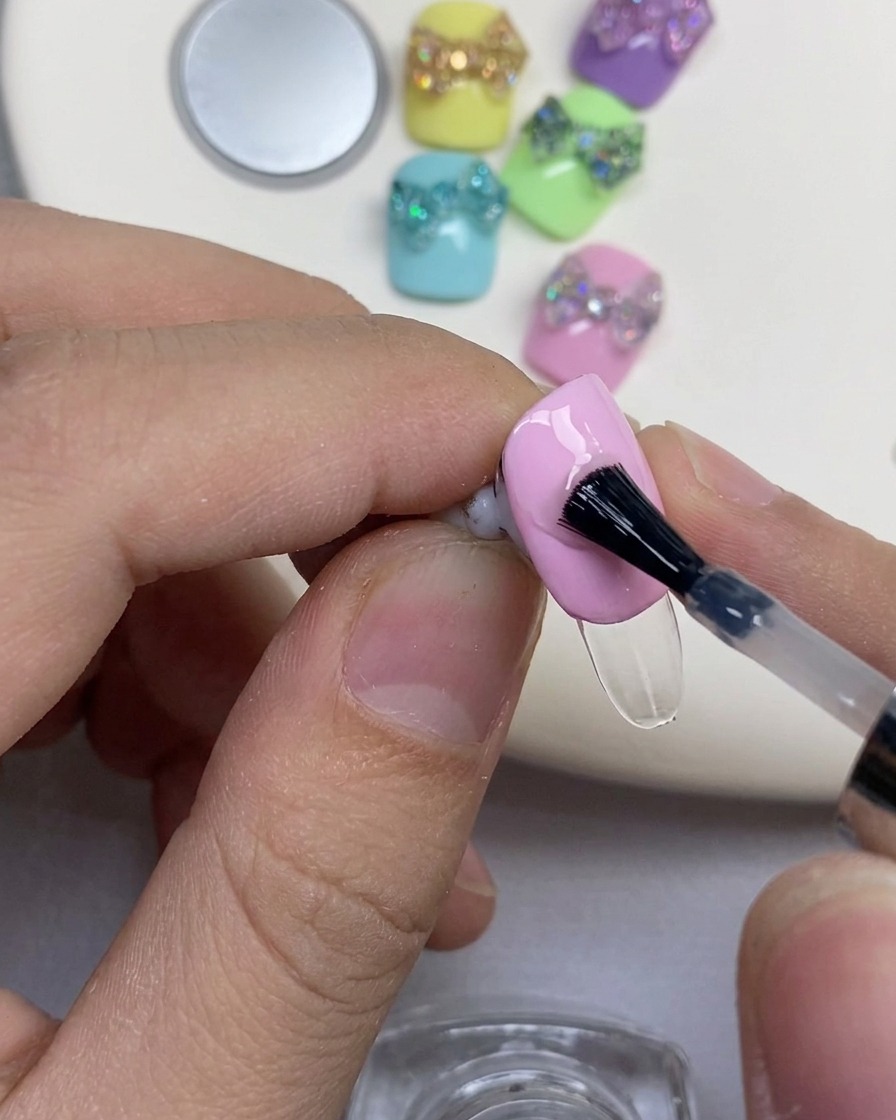
Brush a layer of reinforcing gel onto the pink-painted nail surface. This provides added structural strength and creates an ideal tacky base for attaching 3D nail art pieces securely.
Tip: Ensure the reinforcing gel is applied evenly across the nail without flooding the cuticles. - 3Scoop PVC gel
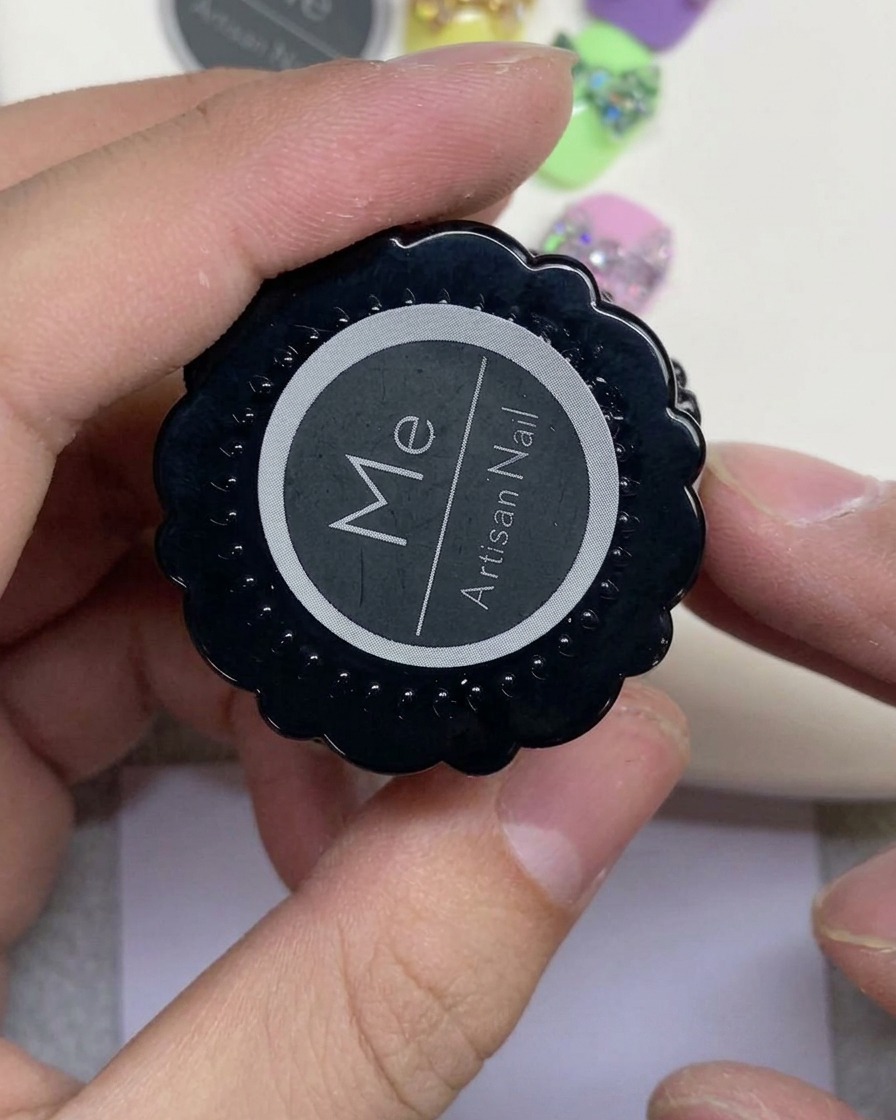
Using a metal mixing rod, scoop out a portion of white PVC gel from the container. Place the scooped gel onto a clean paper sheet to prepare it for mixing with glitter pieces.
Tip: Keep the jar tightly closed when not in use to prevent the PVC gel from drying out or curing under ambient light. - 4Select glitter pieces
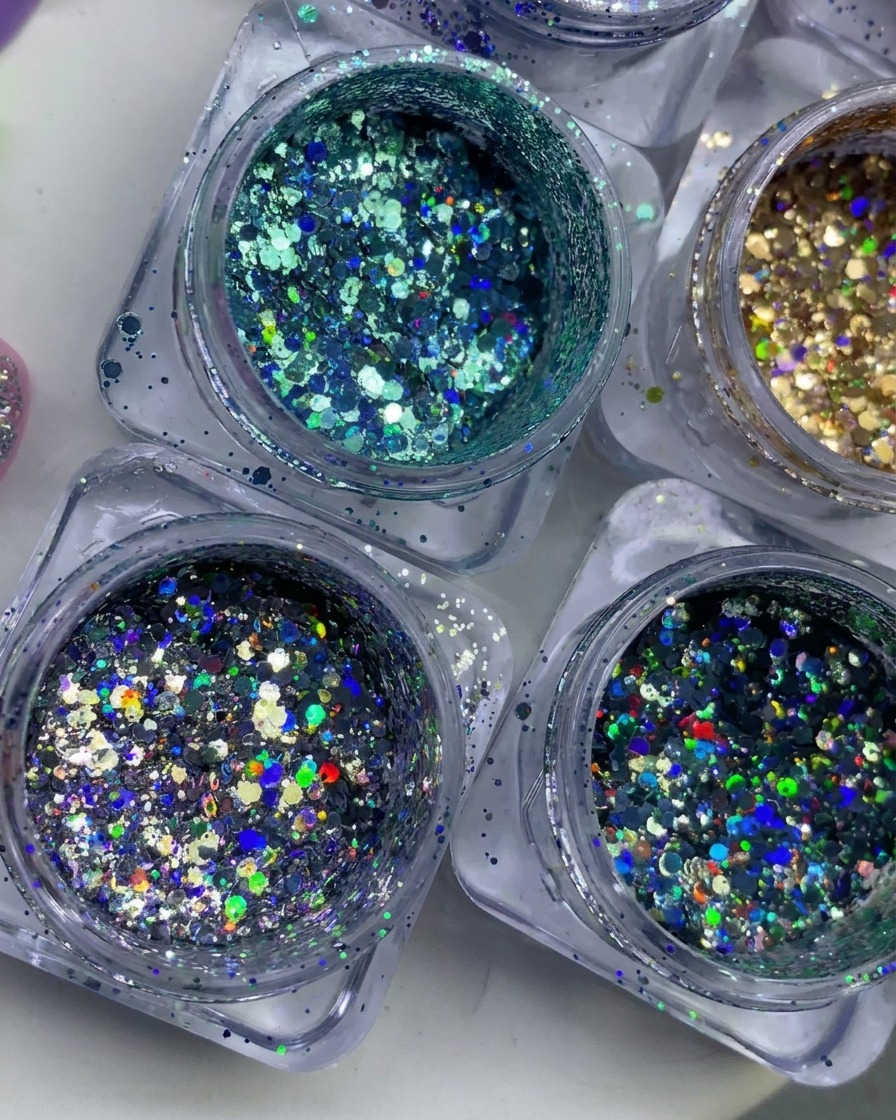
Prepare a selection of six vibrant, solvent-resistant glitter jars containing various holographic and metallic flake sizes. These will be mixed directly into the PVC gel to create colorful custom elements.
Tip: Always use solvent-resistant glitter so the pieces do not dissolve or bleed color when mixed into gel products. - 5Mix glitter into PVC gel
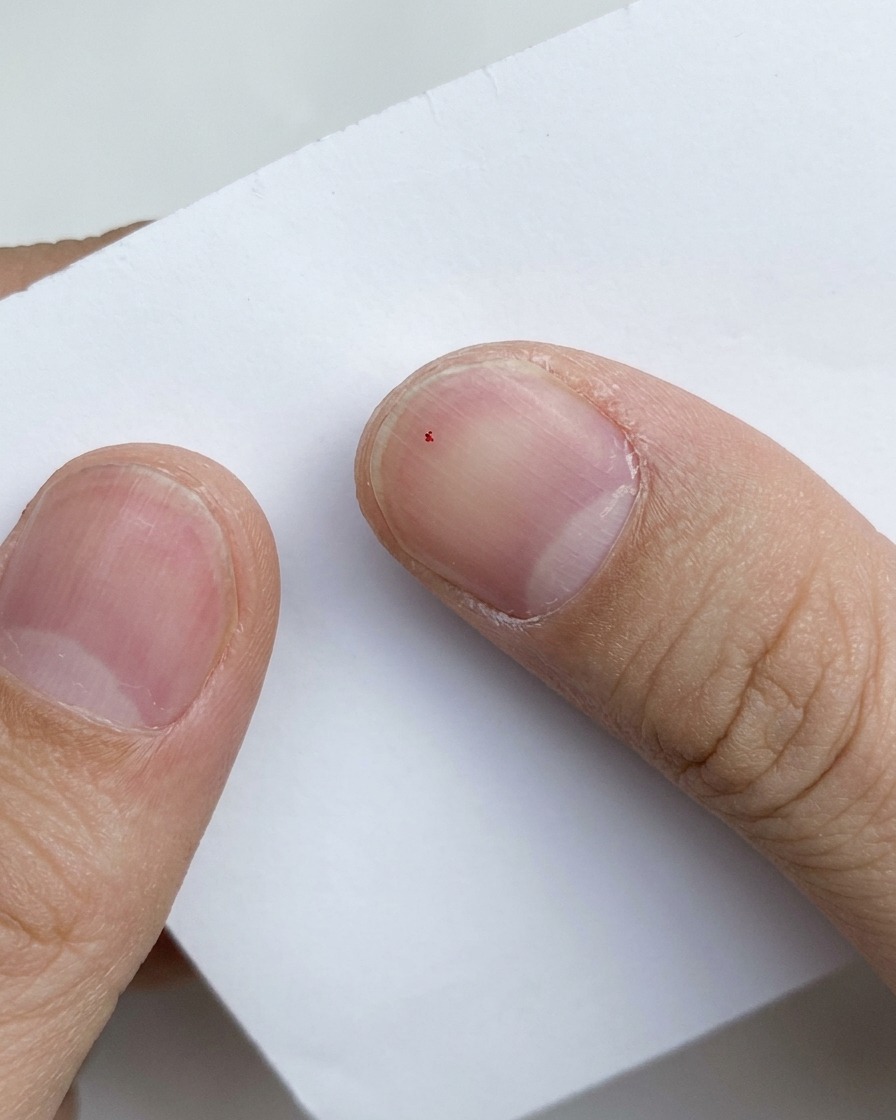
Thoroughly blend purple solvent-resistant glitter pieces into the portion of PVC gel resting on the paper sheet until the gel is evenly saturated with the colorful flakes.
Tip: Mix gently to avoid creating air bubbles trapped inside the dense PVC gel matrix. - 6Cut PVC gel strip
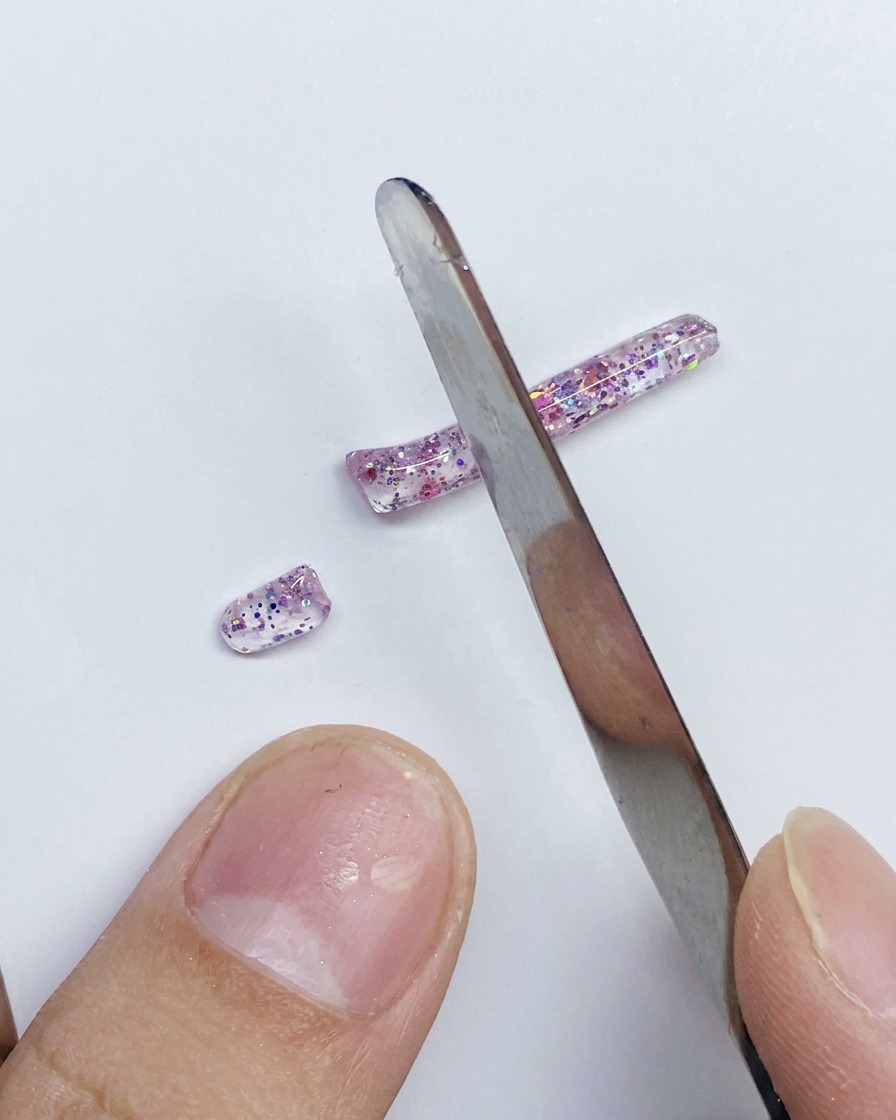
Using a metal tool, slice the elongated strip of glitter-infused PVC gel into five smaller sections of equal size. These individual segments will be formed into the components of the 3D butterfly bow.
Tip: Clean your cutting tool with alcohol between cuts to prevent the sticky PVC gel from dragging. - 7Shape bow components
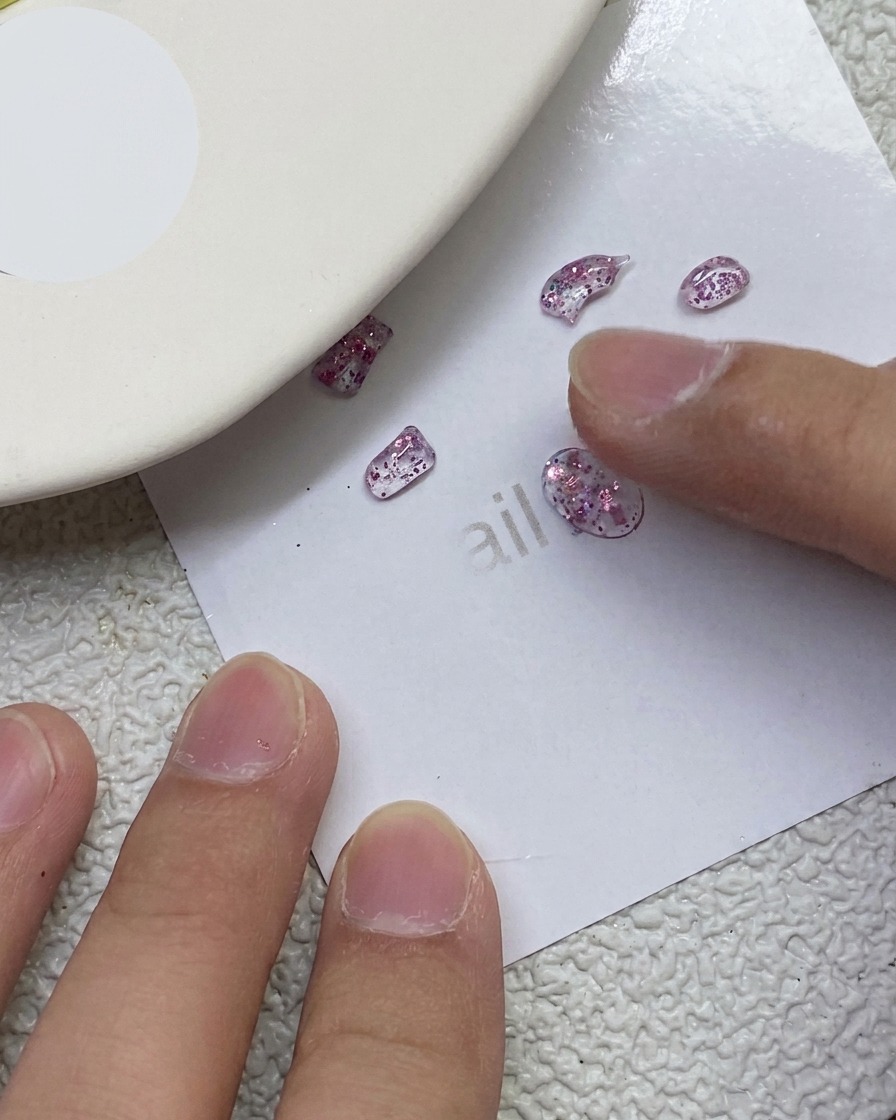
Use your fingers and a tool to pinch both ends of each cut PVC piece so they are pointed while keeping the middle section wide and flat. Fold and arrange them to form the final bow knot shape directly on the workspace.
Tip: PVC gel is non-leveling and holds its shape without curing, allowing you to take your time perfecting the dimensions. - 8Place the first bow loop
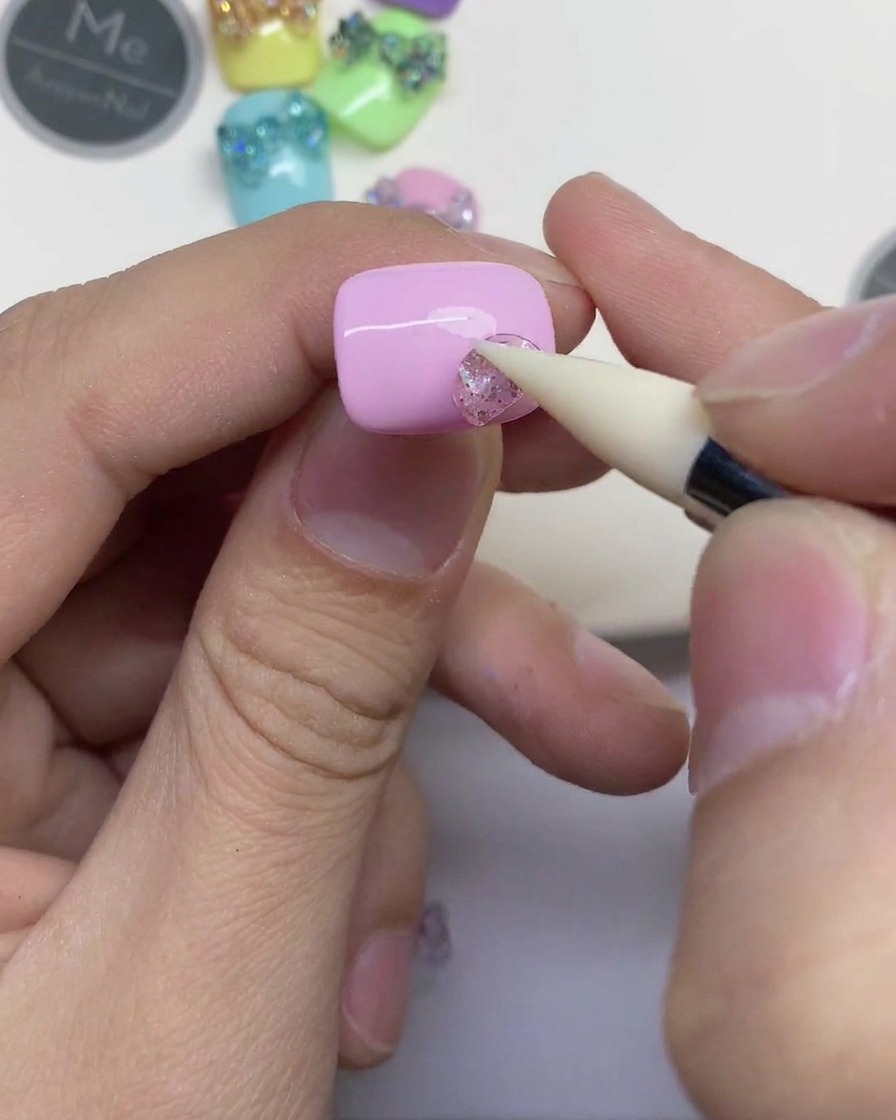
Using a silicone tool, pick up the first piece of your custom mixed glitter PVC gel. Place it gently onto the pink nail surface, positioning it to one side to form the first half of the bow loop. Press down the edges slightly to secure it in place.
Tip: Do not cure the gel just yet; leaving it uncured allows you to adjust the shape and position as you build the rest of the bow. - 9Form the butterfly bow
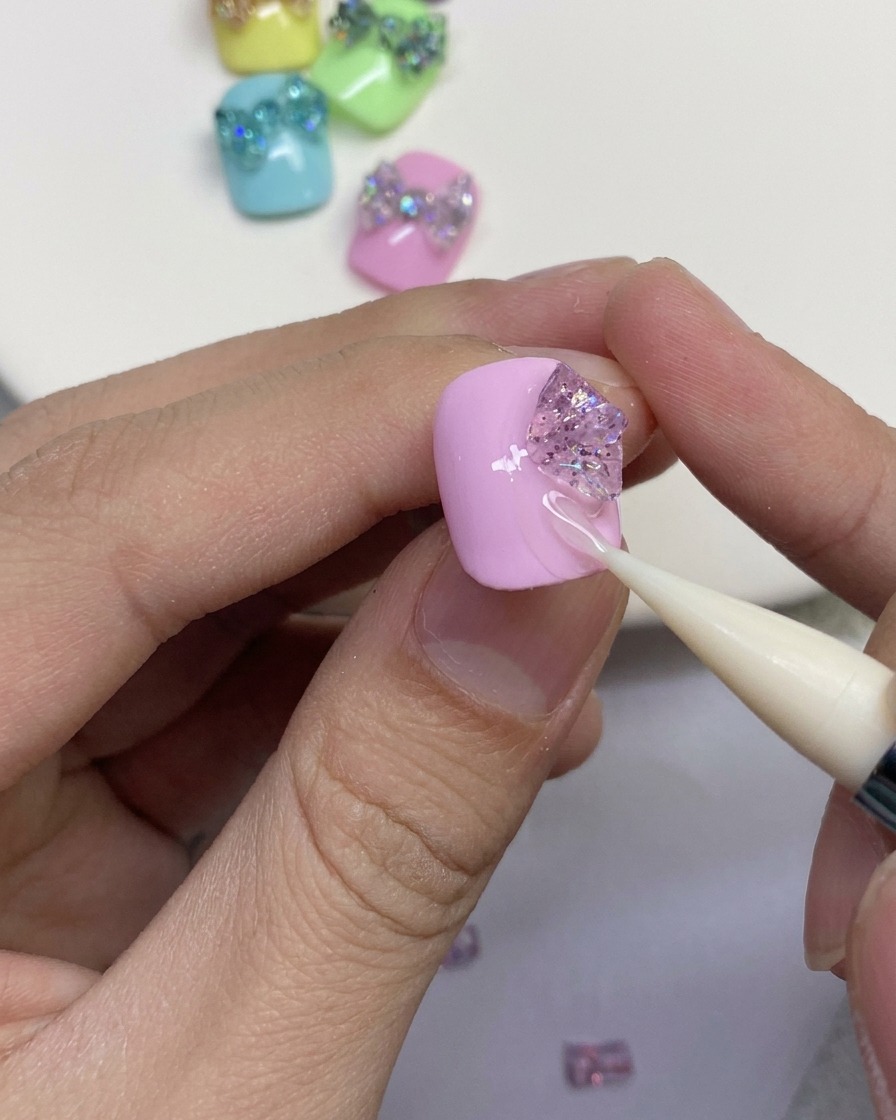
Take the remaining pieces of your mixed glitter PVC gel and position them symmetrically to complete the outer loops of the butterfly bow. Use your silicone pen to pinch the ends pointed and keep the middle wide, gently flattening and folding the pieces to create realistic volume.
Tip: Pinch the edges of the gel to give the bow loops a defined, crisp shape before adding the center piece. - 10Add the center ribbon strip
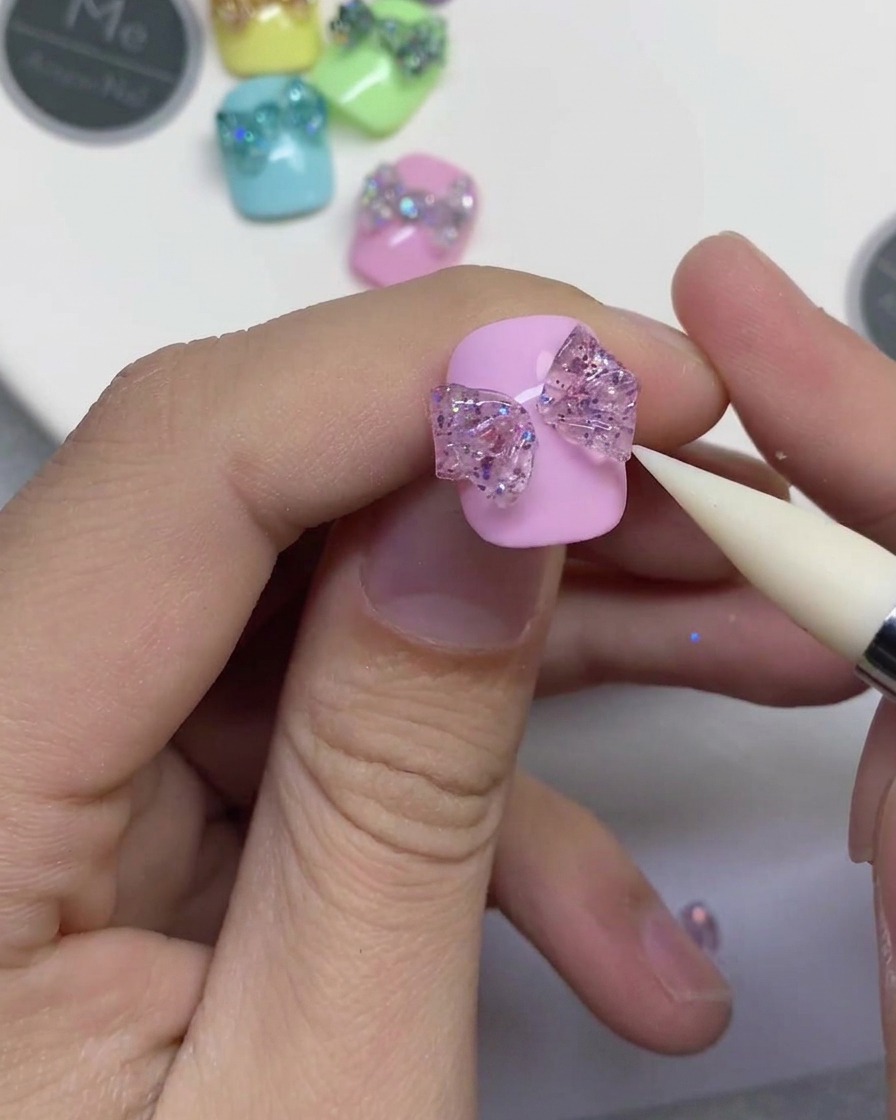
Place a smaller strip of the glitter PVC gel directly across the center of your bow to connect the loops. Using your silicone tool, press down gently into the middle strip to create realistic, wrinkled ribbon textures, giving the 3D bow its final shape.
Tip: Pressing realistic wrinkles into the center piece brings the 3D bow to life and hides the seam where the loops meet. - 11Apply top coat to seal the design
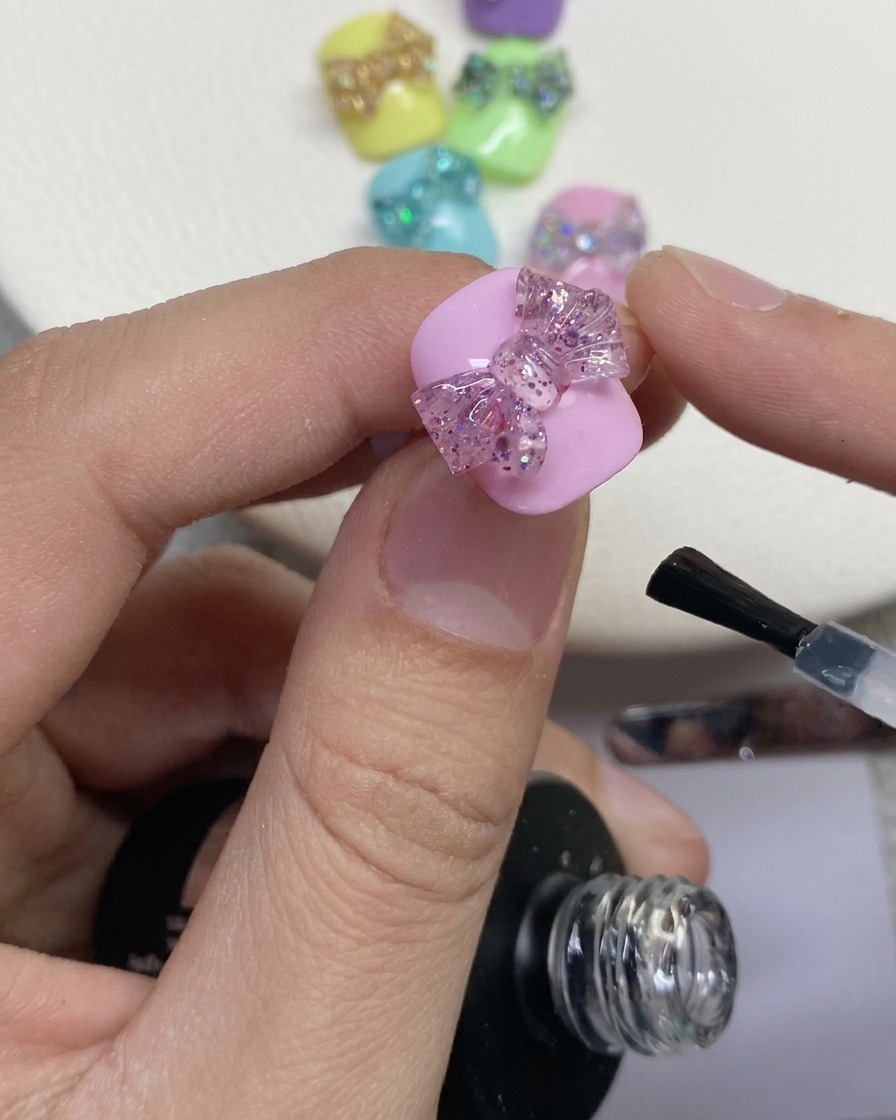
Apply a layer of top coat over the entire nail surface to seal and protect your look. When applying the top coat around the 3D butterfly bow, pay close attention to the edges, corners, gaps, and crevices. Carefully brush the top coat around these areas to ensure the bow is securely attached without flooding its delicate details.
Tip: Use a fine liner brush for the top coat if you are having trouble reaching the tiny crevices around the bow with the standard bottle brush.