Crystal Fishline Butterfly Press-on Nails — Step-by-Step Art Tutorial
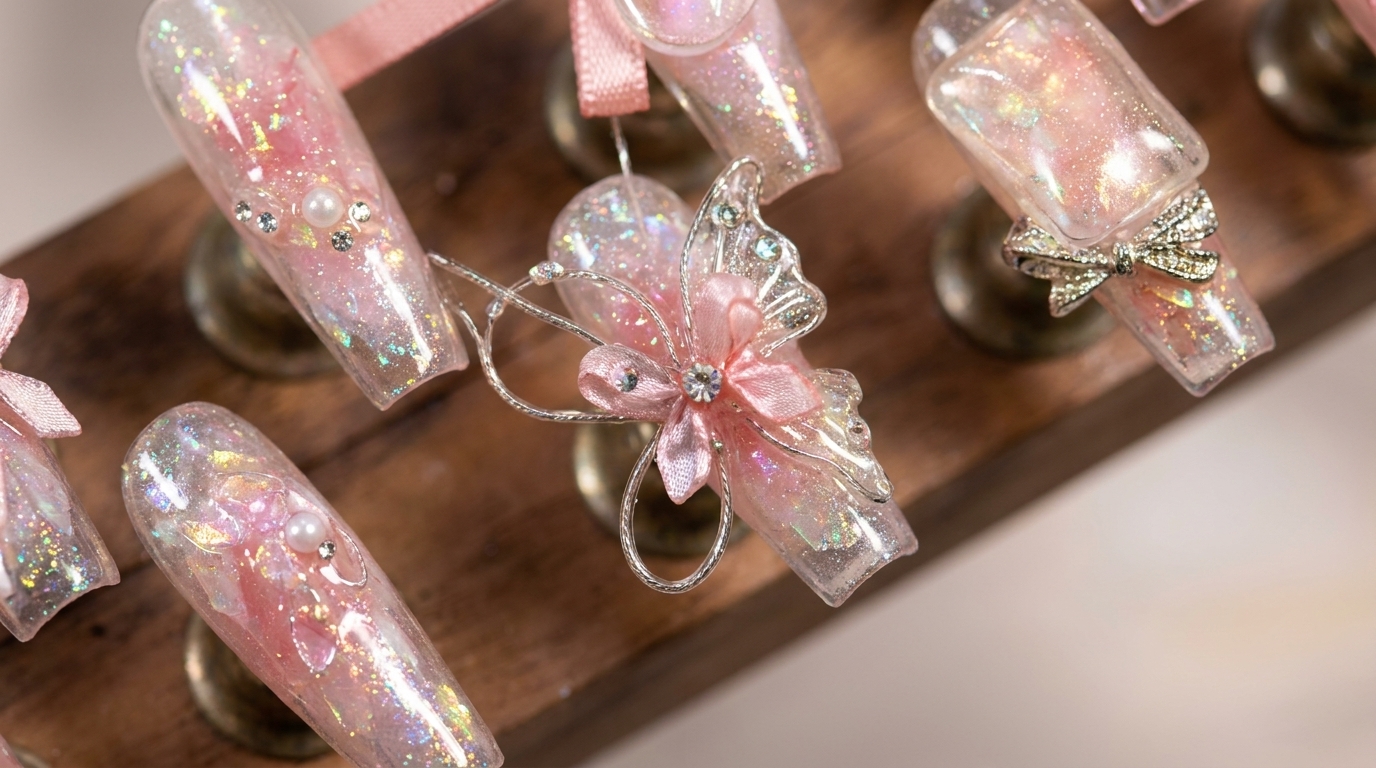
Create stunning crystal press-on nails featuring encapsulated aurora flakes, 3D carved PVC butterfly wings, shimmering cat-eye gradients, and delicate floating fishing line details.
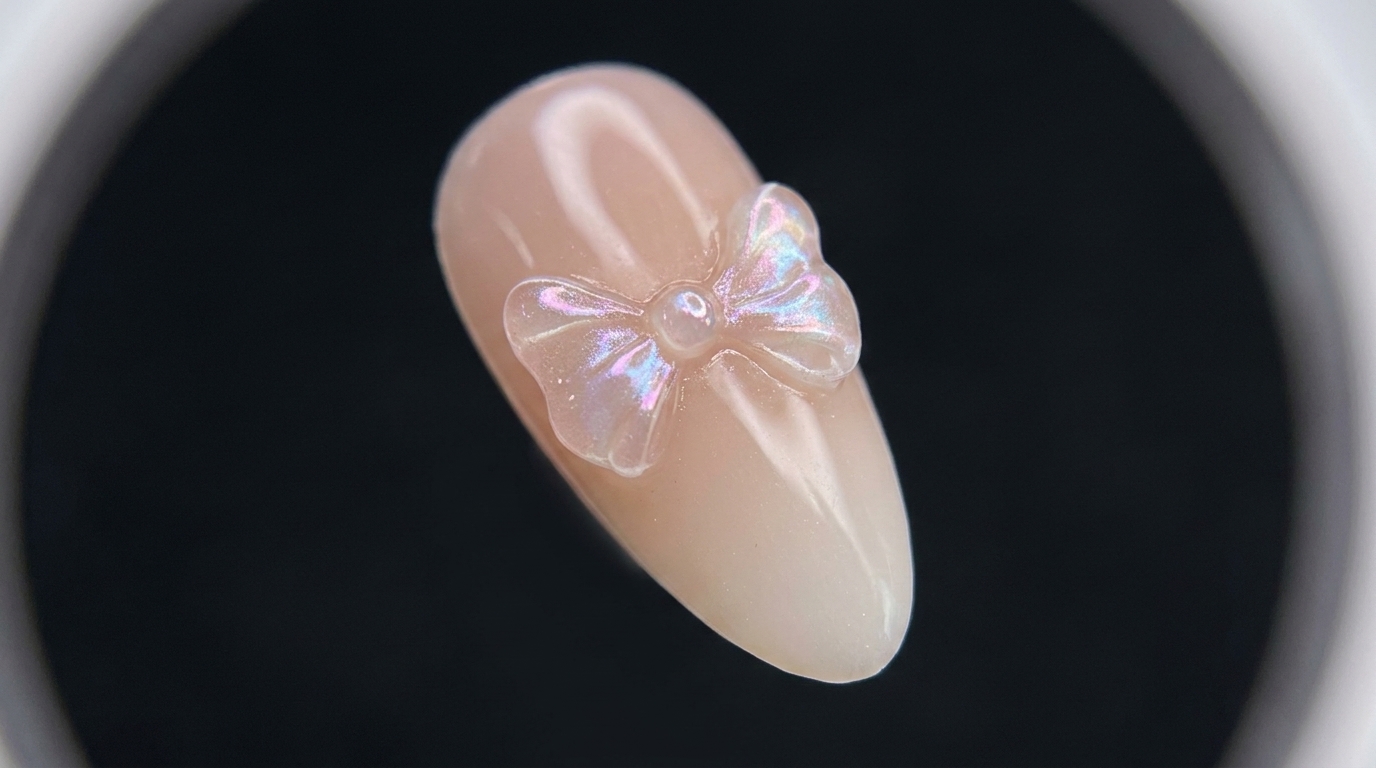
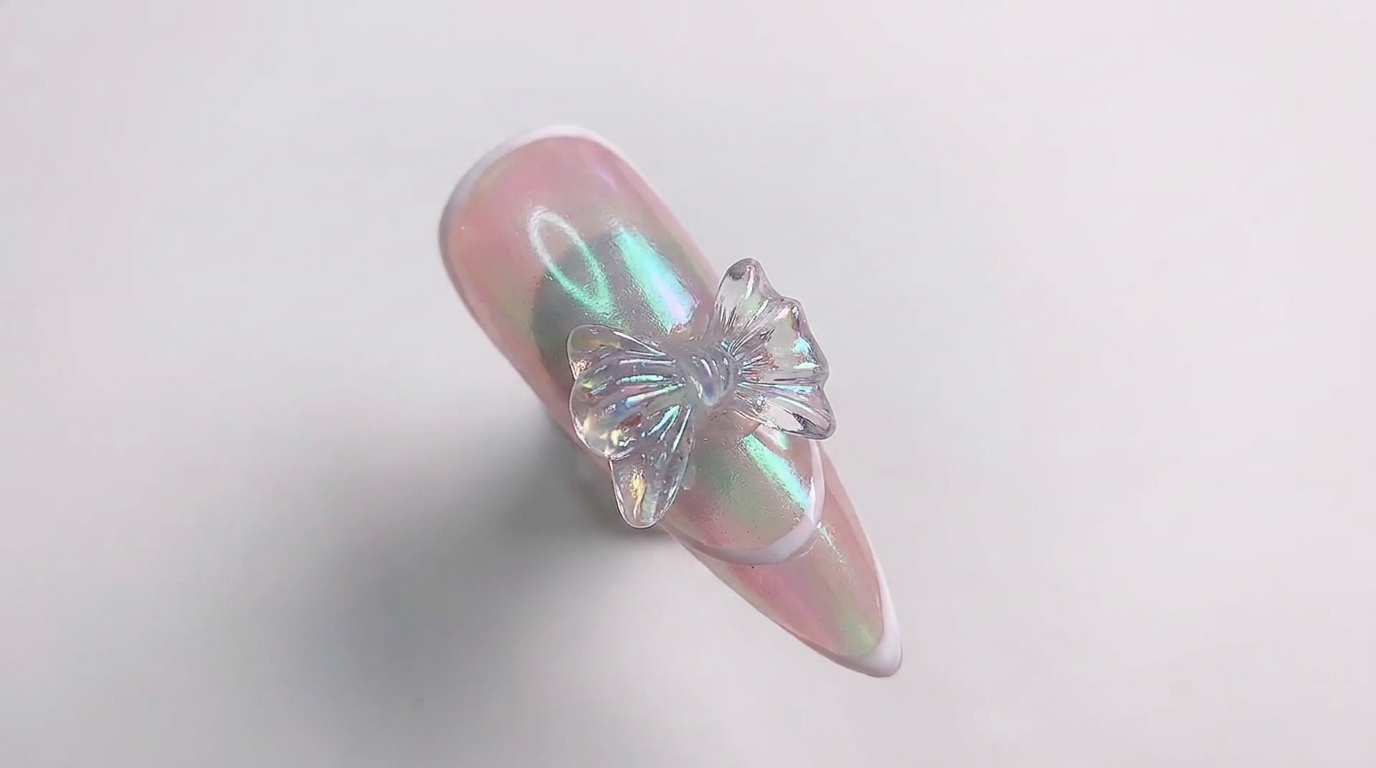
Elevate your press-on nail game with this intricate, multidimensional tutorial that combines encapsulated aurora flakes, magnetic cat-eye dimension, and hand-carved PVC butterfly wings. Accented with shattered diamond glitter and custom-shaped fishing line ribbons, this design delivers a high-end salon aesthetic right at home.
Steps
- 1Apply Aurora Flake Powder
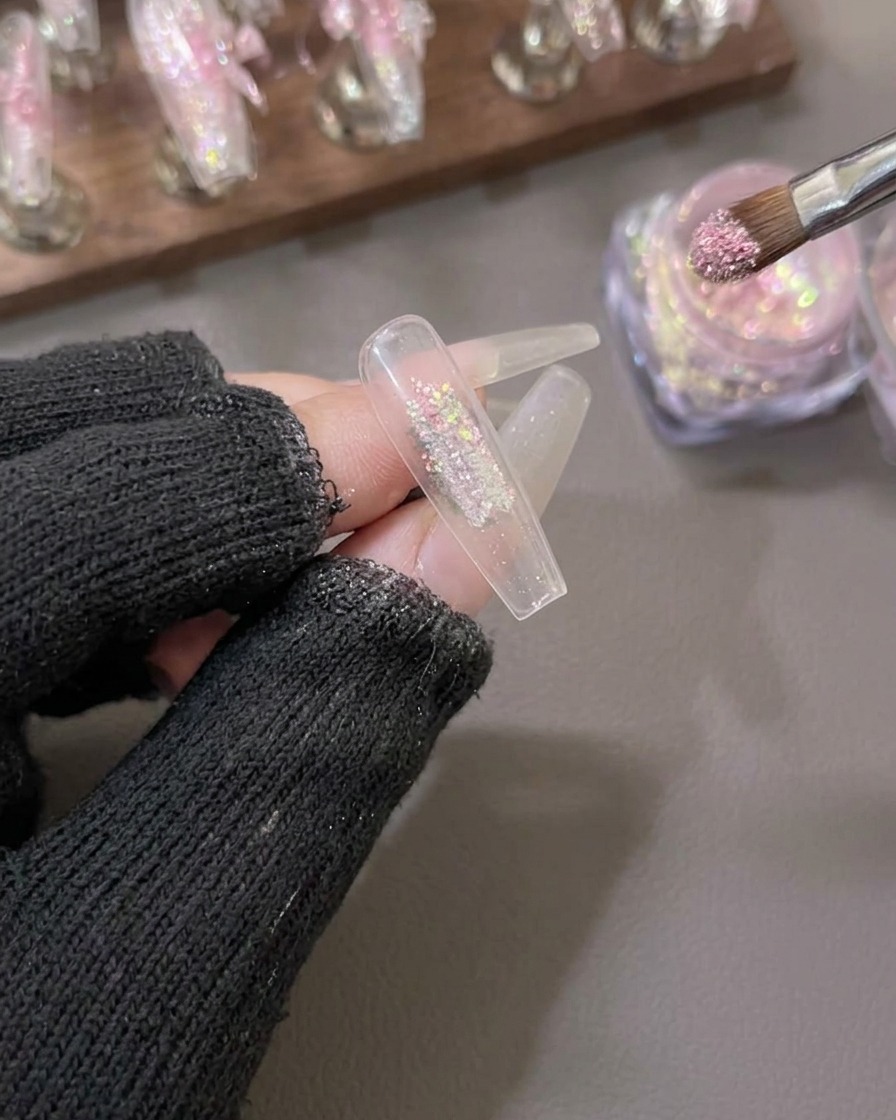
After applying a layer of deep base gel, use a brush to pick up aurora flake powder. Place the flakes directly in the middle of the nail and gently sweep them outward to create a scattered, glowing center.
Tip: Keep the powder concentrated in the center and sheer towards the edges to create a natural, glowing gradient effect. - 2Apply Milky Pink Gel
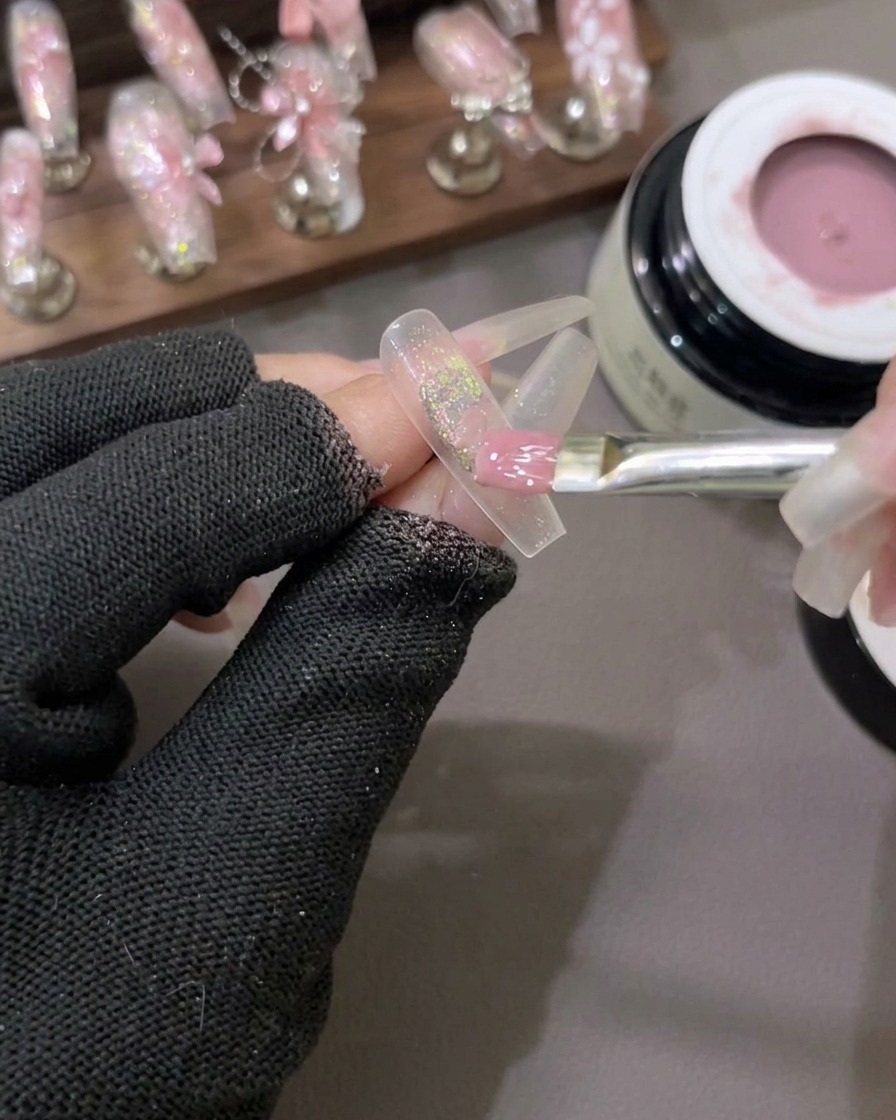
Take a soft milky pink gel color and spread it over the nail surface, gently layering it over the aurora flakes. Use your brush to evenly and smoothly blend the edges for a seamless transition.
Tip: Use a light hand when blending so you dont completely cover the aurora flakes underneath; they should softly peek through the milky pink layer. - 3Apply and Blend Cat Eye Gel
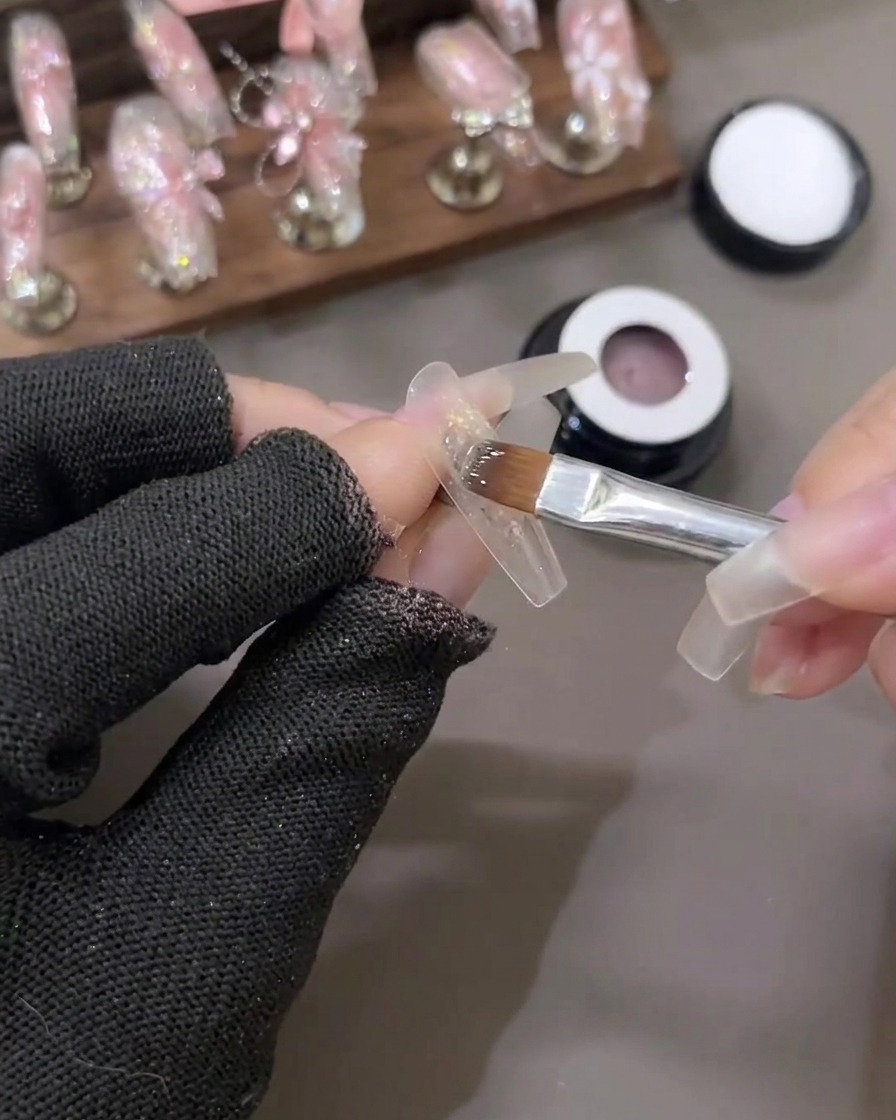
Pick up a cat eye gel and carefully dot it around the edges of the nail. Use your brush to softly blend the gel outwards toward the center to build up a subtle, magnetic frame.
Tip: Work with small amounts of cat eye gel at a time to ensure the edges dont become too bulky or flooded before magnetizing. - 4Activate Cat Eye Effect
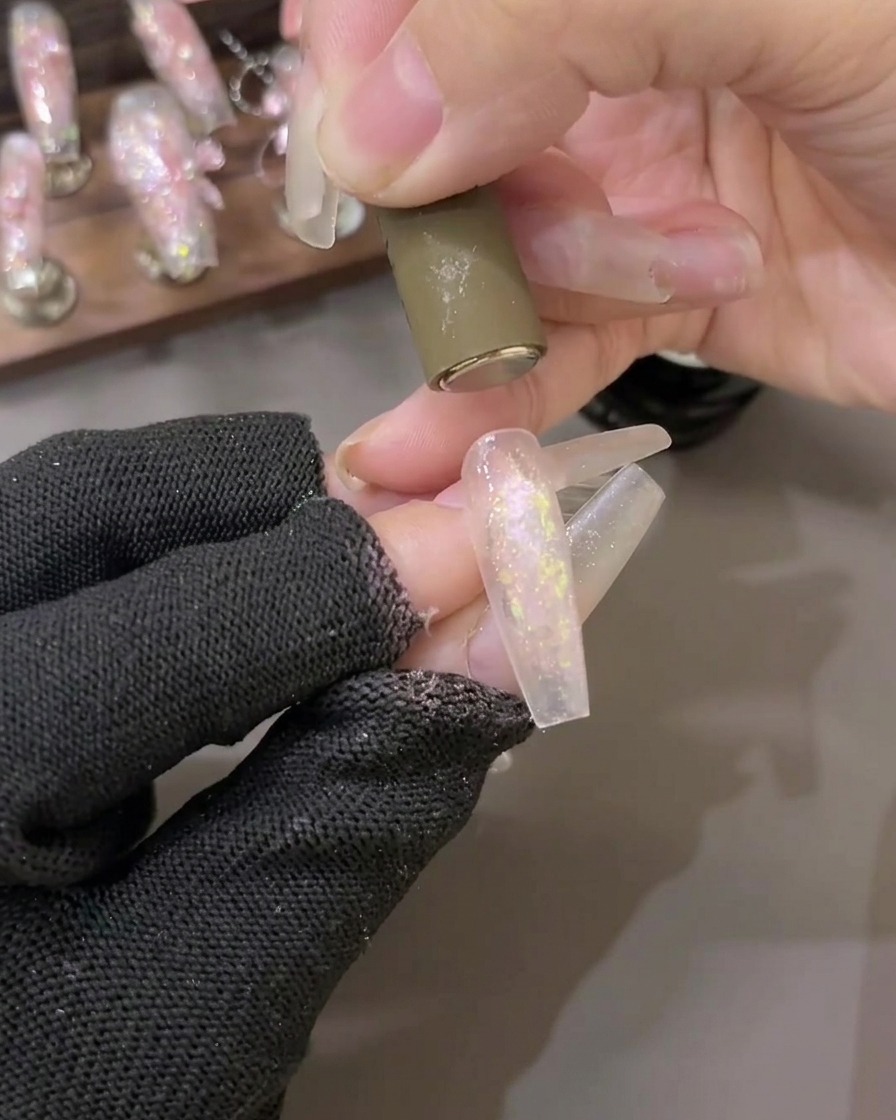
While the cat eye gel is still wet, hover a strong cylinder magnet closely over the nail surface. Maneuver the magnet around the edges to pull and manipulate the magnetic particles, creating a bright, shifting light effect.
Tip: Hold the magnet steady for a few seconds in each position to draw maximum light from the magnetic particles before curing. - 5Create Gradient Blooming
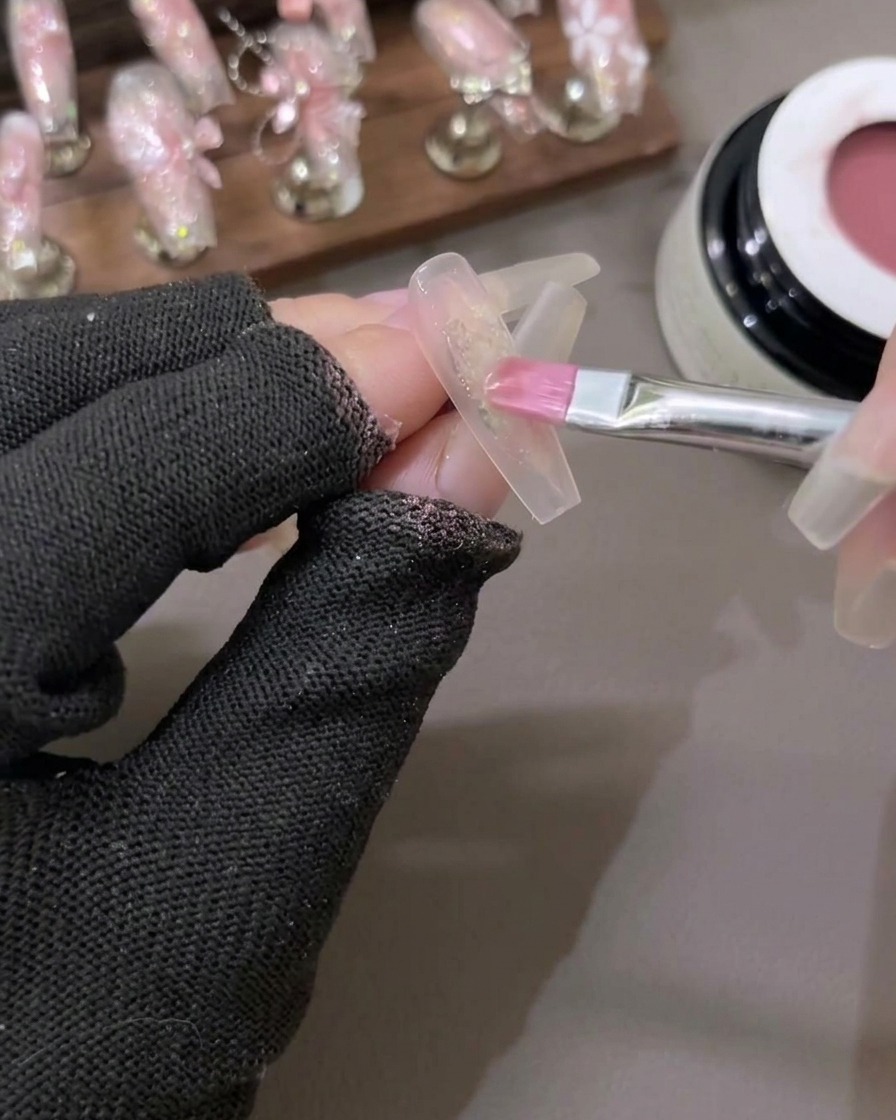
Pick up a sheer red gel color and apply it to the nail surface to create a subtle blooming effect. Softly feather and blend the edges with your brush to achieve a smooth, gradient transition without harsh lines.
Tip: Applying the red color over a wet clear base or using a blooming gel can help the color diffuse naturally for a softer gradient. - 6Add Hard Builder Gel
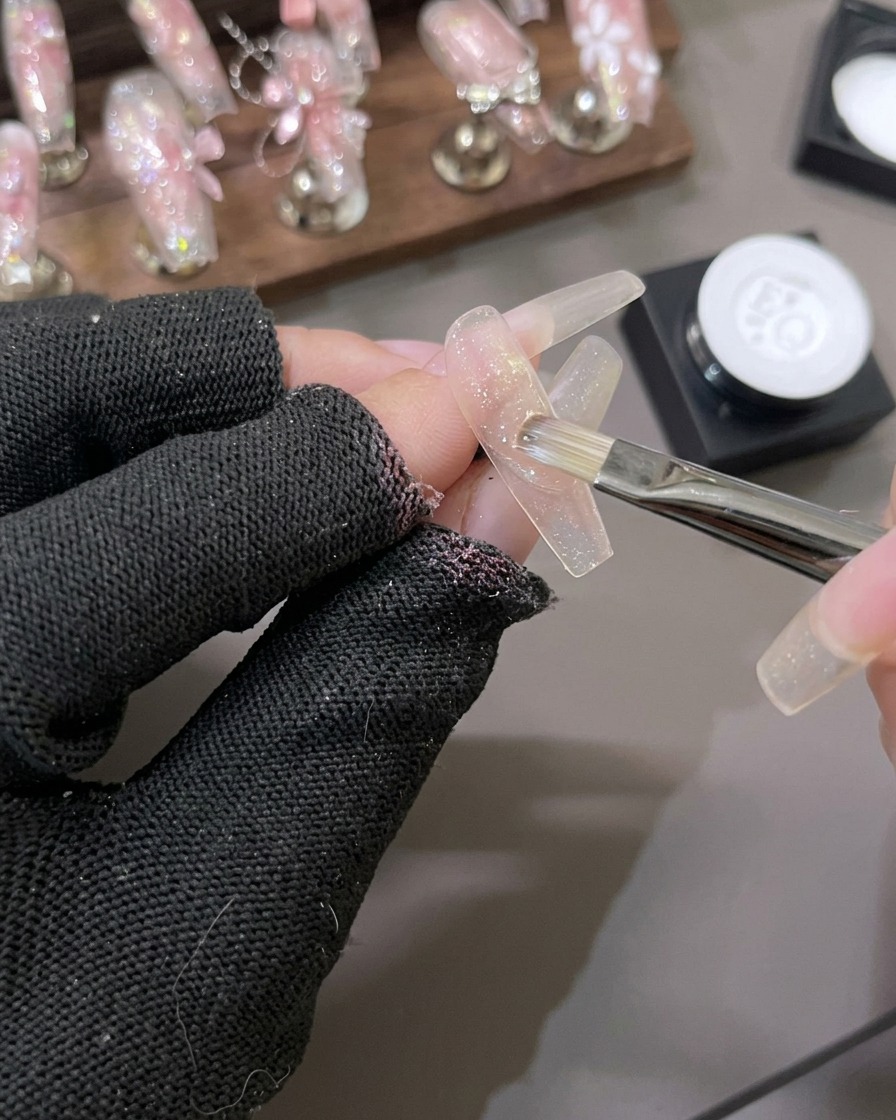
Apply a generous layer of clear hard builder gel over the entire nail. This encapsulation layer helps smooth out the surface, protects the previous art layers, and adds a beautiful, glassy sense of depth and dimension.
Tip: Use a self-leveling builder gel and give it a few seconds to settle and smooth out naturally before curing it in the lamp. - 7Apply and bloom red color layer
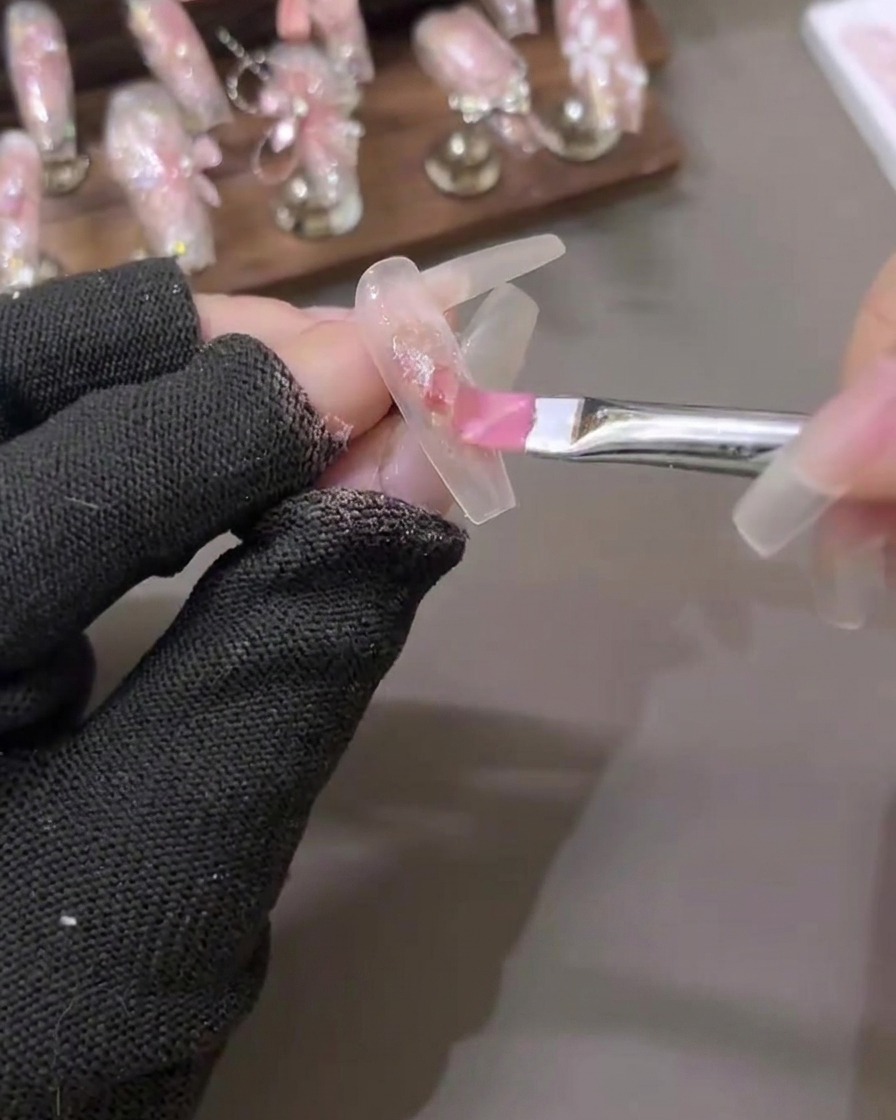
Apply the red color again over the previous layer and bloom it out, building up in small amounts to achieve a rich and delicate gradient effect.
Tip: Apply in thin, controlled amounts to maintain smooth transitions and prevent the colors from looking muddy. - 8Apply shattered diamond gel
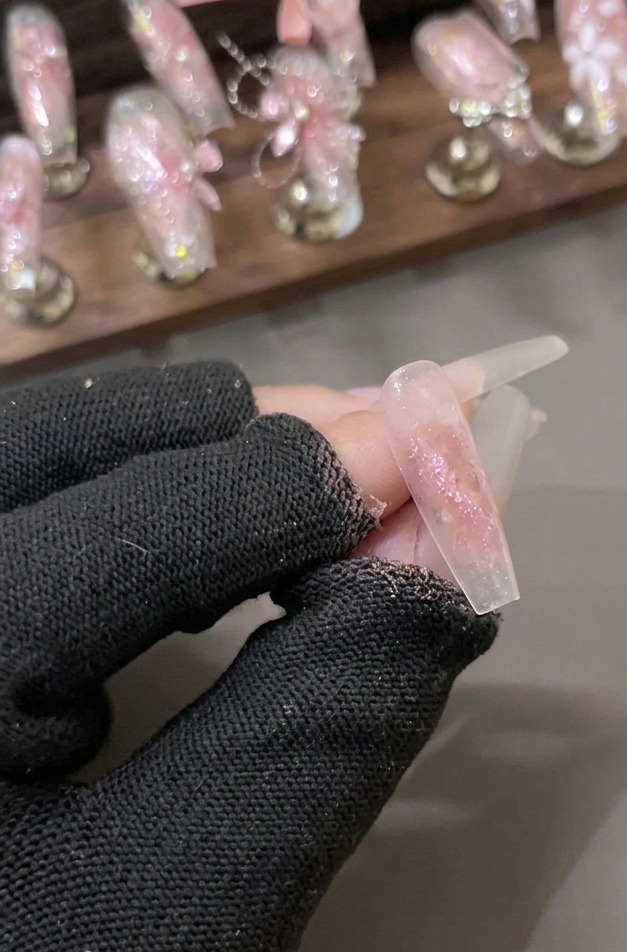
Apply a layer of shattered diamond glitter powder gel over the nail. Keep the application concentrated toward the center and gently blend it outwards to maintain the subtle aesthetic while adding brilliant, light-catching depth.
Tip: Do not flood the entire nail with glitter; keeping it focused in the middle enhances the 3D effect of the upcoming layers. - 9Layer and blend additional red color
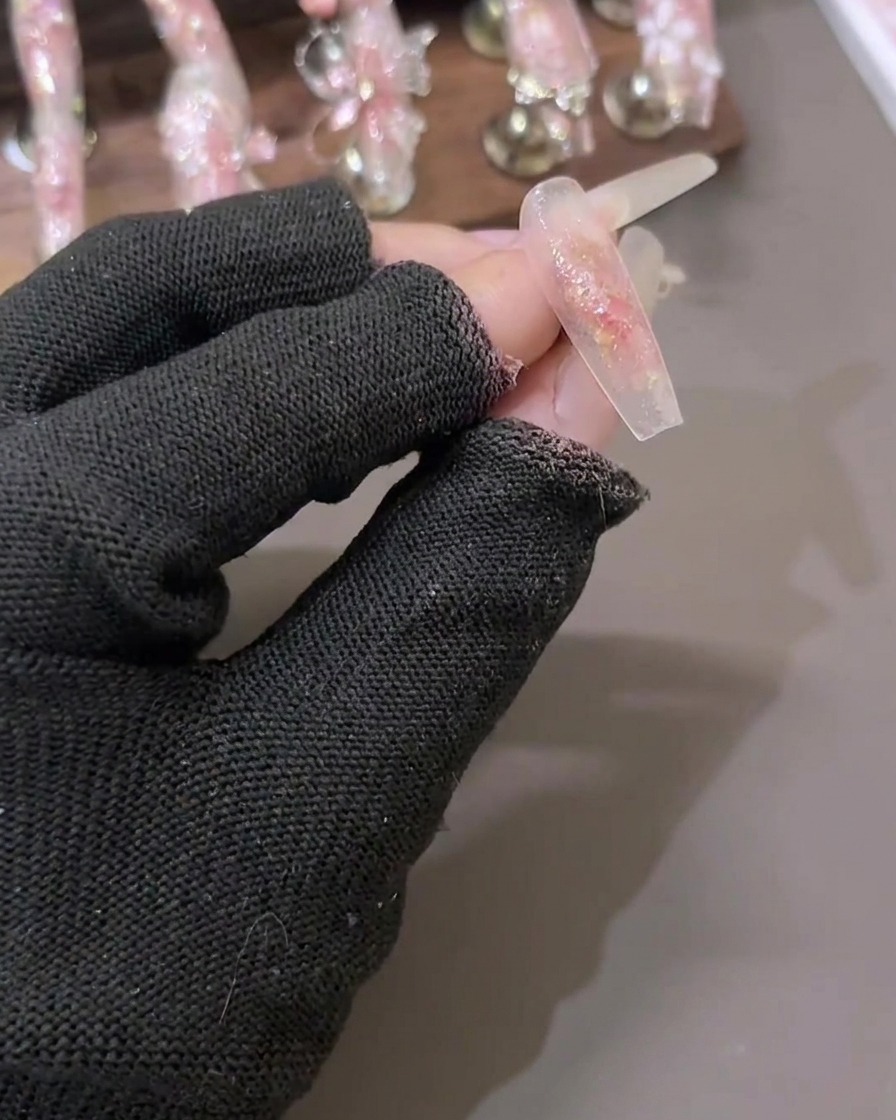
Layer a bit more red color onto the nail and gently blend it outwards to enhance the depth and dimension of the color gradient.
Tip: Use soft feathering motions with your brush edges to avoid harsh lines. - 10Apply soft extension builder gel inverted
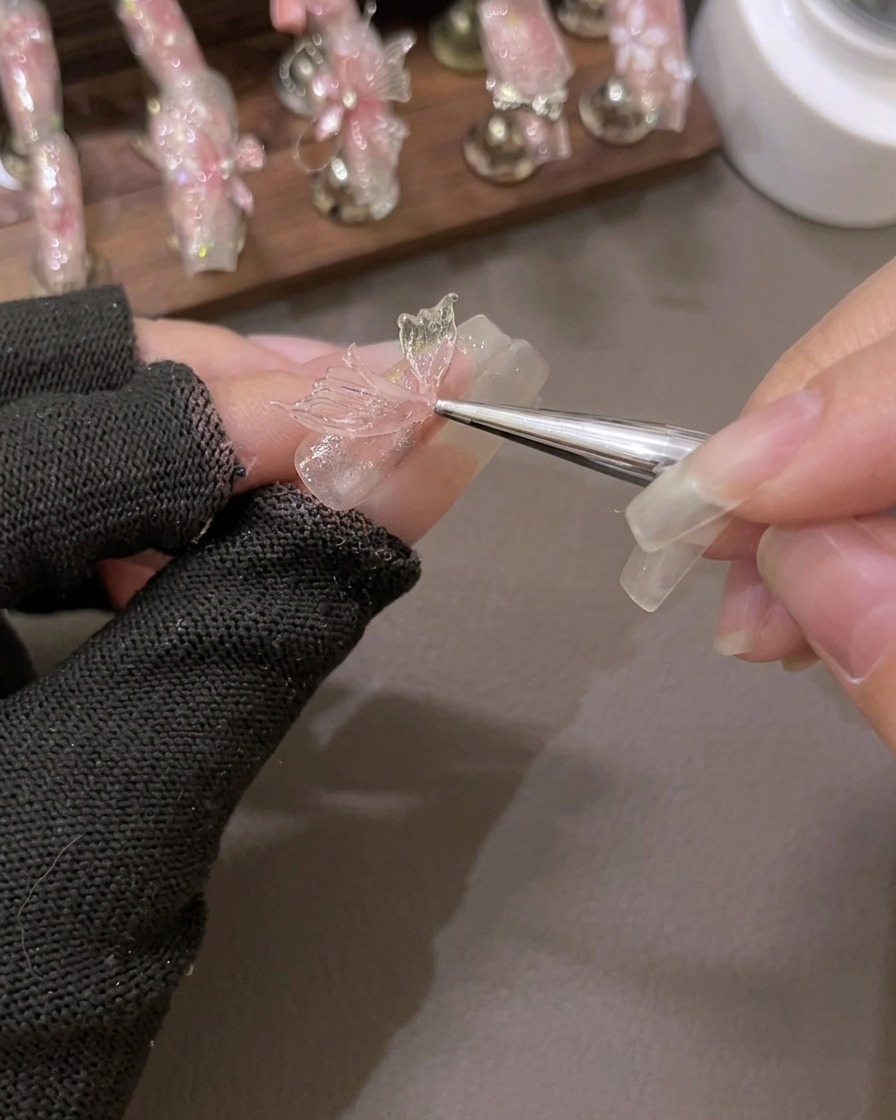
Apply soft extension builder gel and place it inverted to level and smooth the nail surface, creating a strong and even structure.
Tip: Inverting the nail momentarily helps gravity self-level the builder gel into a smooth apex. - 11Shape PVC soft extension gel into butterfly wings
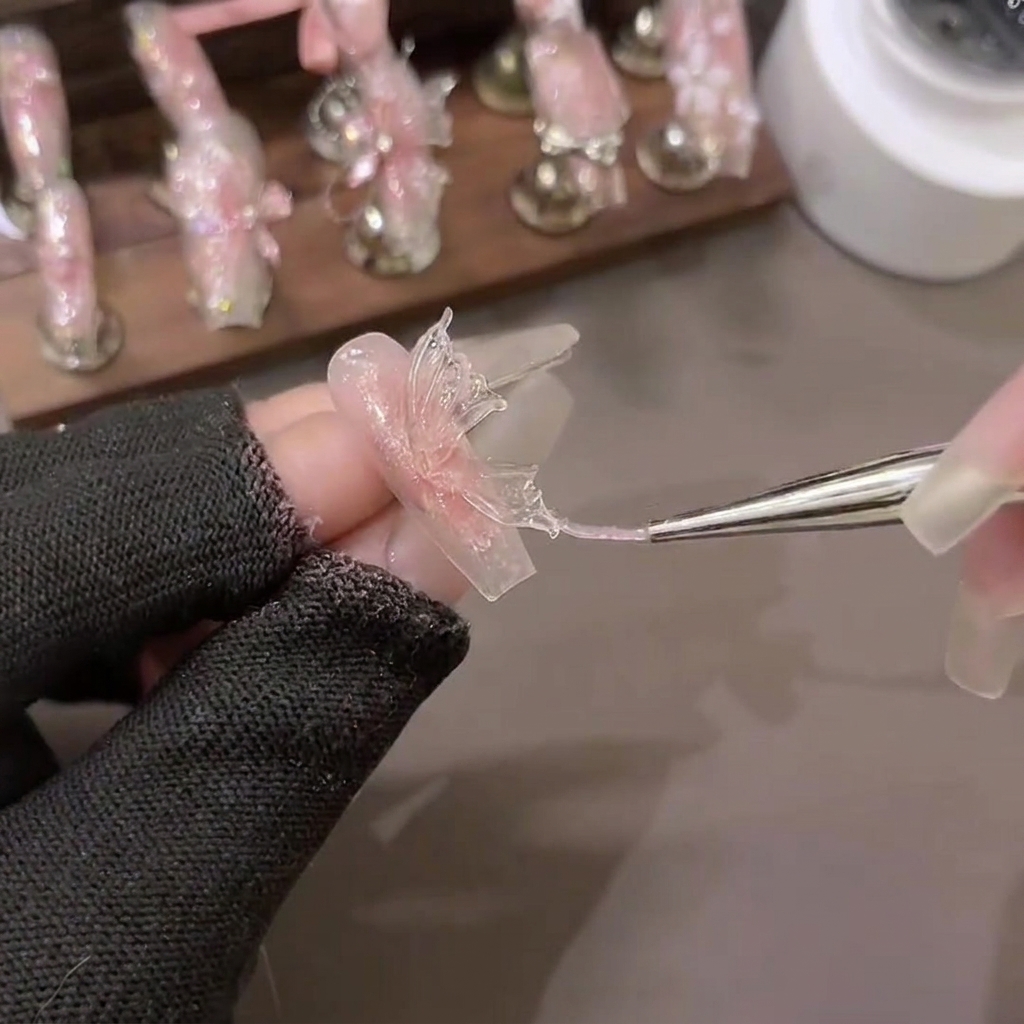
Take PVC soft extension gel, pinch it into a triangle shape on a backing paper, and use a carving brush to shape butterfly wings with precision.
Tip: Keep your carving brush slightly moistened with slip solution to prevent the PVC gel from sticking to the bristles. - 12Pull and texture butterfly wing tips
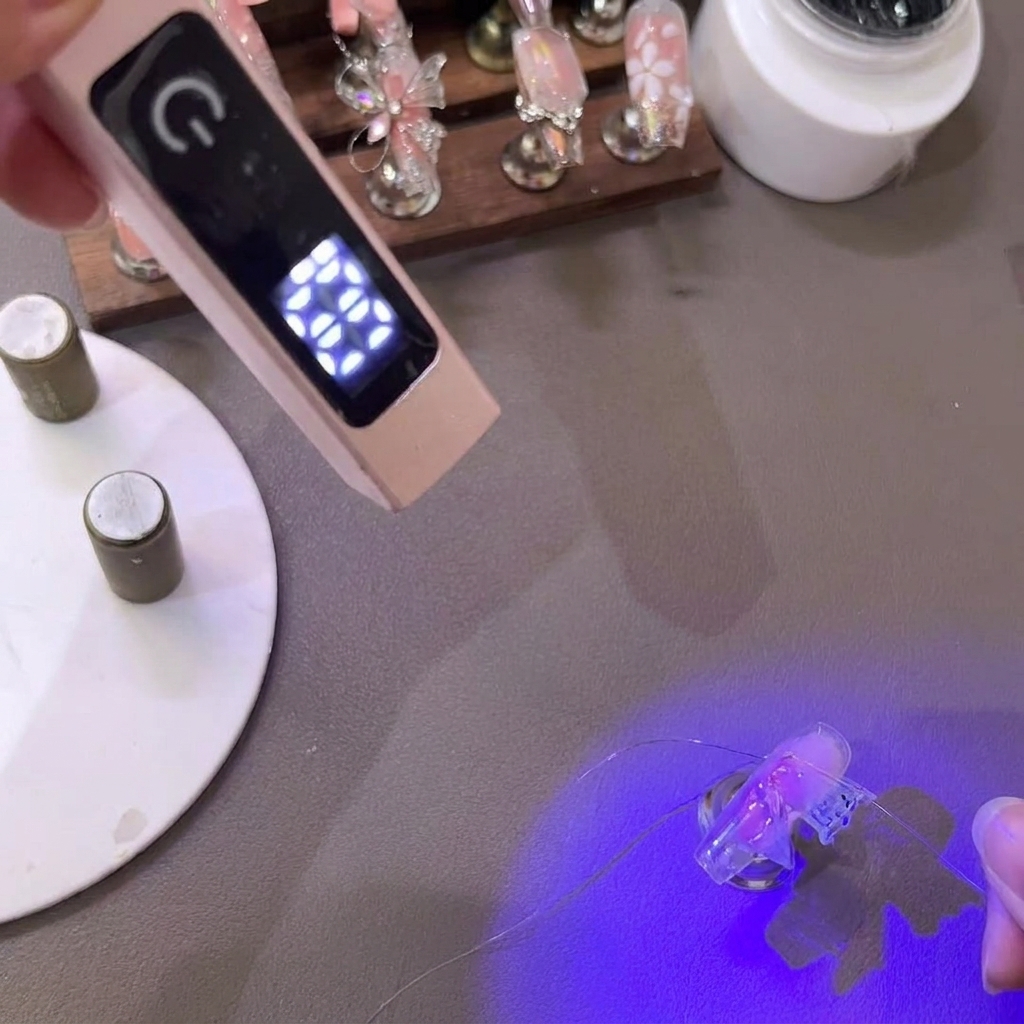
Use tweezers to pull out the tips of the butterfly wings and gently press to create realistic wing textures and patterns before curing.
Tip: Work quickly and delicately while texturing the soft gel before setting it under a mini UV light. - 13Form the lower butterfly wing
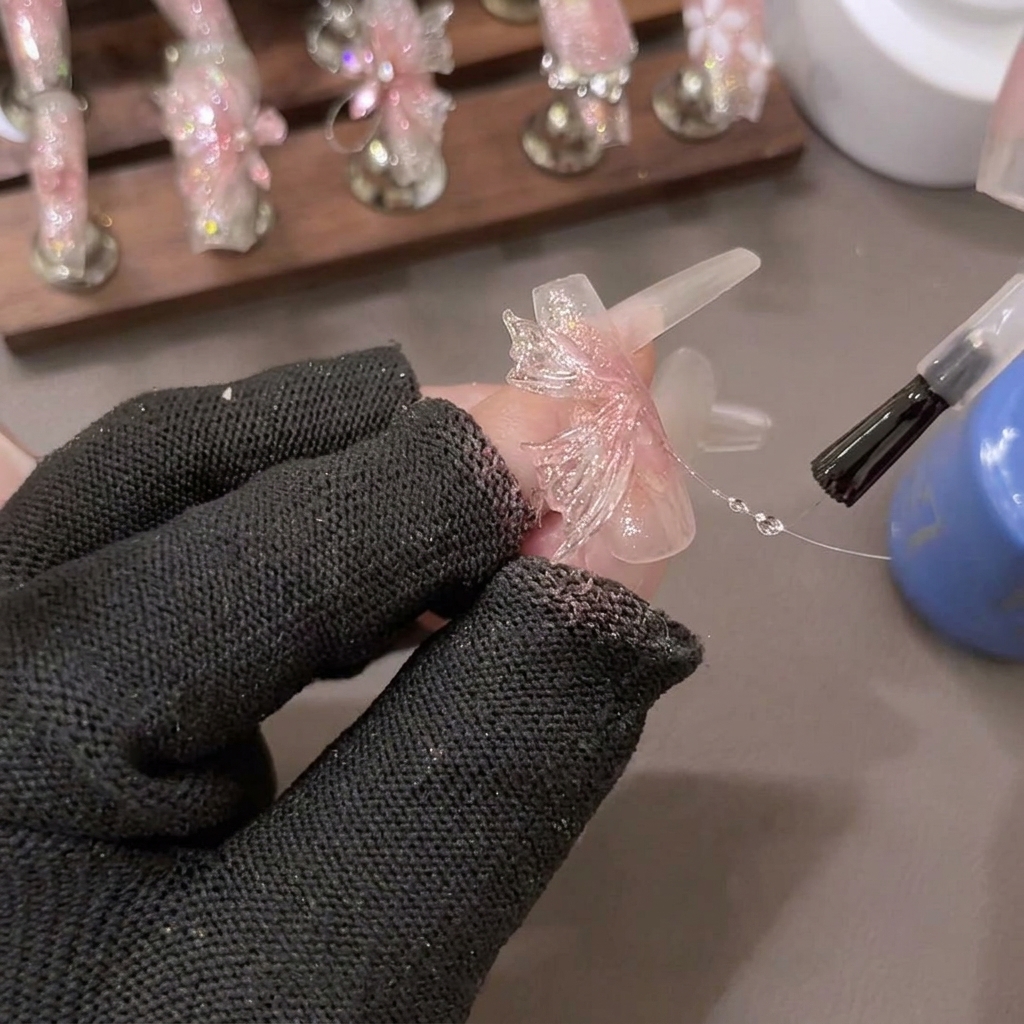
Take PVC soft extension gel, pinch it into a triangle shape, and use a carving brush to slowly adjust it into the shape of the lower butterfly wing. Use tweezers to pull out the tips of the wings and gently press to create the wing patterns before curing under the lamp.
Tip: Make sure the lower wing is proportioned correctly relative to the upper wing for a balanced look. - 14Cure the butterfly wings
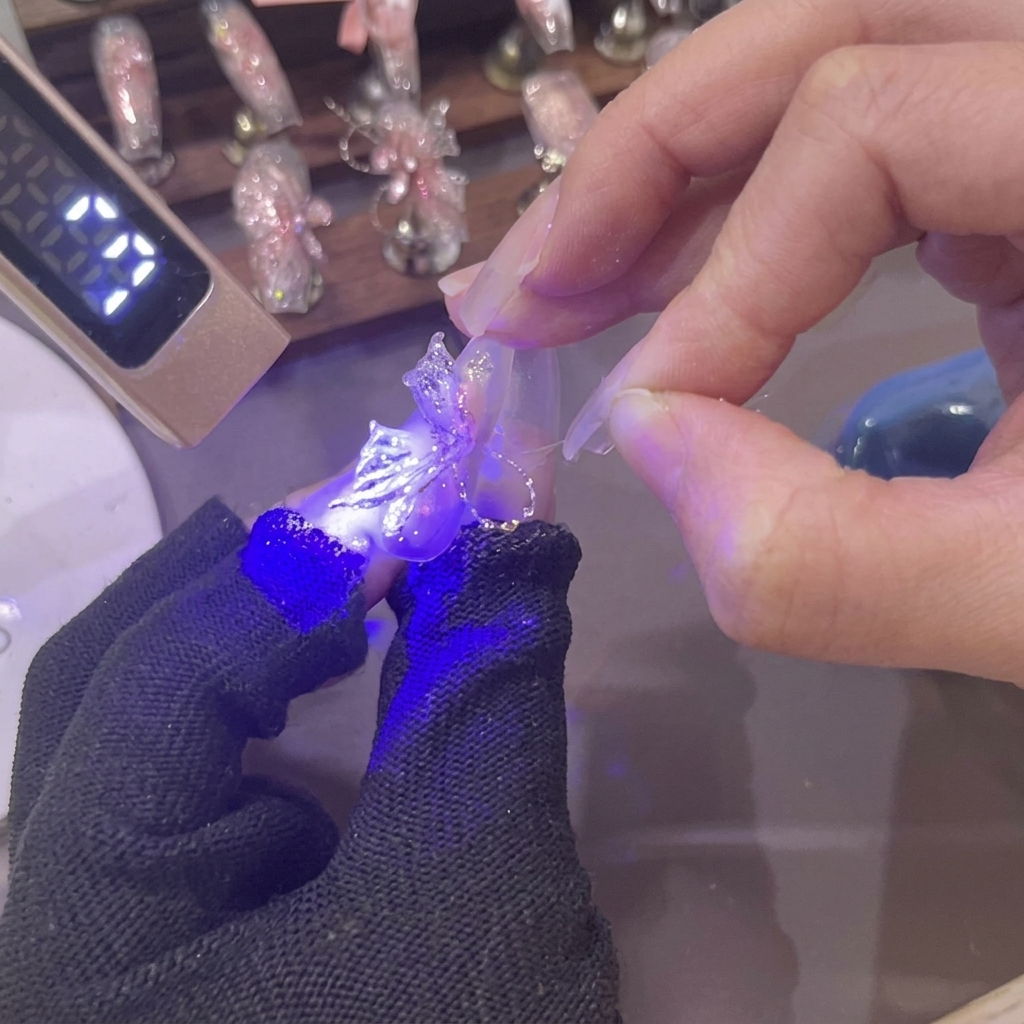
Use a mini handheld UV or LED lamp to flash-cure the 3D PVC gel butterfly wings directly on the nail surface. Ensure the light hits all angles to completely freeze the delicate pinched patterns into place.
Tip: Flash-curing immediately after shaping prevents the soft gel from self-leveling and losing its intricate wing details. - 15Attach the butterfly wings
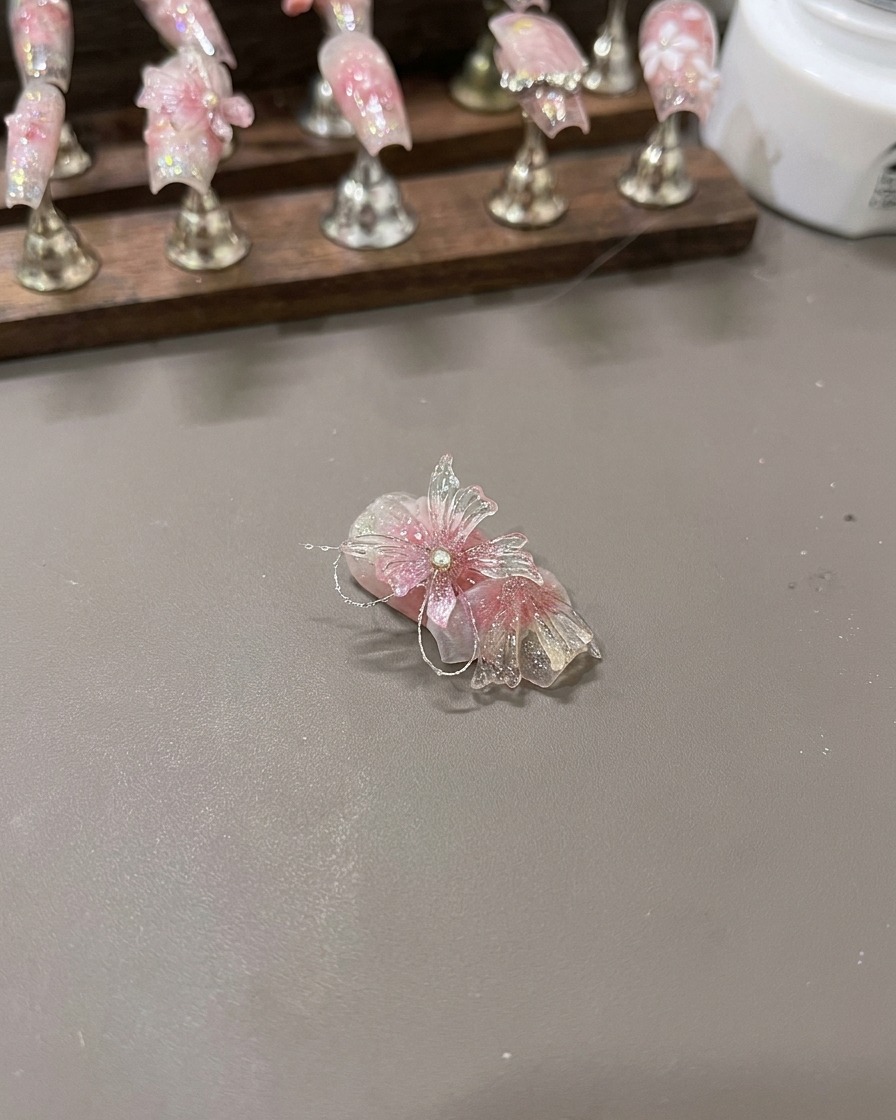
Use rhinestone adhesive glue to carefully stick the completed butterfly wings onto the prepared nail surface. Position them securely so they adhere properly before moving on to detailing and finishing touches.
Tip: Apply an adequate amount of rhinestone gel to ensure the 3D embellishment stays firmly attached. - 16Draw 3D raised vein lines
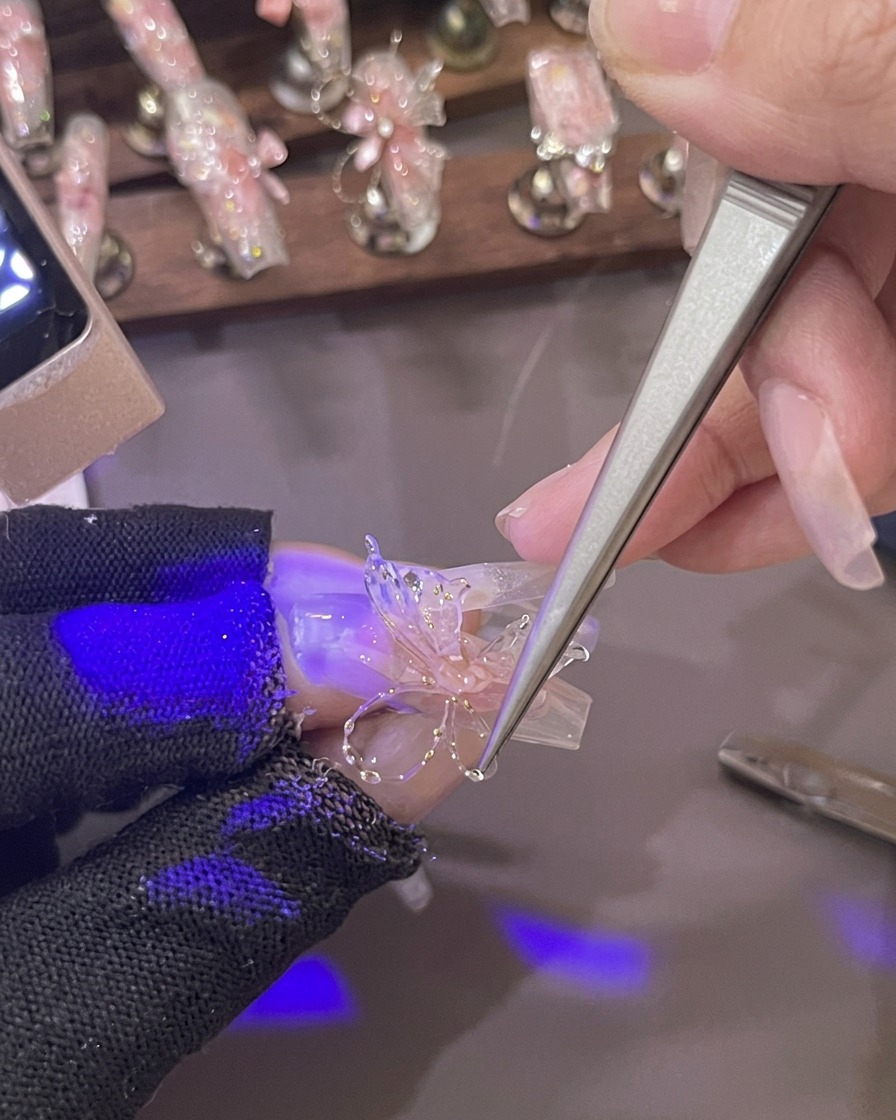
Use a fine liner brush with gel to draw delicate 3D raised vein lines across the butterfly wings to make them look more vivid and realistic. Once the details are drawn, cure the gel under the UV or LED lamp to set them permanently.
Tip: Keep your hand steady when drawing veins to achieve fine, realistic lines that mimic real butterfly wings. - 17Add shattered diamond glitter details
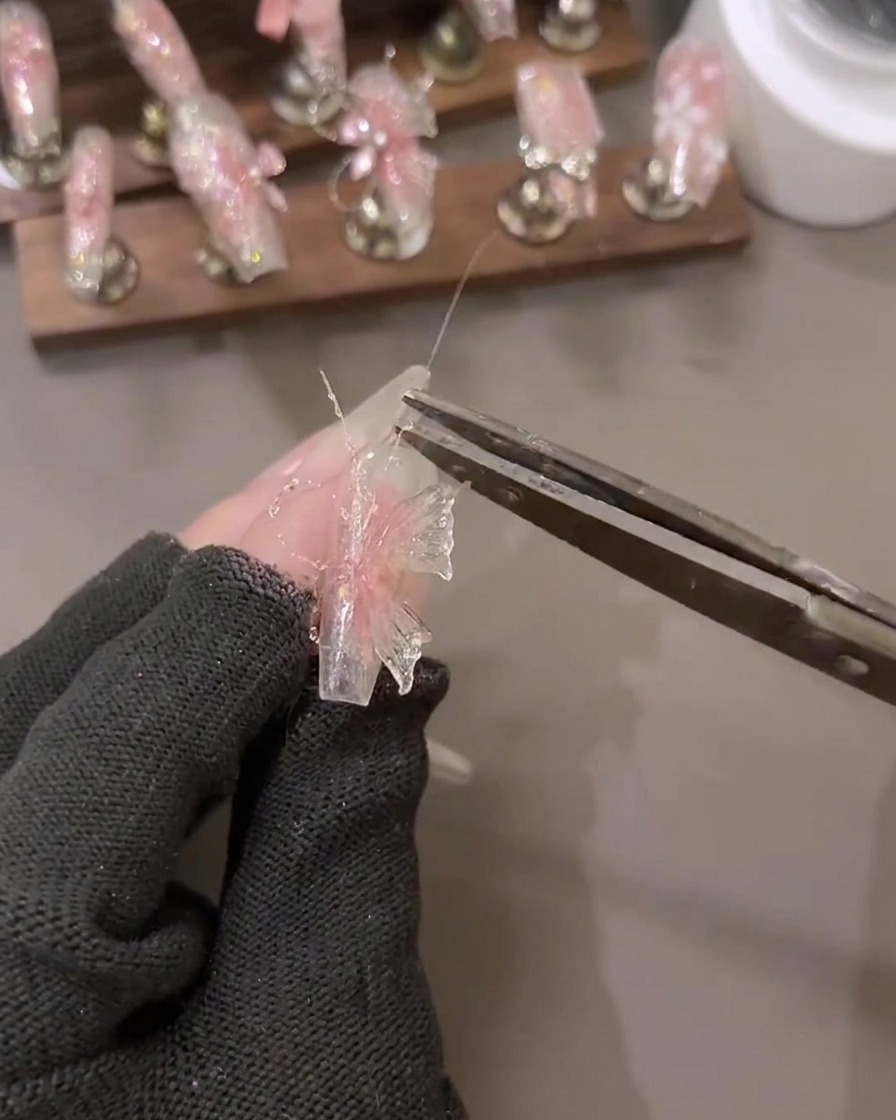
Dot some shattered diamond glitter gel onto specific areas of the butterfly details to add extra sparkle and dimension. Cure under the lamp immediately after application to lock the glitter in place.
Tip: Apply the shattered diamond gel sparingly to highlight key accent points without overwhelming the wing structure.