Aurora Pink Bow French Nail Art — Step-by-Step Tutorial
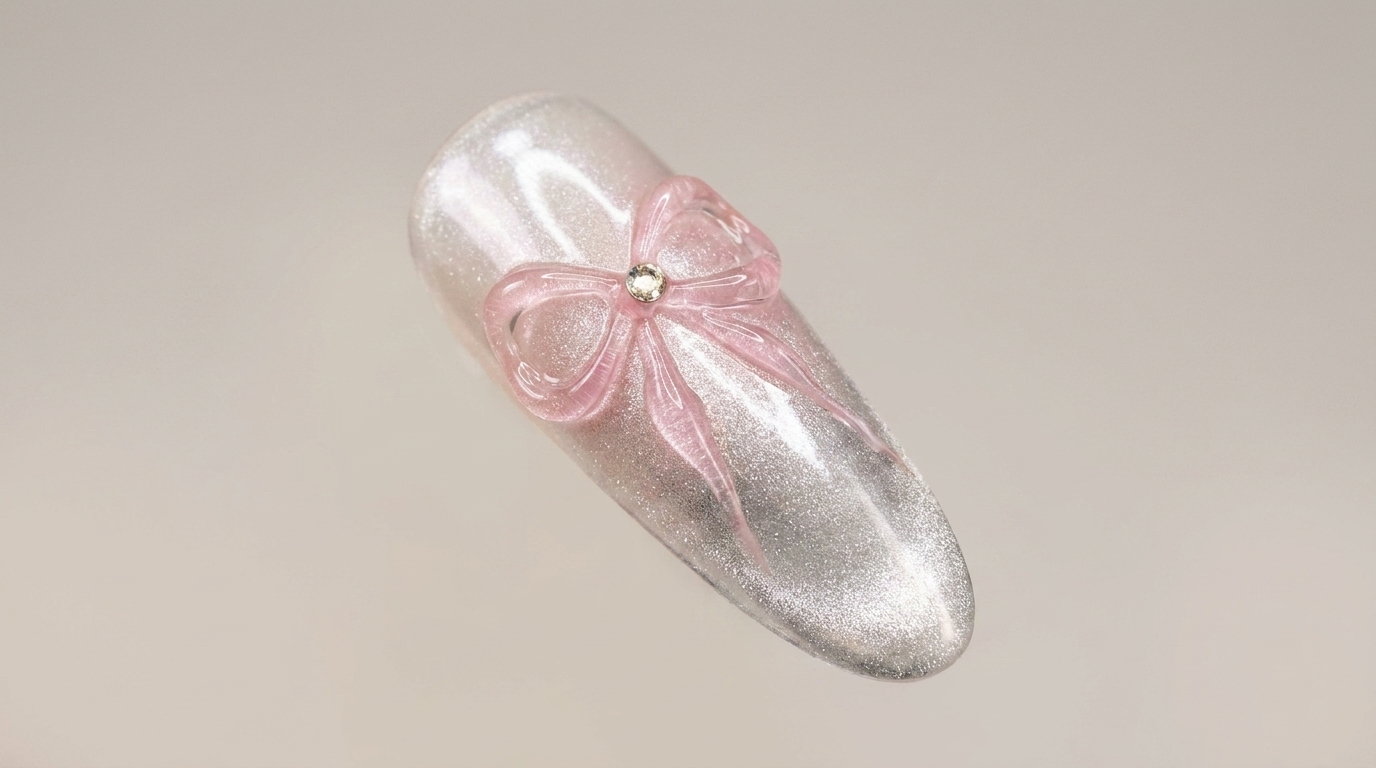
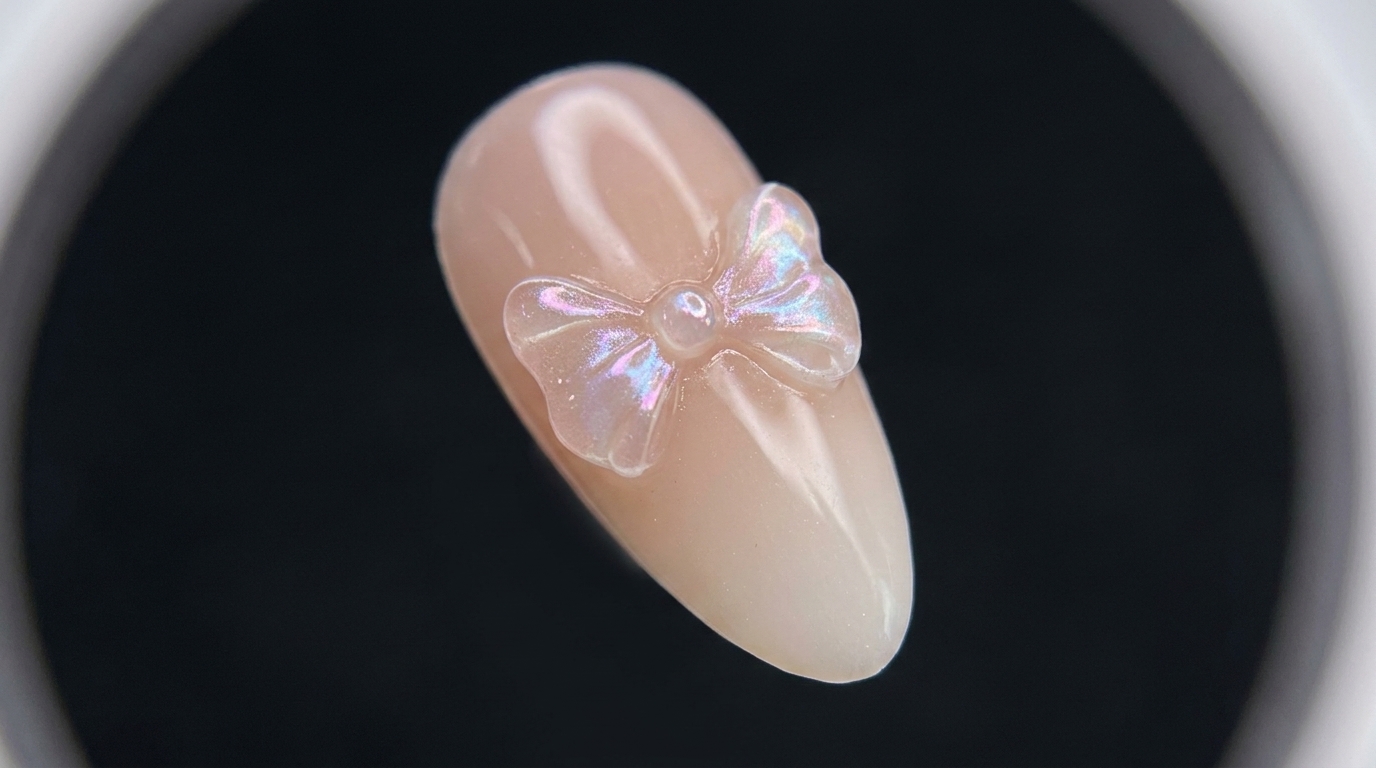
Create dreamy aurora pink nails featuring a delicate white French tip and an iridescent 3D crystal bow charm for an enchanting, high-gloss finish.
The combination of iridescent aurora chrome powders and 3D crystal embellishments has taken the nail art world by storm, offering a mesmerizing shift of color with every movement. This tutorial guides you through layering a soft mauve pink base, applying a radiant chrome sheen, and framing the look with a crisp white French tip before anchoring a sparkling glass bow. It is a stunning, sophisticated style that brings a touch of magical elegance right to your fingertips.
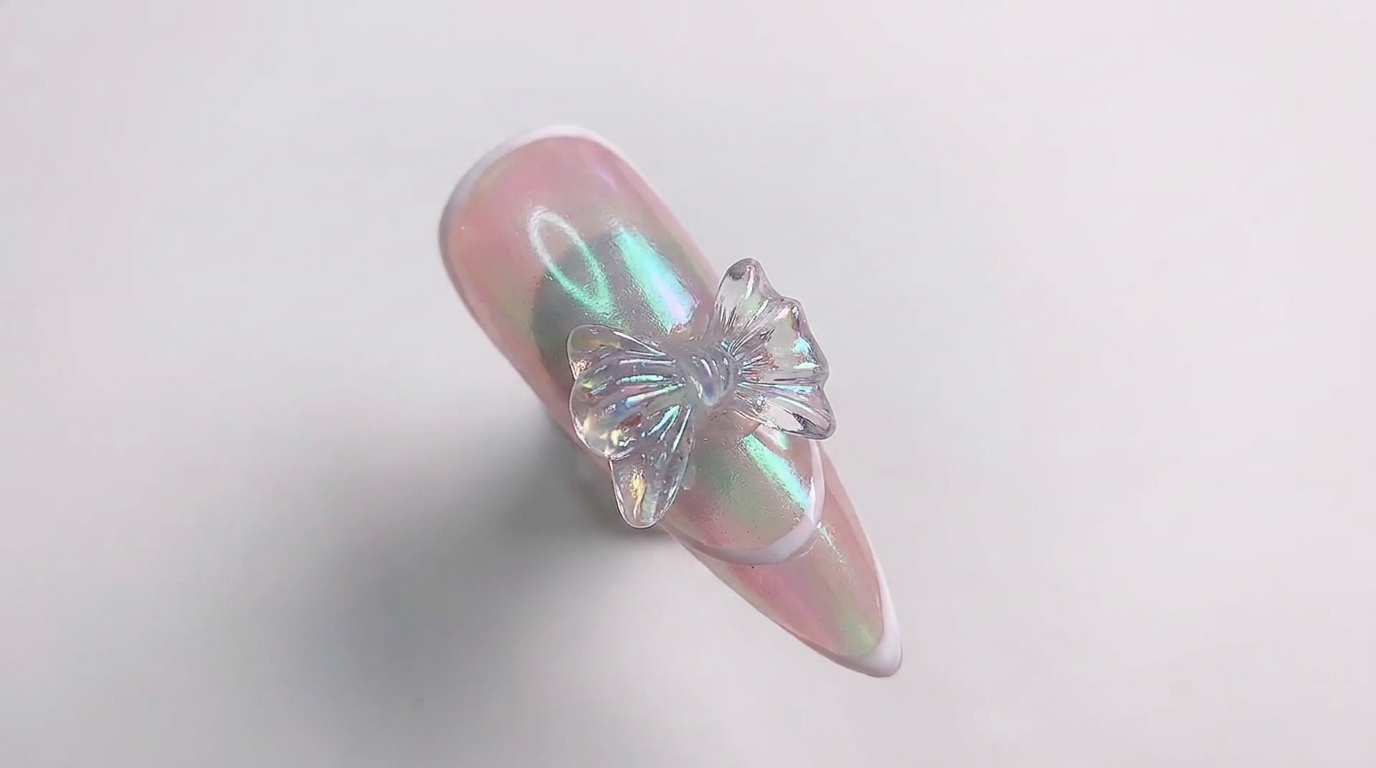
Steps
- 1Apply mauve pink base coat
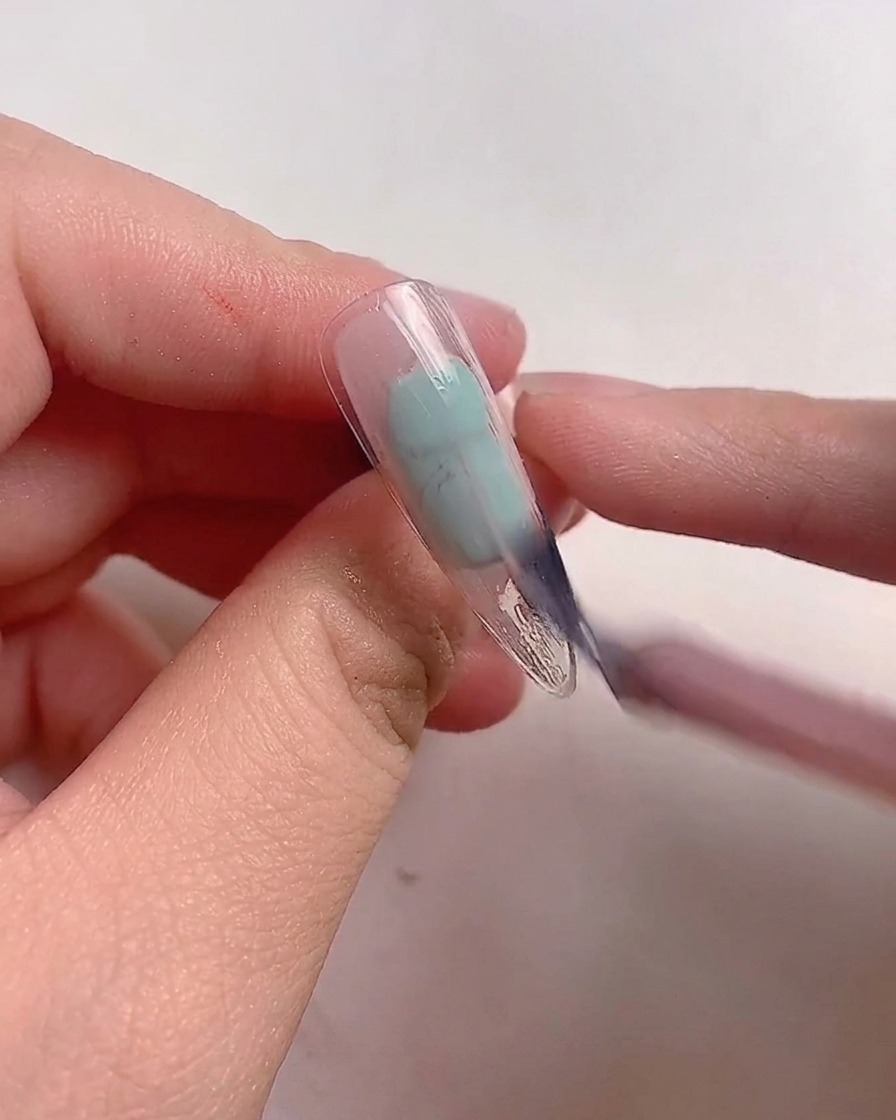
Apply mauve pink gel polish as an even base coat onto the clear nail tip using a fine brush, ensuring complete coverage across the surface before curing.
Tip: Apply in thin, controlled strokes to prevent pooling around the edges. - 2Apply no-wipe top coat
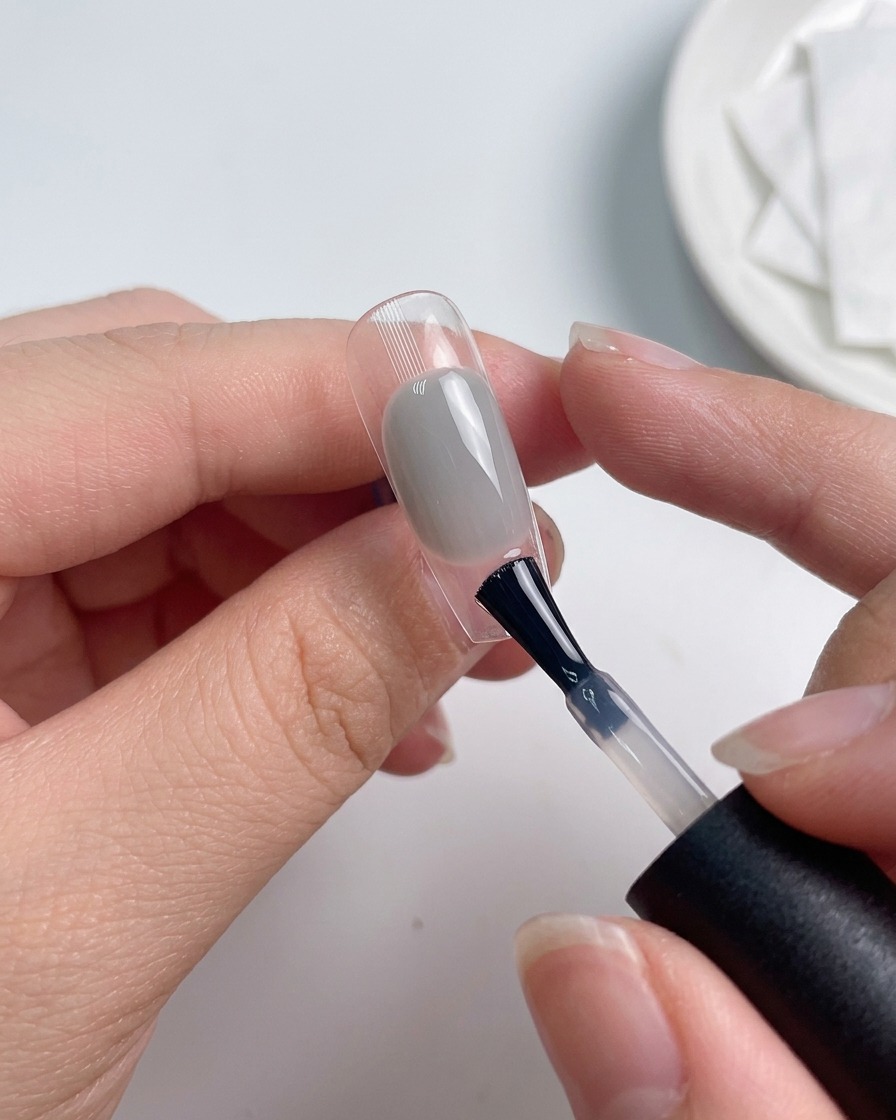
Apply a smooth layer of no-wipe top coat over the cured base color to prepare the surface for aurora powder application.
Tip: Make sure the top coat layer is smooth and even for an optimal chrome powder finish. - 3Cure top coat under lamp
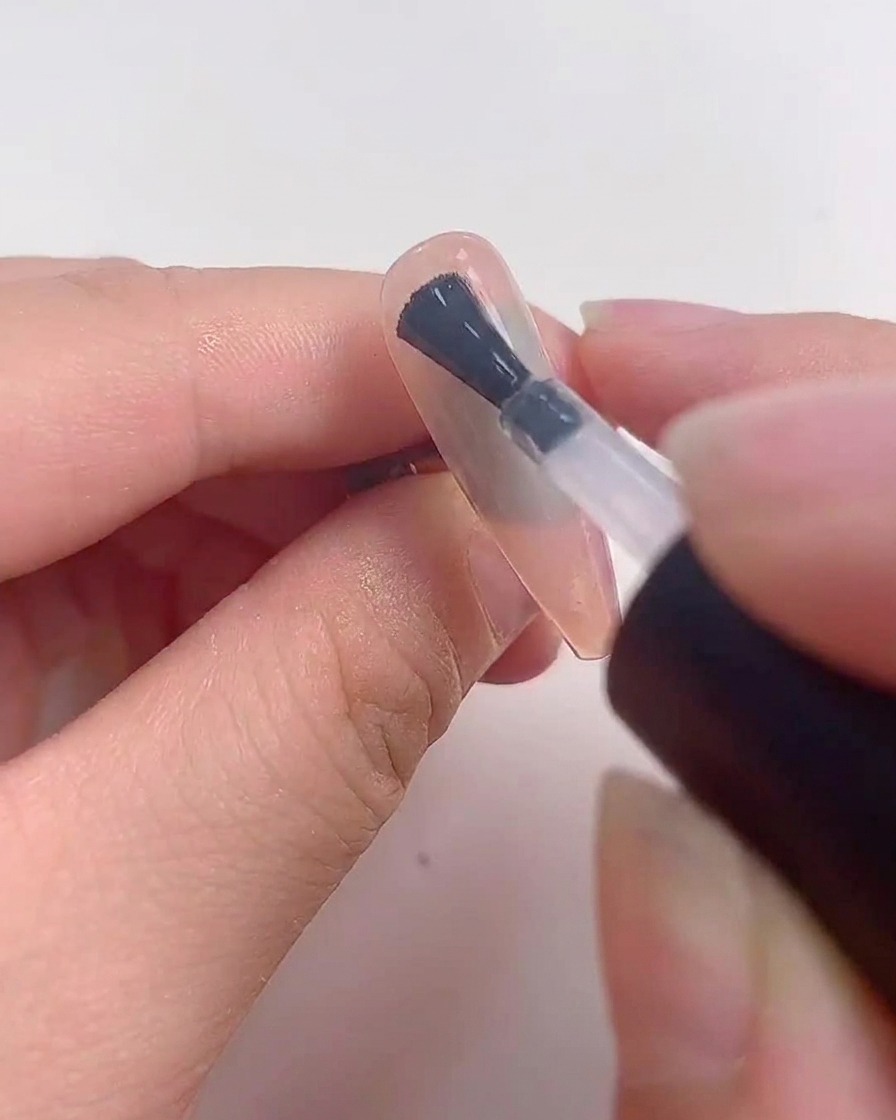
Place the nail under the UV or LED lamp to fully cure the top coat layer, setting it firmly for the next decorative phase.
Tip: Follow your lamp manufacturers recommended curing time to ensure complete polymerization. - 4Apply aurora powder
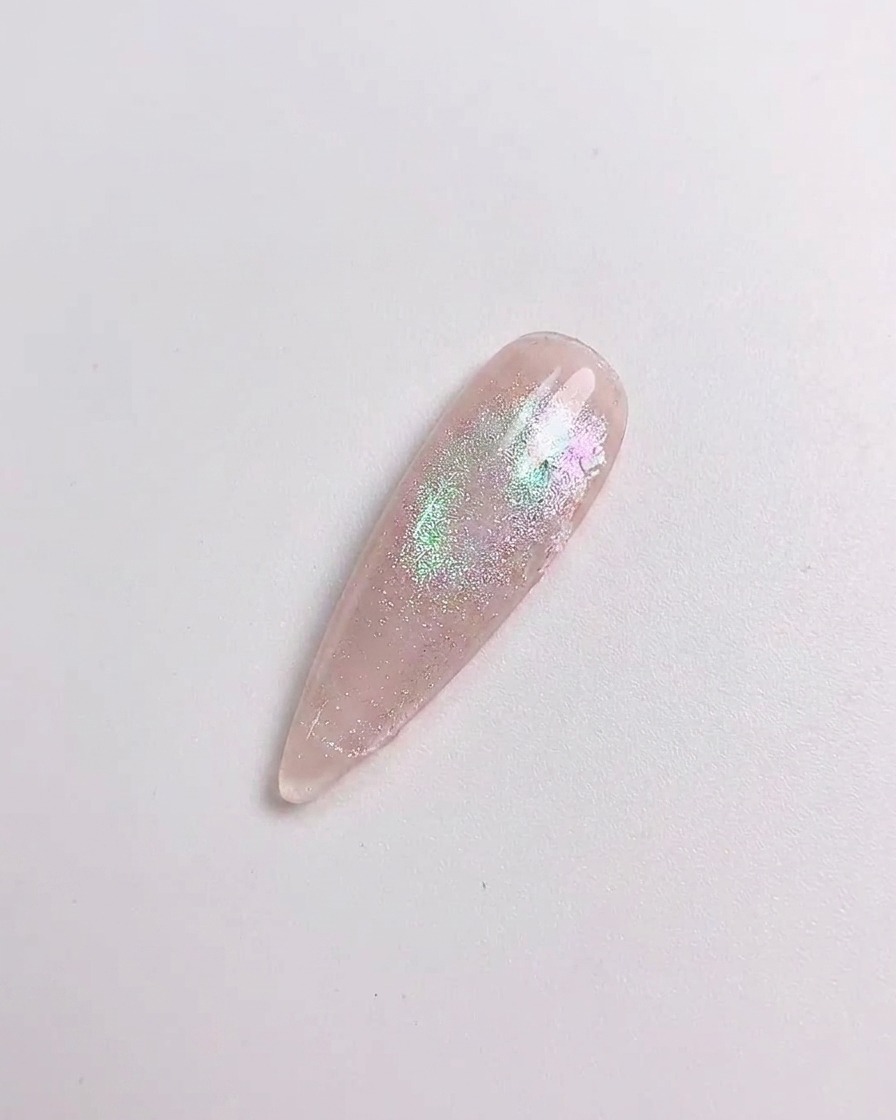
Rub aurora powder multiple times onto the cured surface using a silicone tool without wrapping the edge, creating a vibrant shifting sheen.
Tip: Buff the powder gently until a uniform mirror-like aurora effect is achieved. - 5Brush away excess powder
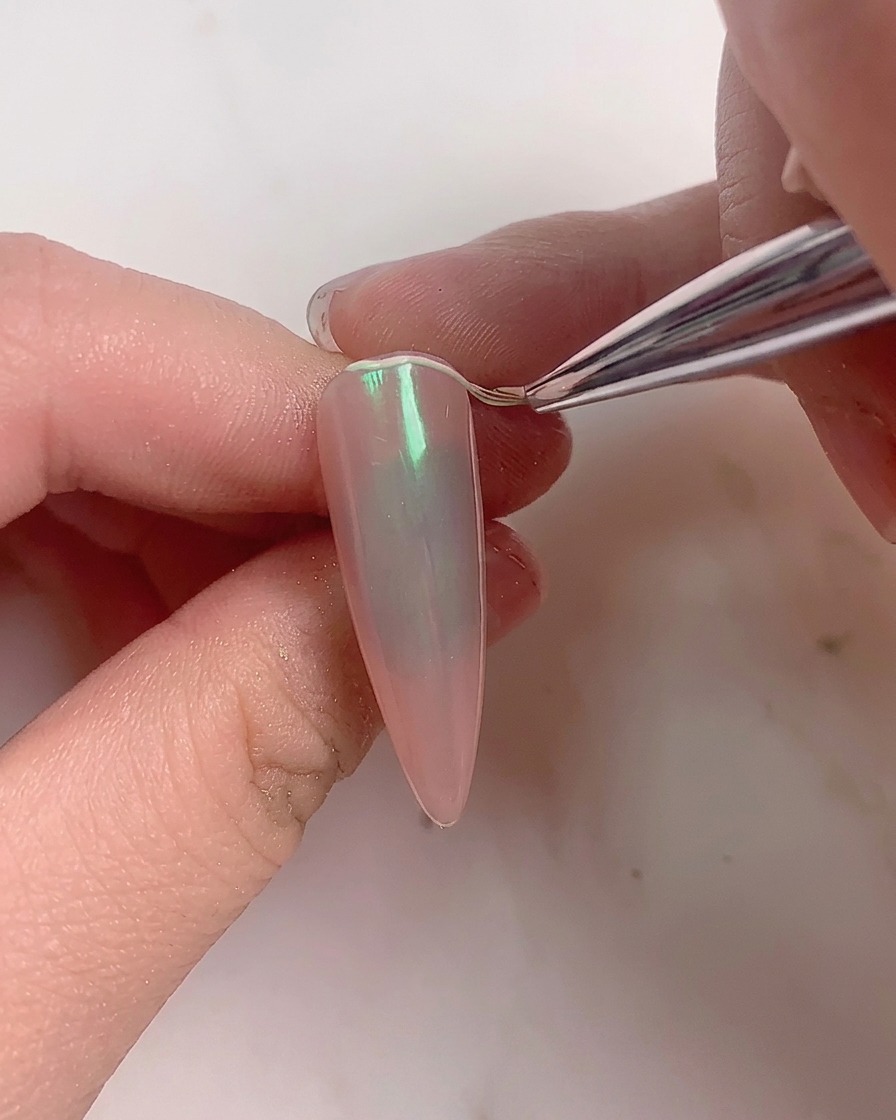
Use a soft powder dust brush to gently sweep away excess loose aurora powder from the nail surface and surrounding skin.
Tip: Sweep lightly to avoid scratching or dulling the delicate chrome finish. - 6Apply reinforcing gel
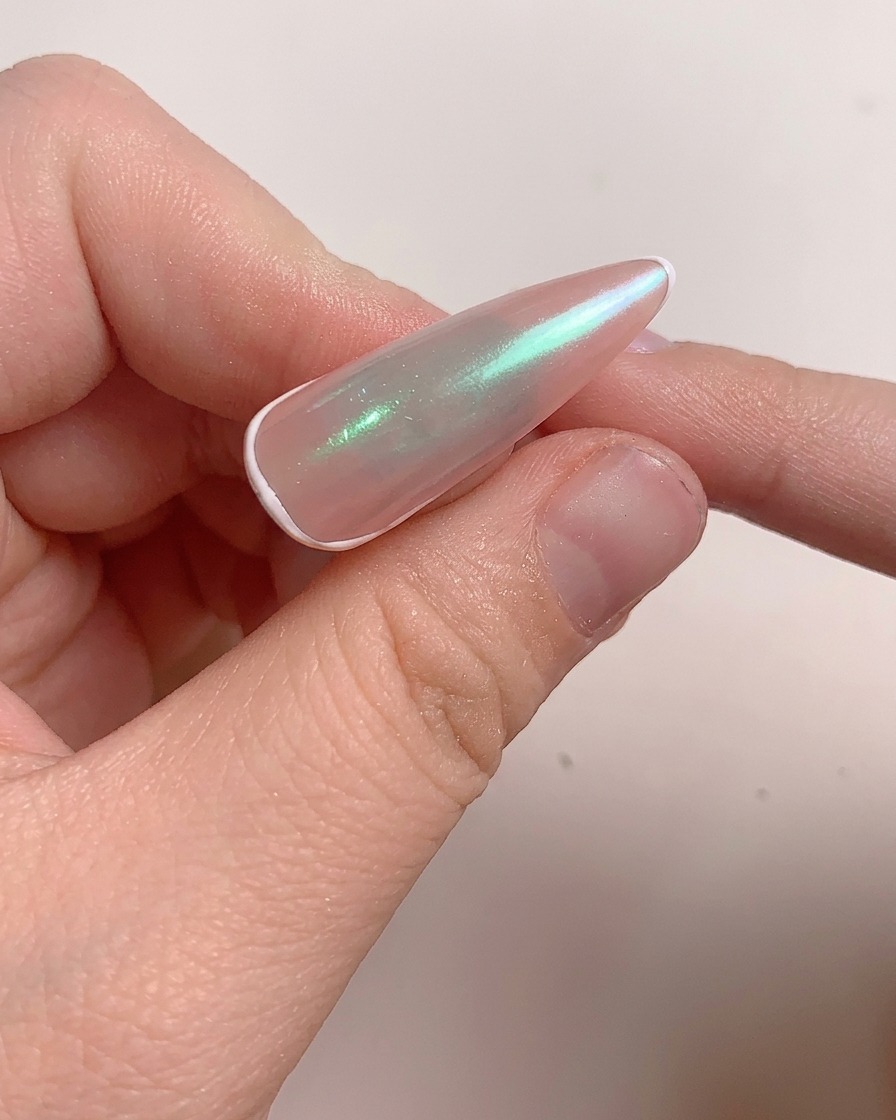
Apply a layer of reinforcing gel onto the nail to encapsulate the aurora powder effect and add structural strength before outlining.
Tip: Seal the edges carefully with the reinforcing gel to prevent chipping. - 7Cure reinforcing gel under lamp
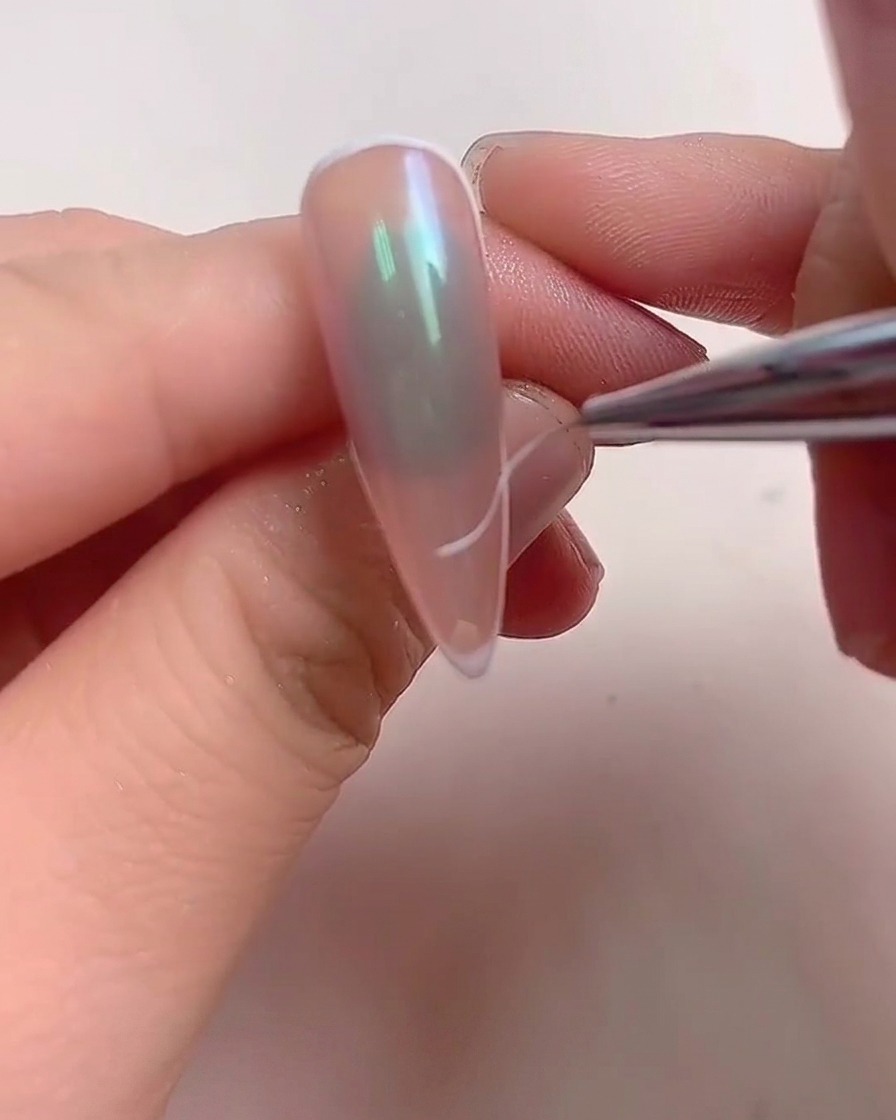
Place your hand under the UV/LED lamp to cure the reinforcing gel. Ensure the hand is properly positioned so the light covers all areas evenly. Cure for the full recommended time specified by your gel manufacturer to lock in the structure.
Tip: Keep your hand flat and steady inside the lamp to prevent the uncured gel from shifting or running to one side. - 8Outline the French tip with white gel
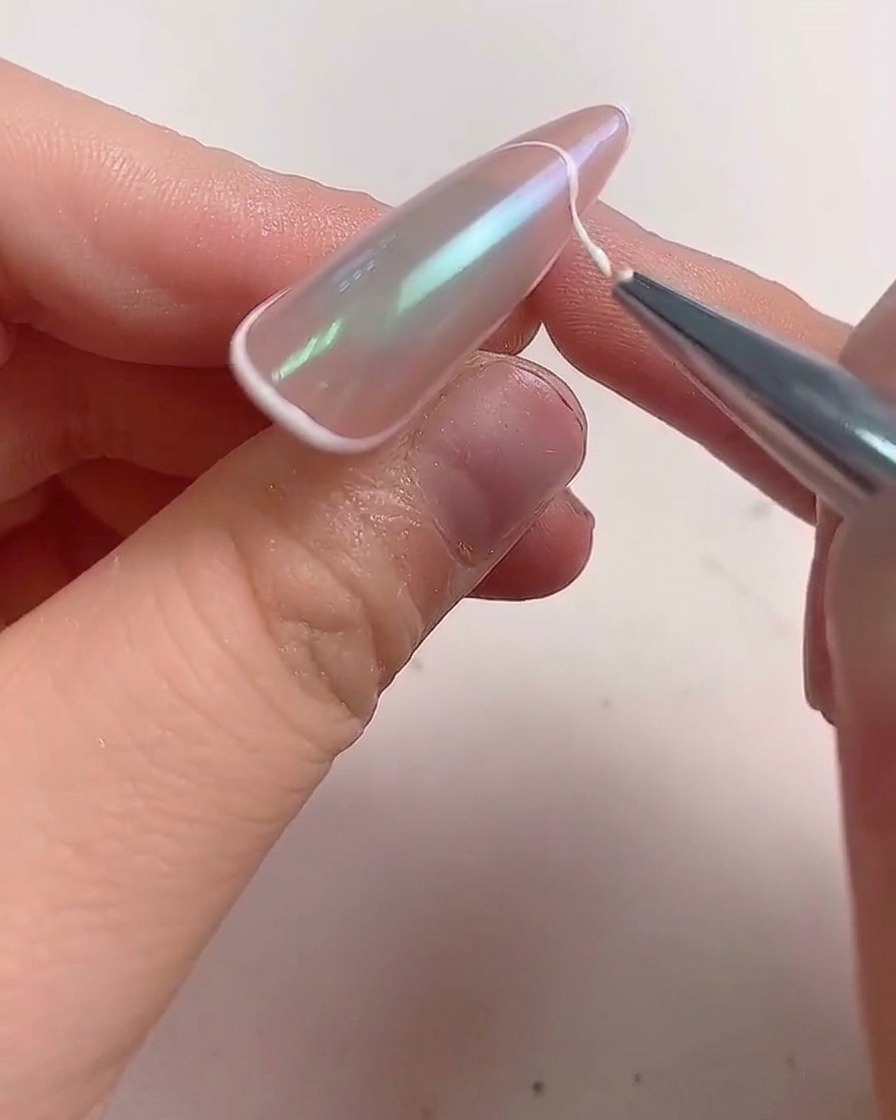
Using a fine liner brush dipped in white gel, carefully outline the French tip along the edge of the nail. Take your time to create a clean, crisp line that follows the natural curve of the nail shape.
Tip: Keep a steady hand and use light pressure on the brush to ensure smooth, even lines without wobbles. - 9Apply gel for the bow embellishment
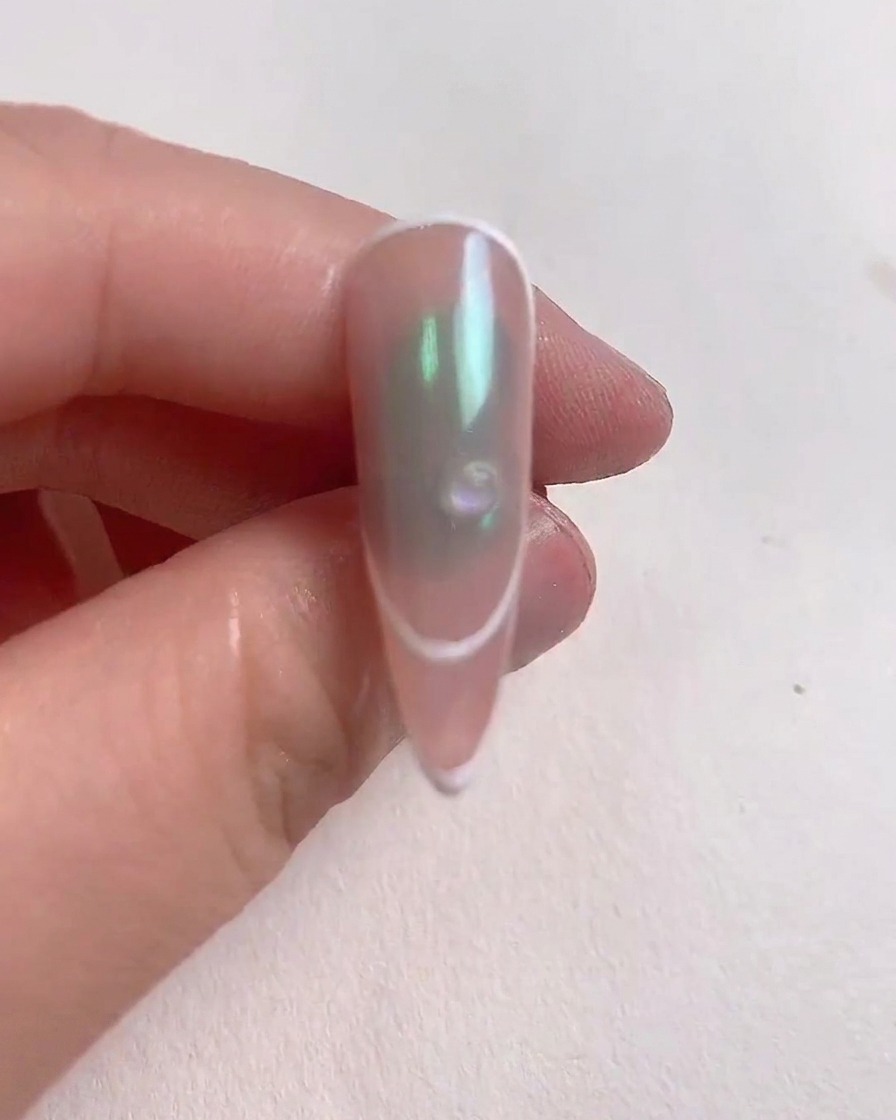
Apply a small dot of clear reinforcing gel onto the nail surface right where the bow embellishment will be placed. This acts as a strong adhesive base to securely hold the charm in position.
Tip: Use just enough gel to anchor the charm without overflowing past its edges for a clean finish. - 10Place the crystal bow
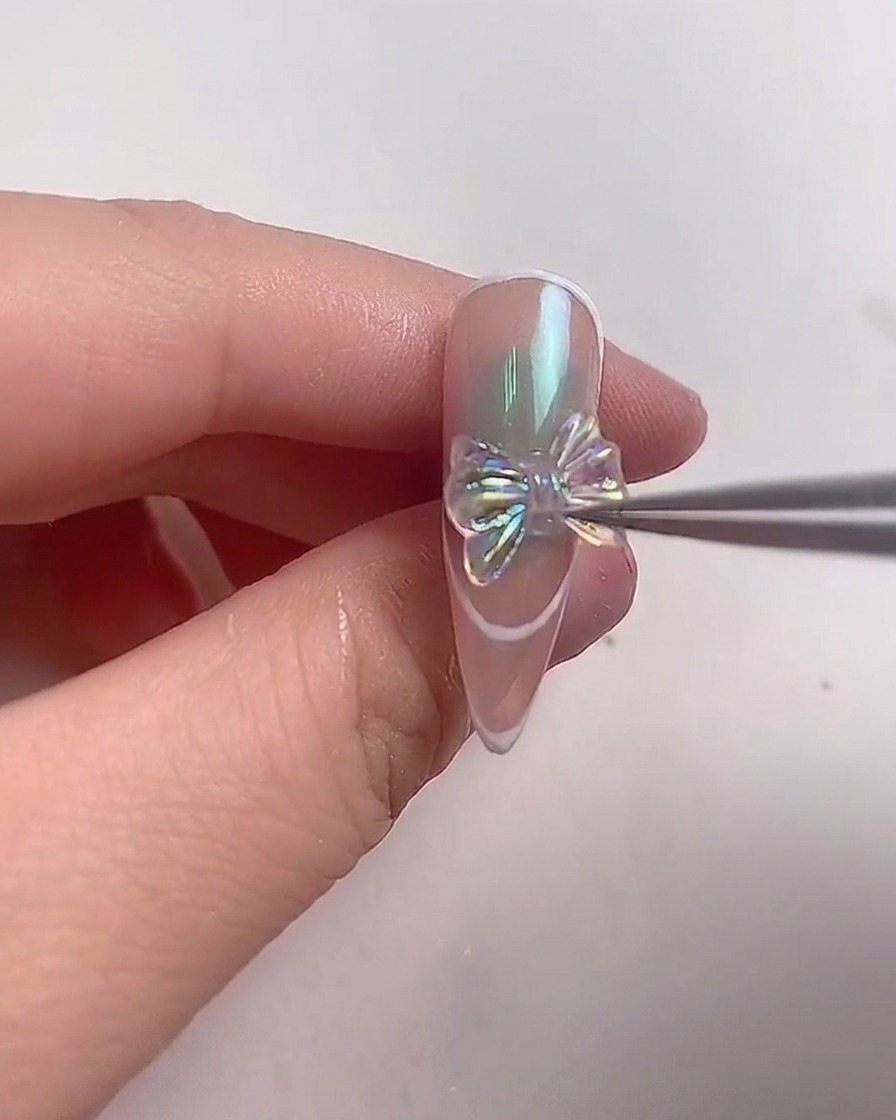
Using a pair of precision tweezers, gently pick up an iridescent crystal bow and place it directly onto the uncured reinforcing gel at the center of the nail. Press down lightly to ensure the base of the bow embeds securely into the gel layer before curing.
Tip: Hold the bow in place for a few seconds under a small handheld UV flashlight to flash-cure and prevent it from shifting before full curing. - 11Apply final sealing top coat
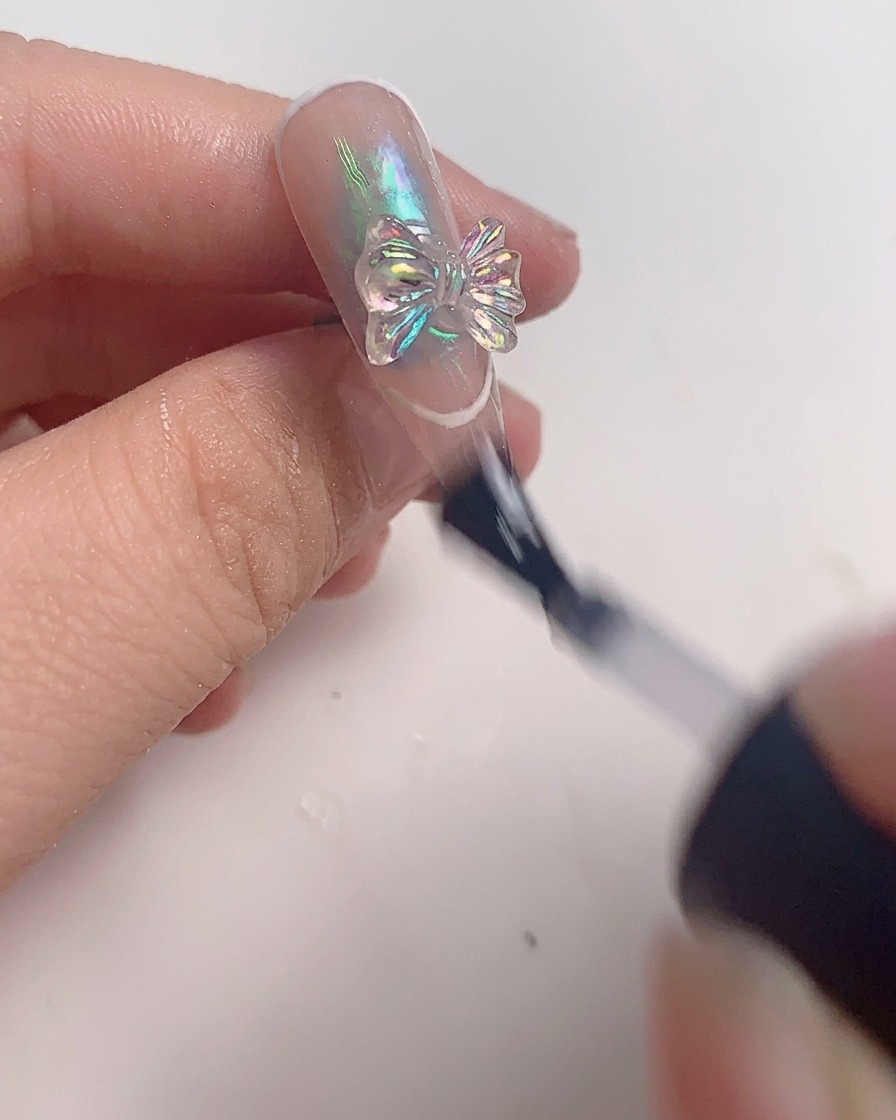
Apply a final sealing layer of top coat around the embellishment and over the entire nail to complete the look. Seal carefully around the edges of the charm to lock it in place and protect the overall manicure against wear.
Tip: Be careful not to cover the sparkling facets of the crystal bow with top coat, as this can dull its reflective shine.