Pearlescent Cat Eye
3D Ribbon Bow Nail Art — Step-by-Step Tutorial
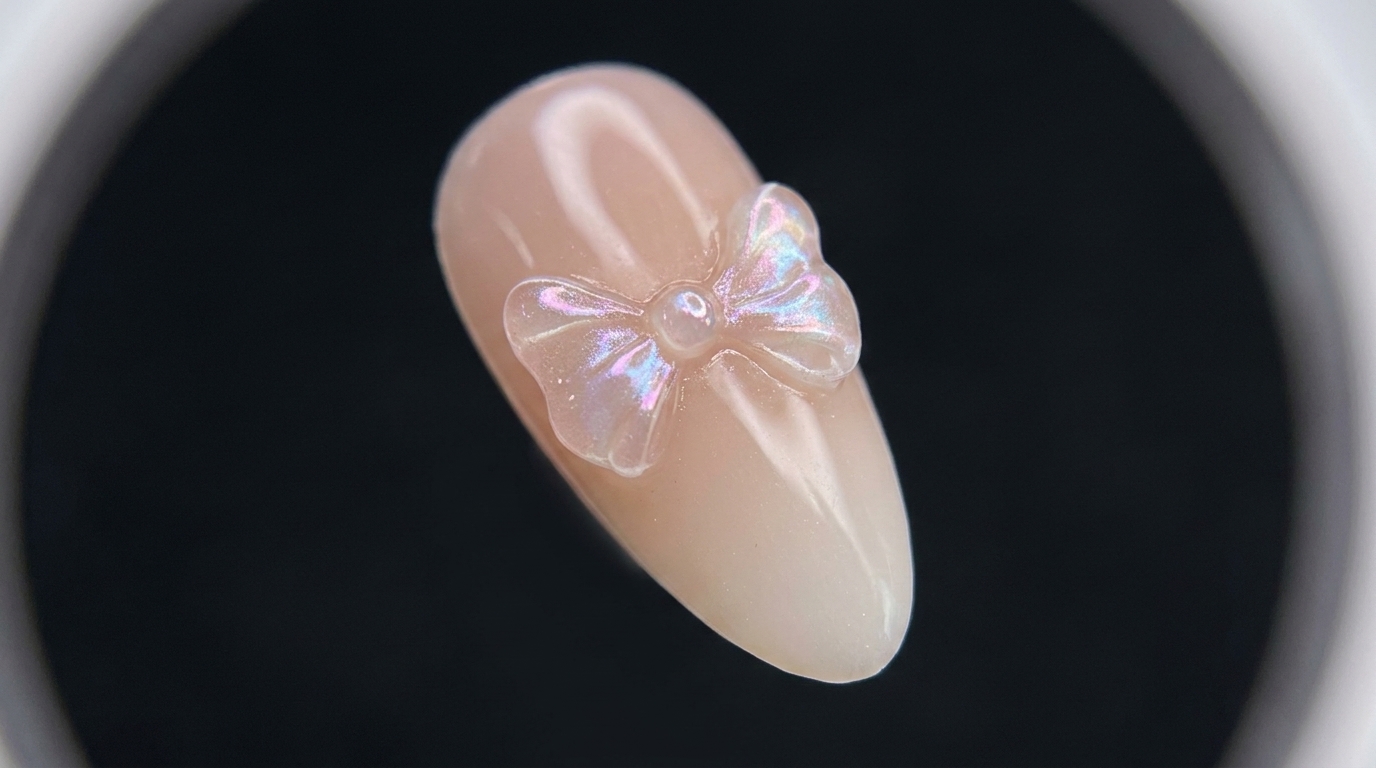
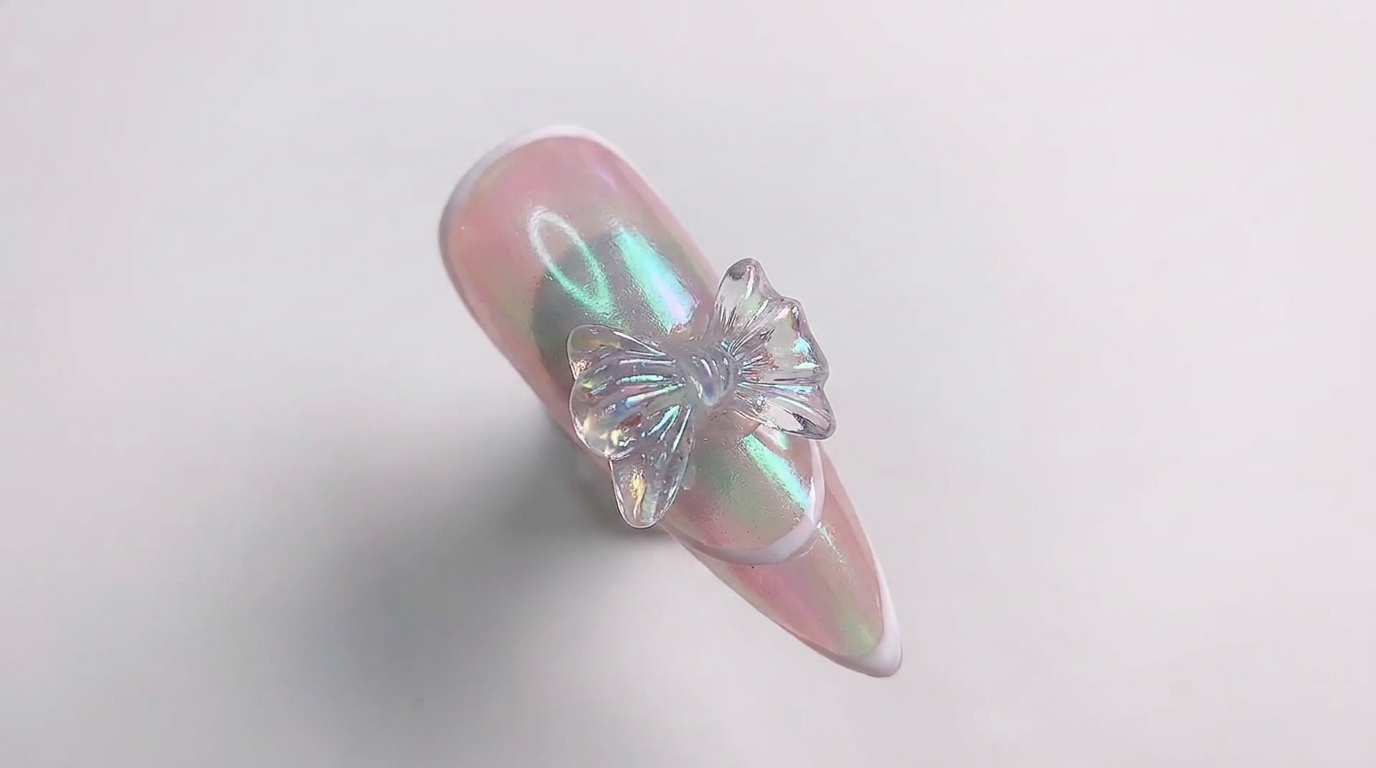
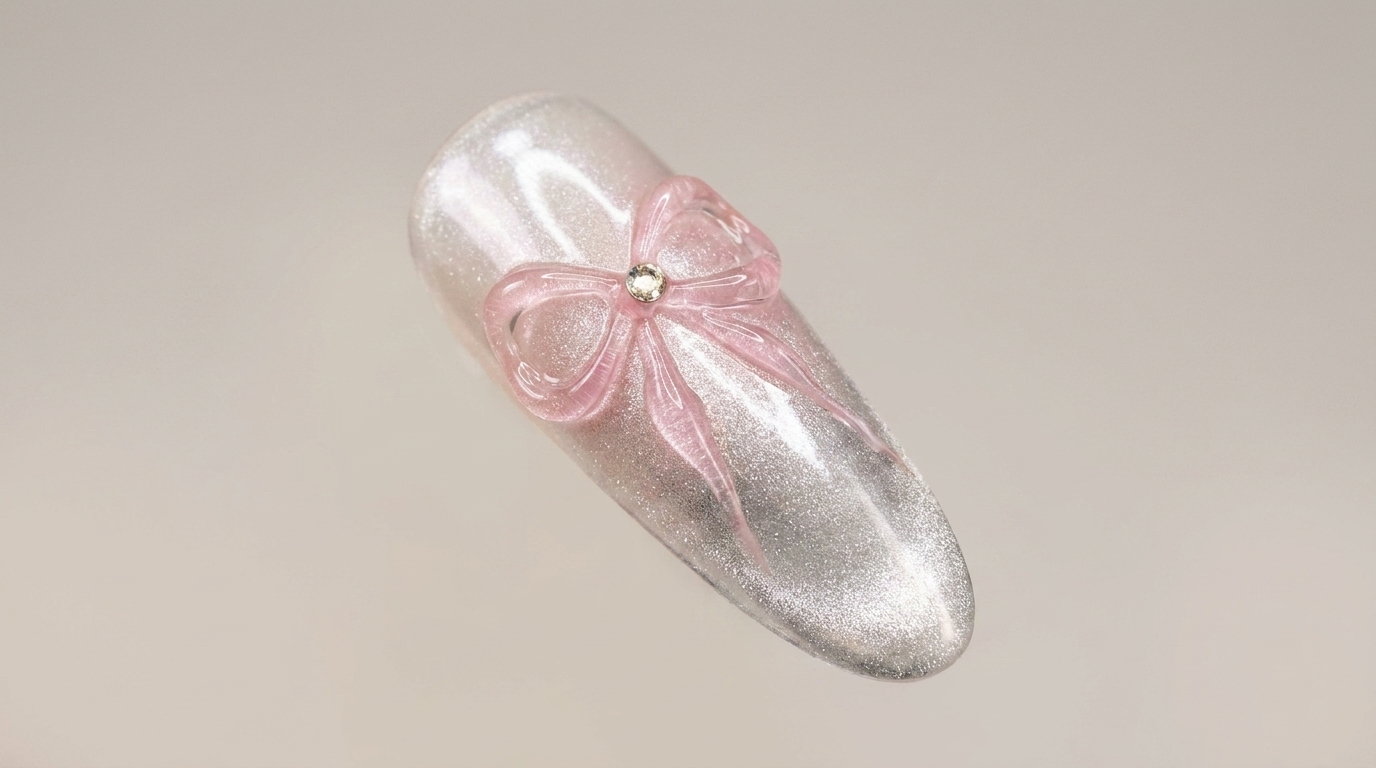
Elevate your manicure with shimmering silver cat-eye gel and an elegant translucent pink 3D sculpted ribbon bow, featuring subtle rhinestone details.
The combination of a luminous cat-eye gradient and whimsical 3D elements has taken nail trends by storm. This look captures a dreamy, pure lust aesthetic that blends metallic depth with delicate, romantic sculptural details for a truly standout finish.
Steps
- 1Apply shimmering silver cat-eye gel coat
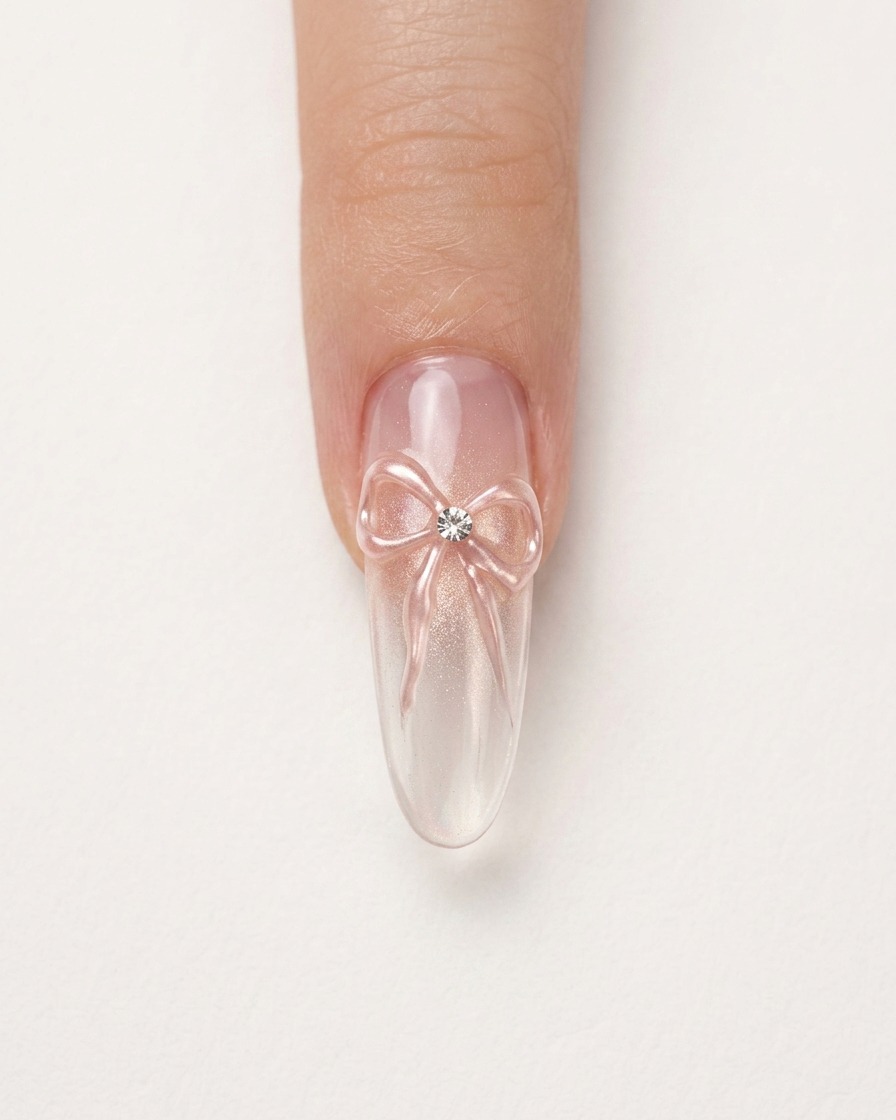
Using a fine brush, apply an even coat of shimmering silver cat-eye gel onto the elongated nail surface, ensuring smooth coverage from the cuticle down to the free edge. Prepare the magnetic effect before curing to achieve the desired glowing, reflective finish.
Tip: Hold your magnet steady close to the wet gel for a few seconds to concentrate the shimmer into a sharp, bright cat-eye line. - 2Refine the silver cat-eye gradient
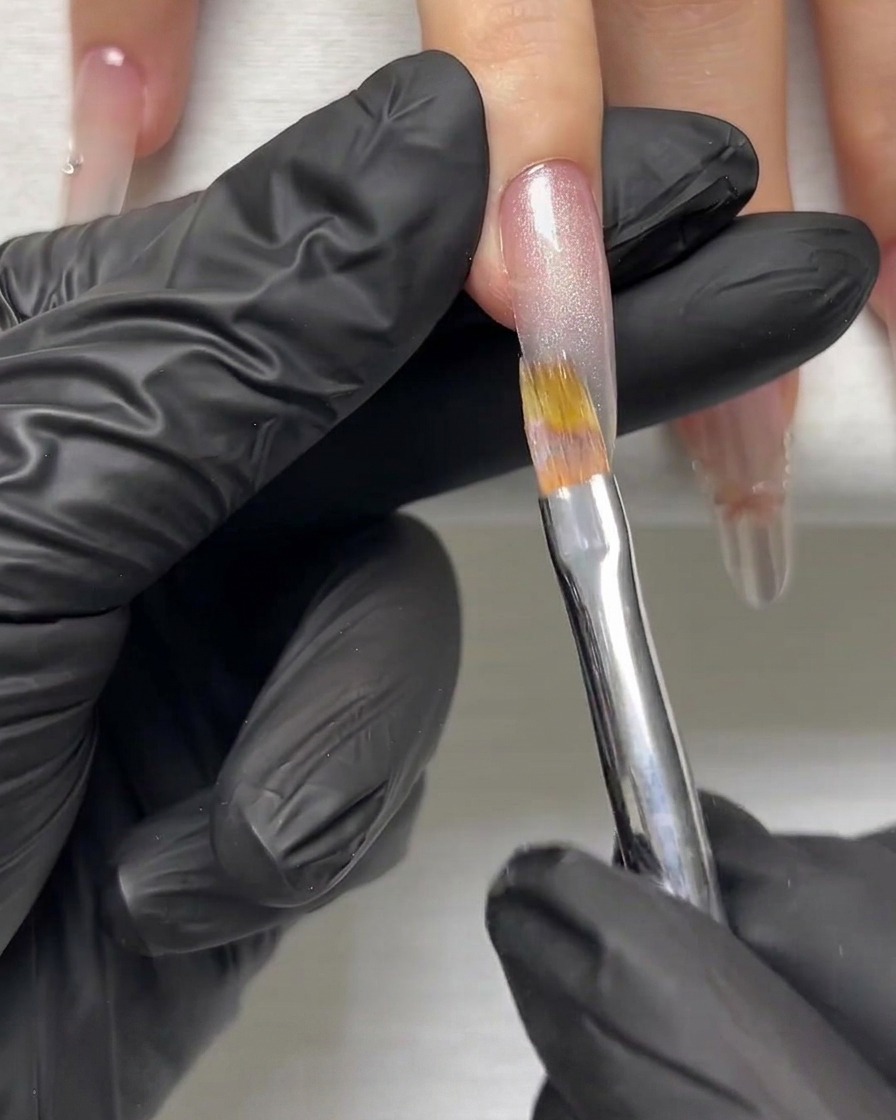
Using a fine detail brush, gently smooth and blend the silver cat-eye gel coat to create a seamless gradient along the elongated nail. Take your time to ensure the shimmering particles are evenly distributed before setting or magnetizing.
Tip: Keep light pressure on the detail brush to avoid scraping the gel away down to the bare nail surface. - 3Create the cat-eye reflection effect
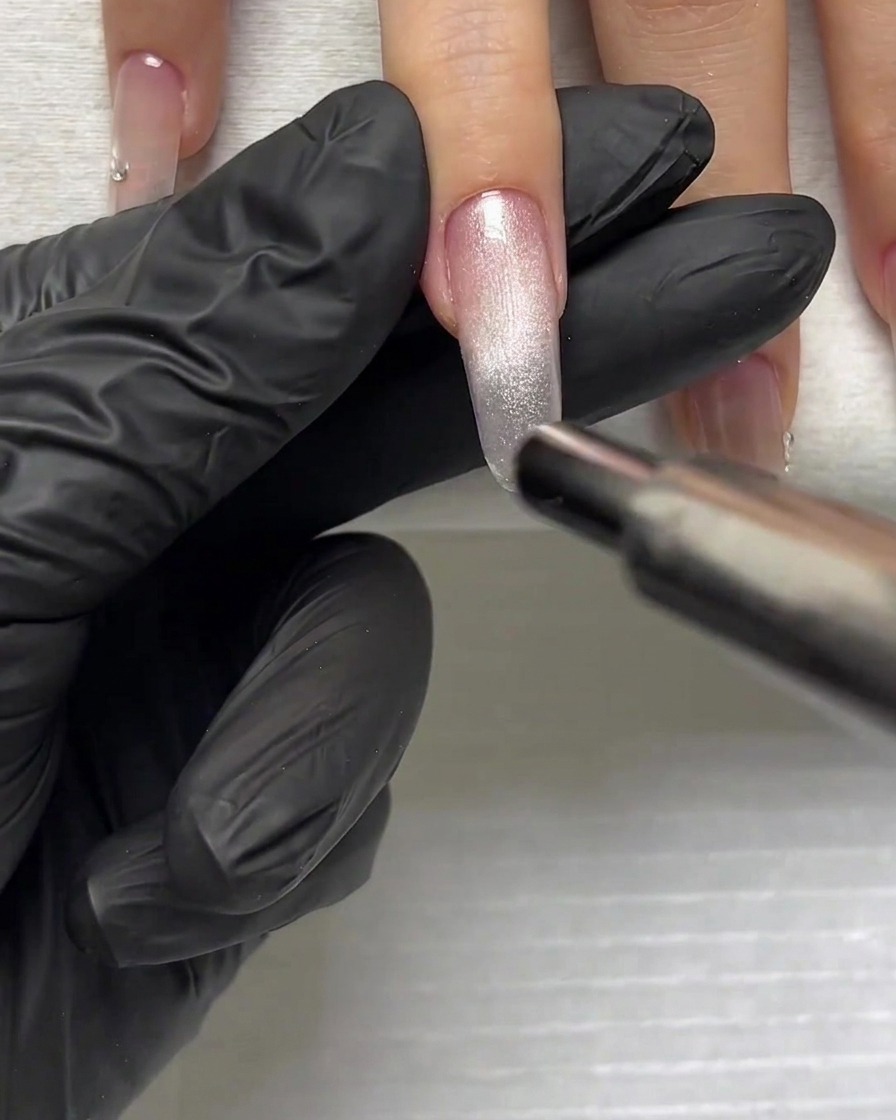
Position a magnetic wand closely over the nail surface without touching the wet gel. Hold it steady for a few seconds to pull the metallic particles into a sharp, luminous line, creating the signature cat-eye light reflection.
Tip: Keep the magnet as close as possible to the surface without smudging the wet gel to get the sharpest light line. - 4Apply dark gel near the cuticle
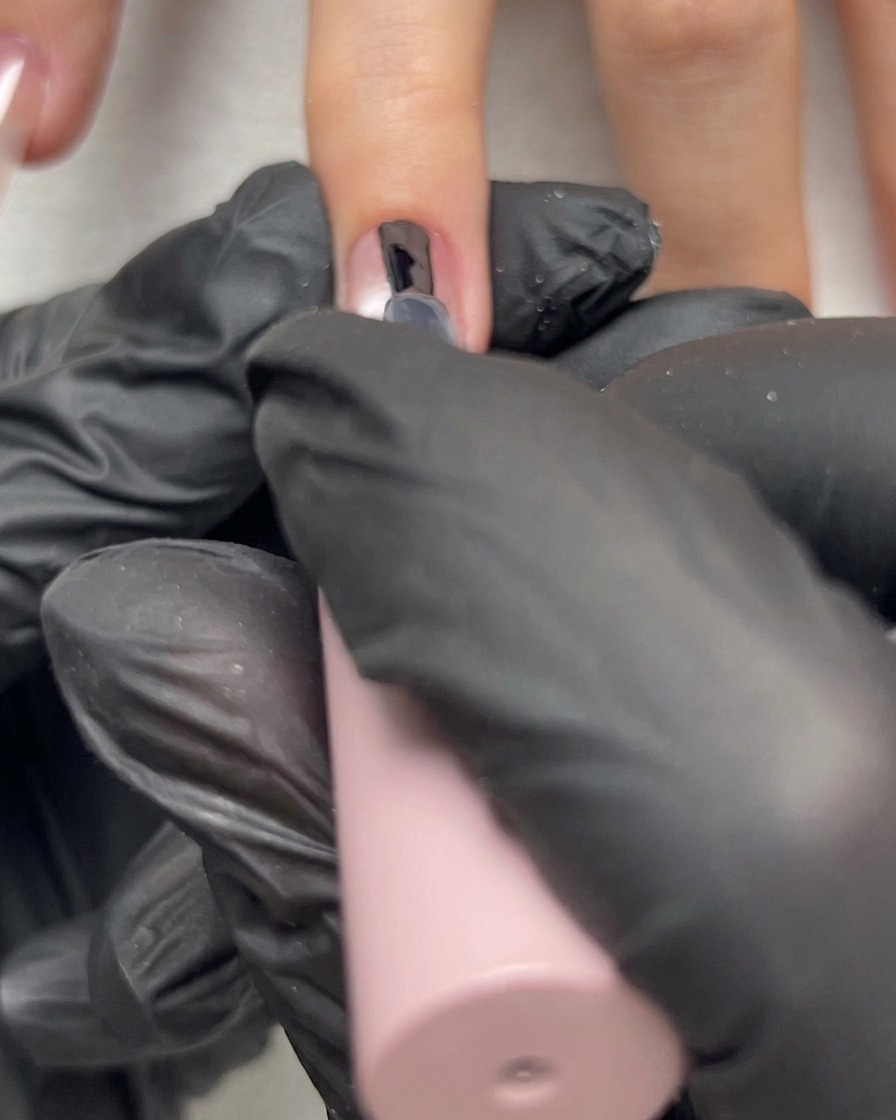
Using the brush applicator from a small bottle, carefully dab a touch of dark gel polish right at the base near the cuticle area. This creates a shadowed transition layer to add depth to the overall design.
Tip: Use a minimal amount of dark polish to prevent pooling near the skin and cuticle lines. - 5Cleanse the nail surface
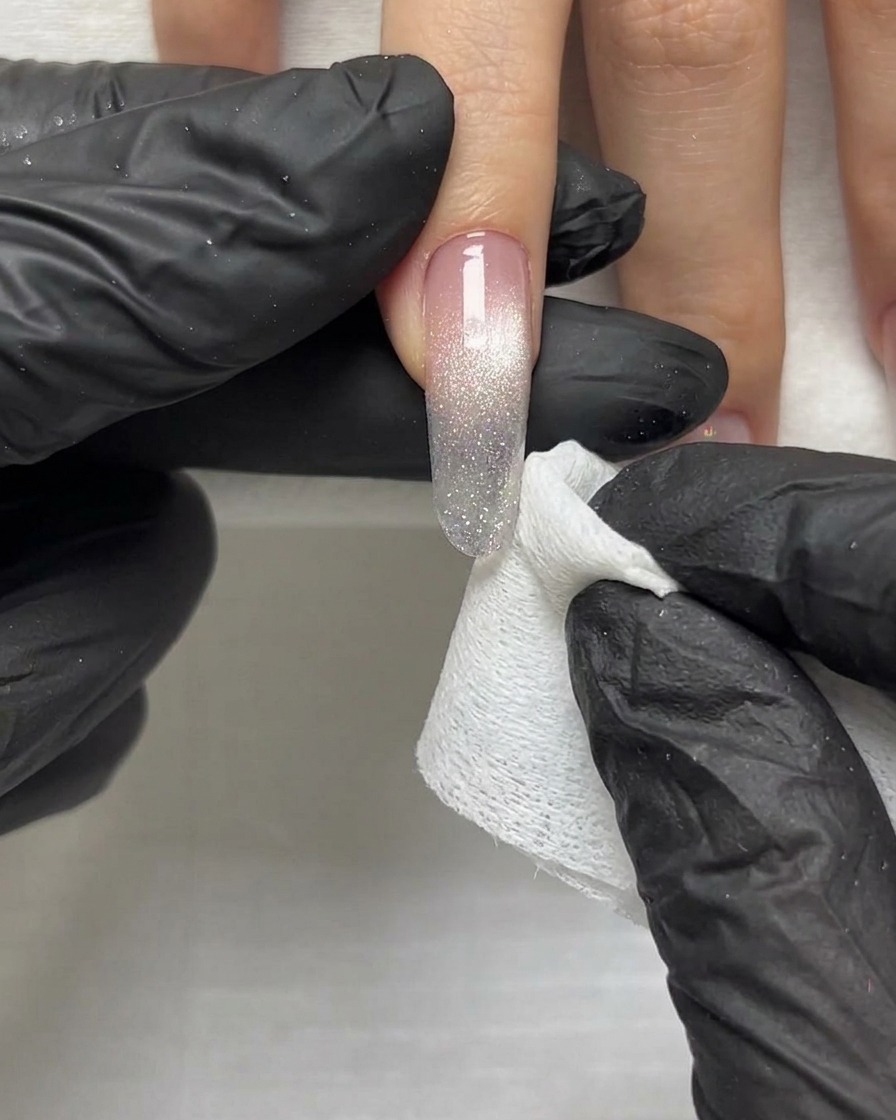
Take a small lint-free pad moistened with cleanser and gently wipe down the nail surface to remove any tacky inhibition residue or stray smudges. Ensure the surface is clean and smooth before moving on to the next detailing steps.
Tip: Use light, sweeping motions to avoid dulling the finish of the underlying cured gel layer. - 6Draw ribbon guidelines with clear gel
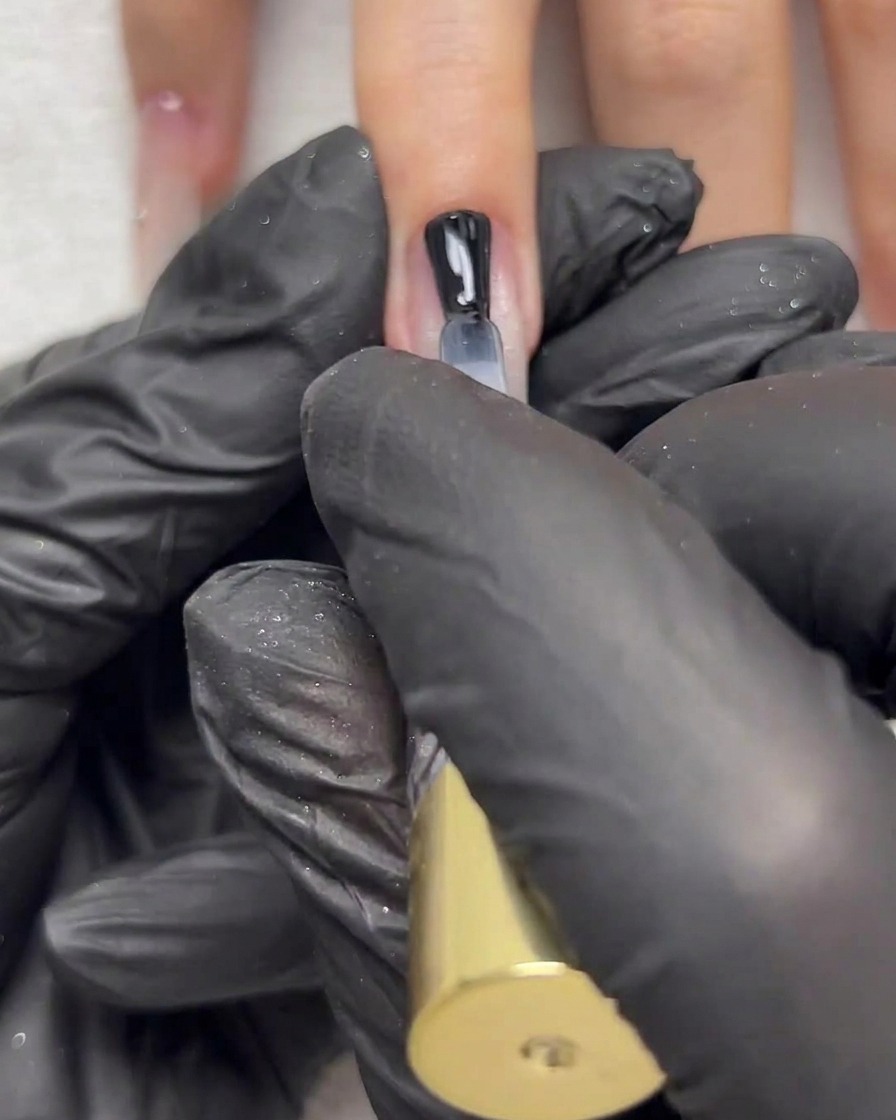
Dip a fine liner brush into clear gel and draw crossing guideline strokes near the cuticle area to map out the structure of the 3D ribbon. These foundational lines will hold the shape and placement for the upcoming ribbon details.
Tip: Keep the lines thin and precise so the final 3D ribbon looks neat and well-proportioned. - 7Sculpt the 3D ribbon bow
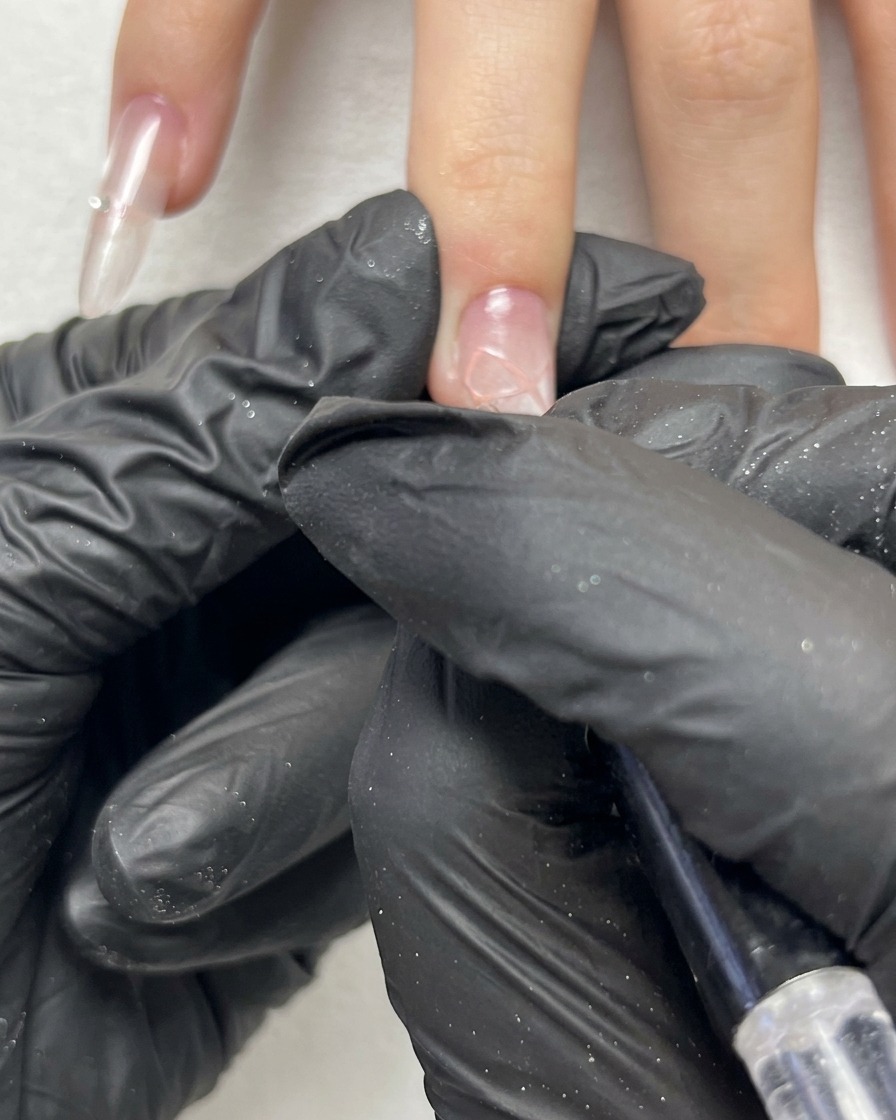
Using a fine liner brush and pink gel, carefully outline and sculpt the loops of the 3D ribbon bow directly on the nail surface. Establish the shape by drawing delicate arched lines that define the ribbons contours and structure.
Tip: Work with a small amount of gel on your brush tip to maintain sharp control over the fine lines and prevent bleeding. - 8Apply clear top coat
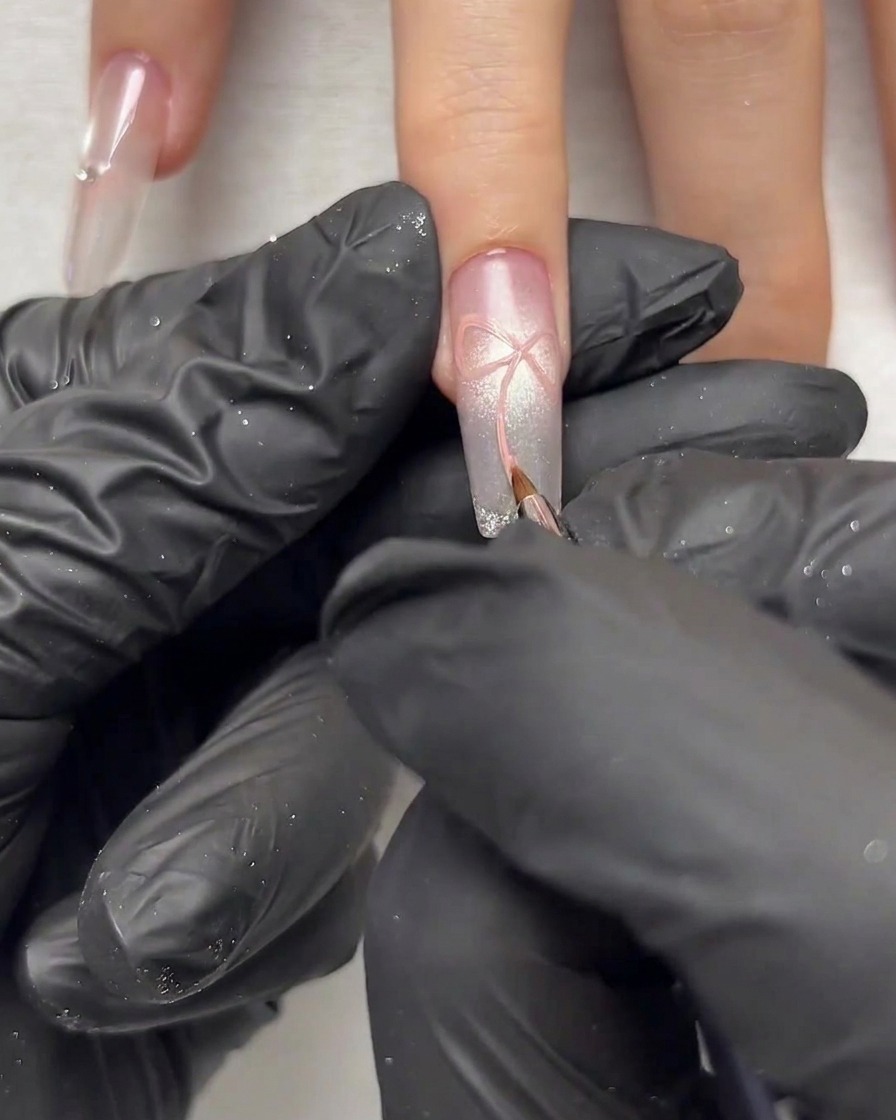
Apply a smooth layer of clear top coat carefully over the nail plate around the 3D ribbon structure. Ensure the top coat surrounds the raised elements neatly without flattening or flooding the sculpted details.
Tip: Use a smaller detail brush around the edges of the 3D art to ensure precise coverage without disturbing the ribbon shape. - 9Add details and highlights to the 3D ribbon bow
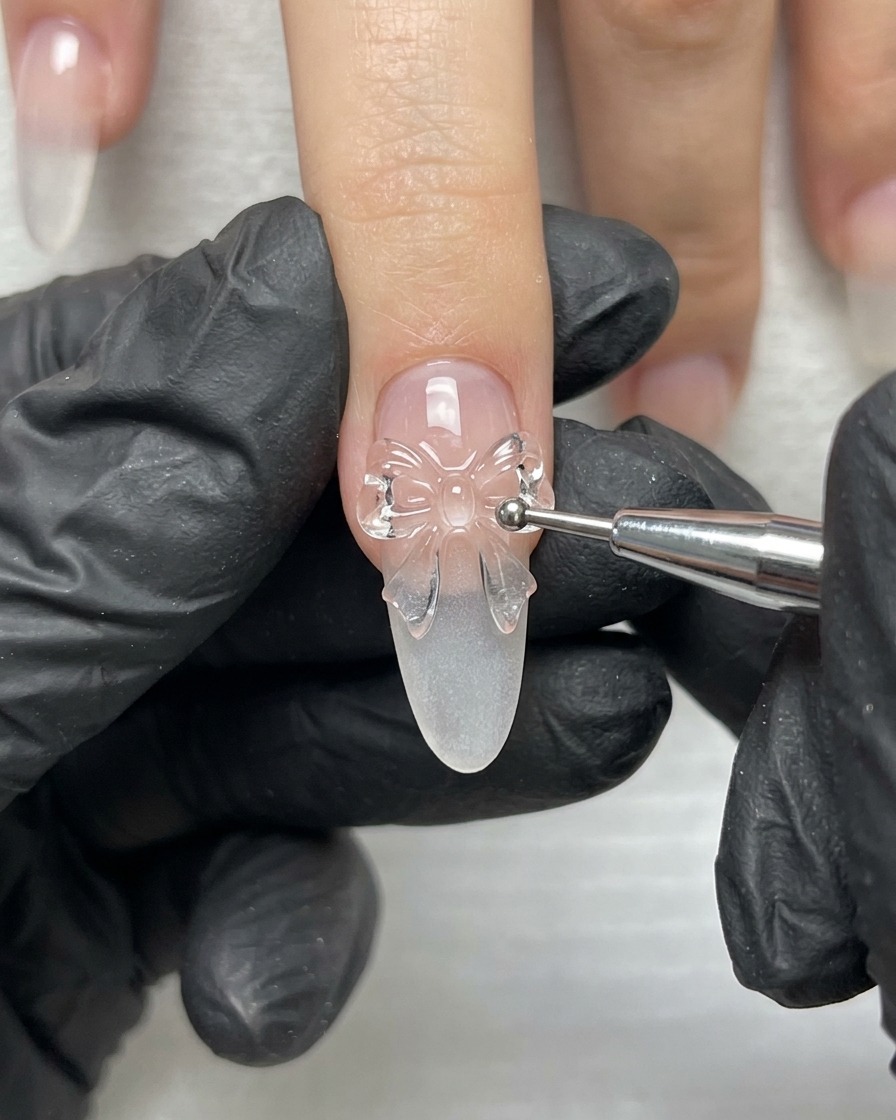
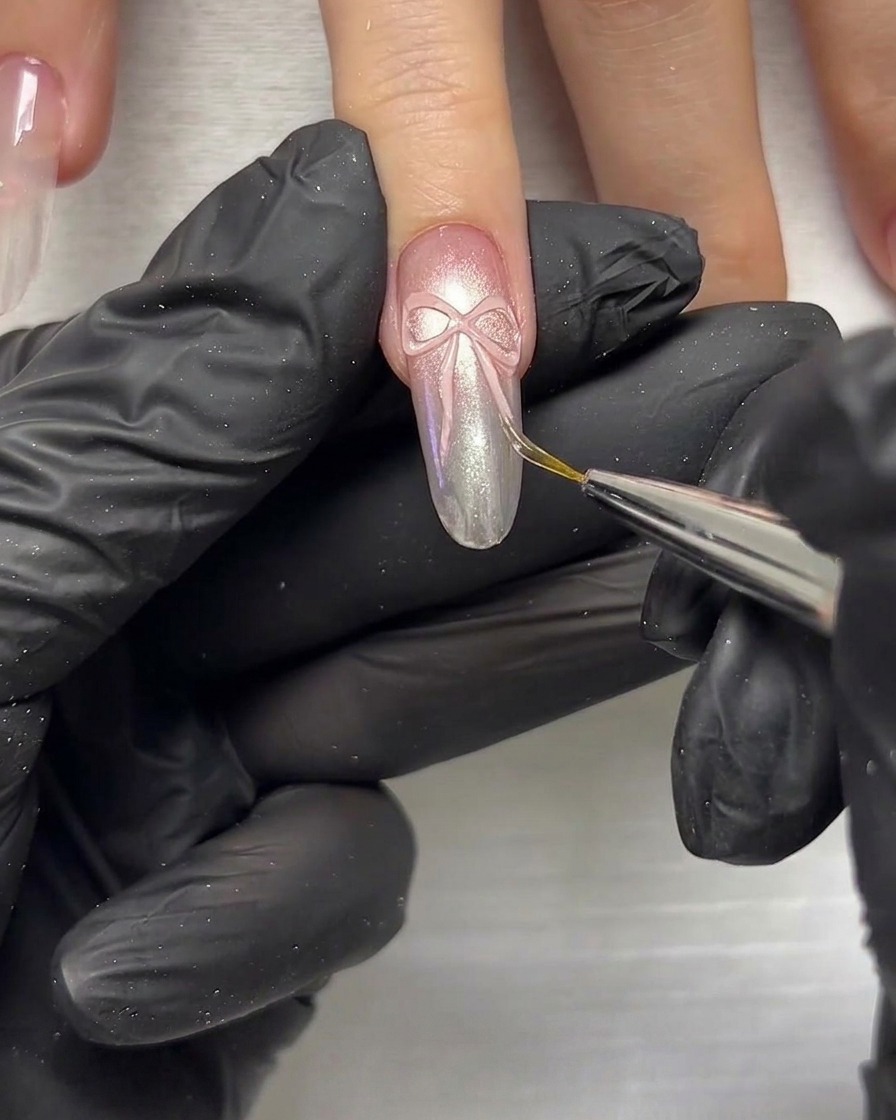
Using a fine liner brush dipped in gold or light gel, carefully trace detailed lines and highlights onto the cured 3D ribbon bow structure. This step enhances the dimensional look, making the edges and folds of the bow stand out sharply against the nail background.
Tip: Keep your hand steady and use only the very tip of the liner brush for crisp, delicate highlight lines. - 10Refine the ribbon edges and tails
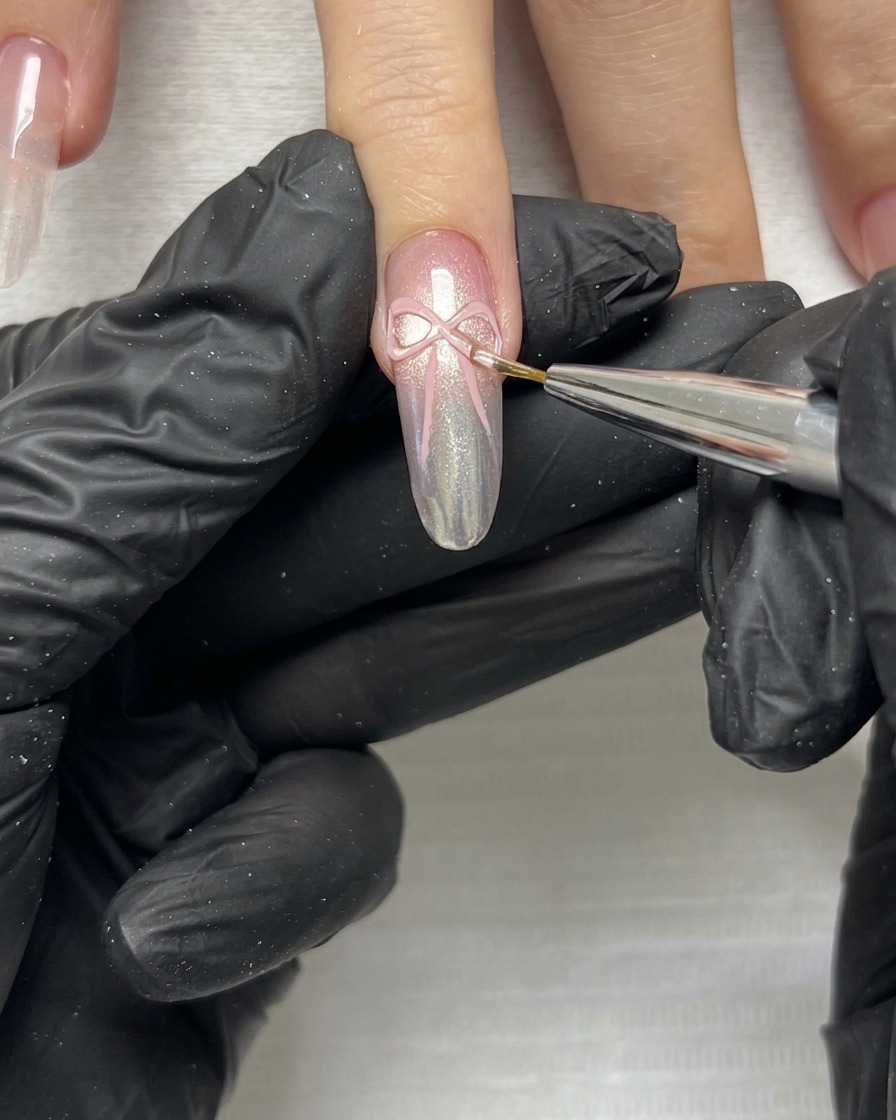
Using precise brush strokes with a fine liner, meticulously refine the edges and trailing ends of the ribbon bow. Smooth out any uneven lines to give the 3D design a polished, clean finish before curing.
Tip: Keep your hand steady and light-handed to achieve crisp, sharp tails that taper off gracefully. - 11Polish and press 3D ribbon details
Take a specialized silicone pen or metal shaping tool to gently press, smooth, and polish the 3D ribbon details. This ensures the gel holds its crisp structural shape and volume before final curing.
Tip: Clean your silicone tool with a wipe and alcohol if it starts sticking to the uncured gel during shaping.