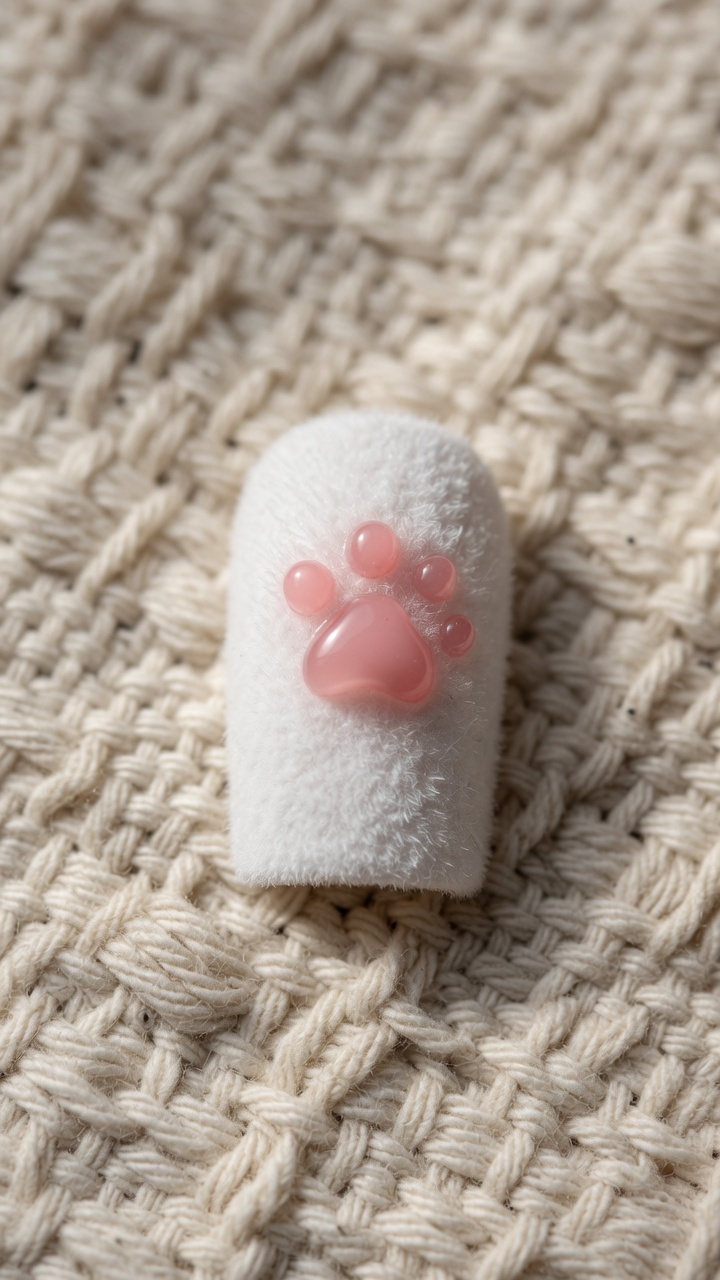
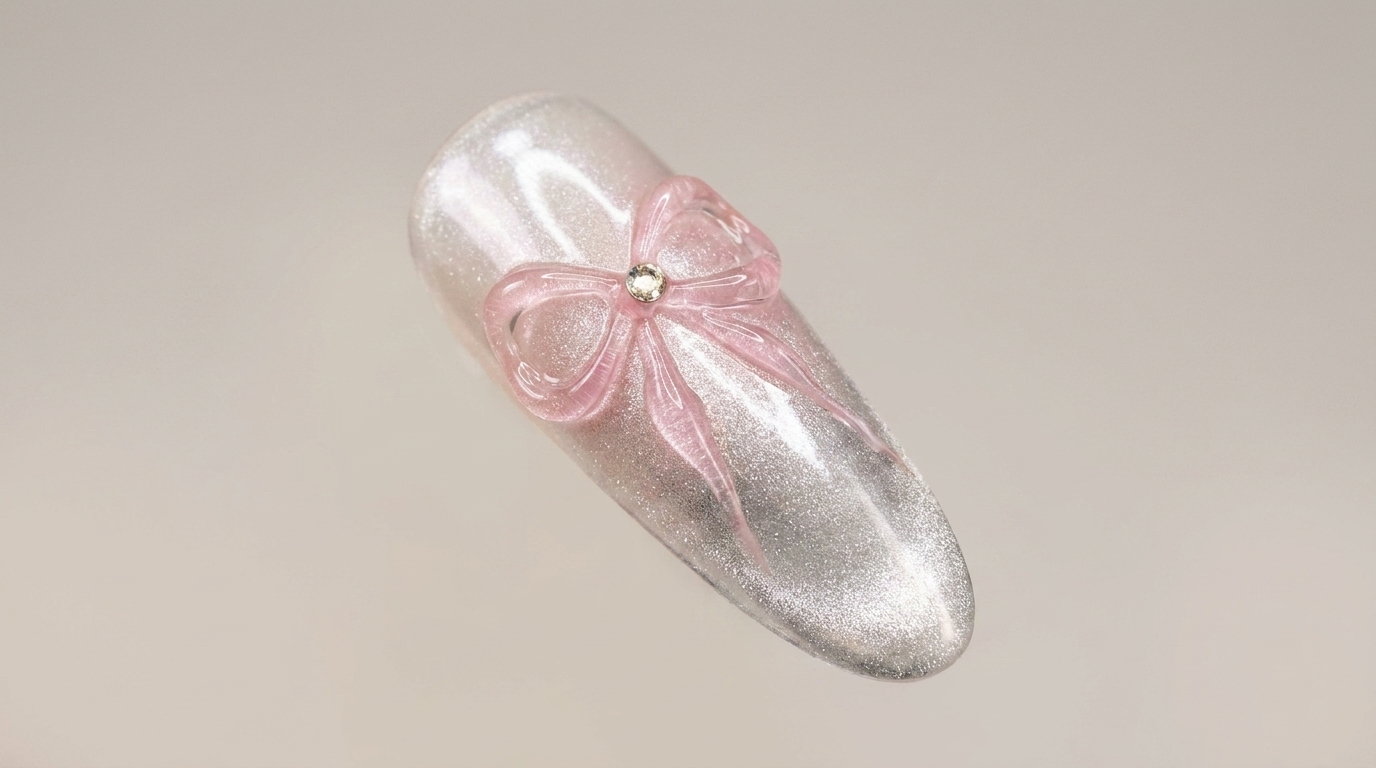
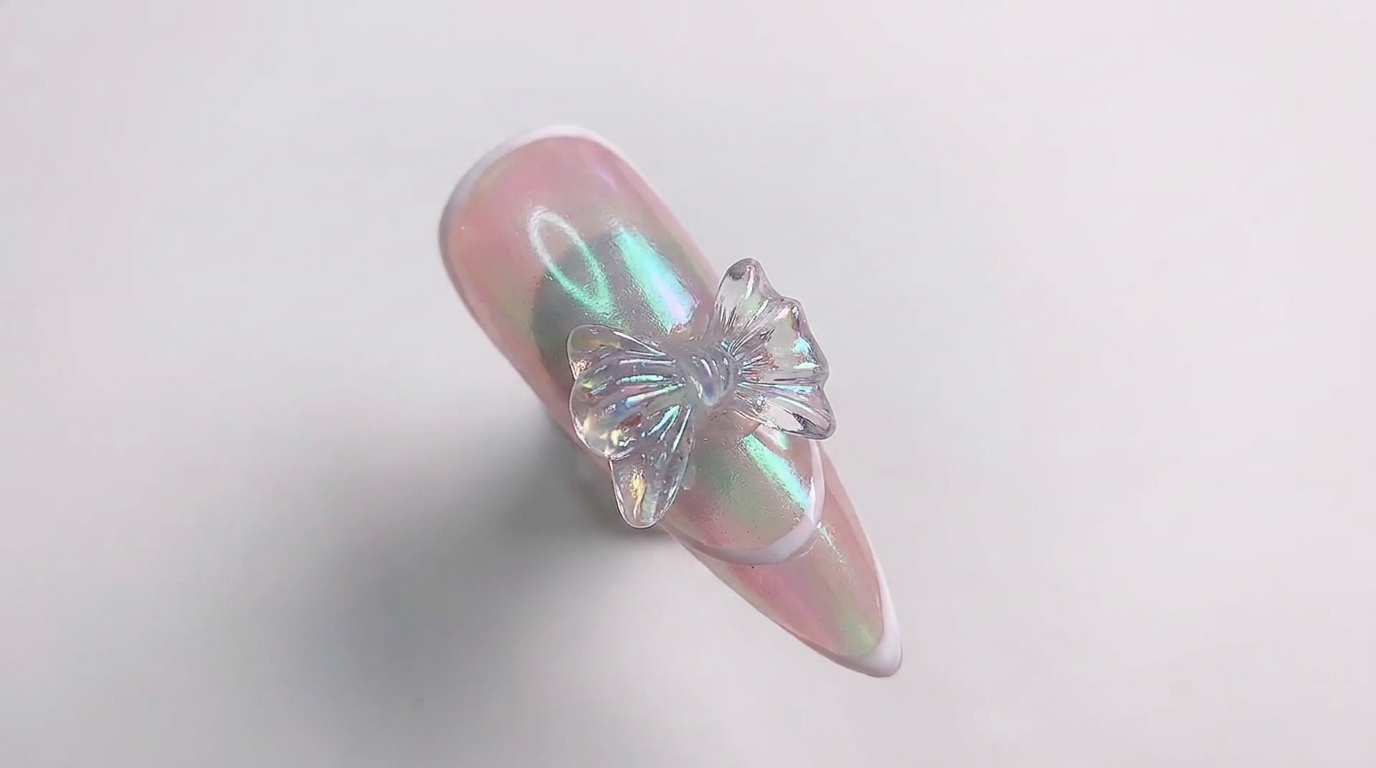
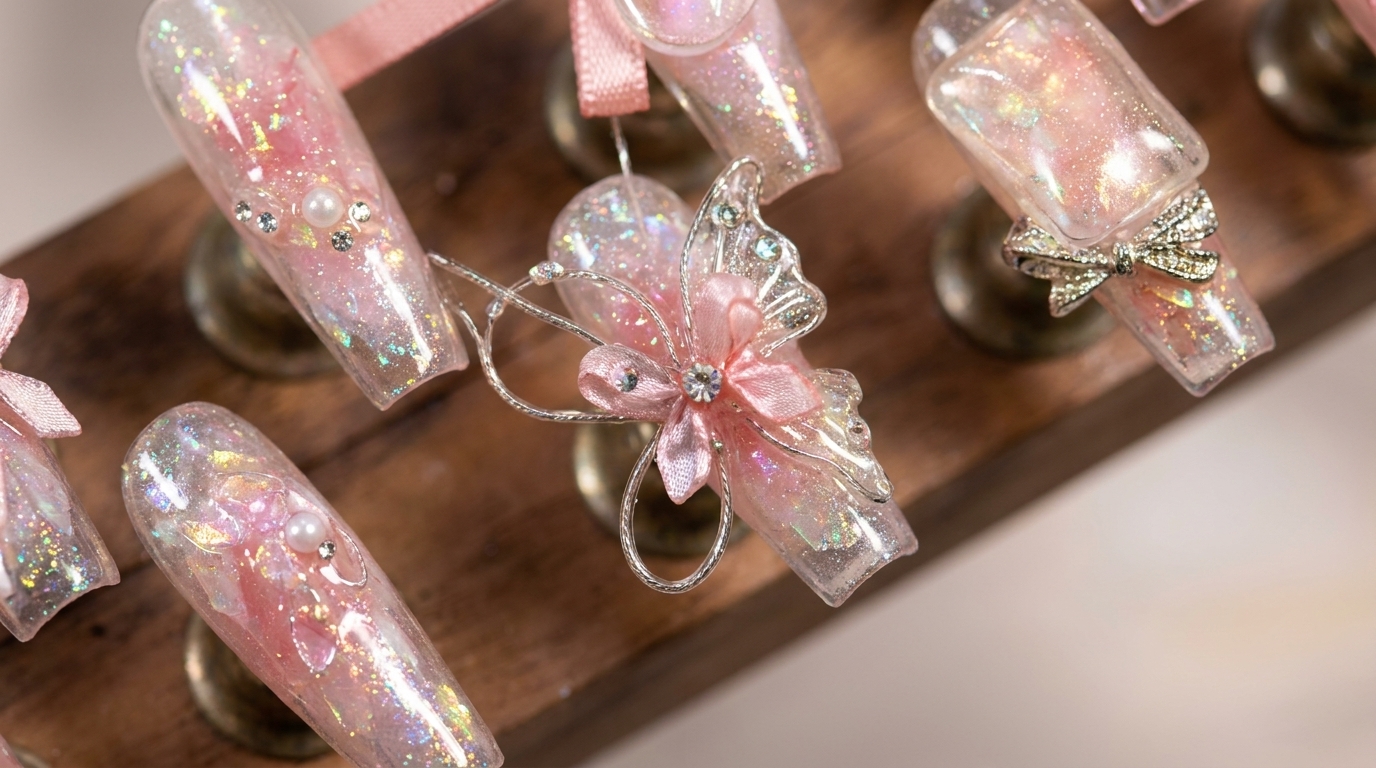
3D Translucent Bow Nail Art
Chrome Effect — Step-by-Step Tutorial
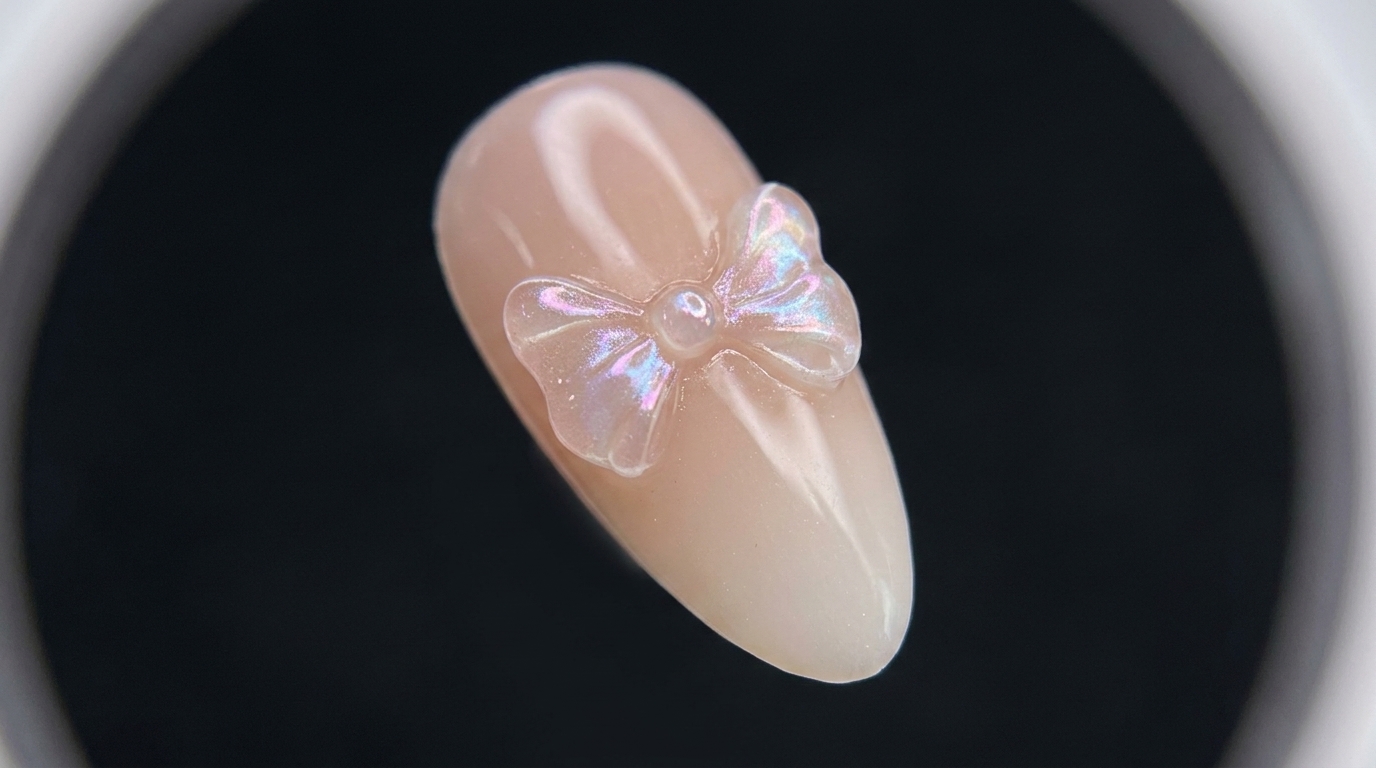
Create an enchanting 3D translucent bow nail design featuring glowing chrome aura highlights over a soft nude-to-white ombre gradient base.
3D bow nail art combined with trendy aurora chrome effects creates a mesmerizing, ethereal look that catches the light from every angle. This tutorial guides you through sculpting a delicate translucent gel bow and finishing it with shimmering metallic pigments for a stunning salon-quality manicure.
Steps
- 1Pick up modeling gel
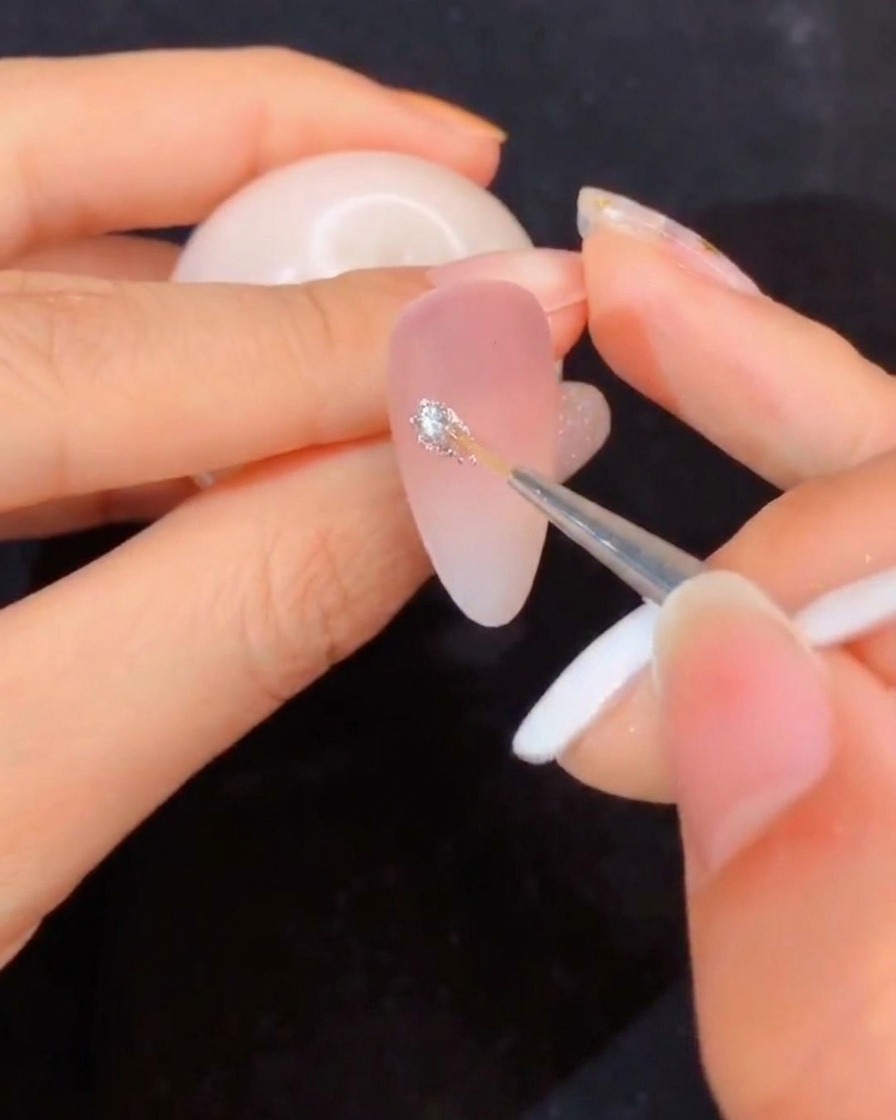
Dip your fine liner brush directly into the jar of modeling gel to pick up a small, controlled amount of product. Ensure the brush is evenly coated so you can easily shape the gel elements.
Tip: Take a small amount at a time to prevent product from dripping or running before you can place it. - 2Draw teardrop shapes
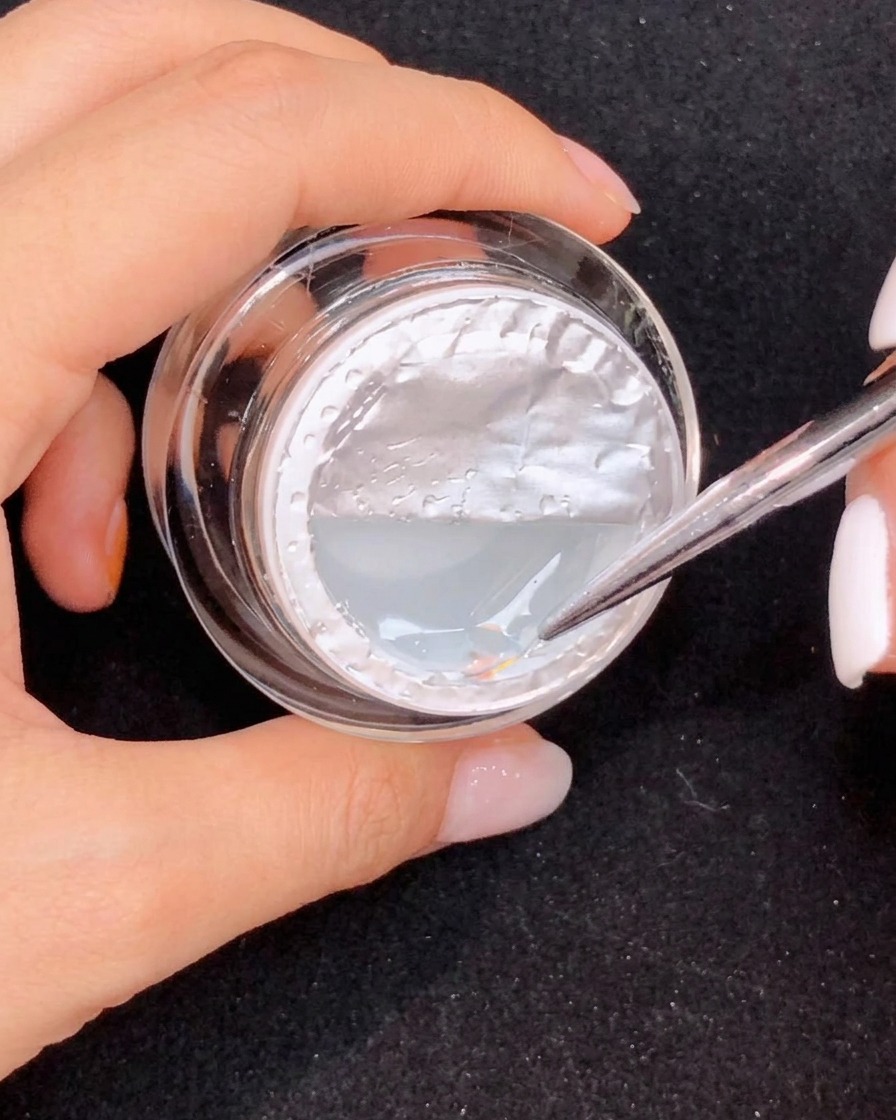
Using the modeling gel on your brush, draw and pull out long teardrop shapes directly onto the prepped ombre nail surface. Form the individual petals or loops required for your 3D design structure.
Tip: Pull gently from the center to create sharp, tapering points on each teardrop shape. - 3Cure the gel element
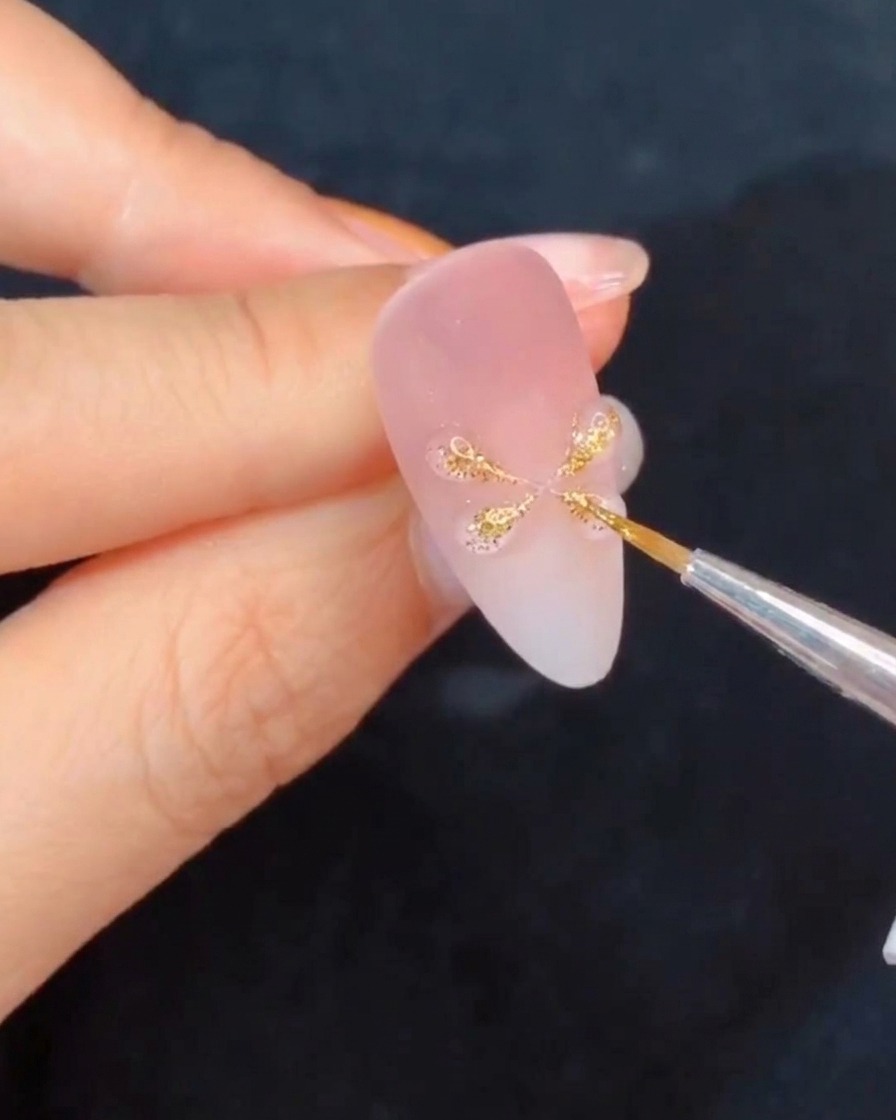
Place the nail under a UV or LED lamp to cure the first gel teardrop element. This fixes its three-dimensional shape in place and prevents it from shifting or sagging before you add the next sections.
Tip: Flash cure each individual element briefly if needed to lock its form before full curing. - 4Apply Top Coat
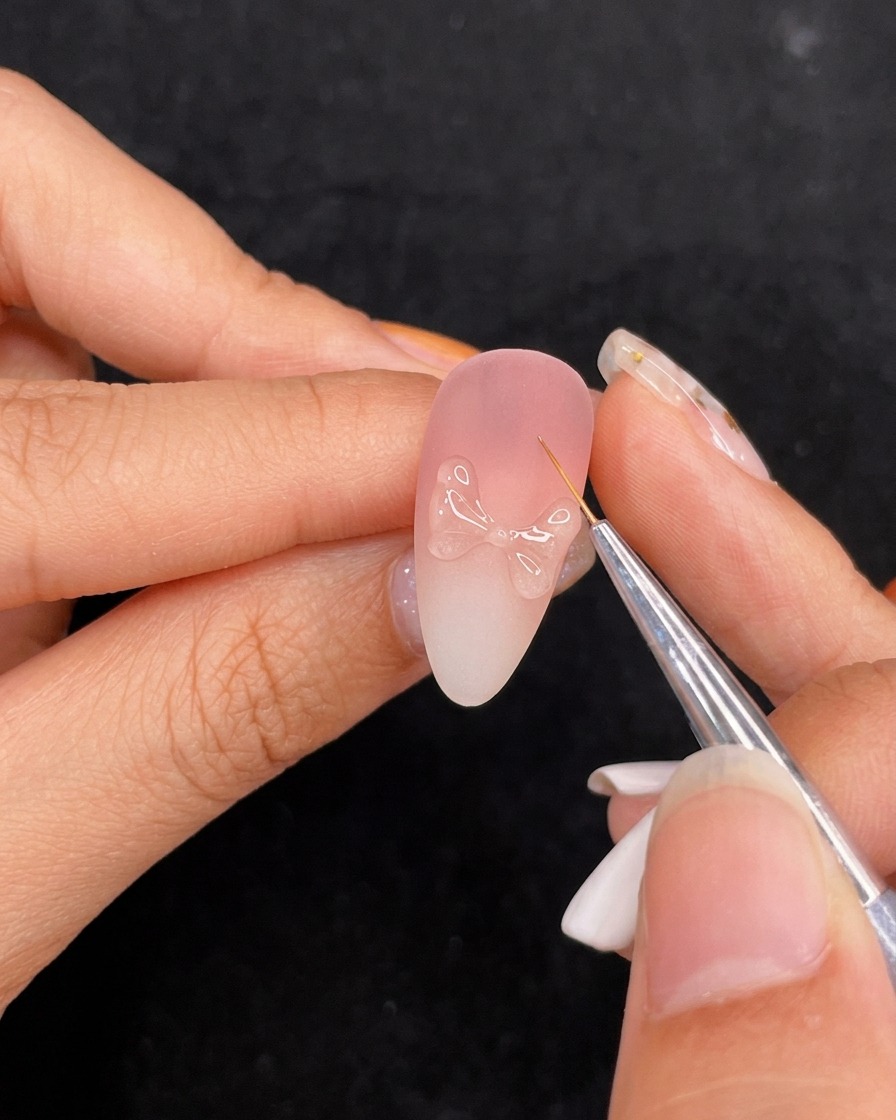
Apply a layer of no-wipe top coat over the entire nail and the cured bow structure to protect the design and provide a smooth foundation. Cure under the lamp for 15 seconds to prepare the surface for aurora powder application.
Tip: Make sure to coat all sides of the 3D structure evenly so the powder adheres correctly. - 5Apply aurora chrome powder
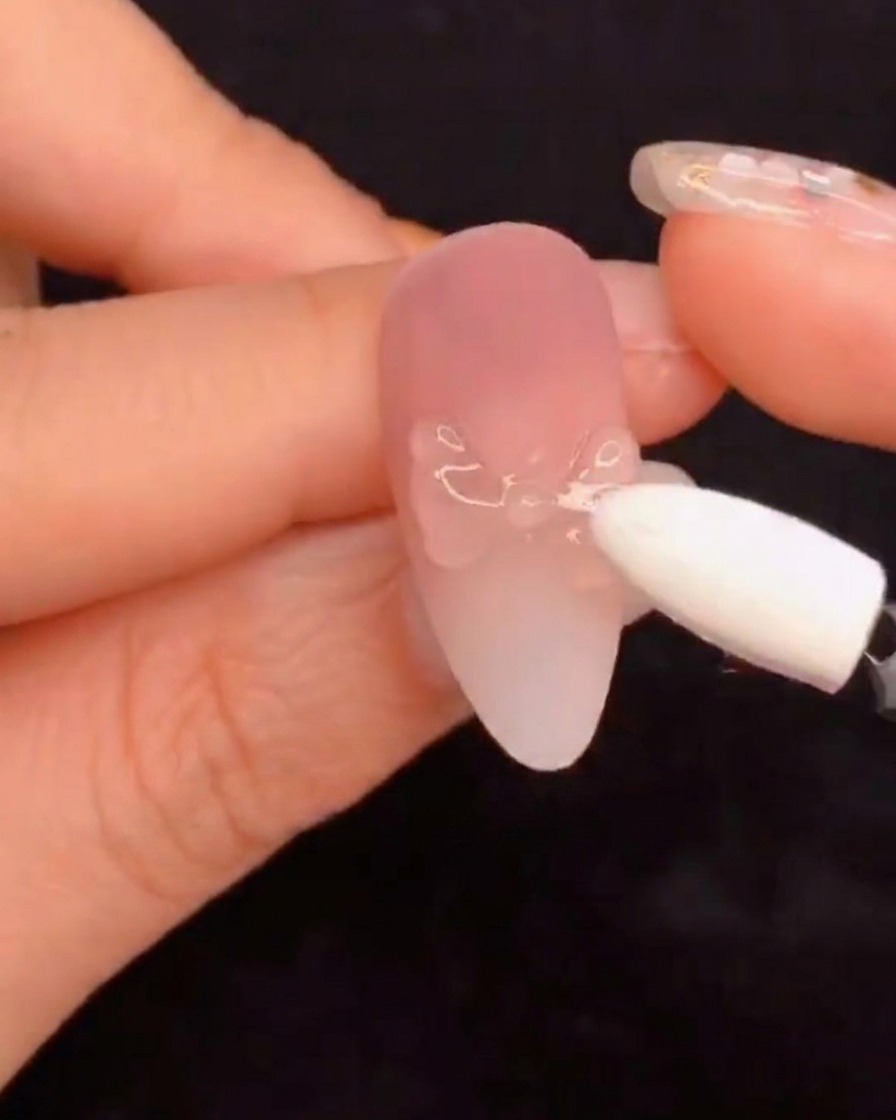
Take a silicone sponge applicator and gently rub aurora chrome powder across the bow and the surrounding nail surface. Buff the powder thoroughly until a vibrant, glossy metallic sheen appears.
Tip: Apply the powder while the top coat is still warm after curing, or use a specified no-wipe surface for maximum adhesion. - 6Outline contours with painting gel
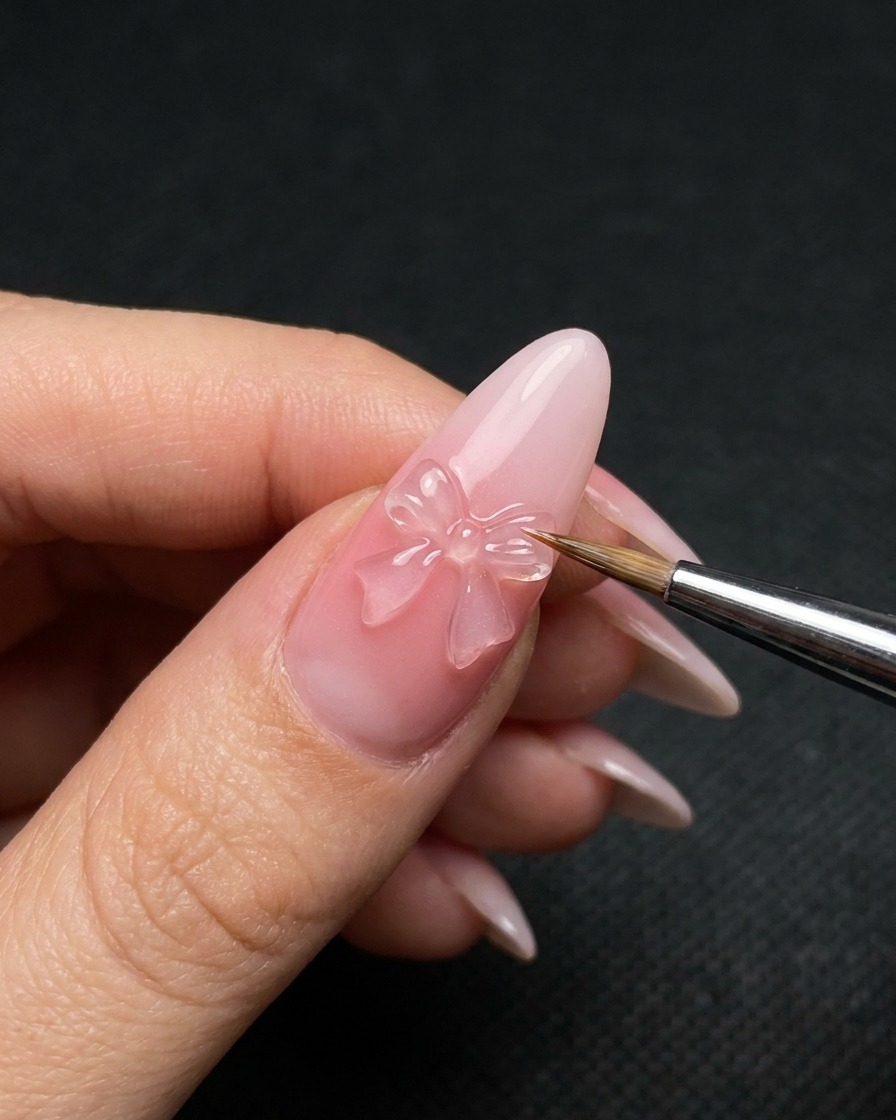
Dip a fine liner brush into painting gel and carefully trace along the outer contours of the 3D bow. Outlining helps separate the elements and enhances the three-dimensional depth and definition of the artwork.
Tip: Keep your hand steady and use light pressure to draw crisp, clean lines along the edges. - 7Apply Super Bright Top Coat
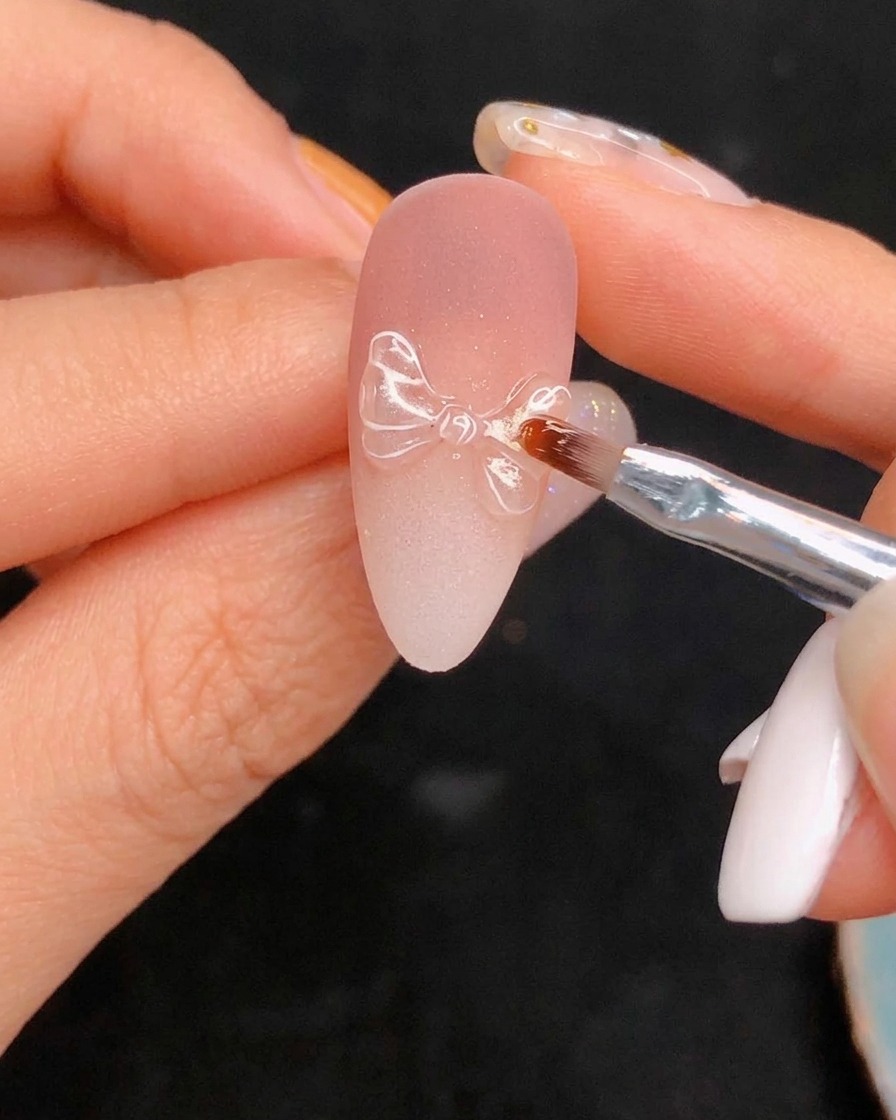
Apply a final layer of no-wipe super bright top coat over the detailed bow design to seal the artwork and give it an ultra-glossy finish. Cure completely under the lamp to set.
Tip: A super bright top coat enhances the translucent effect of the 3D bow design.