Fluffy 3D Cat Paw Nail Art Tutorial
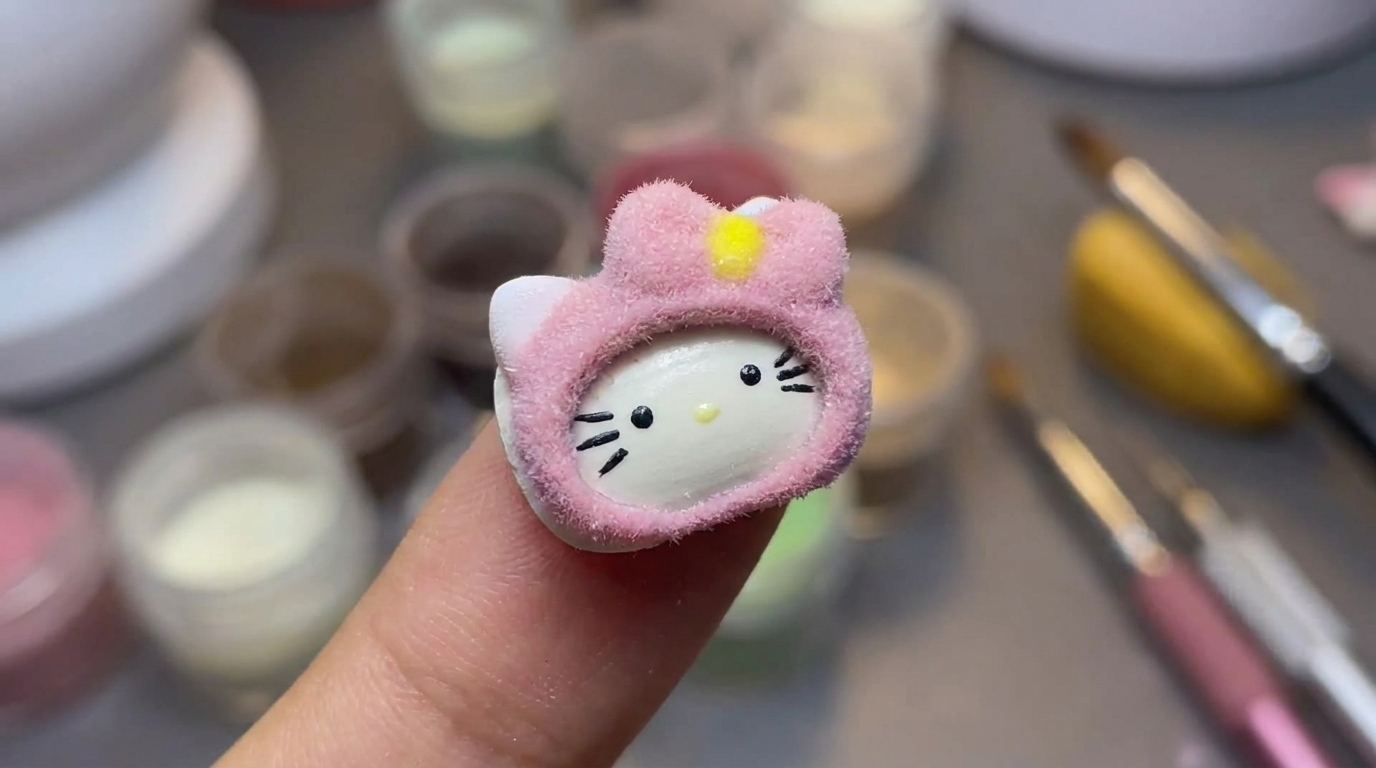
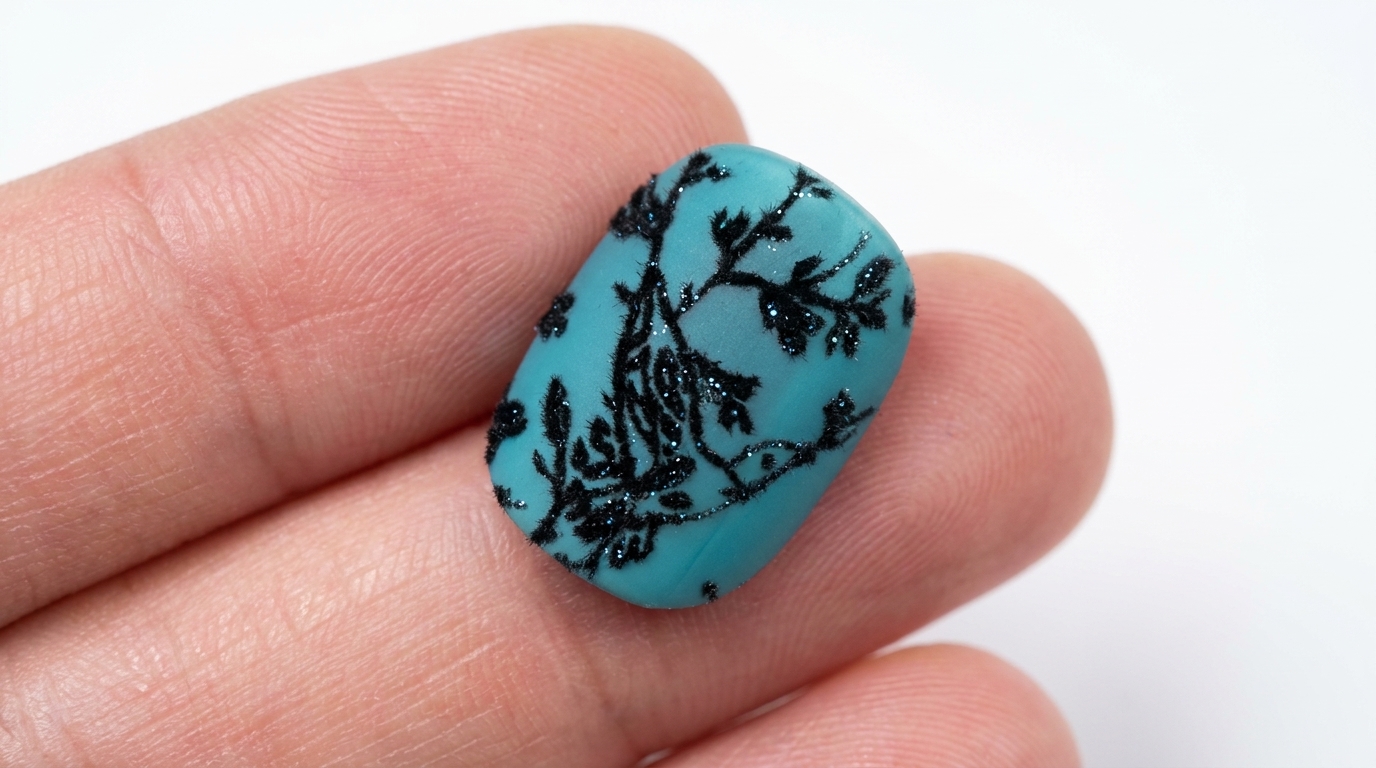
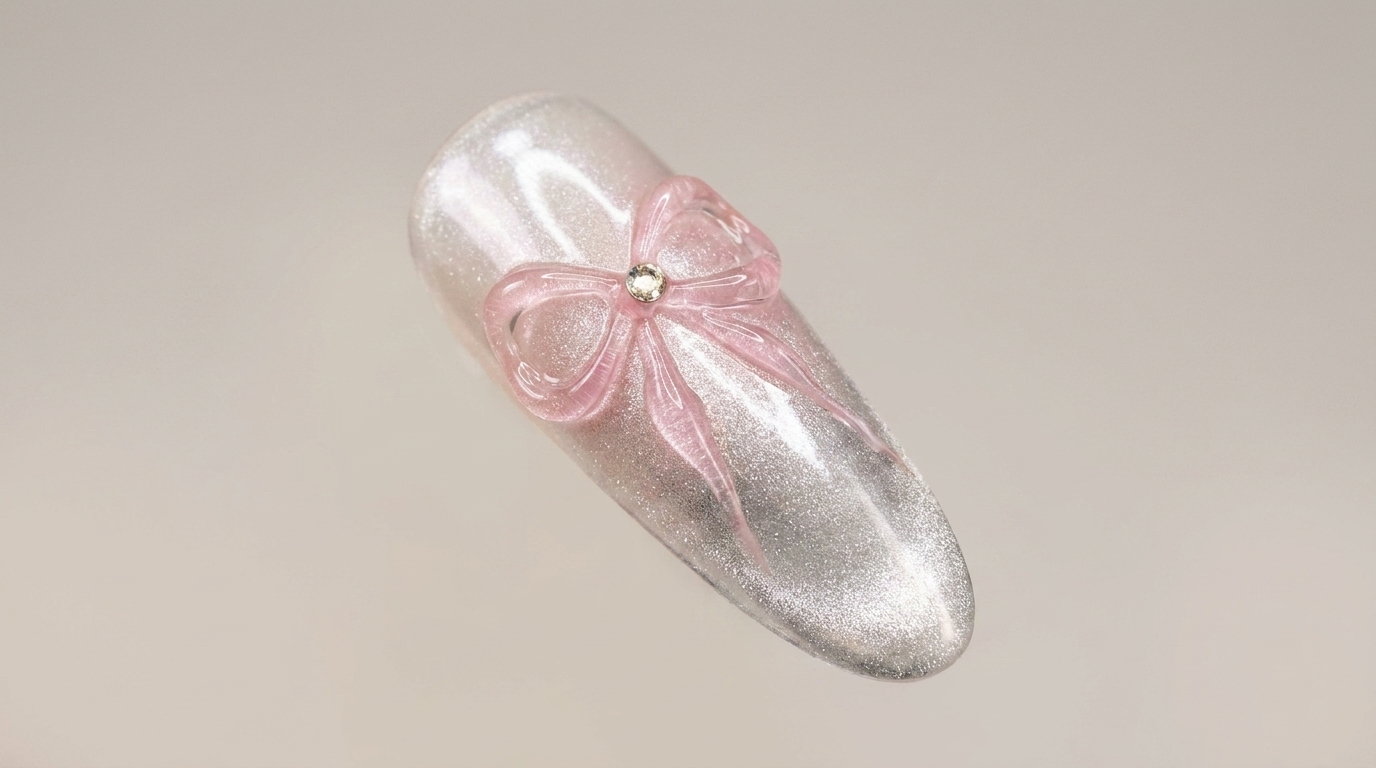
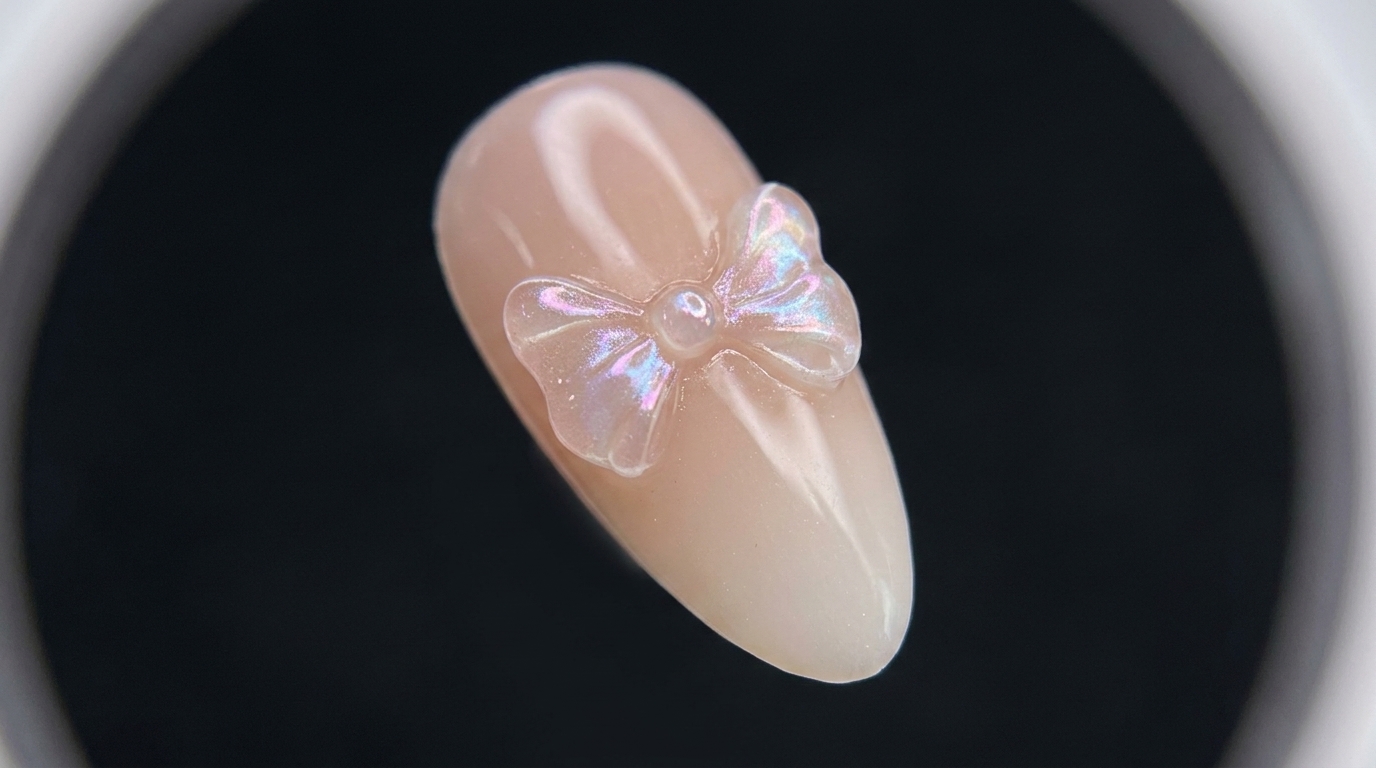
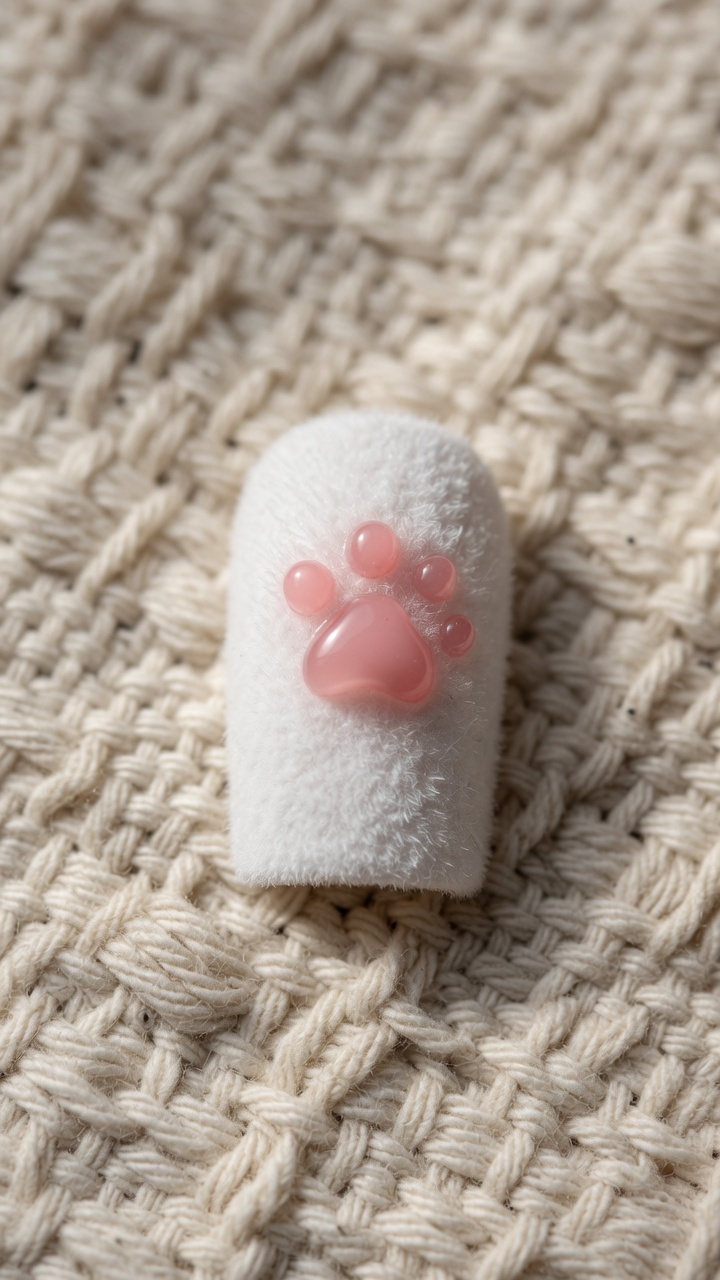
Create an adorable 3D cat paw design with a unique fuzzy texture. This step-by-step guide uses gel sculpting and flocking powder for a soft, velvet-like finish.
Bring your manicure to life with this trendy 3D cat paw nail art. Combining precise gel sculpting for the paw anatomy with a cozy flocking powder finish, this look is as tactile as it is cute. Perfect for animal lovers looking to add a playful, textured element to their nail game.
Steps
- 1Positioning the paw base
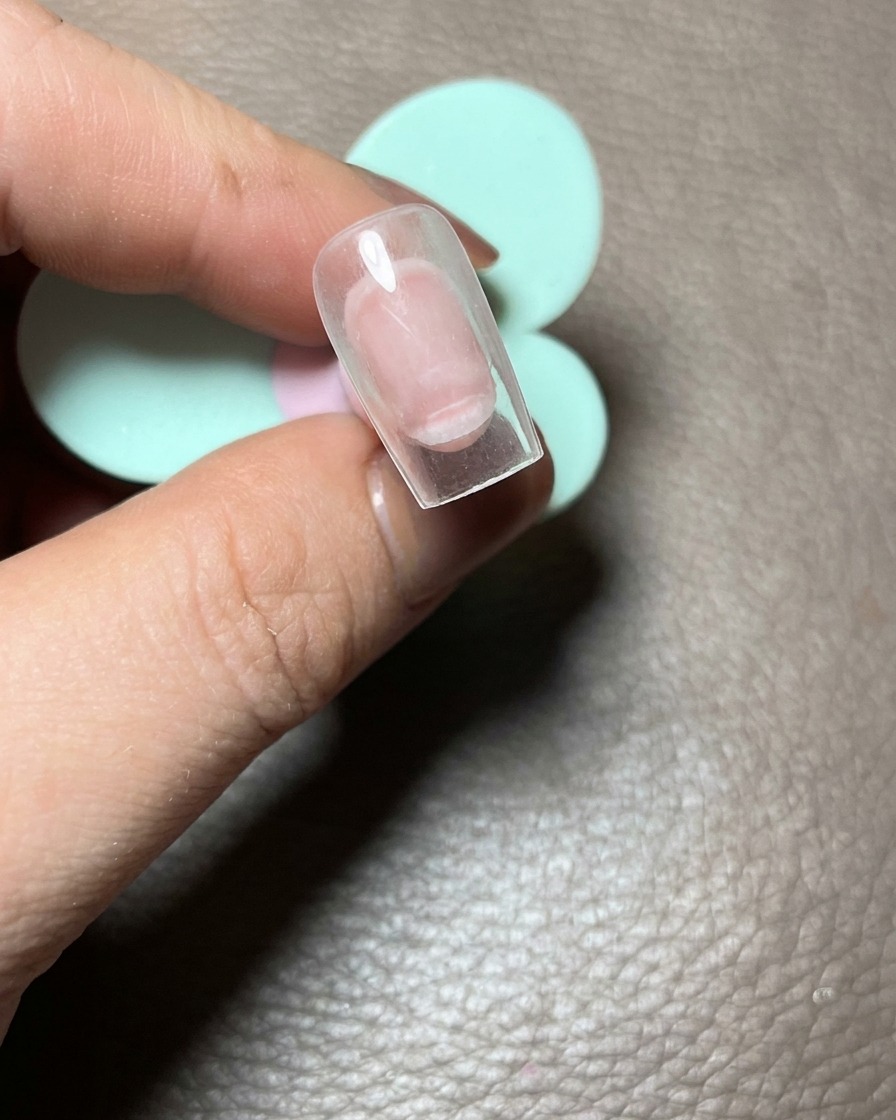
Clean the nail thoroughly for a smooth surface. Take a small amount of pink gel and place three distinct dots in the center to form the base foundation for the paw.
Tip: Keep the dots small; you will be connecting them to create the heart shape in the next step. - 2Forming the heart palm
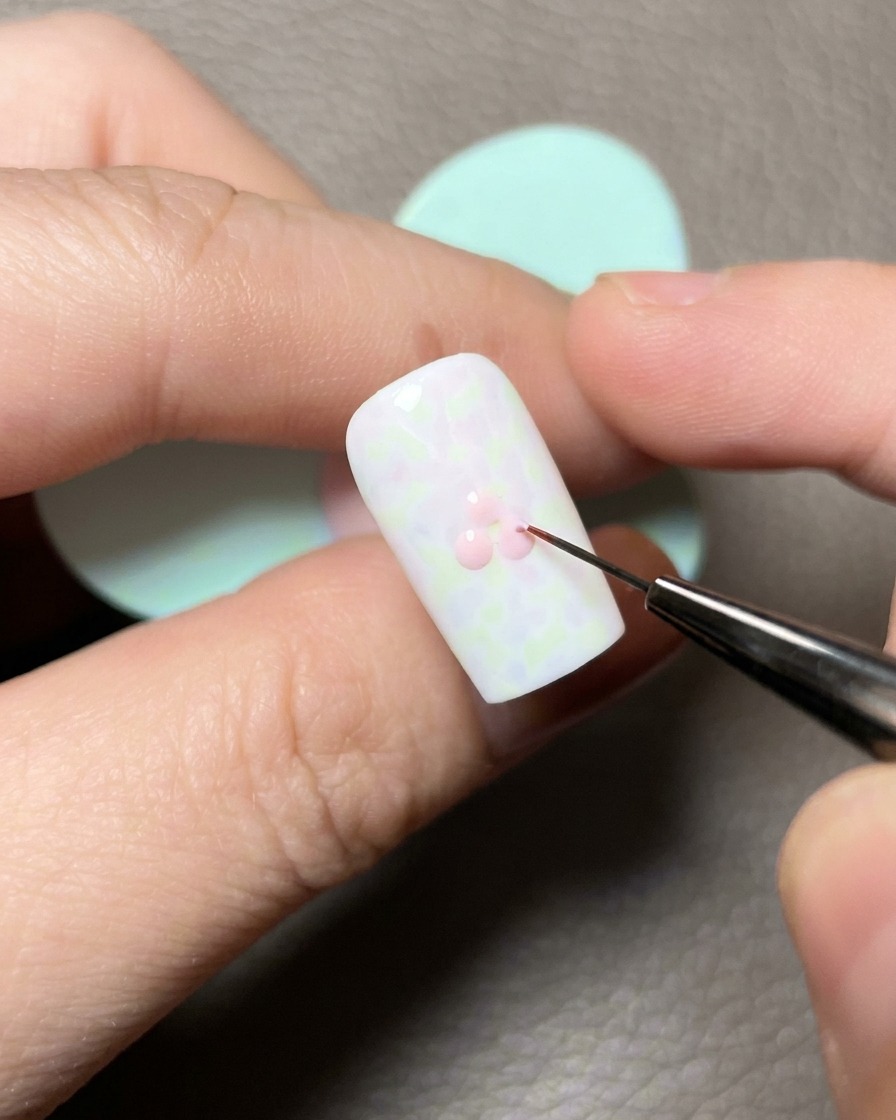
Using a fine-detail liner brush, gently drag and connect the three pink gel dots into a defined heart shape, which serves as the main paw pad.
Tip: Work slowly with your liner brush to maintain the heart shapes crisp edges. - 3Creating toe beans
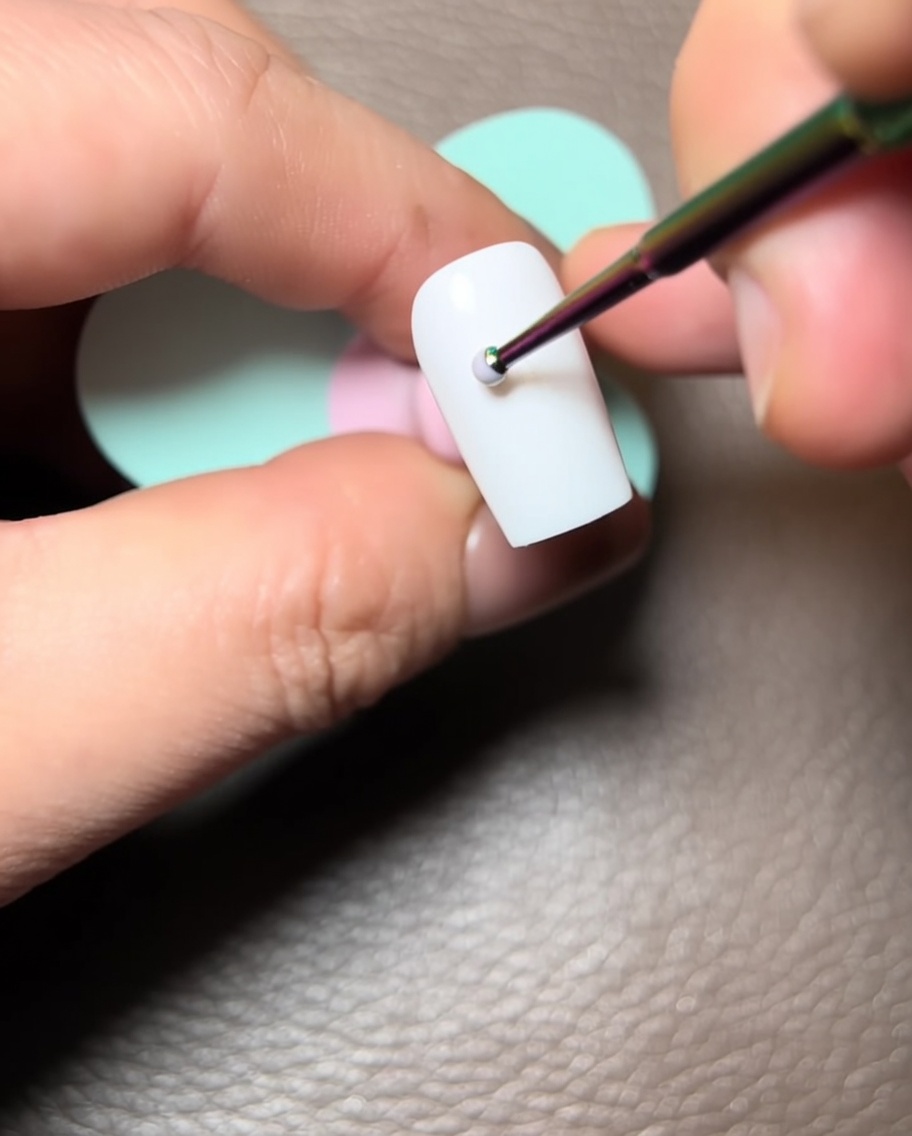
Using a dotting tool, place four smaller pink dots just above the heart-shaped palm to represent the cats toe beans, ensuring they are spaced evenly for a realistic look.
Tip: Consistent pressure on the dotting tool will ensure the toe beans are uniform in size. - 4Sculpting the 3D paw
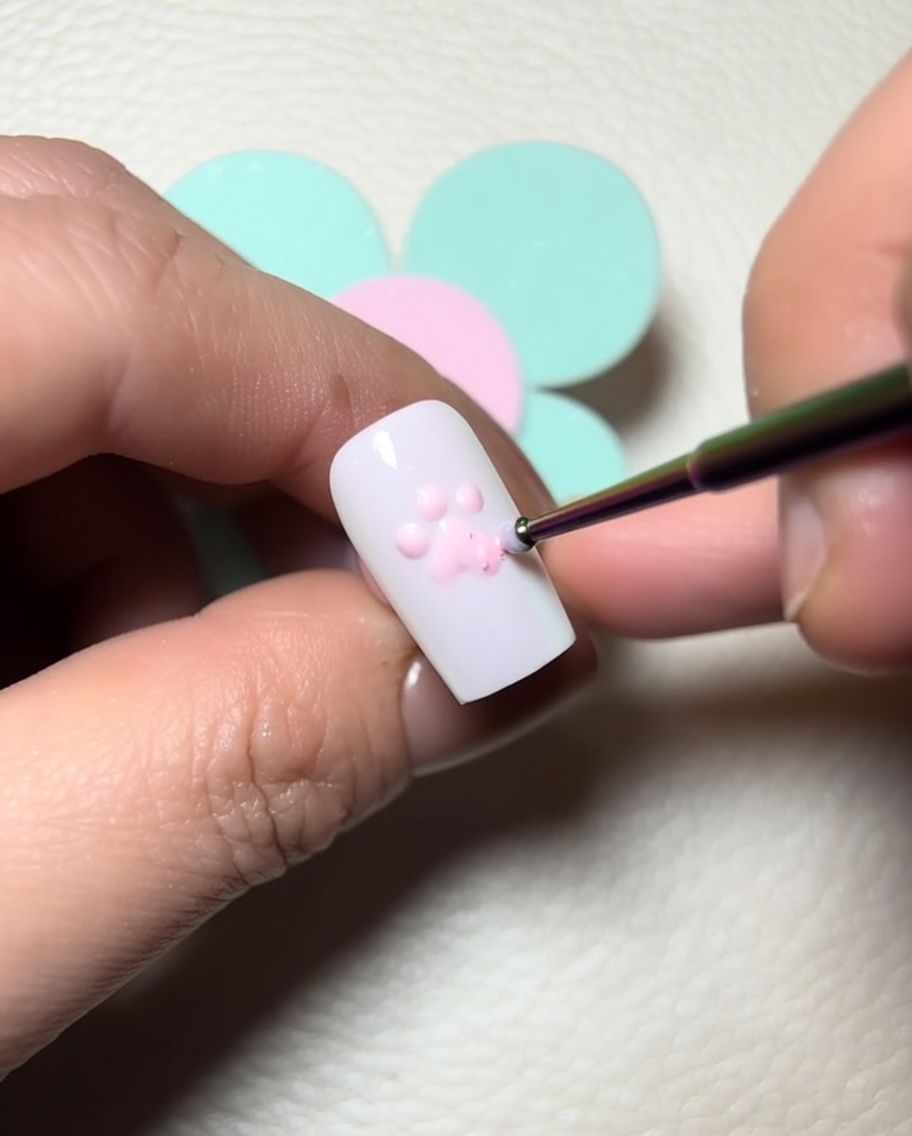
Apply a small bead of clear soft sculpting gel over each pink dot to create 3D volume. Cure briefly to lock the height of the heart and toe beans.
Tip: Apply the sculpting gel carefully so it does not spread beyond the edges of the pink dots. - 5Adding color depth
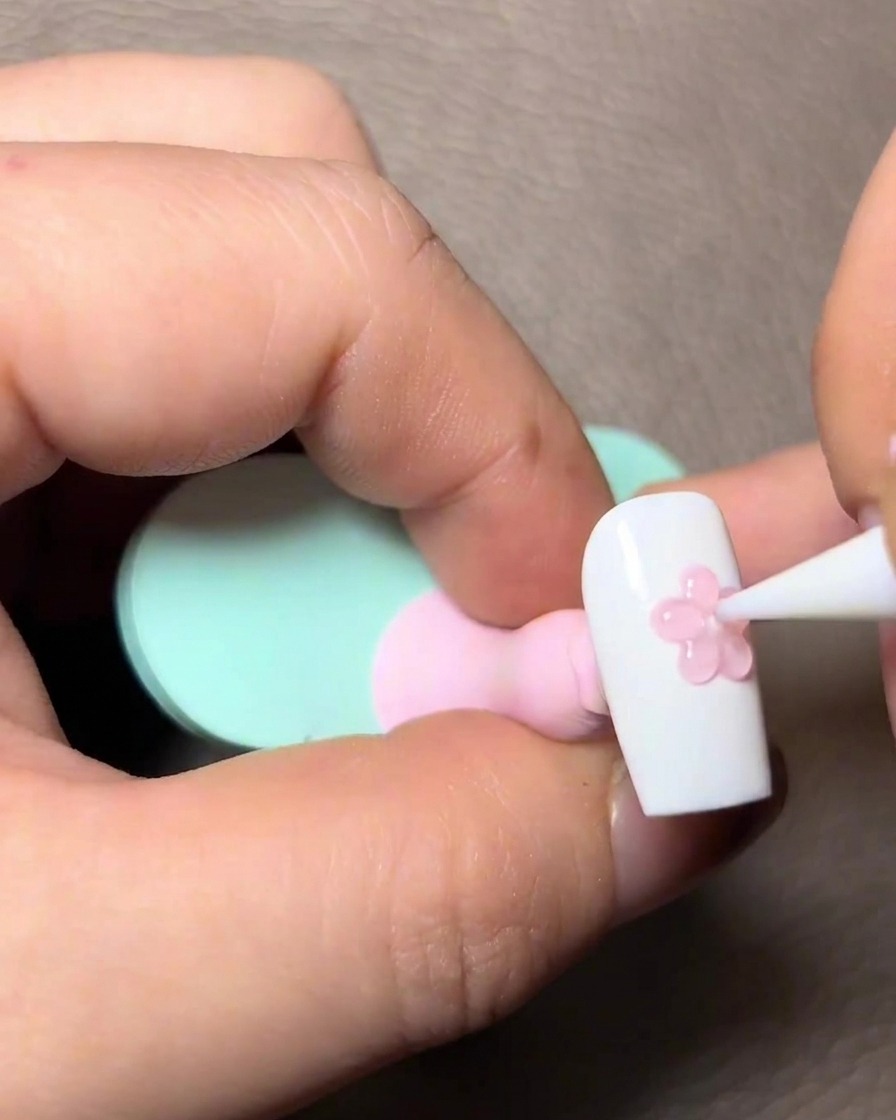
Layer a thin coat of sheer pink gel over the cured 3D shapes to increase color saturation and make the paw look more vibrant and life-like.
Tip: Use a light hand to ensure the sheer color is applied evenly without losing the 3D texture. - 6Sculpt additional paw dimension
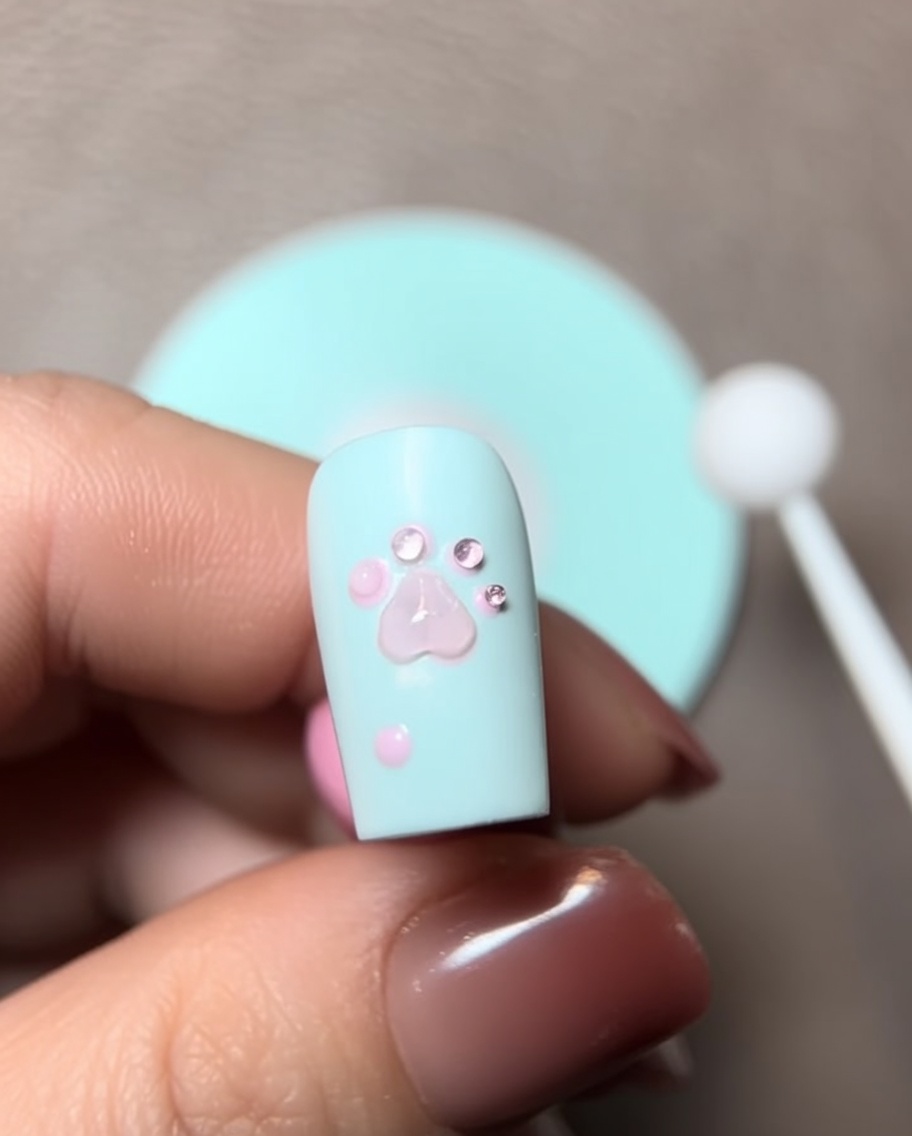
Apply a secondary layer of sculpting gel over the paw details. Use your brush to smooth and round out the edges, enhancing the raised, plump appearance of the design.
Tip: Work in thin, controlled layers to build height without the gel spreading or losing its shape before curing. - 7Refine 3D paw edges
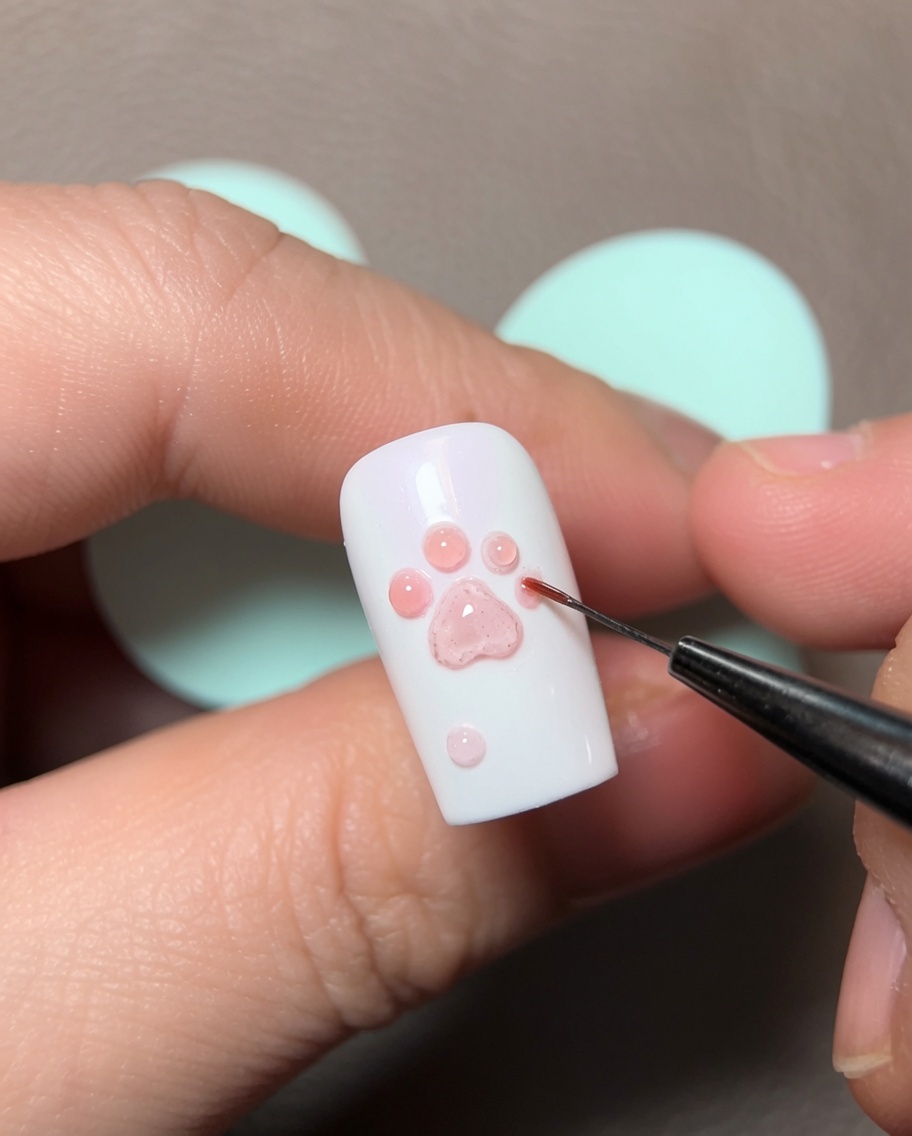
With a fine liner brush, gently smooth the contours of the 3D paw to ensure the heart pad and toe beans have crisp, professional edges before curing.
Tip: A clean, dry liner brush can help pick up any excess gel and sharpen the contours before you cure. - 8Apply cat-eye gel detailing
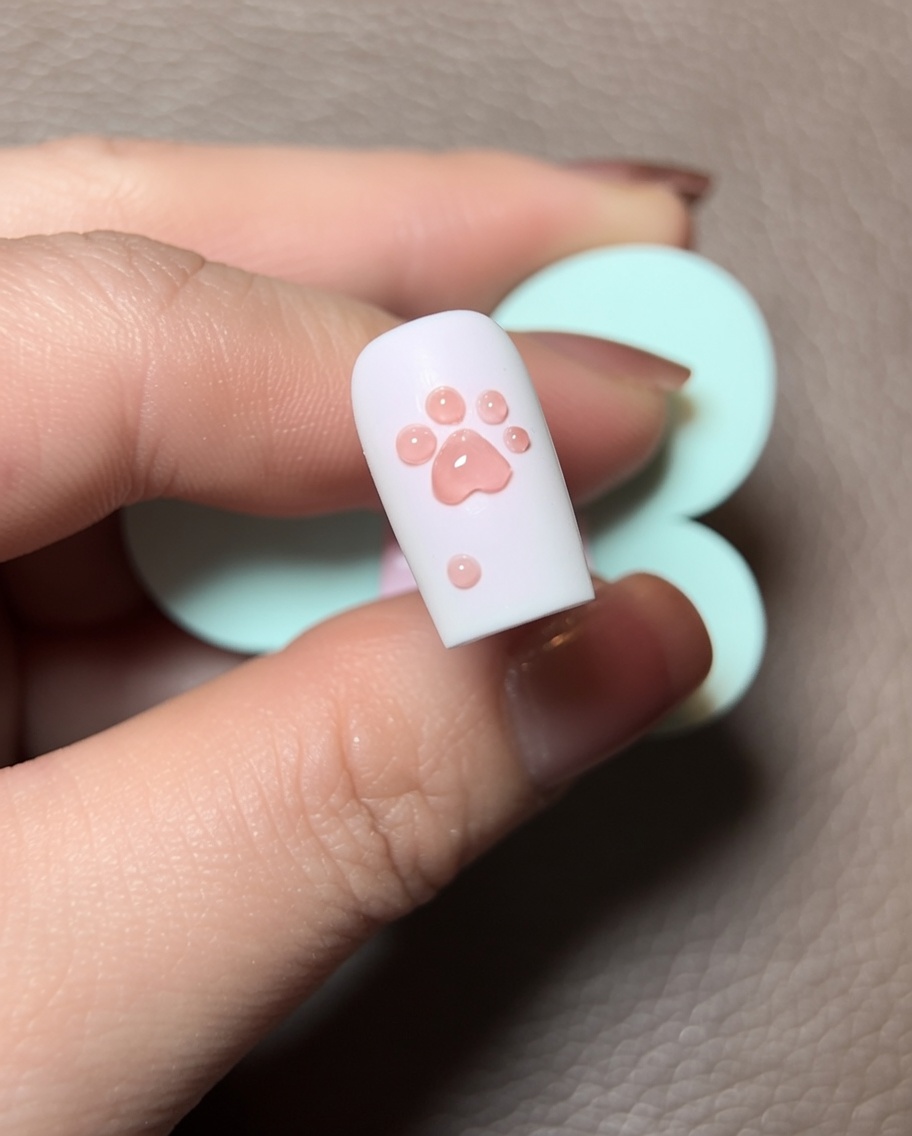
Carefully outline the perimeter of the 3D paw with red cat-eye gel to add a metallic shimmer and extra depth to the relief of the design.
Tip: Apply the gel sparingly to ensure it stays exactly where you place it without bleeding into the clear or soft gel. - 9Cure the 3D paw
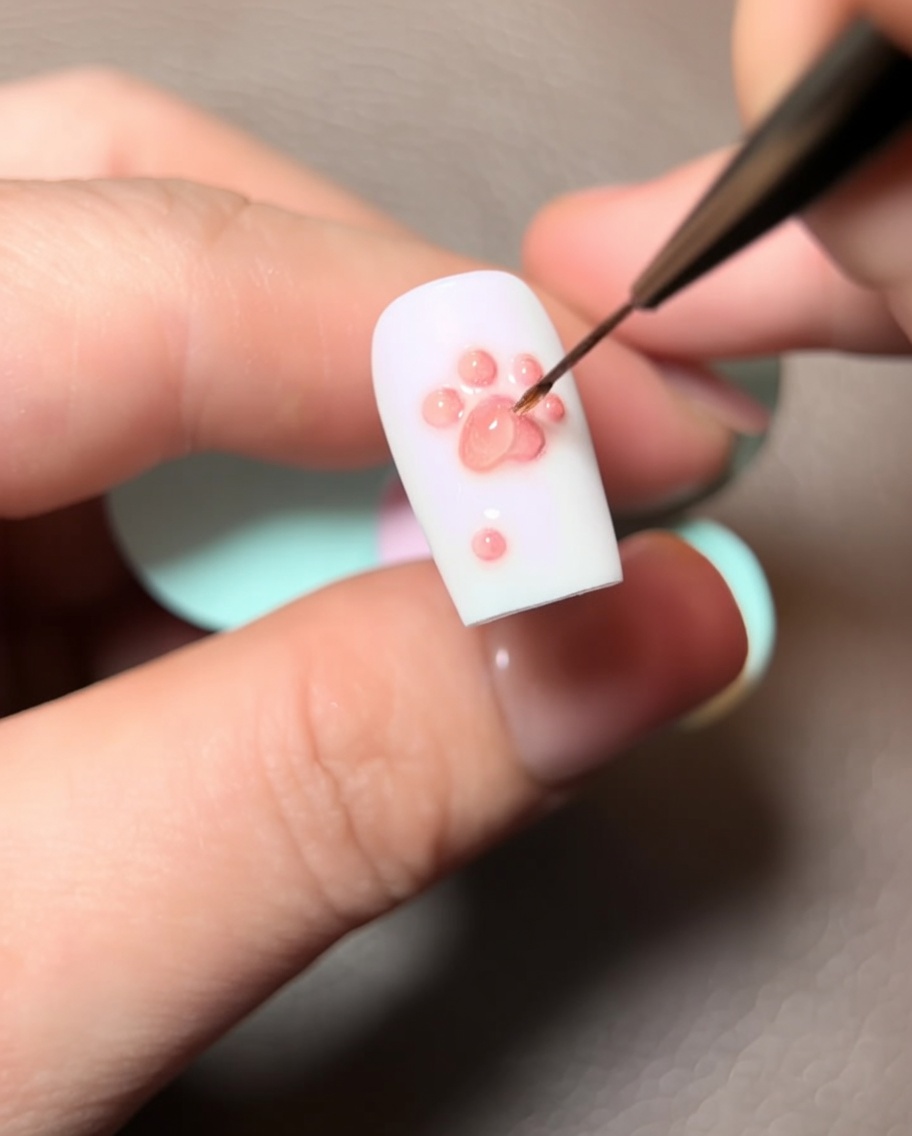
Apply a thin layer of top coat precisely over the 3D paw design only, then cure under your lamp to seal and protect the sculpted details.
Tip: Be careful not to let the top coat pool into the crevices of the paw, which could soften the sharp edges of the design. - 10Base coat around the paw
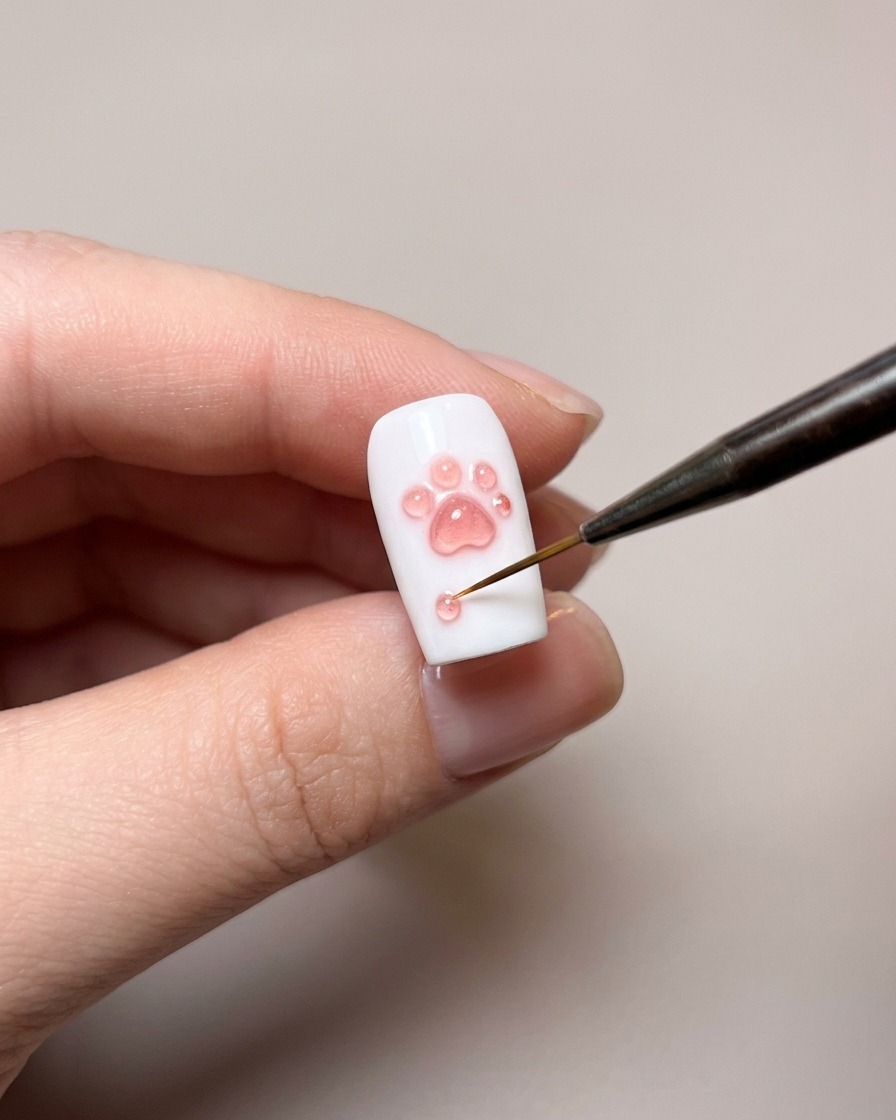
Apply a layer of base coat to the entire background of the nail, carefully using a small brush to navigate around the cured 3D paw without touching it.
Tip: Use a small brush to get close to the edges of the paw without overlapping onto the cured top coat. - 11Prepare for flocking
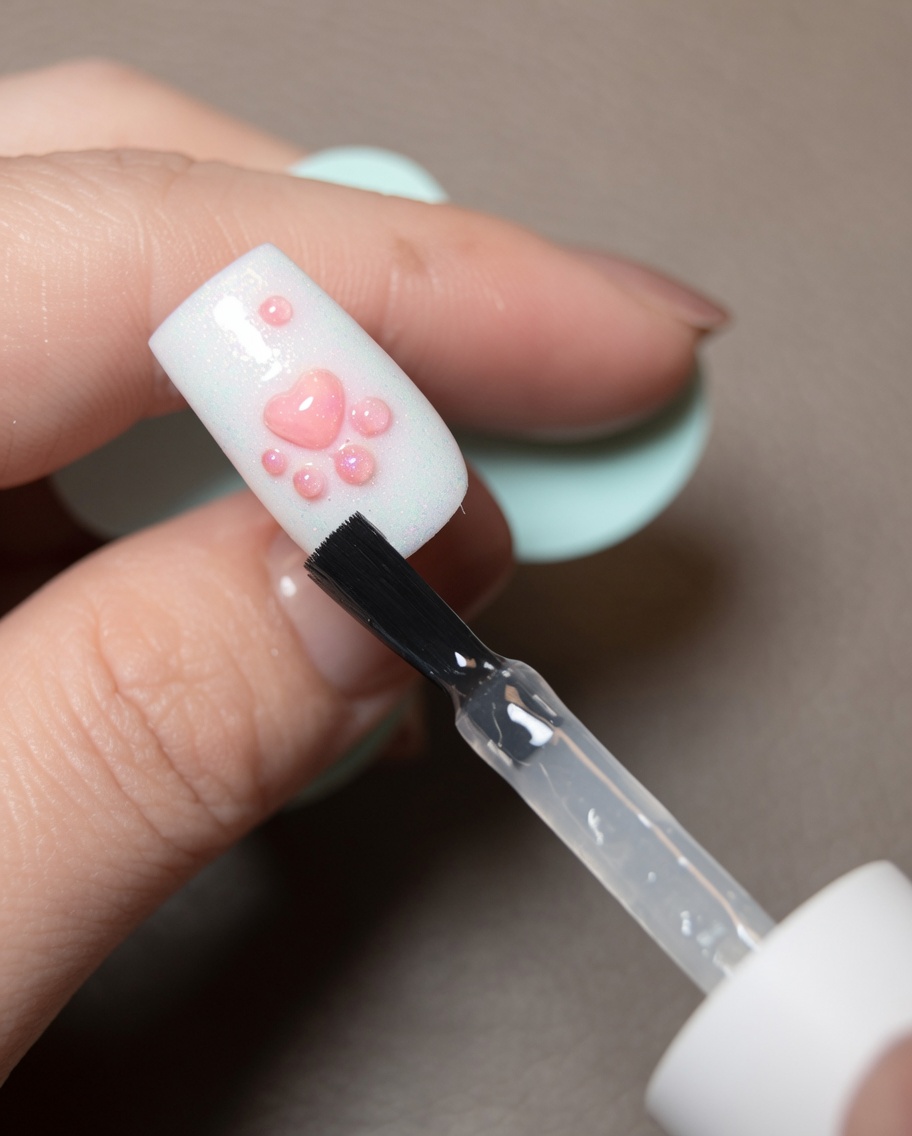
Ensure the base coat around the paw is applied evenly and remains uncured. The surface must be tacky to properly hold the flocking powder.
Tip: Ensure the entire surface area around the paw is evenly coated with the base gel for a smooth finish. - 12Apply flocking powder
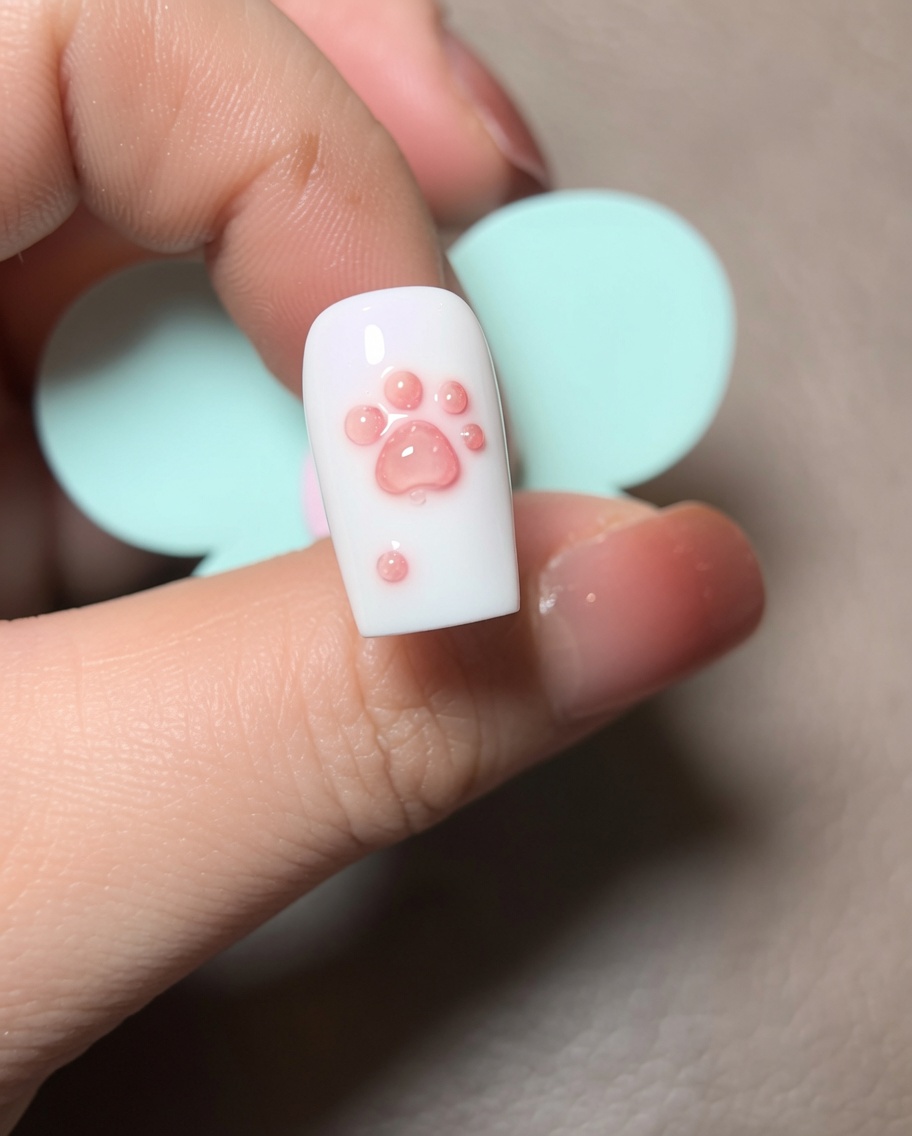
While the base coat is still wet, gently dip the nail into the container of white flocking powder, ensuring full coverage of the background area.
Tip: Do not press too hard into the powder, as you want to maintain a light, fuzzy texture. - 13Verify powder coverage
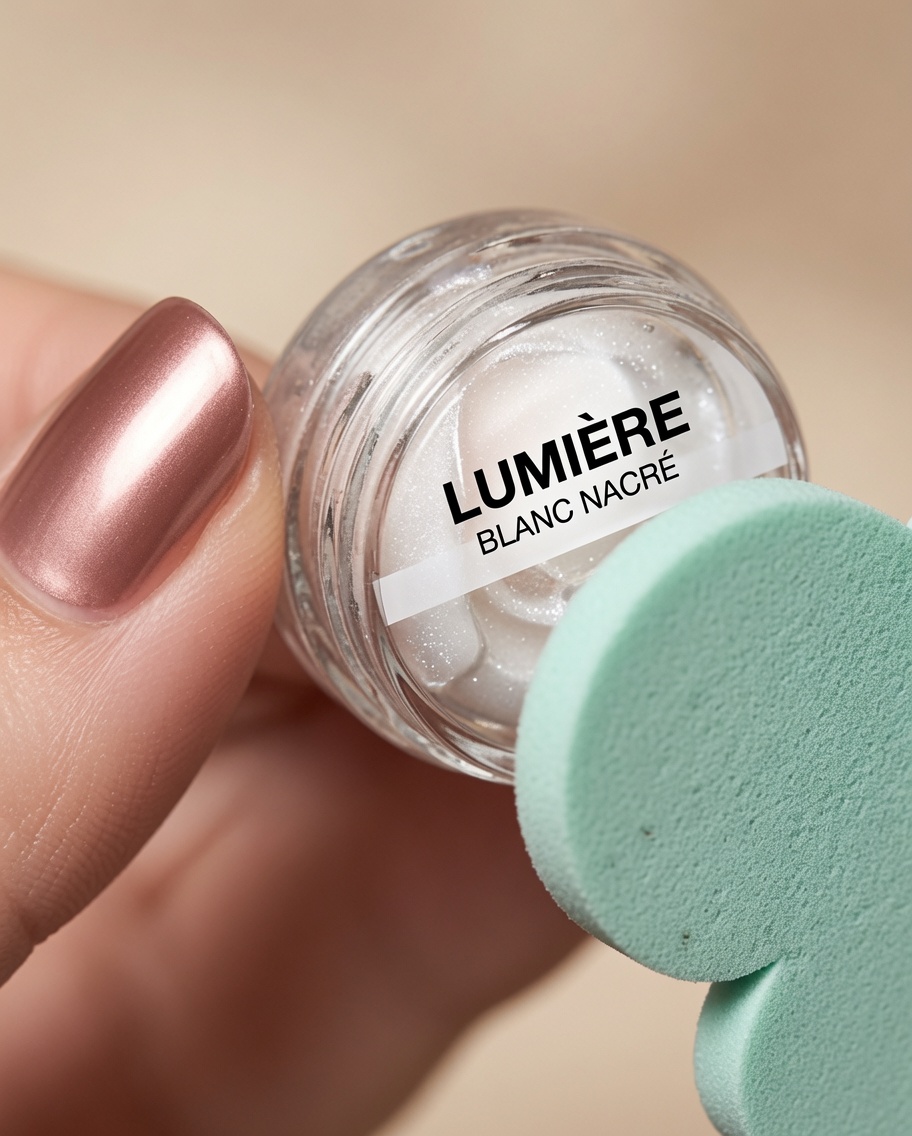
Inspect the nail closely to ensure no gaps remain in the powder coverage, especially around the edges of the 3D paw, before moving to the final cure.
Tip: Check the edges and around the 3D paw to ensure there are no bald spots where the gel might still be exposed. - 14Cure the nail
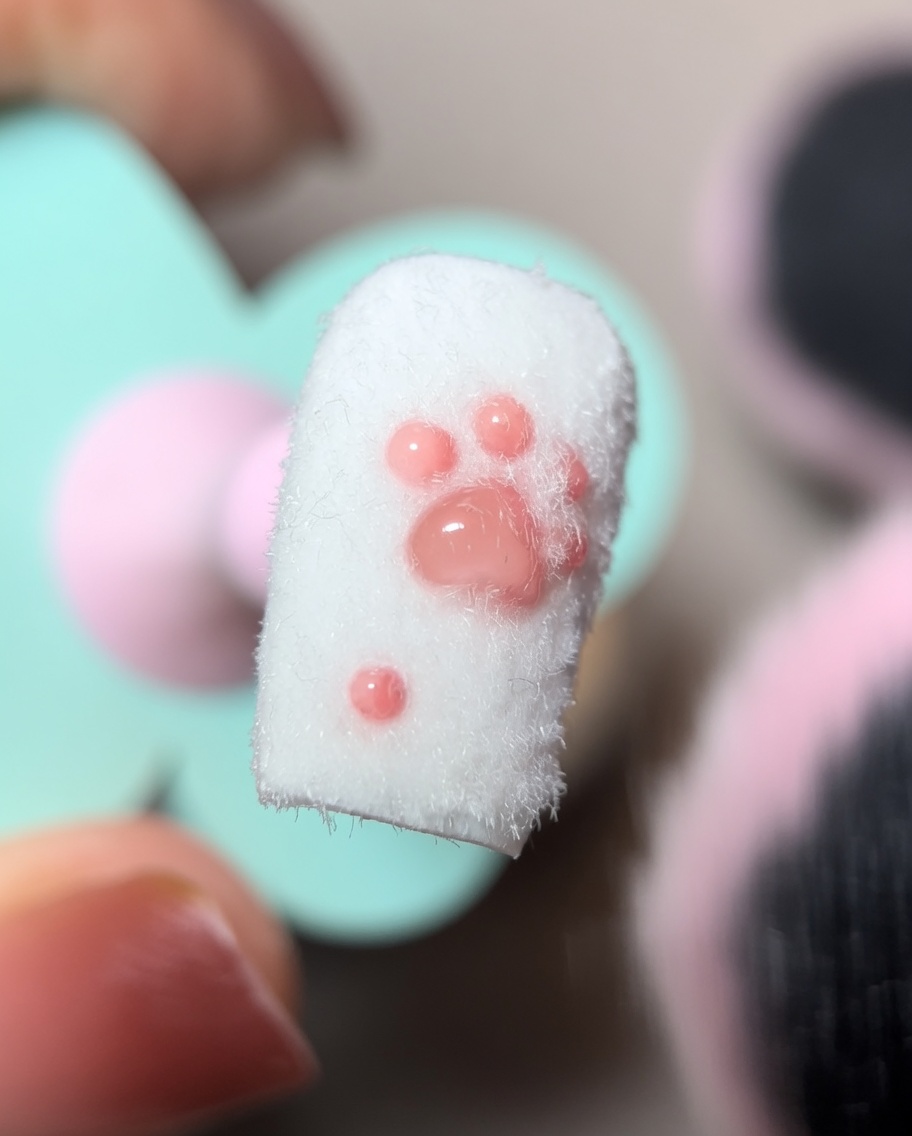
Place the nail under your UV/LED lamp for the full recommended time to set the base coat and permanently bond the flocking powder to the surface.
Tip: Follow the gel manufacturers recommended cure time for a full, long-lasting set. - 15Remove excess powder
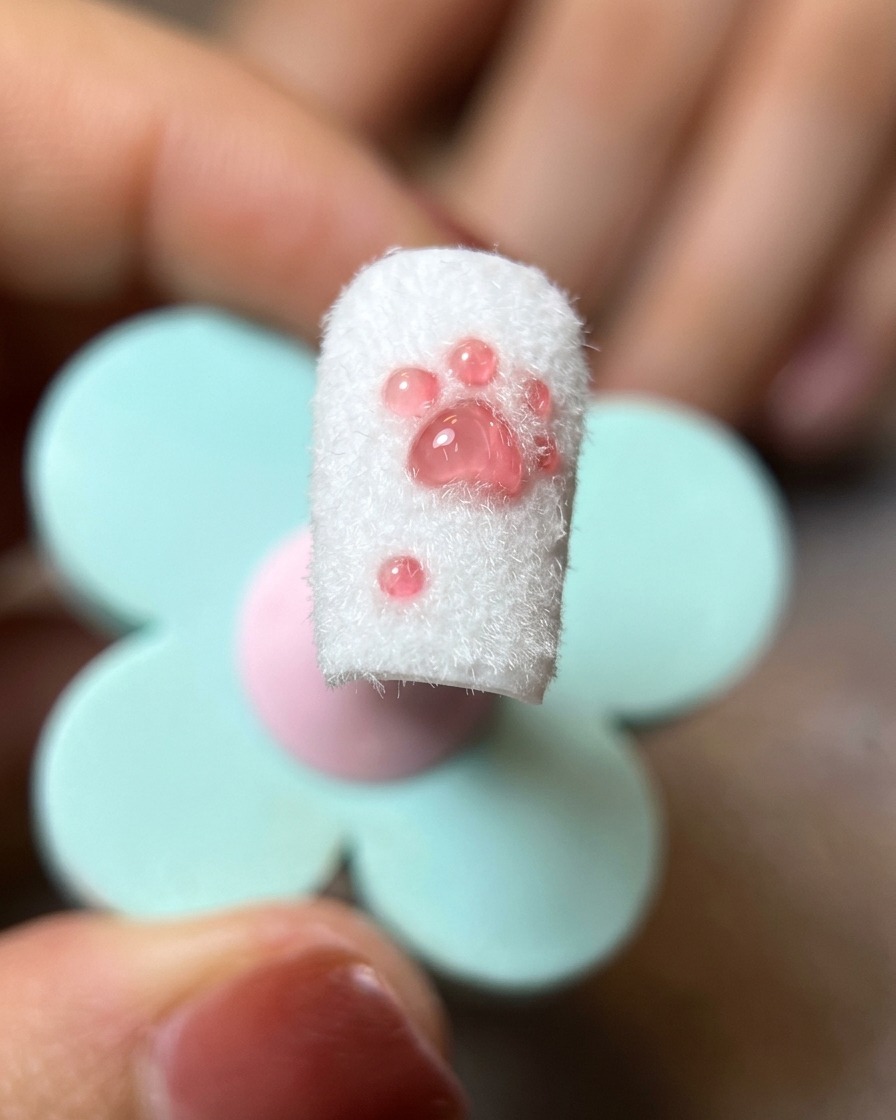
After curing, use a soft nail brush to gently sweep away loose particles, revealing the clean, fluffy texture of your completed cat paw nail.
Tip: Use light, sweeping motions to avoid damaging the delicate texture you have just created.