Fuzzy Plaid
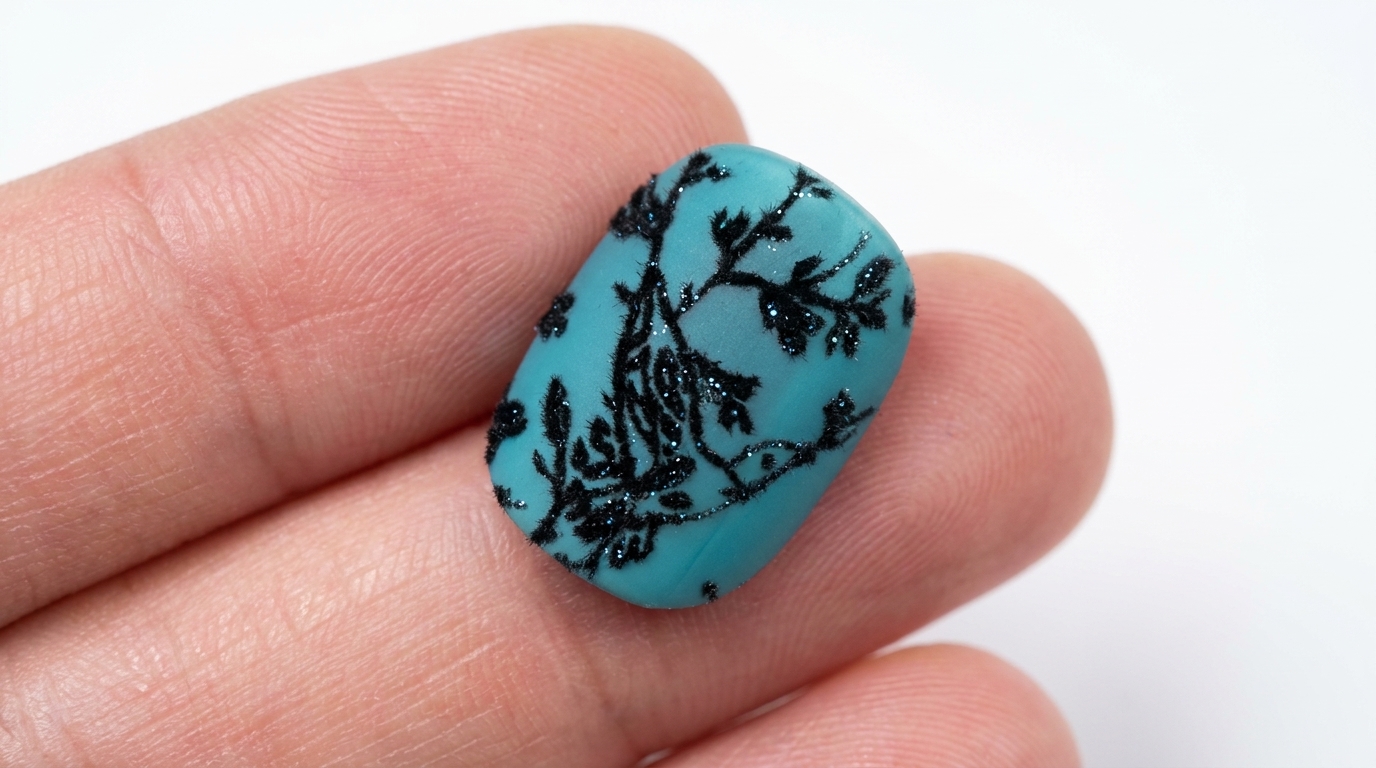
Sparkling Floral Flocked Nails — Texture Tutorial
Create stunning, 3D flocked nail art with a unique velvet texture. Learn how to combine clear crystal and mirror powders for a luxurious, sparkling finish.
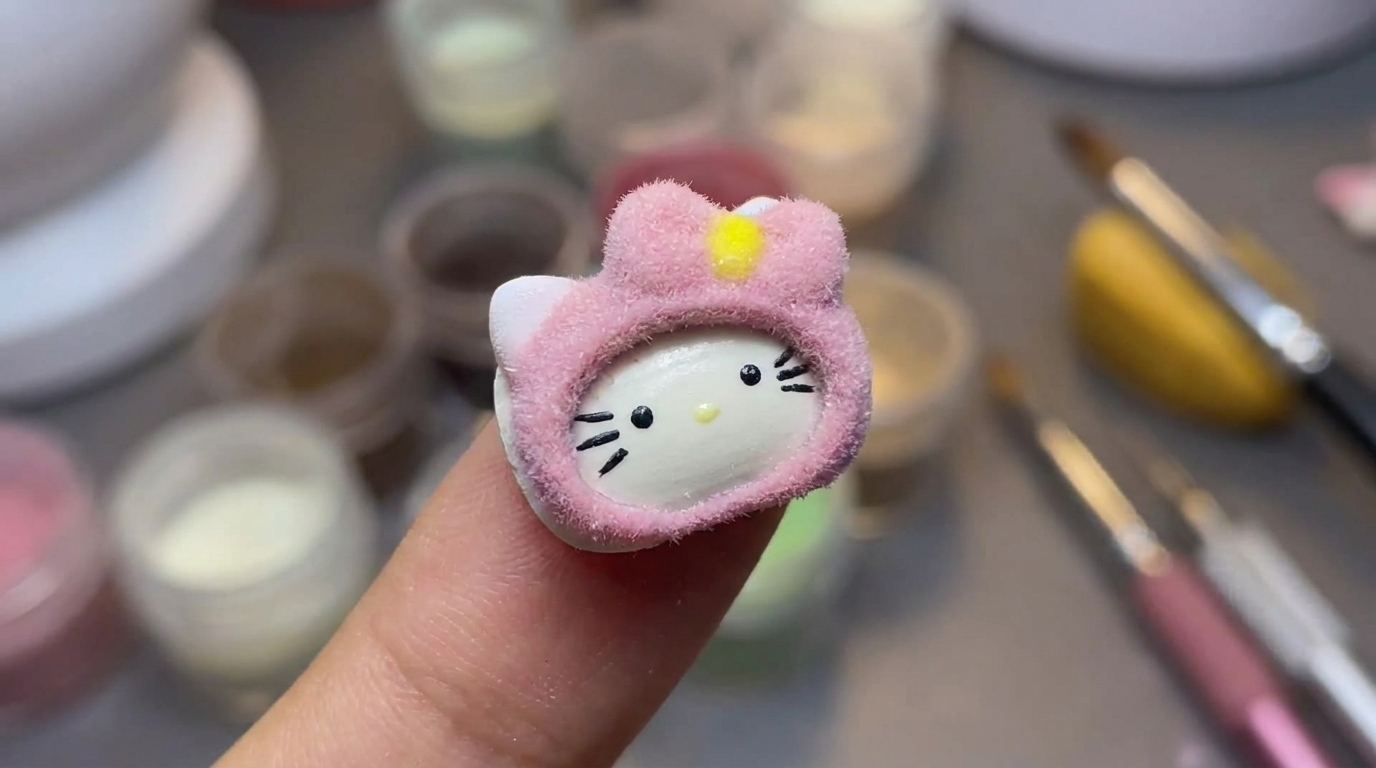
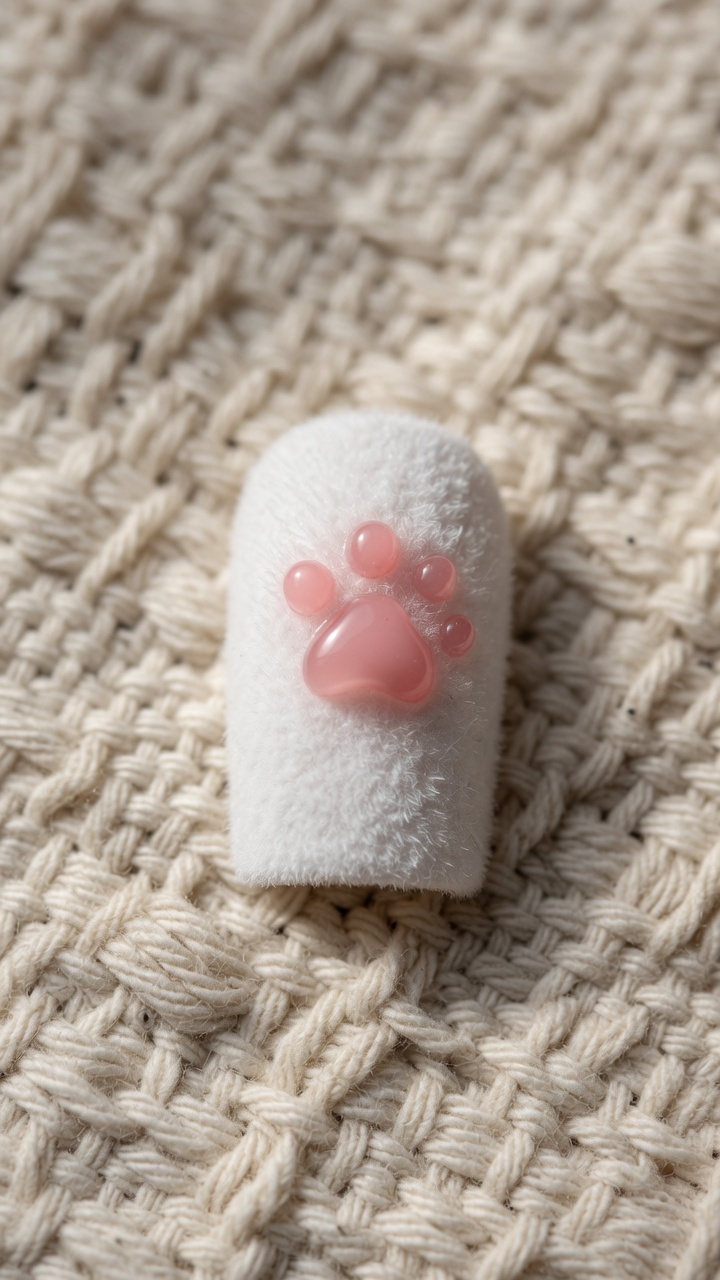
Elevate your nail art repertoire by mastering the art of flocking. This tutorial guides you through creating two distinct, tactile designs: a sophisticated fuzzy plaid and a sparkling, velvet-textured floral pattern. By using simple stamping techniques paired with custom powder blends, you can achieve professional, high-fashion textures right at home.
Steps
- 1Prepare your flocking supplies
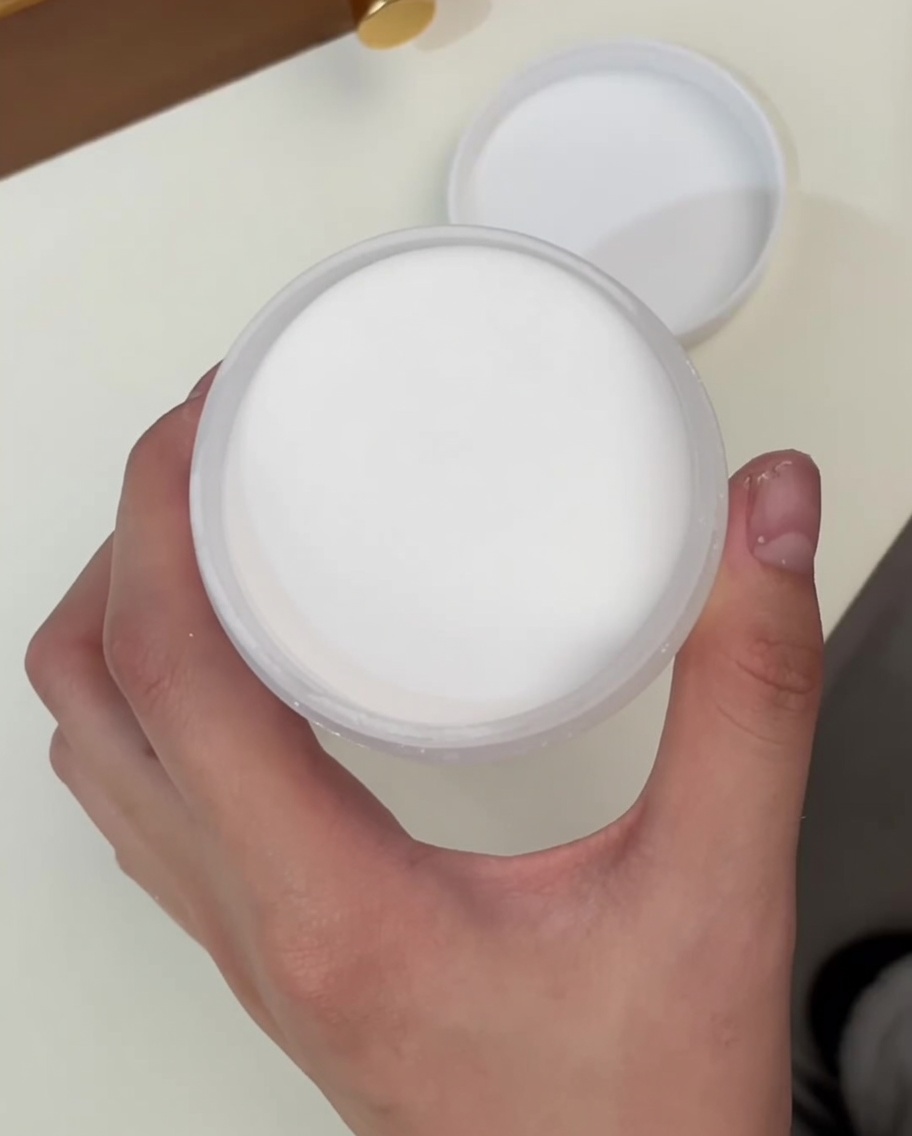
To create this signature fuzzy look, prepare your clear crystal powder. Keep the jar open and within reach, as the powder must be applied immediately after stamping to capture the wet polish effectively.
Tip: Ensure your nails already have a layer of top coat applied before you begin the stamping process. - 2Apply polish to the stamping plate
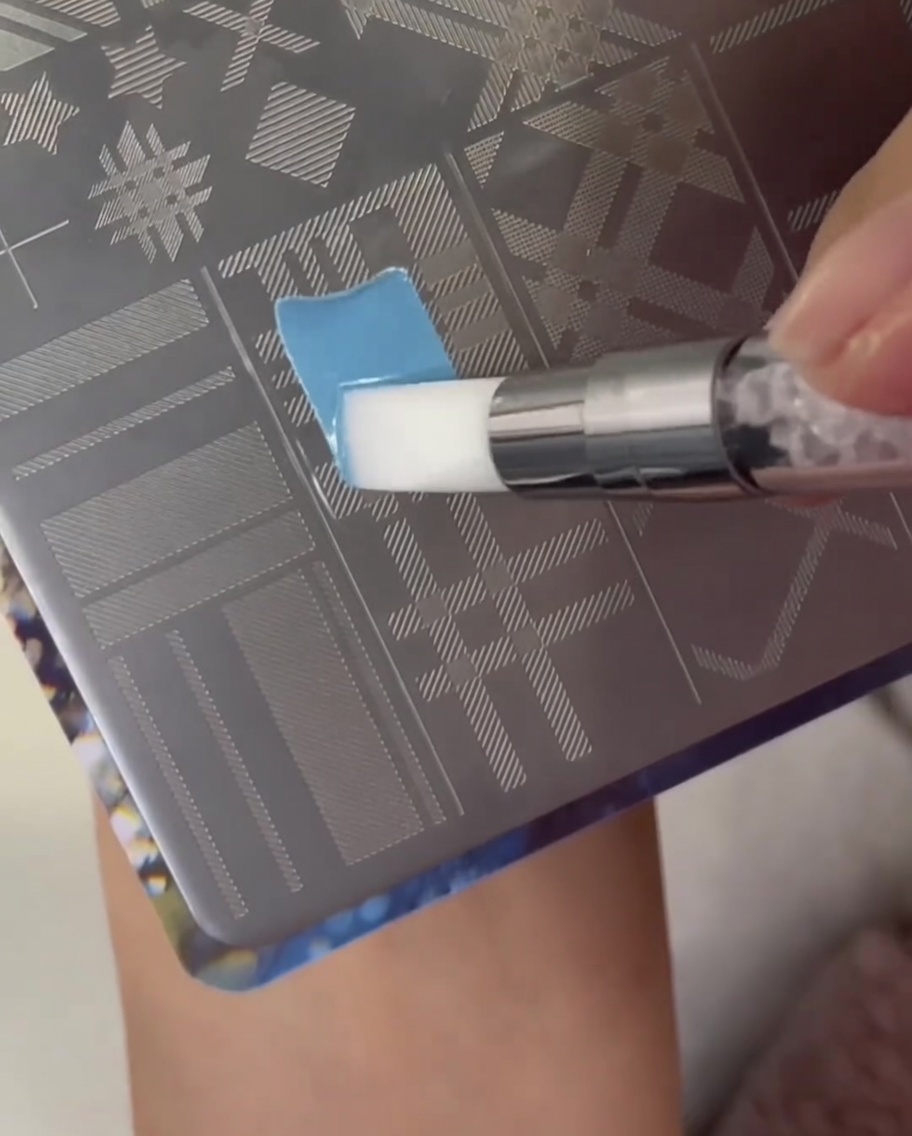
Take your metal stamping plate engraved with a plaid pattern and apply a light blue polish over the desired section. A generous amount of polish ensures the engraved lines are properly filled before scraping.
Tip: Work quickly when using stamping polish, as it air-dries much faster than traditional gel polish. - 3Scrape the stamping plate
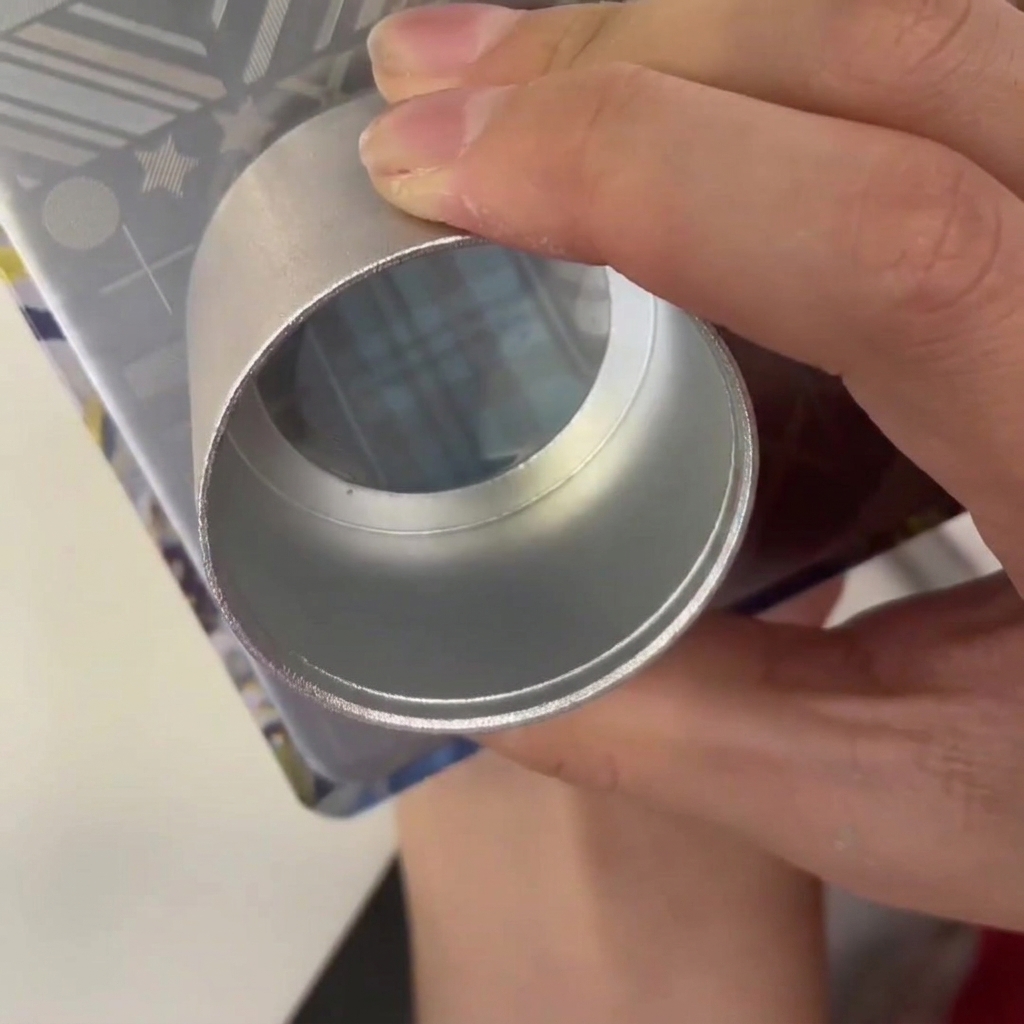
Apply your blue stamping polish to the engraved plaid design. Using a plastic scraper, firmly drag across the plate at a 45-degree angle. This removes excess polish while ensuring the engraved lines remain filled for a precise, sharp transfer.
Tip: Work quickly once you apply the polish, as stamping polish dries much faster than regular nail lacquer. - 4Pick up the design
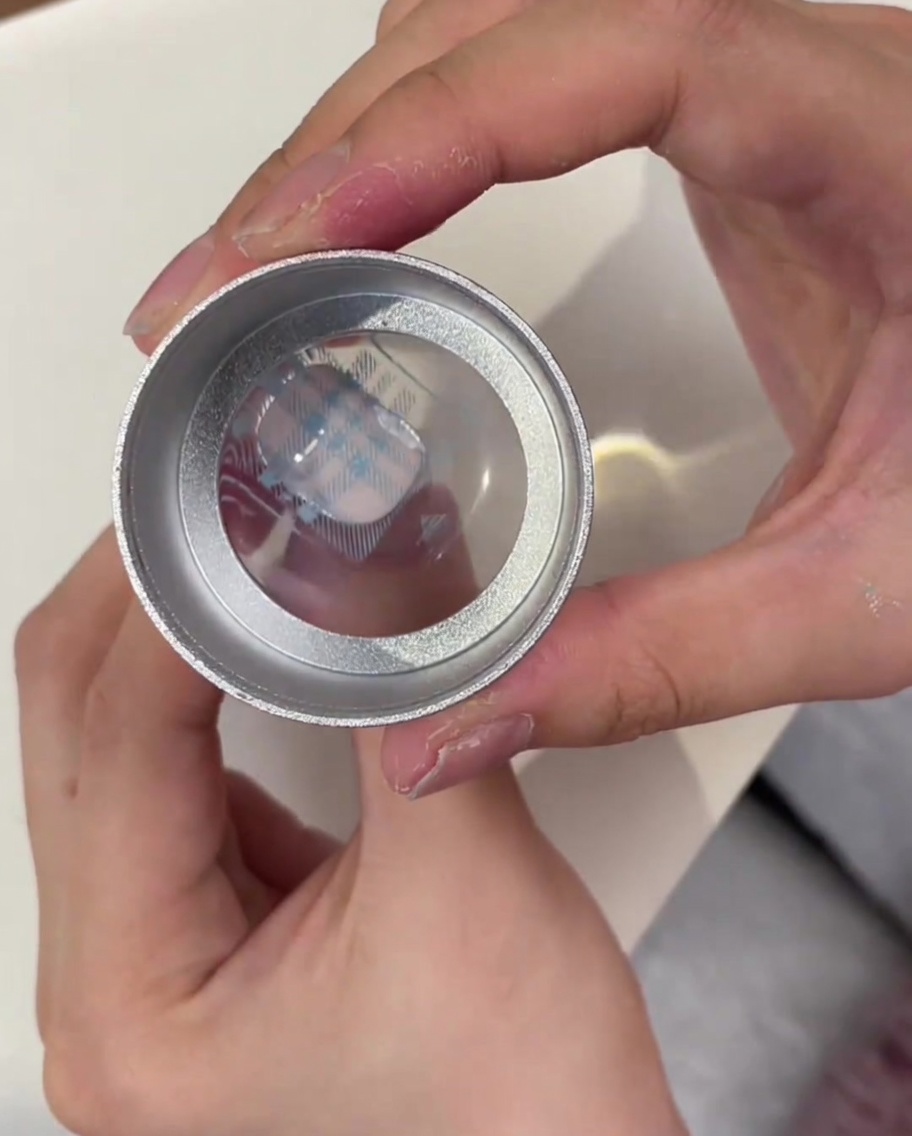
Gently but firmly press the clear jelly stamper down onto the design on the metal plate. Use a light rolling motion or a direct press to ensure the entire pattern is transferred onto the stamper head without air bubbles or distortion.
Tip: If the pattern doesnt pick up, ensure your stamper is clean and not overly greasy; you can gently wipe it with a lint roller. - 5Apply crystal powder
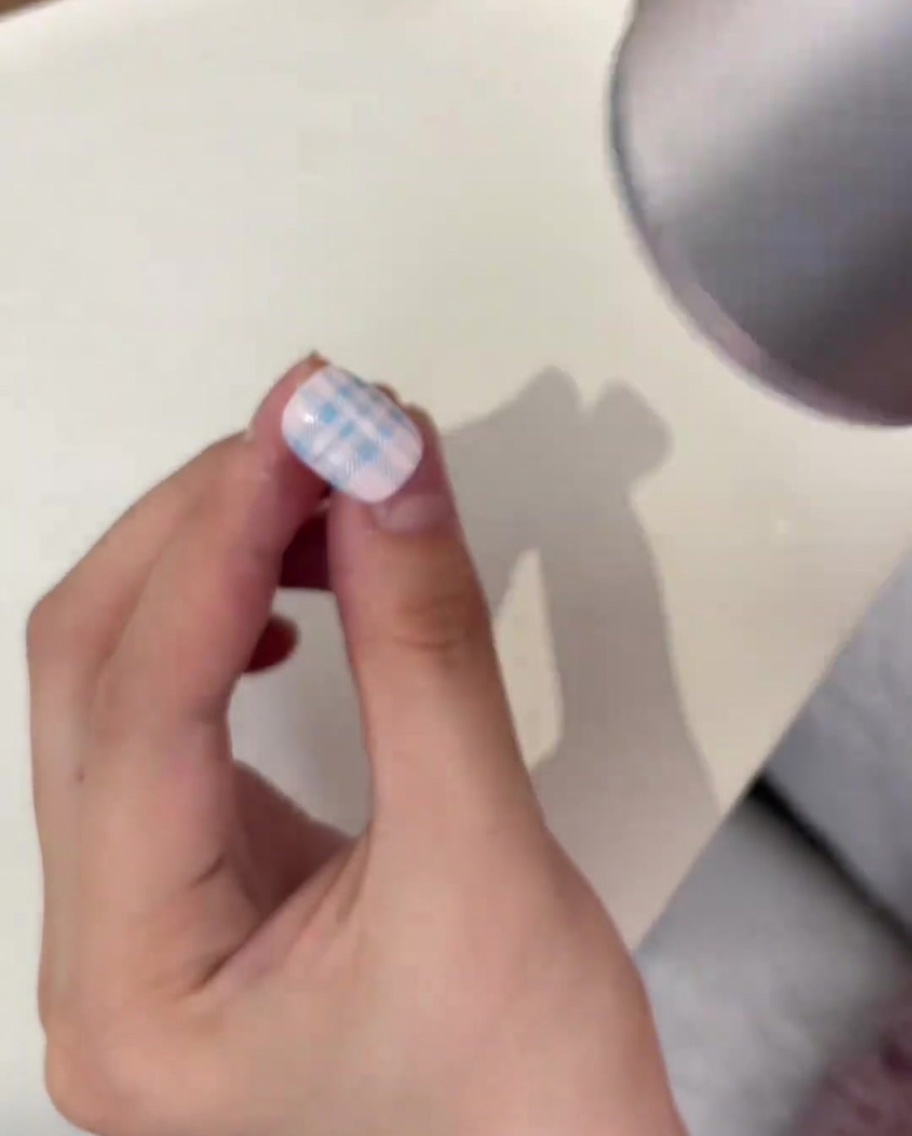
Immediately after stamping the blue plaid pattern onto your nail, use a metal cuticle pusher to scoop up clear crystal powder. Sprinkle the powder generously over the wet, stamped pattern on your nail so that it adheres to the polish.
Tip: Ensure the entire stamped area is fully covered with powder before you cure it under your lamp. - 6Saturate the nail with powder
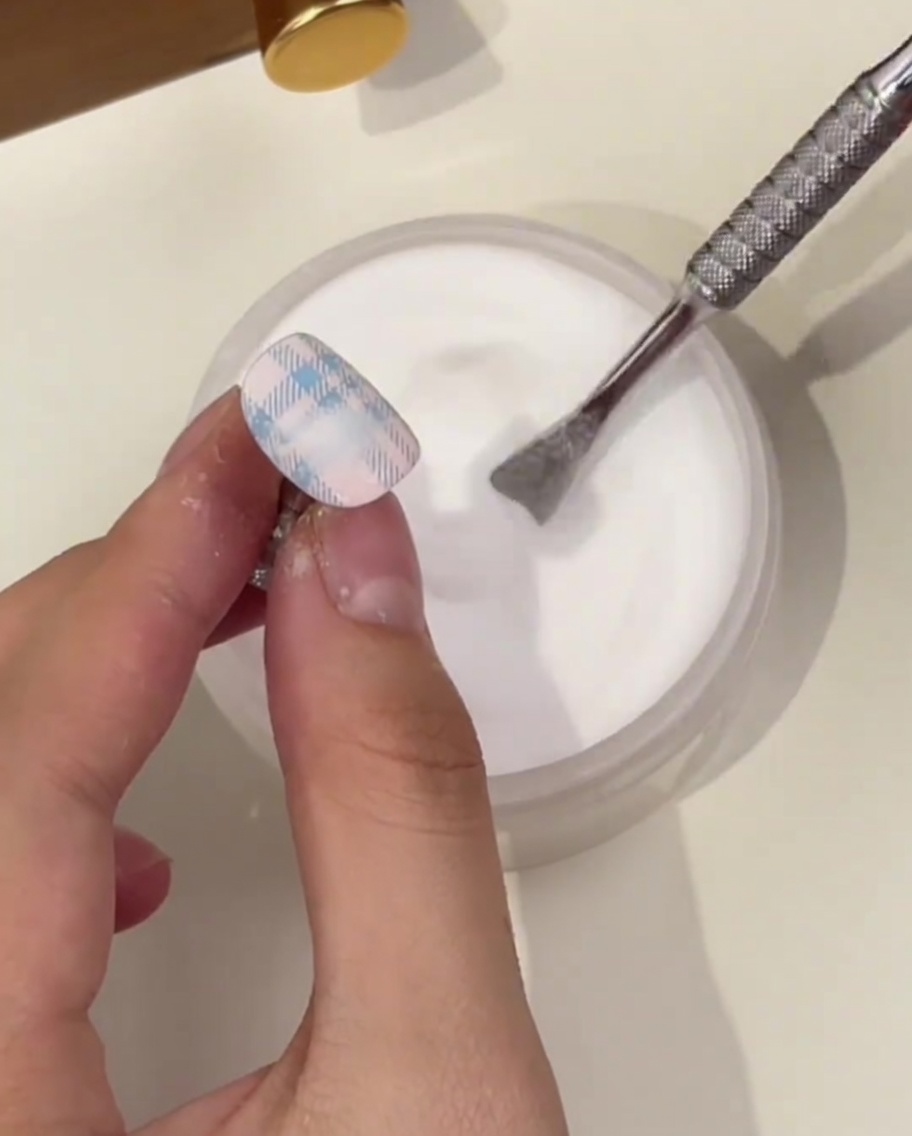
Hold the nail over your jar of clear crystal powder and use a metal cuticle pusher to generously sprinkle the powder directly over the freshly stamped plaid pattern. Continue sprinkling until the entire wet design is fully saturated to guarantee an even plush texture.
Tip: Do not tap off the excess powder immediately. Allow the powder to absorb into the wet polish for a few seconds before curing it under the lamp. - 7Sweep away excess powder
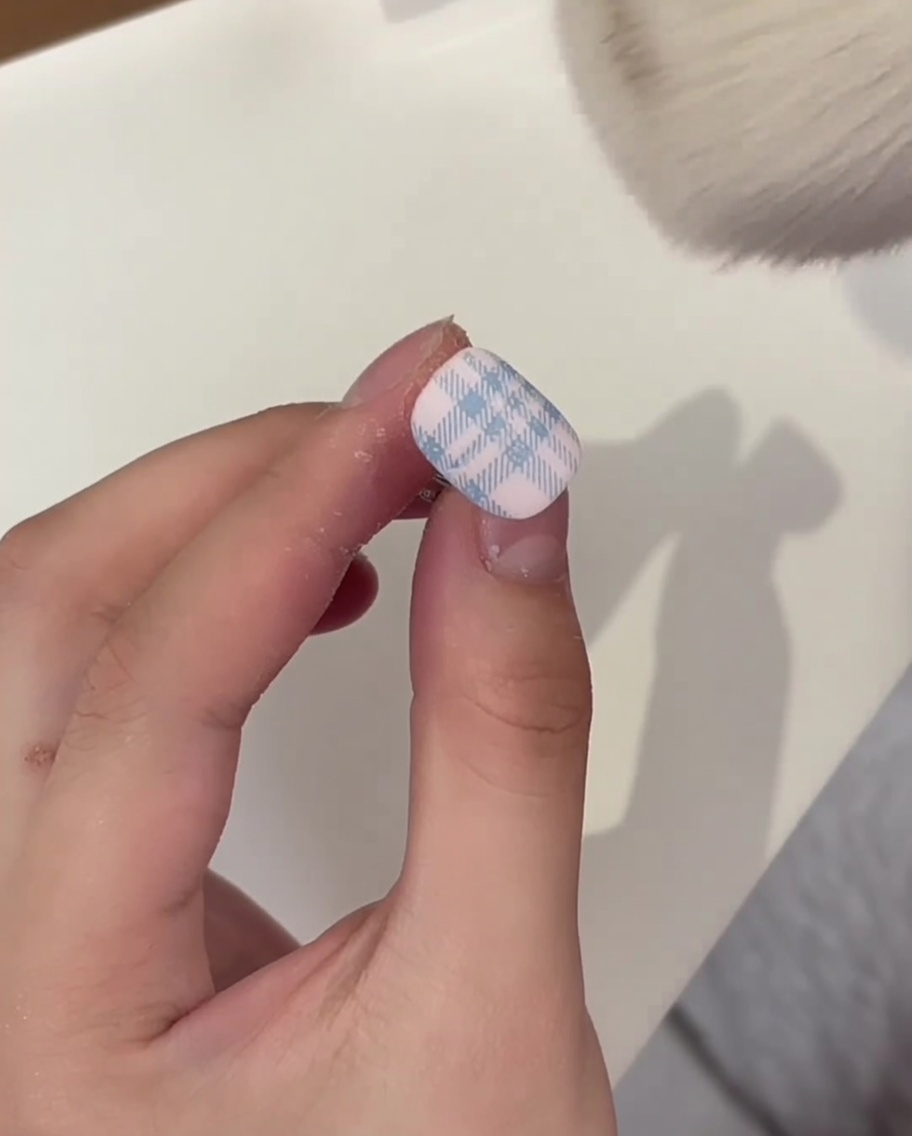
Once the nail has finished curing under the lamp to set the flocked design, take a large, fluffy makeup brush. Use it to gently but firmly sweep away all loose, unbound crystal powder to reveal the crisp, plush texture of your plaid design.
Tip: Make sure the powder is fully cured so you dont smudge the design while brushing off the excess. - 8Create your sparkling powder blend
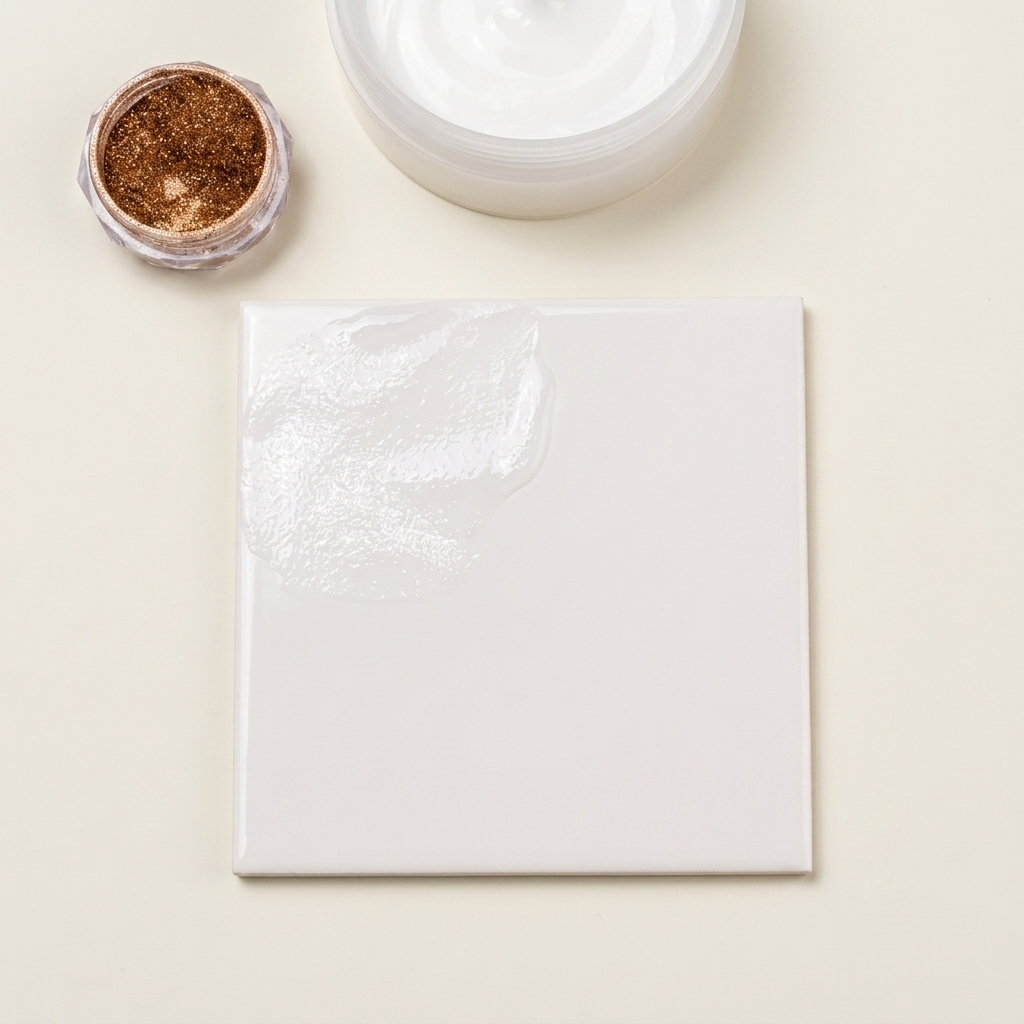
Prepare a custom textured blend on your palette by combining clear crystal powder with copper mirror or aurora powder. Aim for a ratio of three parts crystal powder to one part mirror powder to achieve the perfect balance of volume and sparkle.
Tip: Mix the powders thoroughly with your tool until the color is consistent before applying to the nail. - 9Blend the powder mixture
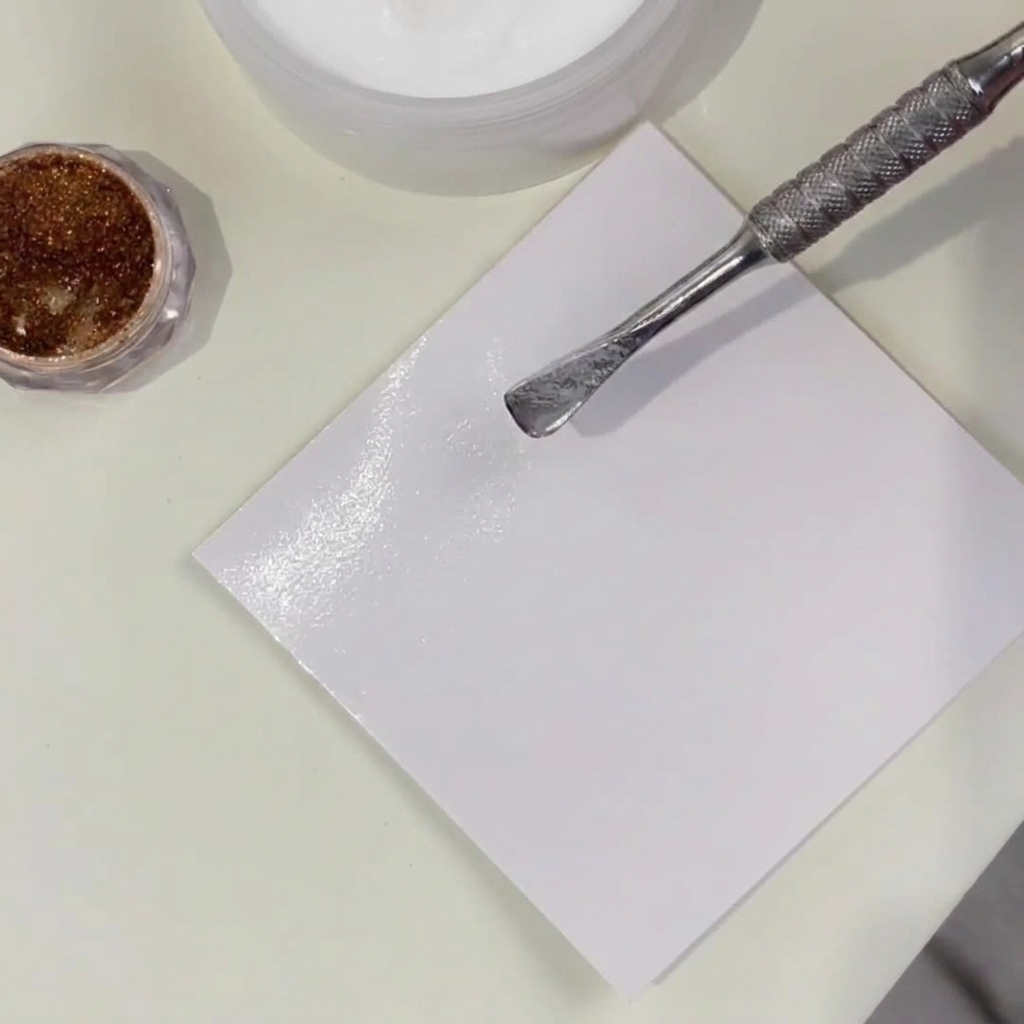
Place the measured clear crystal and mirror powders on your mixing palette. Use a metal cuticle pusher to thoroughly stir and blend them until the color and consistency are completely uniform for a consistent sparkle across the entire design.
Tip: Ensure the powders are completely integrated to achieve an even sparkle and texture across your nail design. - 10Pick up the floral stamp
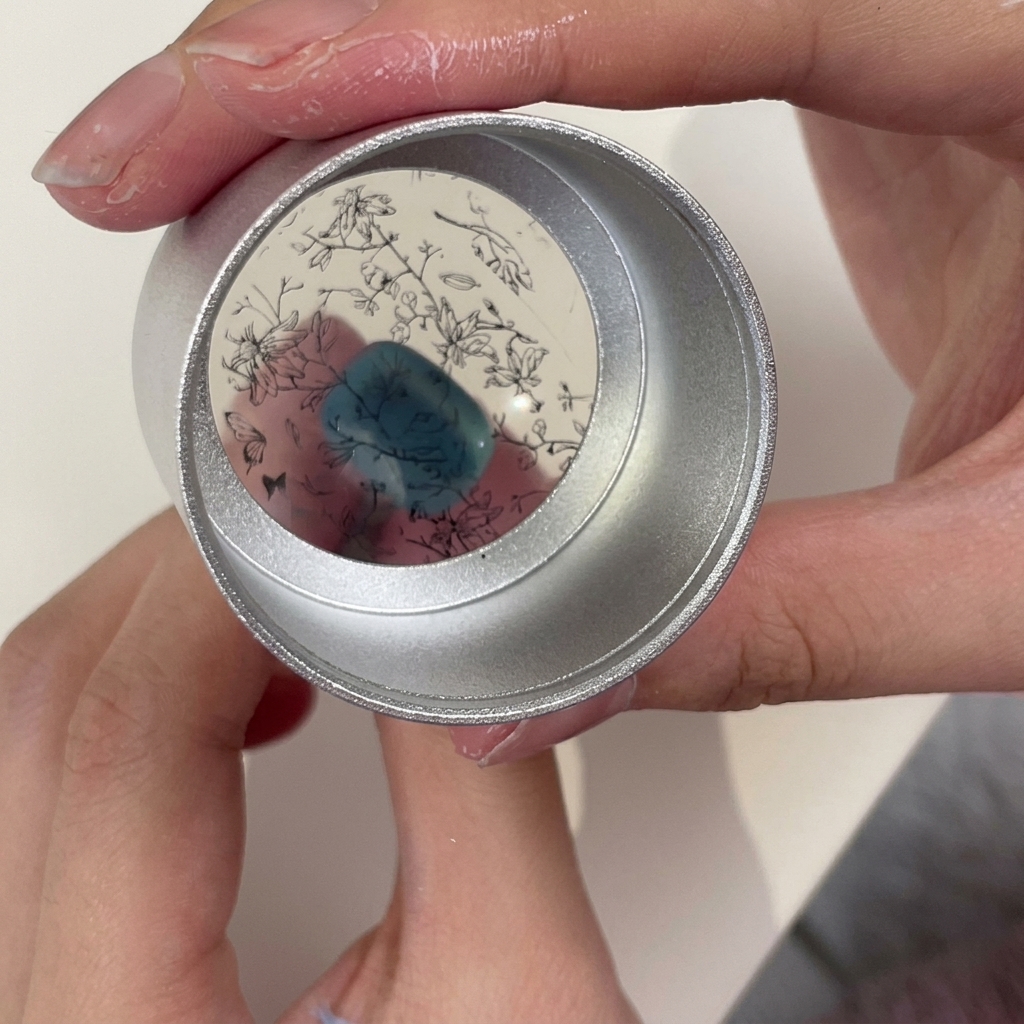
Apply black stamping polish to your chosen floral and branch design on the stamping plate. Use a scraper to remove excess polish, then firmly press the clear jelly stamper onto the image to pick it up. Verify that the pattern is clear and complete on the stamper head before transferring.
Tip: Work quickly once you apply the polish to the plate so it doesnt dry before you can pick up the image. - 11Transfer the floral design
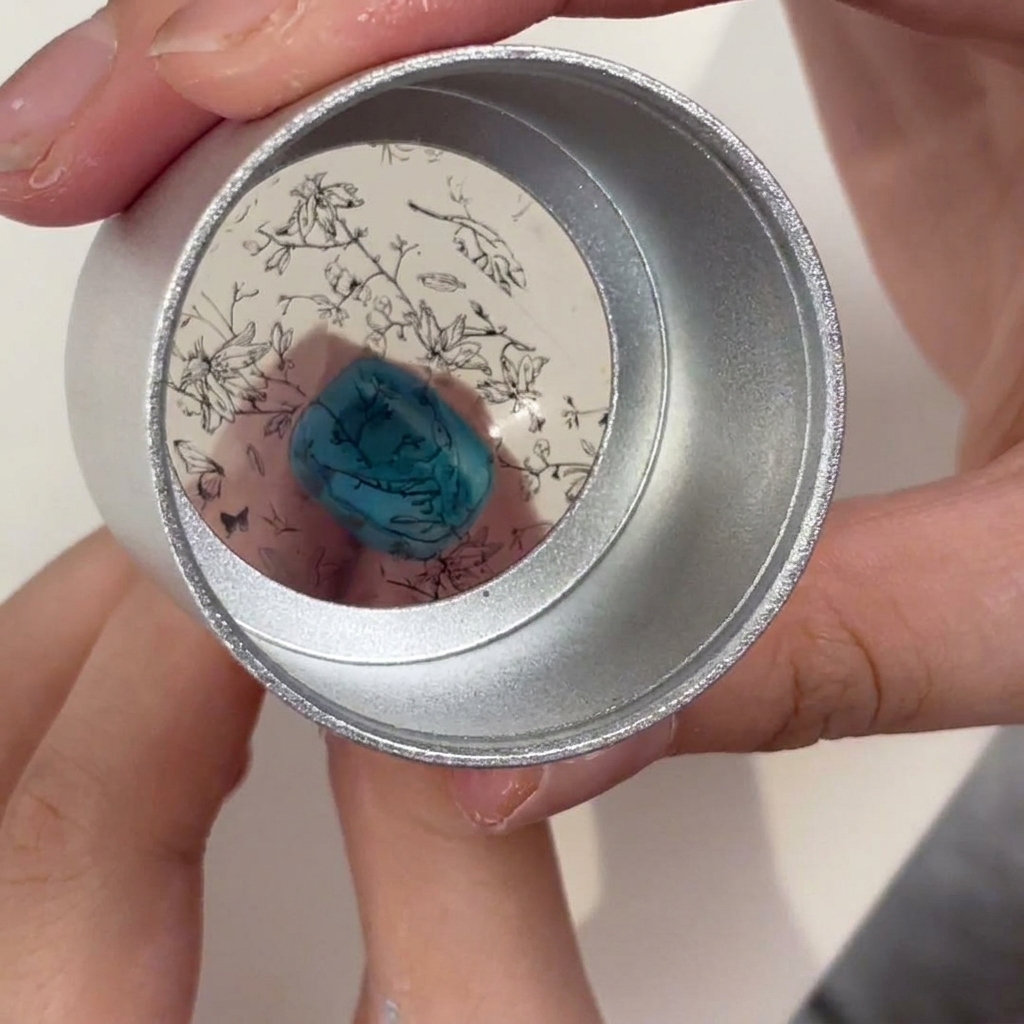
Ensure your turquoise base nail is finished with a matte top coat and fully cured. Carefully align your clear jelly stamper over the nail and press down firmly to transfer the black floral pattern, then lift the stamper straight up to avoid smearing.
Tip: A matte-finished base provides a better grip for the stamping polish, helping the design transfer cleanly. - 12Apply powder to the design
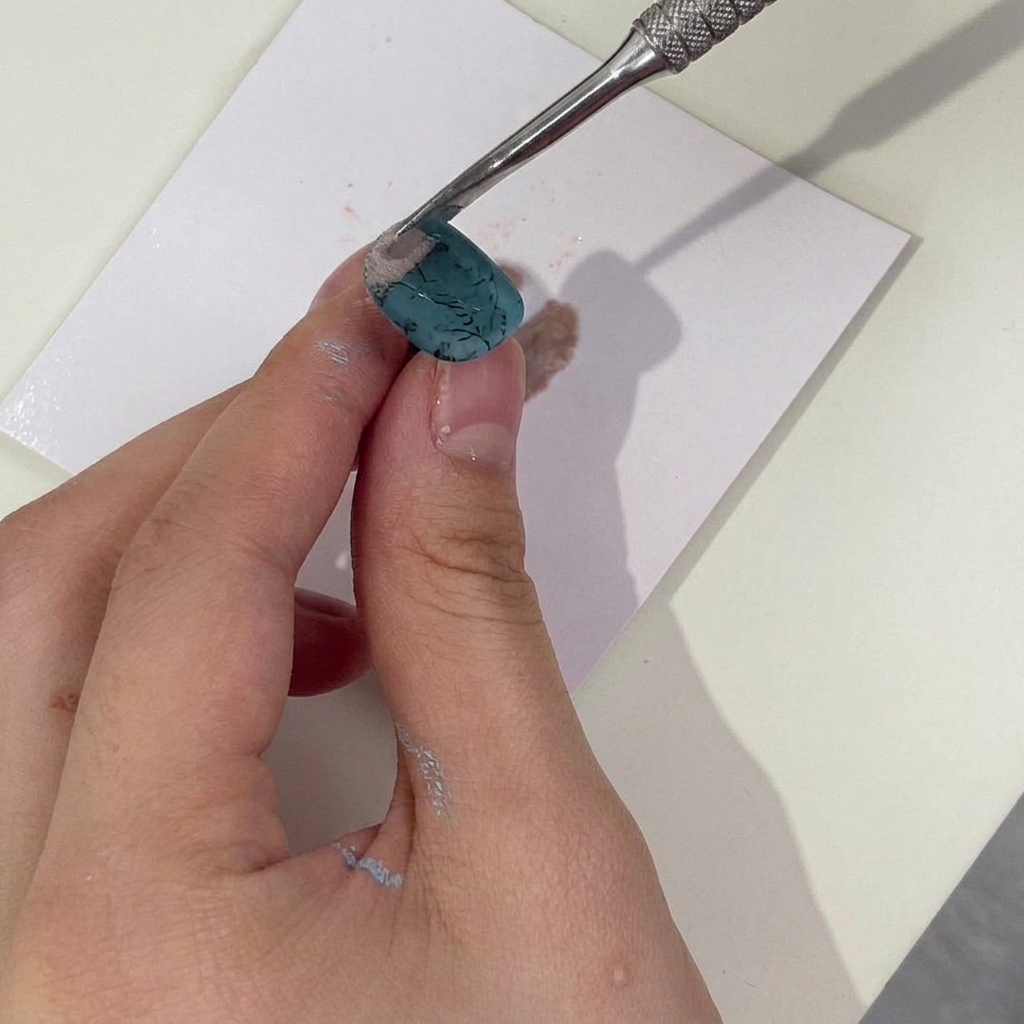
Immediately after transferring the stamp, while the polish is still wet, use your metal tool to scoop up the previously mixed powder blend. Carefully sprinkle the powder over the wet black stamped pattern, ensuring it covers the entire design.
Tip: Sprinkle the powder gently to avoid disturbing the stamped lines while the polish is still wet. - 13Reinforce powder coverage
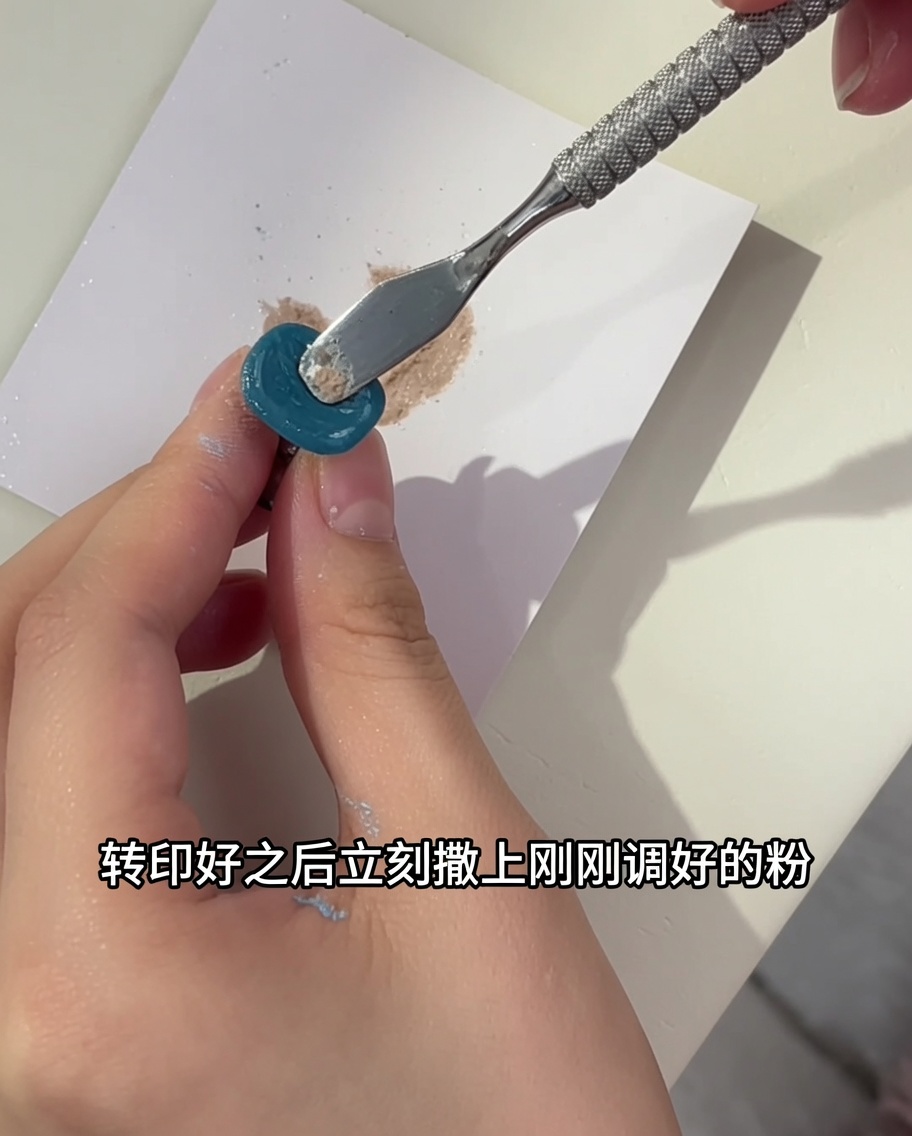
Add another scoop of the powder mixture to cover any remaining wet areas, specifically focusing on the tip and the edges of the nail. This ensures the entire pattern is fully coated and will adhere correctly during the curing process.
Tip: Ensure there is enough powder to fully saturate the wet polish for a consistent flocked texture. - 14Dust off excess powder
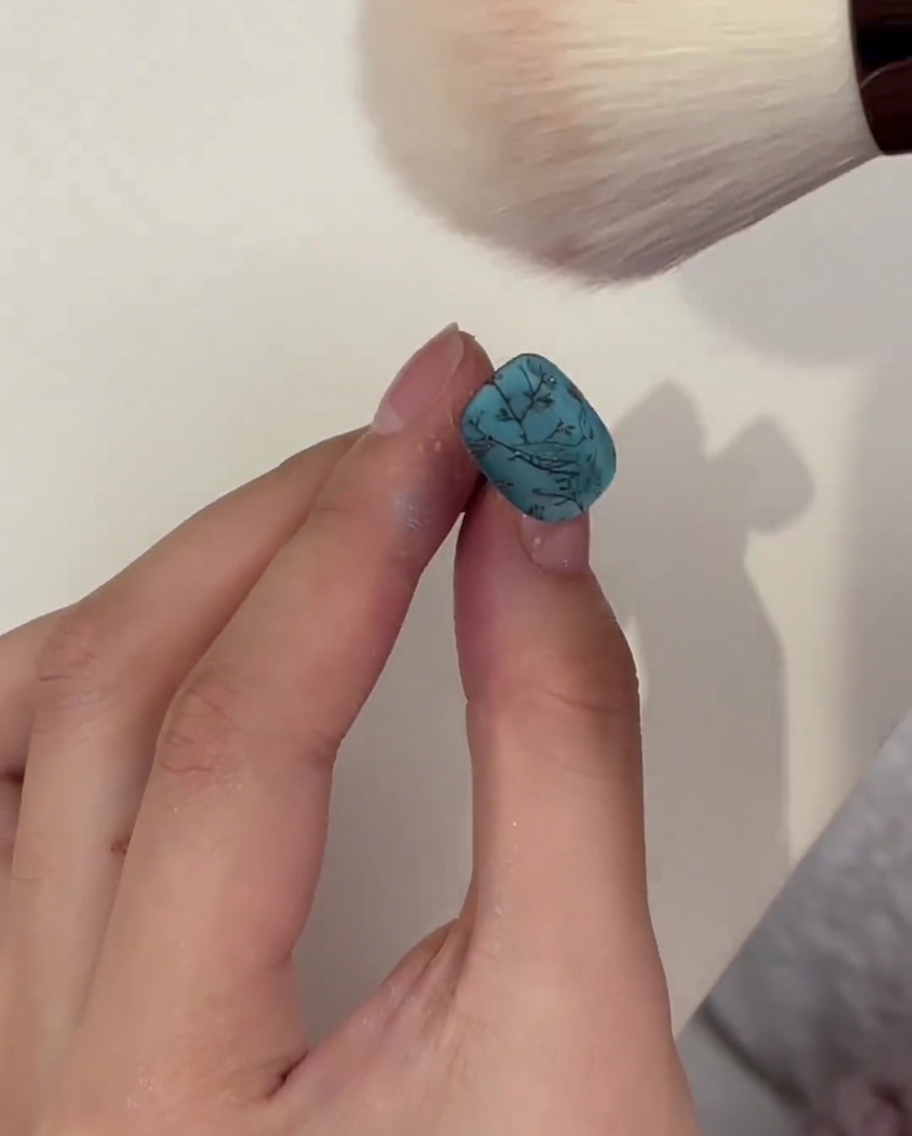
After curing the nail under the lamp to set the powder-coated design, use a clean, fluffy brush to gently dust off all the loose, excess glitter powder. Sweep the brush lightly across the surface until only the adhered flocked design remains on the turquoise nail.
Tip: Brush in multiple directions to ensure every bit of loose powder is removed from the grooves of the floral pattern.