Fluffy Velvet Hello Kitty Nail Art — Step-by-Step 3D Gel Tutorial
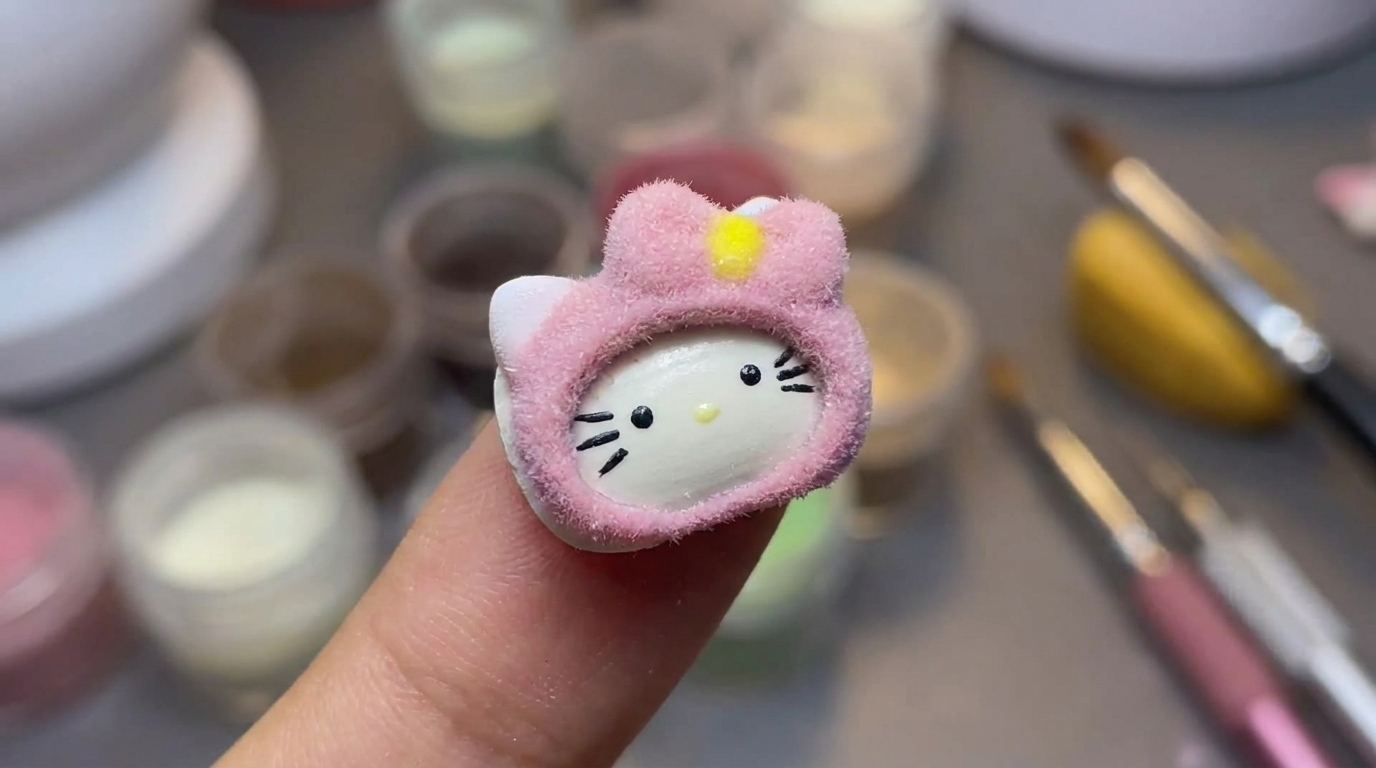
Transform your 3D nail charms with this adorable fluffy velvet gel nail art tutorial. Learn how to apply flocking powder for a fuzzy, plush finish.
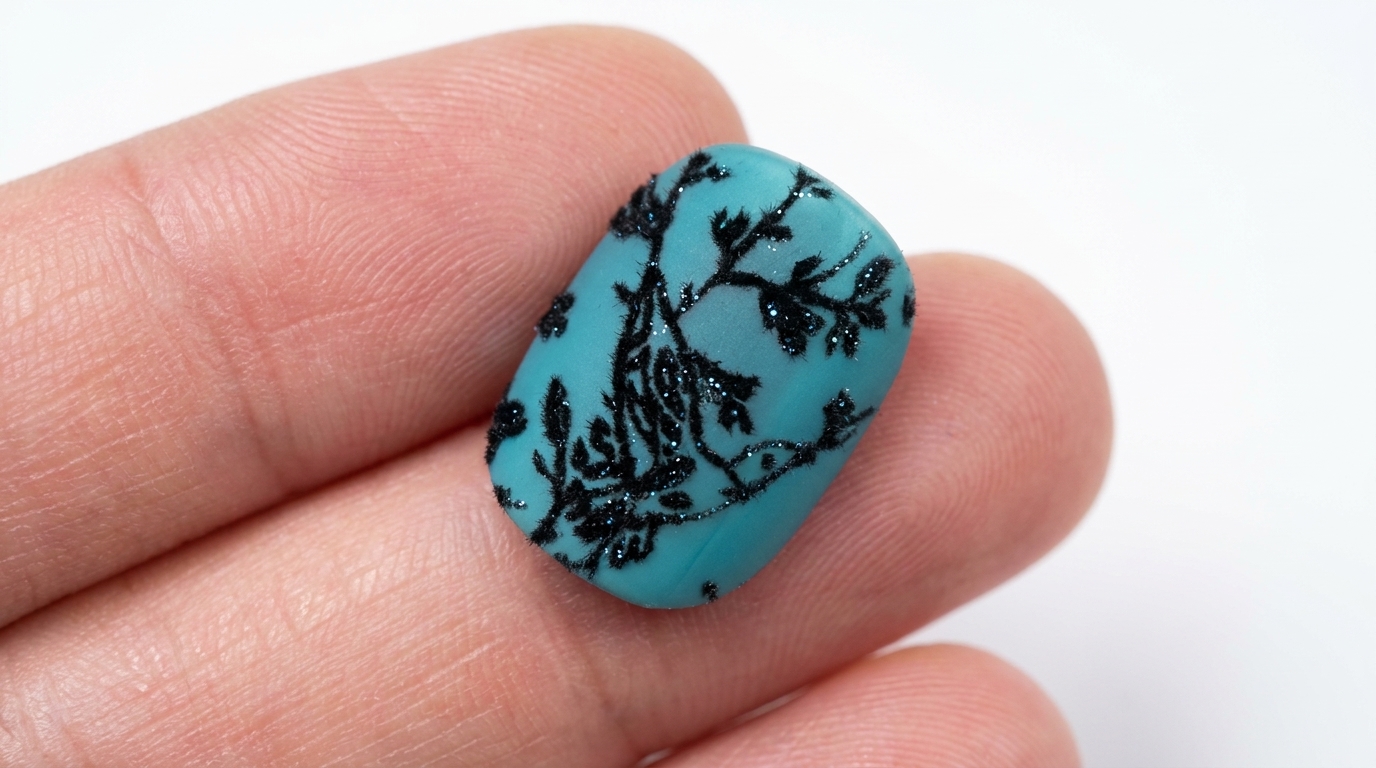
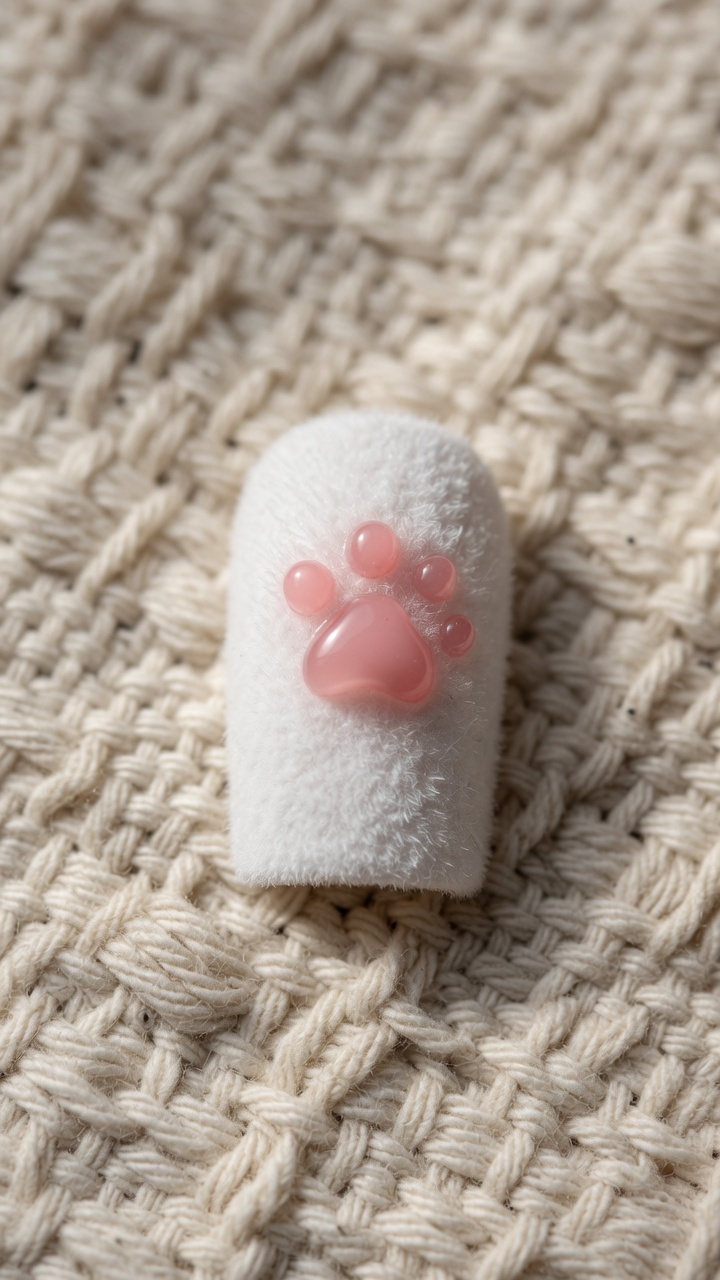
Velvet powder is the perfect way to add a realistic, plush texture to your 3D nail art designs. By using a specialized velvet top coat, you can easily adhere flocking powder to your gel characters, giving them an incredibly cute, fuzzy finish that resembles a real stuffed toy. This technique is especially popular for character nails like Hello Kitty, teddy bears, and cozy winter-themed designs.
Steps
- 1Select velvet powder color
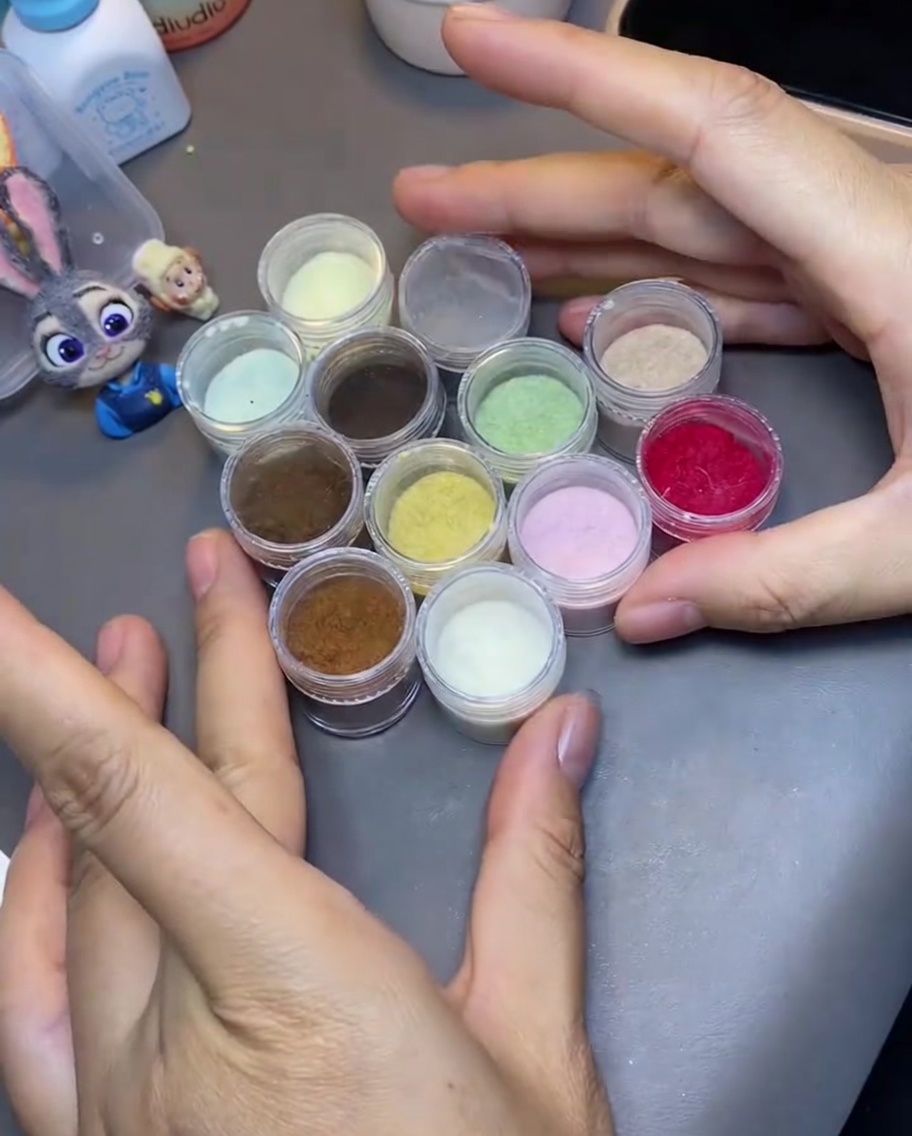
Using tweezers, pick up the small container of velvet powder you plan to use for your design. Having your powders ready and accessible makes the application process much smoother, especially when working with detailed 3D elements.
Tip: Keep your containers organized by color so you can quickly switch between them during the design process. - 2Prepare velvet powder
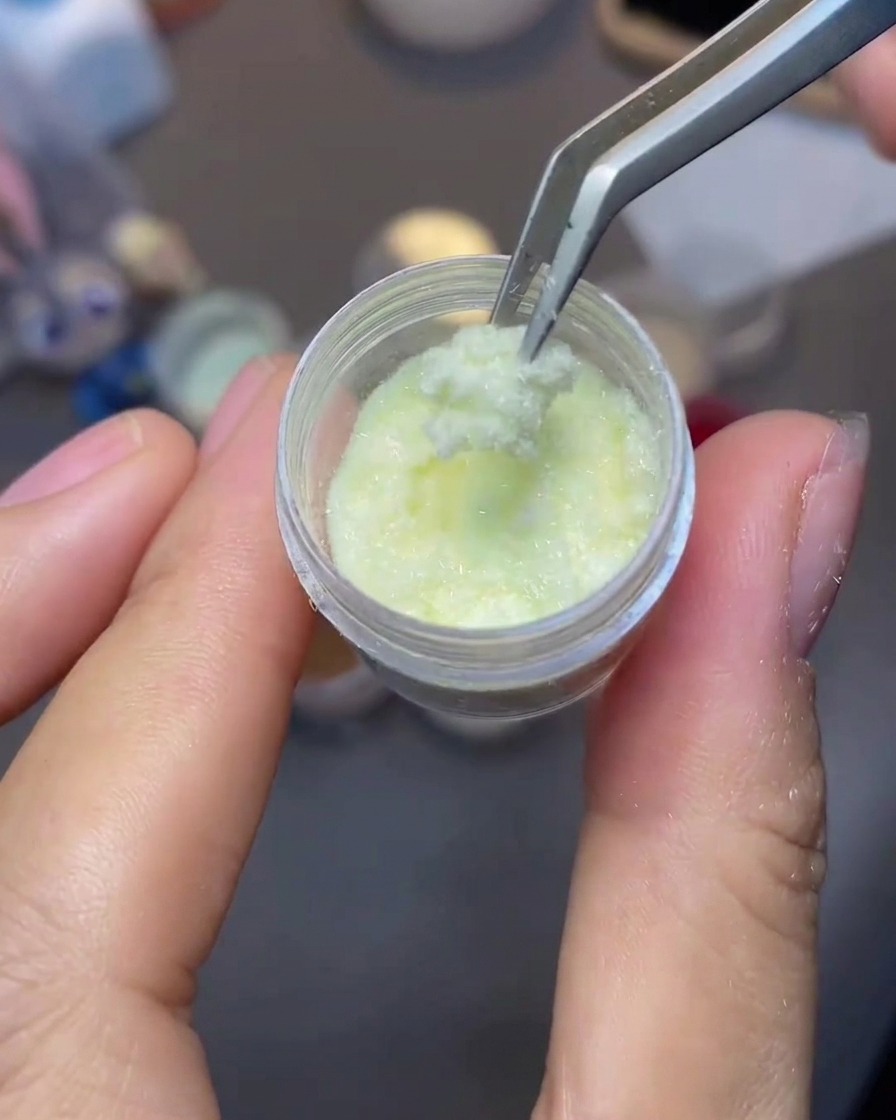
Use your tweezers to pick up a small amount of velvet powder from the container. This ensures you have just enough product ready for easy application onto your nail design.
Tip: Be gentle when picking up the powder to prevent it from scattering. - 3Apply velvet top coat
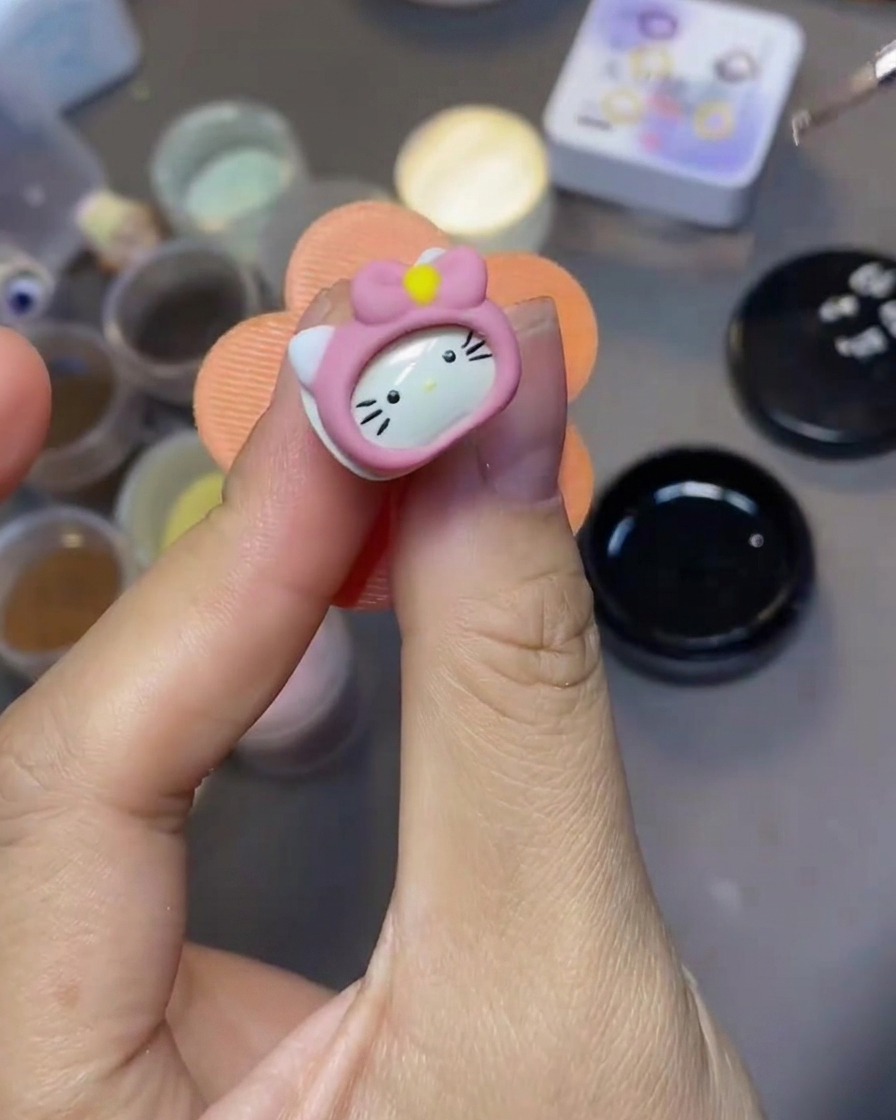
Using a fine nail art brush, carefully apply a layer of velvet top coat over your 3D Hello Kitty nail design. Ensure the coverage is even so the powder adheres correctly to every detail.
Tip: Make sure you cover all the areas where you want the velvet texture to appear. - 4Coat with velvet powder
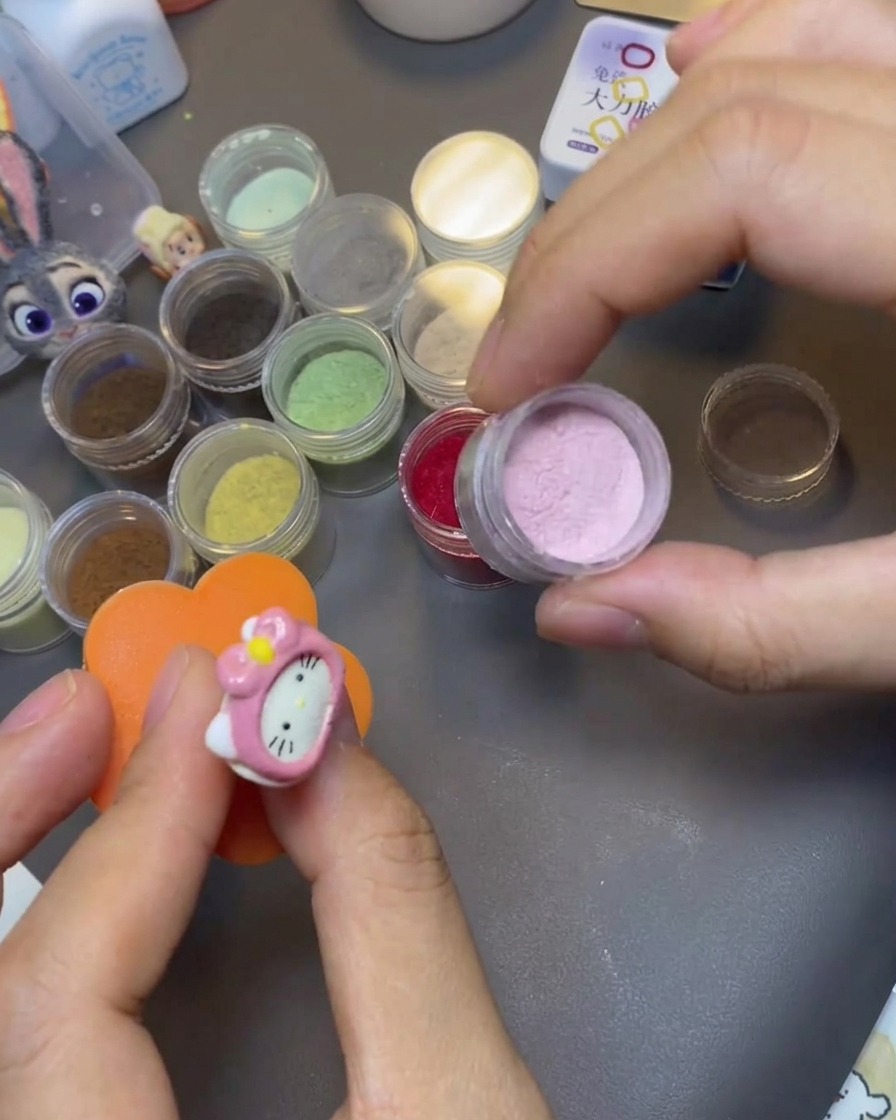
Gently dip the 3D Hello Kitty charm into the container of pink velvet powder to fully coat the surface. The uncured top coat will grab the powder fibers, creating that soft, fuzzy finish.
Tip: Press down lightly to ensure the powder covers the entire design, then lift it out carefully. - 5Cure the velvet coat
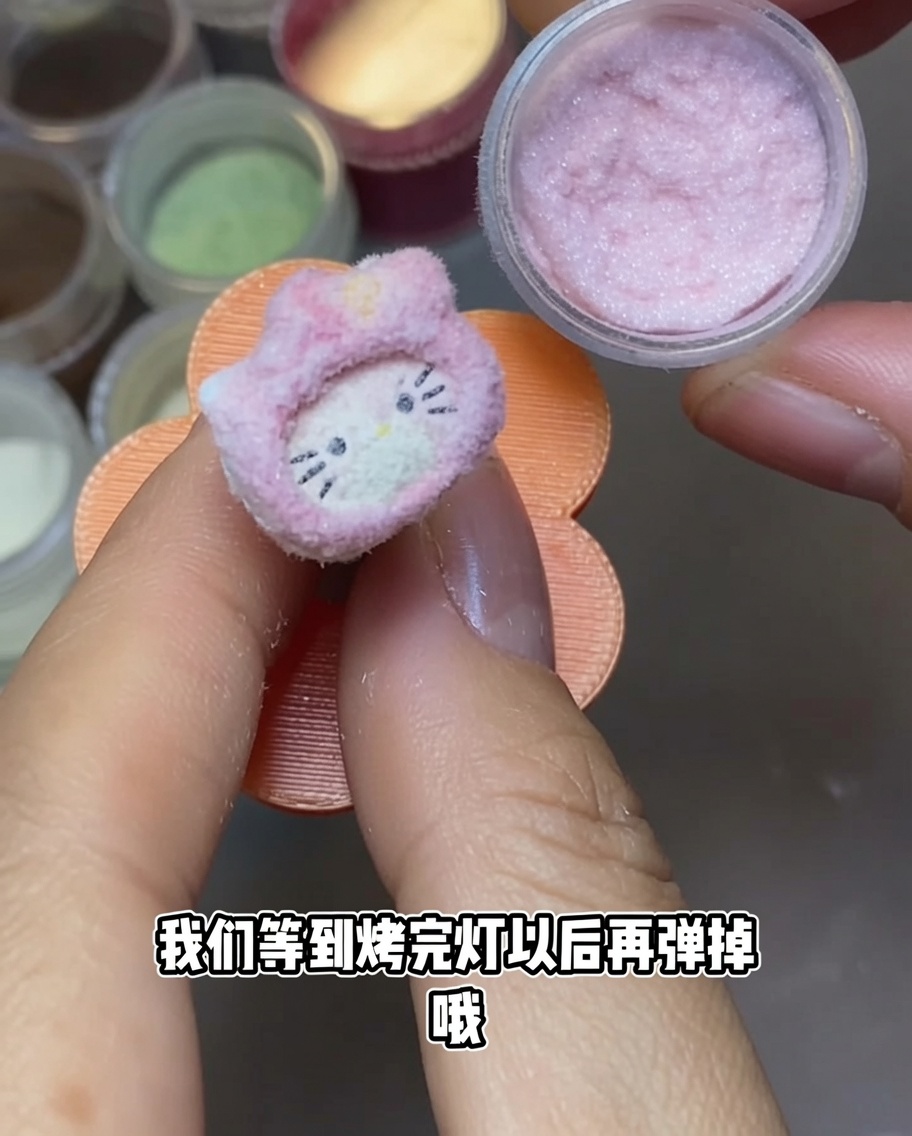
Place your coated nail under a portable UV lamp to cure the top coat. This sets the velvet powder in place, ensuring the texture lasts and doesnt shed easily.
Tip: Follow the curing time recommended for your specific top coat to ensure it is fully set. - 6Remove excess powder
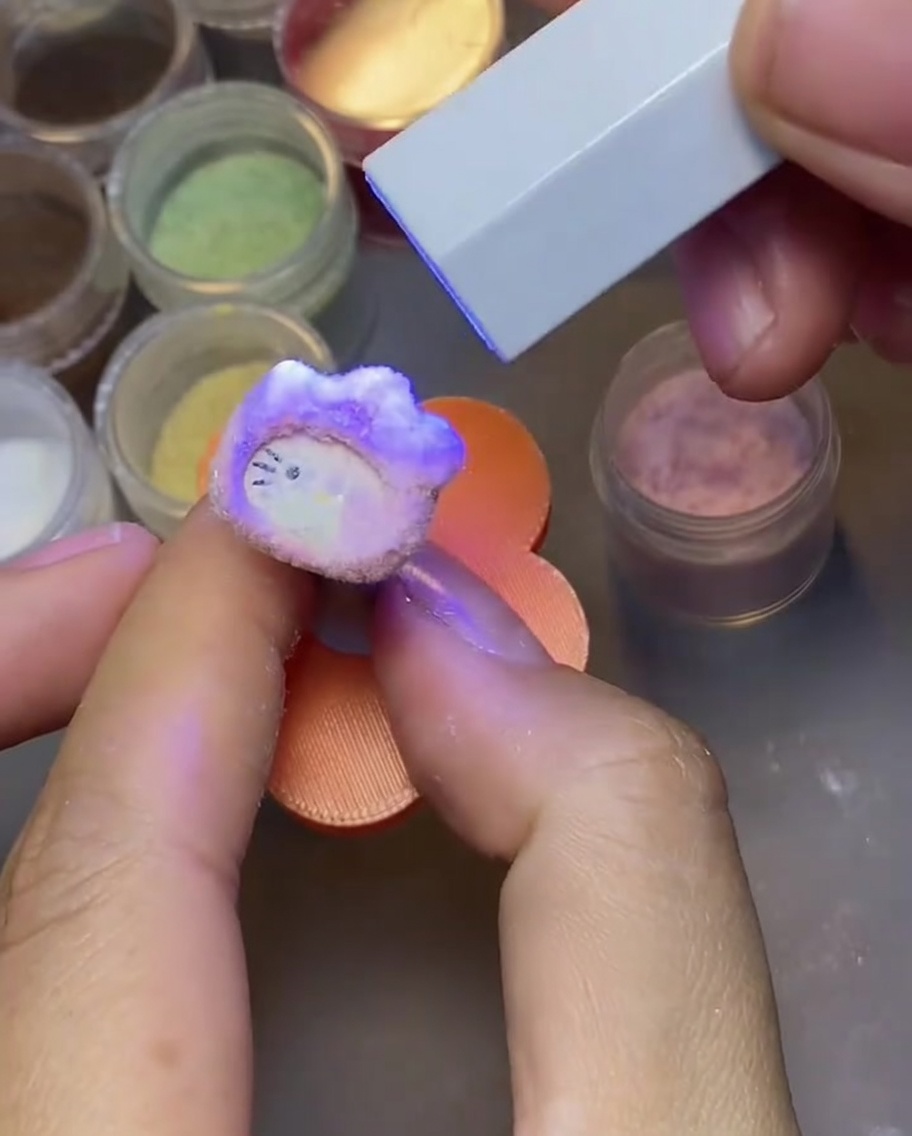
Once the curing is complete, remove the nail from the lamp. Gently tap it against the edge of the container to shake off any excess loose velvet powder, leaving only the beautifully textured finish behind.
Tip: Tapping ensures your design looks clean and defined, with no stray powder particles. - 7Brush away loose particles
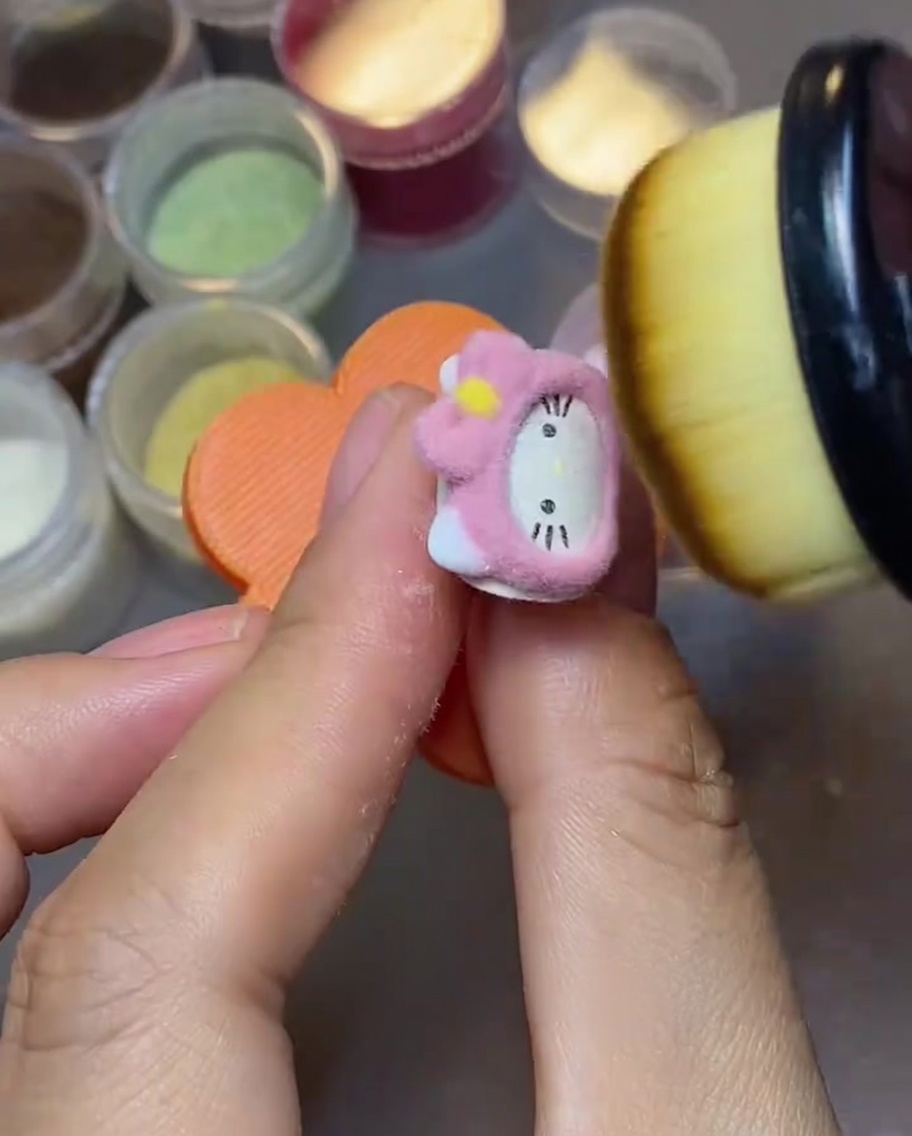
Using a clean, large, fluffy makeup brush, gently sweep away any loose velvet powder particles from the nail surface. This ensures that only the powder bonded to the velvet top coat remains, revealing the soft, textured finish of the nail art.
Tip: Use a light touch to avoid disturbing the powder that has already adhered to the uncured top coat.