Peach Velvet Gradient Cat-Eye Nails — Elegant DIY Tutorial
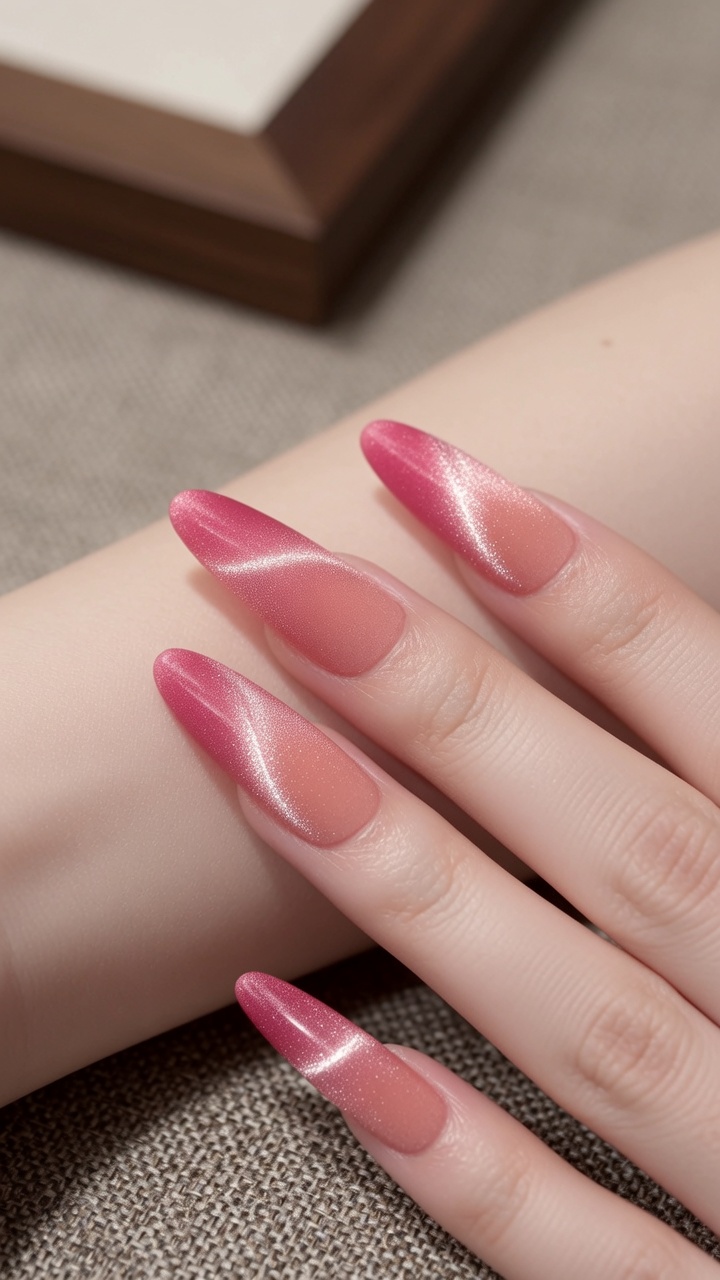
Create a sophisticated, multi-dimensional look with peach velvet gradient cat-eye nails. This easy-to-follow guide uses magnetic techniques for a high-end finish.
The velvet cat-eye trend continues to captivate with its soft, hazy texture and deep, magnetic shimmer. By combining a gradient base with precise magnet manipulation, you can achieve a stunning glass ball effect that looks remarkably luxurious. This tutorial simplifies the professional process, helping you master this skin-brightening look at home.
Steps
- 1Apply peach gradient base
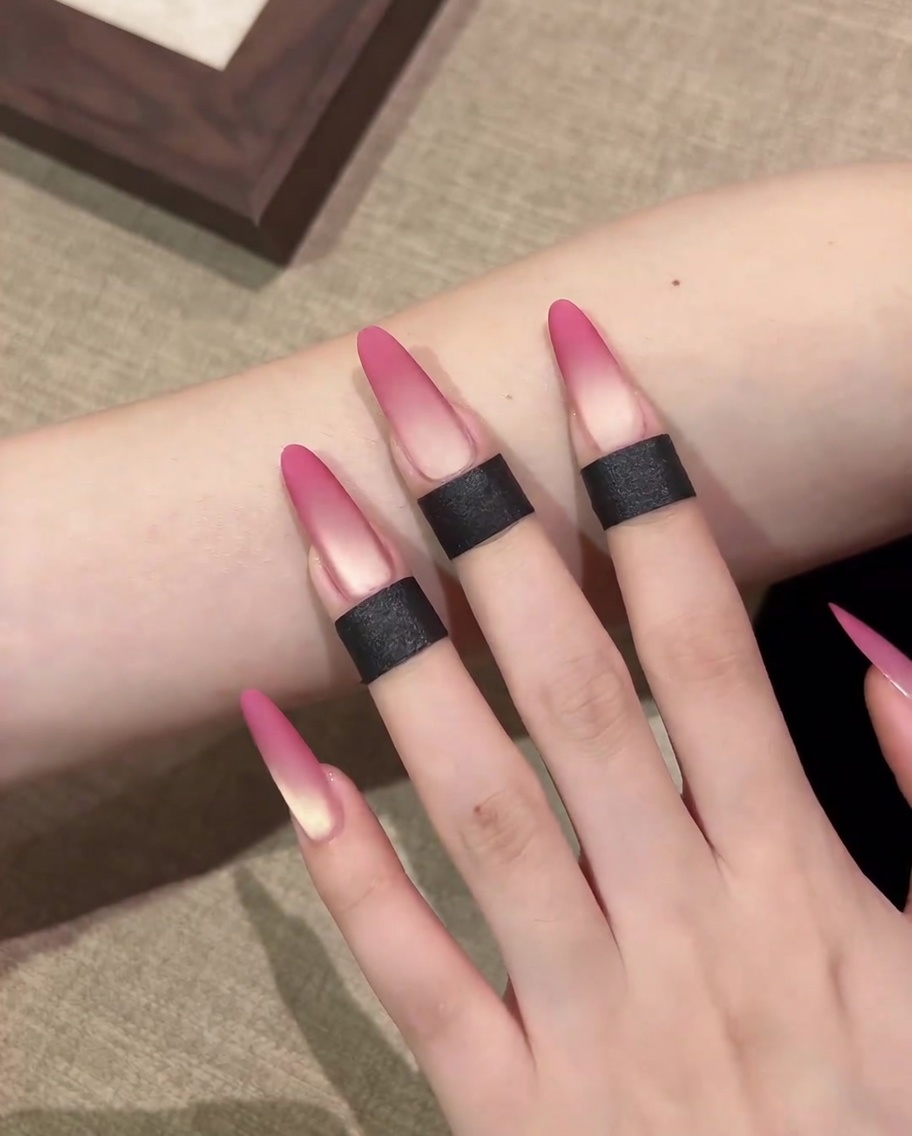
Apply a small amount of peach pink cat-eye gel to the tip of the nail using a makeup sponge. Gently dab the sponge to create a soft, seamless gradient that fades toward the cuticle, ensuring the color intensity is highest at the free edge.
Tip: Use a light, dabbing motion with the sponge to achieve a seamless blend. - 2Cure the gradient base
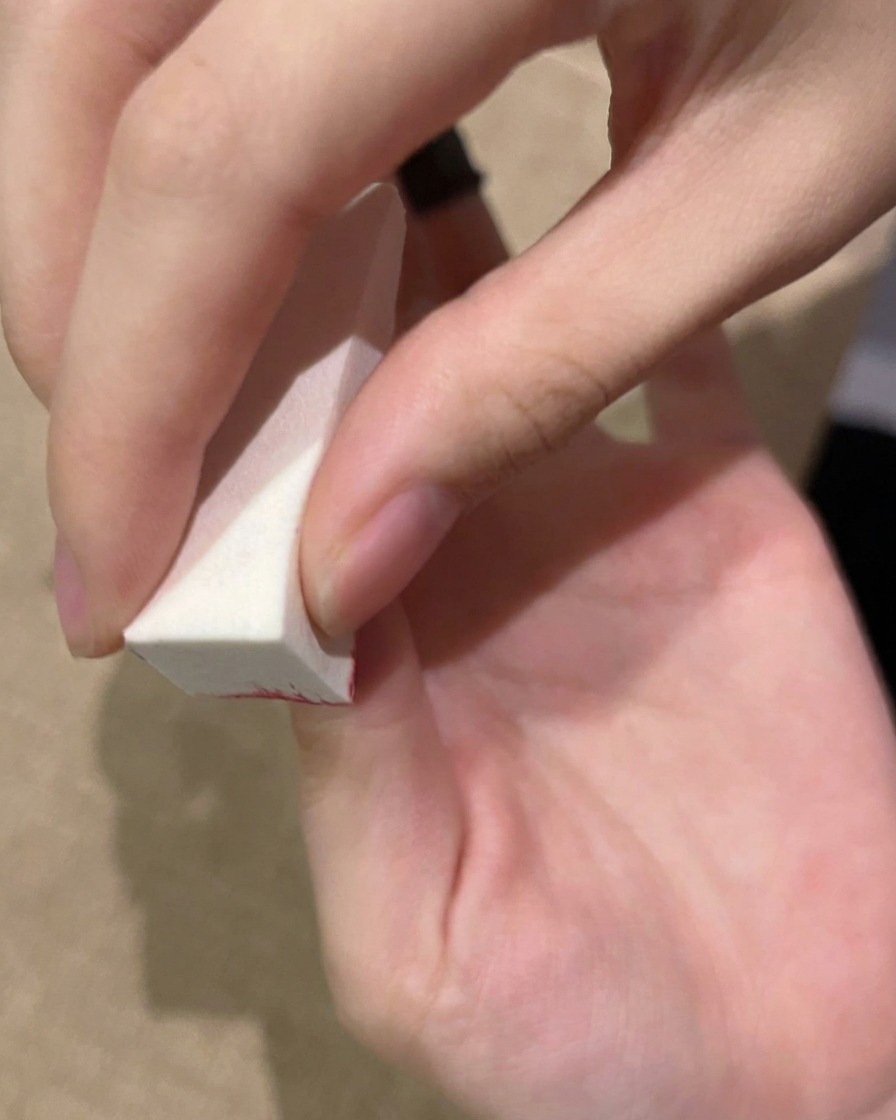
Carefully pat the gel with the sponge to perfect the gradient transition. Once the blend looks soft and natural, cure the nail under your UV/LED lamp according to the gel manufacturers instructions.
Tip: Ensure the gradient is even before curing to avoid streaks. - 3Apply cat-eye color layer
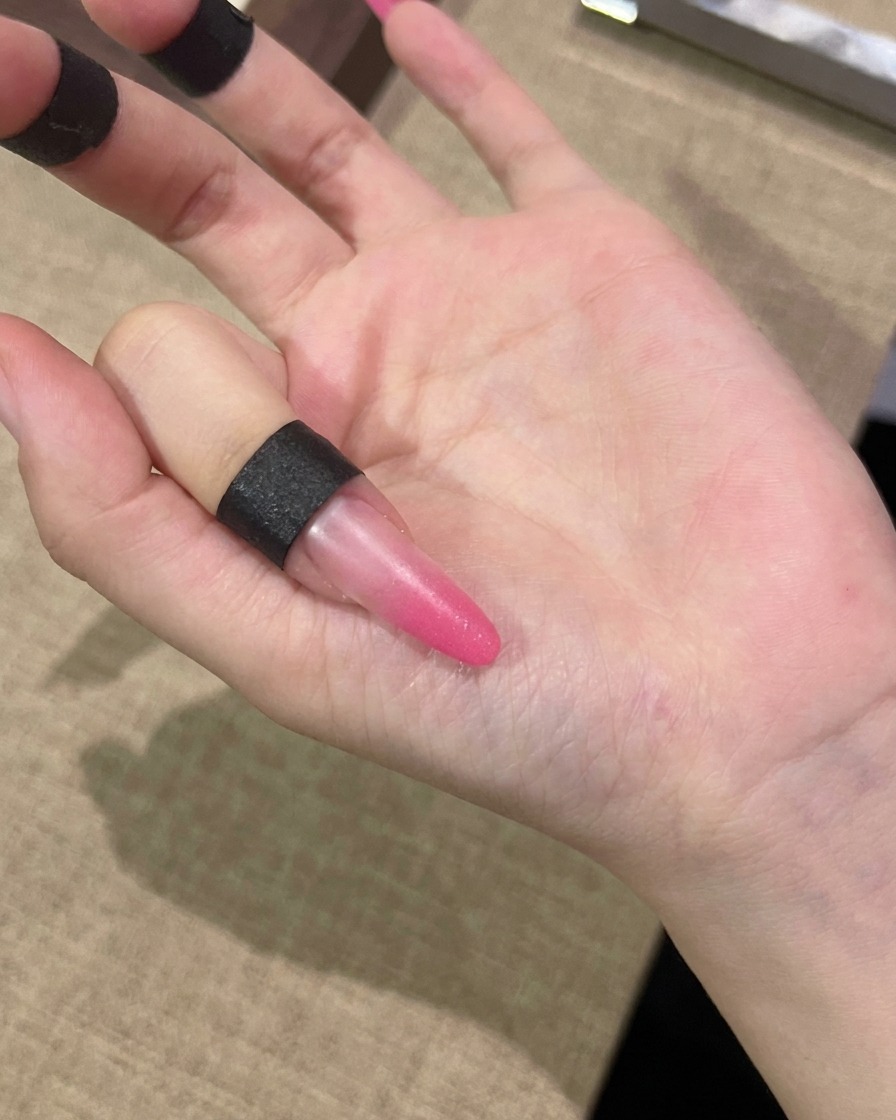
Apply an even, thin coat of pink cat-eye gel (#01) over the entire nail. This layer covers your gradient base and provides the necessary magnetic particles to create the velvet effect.
Tip: Keep the layer thin to ensure the magnetic particles can move freely. - 4Position magnet for shimmer
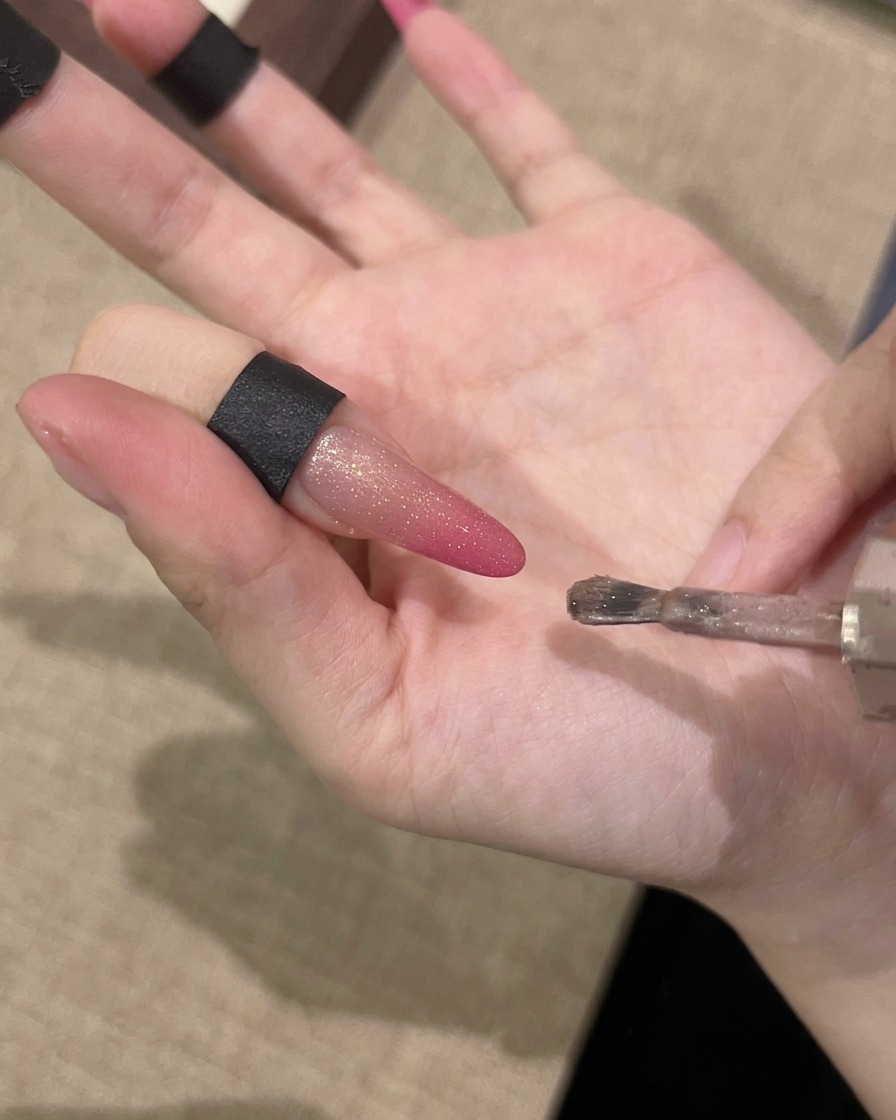
Before curing, hold your magnet parallel to the nail surface. This alignment allows the magnetic particles in the gel to respond, preparing them to be shaped into a sharp, reflective light line.
Tip: Hold the magnet steady to get a clean, sharp line of light. - 5Create magnetic light line
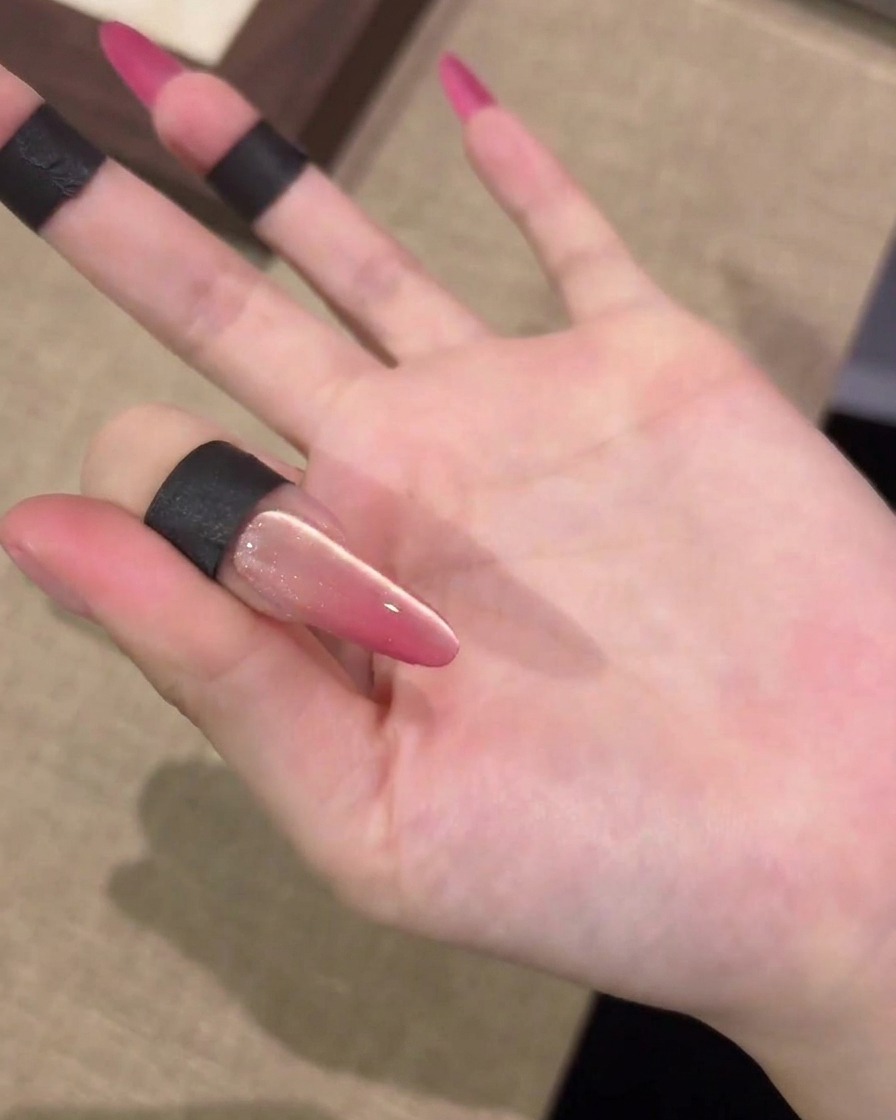
Slowly sweep the magnet from side to side across the nail. This motion draws the magnetic particles toward the center, forming a prominent and smooth light reflection across the nail.
Tip: Sweep slowly to get a smooth, wider light reflection. - 6Refine the gradient depth
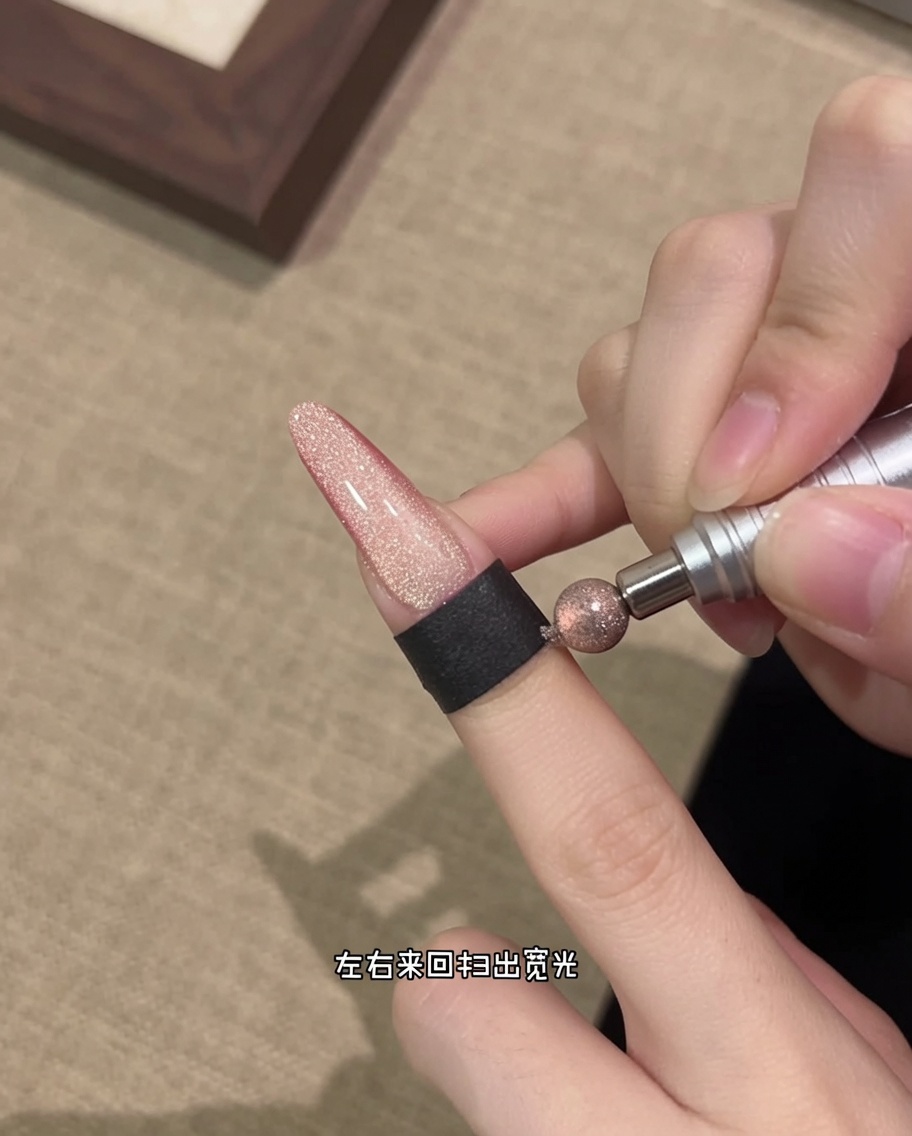
Gently push the magnet back toward the free edge of the nail. This refinement step shifts the magnetic light, enhancing the gradient transition and adding depth to the cat-eye reflection.
Tip: Practice this movement to get a soft, glass ball glow. - 7Form the glass ball effect
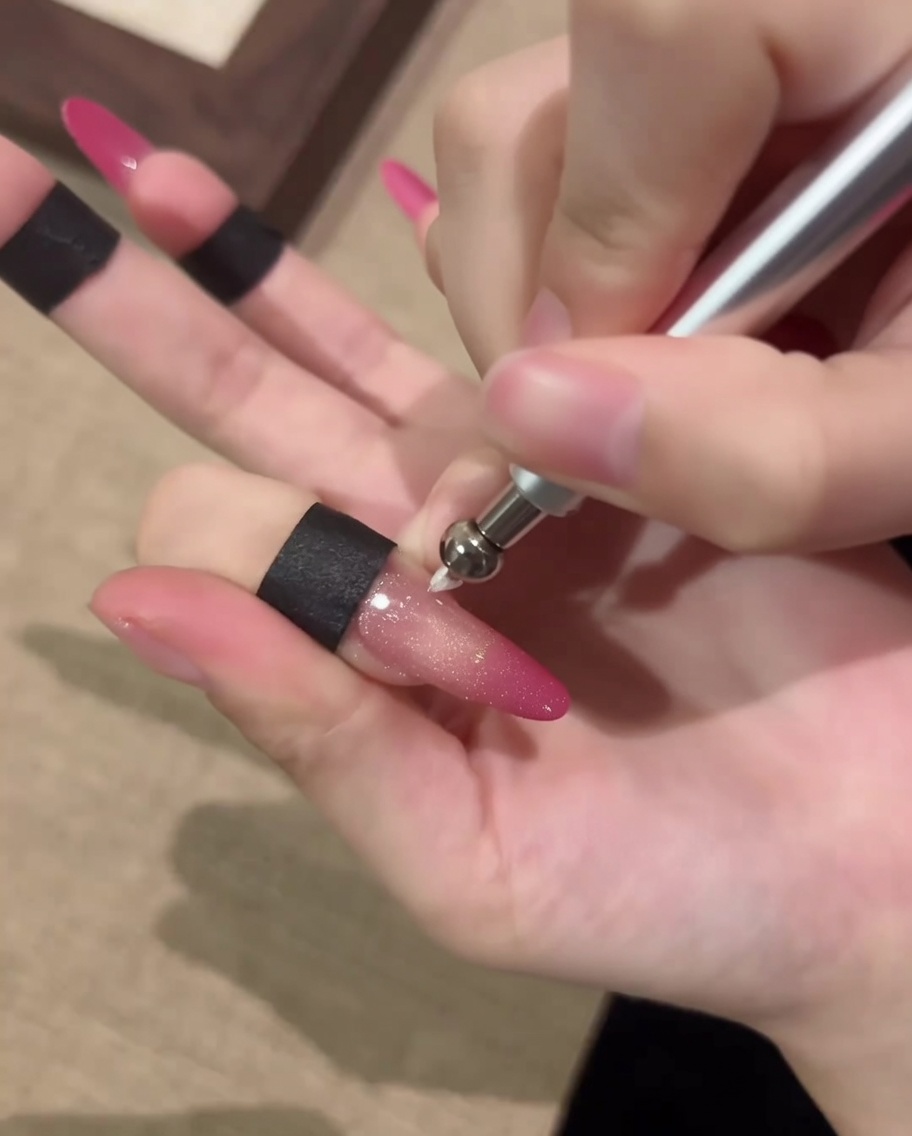
While the gel remains wet, hold the magnet over the center and perform a slow circular motion. This pulls the particles into a concentrated glass ball or orb shape. Once the desired shape is achieved, cure the nail immediately.
Tip: For a perfect orb, keep the magnet steady and move it slowly in a small, consistent circle. If the effect isnt clear, pull the magnet away to reset the gel and try again. - 8Cure the cat-eye design
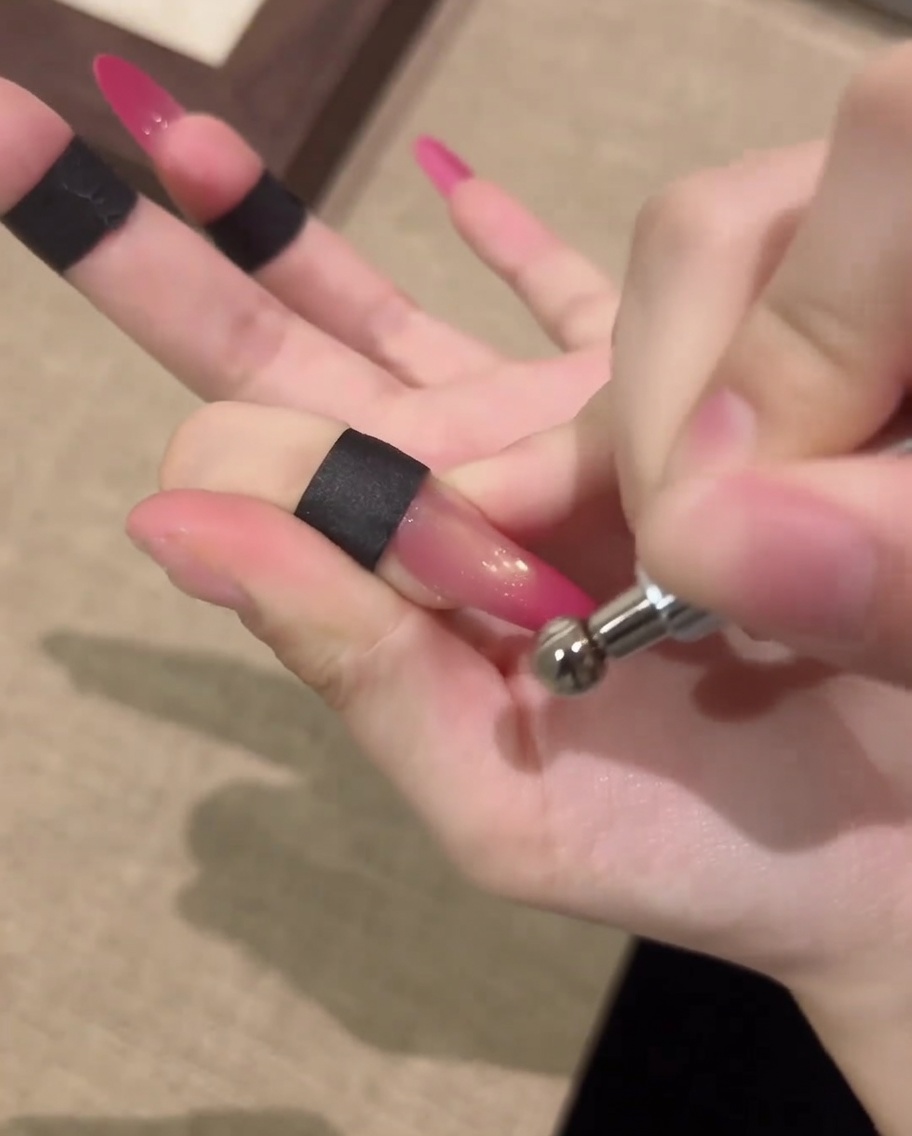
Place your hand under the UV/LED lamp to fully cure the nail polish. Ensure your fingers are positioned so that the light hits the nails directly for an even cure. Follow the timing guidelines provided by your gel polish manufacturer.
Tip: Keep your hand still during the curing process to avoid accidental smudging of the wet gel. - 9Clean the surface
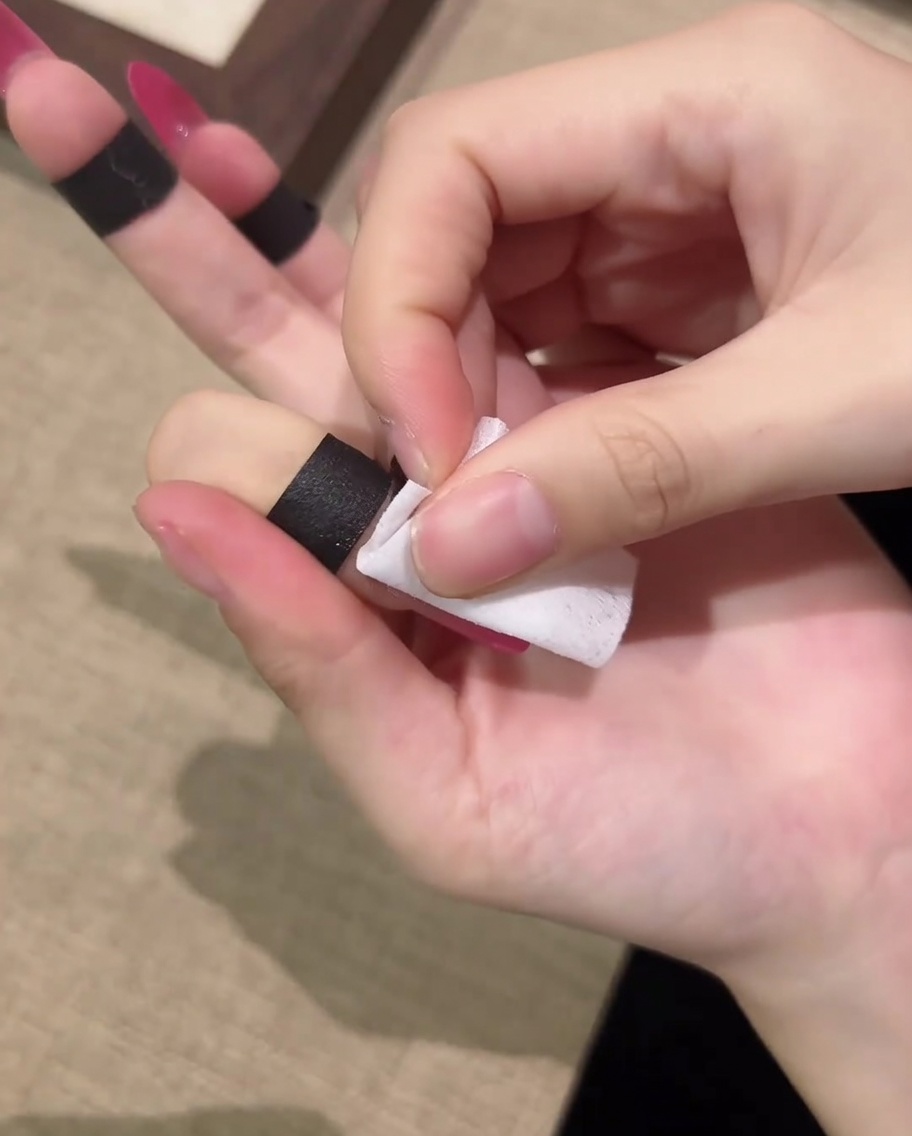
After the full cure, use a lint-free cotton pad soaked in nail cleanser or isopropyl alcohol to remove the sticky inhibition layer from the surface of the nail.
Tip: Use a fresh section of the cotton pad for each finger to avoid spreading any uncured gel residue. - 10Apply matte top coat
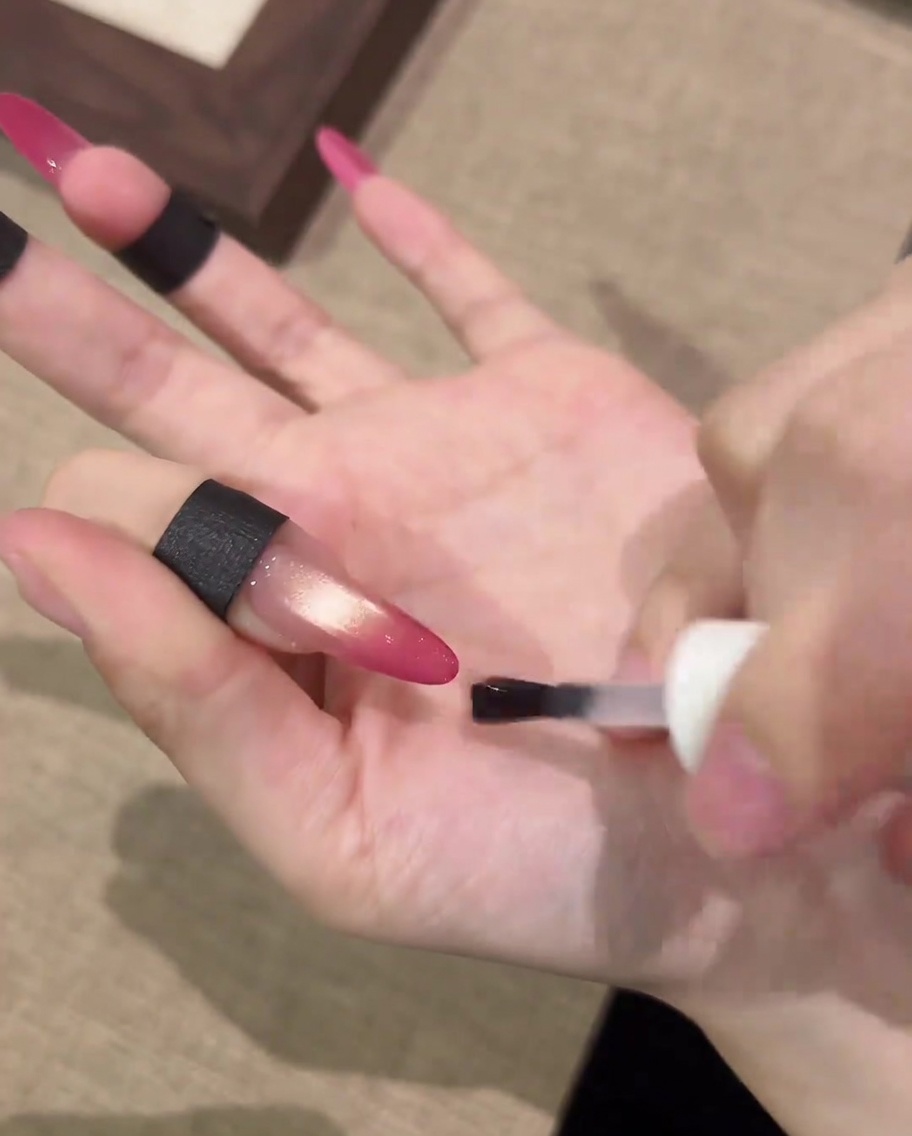
Apply an even layer of matte top coat over the entire nail, ensuring you cap the free edge for durability. The matte finish instantly transforms the metallic cat-eye into a sophisticated velvet texture.
Tip: Ensure the matte top coat is applied smoothly; bubbles or streaks can be more visible on a matte finish than on a glossy one. - 11Final cure
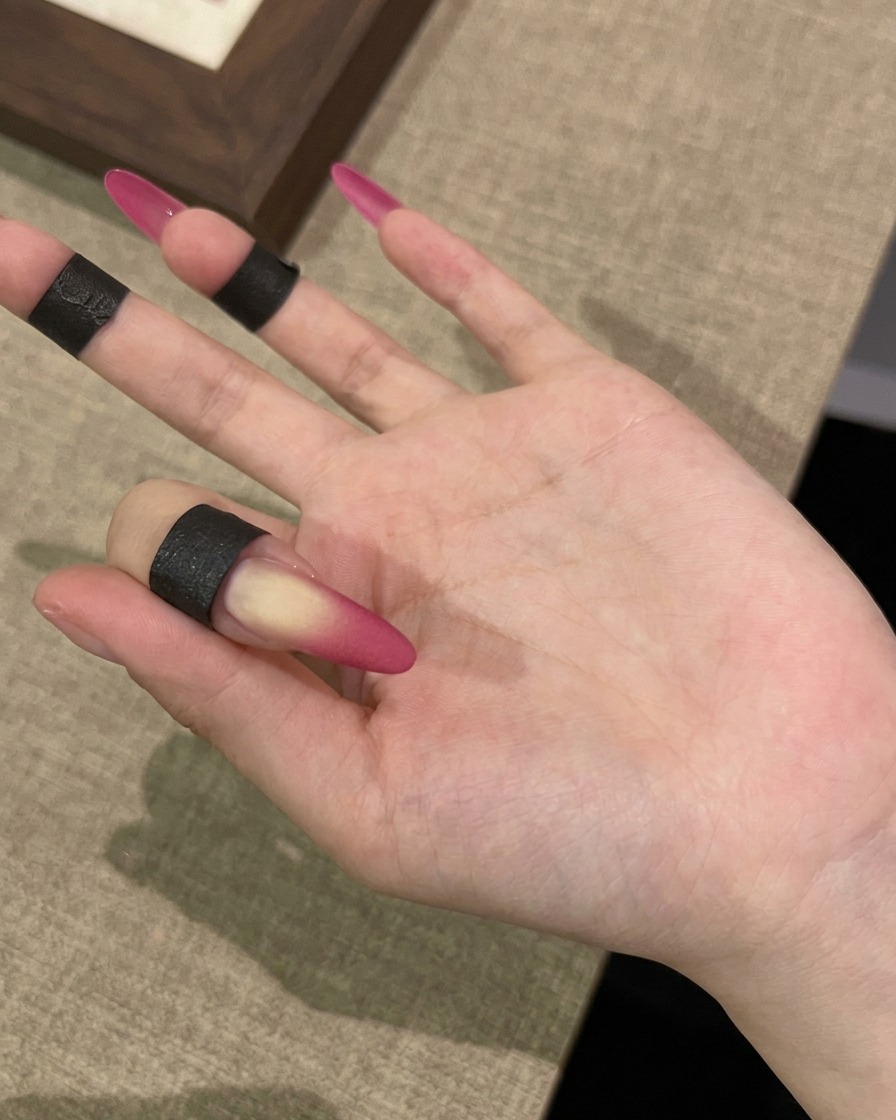
Place your hand back into the UV/LED lamp for a final cure. This ensures the matte top coat is fully set and provides a smooth, durable finish to complete your velvet cat-eye look.
Tip: Once cured, avoid applying oil or lotion immediately; let the nails settle for a minute to ensure the matte finish remains perfectly smooth.