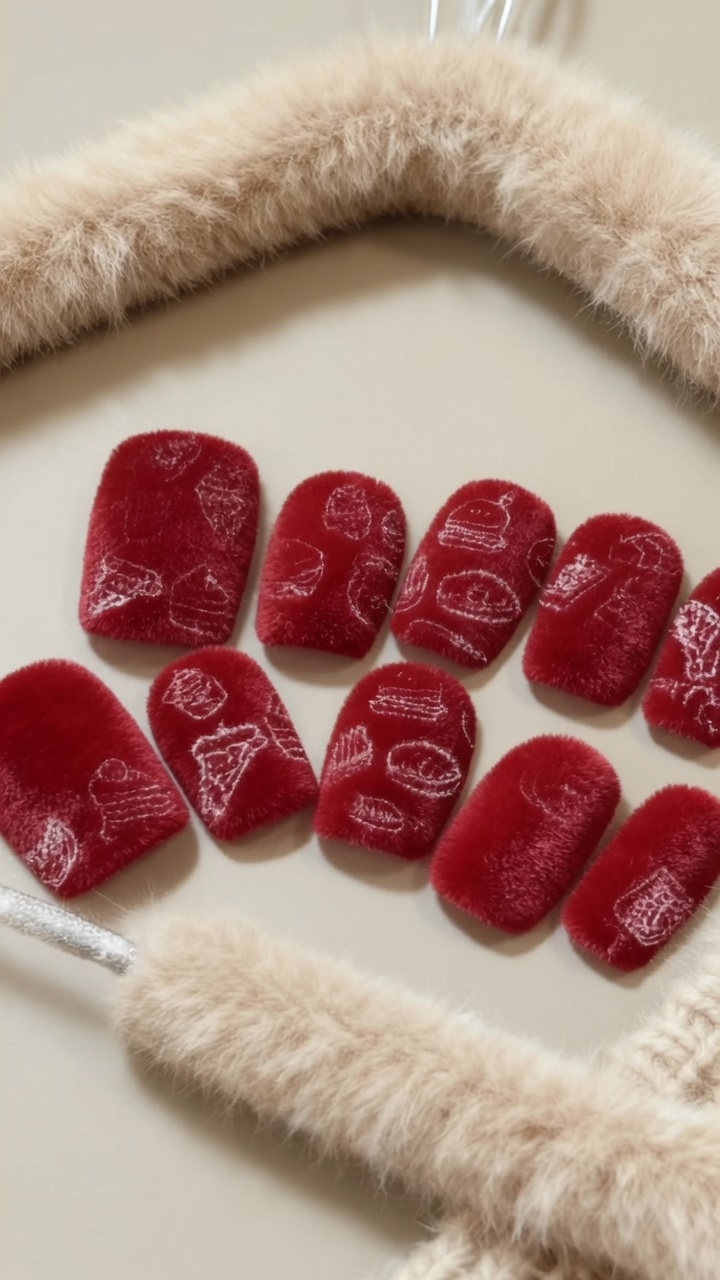
Fuzzy Leopard Print Nail Art — Textured DIY Tutorial
Create a unique, tactile leopard print design with this easy velvet powder technique. Elevate your manicure with a trendy, fuzzy textured finish.
Leopard print is a timeless classic, but adding a velvet finish takes the look to a whole new level of chic. This textured design combines sophisticated animal print patterns with a soft, fuzzy feel that is perfect for making a bold style statement. Follow these steps to master the art of applying velvet powder to achieve a professional-looking, multi-dimensional finish at home.
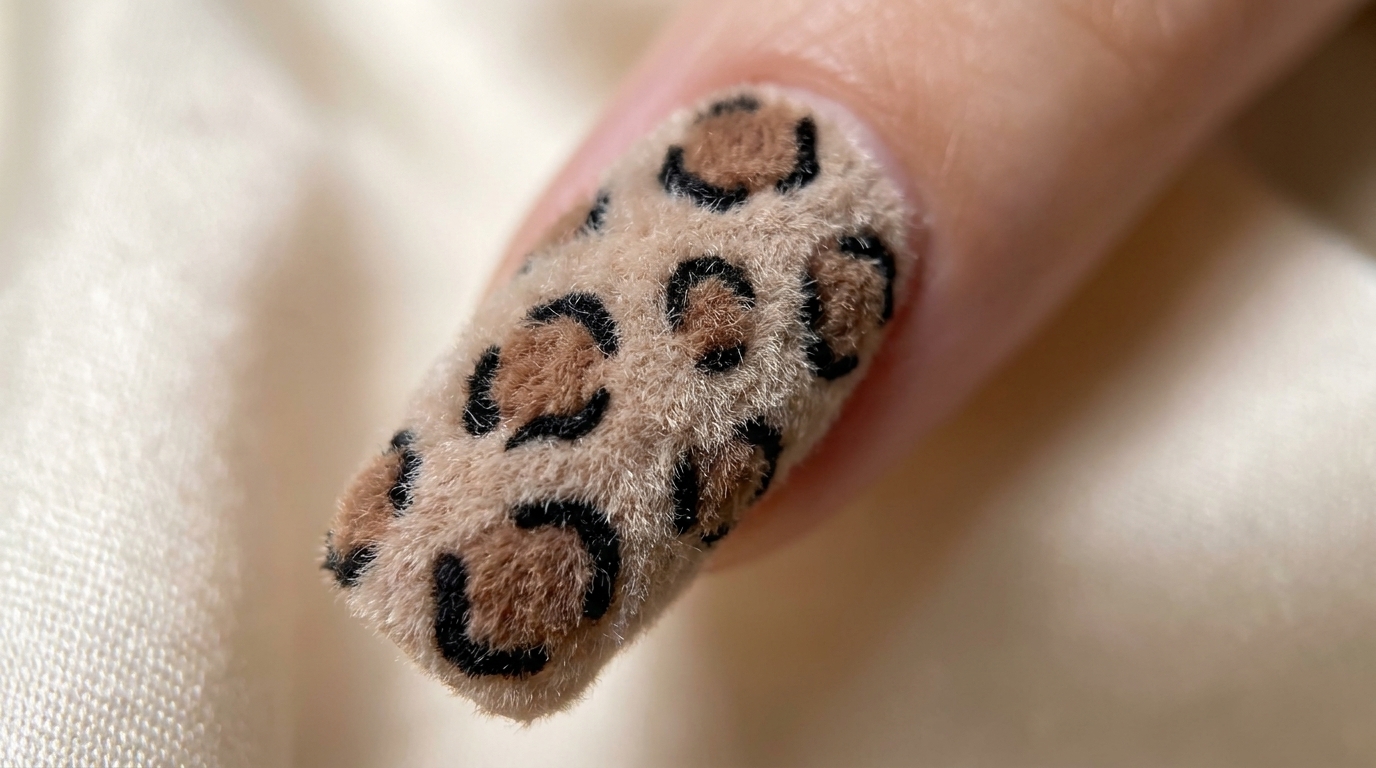
Steps
- 1Prepare the base
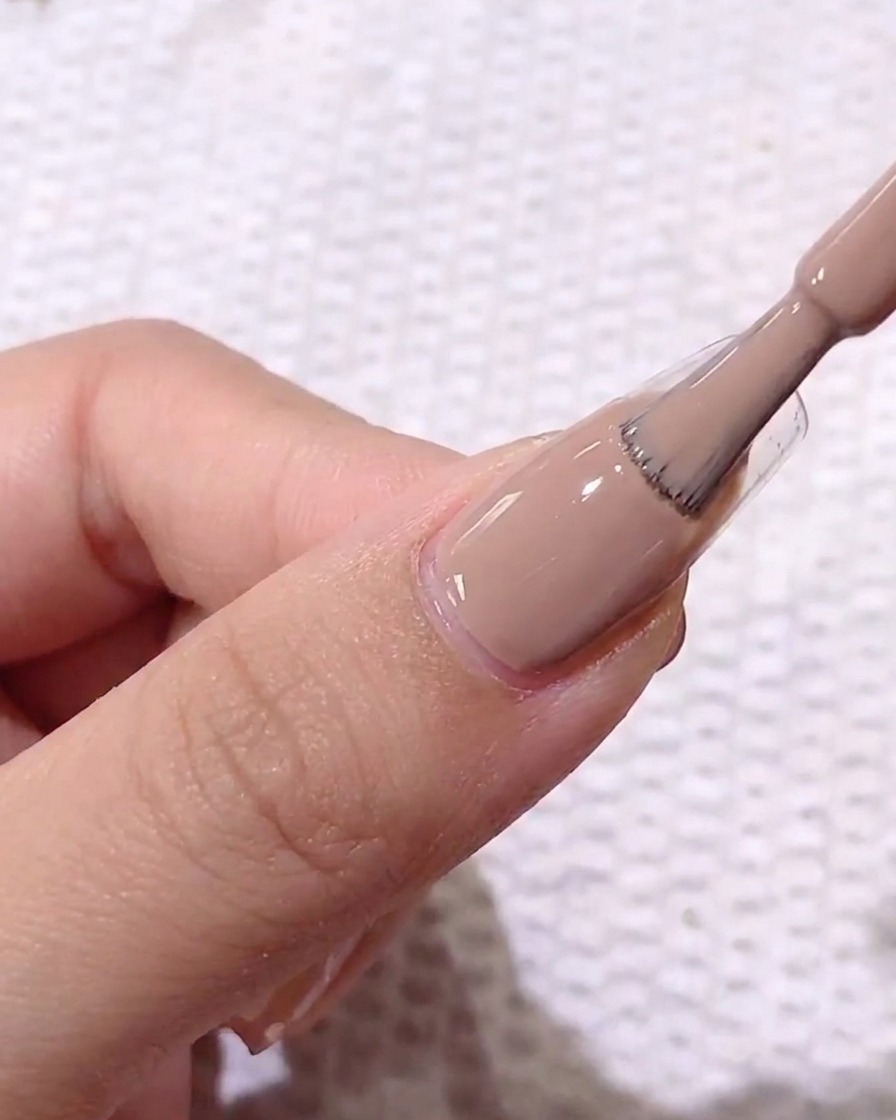
Begin by applying a smooth, even layer of light brown gel polish to the entire nail plate. Ensure you cap the free edge to seal the polish and prevent chipping, creating a clean, uniform canvas for your textured design.
Tip: Apply the gel in thin layers to ensure it cures thoroughly and does not pool around the cuticles. - 2Apply hard top coat
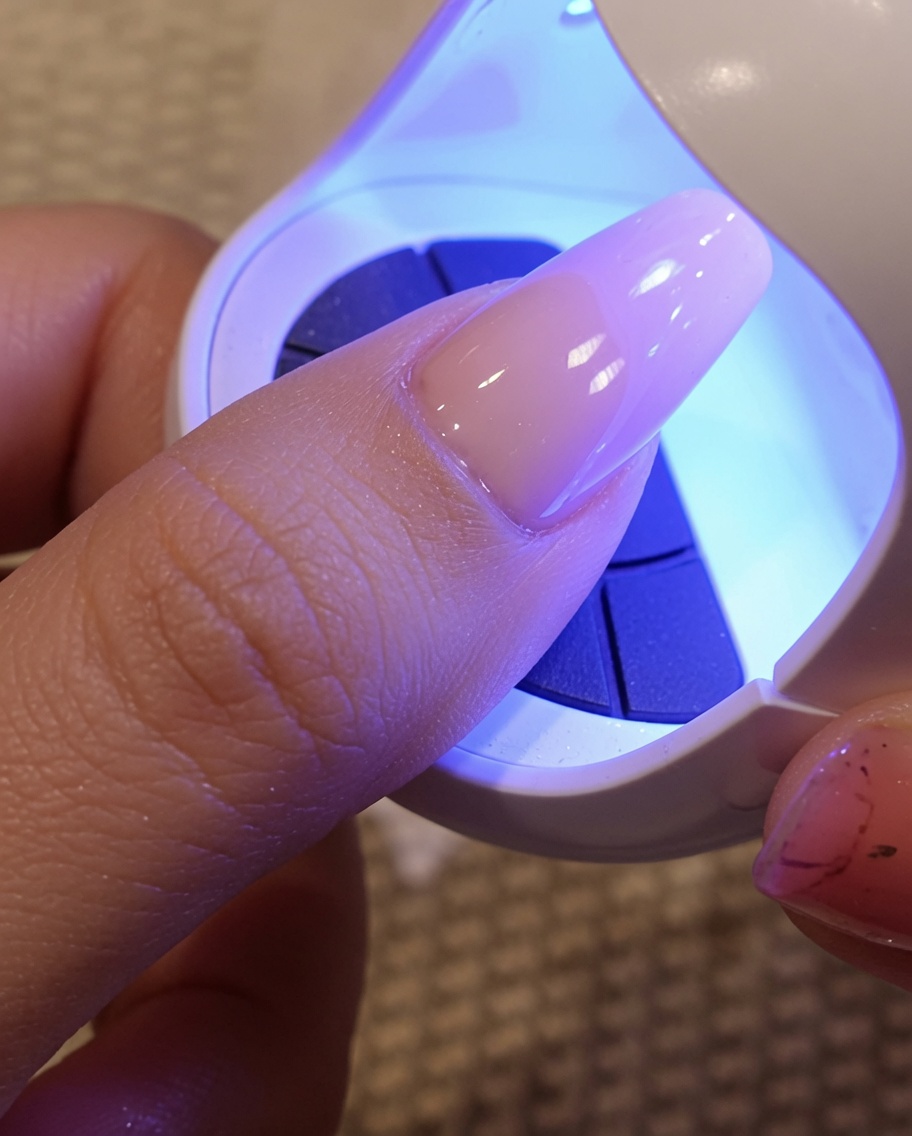
Apply a generous layer of hard, no-wipe top coat over the base color. Do not cure this layer yet, as it needs to remain wet and sticky to successfully hold the velvet powder in the next step.
Tip: Applying a slightly thicker layer of top coat here provides a better base for the velvet powder to adhere to. - 3Apply velvet powder
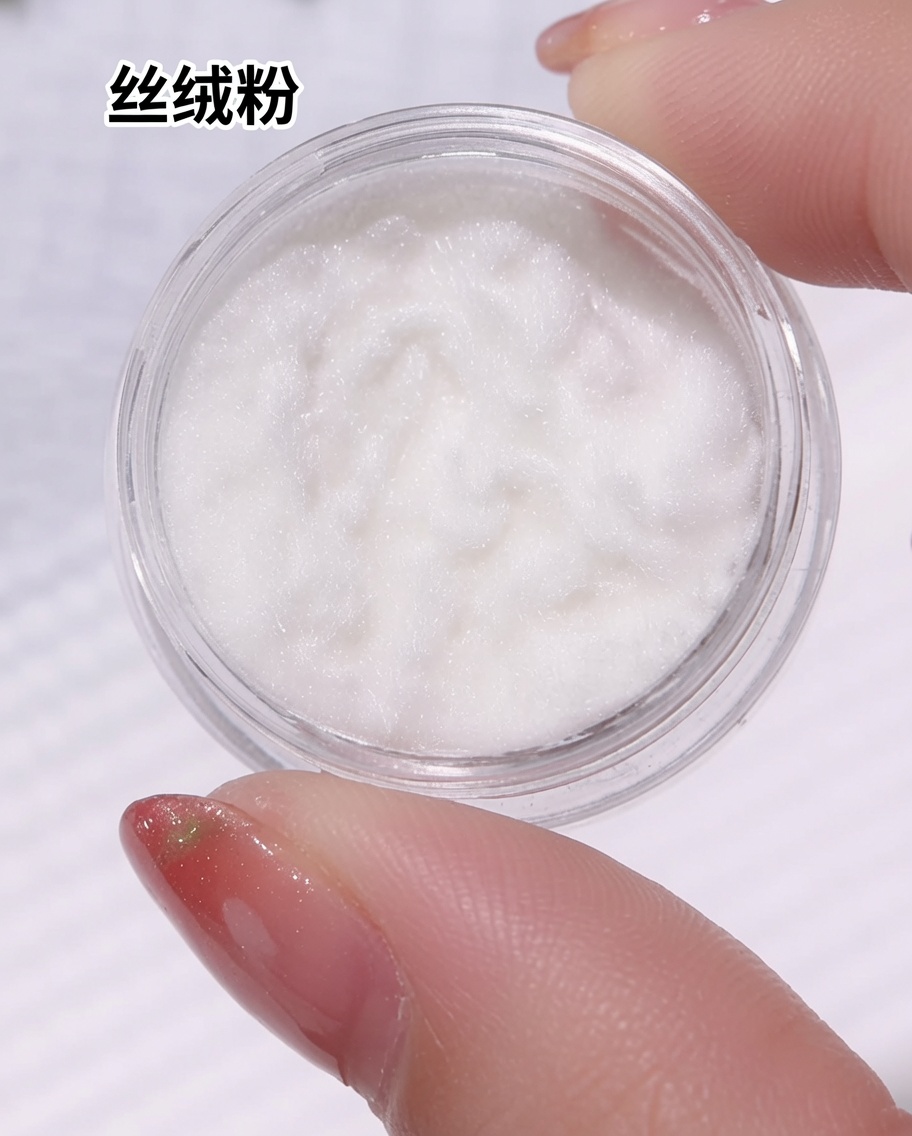
While the top coat is still wet, sprinkle the white velvet powder over the nail surface. Use tweezers or a small tool to press the powder gently into the gel, ensuring it is fully embedded and evenly distributed, then shake off any excess.
Tip: Work over a tray or a piece of paper to easily collect and reuse the excess velvet powder. - 4Cure the velvet base
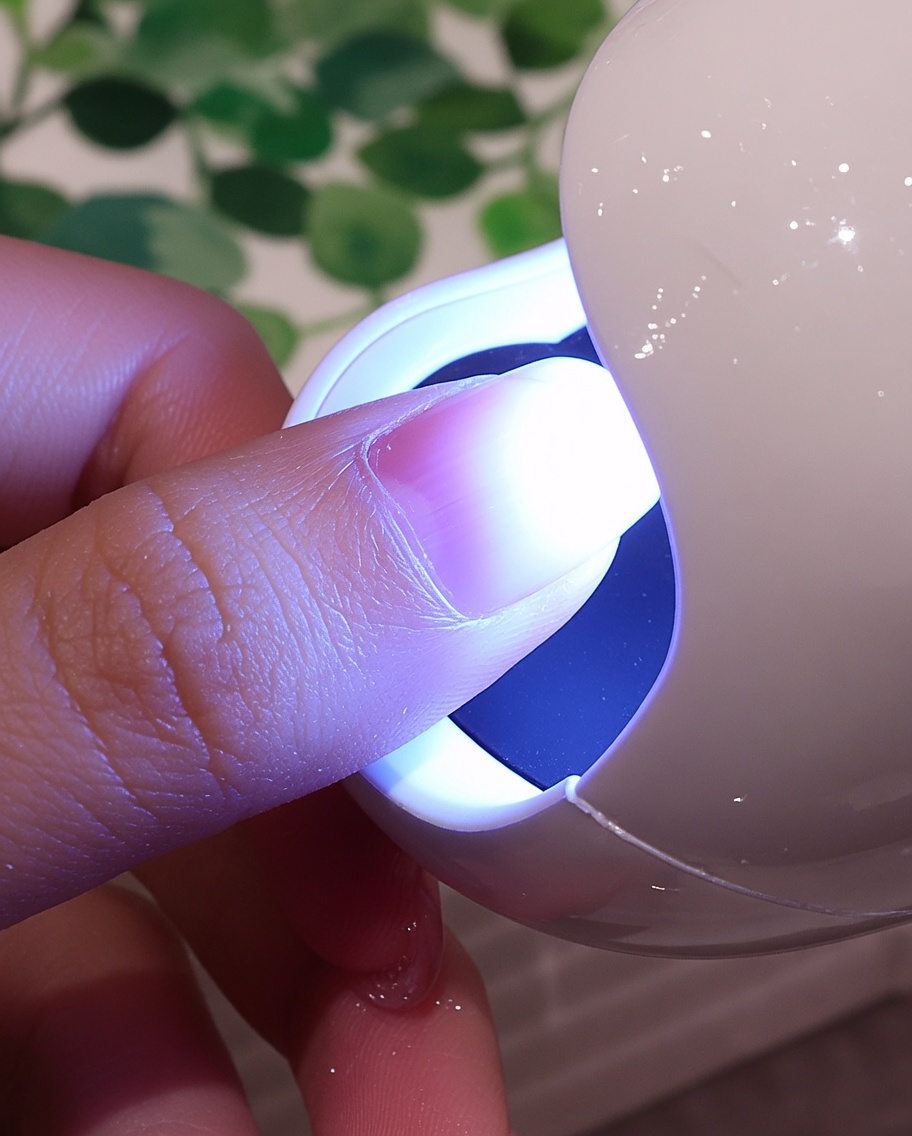
Place the nail under a UV/LED lamp to fully cure the top coat and velvet powder layer. This step locks the fibers in place, creating the signature durable, fuzzy surface for your leopard pattern.
Tip: Ensure your hand is placed directly under the lamp to receive an even light exposure for a complete cure. - 5Apply coffee-colored spots
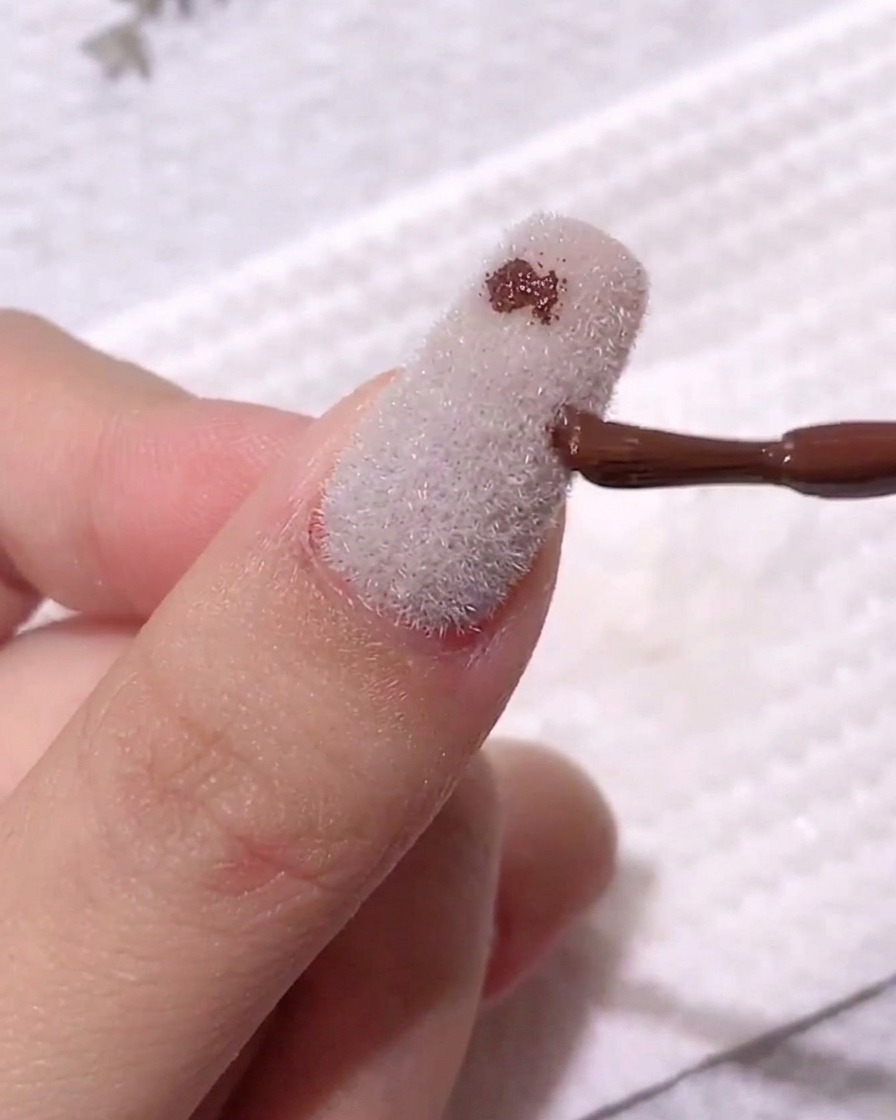
Using a brush, apply small, random dots of coffee-colored gel across the velvet-textured surface. These spots will eventually become the center of your leopard print design.
Tip: Keep the spots irregular in size and placement to achieve a more natural-looking leopard pattern. - 6Remove excess gel
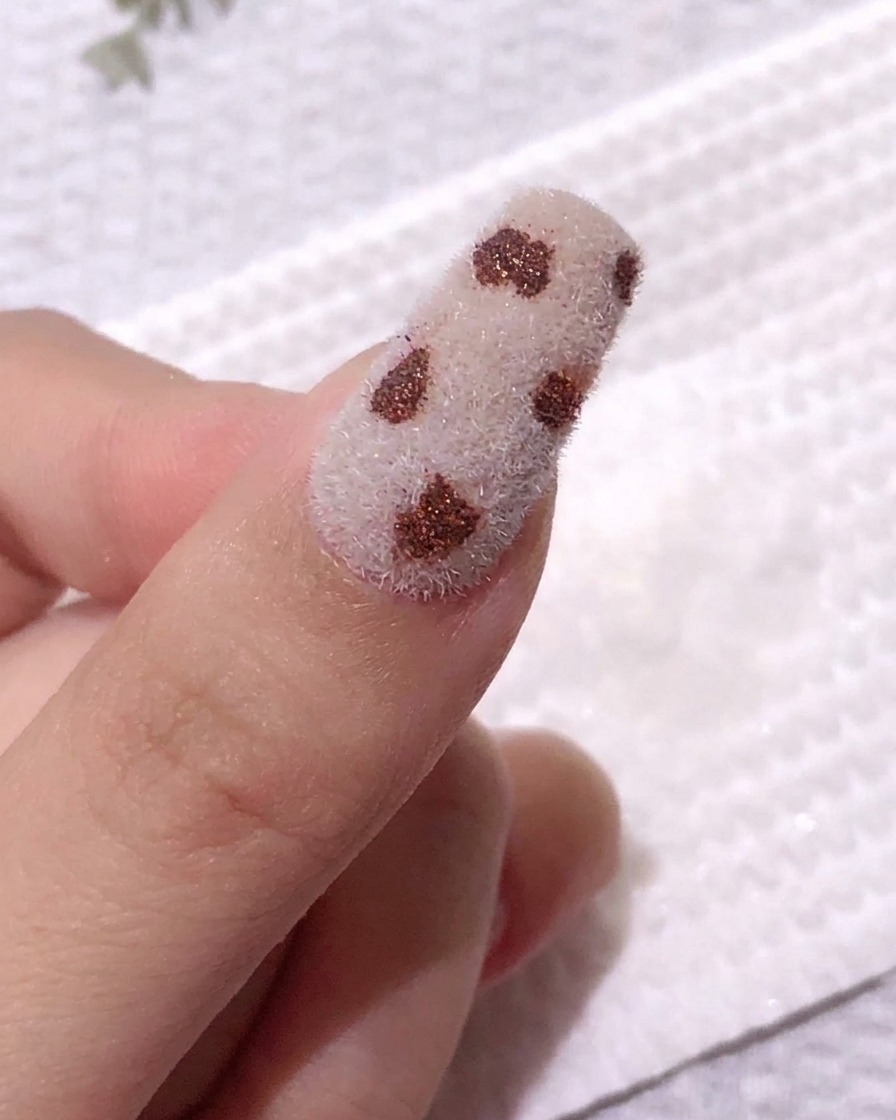
Using a clean cotton pad, gently wipe across the textured surface to remove any excess coffee-colored gel. This action helps to settle the gel into the velvet texture while maintaining the crisp shape of the spots.
Tip: Use a light touch when wiping so you do not smudge the placed spots or damage the velvet texture. - 7Detail the leopard spots
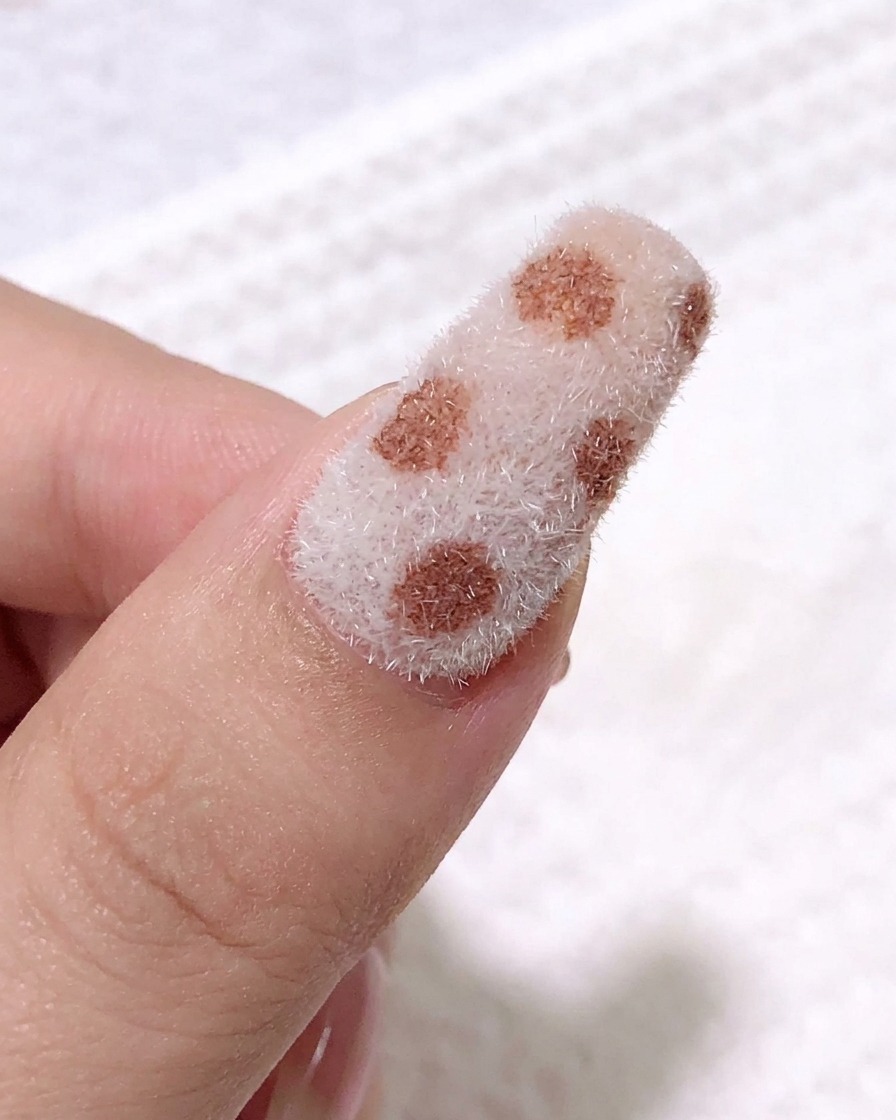
Using a fine liner brush and black gel, carefully draw small, partial outlines around the existing coffee-colored dots. Varing the shapes and sizes of these lines will provide a more natural, realistic leopard-print appearance.
Tip: Apply the gel lightly to keep the outlines thin and delicate, as thick lines can overwhelm the velvet texture. - 8Clean excess gel
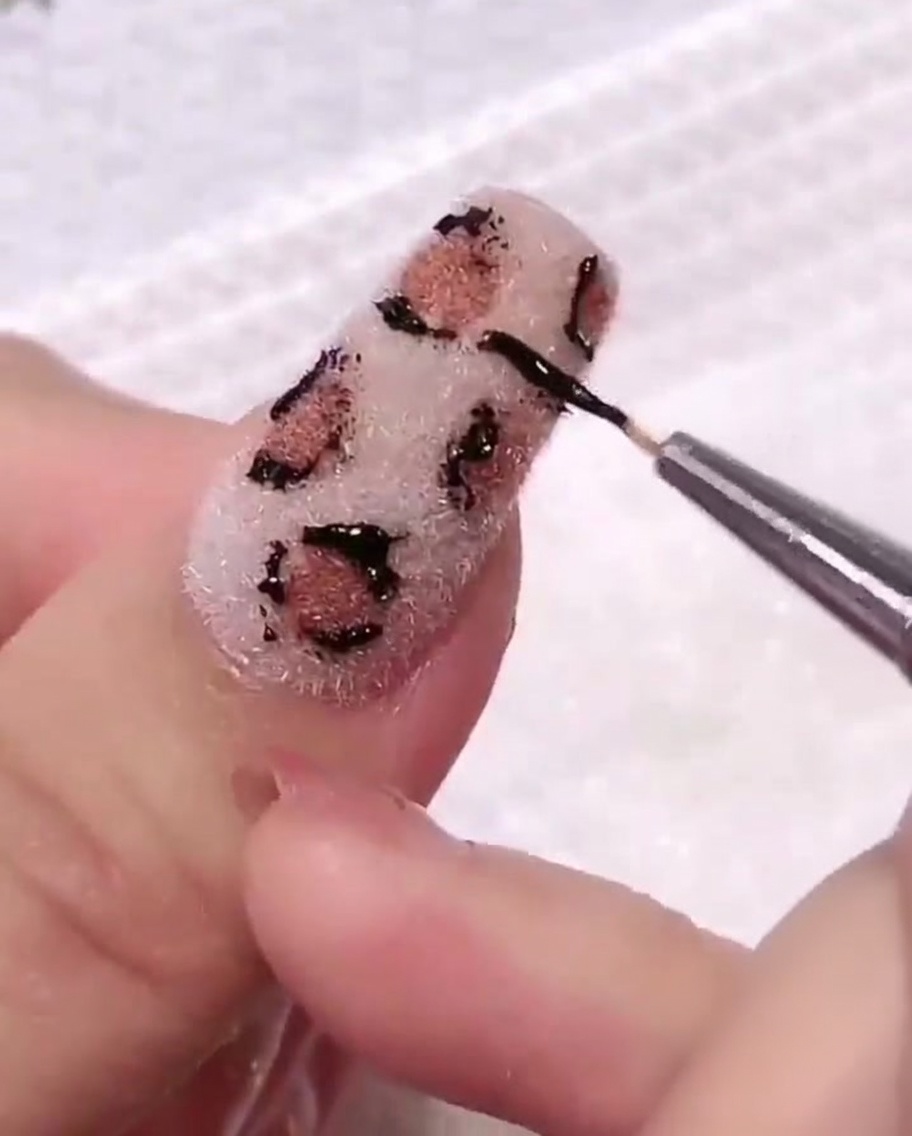
Gently wipe the surface of the nail with a clean cotton pad to remove any excess black gel residue that may have smeared during the outlining process. This step keeps the leopard print crisp and prevents the surface from looking messy before the final cure.
Tip: Use a light tapping or soft wiping motion to avoid pulling the velvet fibers or smudging the fresh black gel lines. - 9Final cure
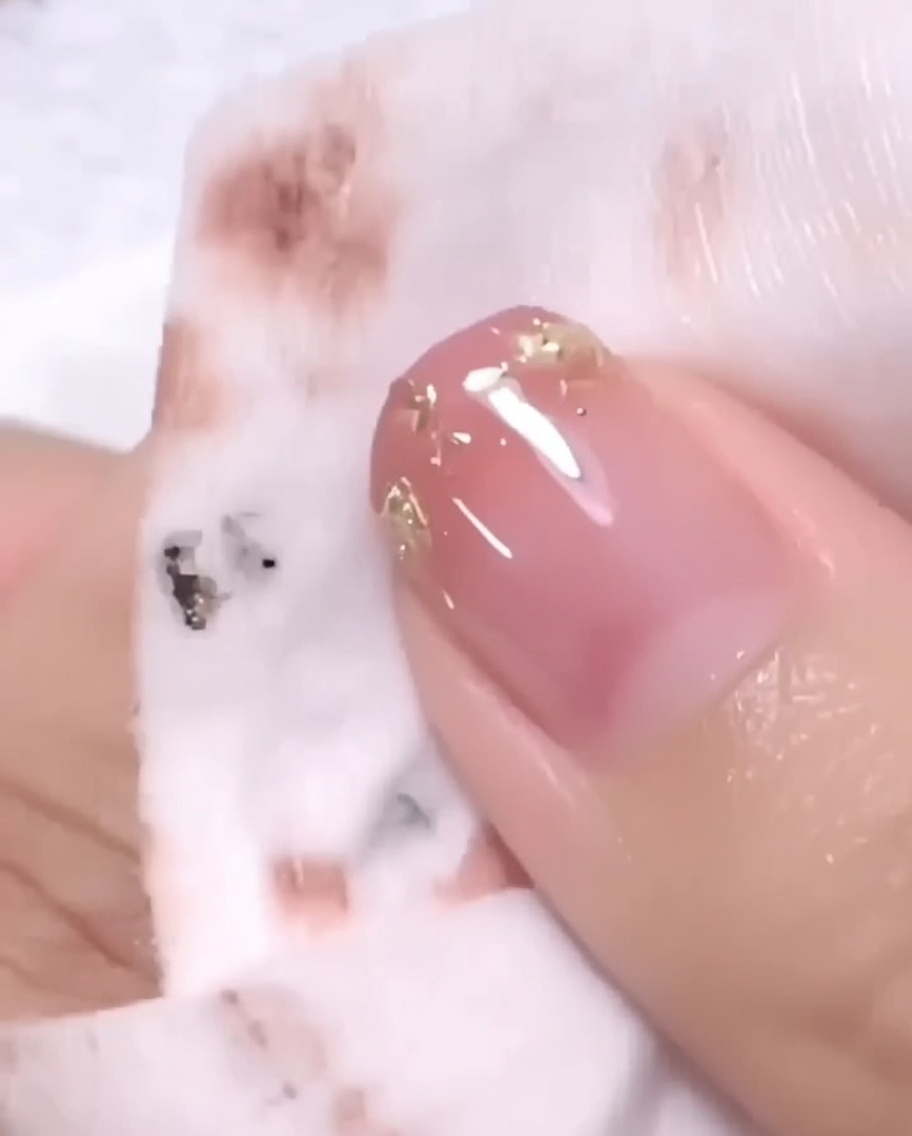
Place your nails under the UV/LED lamp for a final full cure. This ensures that the black gel outlines are completely set and integrated into the textured surface, making the design durable and long-lasting.
Tip: Ensure your hand is positioned correctly inside the lamp so that all nails receive even light exposure for the full recommended time.