Red Velvet Fuzzy Plush Stamped Nail Art Tutorial
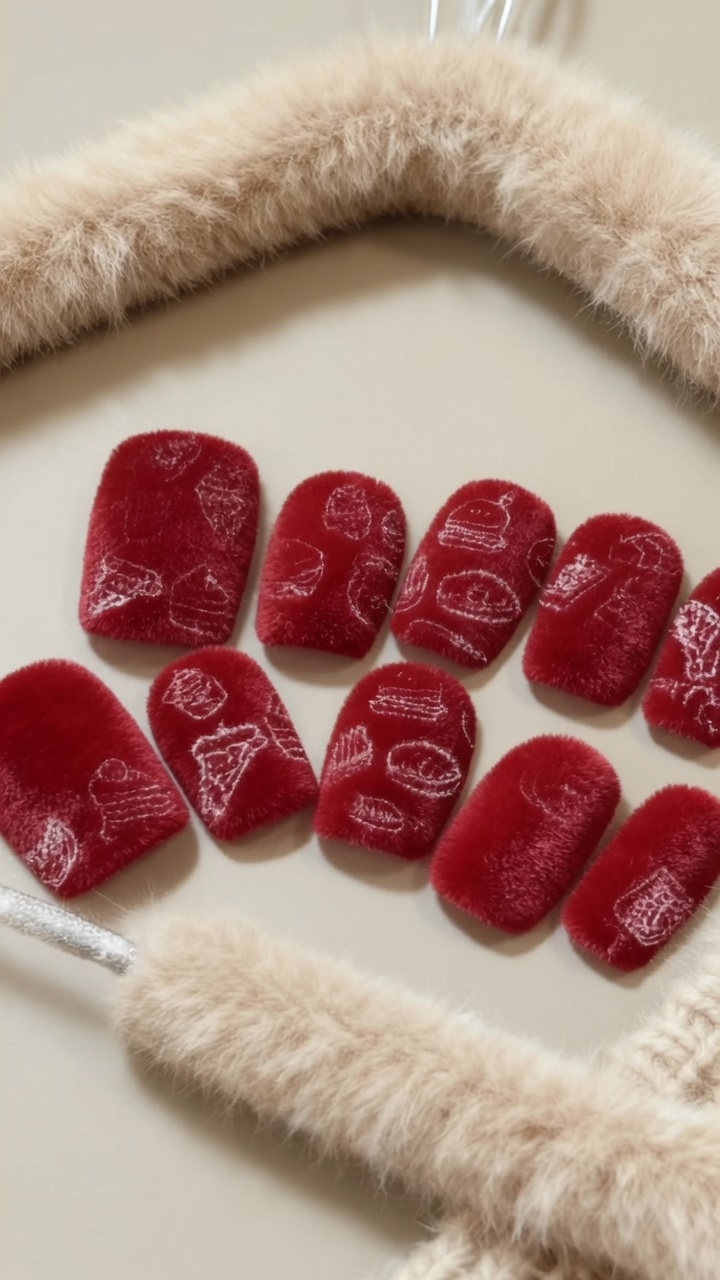
Elevate your manicure with this unique red velvet fuzzy plush nail look, accented with crisp white food-themed stamped designs.
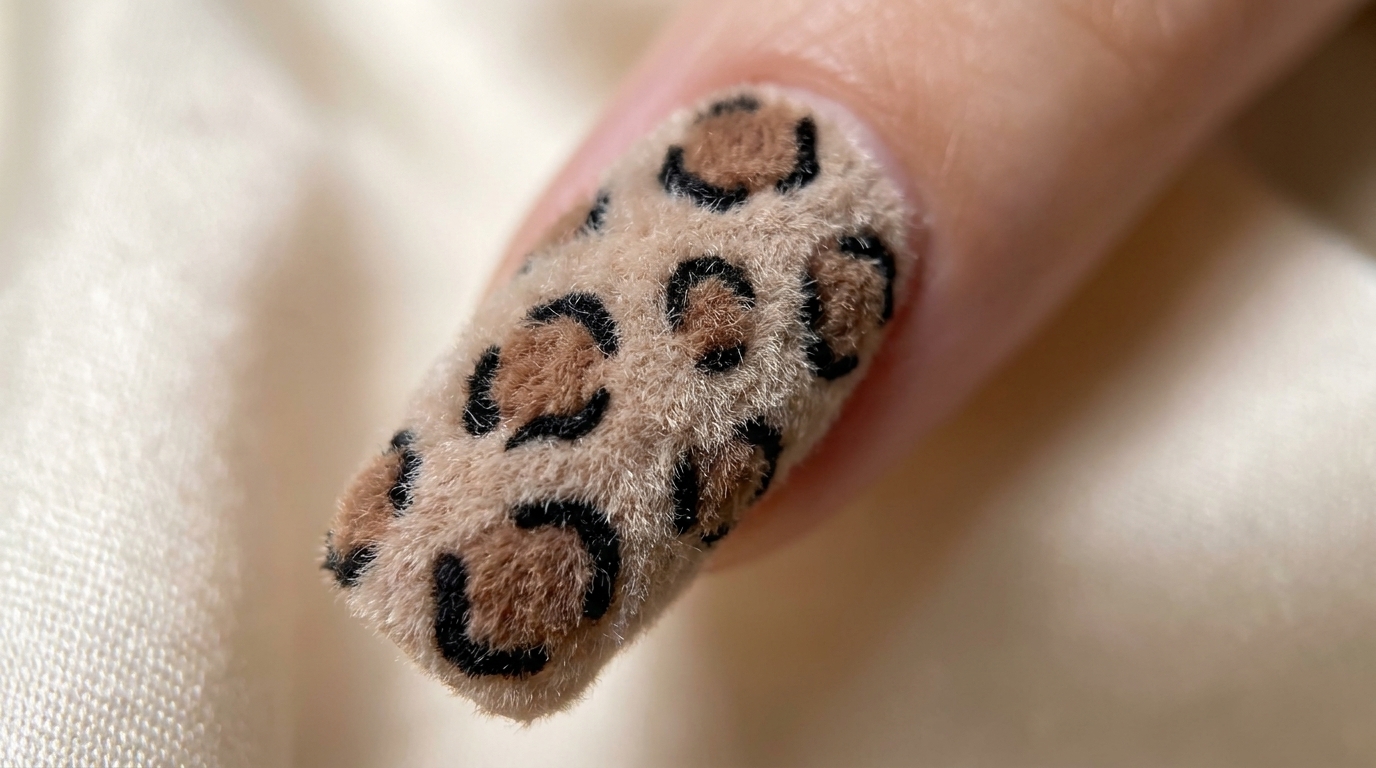
Step into the world of texture with this stunning fuzzy plush manicure. By combining a rich velvet-textured finish with clean, white stamped illustrations, this look offers a playful yet sophisticated take on modern nail art. Perfect for those who want a tactile, eye-catching design that stands out from standard high-gloss styles.
Steps
- 1Apply clear base coat
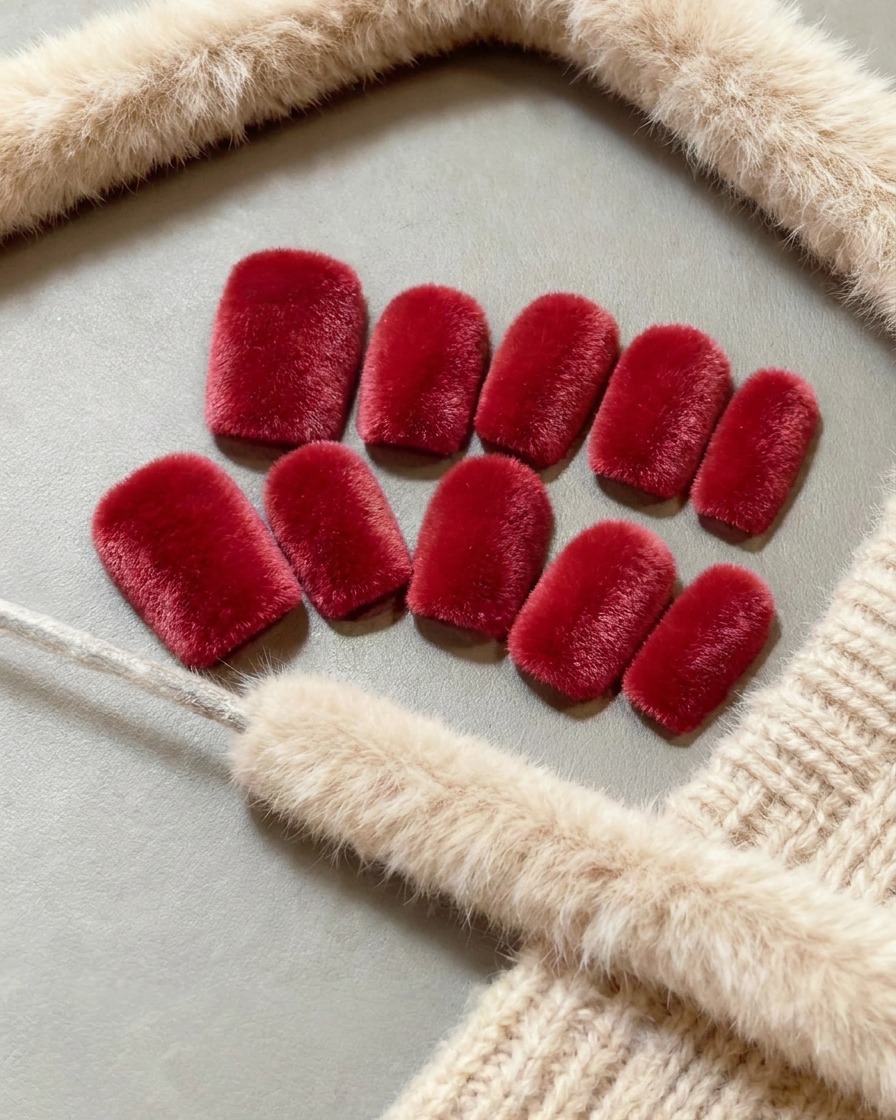
Begin by applying an even, thin layer of clear base coat to the transparent artificial nail tip. This provides a smooth, adhesive foundation for the subsequent color and plush layers. Ensure the coverage is uniform across the entire surface, then cure under the lamp as recommended for your base product.
Tip: Applying a consistent, thin layer is key to preventing pooling and ensuring a smooth surface for the plush powder later. - 2Apply red color base
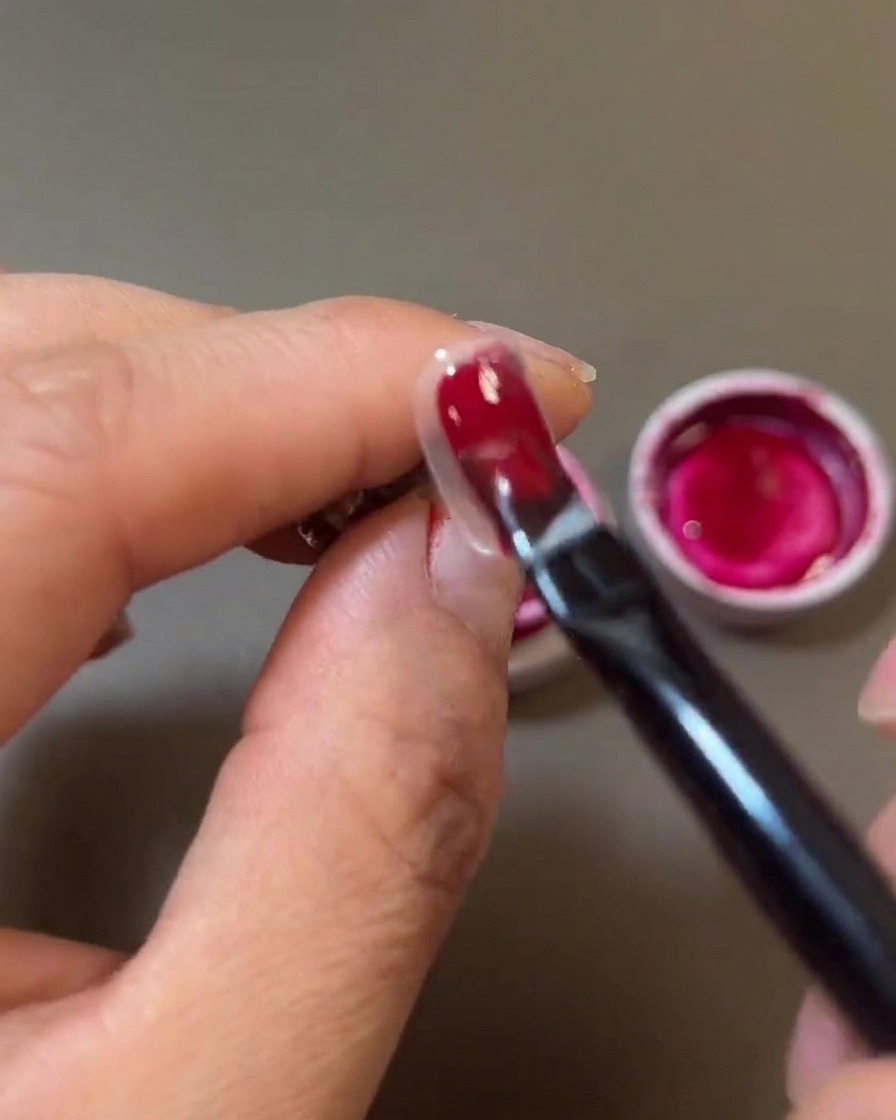
Carefully apply a layer of Dolly Joy G13 red gel over the entire nail tip. Work slowly to ensure the color is smooth and free of streaks, fully covering the base coat. Cure this layer thoroughly under your UV/LED lamp to create a solid, vibrant red foundation.
Tip: Cap the free edge with the gel brush to prevent the color from chipping and to provide a clean, professional finish. - 3Apply wet top coat
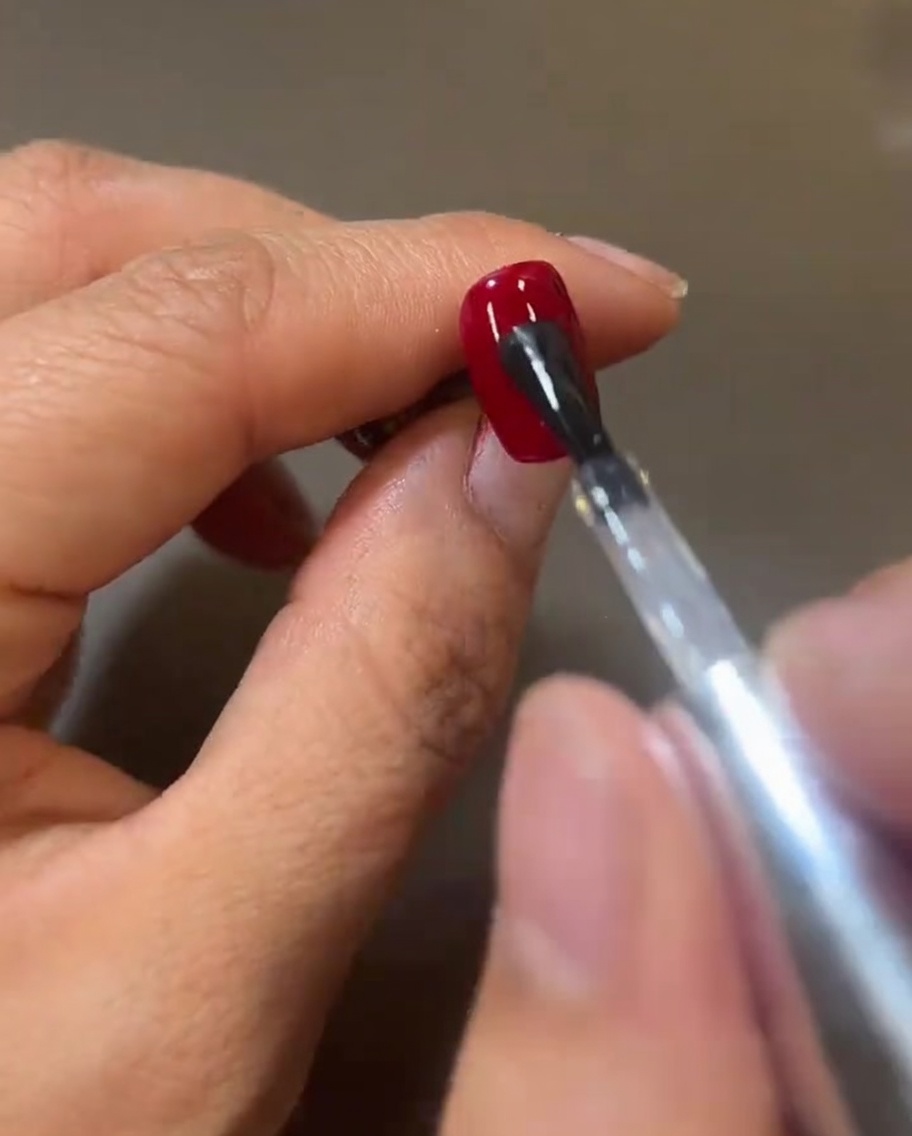
Apply a layer of clear top coat over the cured red base. It is essential that this layer remains wet and uncured, as this tackiness is what will hold the plush powder in place. Avoid curing at this stage to keep the surface receptive to the powder.
Tip: Do not rush to the lamp; keep the top coat layer slightly generous so the plush powder has enough wet surface to embed into. - 4Pick up plush powder
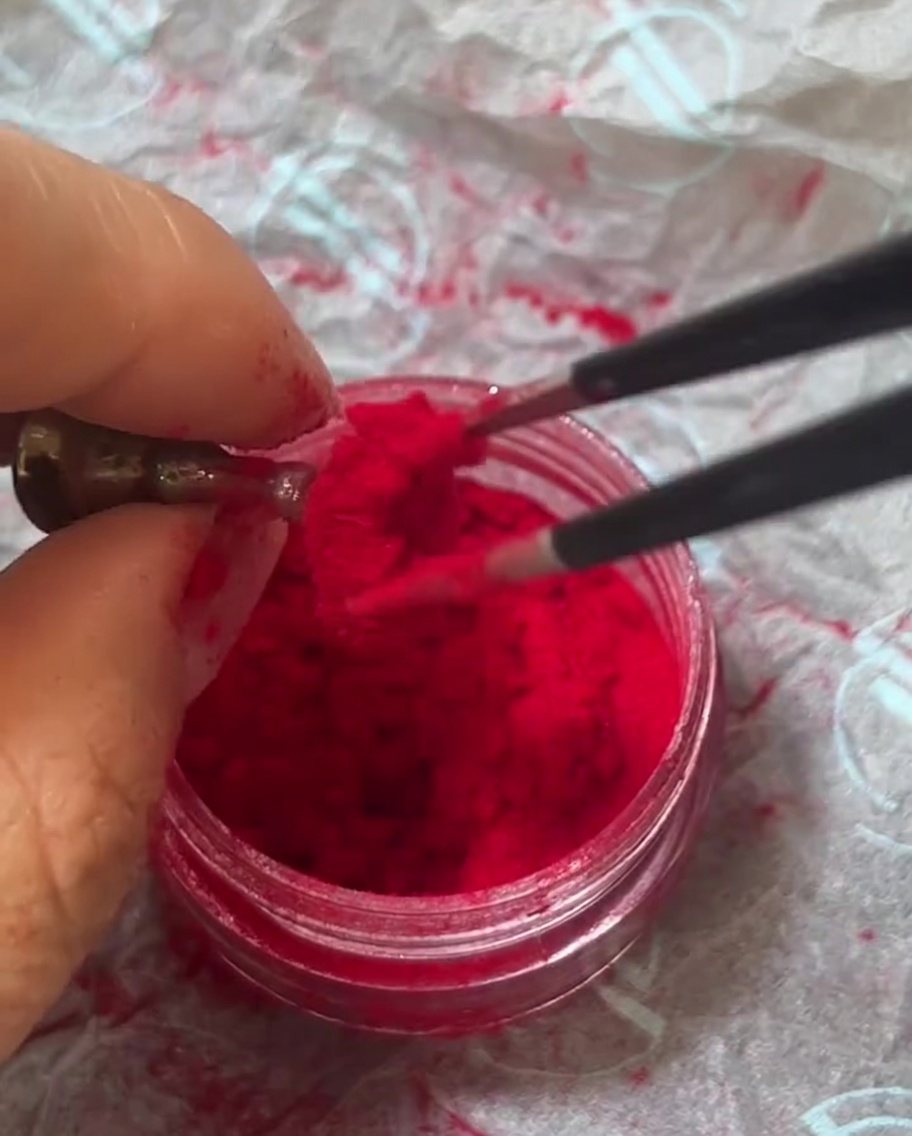
Use your tweezers to gather a small, manageable amount of red fuzzy plush powder from the jar. Working with small amounts allows for better control and placement when transferring the powder to the nail, ensuring a more even distribution.
Tip: Use a light touch with the tweezers to maintain a controlled clump of powder, avoiding unnecessary mess in the jar. - 5Apply powder to nail
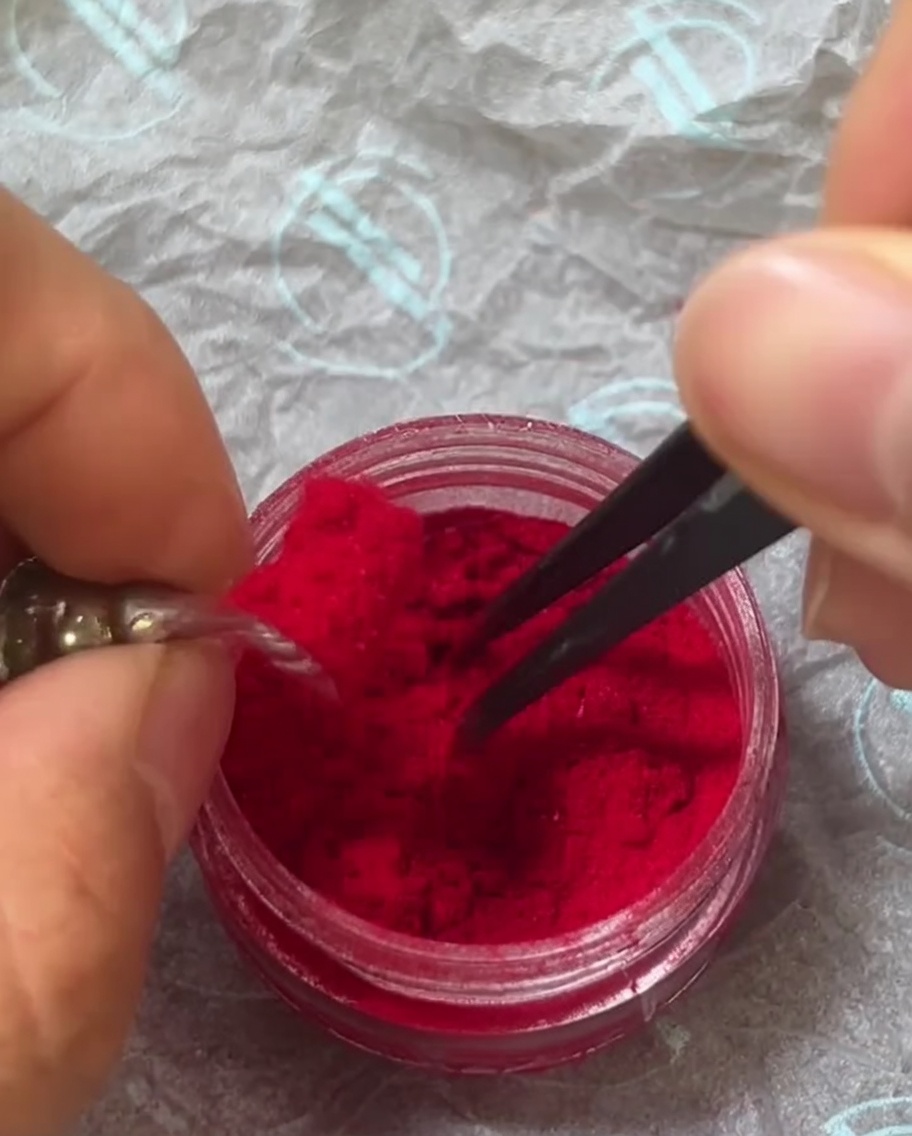
Hold the tweezers over the wet nail surface and gently tap them to release the red fuzzy powder. Distribute the powder evenly across the entire nail, ensuring that the wet top coat is fully covered. Aim for a dense, even layer to achieve the complete plush effect.
Tip: Tapping gently helps achieve a uniform dispersion of the fibers, preventing clumping in one specific area. - 6Press powder into gel
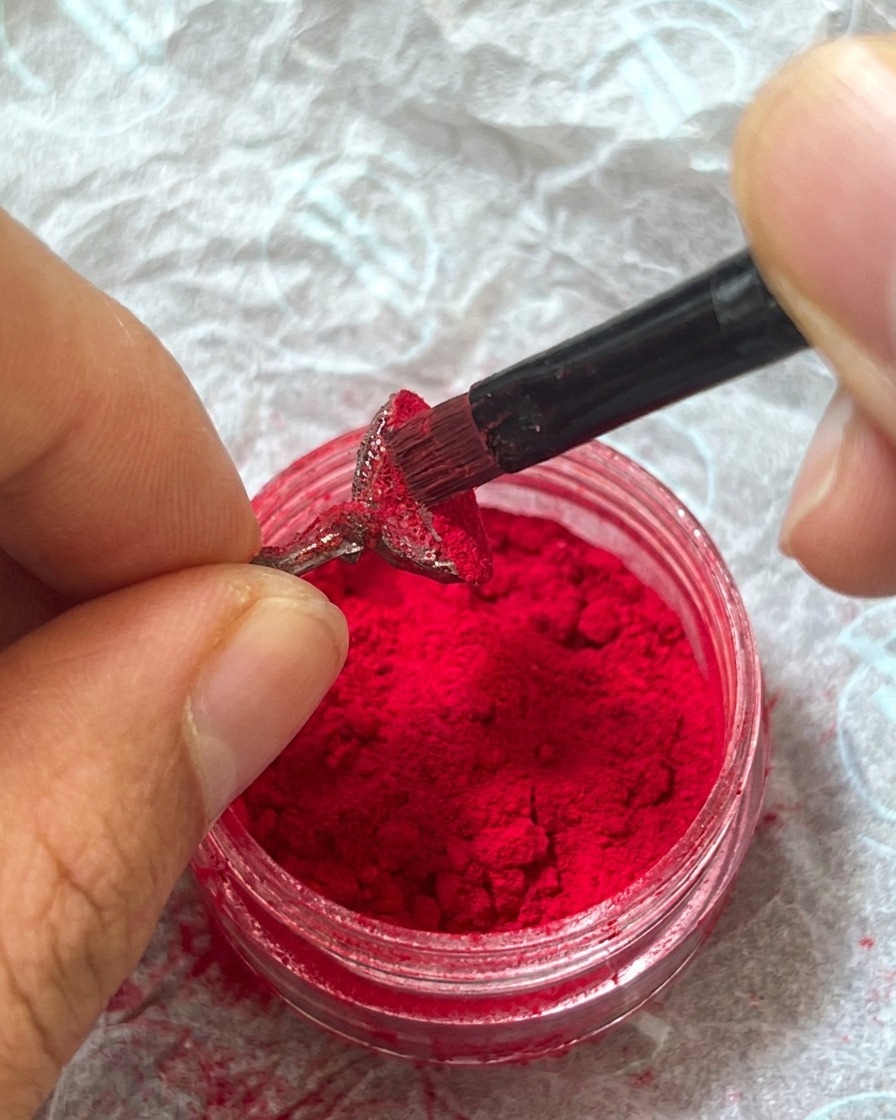
With a clean finger, lightly pat and press the fuzzy powder onto the nail. This action helps embed the fibers firmly into the uncured wet top coat. Continue gently patting until the entire nail is evenly coated and the texture is consistent across the surface.
Tip: Use light pressure; you want to set the fibers into the gel, not flatten them completely or pull them off the surface. - 7Brush off excess powder
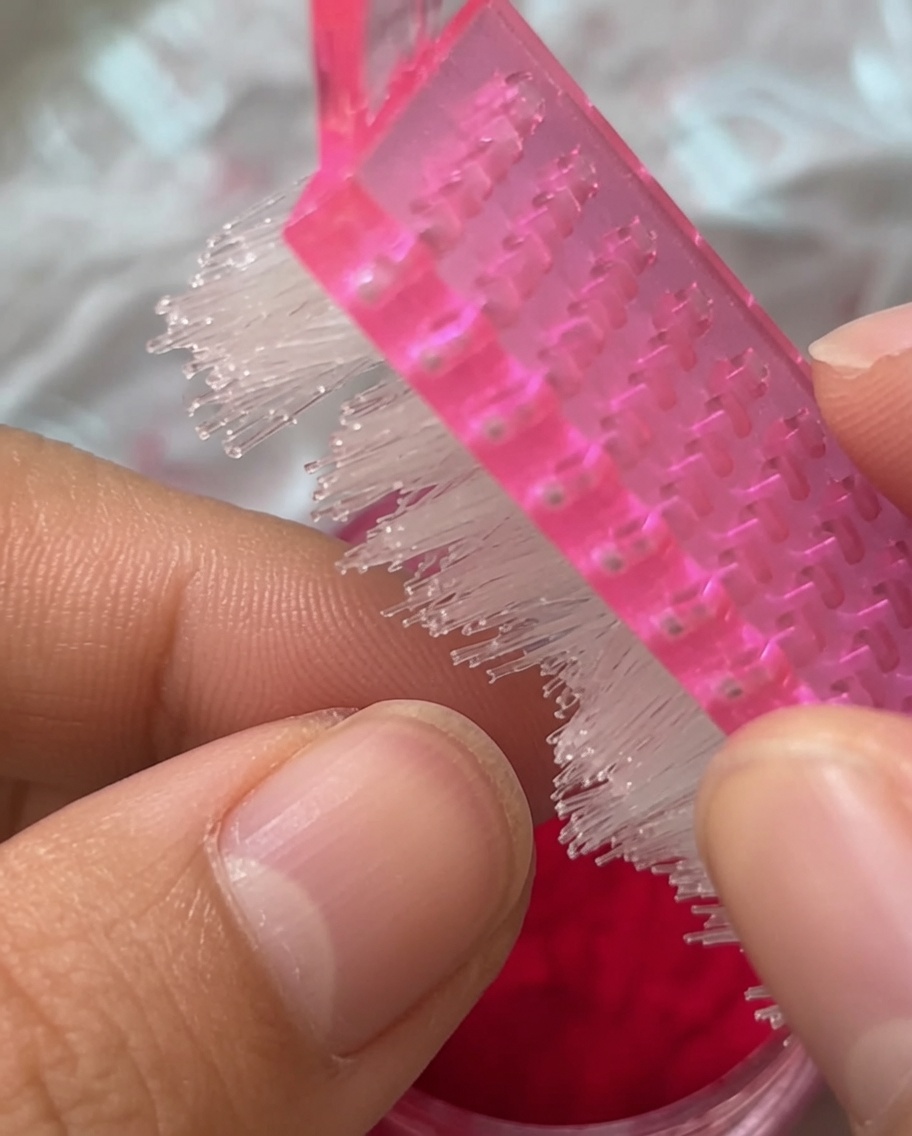
Using a soft manicure brush, gently but thoroughly brush away any loose, un-adhered fuzzy plush powder from the nail surface. This ensures the textured finish looks clean and professional, leaving only the powder that has bonded to the wet gel.
Tip: Work over a tray or paper to easily collect the excess powder for future use. - 8Inspect the fuzzy finish
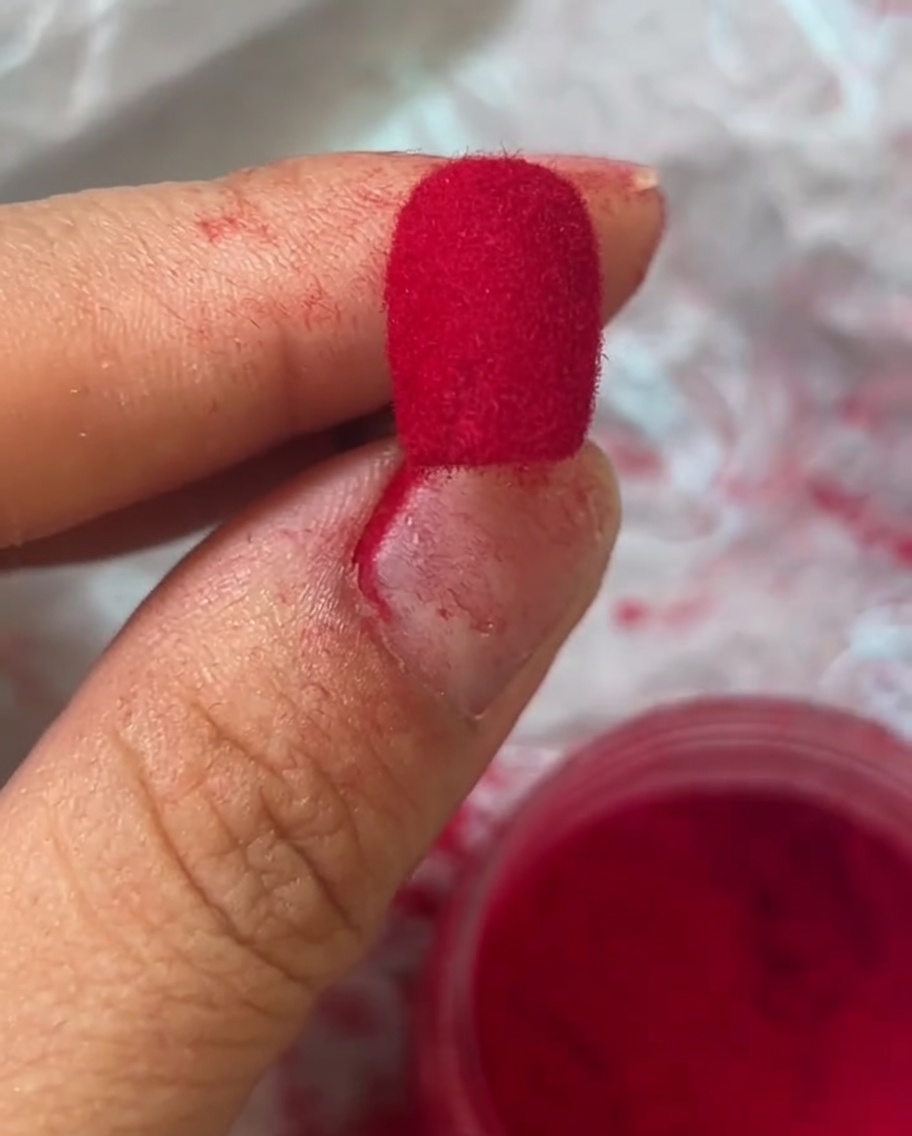
Examine the nail to ensure the fuzzy plush powder is evenly distributed and covering the entire surface. The texture should look like a soft, uniform red velvet.
Tip: If you spot any bare patches, you can gently pat a tiny bit more powder onto that specific spot before the gel fully cures. - 9Apply stamping polish
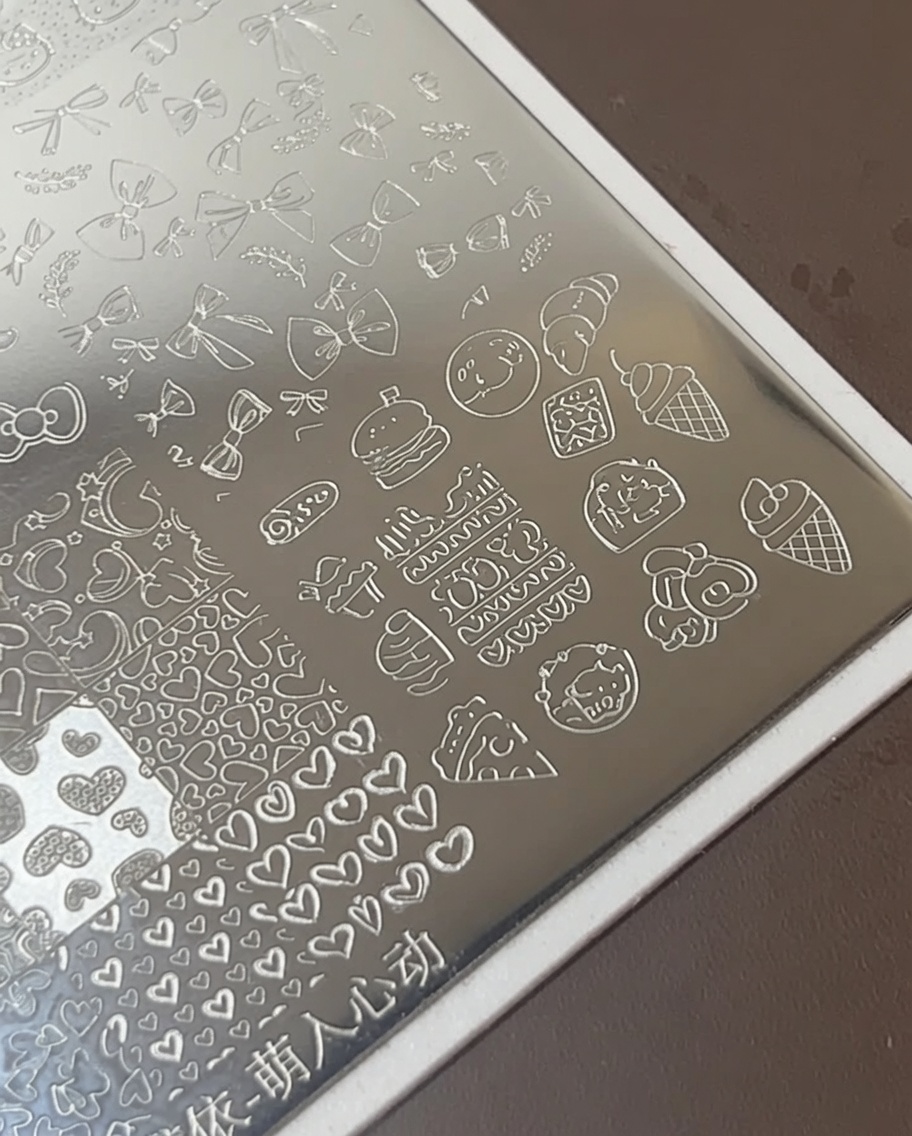
Select a design from your metal stamping plate and apply a generous amount of thick, opaque white stamping polish directly over the etched icon. Ensure the polish covers the design completely.
Tip: Use a dedicated stamping polish; regular nail polish is often too thin to pick up the design clearly. - 10Scrape the plate
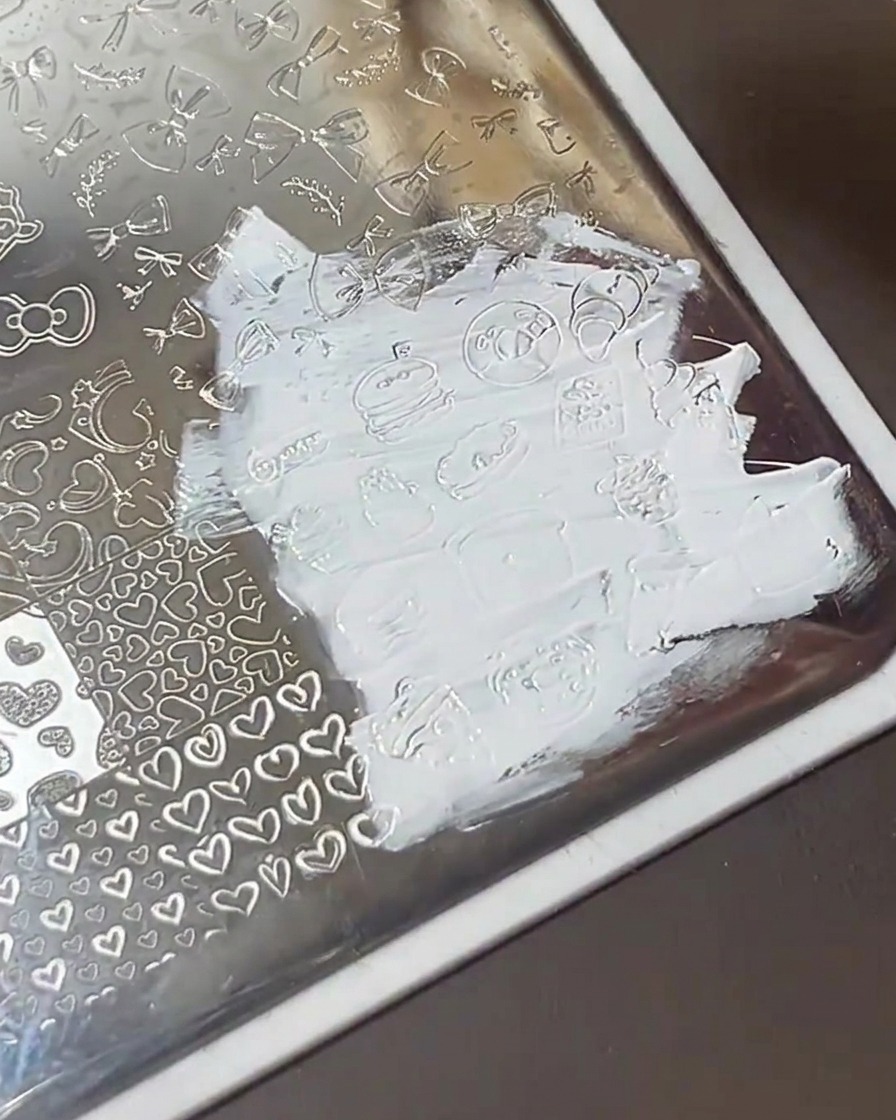
Hold your scraper card at a 45-degree angle and swipe it firmly across the metal stamping plate in one smooth, quick motion. This removes all excess polish from the surface, leaving the white polish only inside the etched grooves of the design.
Tip: Dont press too hard, or you might scrape the polish out of the design itself. - 11Pick up the design
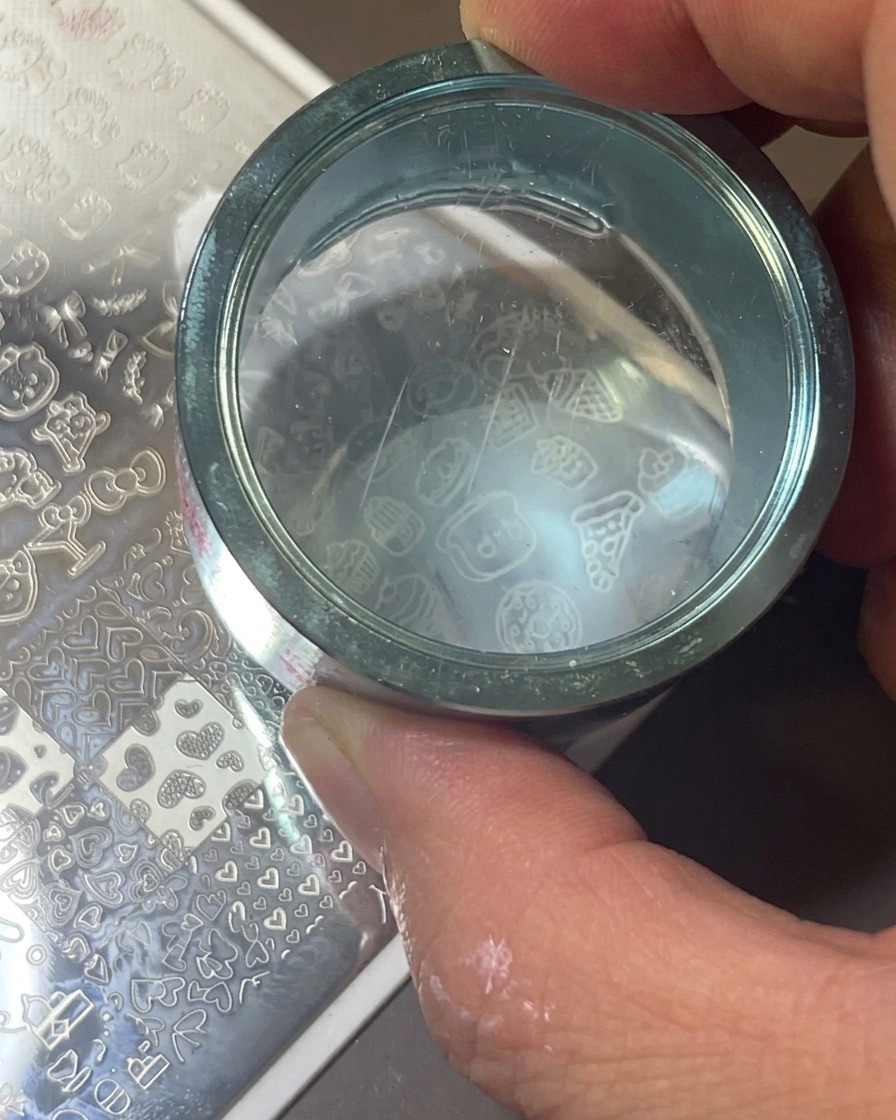
Immediately after scraping, take your clear silicone stamper and press it straight down onto the design on the plate. Use a firm, even pressure to ensure the stamper picks up the entire image.
Tip: A quick, decisive motion works best for picking up detailed designs. - 12Verify the transfer
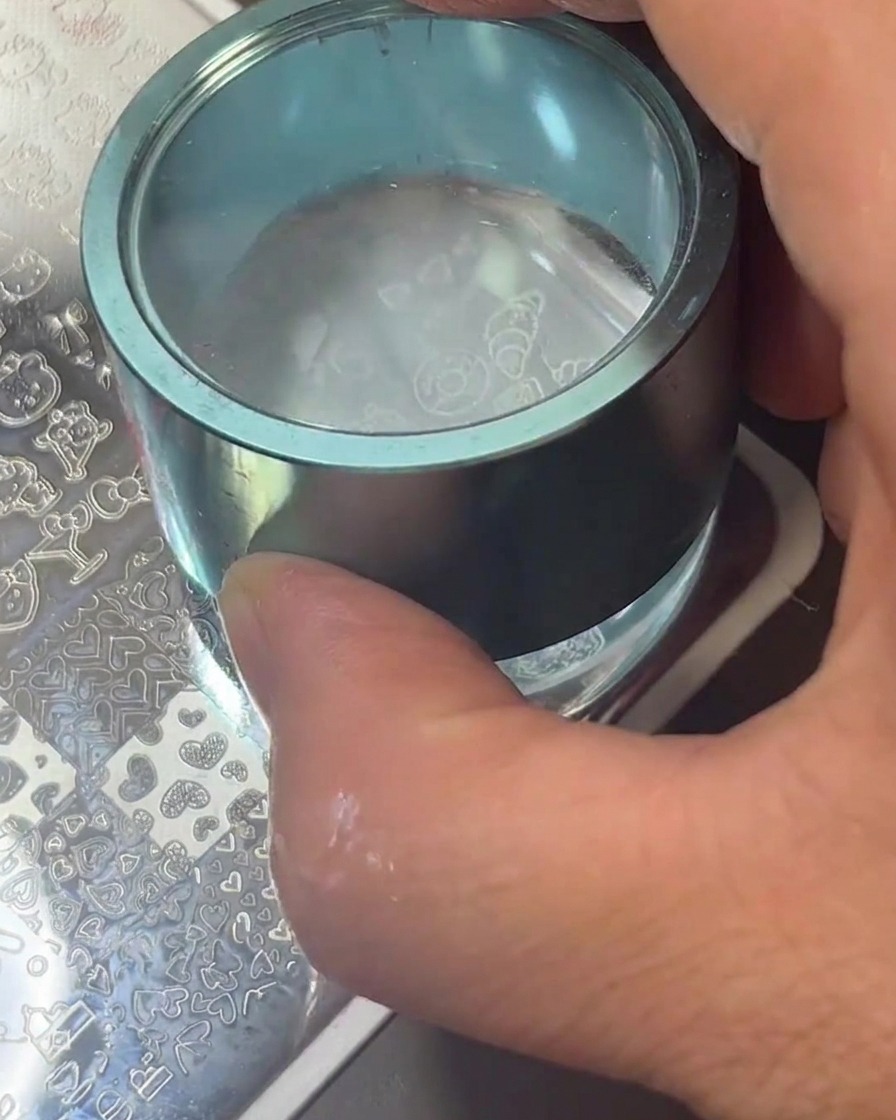
Lift the stamper from the plate and turn it over to inspect the design. The white food patterns should be clearly visible and perfectly transferred onto the silicone surface, ready to be stamped onto the nail.
Tip: If the design looks incomplete, clean the stamper with a lint roller and try picking it up again. - 13Stamp the pattern
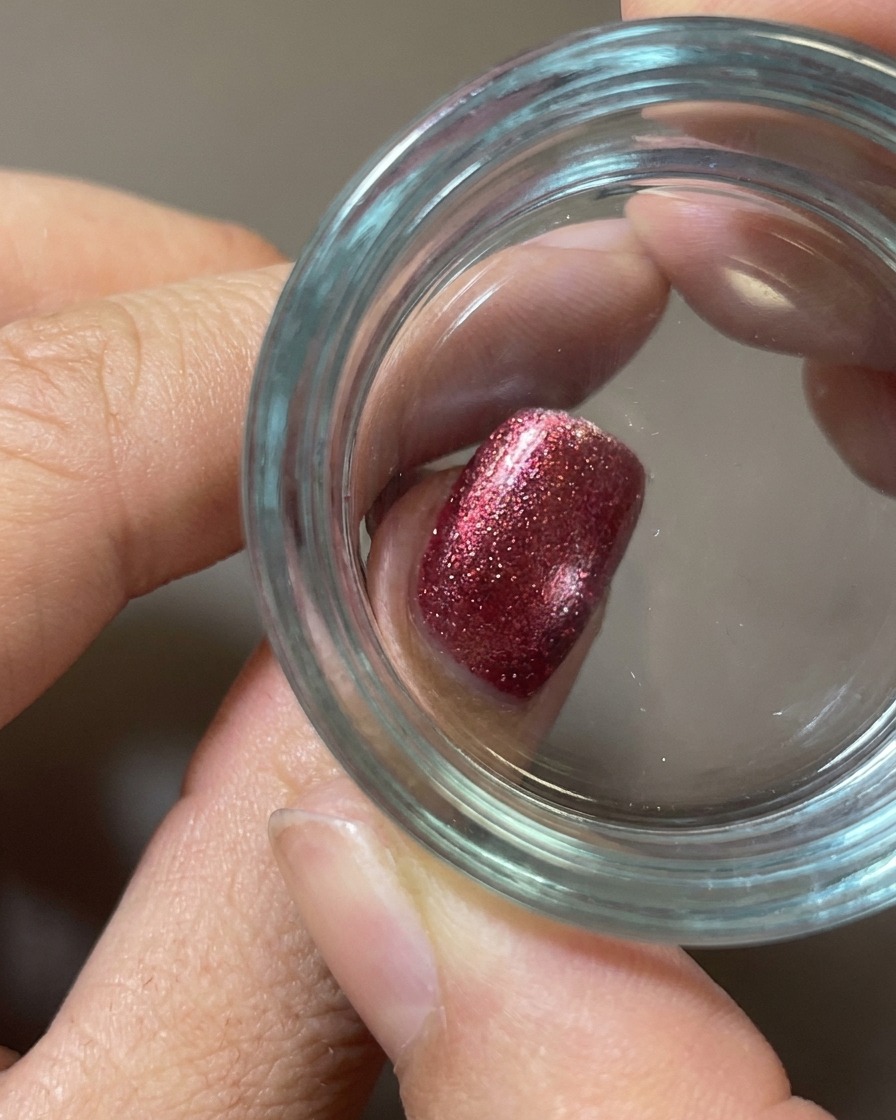
With the red fuzzy surface ready, align your silicone stamper containing the white food illustration pattern. Gently press the stamper down onto the nail surface to transfer the design. Ensure you use light, even pressure to prevent smudging on the textured, fuzzy surface.
Tip: Do not press too hard; the plush texture is delicate and light contact is all that is needed to transfer the crisp white design. - 14Reveal the stamped design
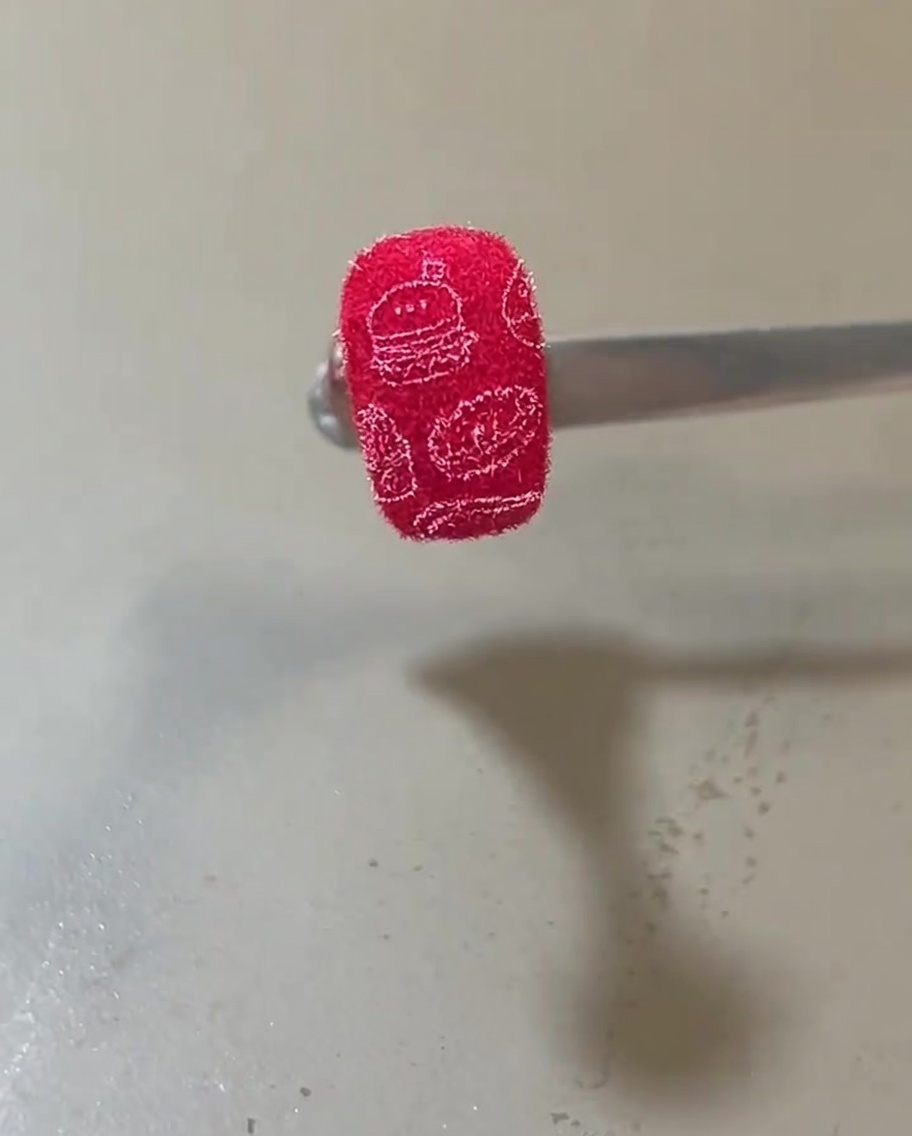
Carefully lift the silicone stamper straight up to reveal the completed nail design. The white food illustrations should appear clearly against the red fuzzy background. This completes the unique textured nail art look.
Tip: Lift the stamper in one fluid motion to avoid blurring the stamped pattern on the fuzzy texture.