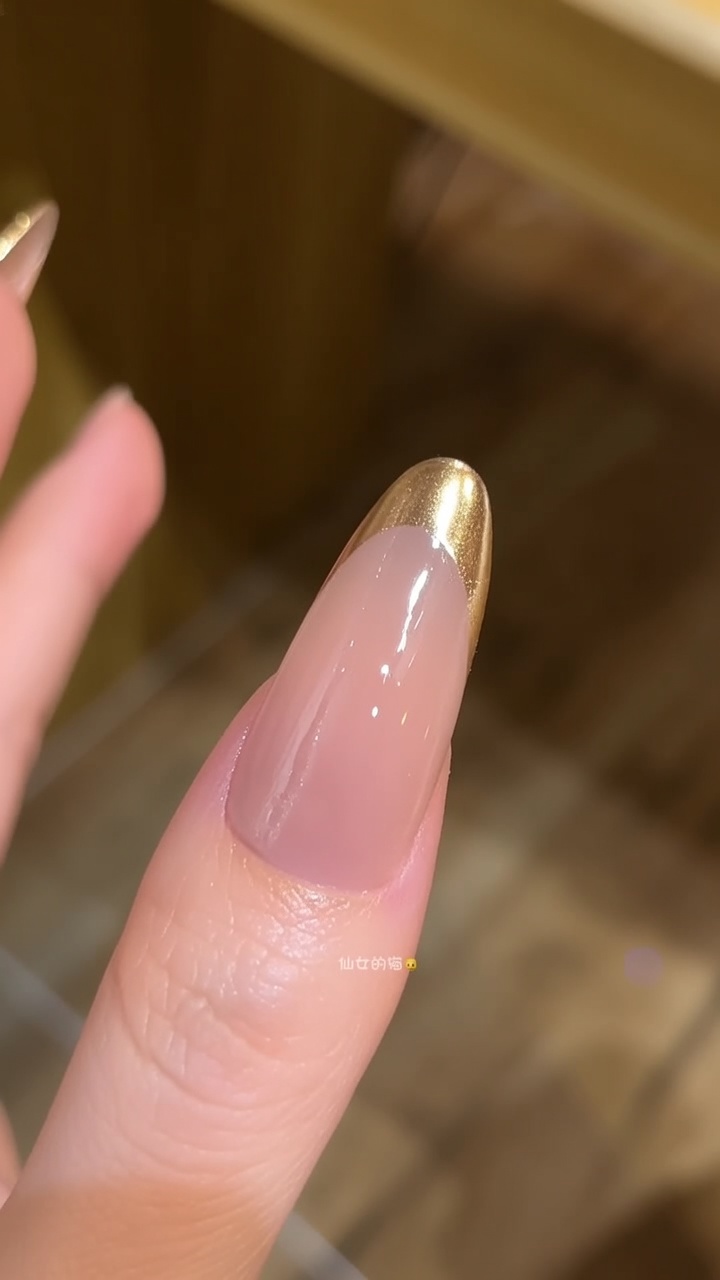
Gold Chrome Tip French Manicure — Elegant Almond Nails
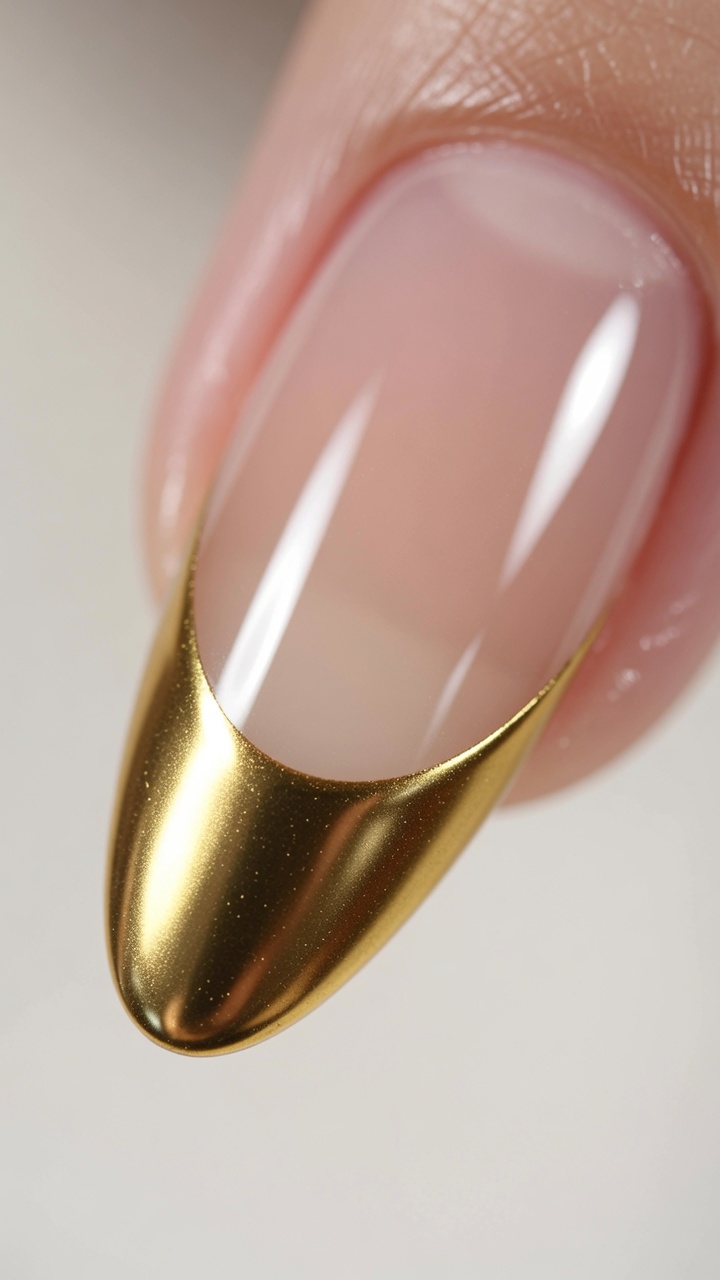
Elevate your classic French manicure with this stunning gold chrome tip design. Learn how to achieve a sharp mirror-like metallic finish at home.
The gold chrome French manicure is a sophisticated twist on a timeless classic. By combining a clean nude base with reflective metallic tips this look offers a high-end modern aesthetic suitable for any occasion. This tutorial breaks down the process including precise application and cleanup techniques to ensure your chrome tips are flawlessly crisp.
Steps
- 1Apply gold mirror powder
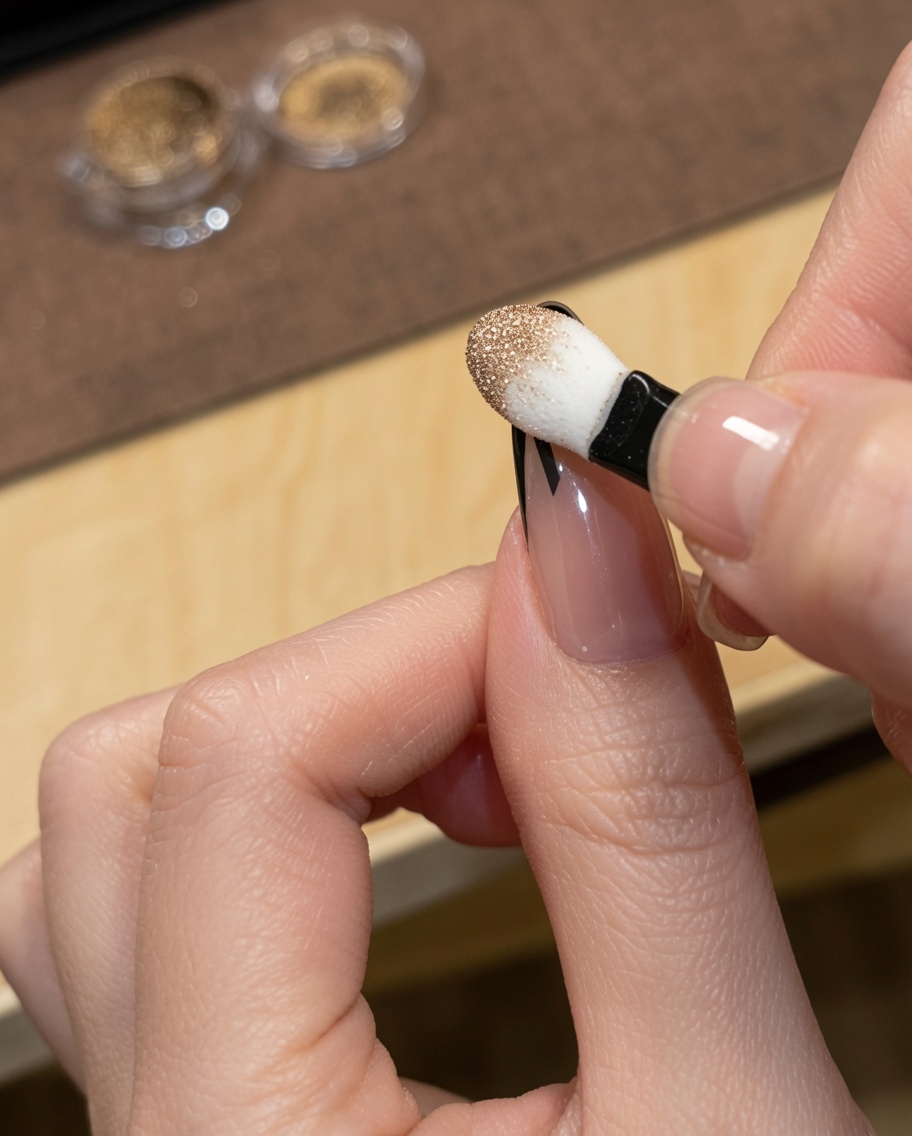
Using a small shadow brush, gently press and buff the gold mirror powder onto the tip area. Ensure the powder is applied evenly for a smooth, metallic finish, then use a clean, soft brush to dust off any excess powder from the surrounding nail surface.
Tip: Apply the powder while the base is still slightly tacky for the best adhesion and mirror-like effect. - 2Clean tip edges
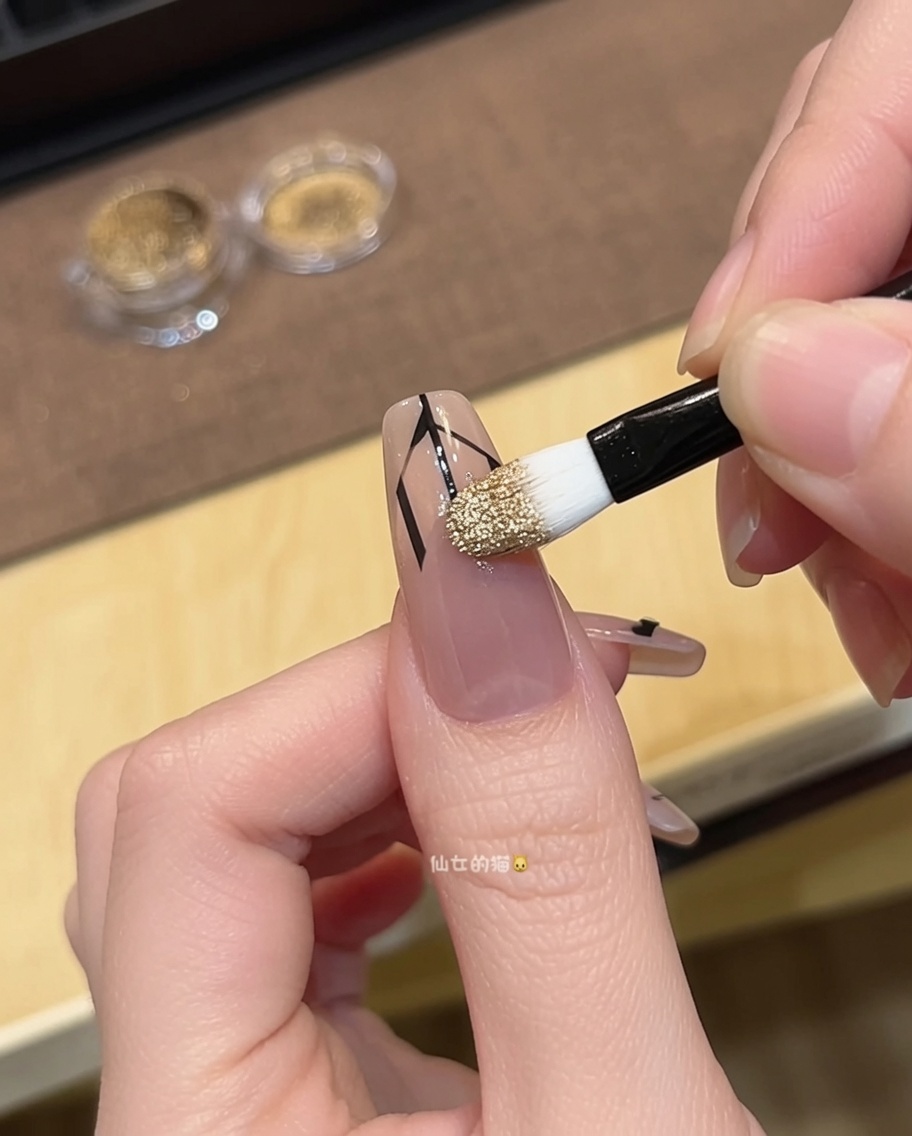
Use a pair of tweezers to carefully remove any stray powder or debris along the edges of the French tip. This step is essential for creating a sharp, crisp line between the gold chrome and the nude nail plate.
Tip: Working carefully with tweezers prevents smudging the design and helps achieve a professional, sharp look. - 3Apply gel base coat
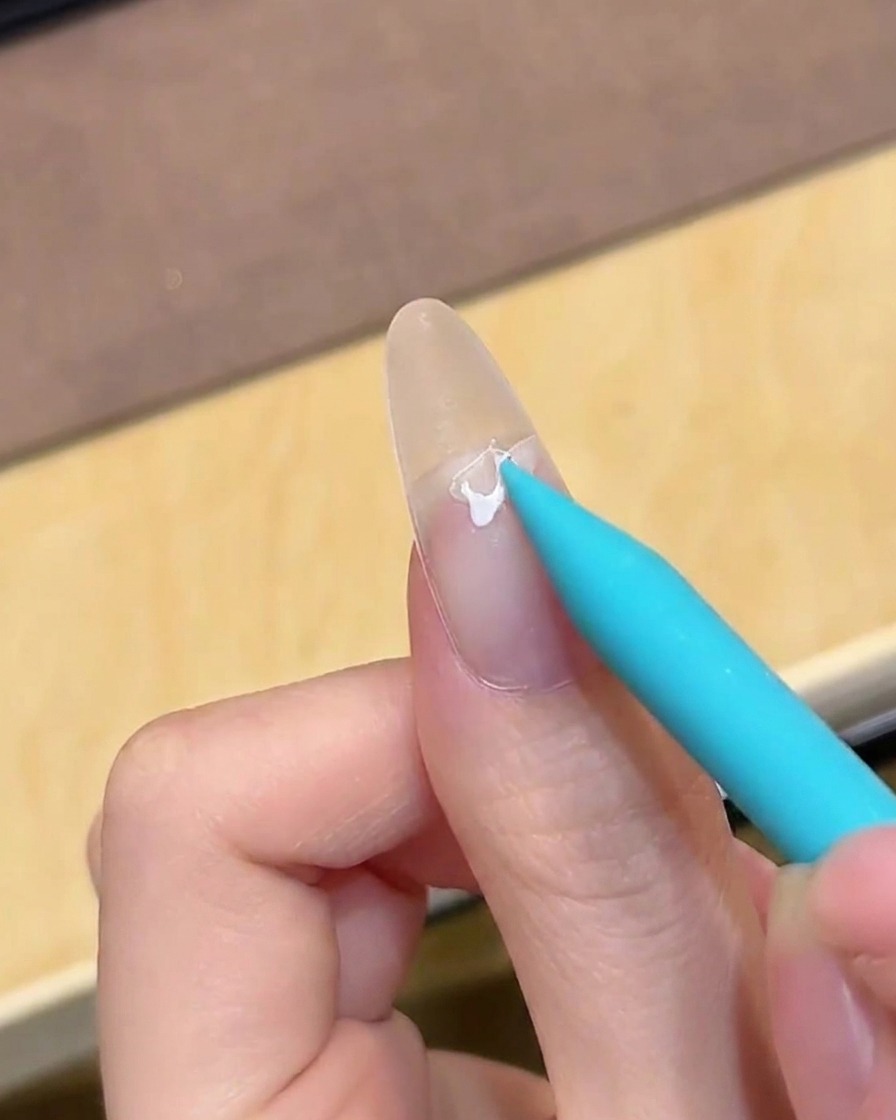
Apply a thin, even layer of base coat to the entire nail plate, ensuring you cover the surface thoroughly. Be careful to avoid the cuticle area for a long-lasting, clean application.
Tip: A thin, consistent base layer provides the best foundation for gel adhesion and prevents peeling. - 4Cure the base coat
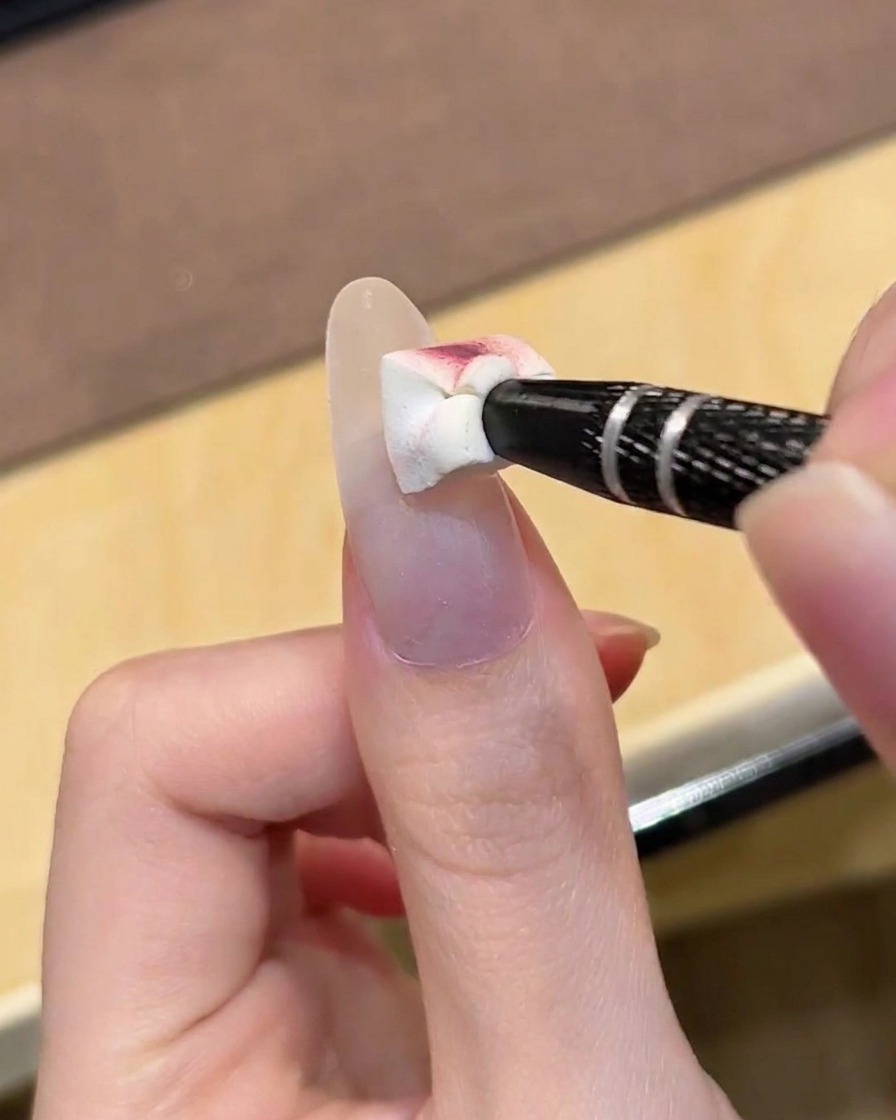
Place your hand inside the UV or LED lamp and cure the base coat for the recommended time, usually 30 to 60 seconds depending on your lamps wattage. Ensure the nails are positioned directly under the light source.
Tip: Avoid moving your hand during the curing process to ensure an even cure across all nails. - 5Apply nude pink gel
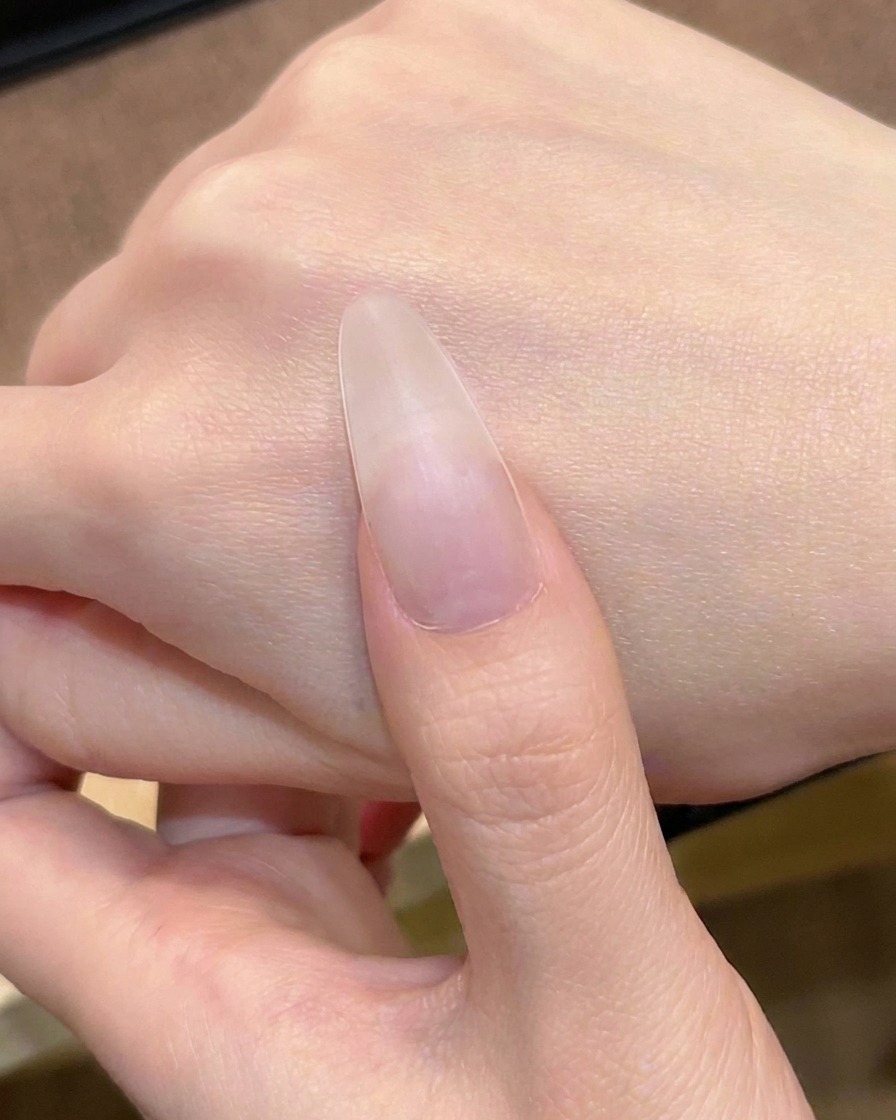
Apply a thin first layer of nude pink gel polish over the base coat. Start from the center of the nail and gently push the polish towards the cuticles, then pull it down to the free edge for a smooth, streak-free look.
Tip: Keep the first layer thin to avoid pooling at the cuticles and ensure a better cure. - 6Cure the first color layer
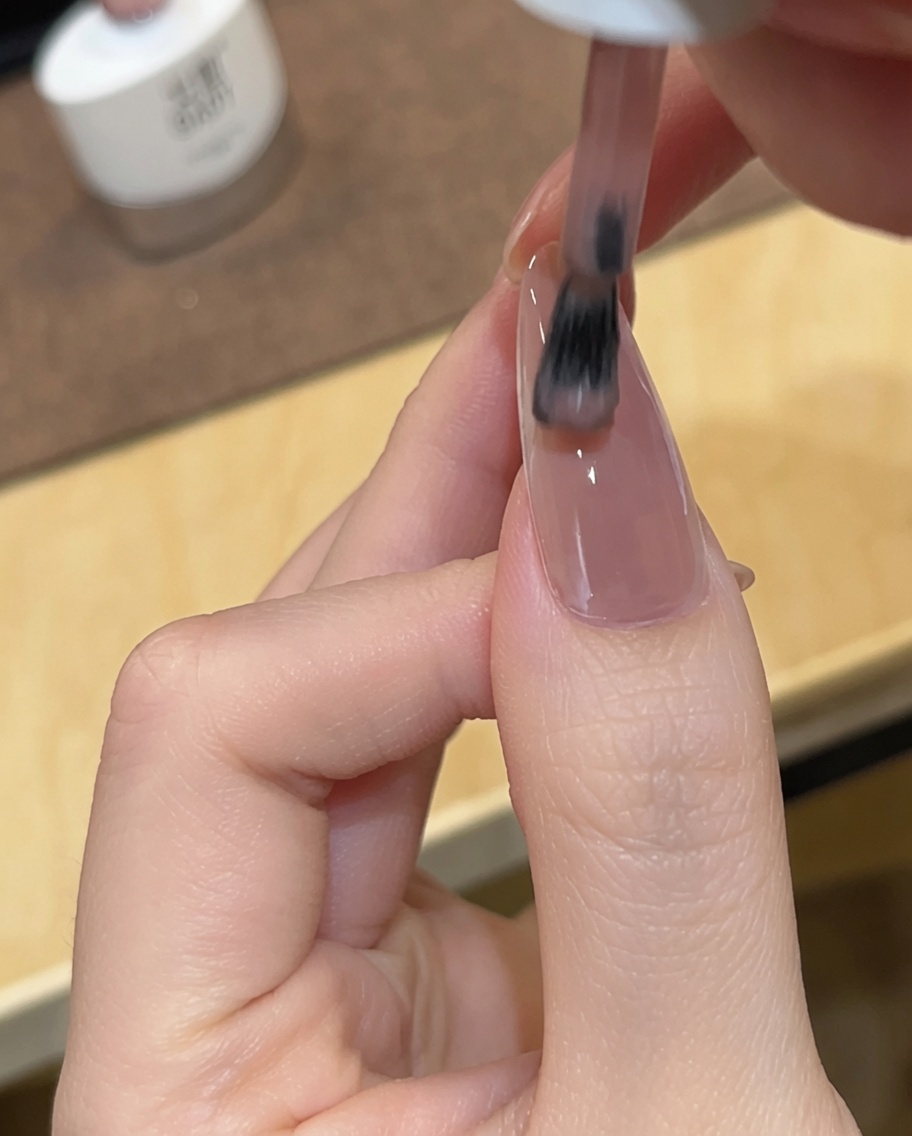
Place your hand under the UV or LED lamp to cure the first layer of nude pink gel polish. Follow the manufacturers instructions for the specific curing time required for your gel brand.
Tip: Proper curing is essential for the durability of your manicure and to prevent gel allergies. - 7Apply second layer of polish
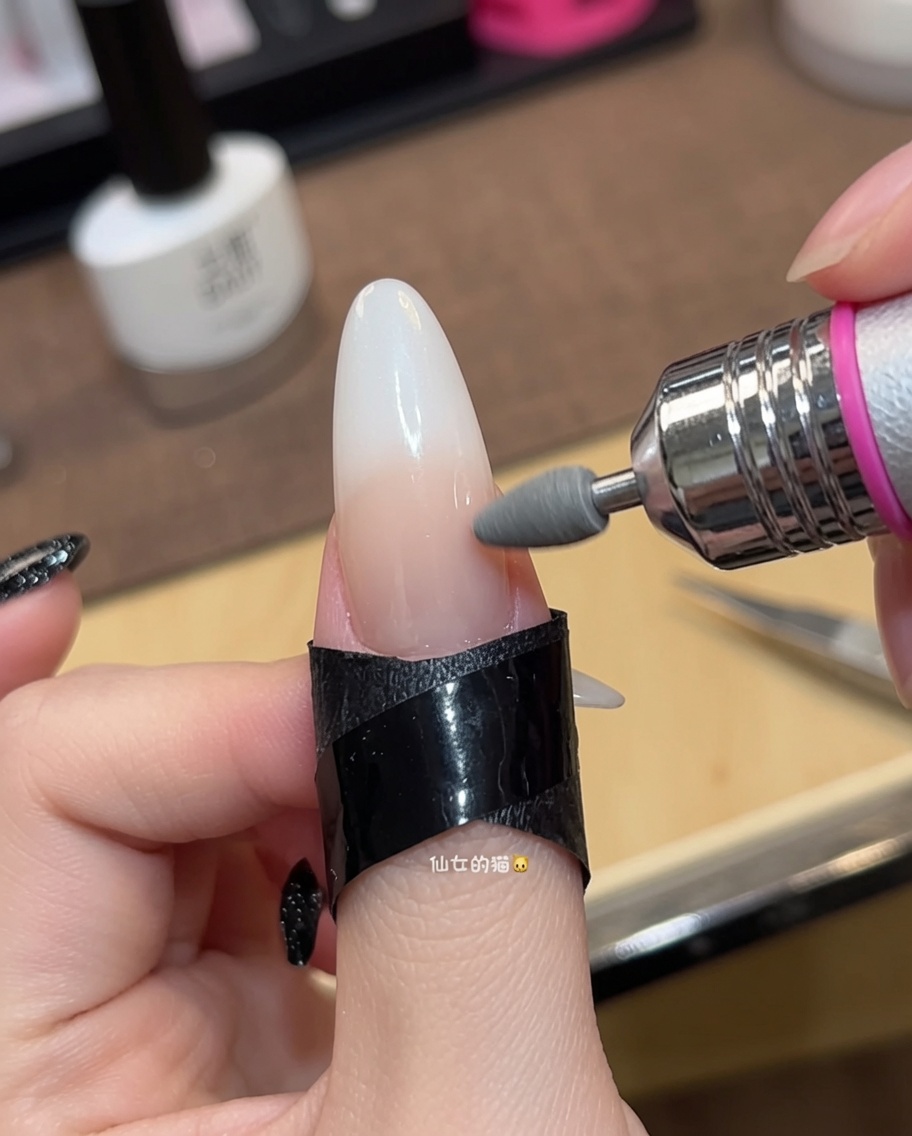
Apply a second, even layer of the nude pink gel polish over the entire nail plate to achieve full opacity. Ensure the polish is applied smoothly without streaks. Cure under the lamp for the recommended time to set this layer.
Tip: If the polish is still streaky, ensure you are using thin, controlled strokes. - 8Apply French tip guide
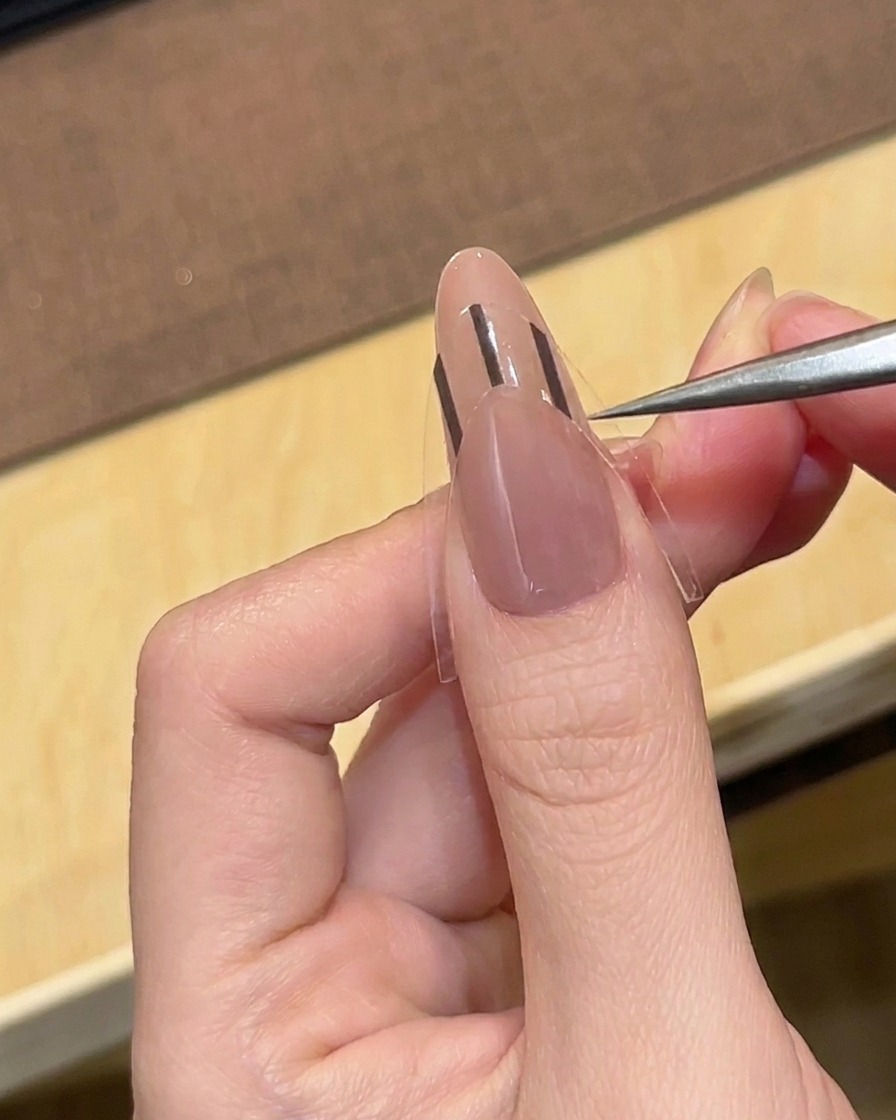
Carefully place a French tip guide sticker onto the cured nail surface at the desired position for the smile line. Position it symmetrically to ensure a clean, consistent French tip shape across all nails.
Tip: Ensure the nail is completely cured and the tacky layer is removed if necessary before applying the sticker to prevent it from pulling up the polish. - 9Seal the sticker edges
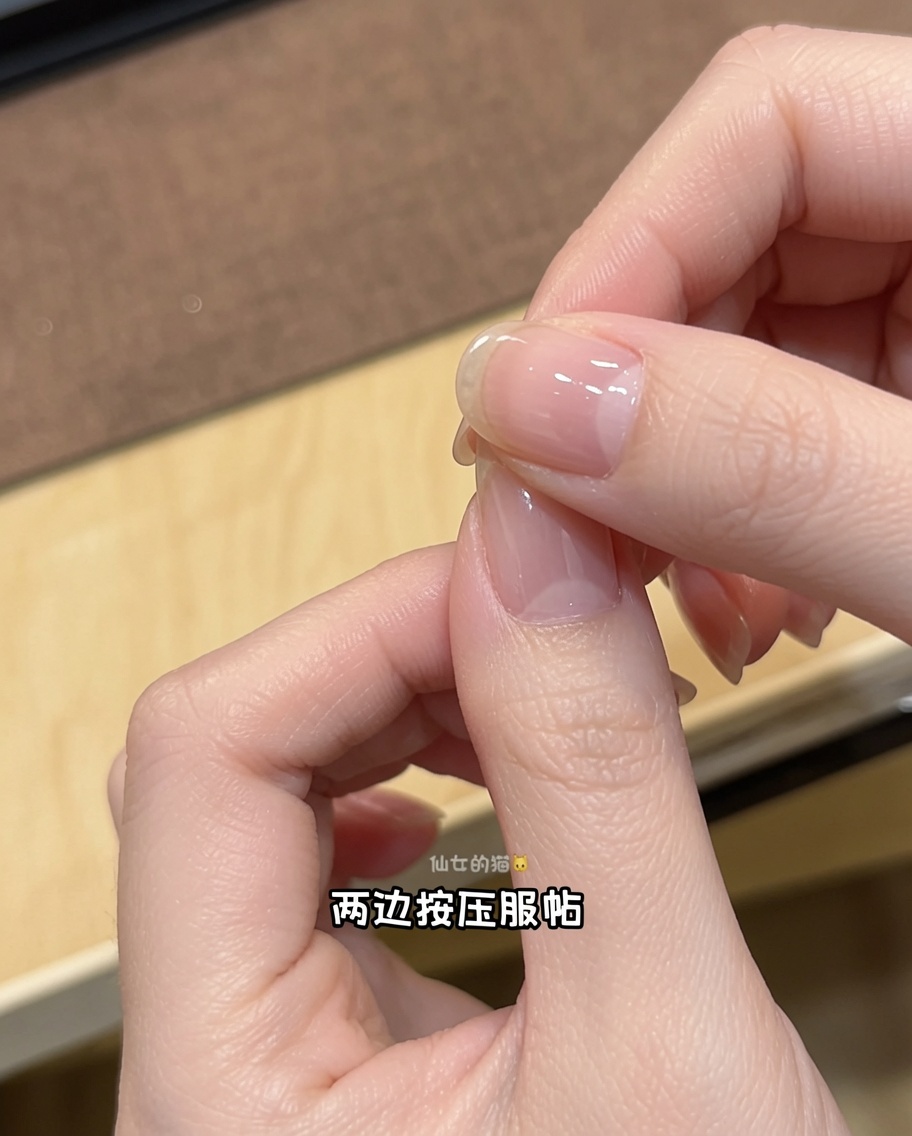
Firmly press down the edges of the guide sticker against the sides of the nail. This creates a tight seal that prevents the mirror powder from bleeding underneath the sticker, ensuring a crisp, sharp French line.
Tip: Running your finger along the sticker edges ensures it is flush against the nail surface. - 10Burnish gold chrome powder
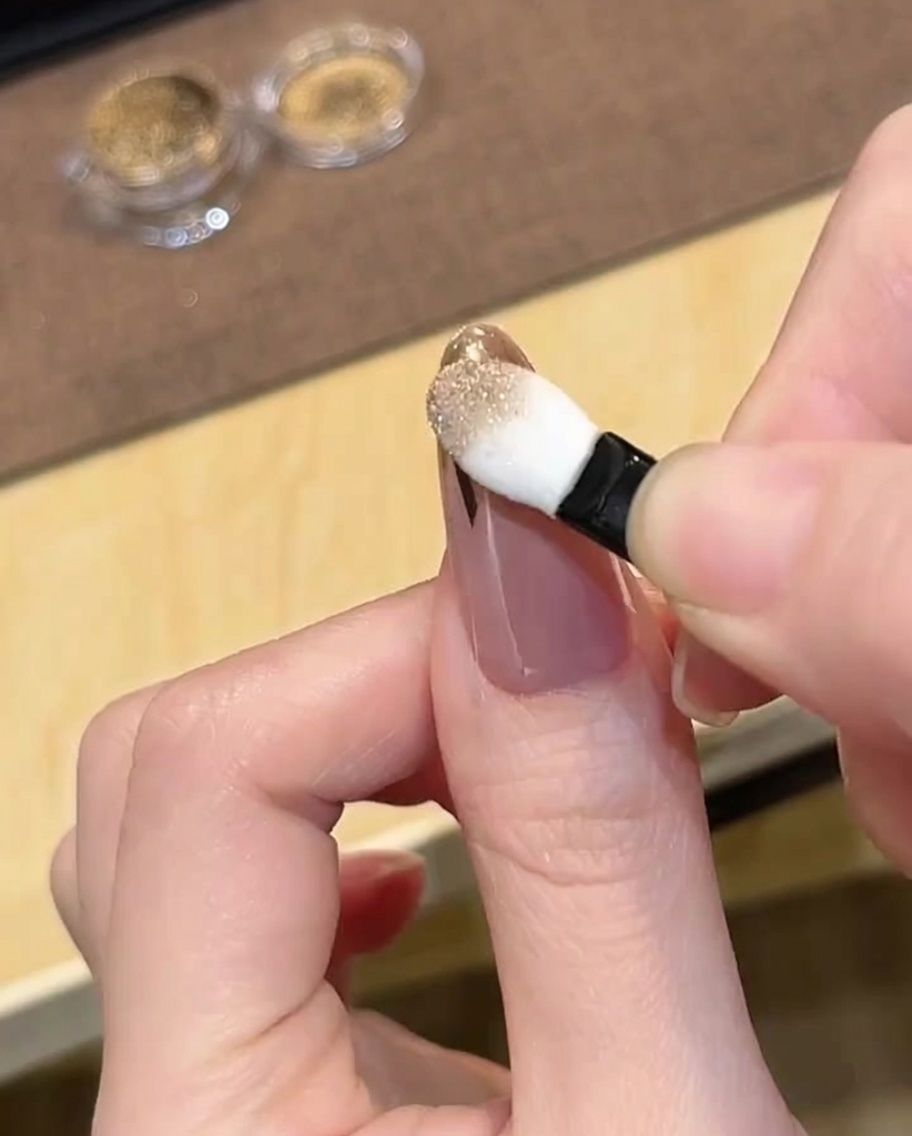
Using a sponge applicator, pick up a small amount of gold mirror powder and burnish it onto the exposed tip area. Rub the powder in small, firm circular motions to achieve a smooth, mirror-like metallic finish.
Tip: A little powder goes a long way; start with a small amount and add more if needed for full coverage. - 11Clean up the chrome edges
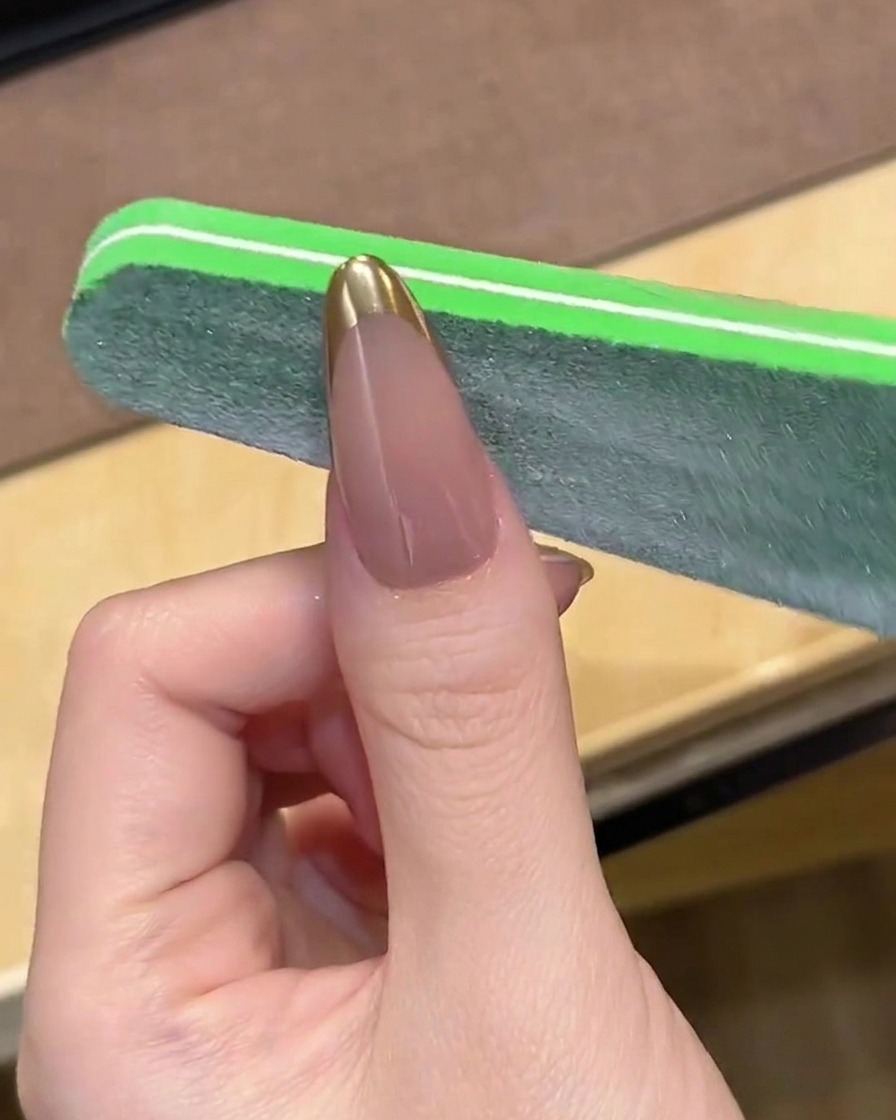
Use a fine-grit nail file to gently buff away any excess mirror powder from the free edge and sidewalls. This cleans up the application and ensures the chrome tip looks sharp and professional before applying the final top coat.
Tip: Use a light touch to avoid filing into the nail polish or the chrome design itself. - 12Seal with top coat
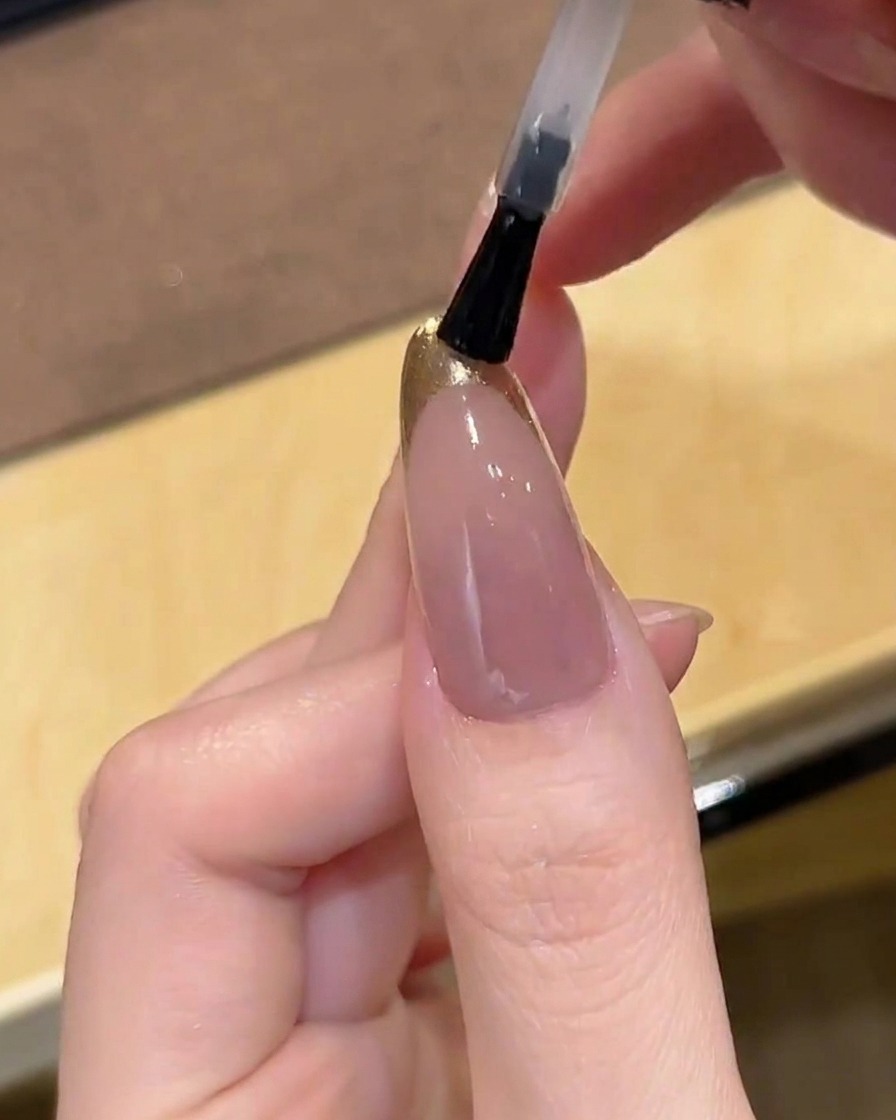
Apply a final layer of sealing top coat over the entire nail, ensuring you cap the free edge. This protects the gold chrome design from chipping and gives the manicure a high-gloss finish. Cure under the lamp to complete the look.
Tip: Apply the top coat gently to avoid dragging the chrome powder into the nude base area.