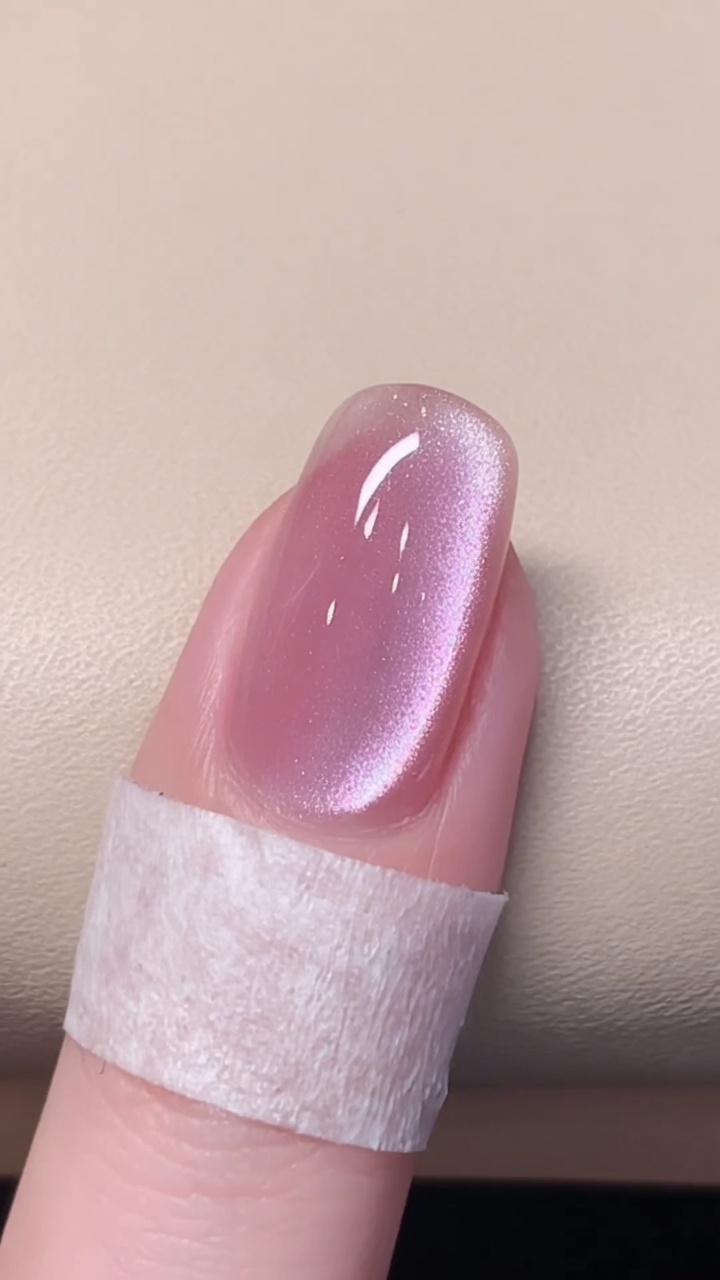
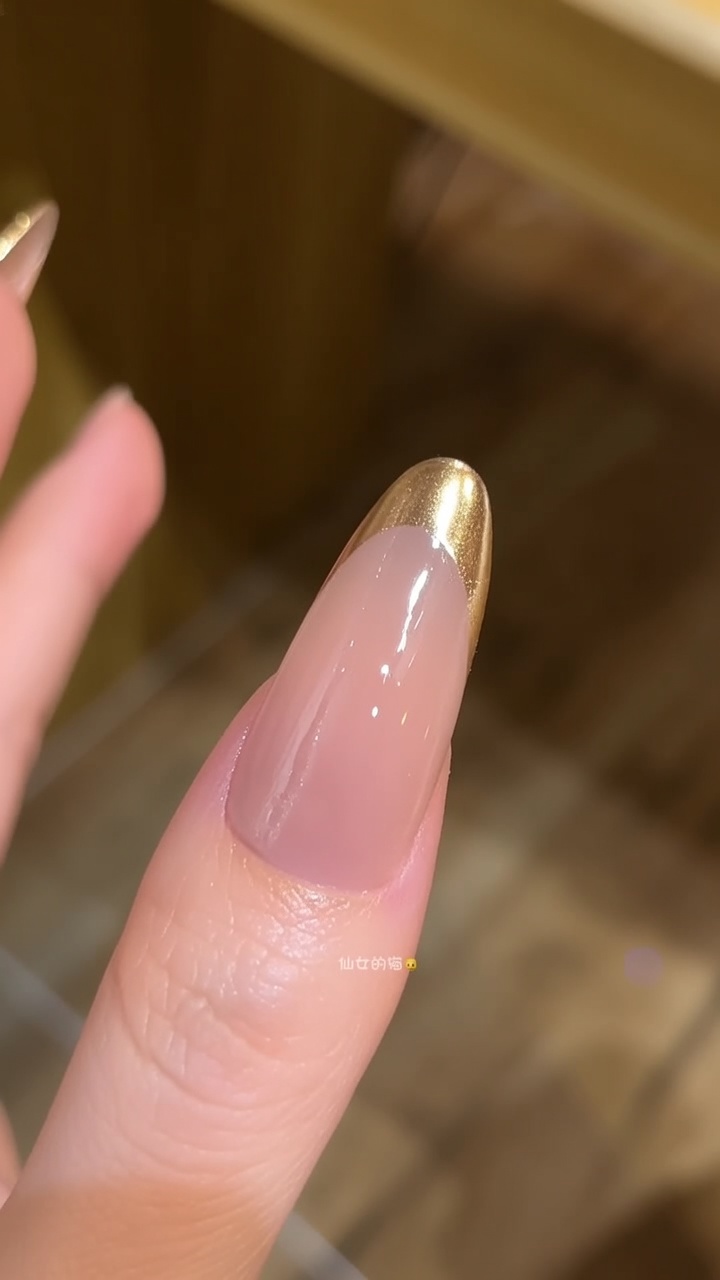
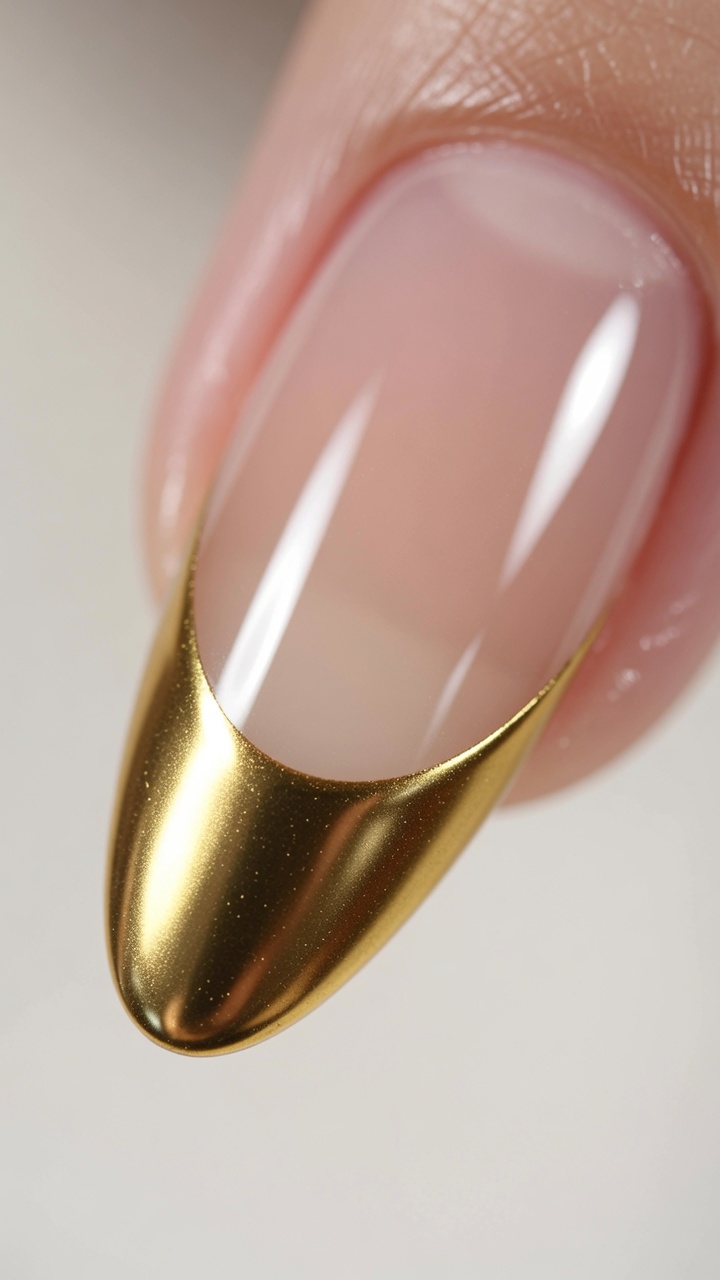
French Cat Eye Chrome Nails — Trendy Negative Space Tutorial
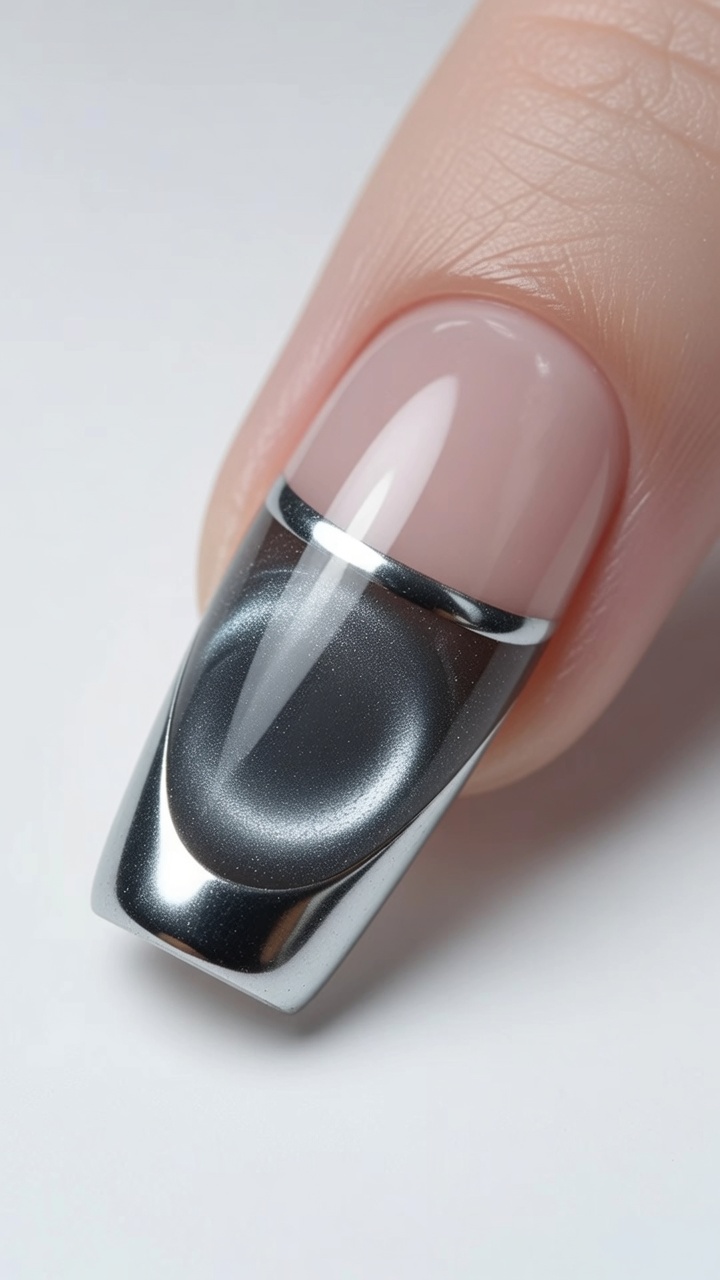
Master the chic French cat eye look with this negative space tutorial. Combine magnetic depth with a sleek titanium silver chrome tip for a modern salon finish.
The French cat eye look perfectly blends modern magnetic depth with a classic, sharp aesthetic. By using a negative space technique, this design highlights the contrast between the smoky grey magnetic base and the brilliant chrome tip. It is a sophisticated way to wear chrome without overwhelming the entire nail.
Steps
- 1Get Ready
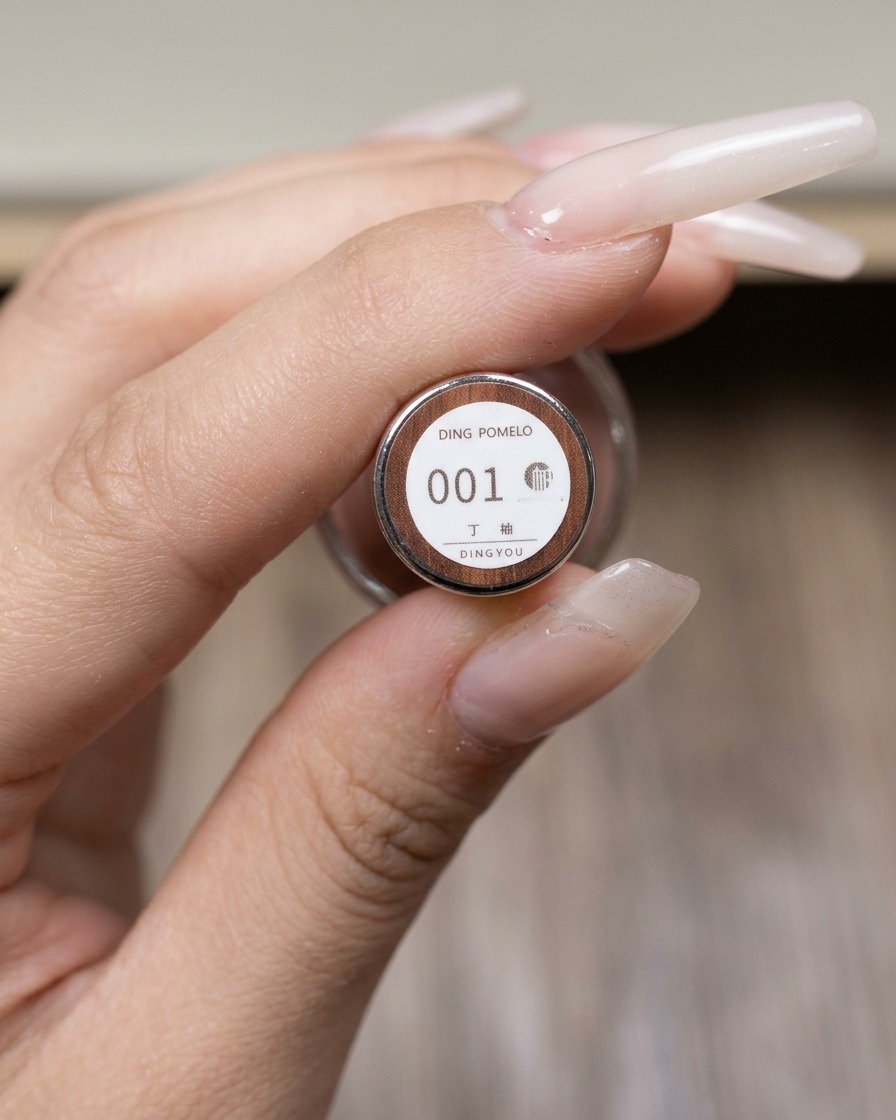
Organize your workstation and have the number 1 smoky grey cat eye gel polish ready. Starting with prepared, clean tools ensures a smooth application process, which is vital for achieving the perfect magnetic gradient and precise tip placement.
Tip: Check that your bottle is properly closed to prevent the gel from thickening before use. - 2Select your French tip guide
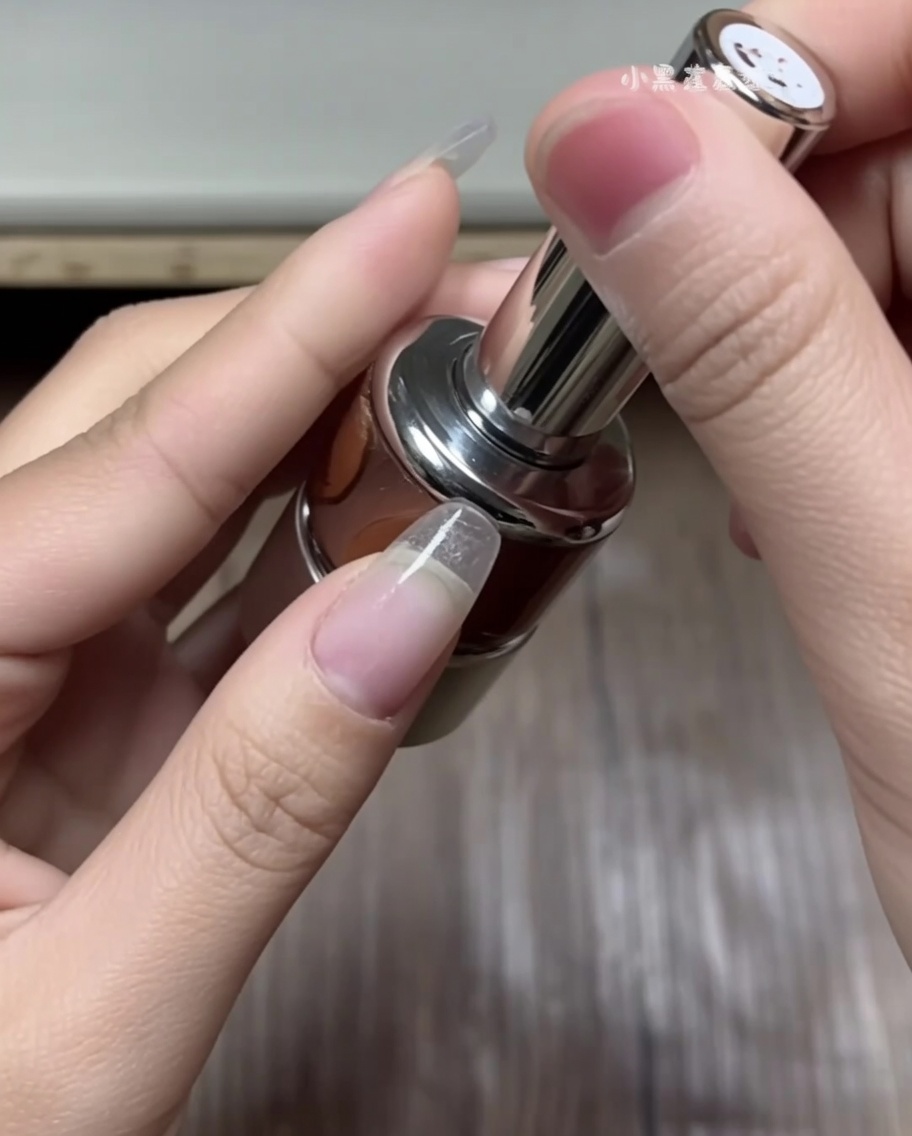
Choose the appropriate size French tip sticker guide from your sticker sheet to match the width and curve of your nail. These guides are essential for creating the precise negative space required for this look.
Tip: Ensure the sticker is not too curved or too flat for your natural nail bed to get the best fit. - 3Apply the Guide
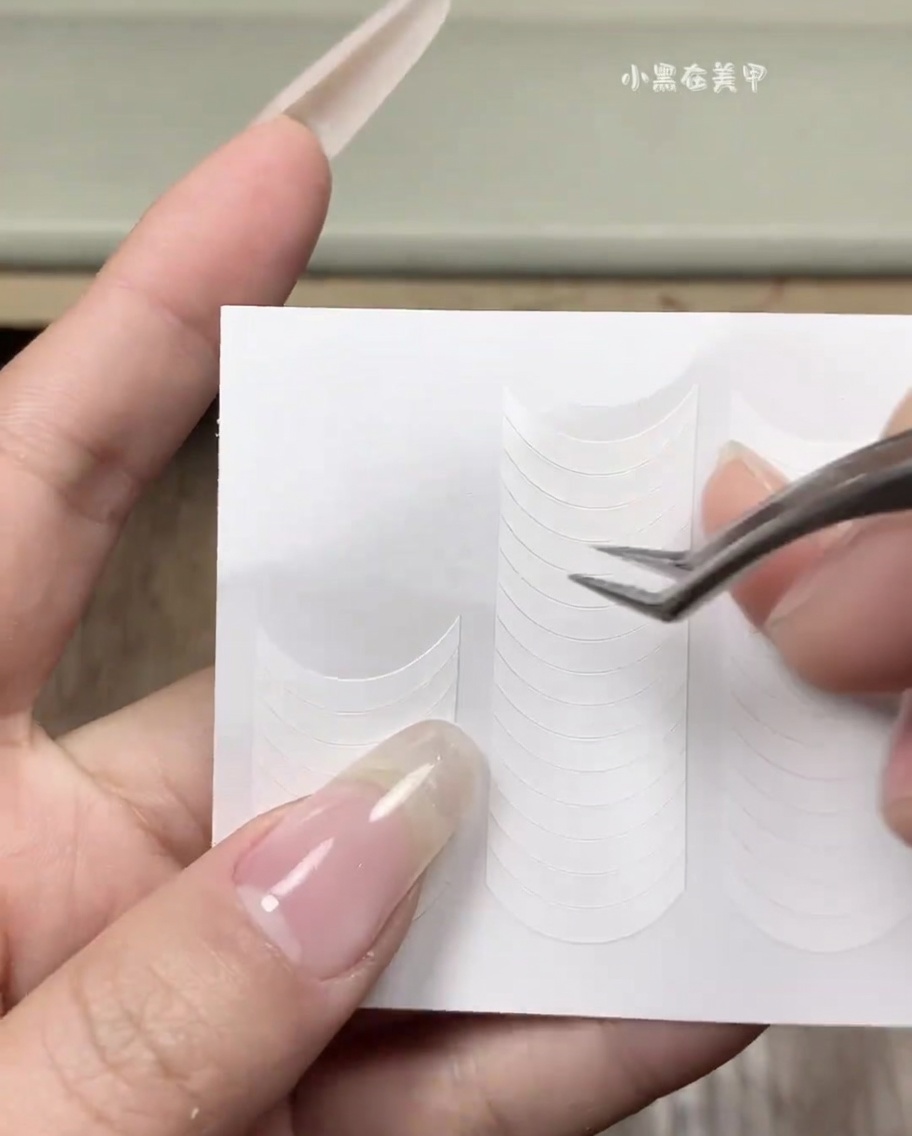
Place the French tip sticker guide exactly where you want the negative space to start. Press the edges down firmly against the nail bed to create a complete seal, which is essential to prevent the cat eye gel from bleeding into the tip area.
Tip: Take your time with placement; a slight shift can alter the symmetry of your French tip. - 4Apply Magnetic Gel
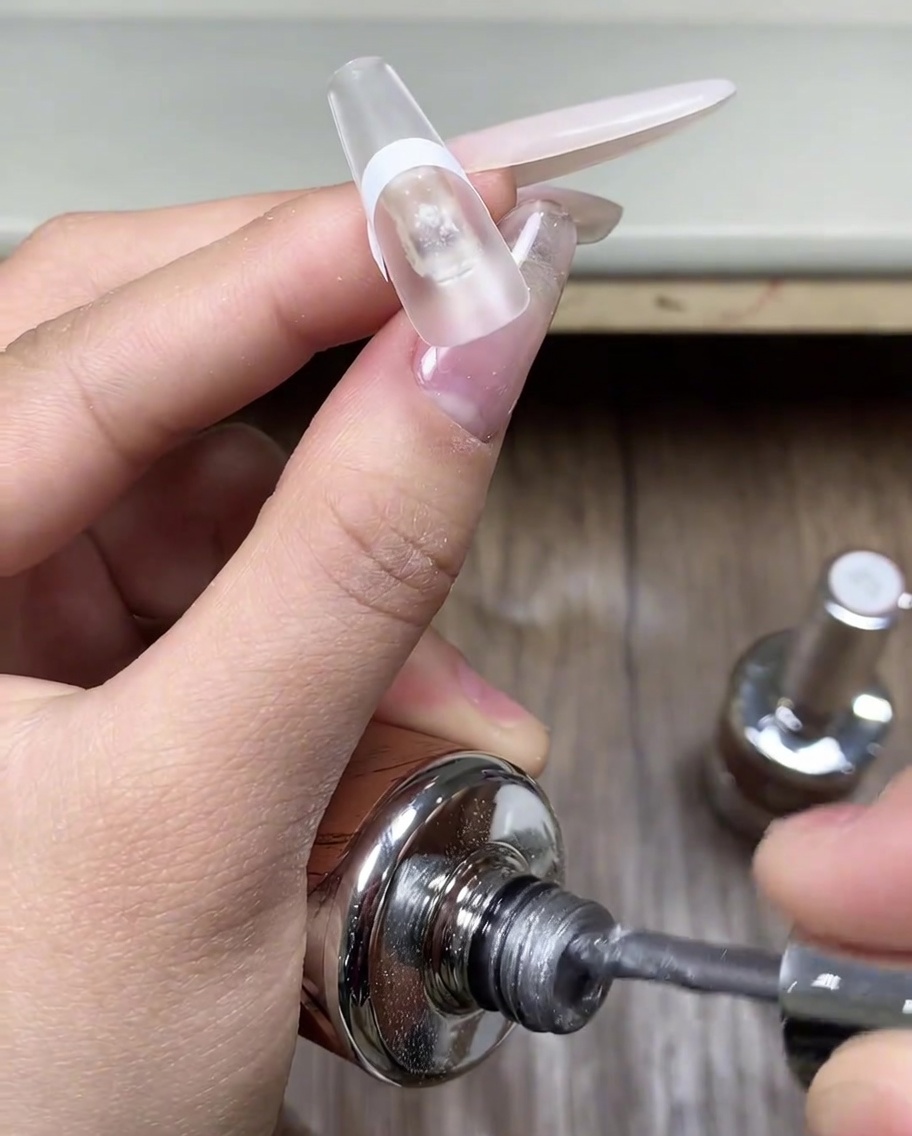
Apply a thin, even layer of the number 1 smoky grey cat eye gel to the area behind the sticker. Covering the nail surface evenly within the French tip zone will help the magnetic particles move consistently later.
Tip: Apply a thin, even layer of gel to avoid lumps and ensure a professional finish. - 5Manipulate magnetic particles
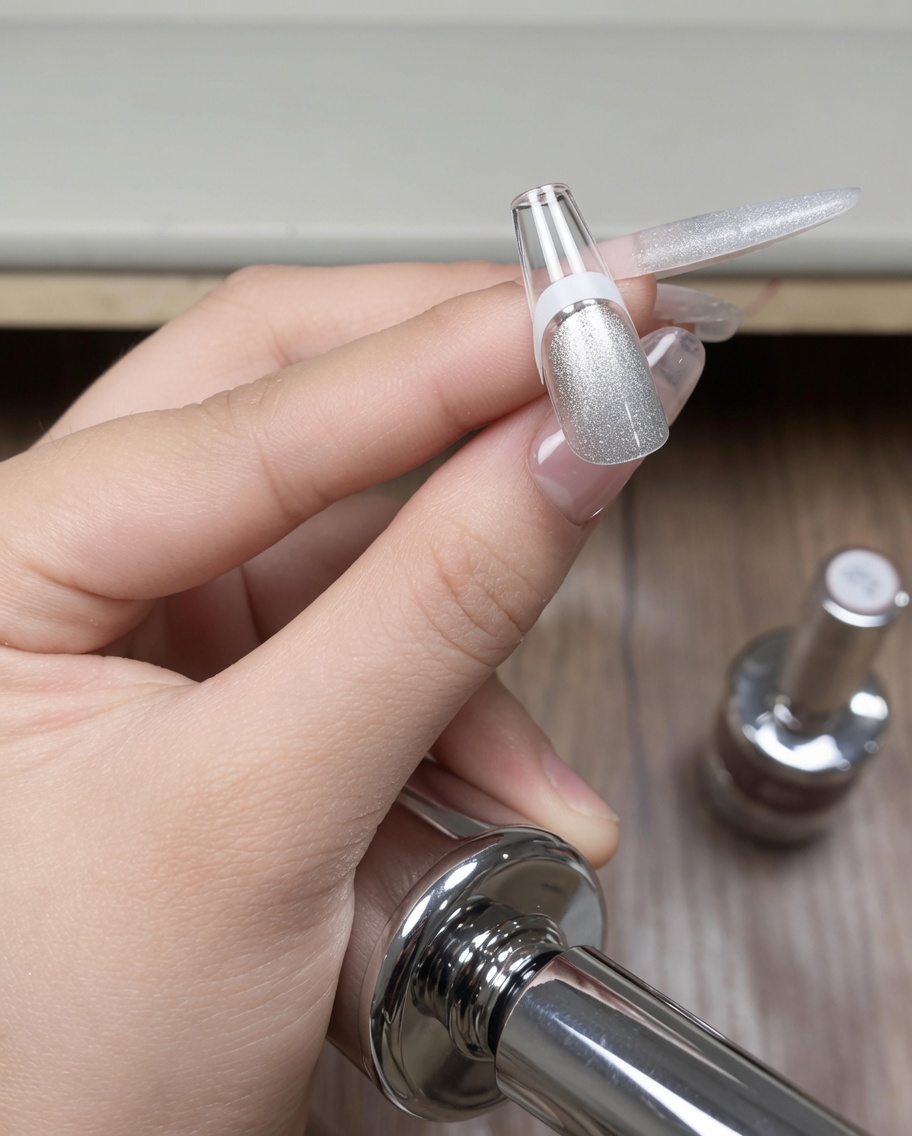
Immediately after applying the cat eye gel and before curing, use a magnet tool to pull the magnetic particles into your desired pattern. The closer you position the magnet to the nail, the more intense and defined the cat eye light reflection will appear.
Tip: The closer the magnet is to the nail, the stronger and more defined the cat eye effect will be. - 6Cure the cat eye gel
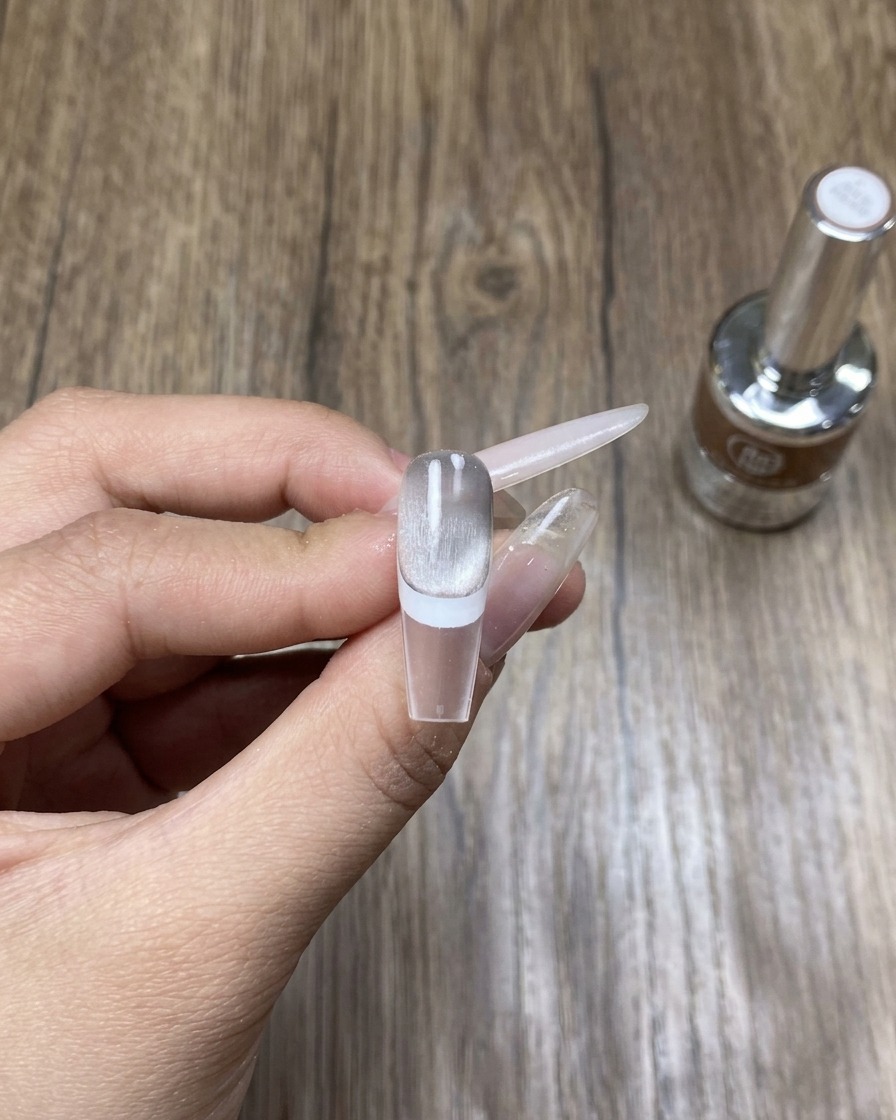
Place your hand under a UV or LED lamp to cure the cat eye gel. This step sets the design and locks in the magnetic effect you created in the previous step.
Tip: Always follow the gel polish manufacturers recommended curing time for the best results. - 7Prepare Chrome Base
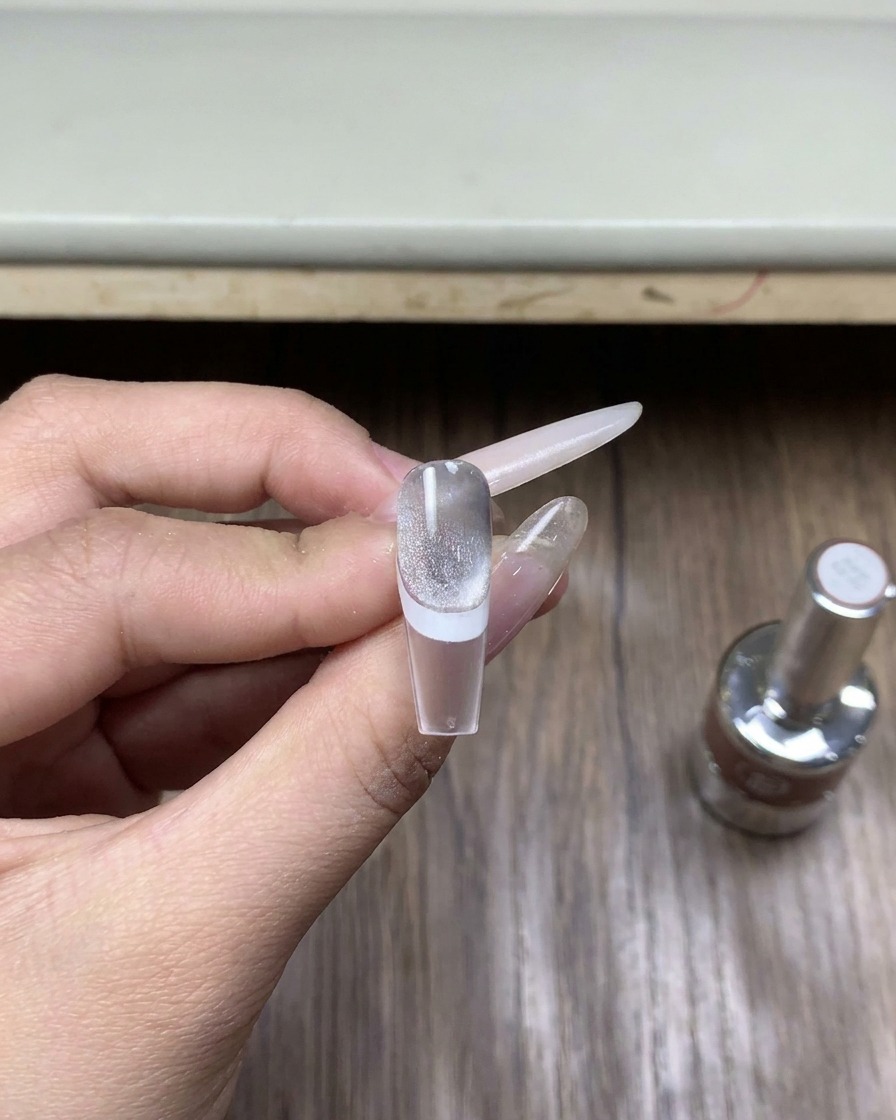
Have your specialized top coat, specifically formulated for chrome powder, ready. This unique product acts as the bonding agent for the metallic finish, ensuring the chrome adheres smoothly to the tip area.
Tip: Ensure your brush is clean to avoid transferring unwanted particles into the bottle. - 8Apply Chrome Base Coat
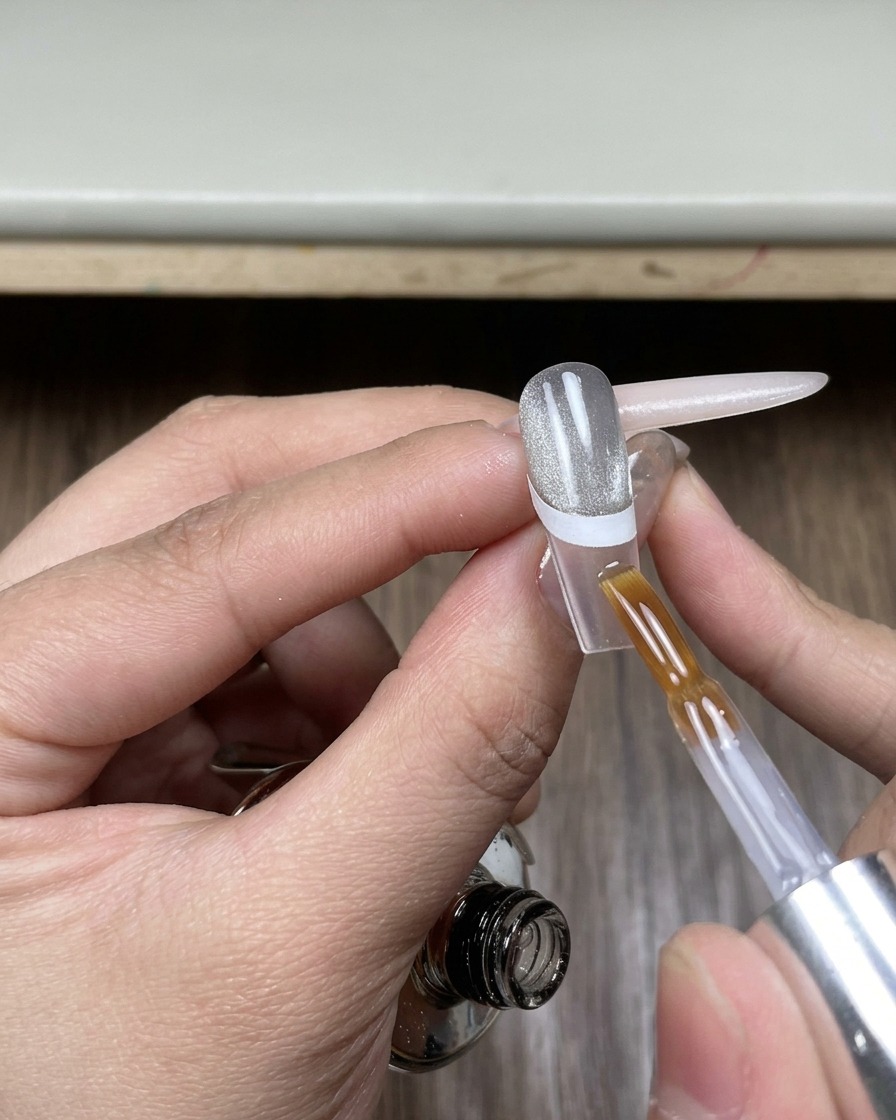
Using a fine nail art brush, carefully paint the specialized chrome top coat over the exposed tip of the nail. Follow the curve of the sticker guide precisely to maintain a crisp, clean French line.
Tip: Keep the layer thin to prevent the top coat from pooling at the edges of the sticker. - 9Cure the tip base
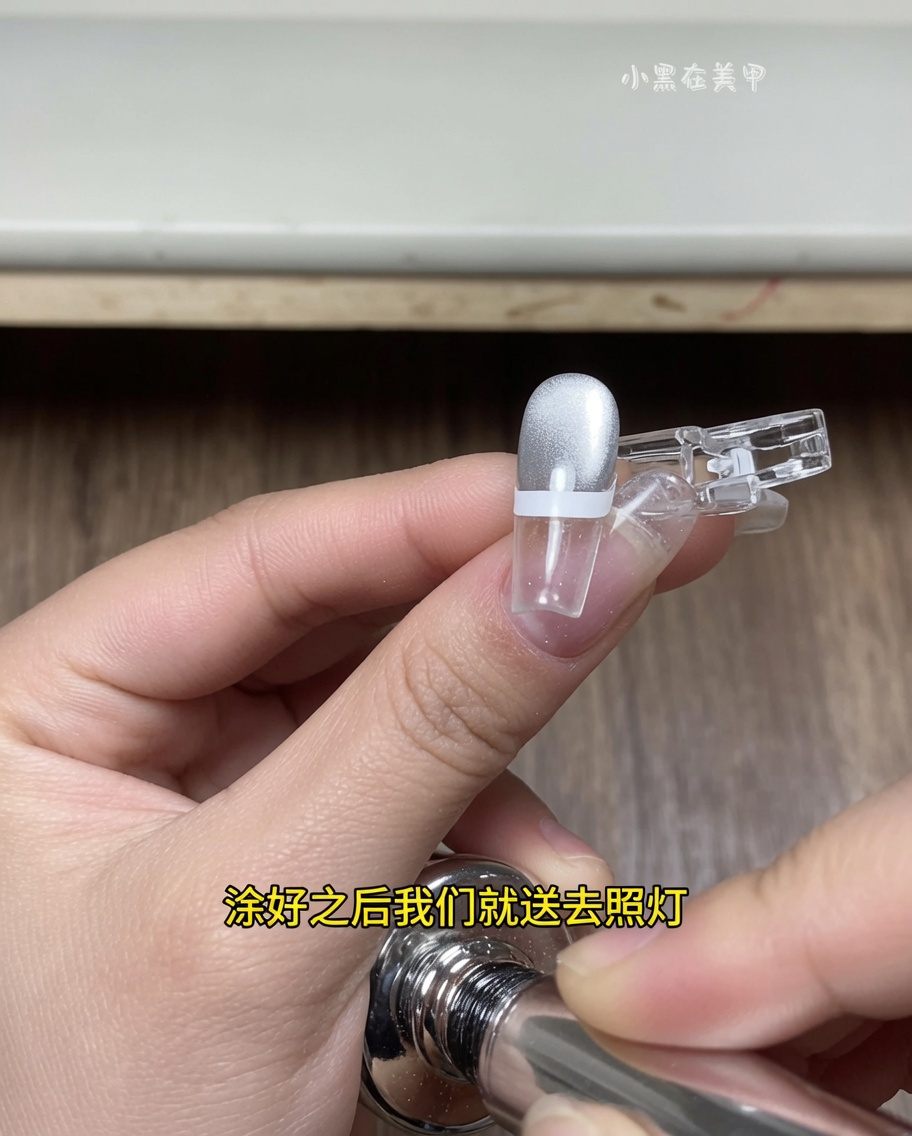
Cure the specialized top coat under your UV or LED lamp according to the products instructions. This creates the essential smooth, tacky surface required for the titanium silver chrome powder to adhere properly.
Tip: Do not over-cure or under-cure; follow the product manufacturers instructions for the best chrome finish. - 10Prepare Chrome Pigment
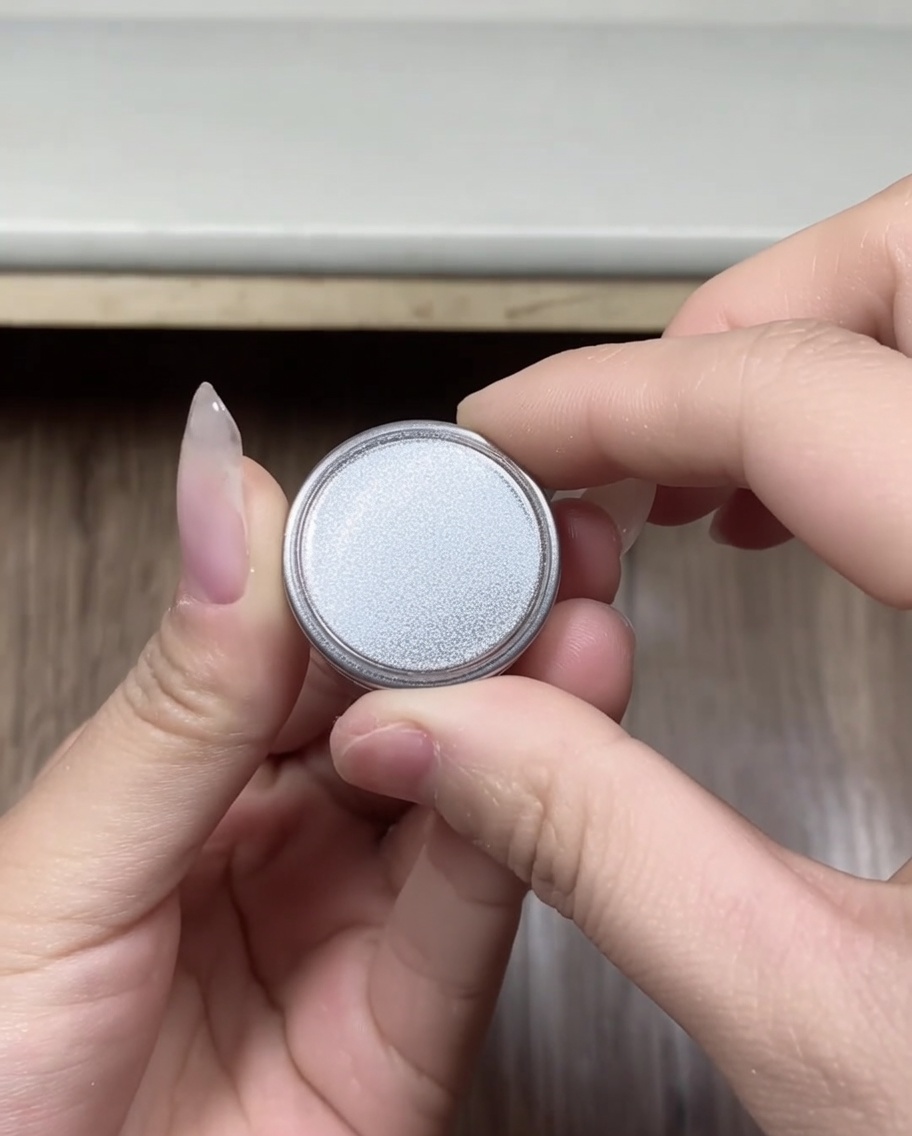
Gently open your container of titanium silver chrome powder. Choosing a deeper, slightly darker pigment will provide a more dramatic and vibrant metallic effect on your French tip compared to lighter silver powders.
Tip: Open the container slowly to avoid spilling the fine powder, which can be difficult to clean up.