Pink Grid and 3D Heart Girly Nail Art — Step-by-Step Tutorial
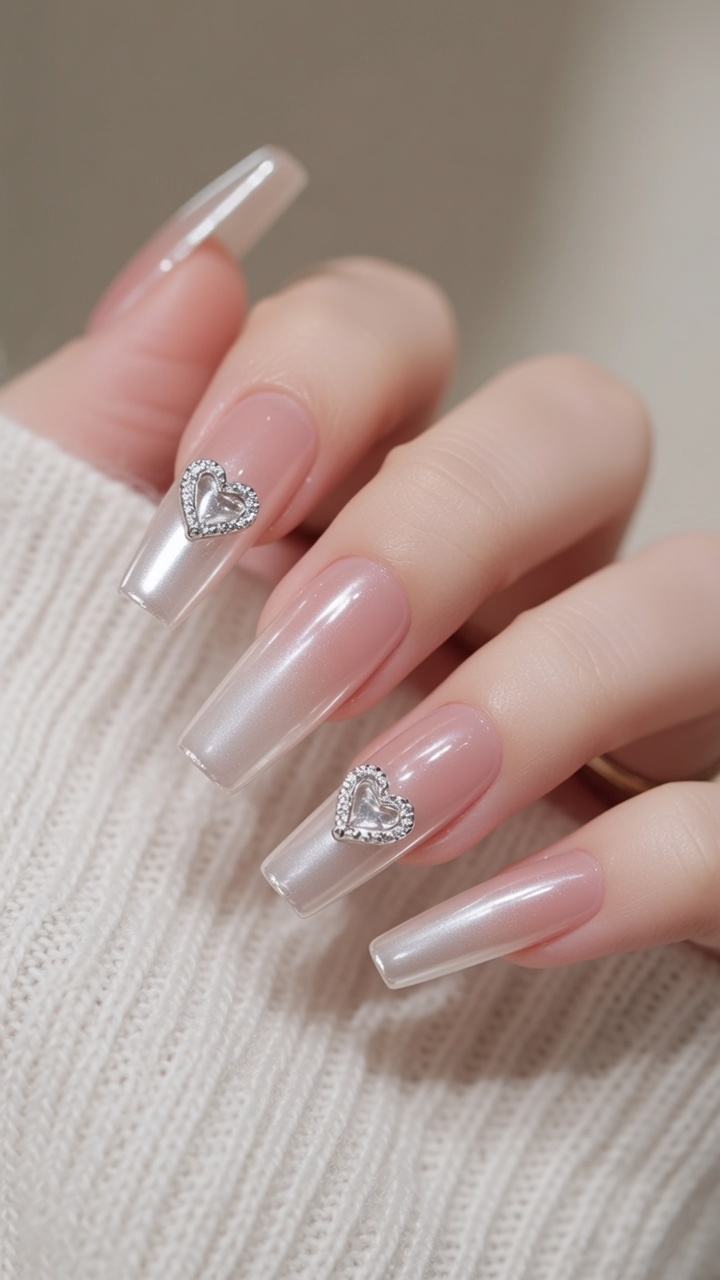
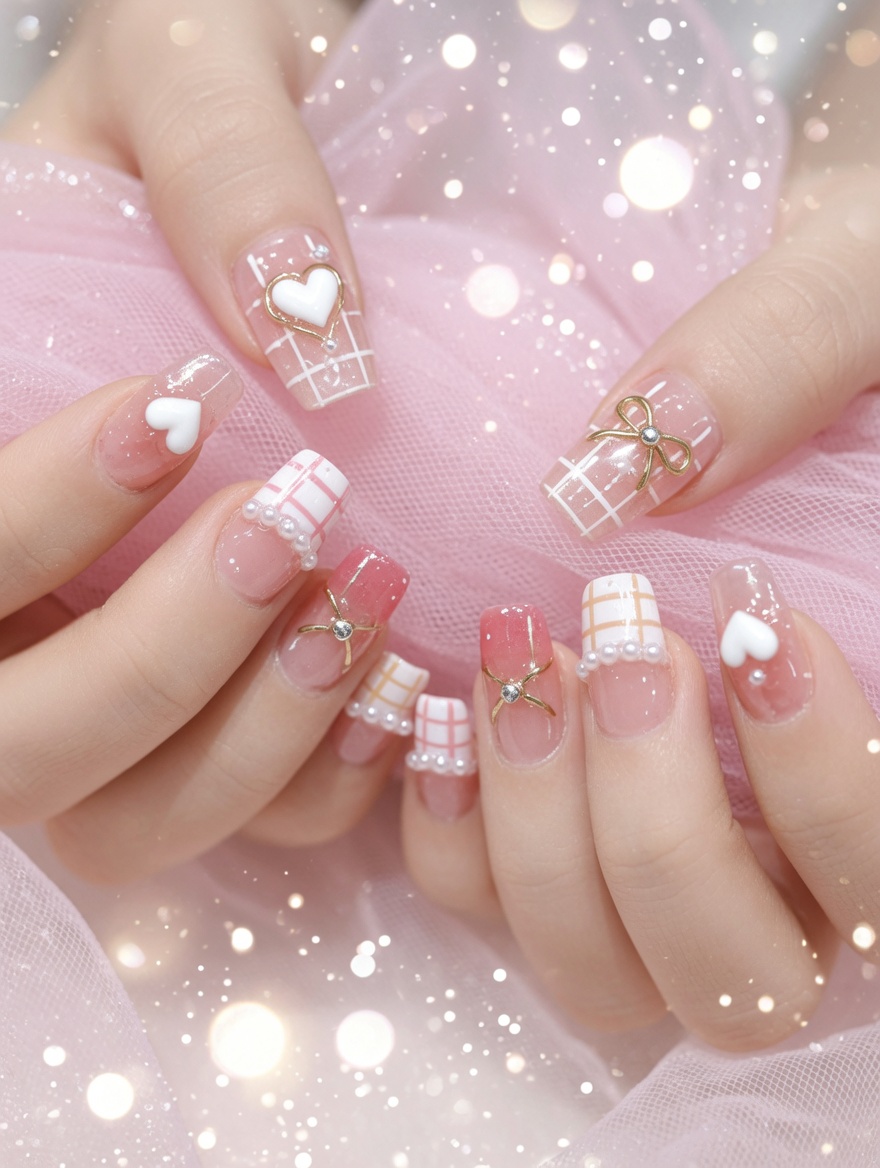
Create the ultimate soft-girl aesthetic with this sheer pink nail look featuring delicate grid patterns, 3D heart charms, pearls, and bows.
This sheer pink grid design captures the essence of the sweet girl trend, blending delicate textures with playful 3D accents. The combination of pearl details, gold bows, and heart charms creates a balanced yet statement-making look perfect for the new year. Follow these steps to master this intricate, feminine aesthetic at home.
Steps
- 1Apply adhesive gel
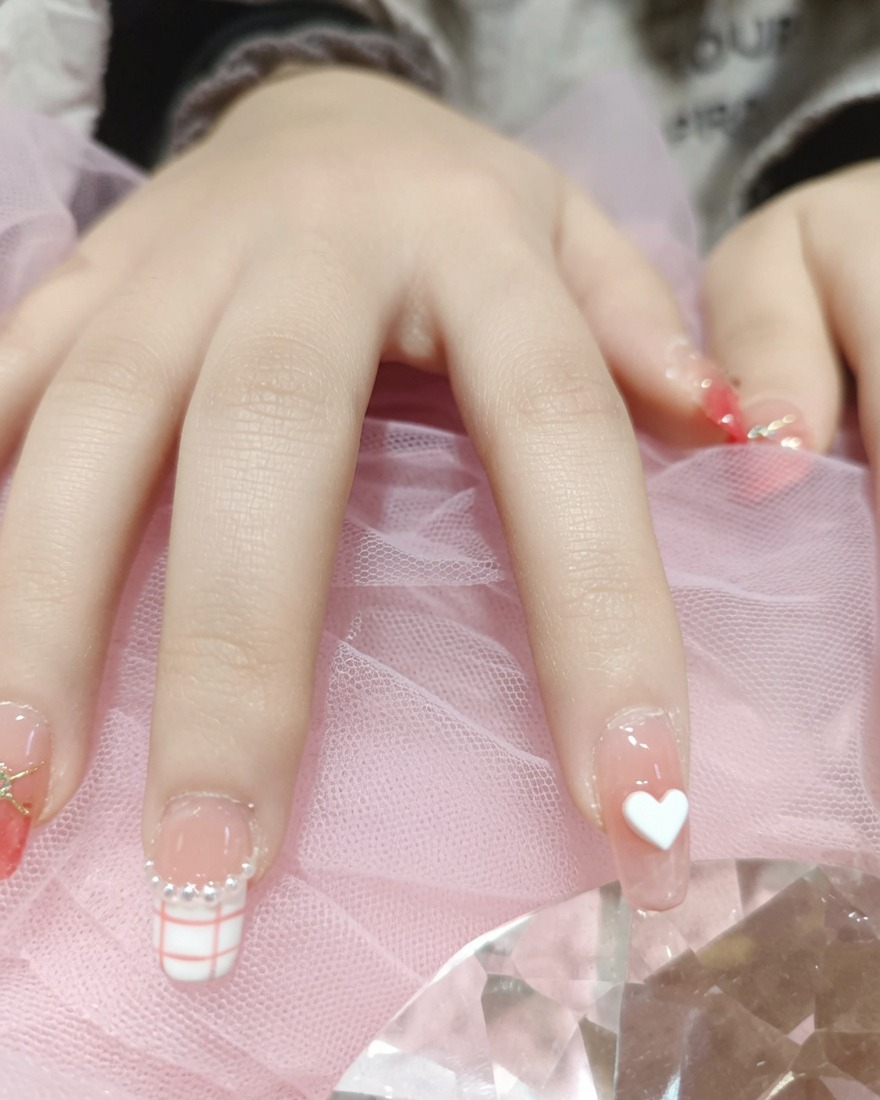
Apply a small bead of clear builder gel or adhesive gel to the center of the ring finger nail. This creates a secure base for placing the decorative charm. Ensure the gel is placed exactly where the charm will sit to avoid excess product on the surrounding nail surface.
Tip: Use a small, precise brush to control the amount of gel; too much can cause the charm to slip before curing. - 2Place the gold bow charm
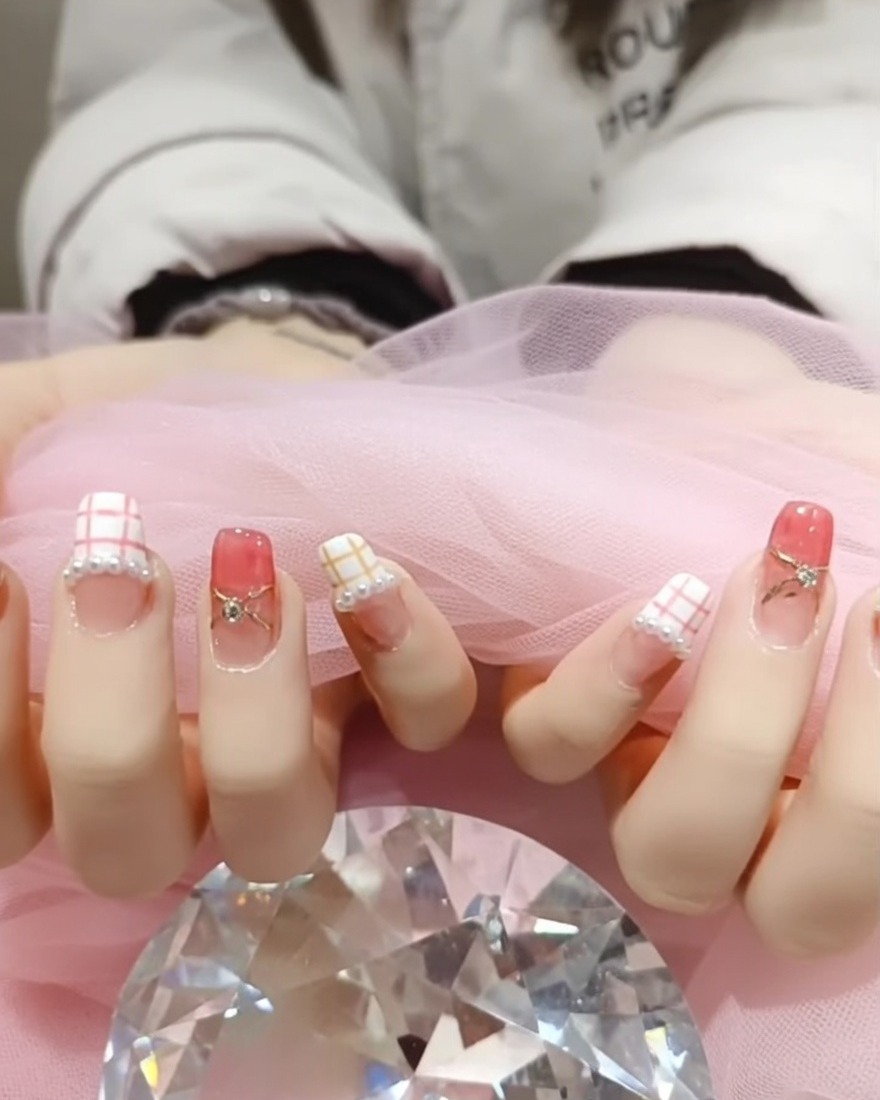
Using tweezers, carefully pick up the gold metal bow charm and place it directly into the bead of clear gel on the ring finger. Press down gently to ensure the charm sits flush against the nail surface. Adjust the positioning if necessary while the gel is still wet.
Tip: Work carefully with tweezers to place the charm perfectly centered; once the gel is cured, it will be firmly locked in place. - 3Secure the charm with top coat
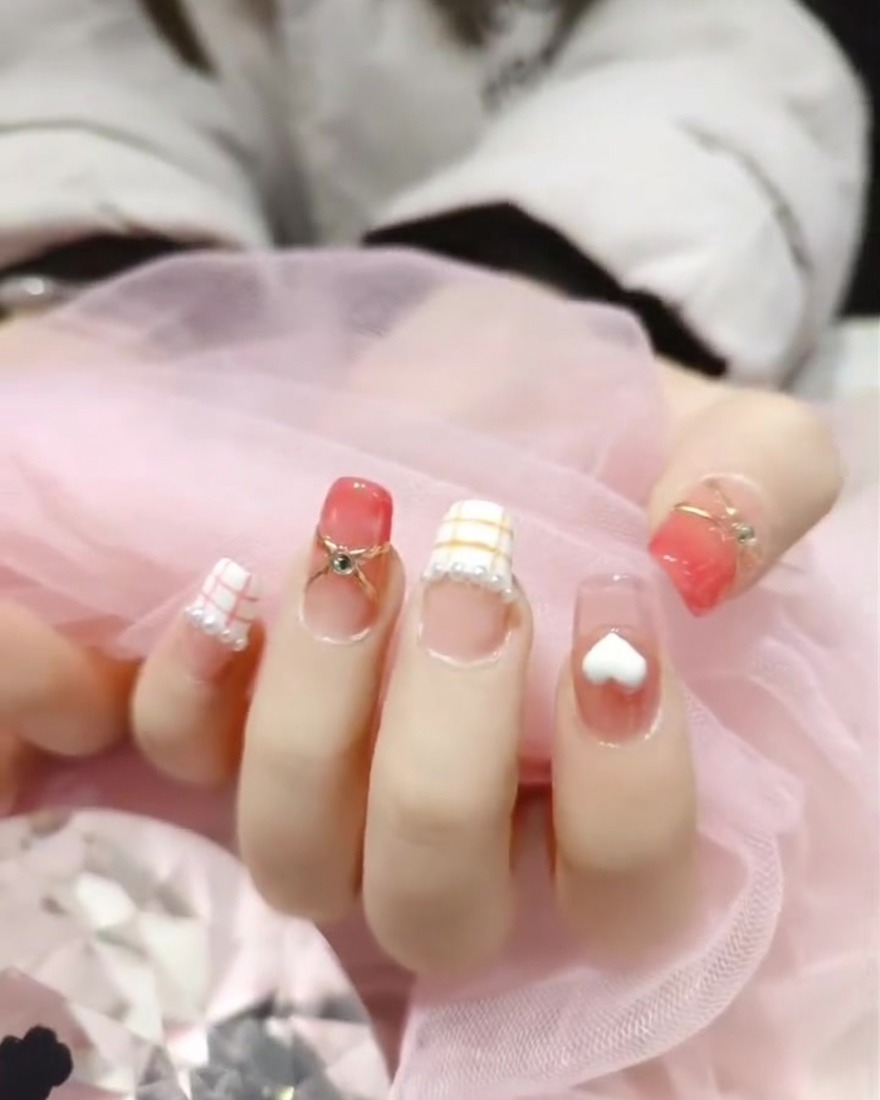
Using a fine-tip brush, apply a small amount of top coat around the edges of the gold bow charm, being careful not to cover the face of the charm itself. This seals the base and prevents the edges from catching on clothing or hair. Cure the nail under your lamp as usual.
Tip: Capping the base of the charm is essential for long-lasting wear and prevents the charm from lifting or snagging. - 4Apply 3D white heart
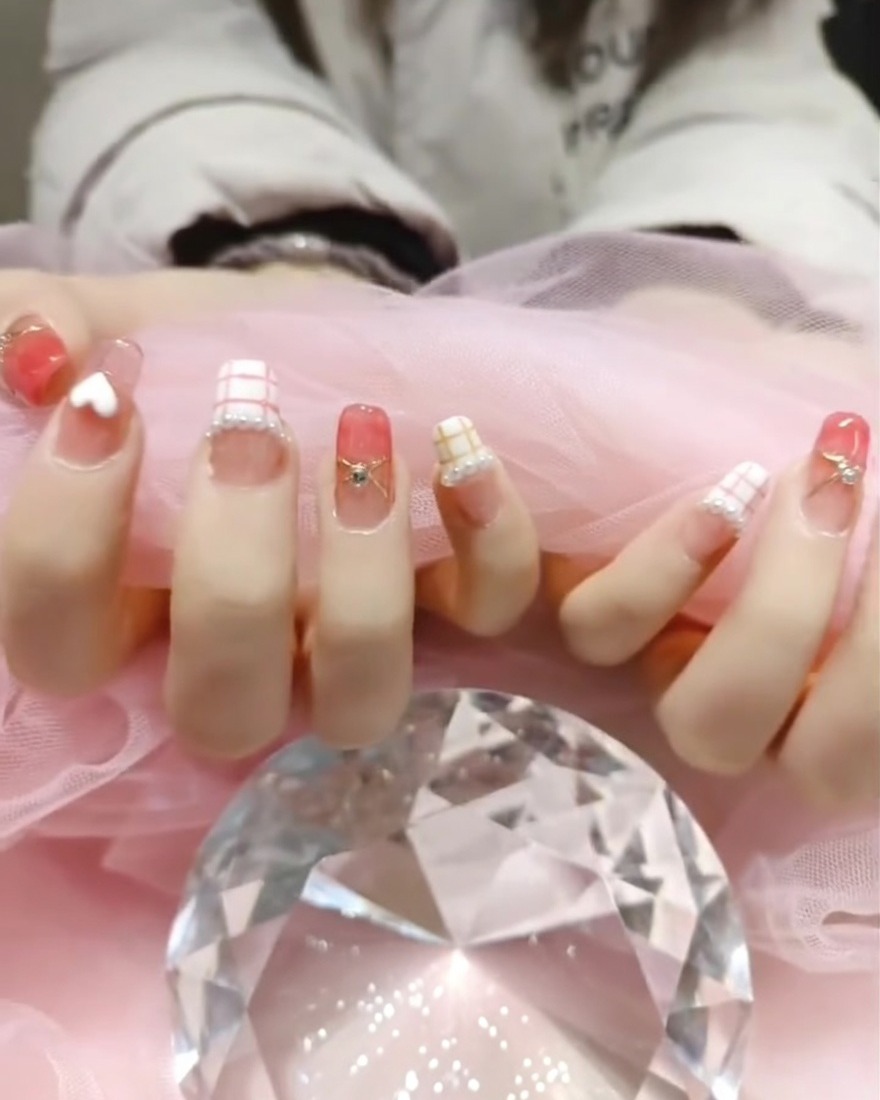
Apply a small amount of adhesive gel to the center of the middle finger nail. Place the large 3D white heart charm into the gel. Adjust it to sit perfectly centered. This heart charm serves as the primary focal point for the middle finger design.
Tip: The 3D heart is a bold element, so ensure the adhesive is enough to hold the weight of the charm before curing. - 5Add pearl accents
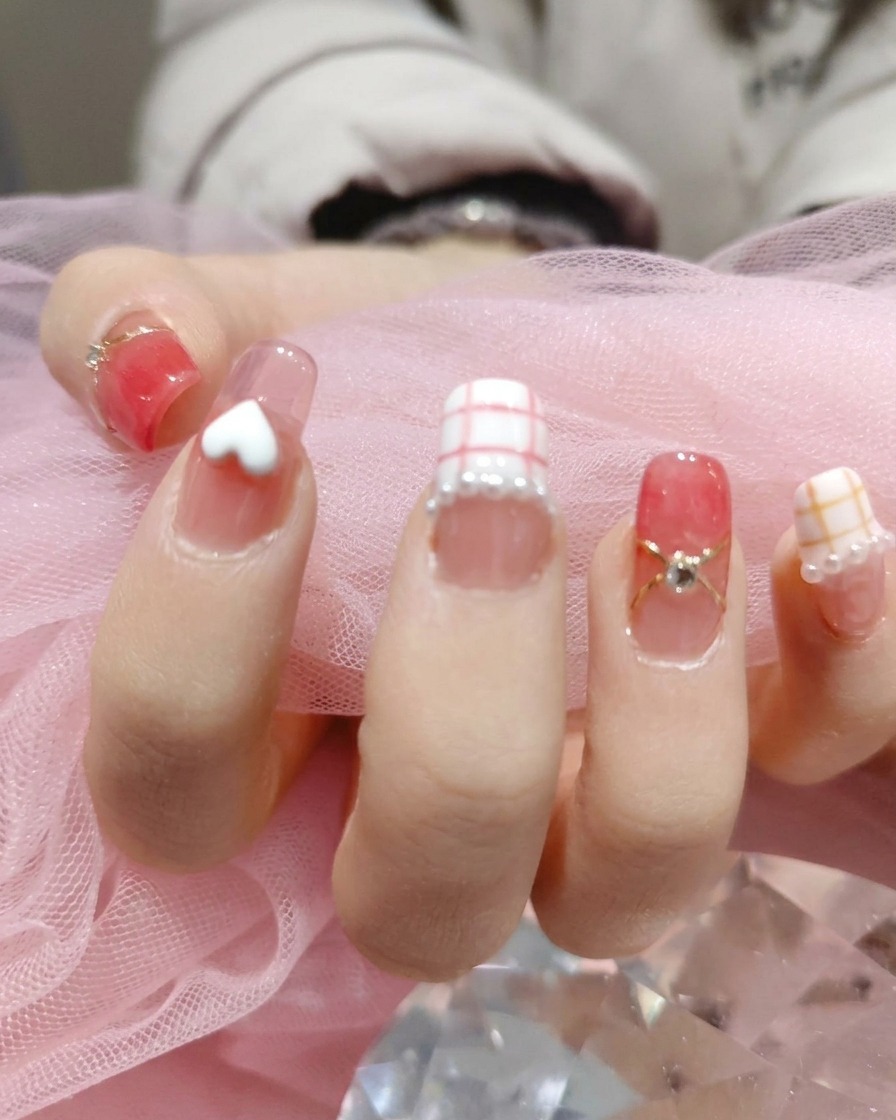
Apply tiny dots of adhesive gel around the base of the grid design and the 3D heart charm. Use a dotting tool or tweezers to place small white pearls into the gel. These delicate pearls add a soft, elegant touch to the overall design. Once all pearls are placed, cure the nail.
Tip: Place the pearls while the gel is still tacky to ensure they stay in the desired pattern around the base of your charms.