Chrome Pearl Gradient Heart Charm Nails — Step-by-Step Tutorial
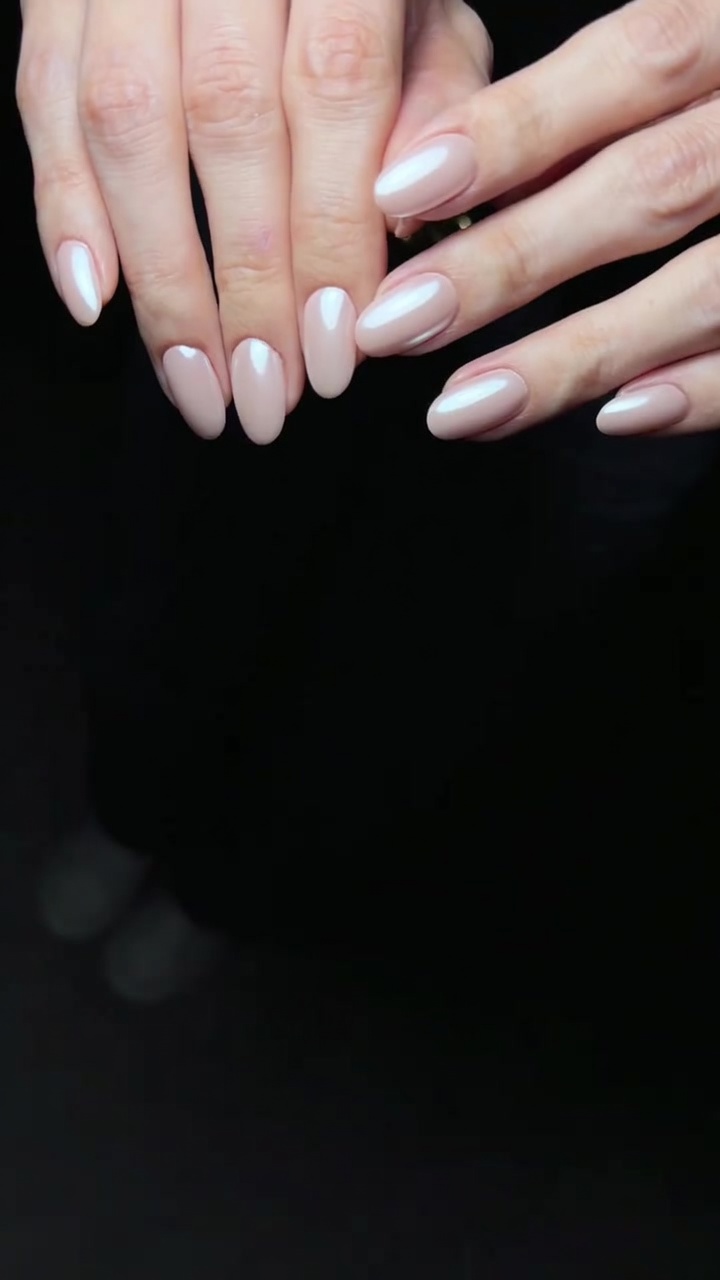
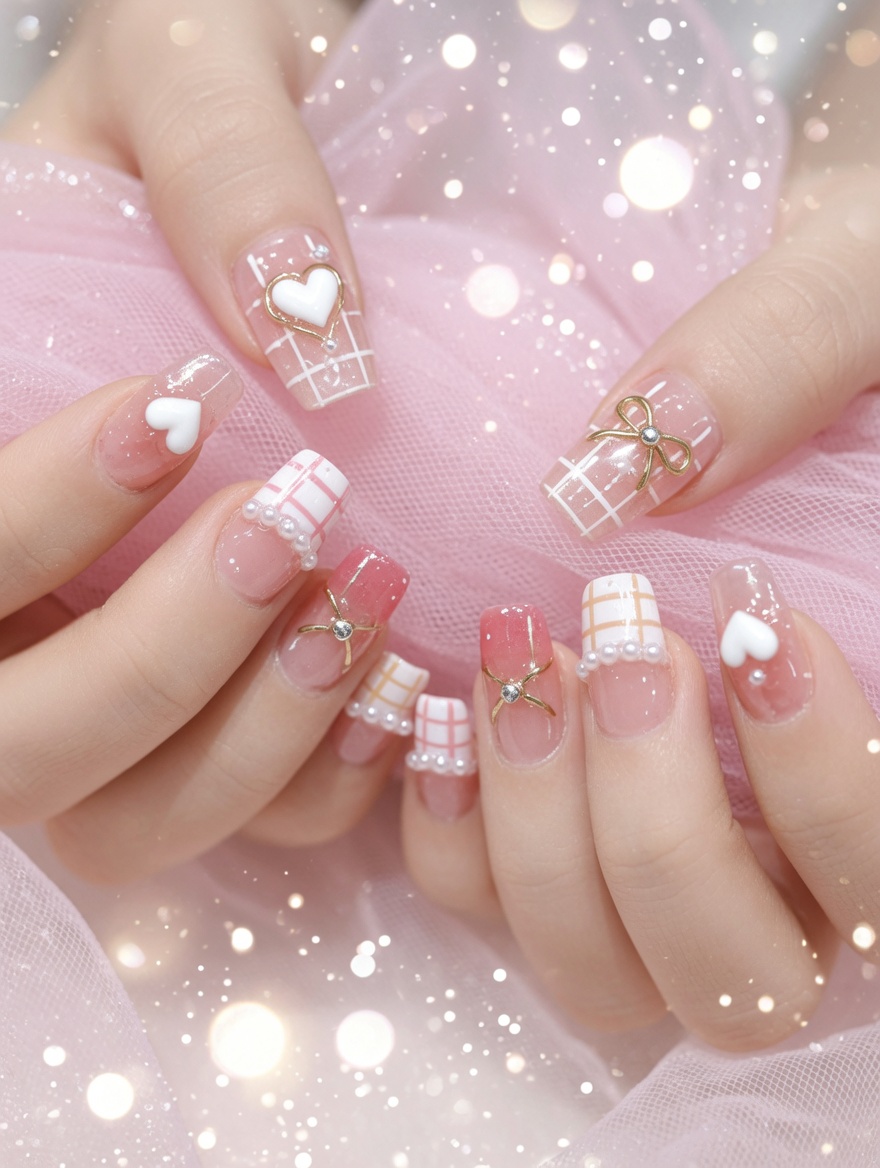
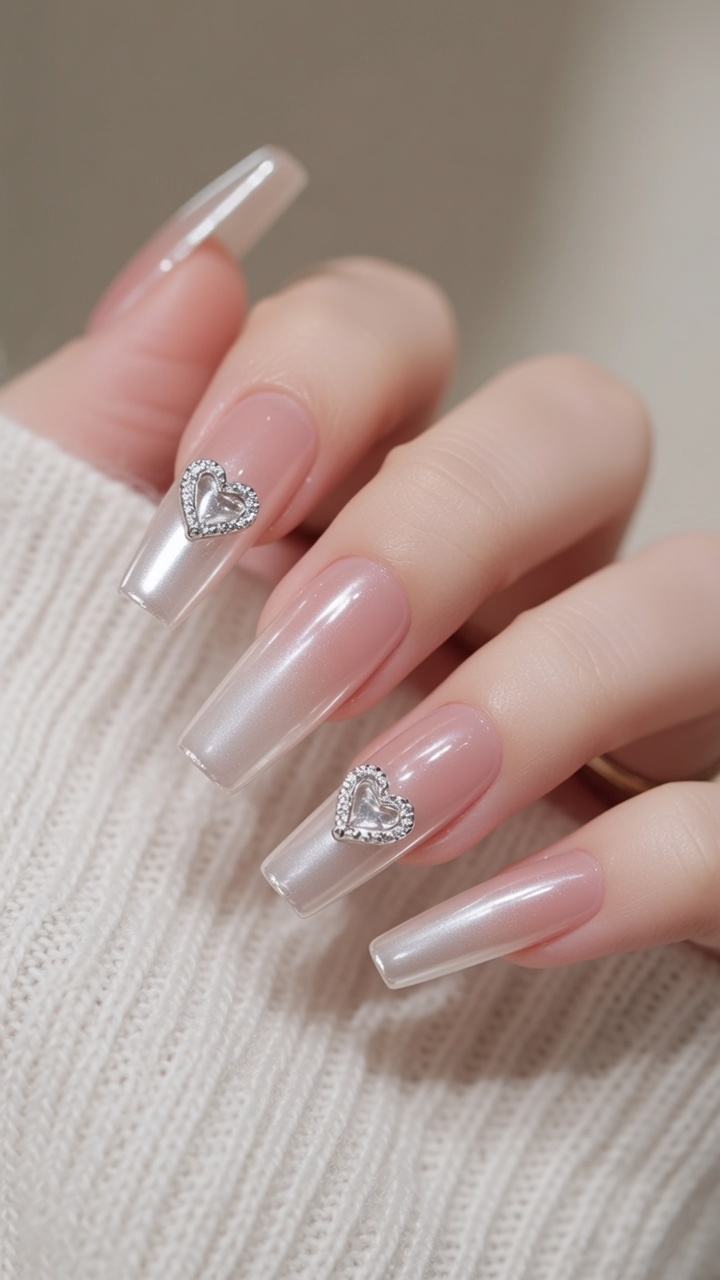
Elevate your manicure with this stunning chrome pearl gradient look. Featuring a sheer base and delicate heart charm accents, this tutorial makes high-end nail art achievable.
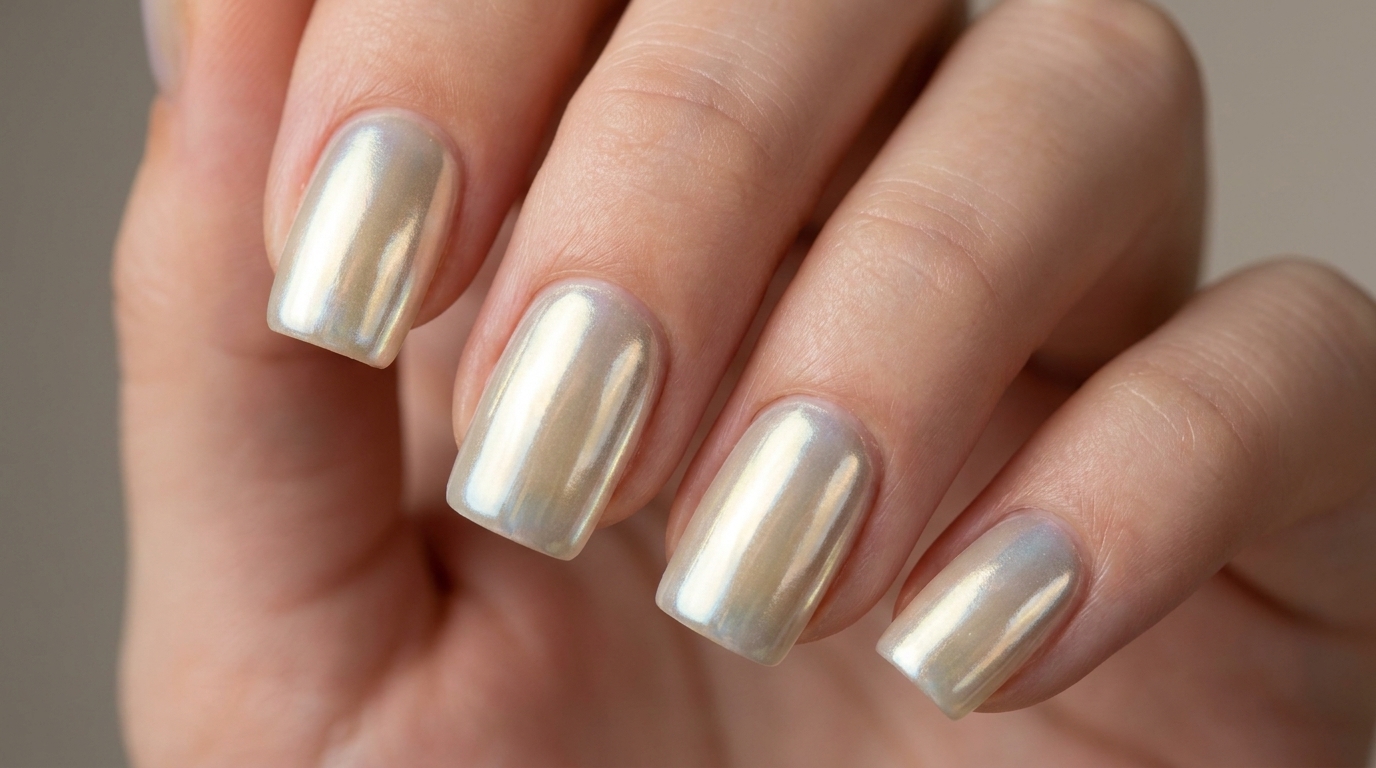
The mirror pearl effect is a timeless trend that adds a sophisticated, ethereal glow to any manicure. By layering sheer nudes and whites, you can create a soft, seamless gradient that acts as the perfect canvas for chrome powder. This look balances elegance with a touch of whimsy, using diamond heart charms to make your nails truly stand out.
Steps
- 1Apply sheer nude base
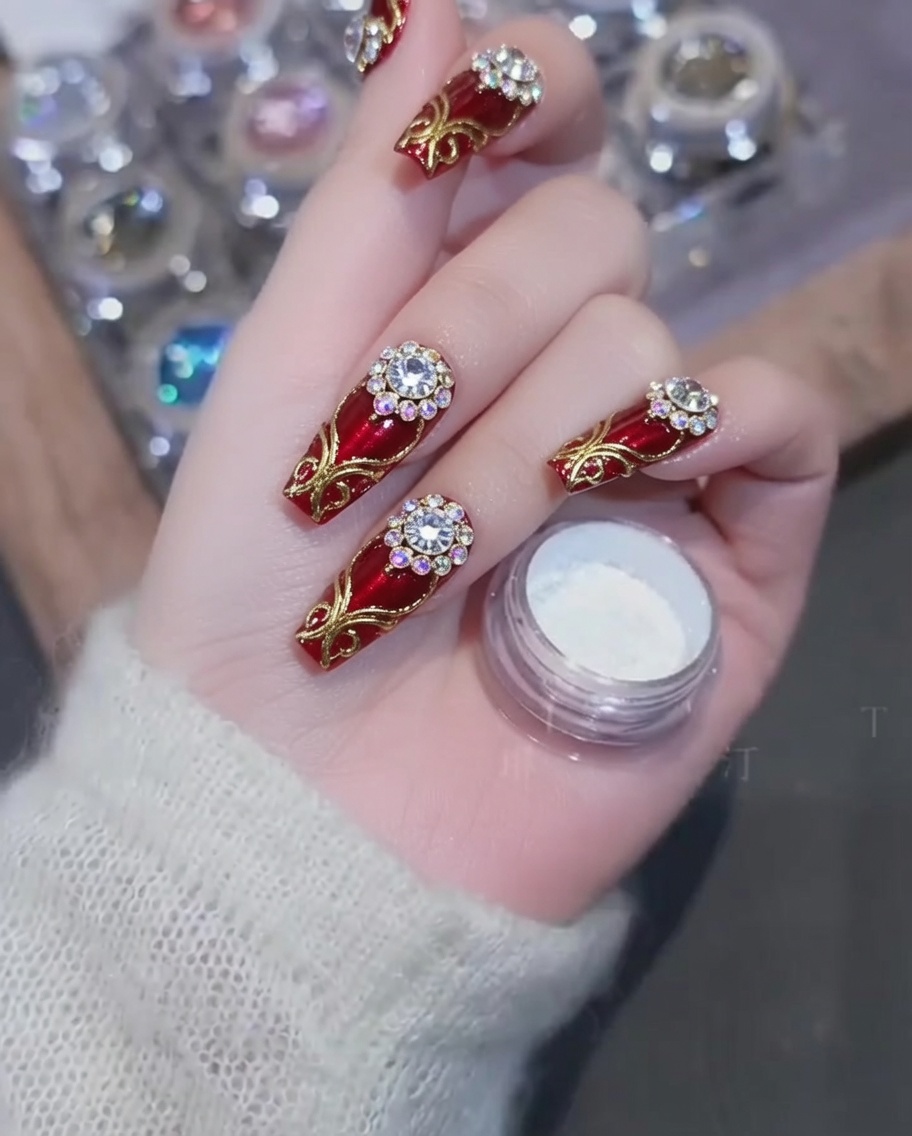
Apply a sheer nude gel polish (森系裸茶 8#) to the back half of each nail, covering from the cuticle area to the midpoint. Ensure the application is smooth and consistent.
Tip: Apply in thin layers to avoid bulk and ensure it cures properly. - 2Blend the nude color
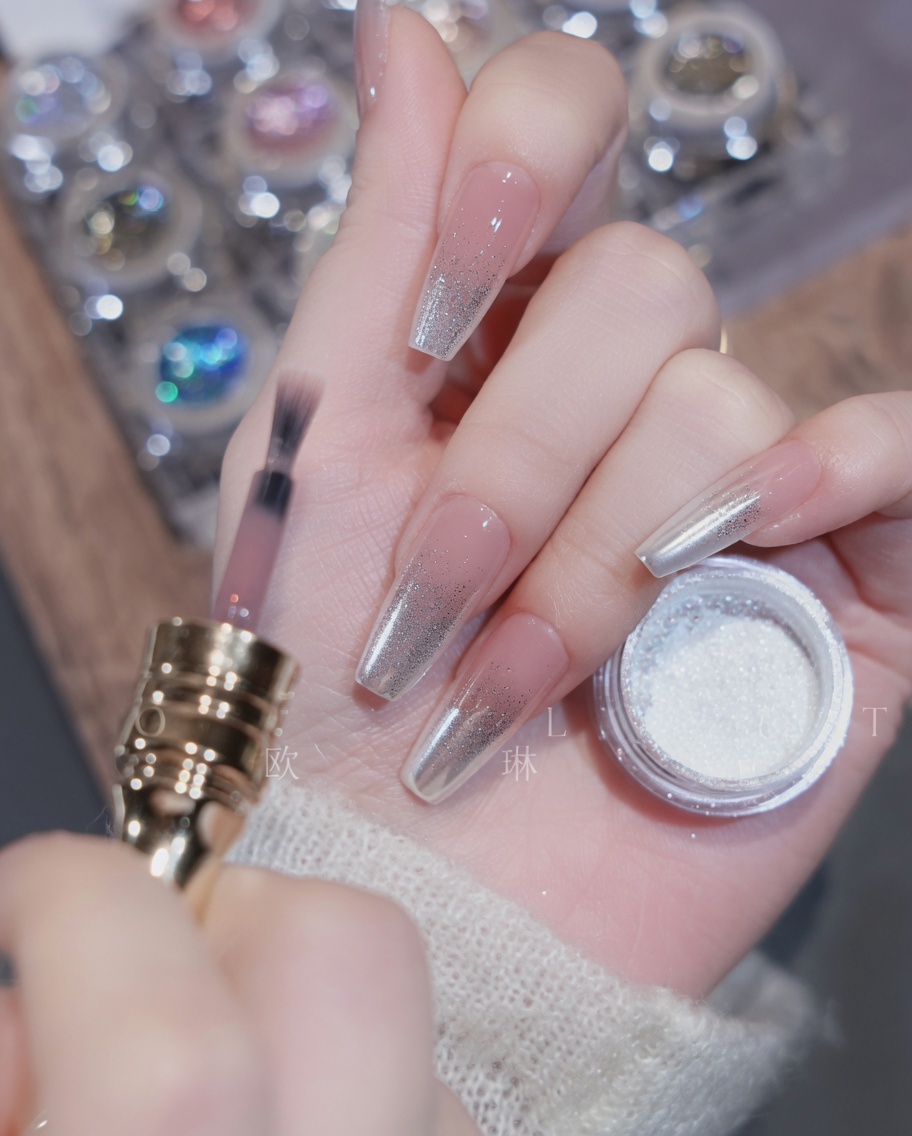
Using a gradient brush, gently blend the applied sheer nude gel forward toward the tip of the nail to create a soft, seamless transition. Once the desired gradient is achieved, cure under the lamp.
Tip: Use a light, sweeping motion to avoid leaving distinct brush marks. - 3Apply sheer white to tip
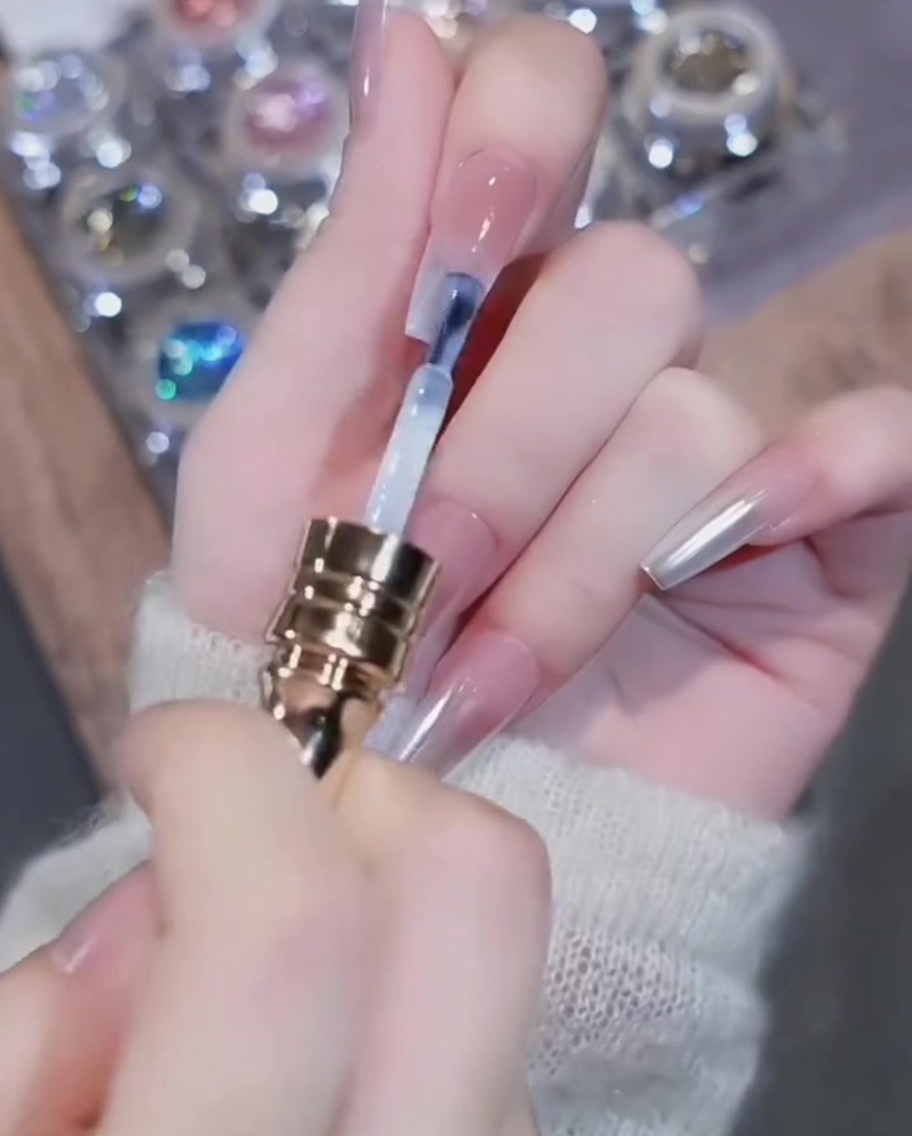
Apply the sheer white gel polish (森系裸茶 1#) to the tip of the nail. This will act as the base for the mirror powder effect.
Tip: Ensure the white color is concentrated at the very tip to emphasize the gradient. - 4Blend the white gradient
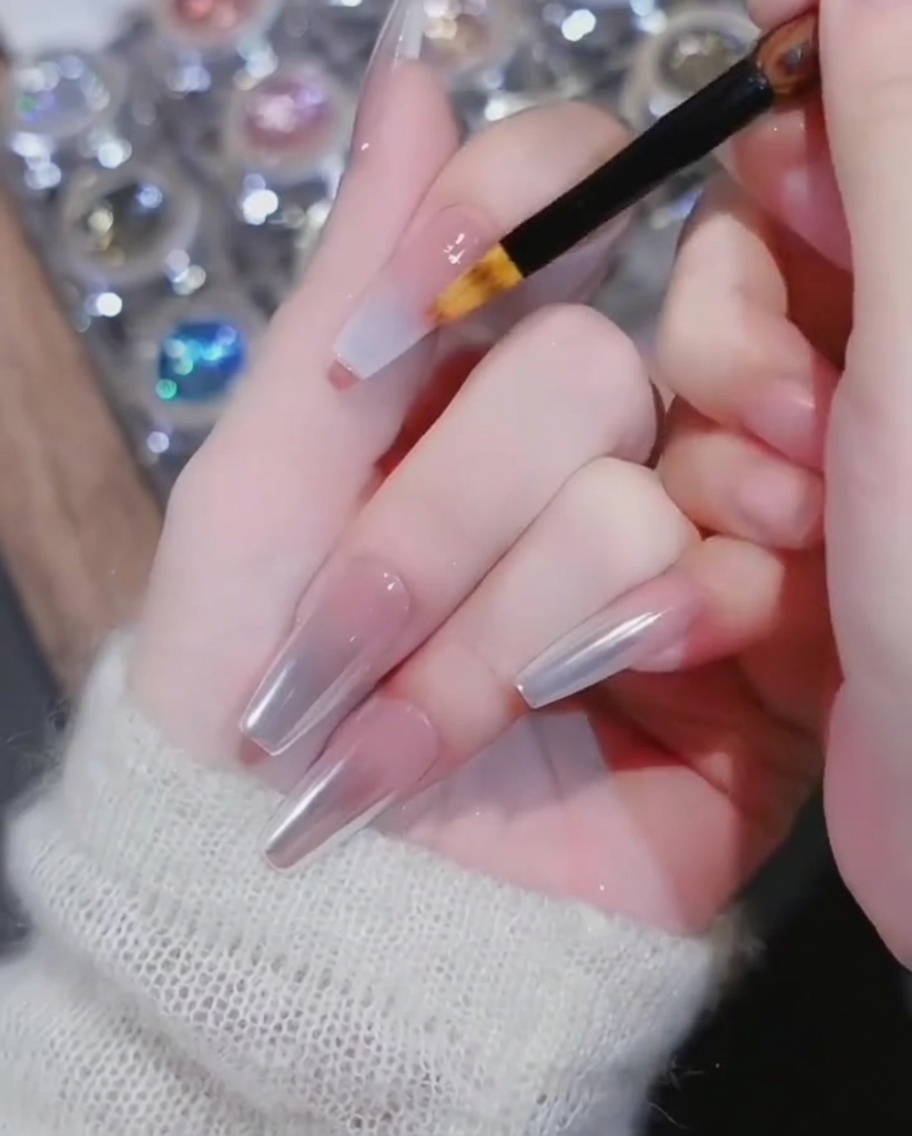
With the gradient brush, blend the white gel backward toward the cuticle area, overlapping with the nude color to create a seamless gradient effect. Cure the nails after blending.
Tip: Lightly dab or brush the transition area to ensure a smooth blend. - 5Apply top coat
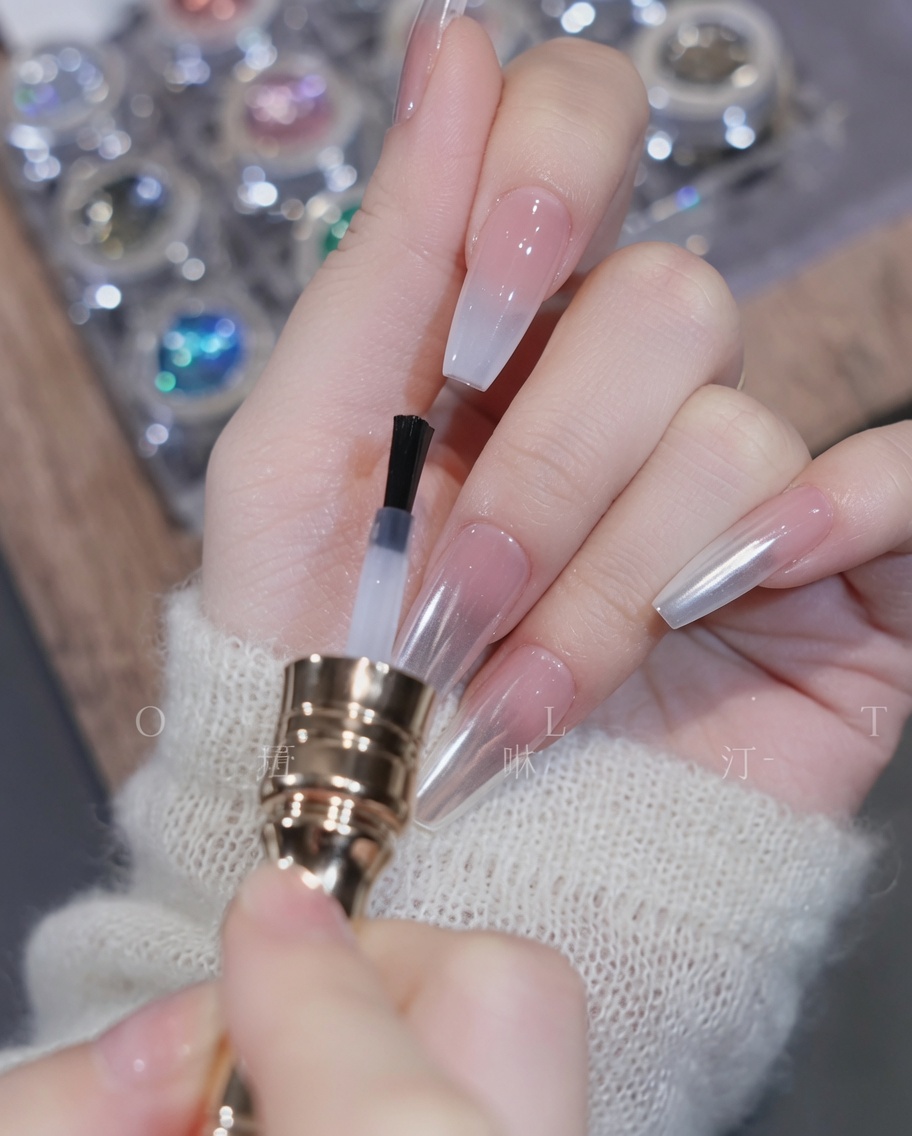
Apply a layer of non-wipe top coat over the entire nail to seal the gradient design. Cure under the UV/LED lamp for approximately 30 seconds.
Tip: Capping the free edge is crucial here to prevent the top coat from chipping. - 6Apply mirror pearl powder
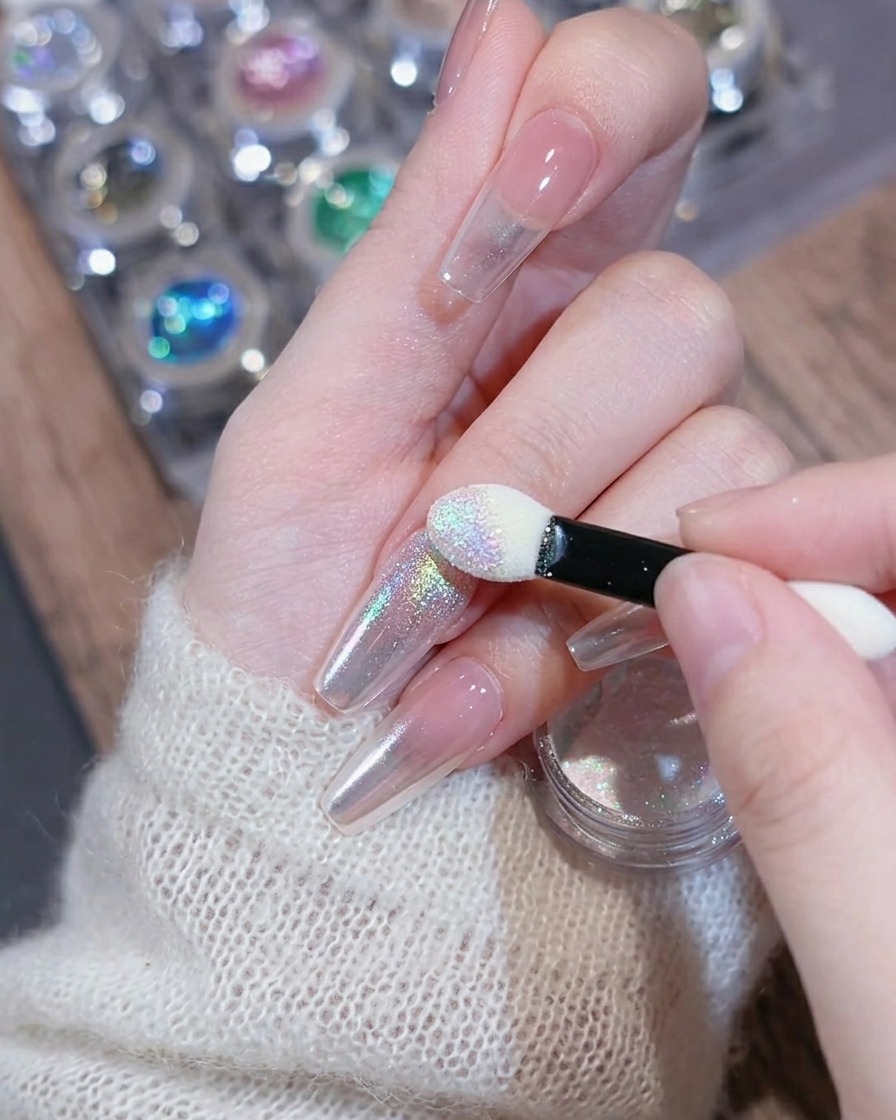
Using a sponge applicator, pick up the number 1 mirror pearl powder and rub it onto the nail, starting from the tip. Use a lighter touch in the middle to maintain the gradient effect.
Tip: Use the clean side of the sponge applicator to gently buff and remove any excess powder. - 7Remove excess powder
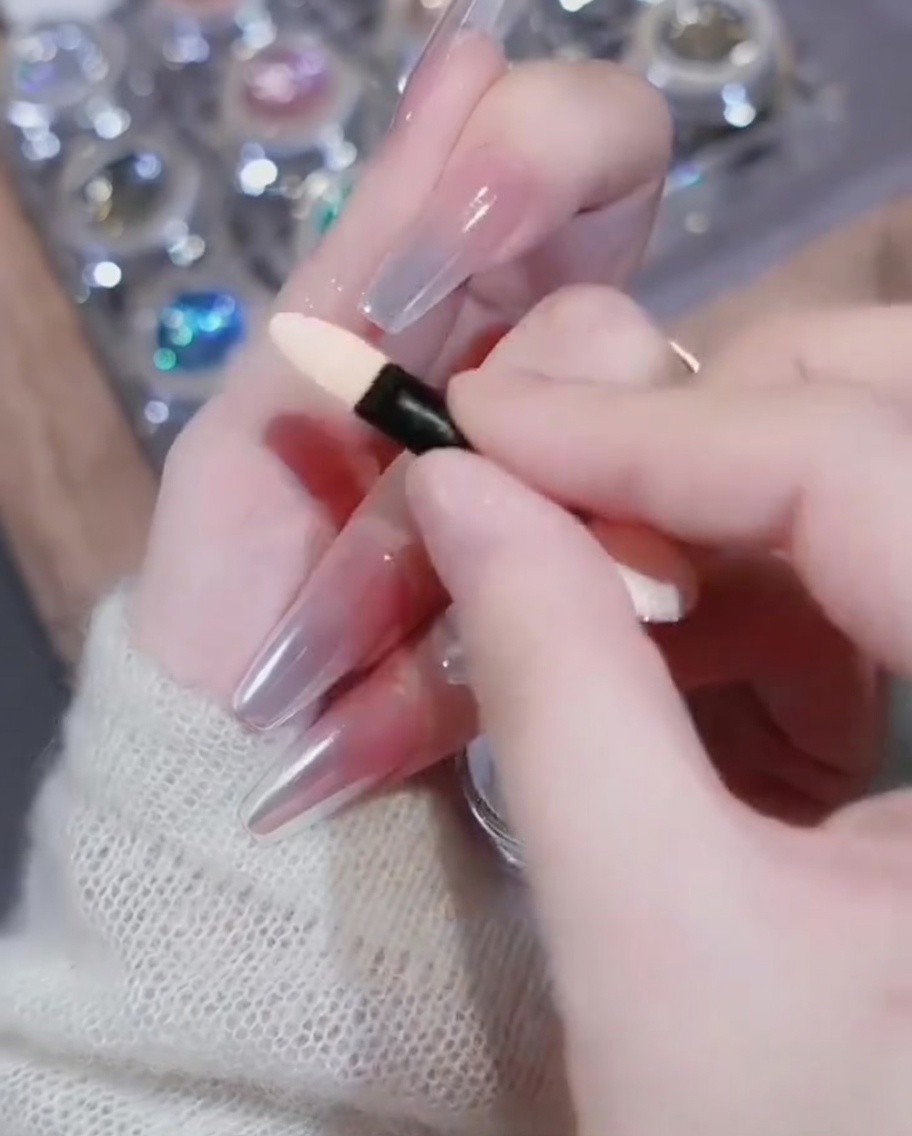
Take the clean side of your sponge applicator and gently buff the surface of the nail. This removes any loose mirror pearl powder that didnt adhere to the gel, ensuring a clean, smooth finish before you apply the sealing coat.
Tip: Use a light touch to avoid removing the mirror effect you just created. - 8Clean the nail tip
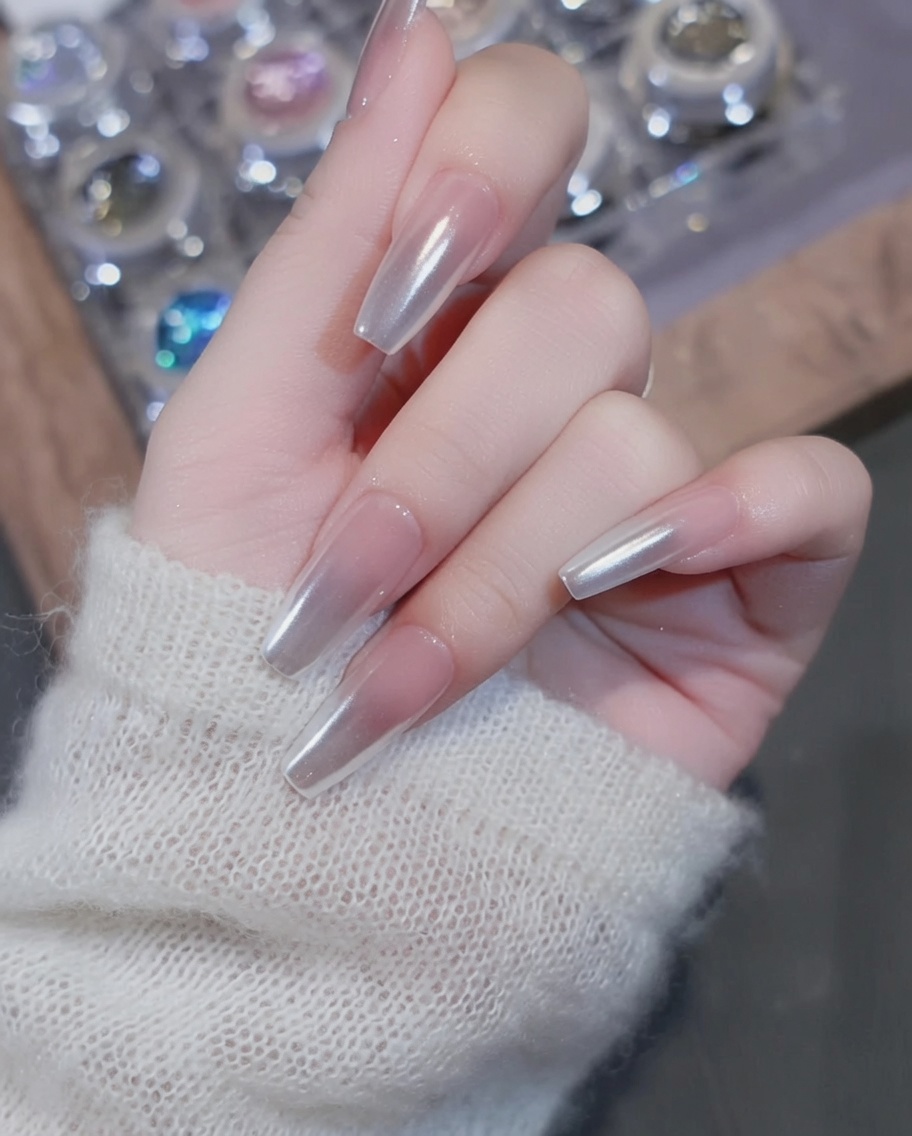
Using a cotton pad dampened with nail cleanser, carefully wipe the free edge and tip of the nail. This removes any remaining residual powder from the edges so that the builder base gel can grip properly to the nail without peeling.
Tip: Cleaning the free edge is crucial for preventing the chrome powder from chipping at the tip. - 9Seal with builder base gel
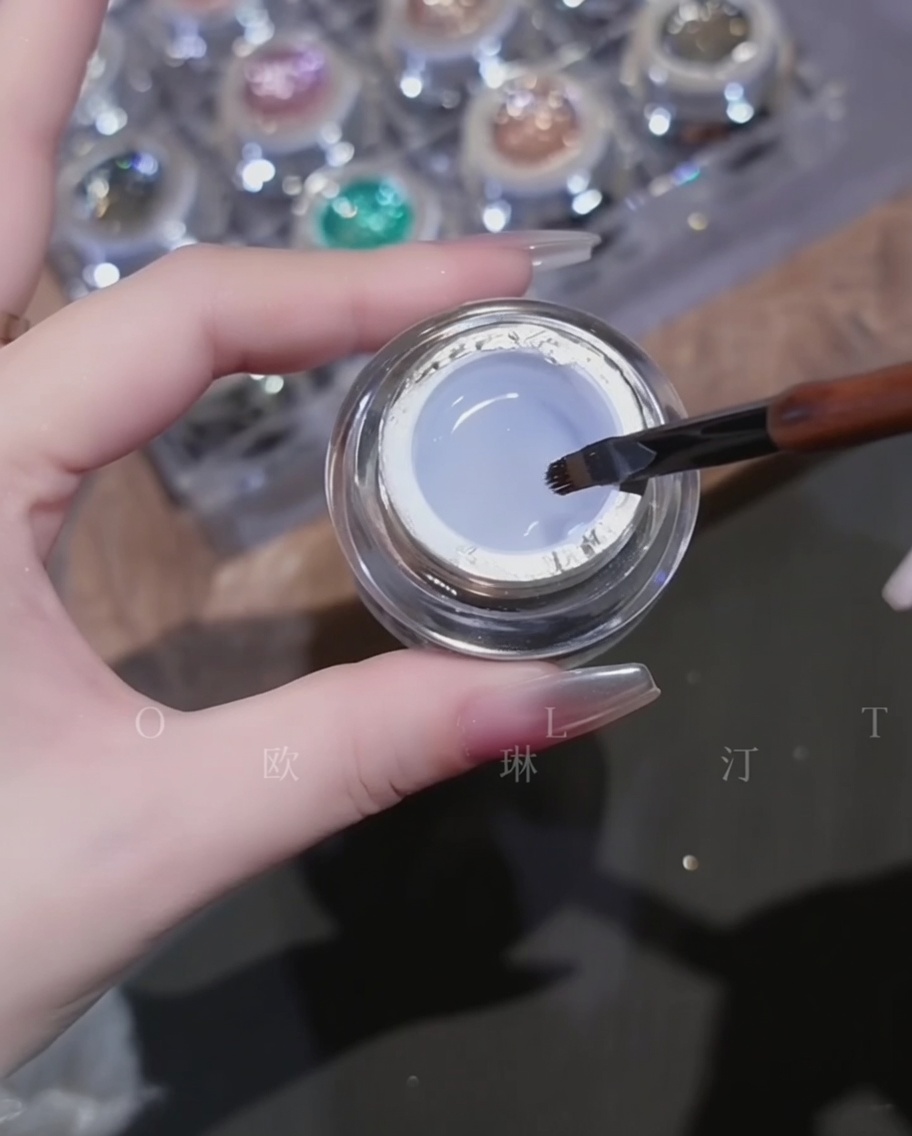
Apply a layer of builder base gel over the entire surface of the nail, making sure to fully cap the free edge. Do not use a regular base gel; the builder base gel acts as both a base and a cap to lock in the chrome powder and prevent it from flaking off.
Tip: Ensure you fully coat the tip to seal the chrome effect completely. - 10Cure the base coat
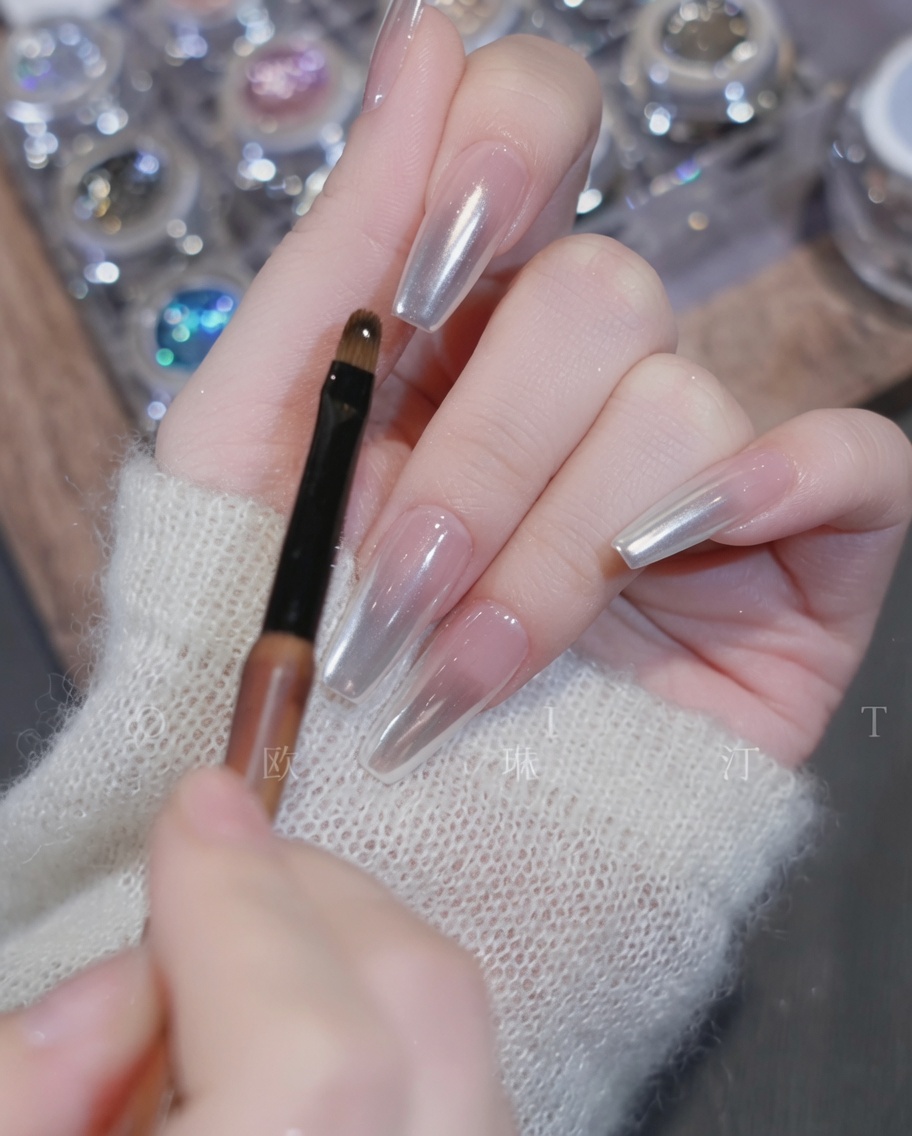
Place your nails under the UV or LED lamp to cure the builder base gel. Ensure the free edge is capped well during application to prevent lifting after curing.
Tip: Follow the curing time recommended for your specific builder base gel product. - 11Pick up decorative gel
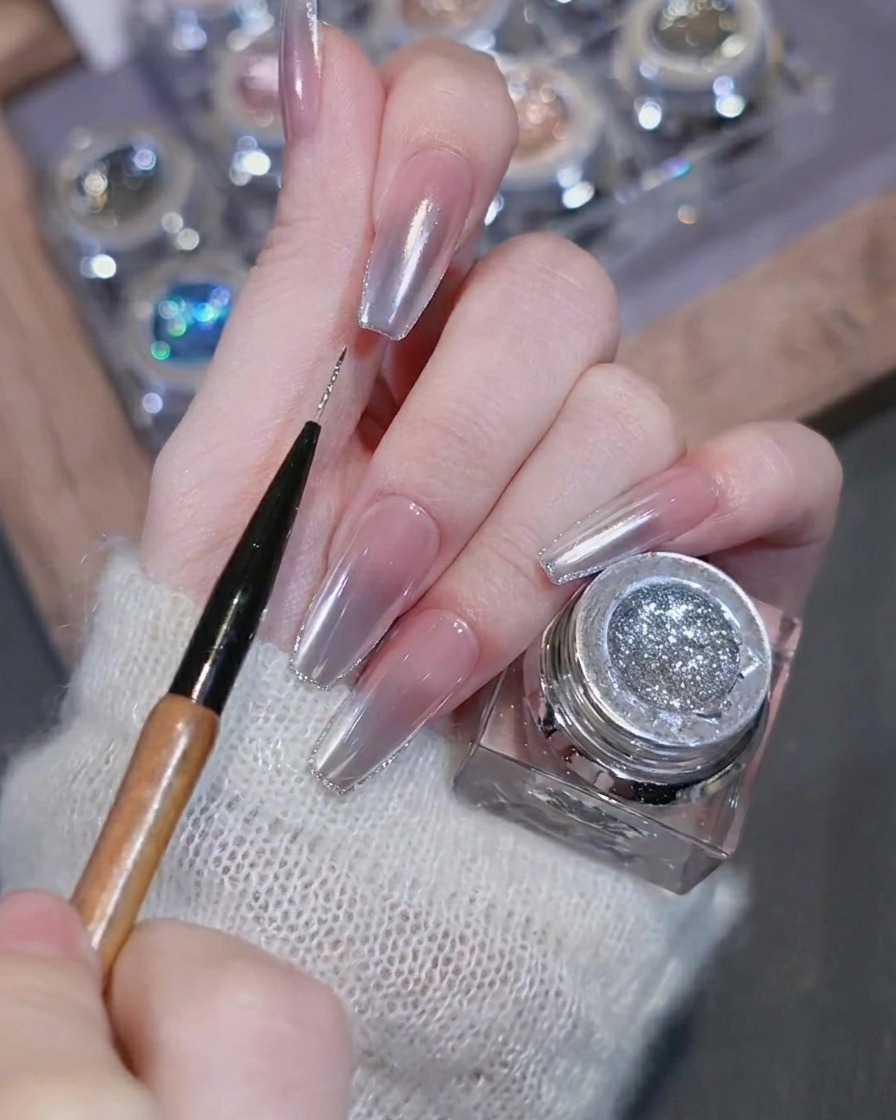
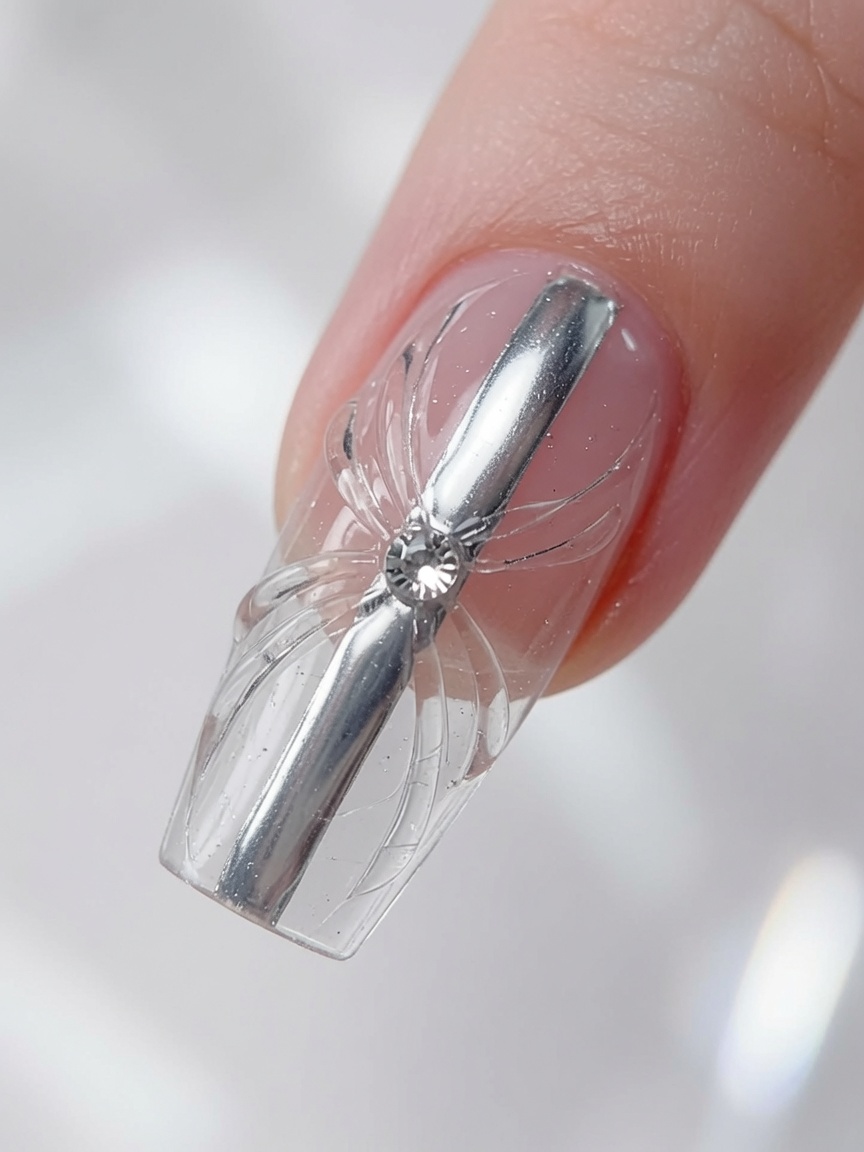
Dip a fine liner brush into a high-gloss builder gel or your chosen decorative glitter gel. Ensure the bristles are evenly coated so you can draw precise, dimensional lines across the nail surface.
Tip: Roll and twist the liner brush slightly as you pull it out of the gel pot to remove excess product and maintain a sharp, fine point on the bristles. - 12Add charm and cure
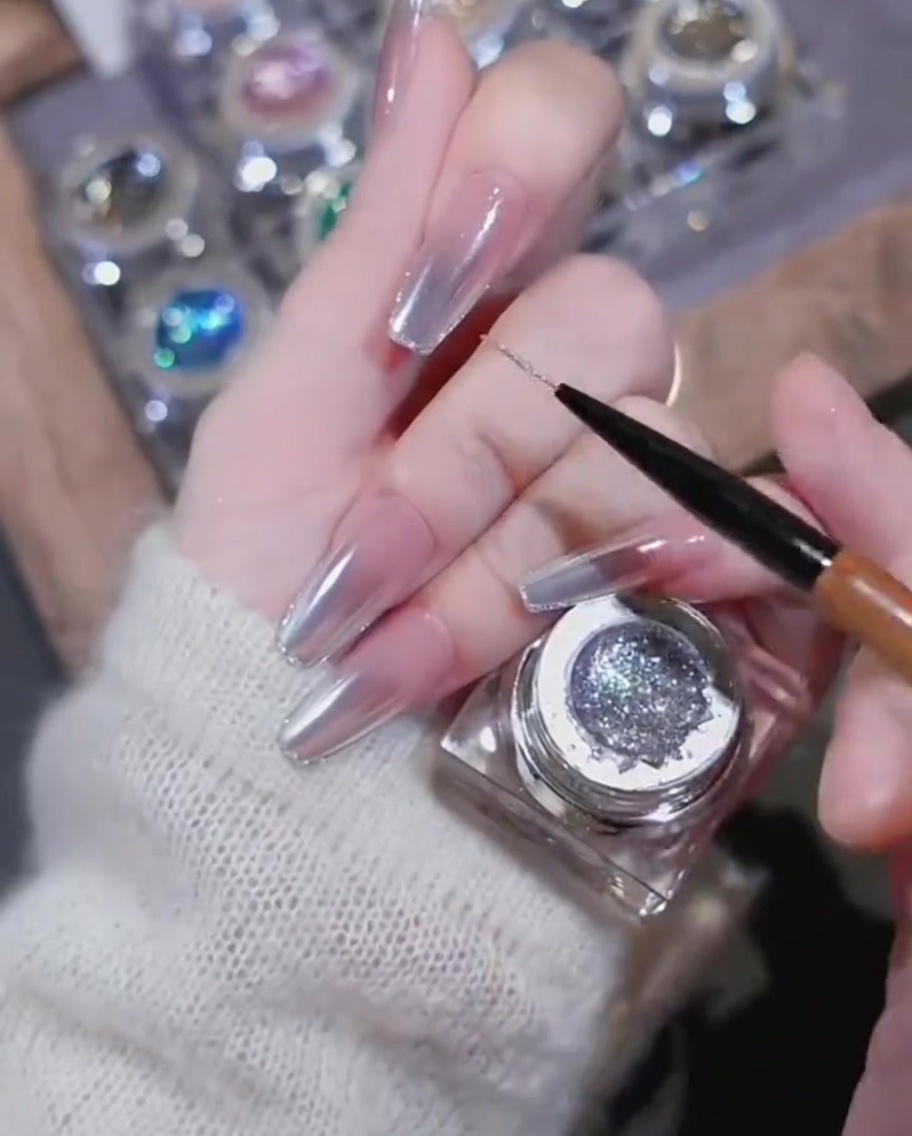
After applying high-gloss builder gel to create decorative lines, carefully place the heart-shaped diamond charm onto the desired spot on the nail. Cure the nail again under the lamp to secure the charm in place.
Tip: Use a small amount of builder gel as an adhesive for the charm. - 13Apply final top coat
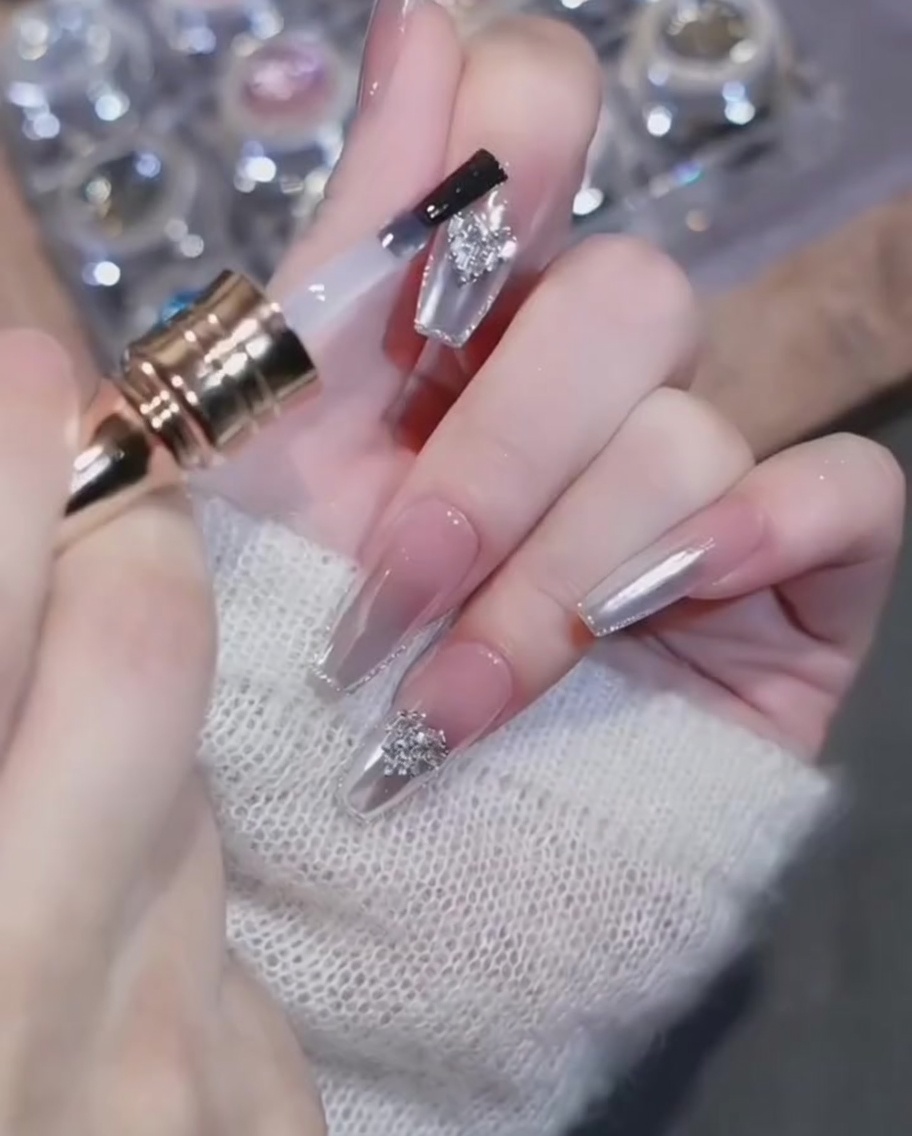
Finish the manicure by applying a final high-gloss top coat over the nail surface. Carefully navigate around the diamond charm to avoid covering it, which maintains the charms shine and prevents it from looking cloudy.
Tip: Applying top coat around the charm rather than over it keeps the diamond sparkling. - 14Apply mirror pearl powder gradient
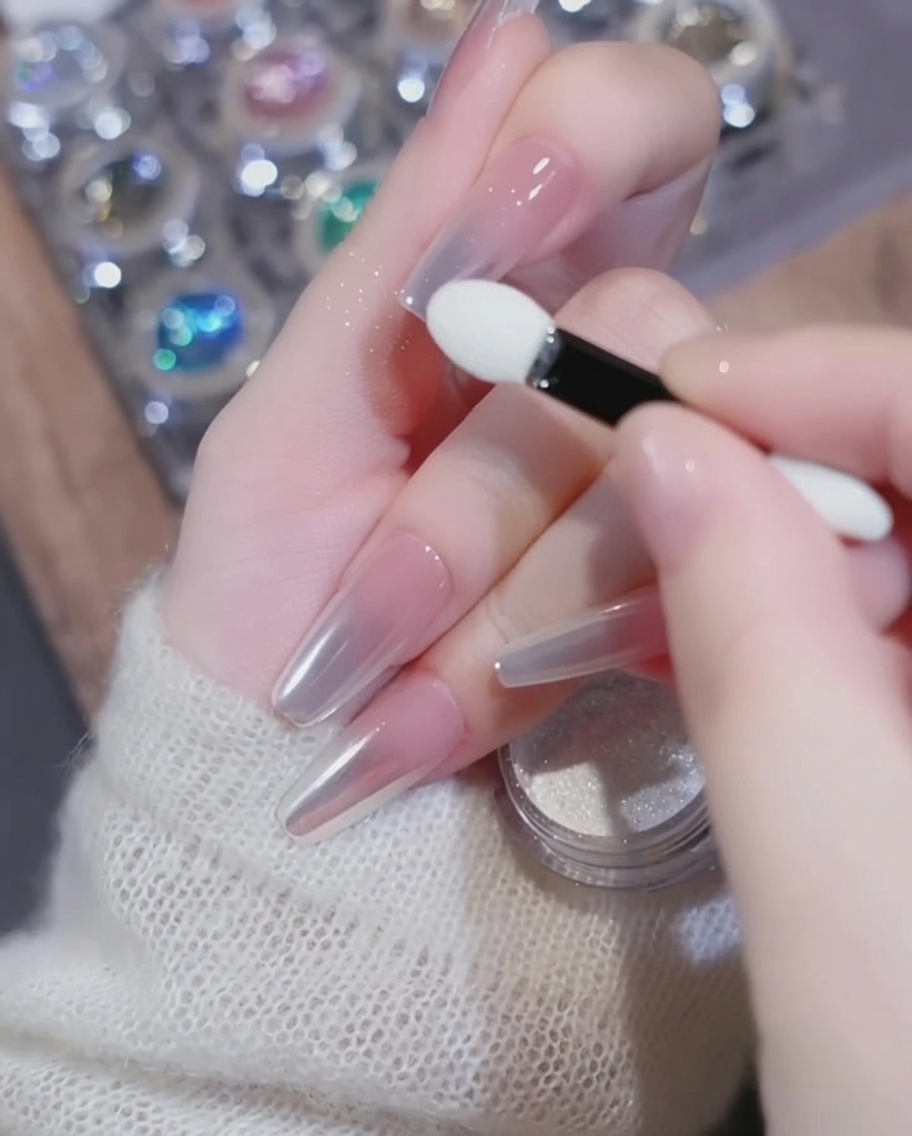
Using a sponge applicator, pick up the number 1 mirror pearl powder and rub it onto the nail, starting from the tip. As you move toward the middle of the nail, use a very light touch to blend the powder and create a seamless gradient effect over your sheer base.
Tip: Once the gradient is achieved, use the other clean side of the sponge applicator to gently dust off any excess powder from the nail surface.