Pink Pearl Chrome Nails — Step-by-Step Tutorial
Create a luminous manicure with this pink pearl chrome tutorial. Master the sheer pink gel base and iridescent mirror powder finish.
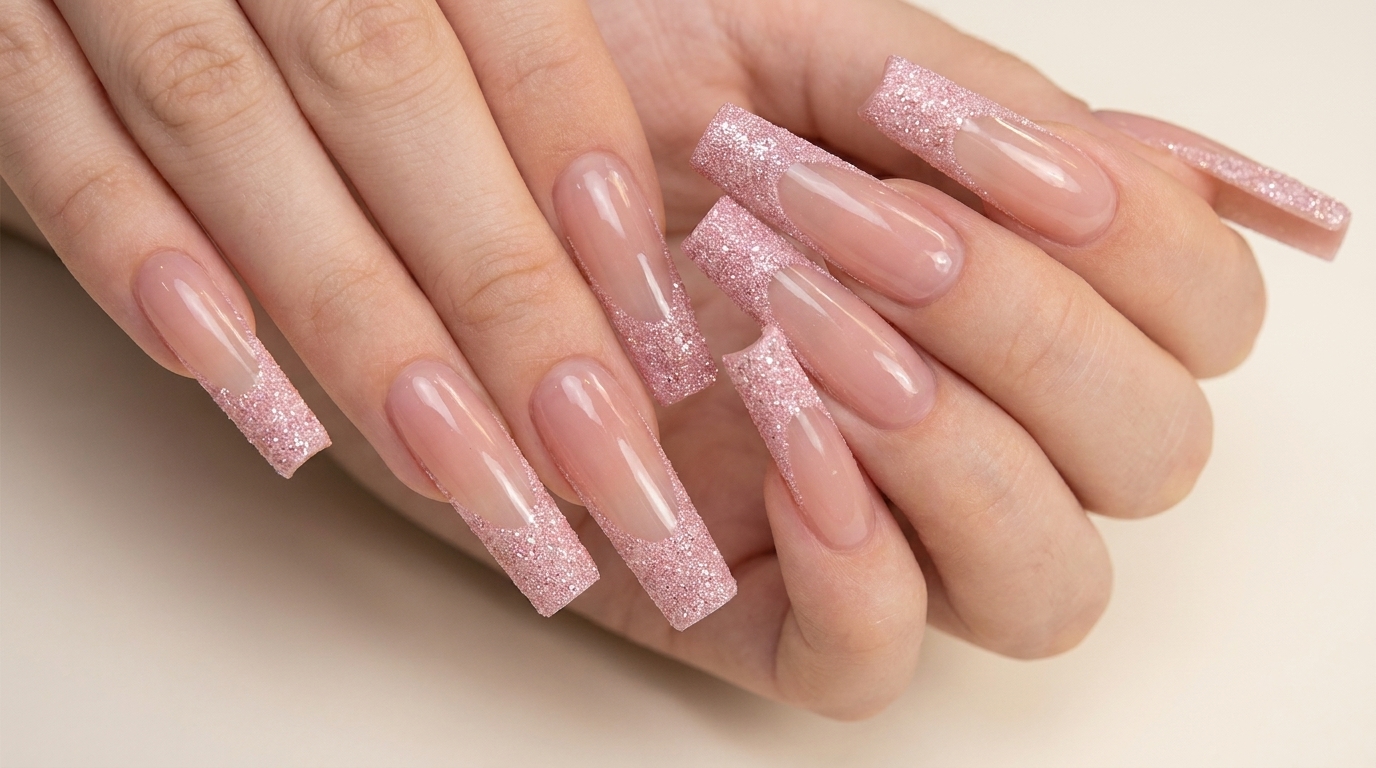
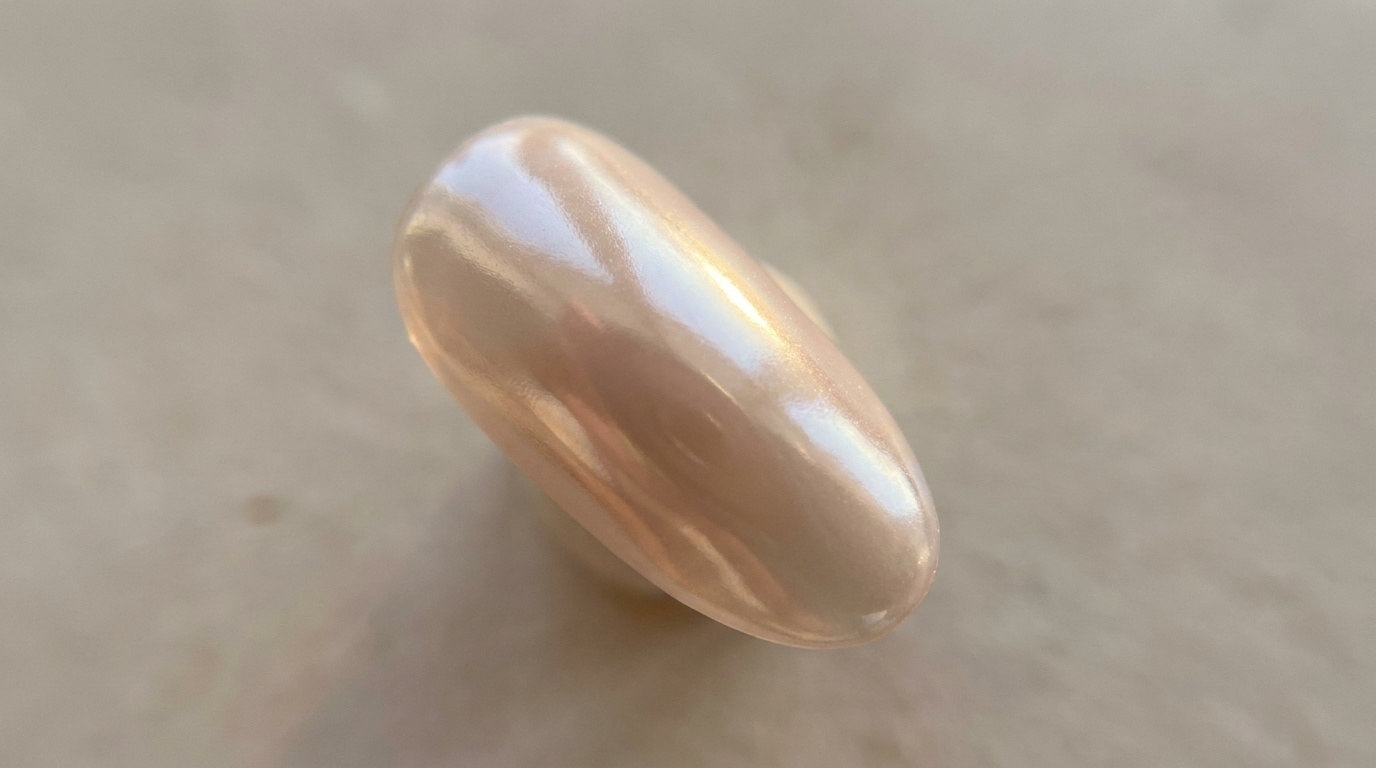
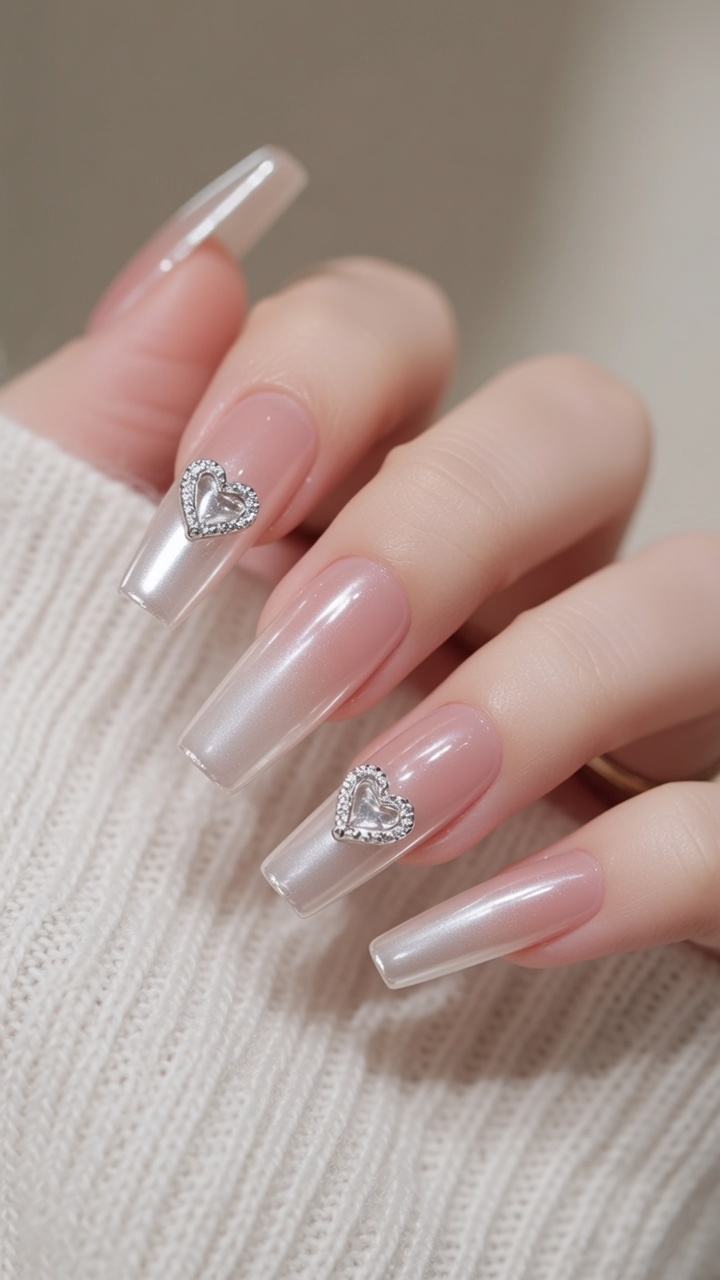
The pearl chrome trend has taken the nail world by storm for its soft, luminous elegance. This look elevates a simple sheer pink gel manicure by adding an iridescent mirror powder finish. It is surprisingly easy to achieve at home with a sponge applicator and a high-quality no-wipe top coat.
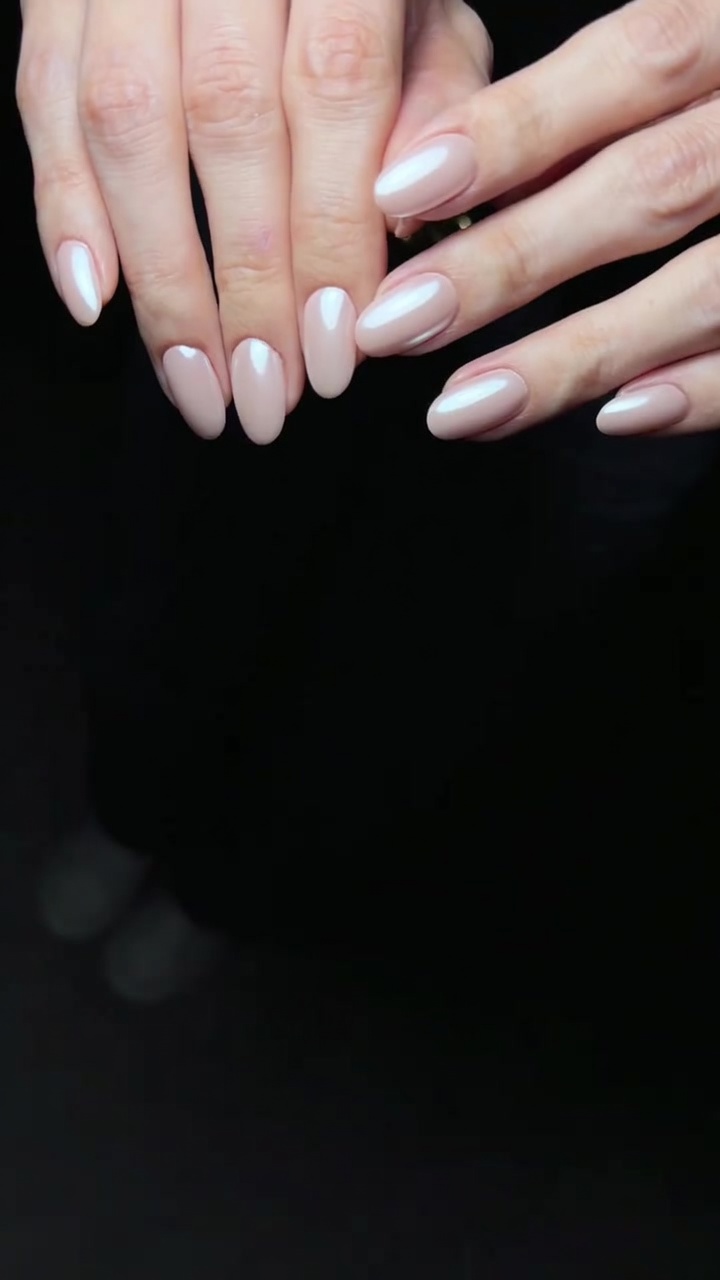
Steps
- 1Apply first coat of sheer pink gel
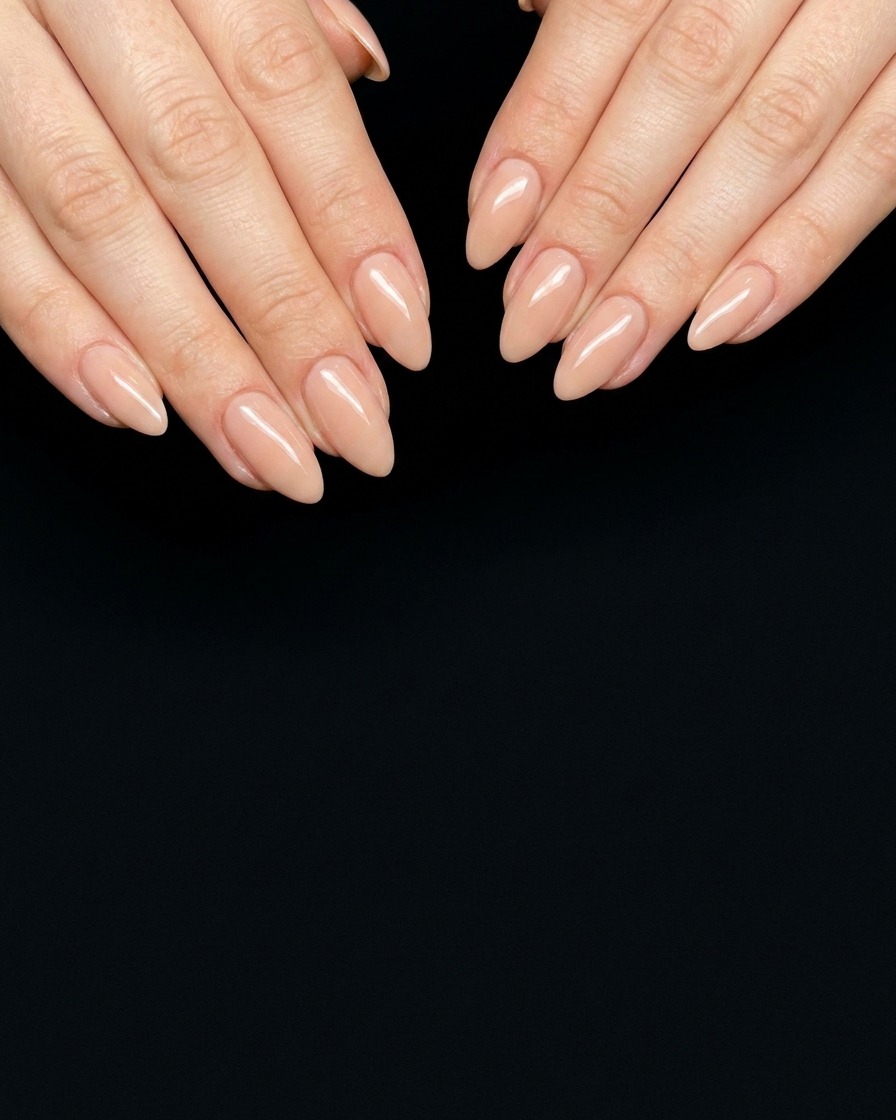
Apply a thin, even layer of sheer pink gel polish to each nail. Start from the base of the nail and brush toward the free edge, ensuring smooth coverage without touching the cuticle or side walls. This initial coat provides the base for the luminous, pearl-like finish.
Tip: Apply in thin layers to ensure the polish cures properly and prevents any bubbling or uneven texture. - 2Cure the first gel layer
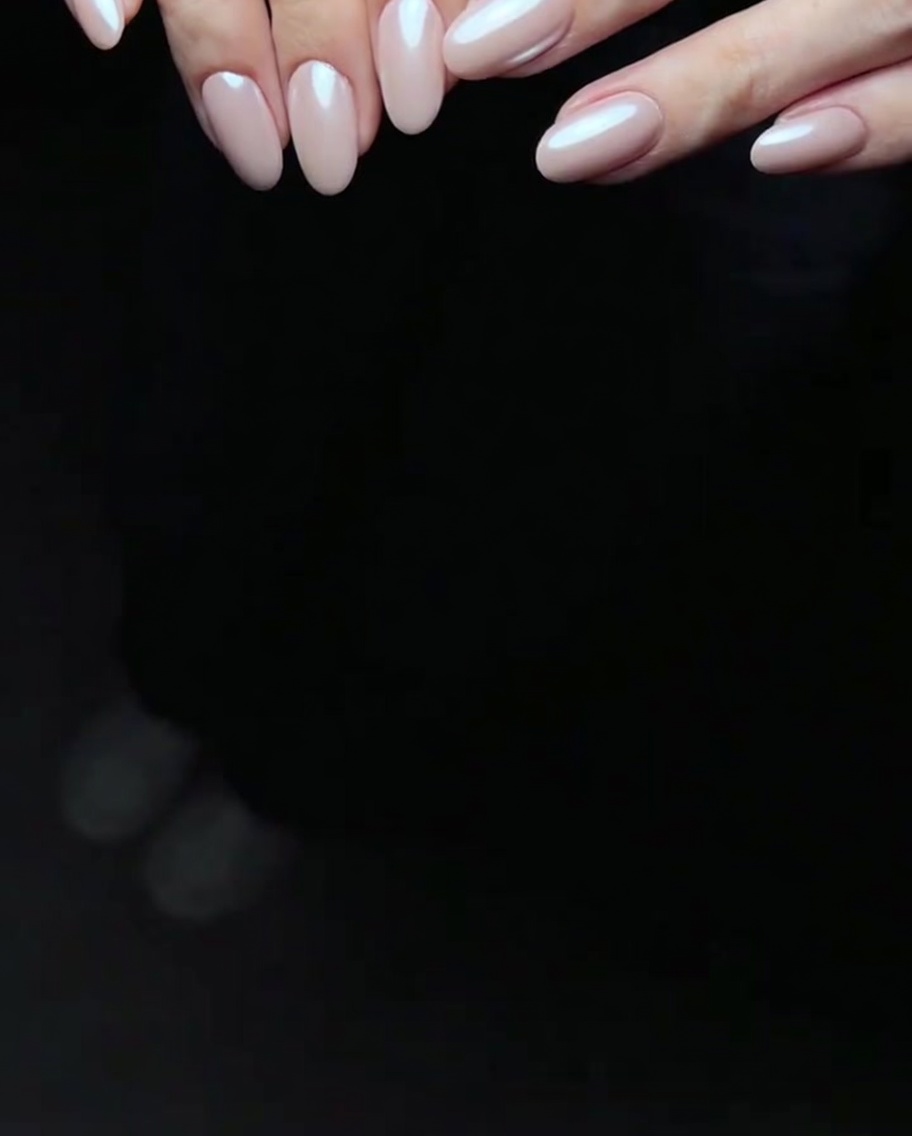
Place your hand under the LED lamp to cure the first coat of pink gel polish. Follow the manufacturers recommended curing time for your specific gel product to ensure the layer is fully set before moving on to the next step.
Tip: Ensure your fingers are positioned flat and directly under the light source for an even, thorough cure. - 3Apply second coat of pink gel
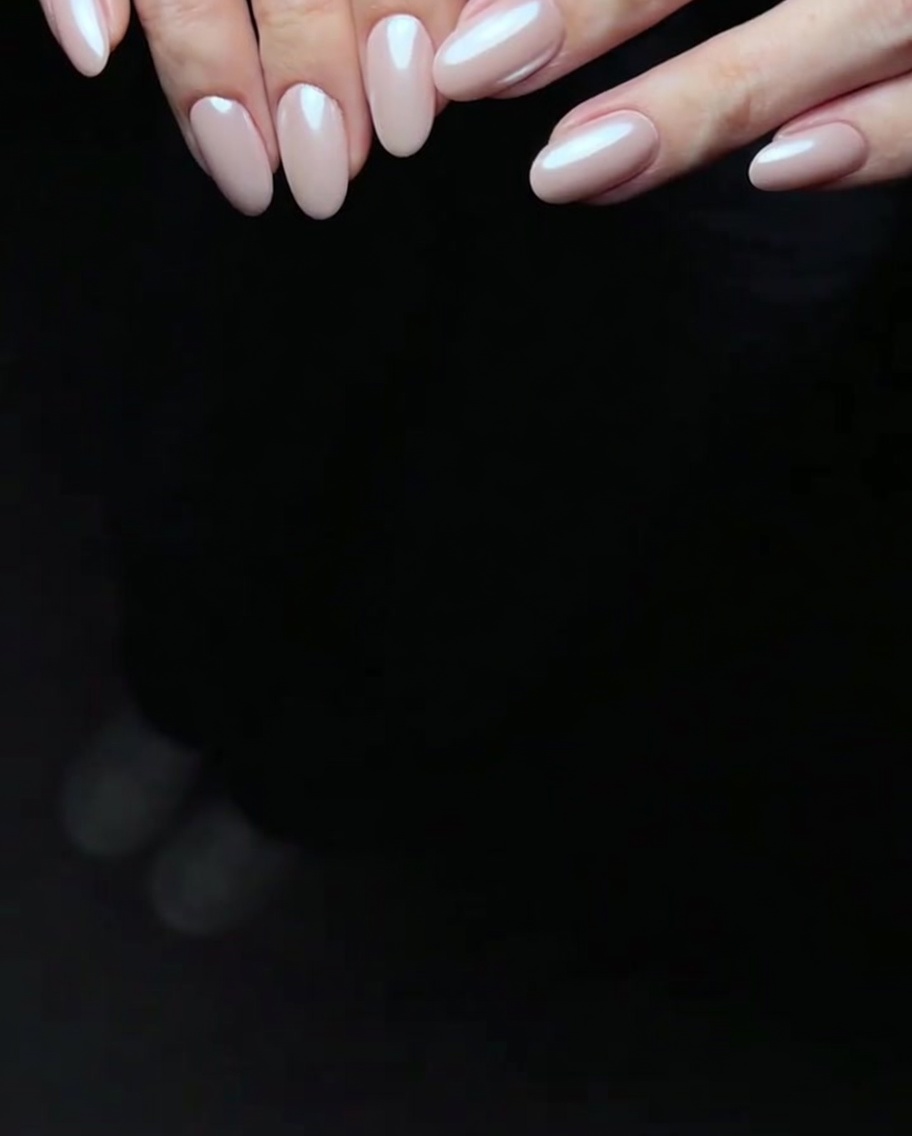
Apply a second layer of the pink gel polish over the cured first coat. This layer should be slightly more opaque to provide a uniform, vibrant color across the entire nail plate. Take care to maintain clean edges around the cuticles.
Tip: Applying two thinner coats is superior to one thick coat for durability and finish. - 4Cure the second gel layer
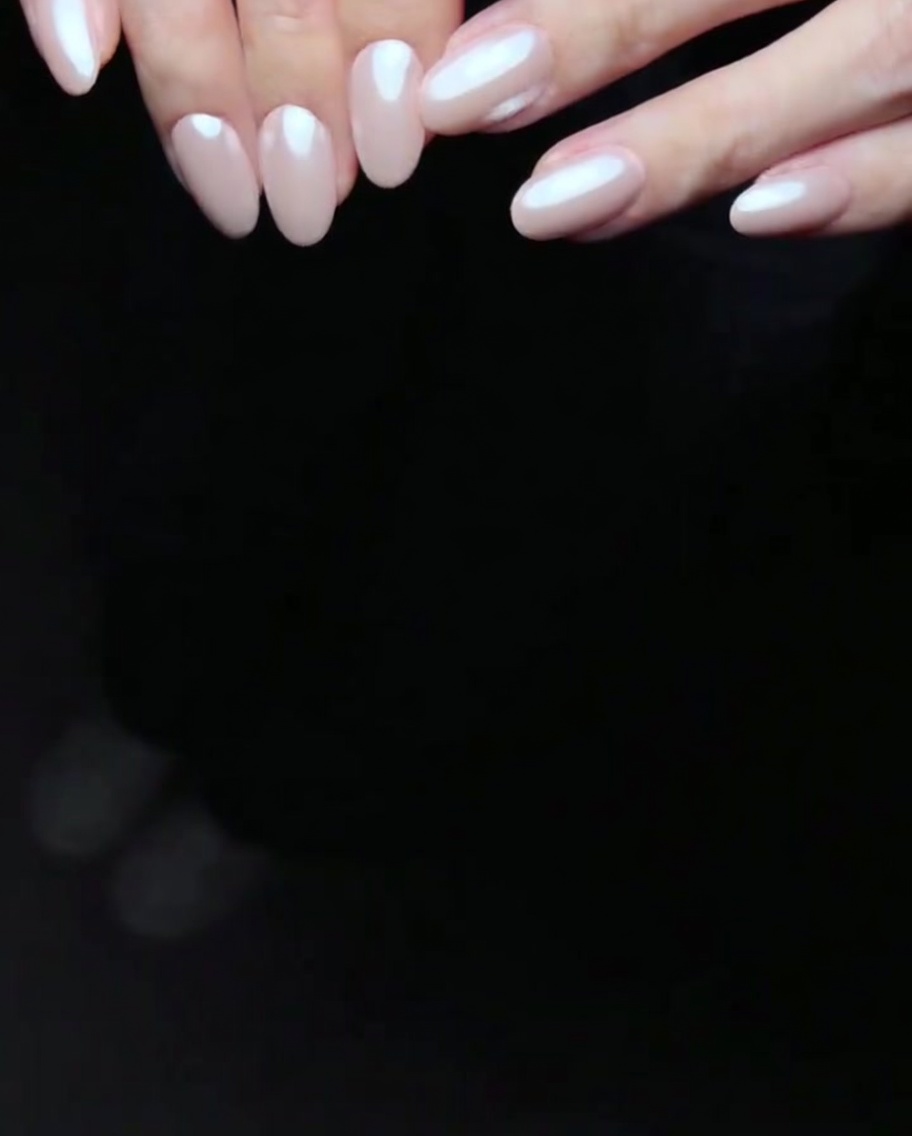
Cure the second coat of pink gel polish under the LED lamp. Consistent curing at this stage is essential to lock in the color and prepare the nails for the final decorative steps.
Tip: Do not skip the full curing time to ensure maximum durability of your manicure. - 5Apply no-wipe top coat
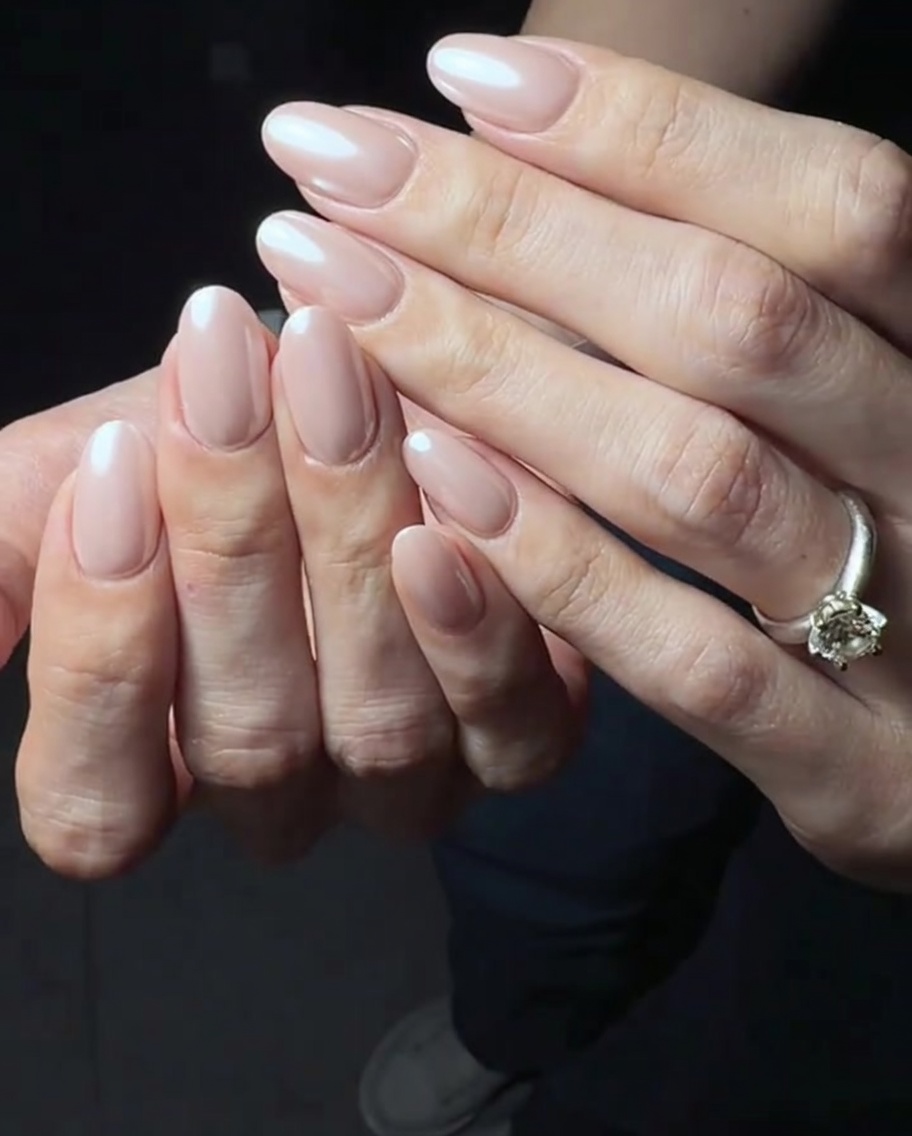
Apply a thin, even layer of no-wipe top coat over the cured pink gel. This specific type of top coat is necessary for the chrome powder to adhere correctly and create the desired mirror effect.
Tip: Ensure the application is smooth and covers the entire nail surface, as the chrome powder will highlight any texture or bumps. - 6Partial cure for chrome
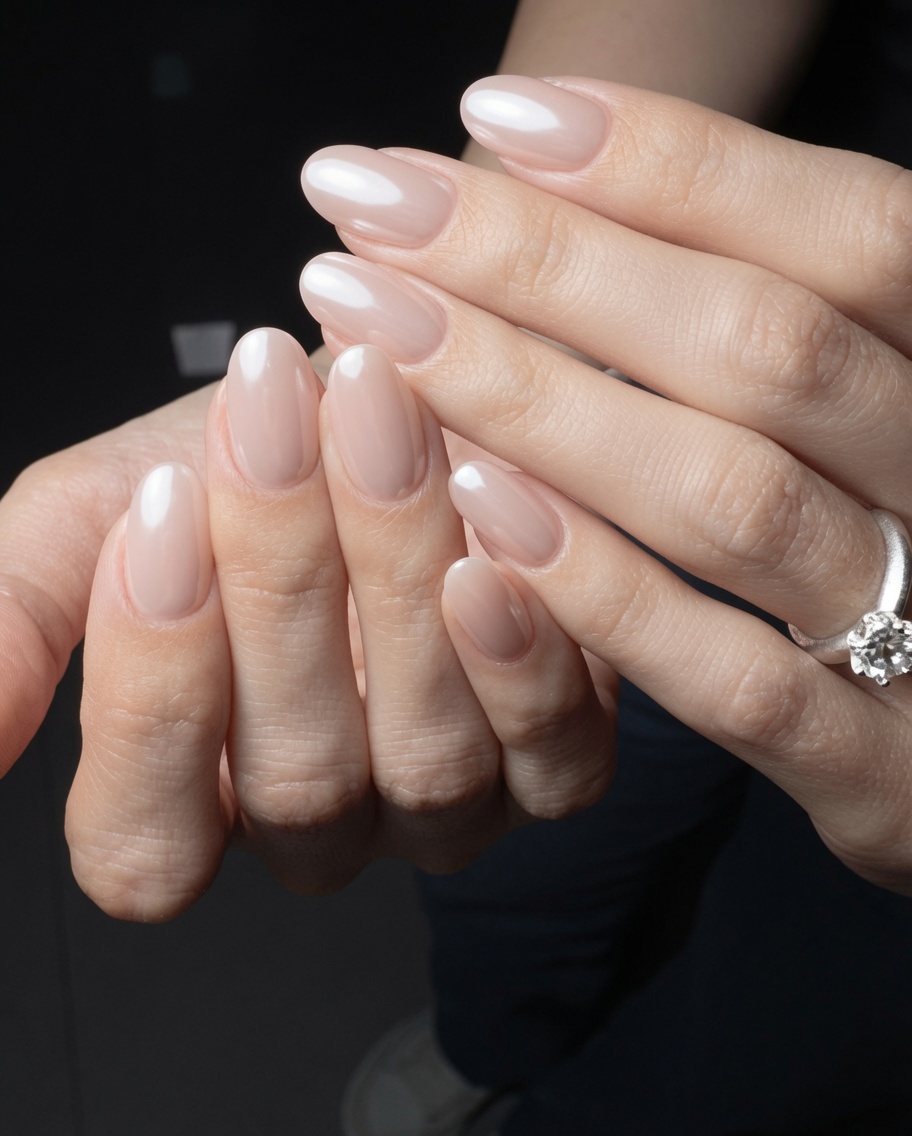
Cure the top coat for a shorter duration than usual. The surface should feel slightly tacky to the touch; this tackiness is crucial for picking up and holding the chrome pigment powder effectively.
Tip: If the surface is too dry, the chrome powder wont adhere properly; if it is too wet, the finish may be streaky. - 7Apply pearl chrome powder
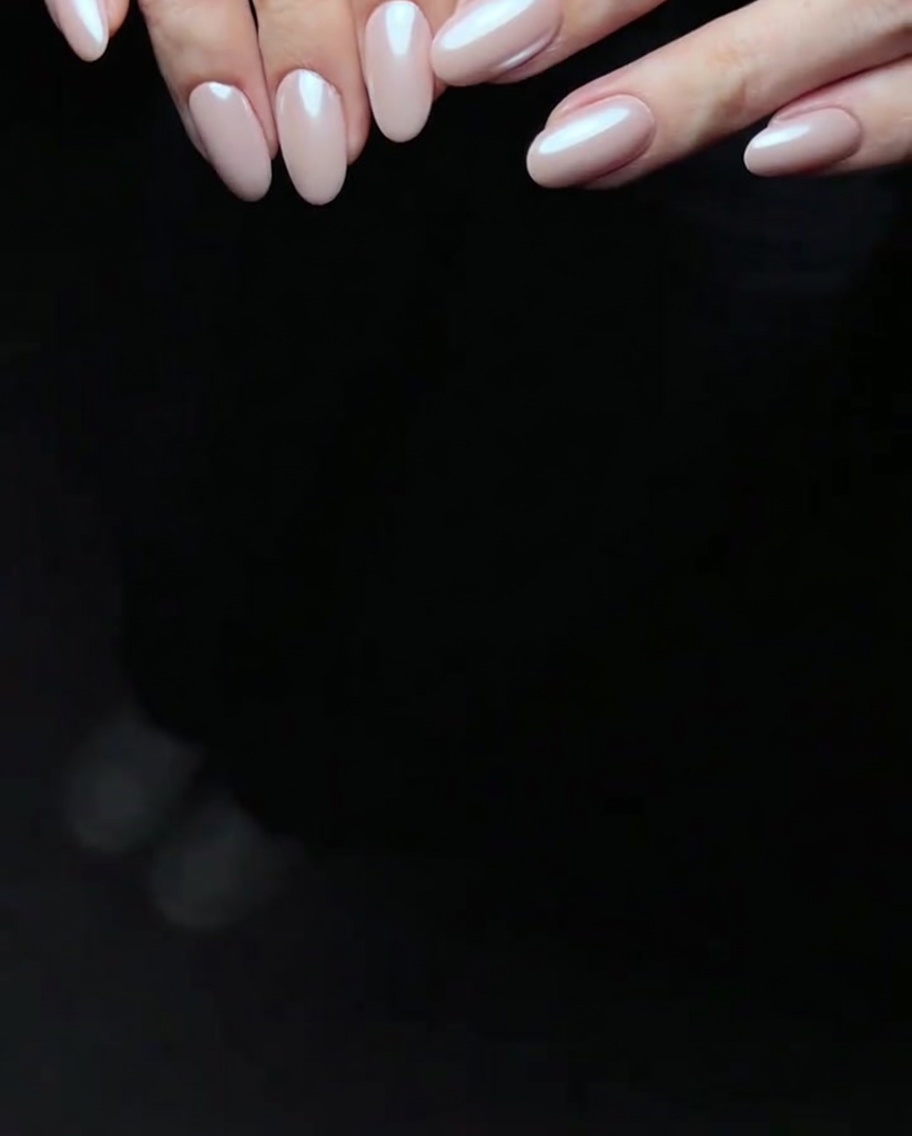
Take a sponge applicator dipped in the iridescent pearl chrome powder and gently rub it onto the surface of each nail. Ensure even coverage over the entire pink base to achieve a uniform, luminous pearl effect.
Tip: Apply the powder using light, circular motions for the best result. A little goes a long way, so start with a small amount on the applicator. - 8Buff to a mirror finish
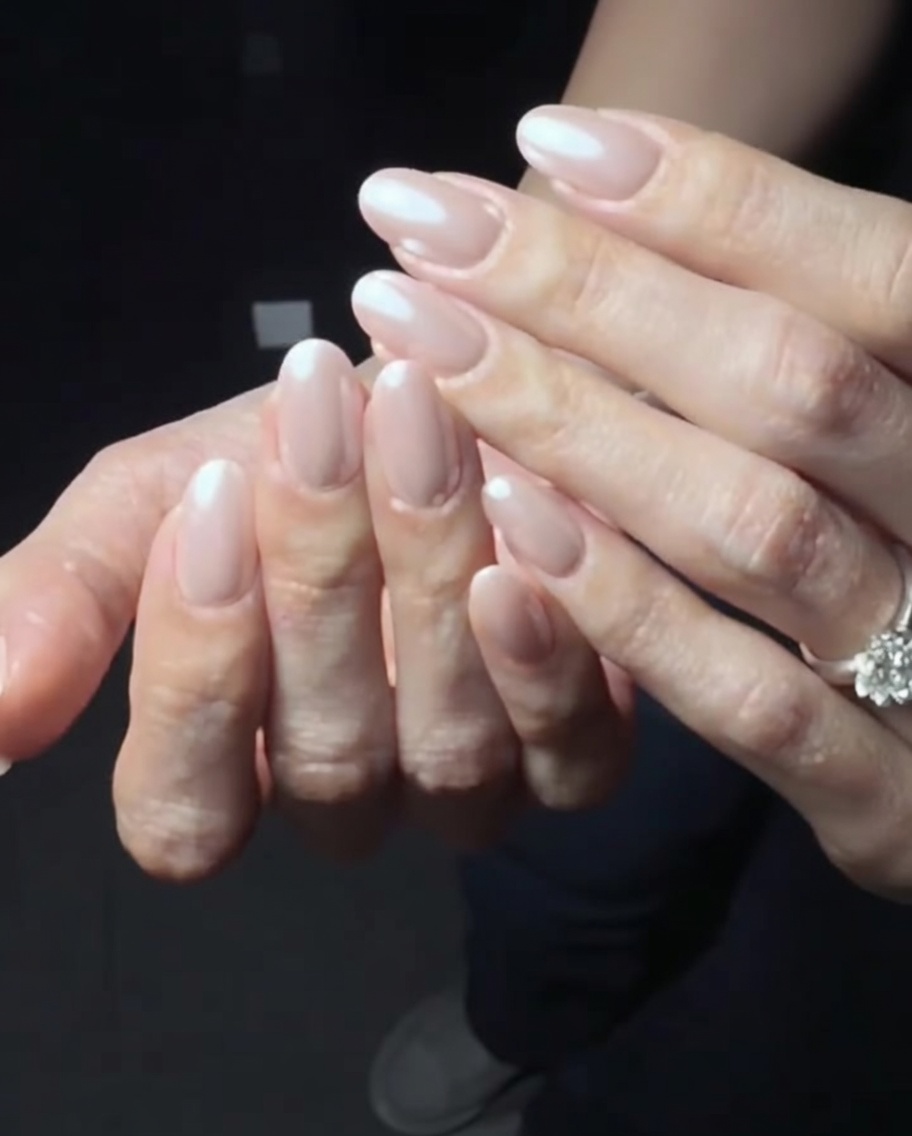
Using a clean, soft brush or the sponge applicator, gently buff the surface of the nails in light, circular motions. This step helps settle the pigment and smooths out the powder to reveal the final soft, luminous chrome finish.
Tip: Be gentle during the buffing process to avoid wiping away the powder. If you notice any bald spots, touch them up with a tiny bit more powder before finishing.