3D Chrome Stripe
Swirl Detail Nail Tutorial
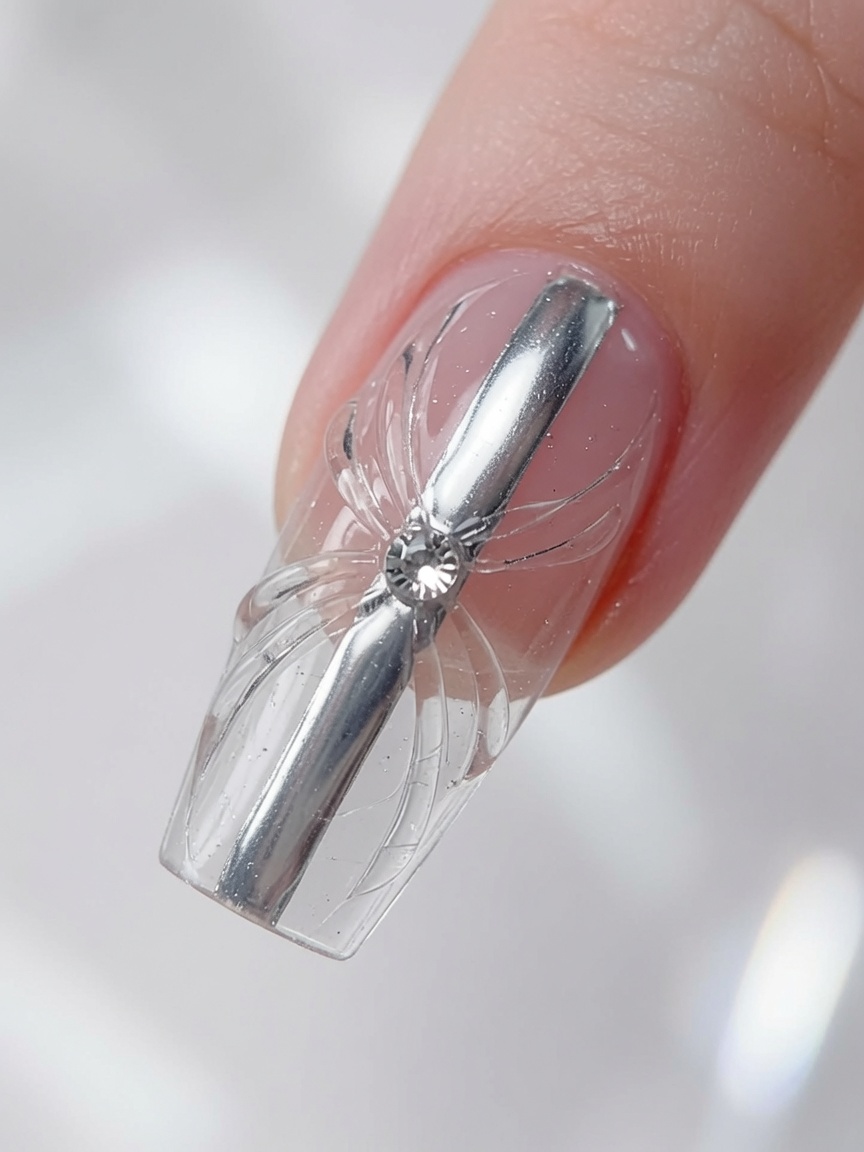
Elevate your nail art with this stunning 3D chrome stripe and clear gel swirl design. Learn how to achieve a mirror-like finish and delicate glass textures.
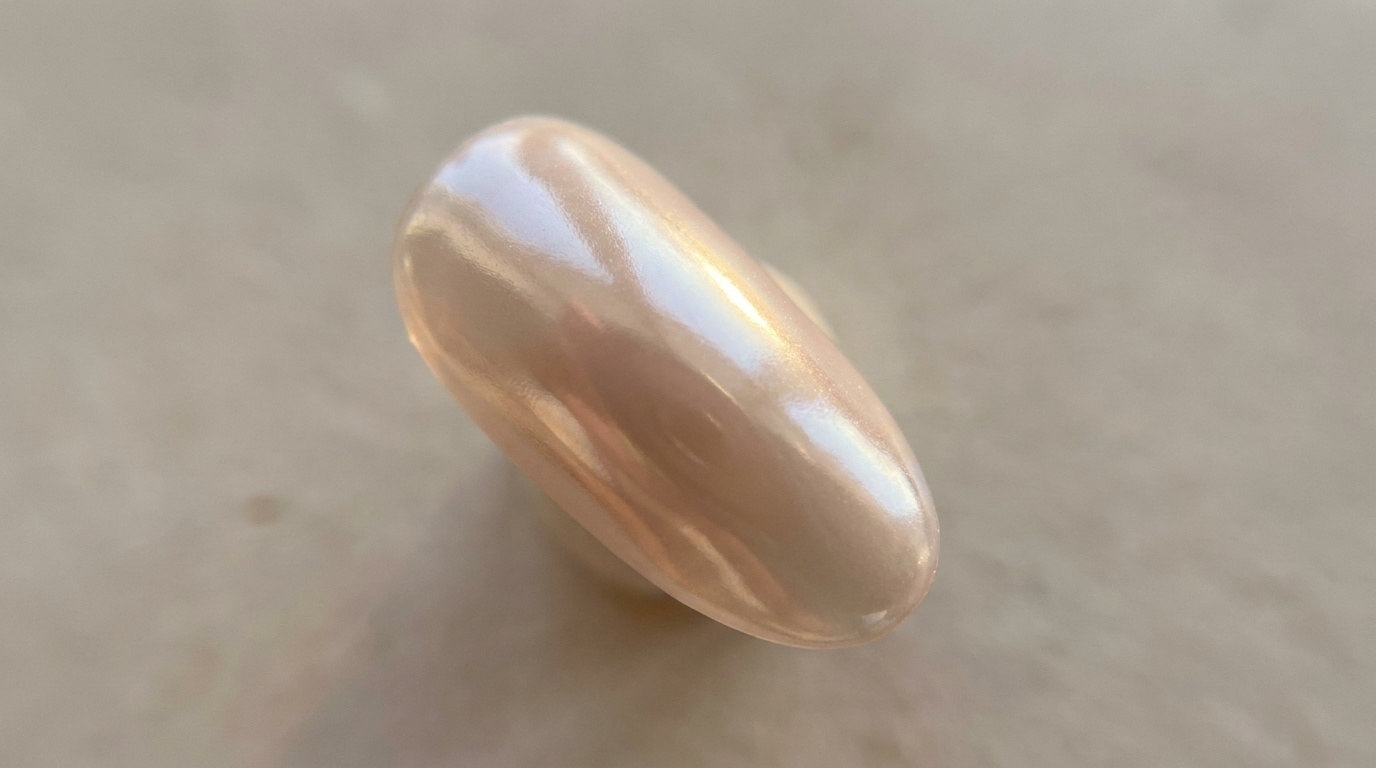
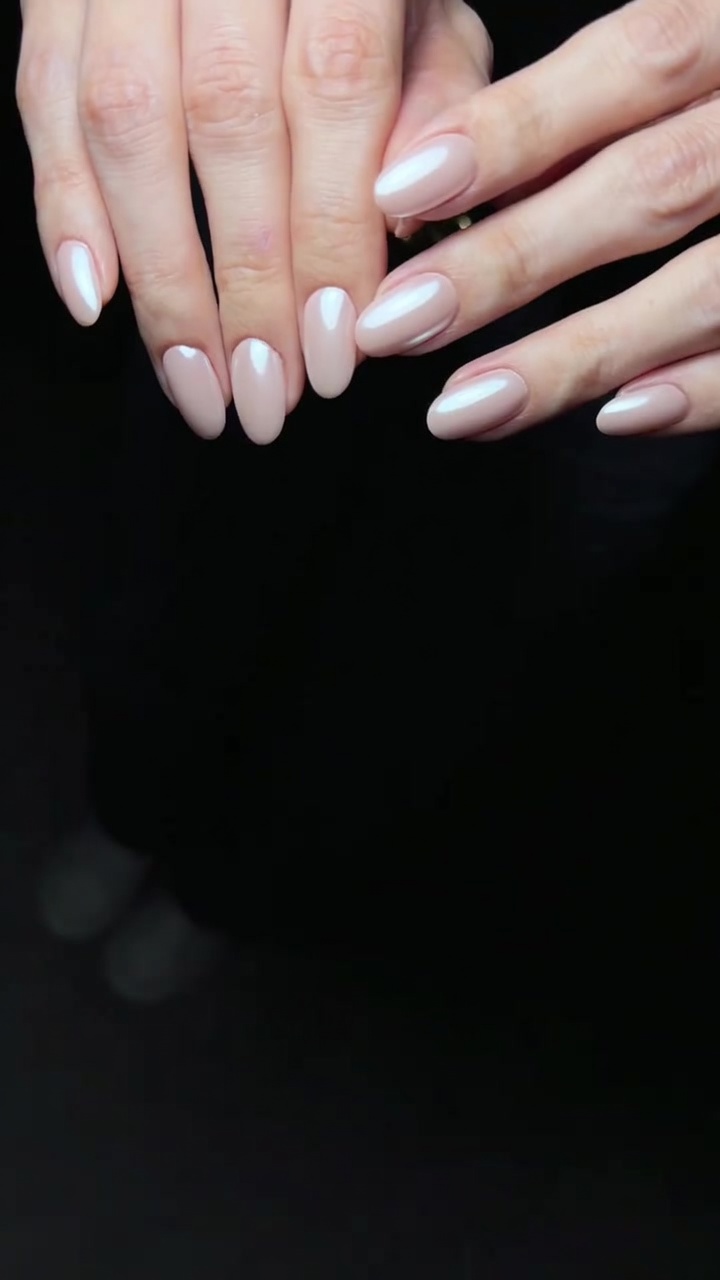
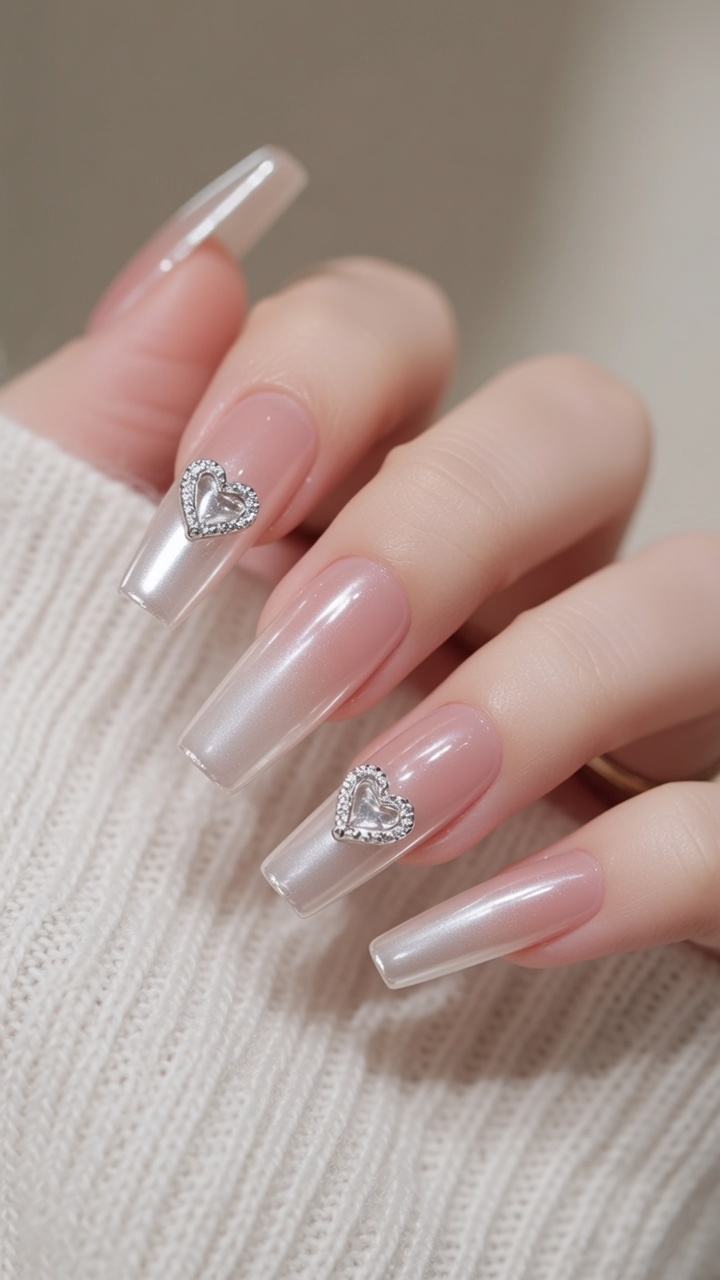
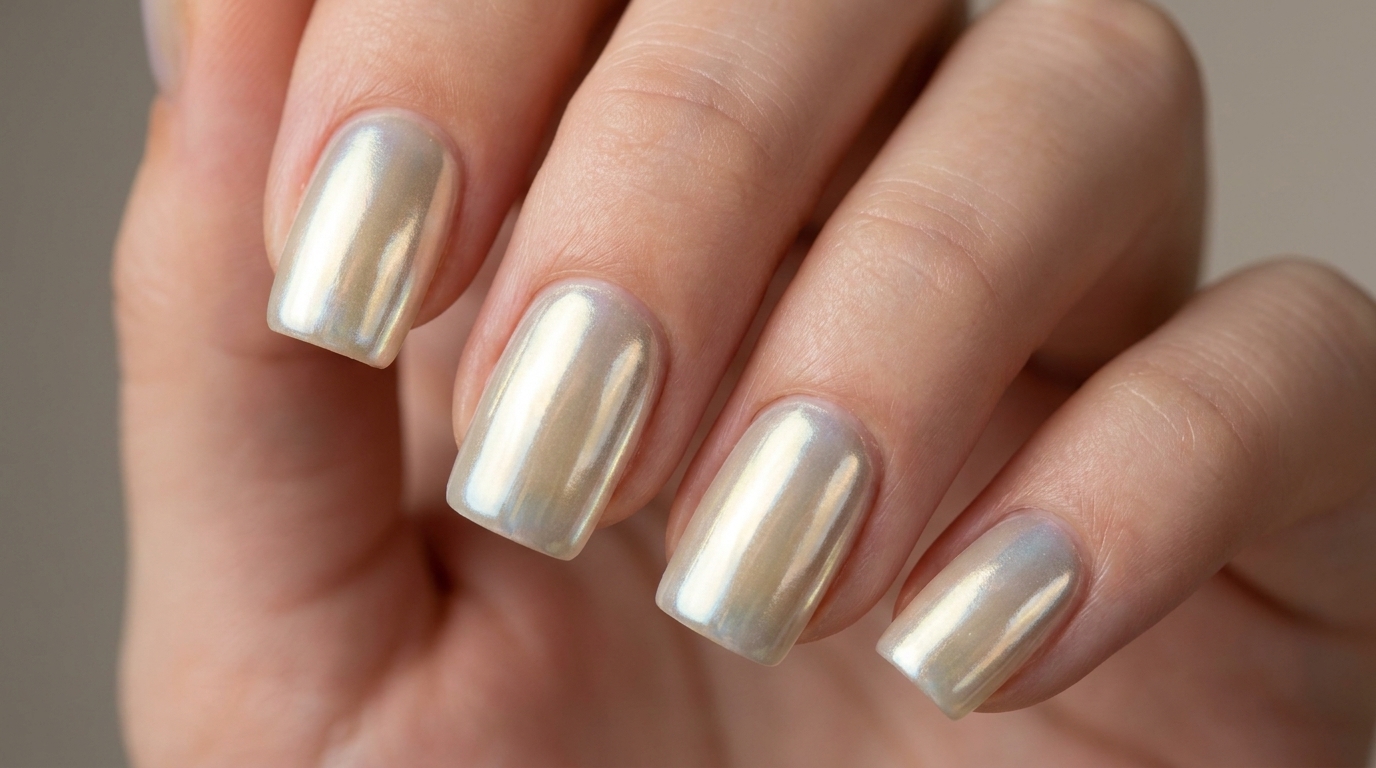
This sophisticated nail art design combines high-shine metallic elements with intricate, transparent 3D details for a futuristic yet elegant look. By layering builder gel, white polish, and magic mirror powder, you can create a striking dimensional effect that works perfectly on transparent tips. It is a fantastic way to master texture-based nail art and precise gel application for an eye-catching finish.
Steps
- 1Apply chrome powder
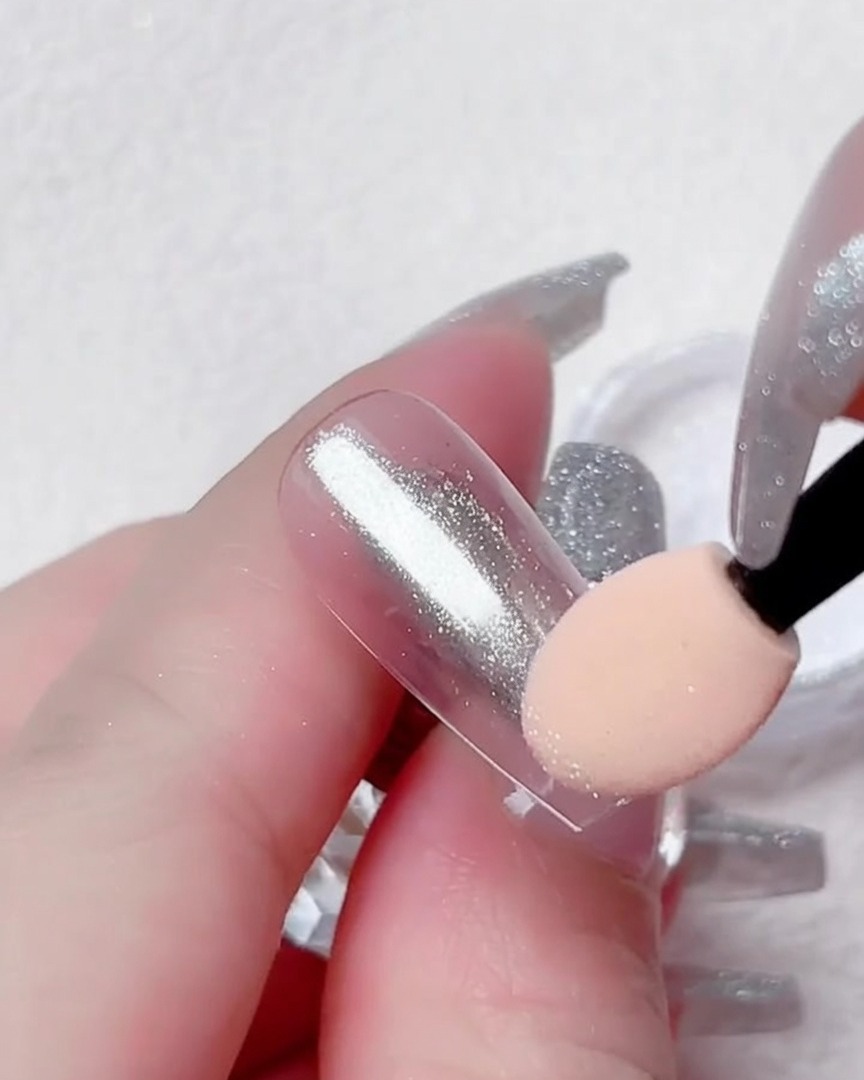
Using a sponge applicator, apply silver pearl chrome powder over the surface of the nail tip. Rub the powder in until a solid, mirror-like finish is achieved across the entire area.
Tip: For the best chrome effect, ensure the base surface is smooth and free of any dust before application. - 2Buff chrome powder
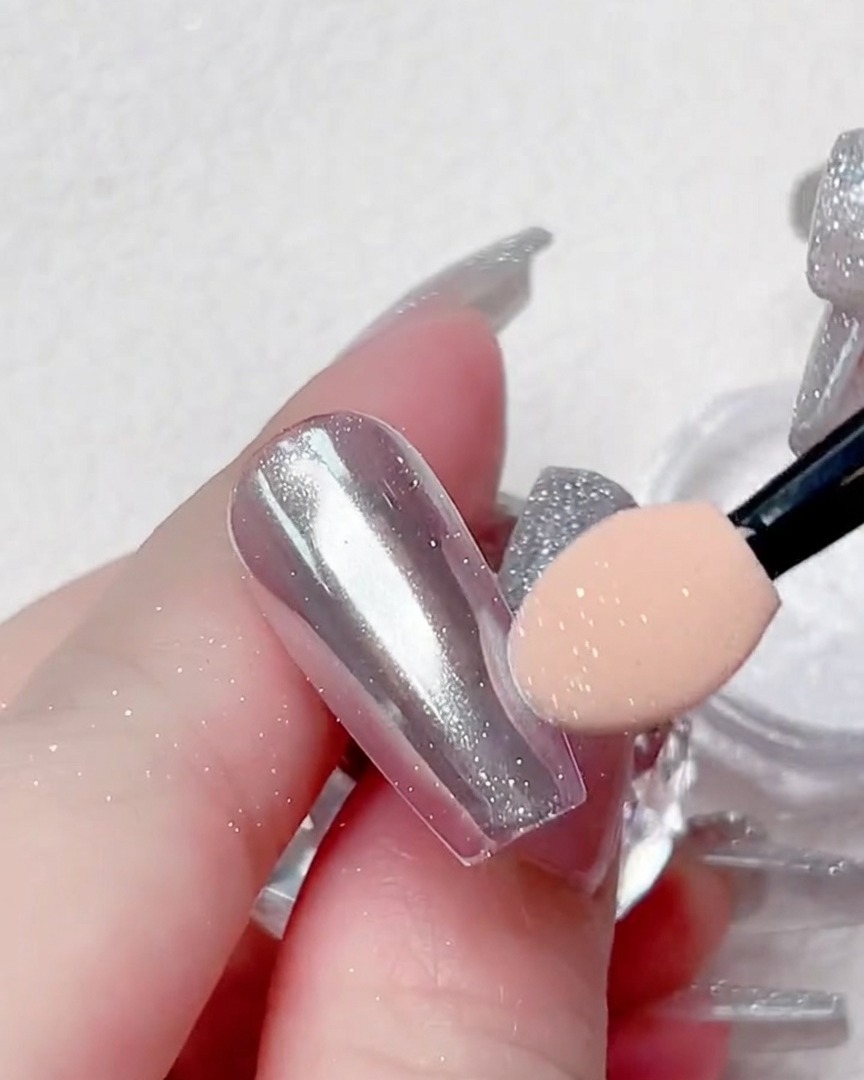
Continue buffing the chrome powder over the sides and free edge of the nail tip. This step ensures that the mirror-like finish is consistent and fully opaque across all areas of the nail surface.
Tip: Focus on the edges and corners to ensure no clear spots remain, as this will affect the final mirror look. - 3Remove excess powder
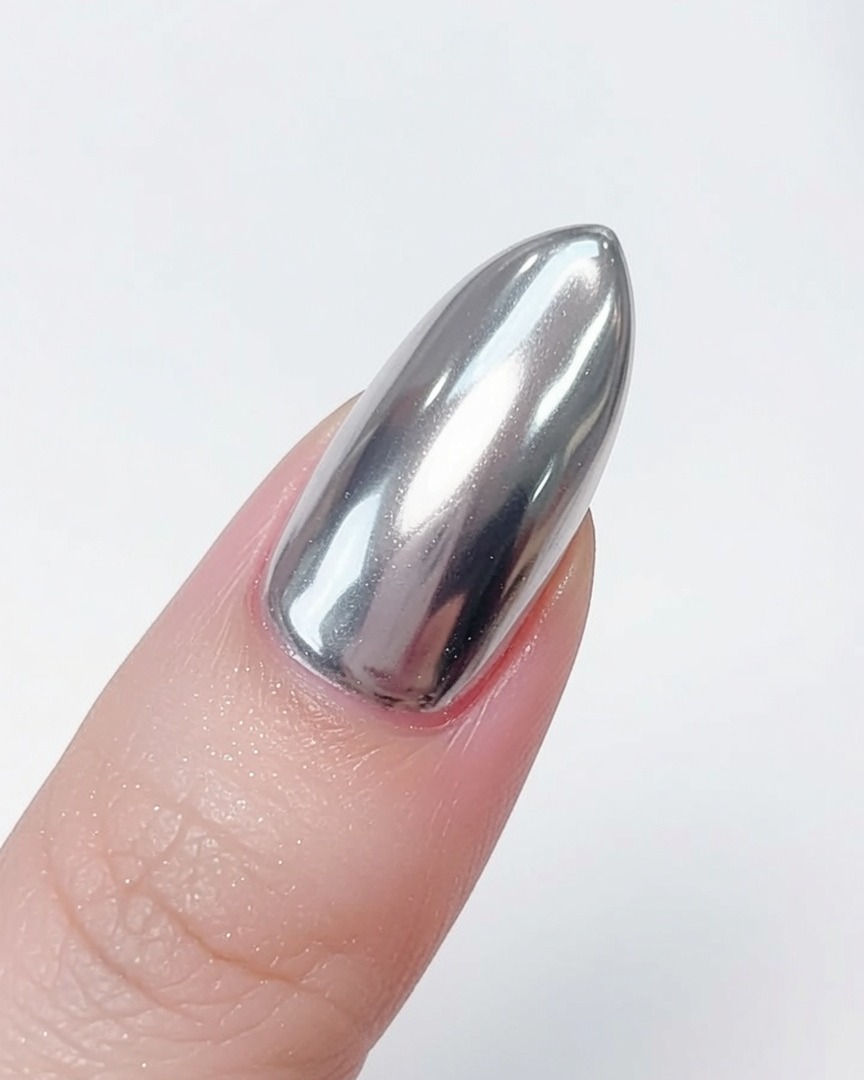
Using a large, soft makeup brush, gently sweep away any loose chrome powder from the surface of the nail. This cleans the nail and prevents excess powder from interfering with subsequent steps.
Tip: Use a light hand to avoid scratching the mirror finish while dusting off the excess. - 4Apply vertical builder gel stripe
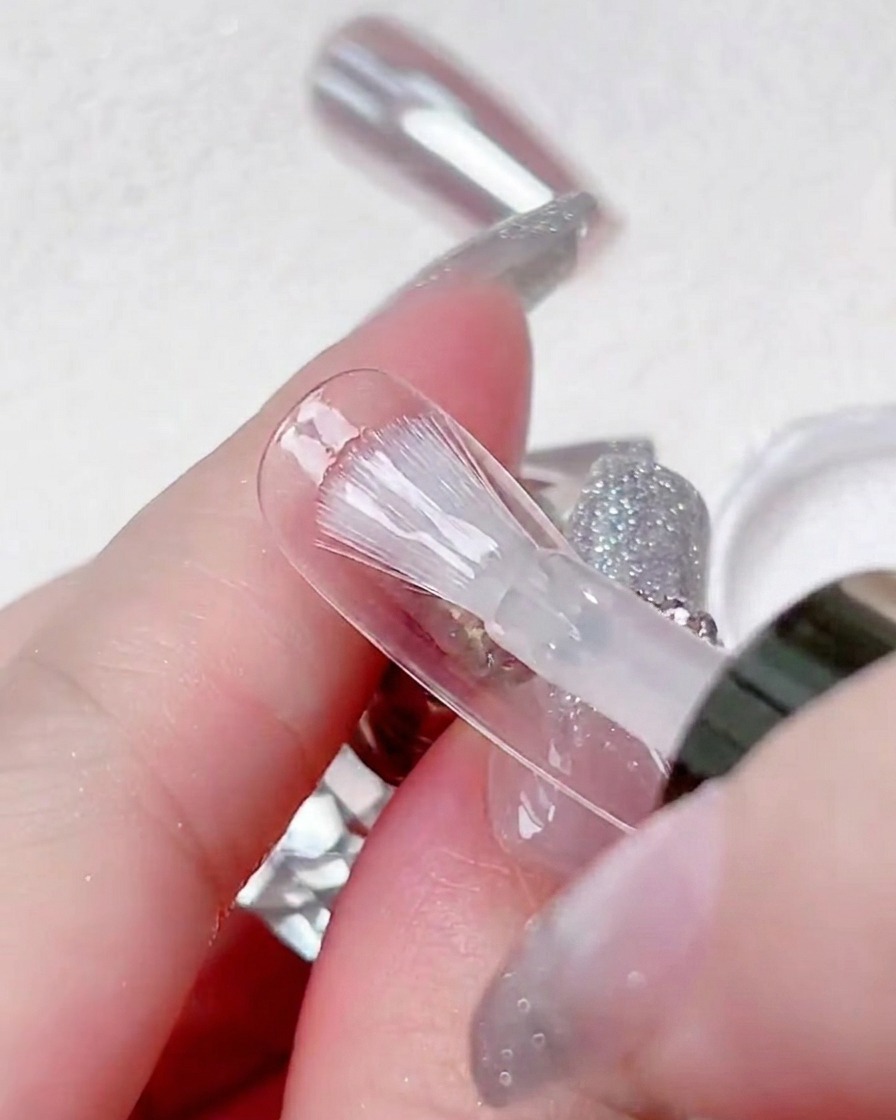
Apply a thick, raised vertical stripe of clear builder gel directly down the center of a clear nail tip. The raised gel will serve as the base for the upcoming nail art element.
Tip: Keep the stripe centered and uniform in width to ensure the final design looks balanced. - 5Paint white gel stripe
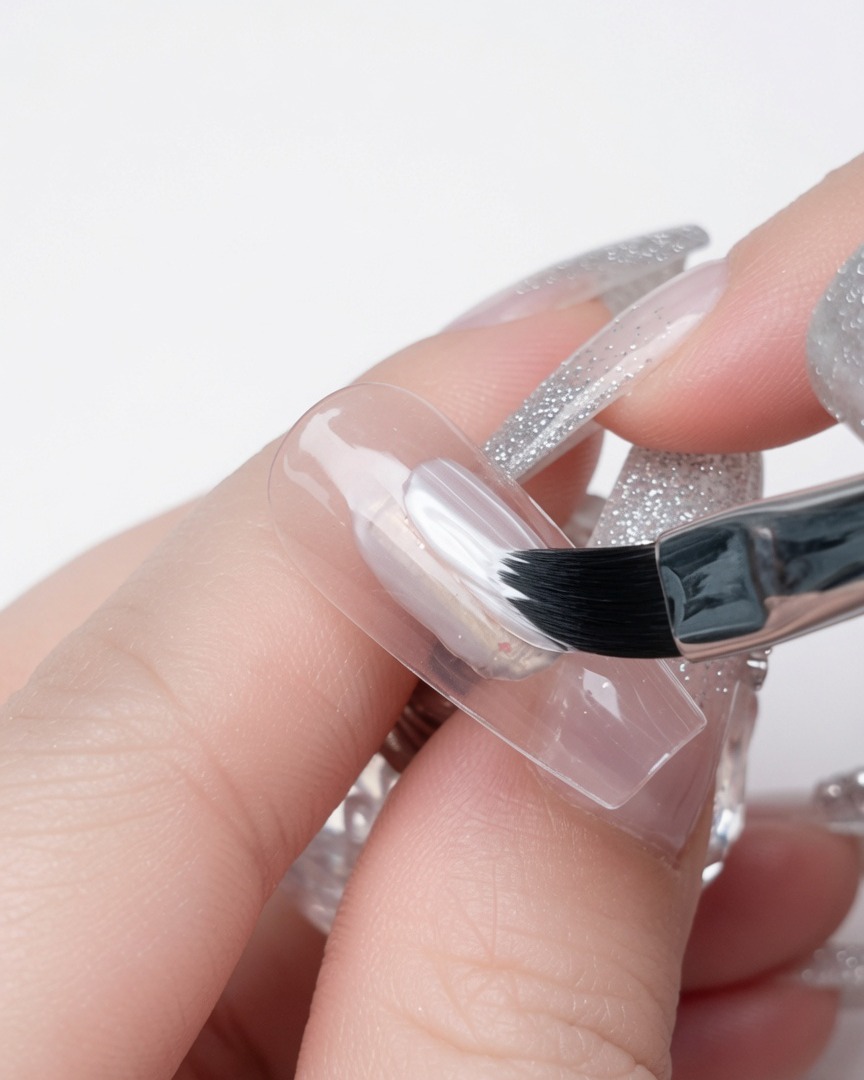
Carefully paint a layer of opaque white gel polish over the previously applied raised builder gel stripe. Ensure full coverage to create a clean, white center highlight on the nail.
Tip: Use light, even strokes to avoid dragging the builder gel beneath the white polish. - 6Apply top coat to stripe
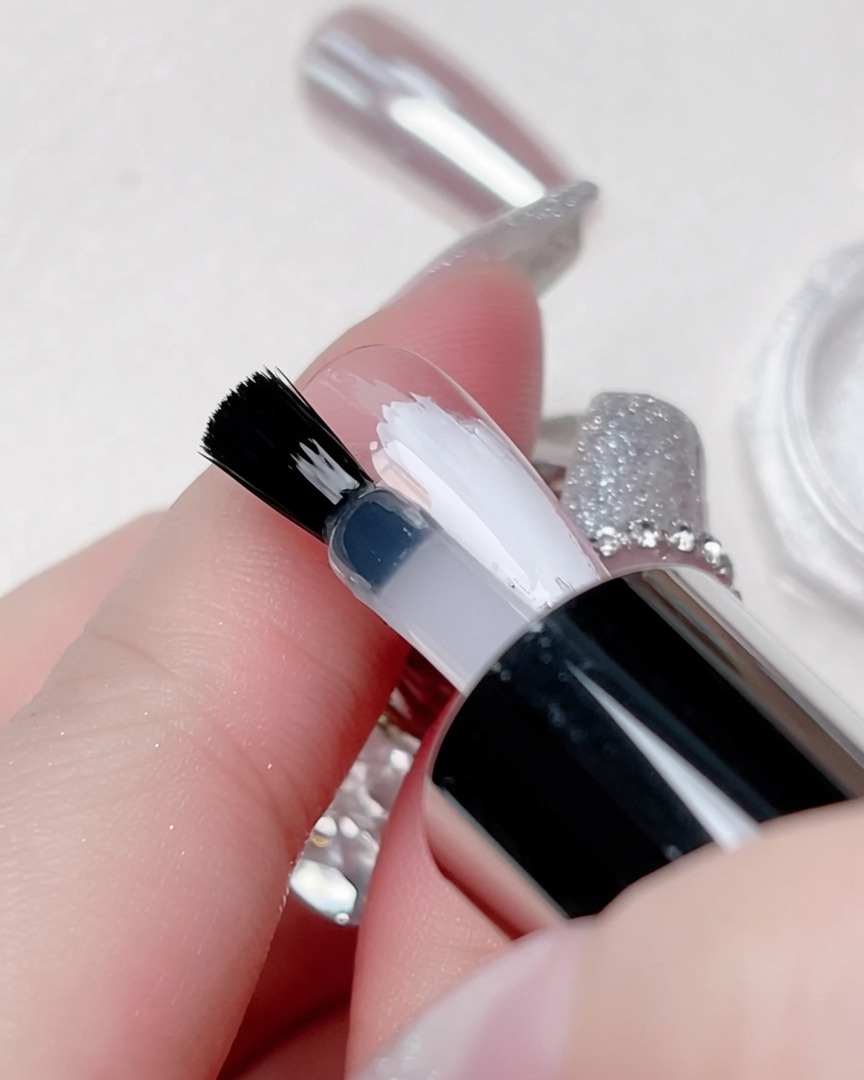
Apply a thin layer of clear glossy top coat only over the white center stripe. This layer will provide the necessary tacky surface for the chrome powder to adhere to in the following step.
Tip: Be precise with this application so the top coat does not spread outside the white stripe area. - 7Apply mirror chrome powder
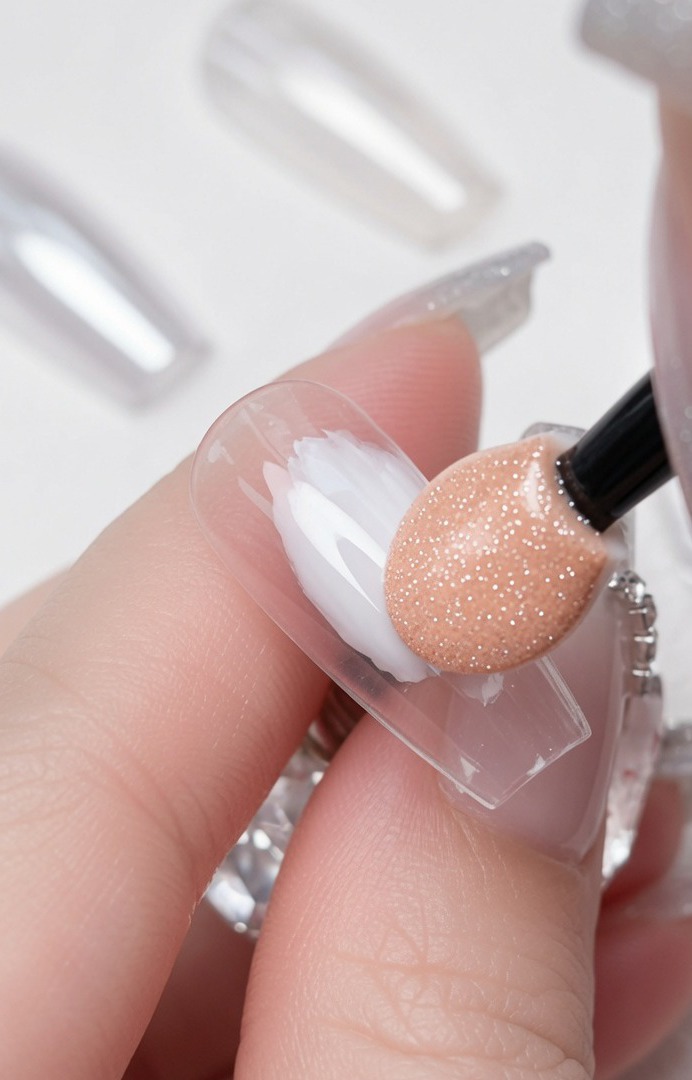
Using a sponge eyeshadow applicator, gently buff the silver pearl chrome powder onto the cured top coat stripe in the center of the nail. Use light, circular, or back-and-forth pressure until the surface transforms into a smooth, high-shine metallic mirror finish. Ensure the powder is applied evenly for a consistent reflective effect.
Tip: Apply the powder while the top coat is still slightly warm from the lamp for the best mirror-like result, or use a specific chrome-compatible top coat. - 8Create 3D gel swirl details
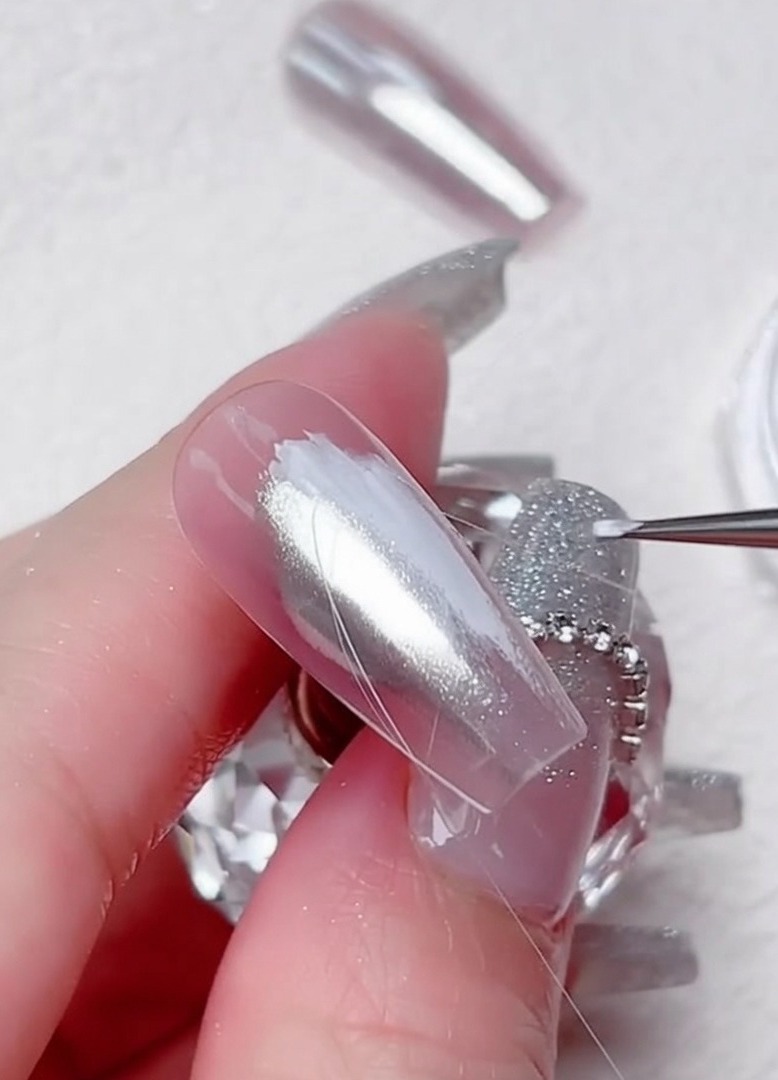
Using a fine detail liner brush, pick up a small amount of clear 3D builder gel. Drape the gel in thin, continuous lines across the nail surface, creating a crossing, diagonal swirl pattern. Carefully place the lines to intersect near the center of the nail, then flash cure to lock the design in place before adding further embellishments.
Tip: Work slowly to ensure the gel lines stay thin and stringy; if the lines are too thick, they will lose the delicate, wispy look of the swirl. - 9Place central rhinestone
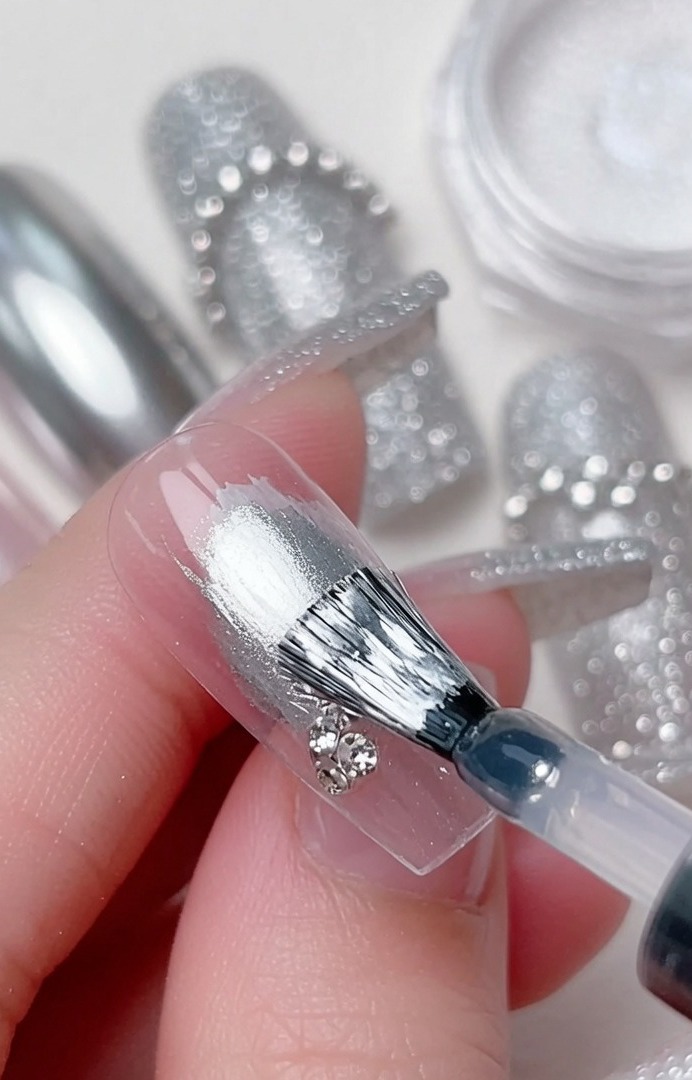
Using a clean detail brush or a wax-tipped rhinestone picker, pick up a small, clear crystal rhinestone. Carefully place it directly onto the center point where your 3D builder gel swirls intersect. Gently press down to set the stone into the uncured gel, then fully cure the entire nail to secure the design.
Tip: If the gel has already been cured, apply a tiny dot of fresh builder gel or rhinestone glue at the intersection point before placing the stone.