Pearl Chrome Nails — Elegant Mirror Finish Tutorial
Achieve a sophisticated, shimmering pearl chrome finish on your nails with this easy-to-follow guide. Perfect for a chic and modern manicure.
The pearl chrome look has become a staple for those who love a clean, high-fashion aesthetic that glows under any light. This finish adds a sophisticated dimension to your nails, offering an iridescent, mirror-like quality that is both versatile and stunning. Whether you are prepping for a special event or just want to elevate your everyday manicure, this technique is surprisingly accessible to do at home.
Steps
- 1Cure the top coat
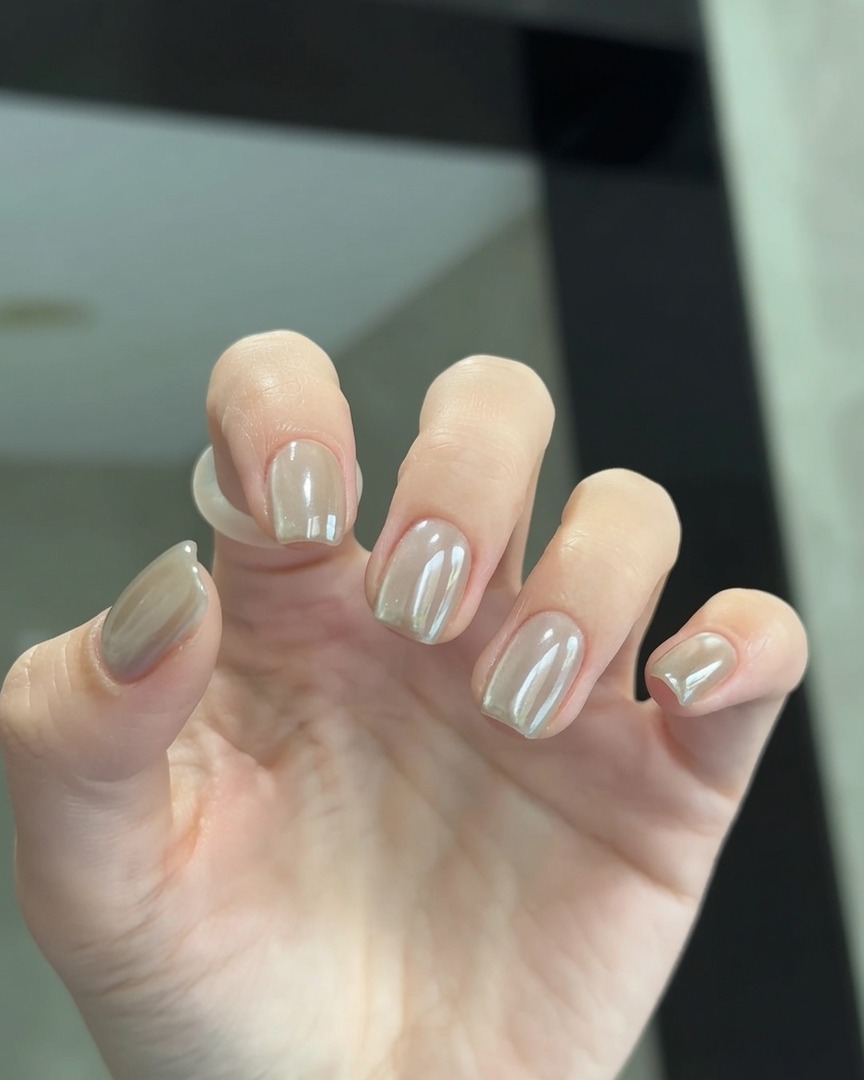
Place your hand under the LED lamp to cure the applied top coat. Ensure all fingers are positioned correctly to receive even light exposure for the full duration recommended by the product manufacturer, ensuring the finish is fully set and durable.
Tip: Keep your hand flat inside the lamp to ensure all nails cure properly without any shadows or missed spots. - 2Apply chrome powder
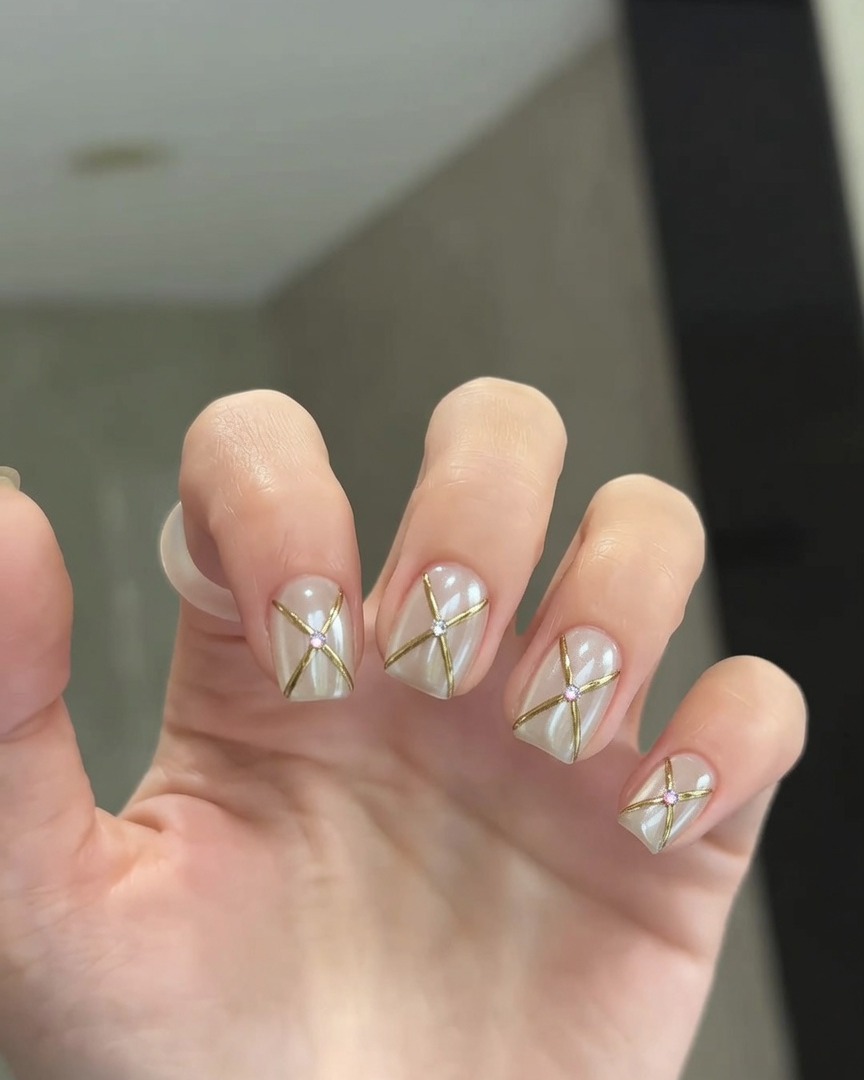
Using a sponge applicator, gently pick up a small amount of chrome powder and pat it onto the nail surface. Cover the entire nail evenly, ensuring the powder adheres to the tacky layer of the base color to create the desired effect.
Tip: A little powder goes a long way. Start with a small amount and add more if needed for full coverage. - 3Buff and polish chrome
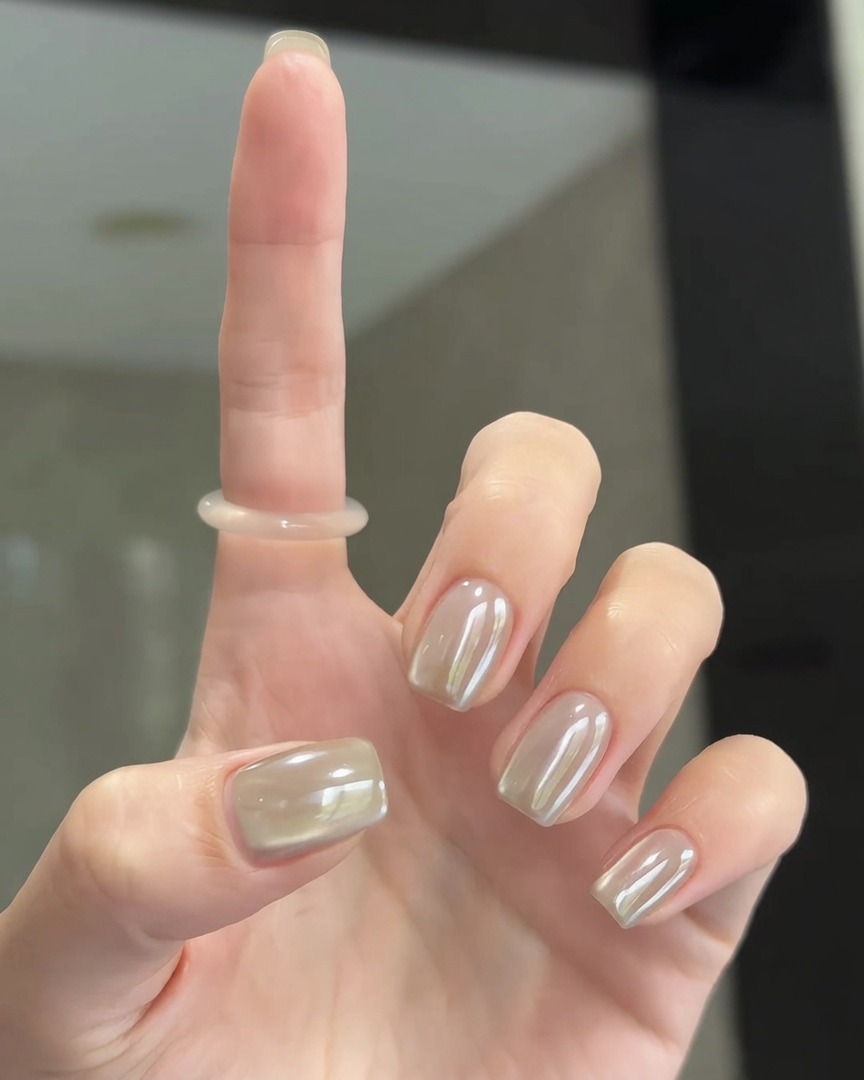
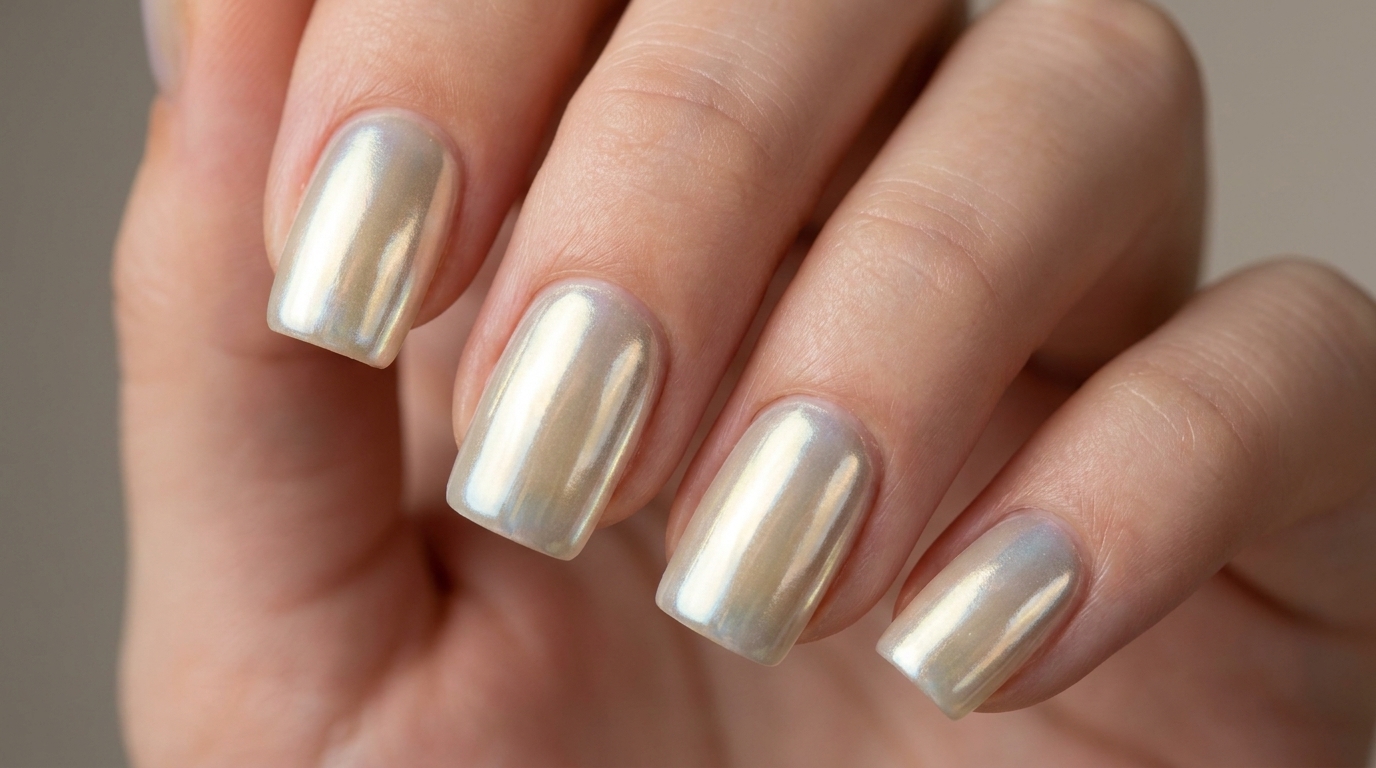
Use a soft brush to buff the applied powder into the nail surface. Continue brushing with light, circular motions until the powder transforms into a smooth, consistent mirror-like pearl finish.
Tip: Ensure the nail surface is completely covered and smooth before applying the top coat to lock in the finish. - 4Apply top coat
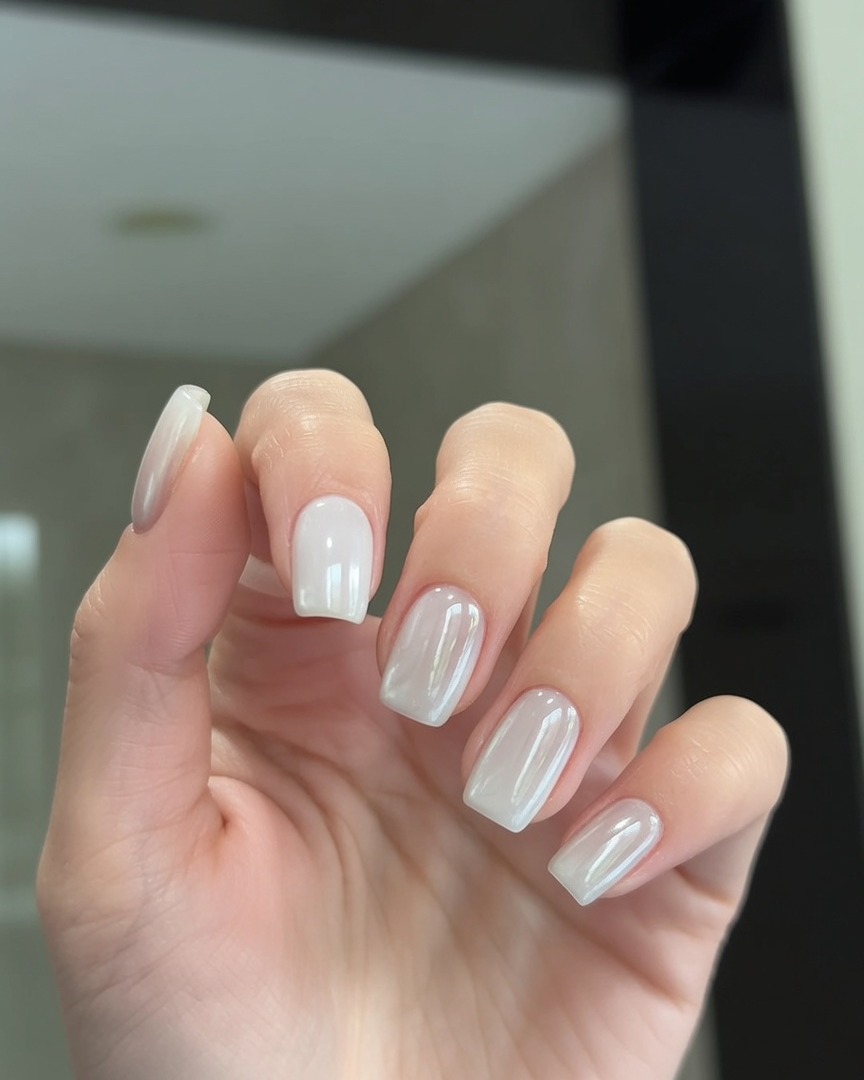
Apply a thin layer of top coat over the chrome-finished nails to seal the powder. Ensure you cap the free edges to prevent the chrome from chipping and to add long-lasting shine to the manicure.
Tip: Apply the top coat gently to avoid dragging the chrome powder or causing streaks. - 5Final cure
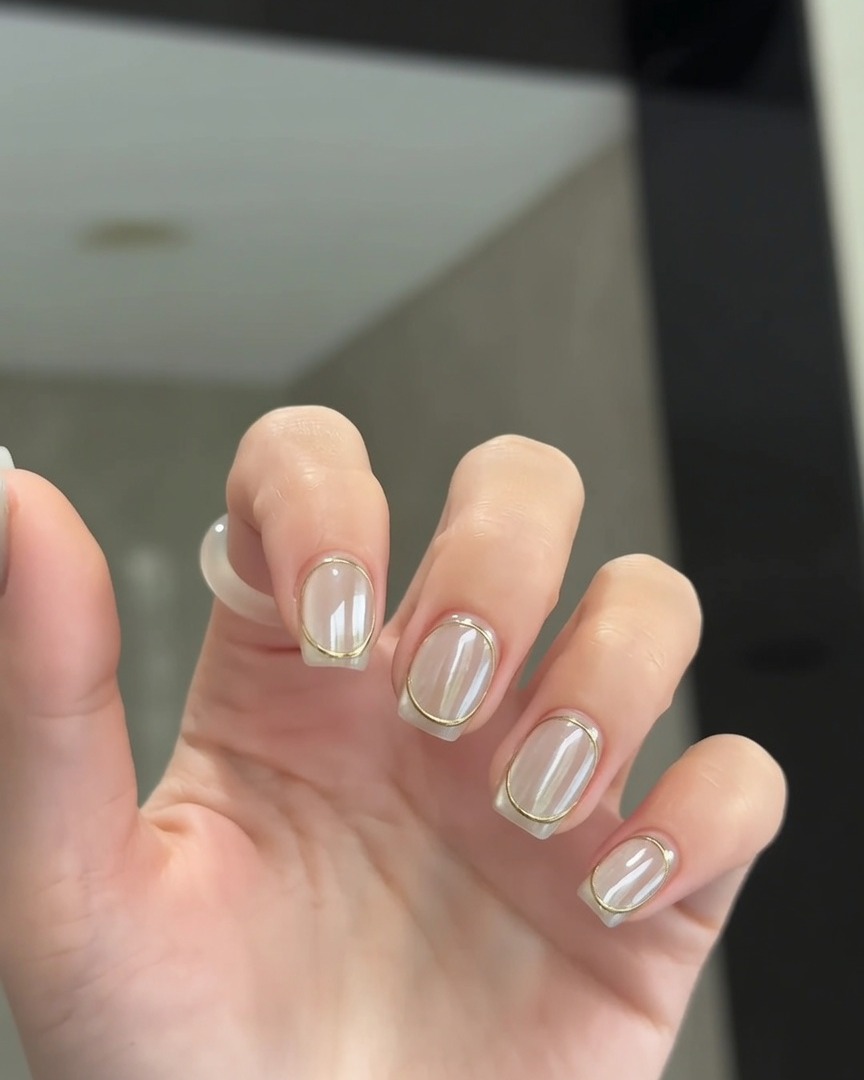
Place your hand under the UV/LED lamp for the final curing process. This step hardens the top coat, protecting the chrome effect underneath and ensuring the manicure is long-lasting and chip-resistant.
Tip: Ensure you hold your hand steady during the final cure to prevent smudging the fresh top coat.