Pink Cat Eye Gel Manicure — Ethereal Shimmer Tutorial
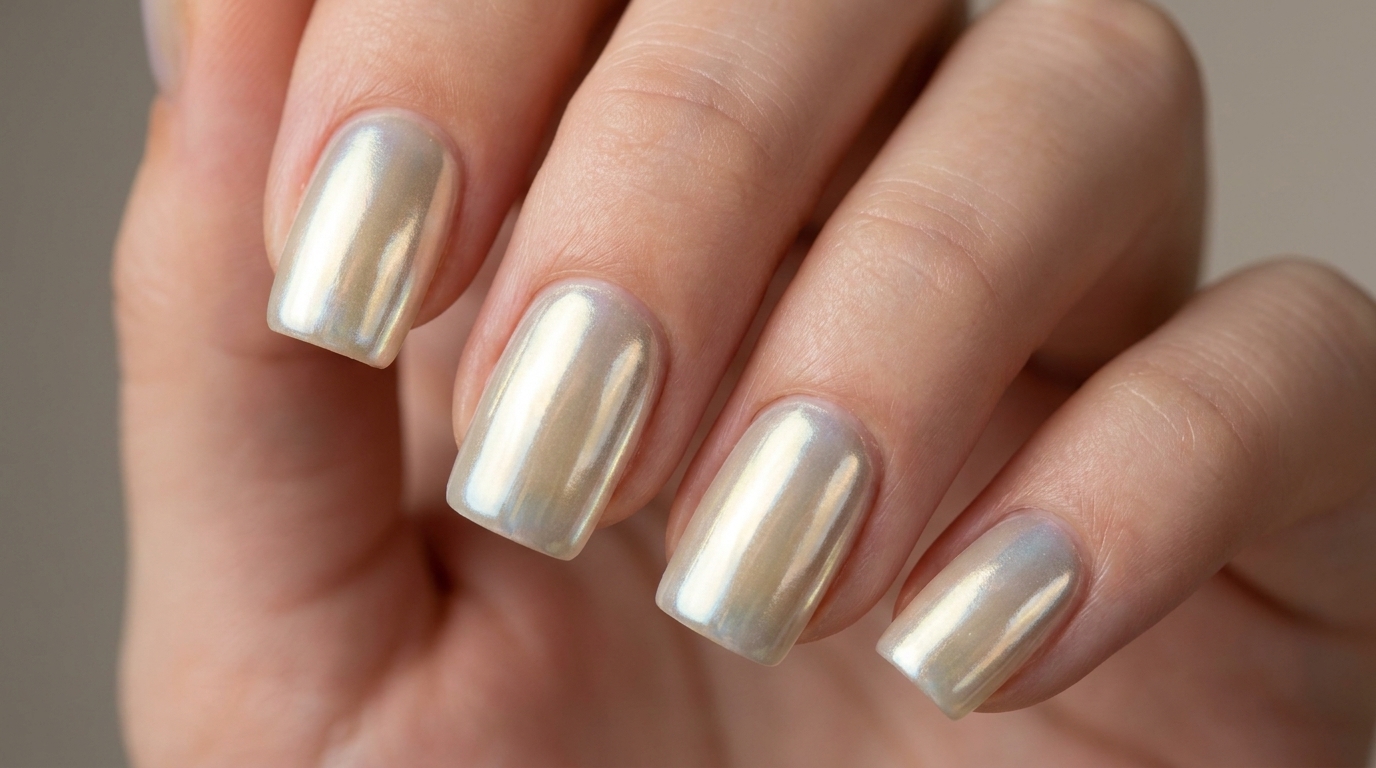
Elevate your manicure with a stunning pink cat eye effect. This step-by-step guide shows you how to achieve that signature magnetic shimmer at home.
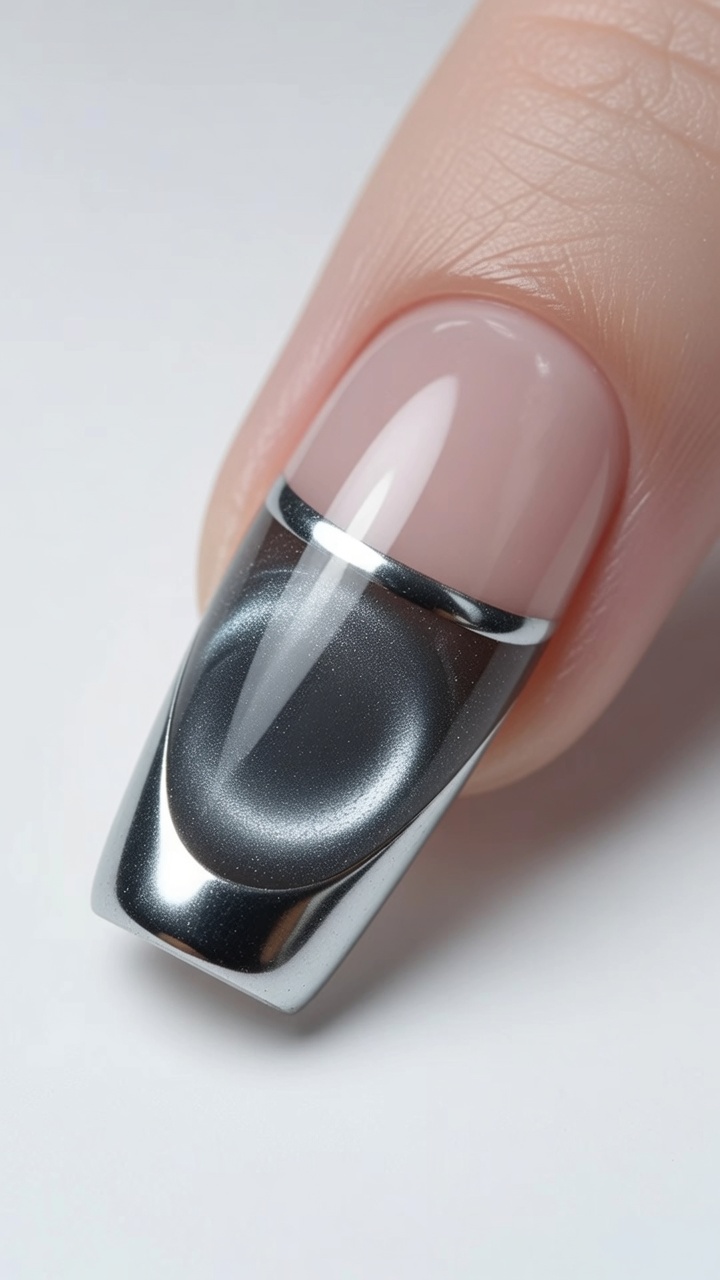
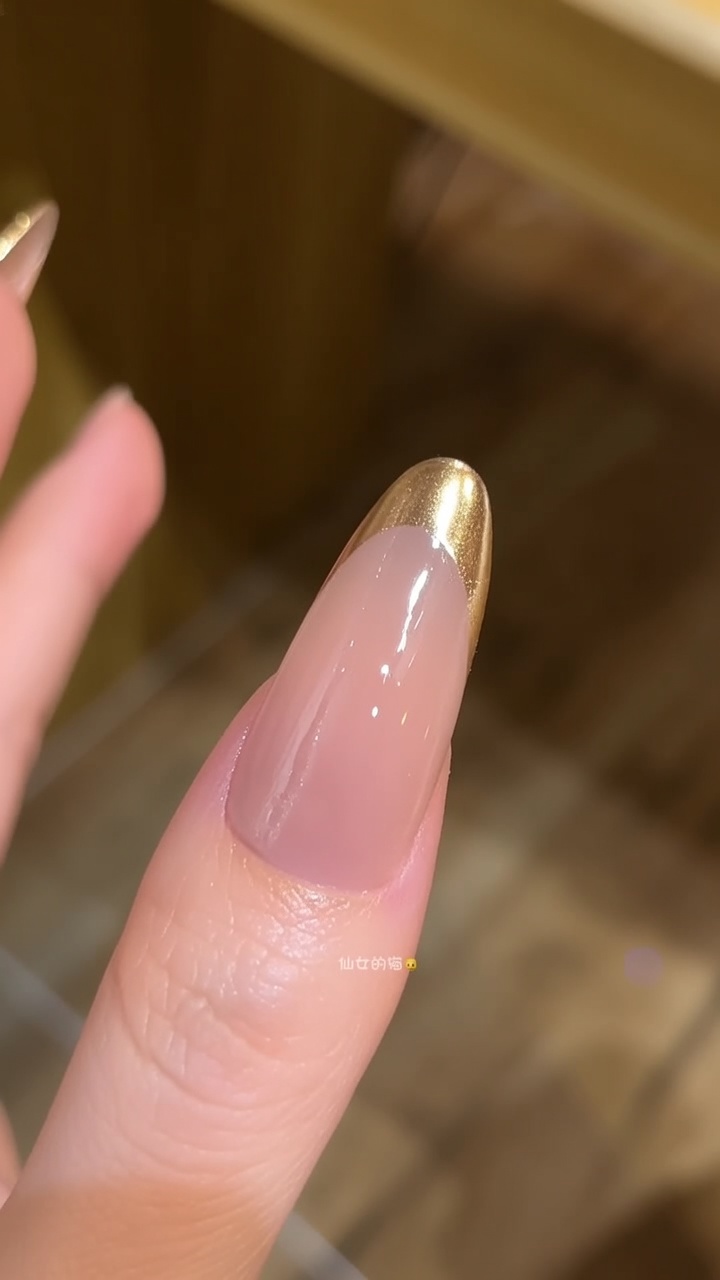
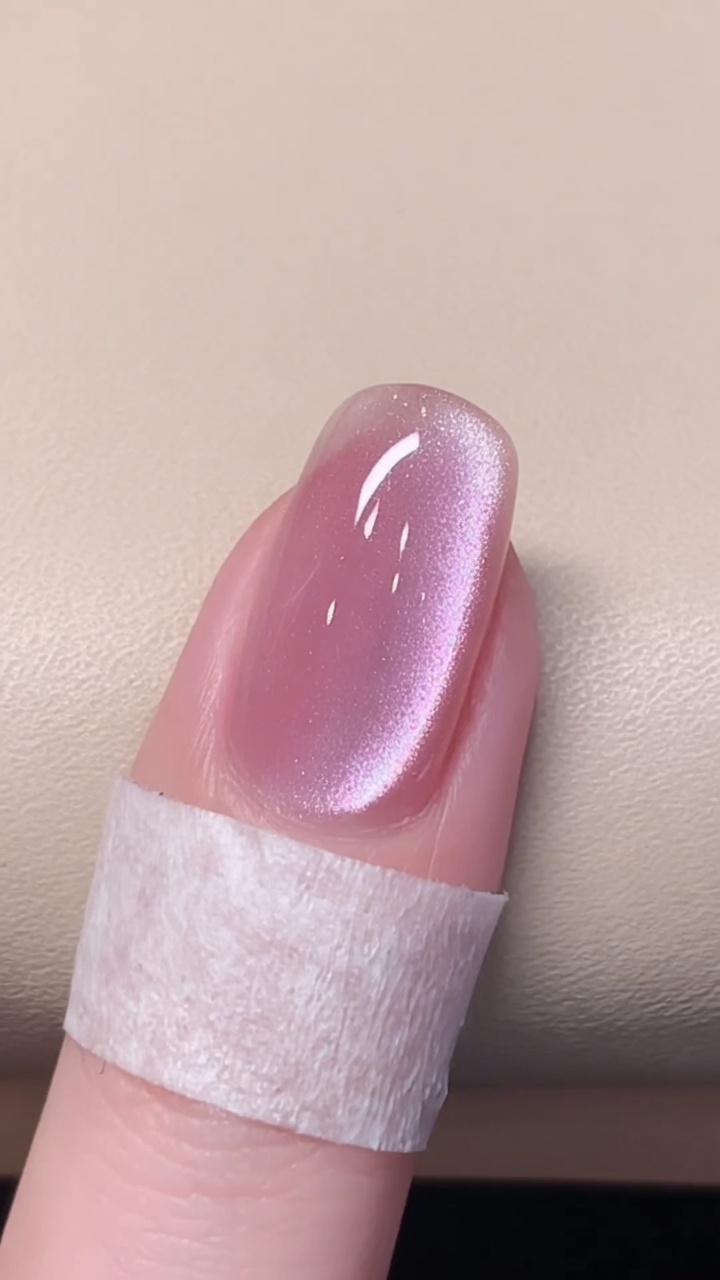
The cat eye trend continues to captivate with its mesmerizing, multi-dimensional shimmer that seems to glow from within. By using specialized magnetic gel polish, you can create a customized streak of light that shifts beautifully with every hand movement. This pink variation offers a soft, feminine, and high-fashion finish perfect for any occasion.
Steps
- 1Apply first layer of cat eye gel
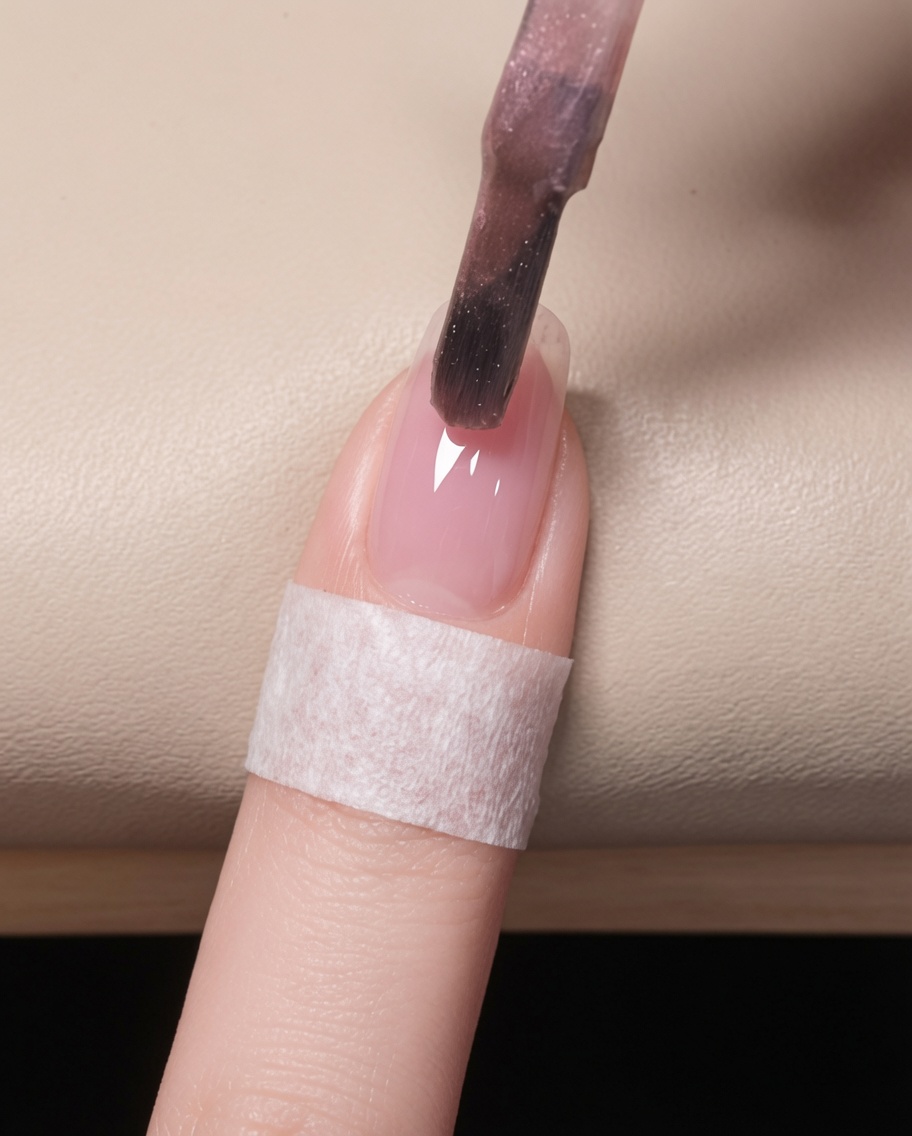
Apply a thin, even layer of pink cat eye gel across the entire nail plate, starting near the cuticle and moving toward the free edge. Use controlled strokes to ensure the product is evenly distributed, avoiding the skin. This layer establishes the color base for the cat eye effect.
Tip: Apply a thin layer to prevent pooling at the edges and to ensure proper curing. - 2Smooth the gel coat
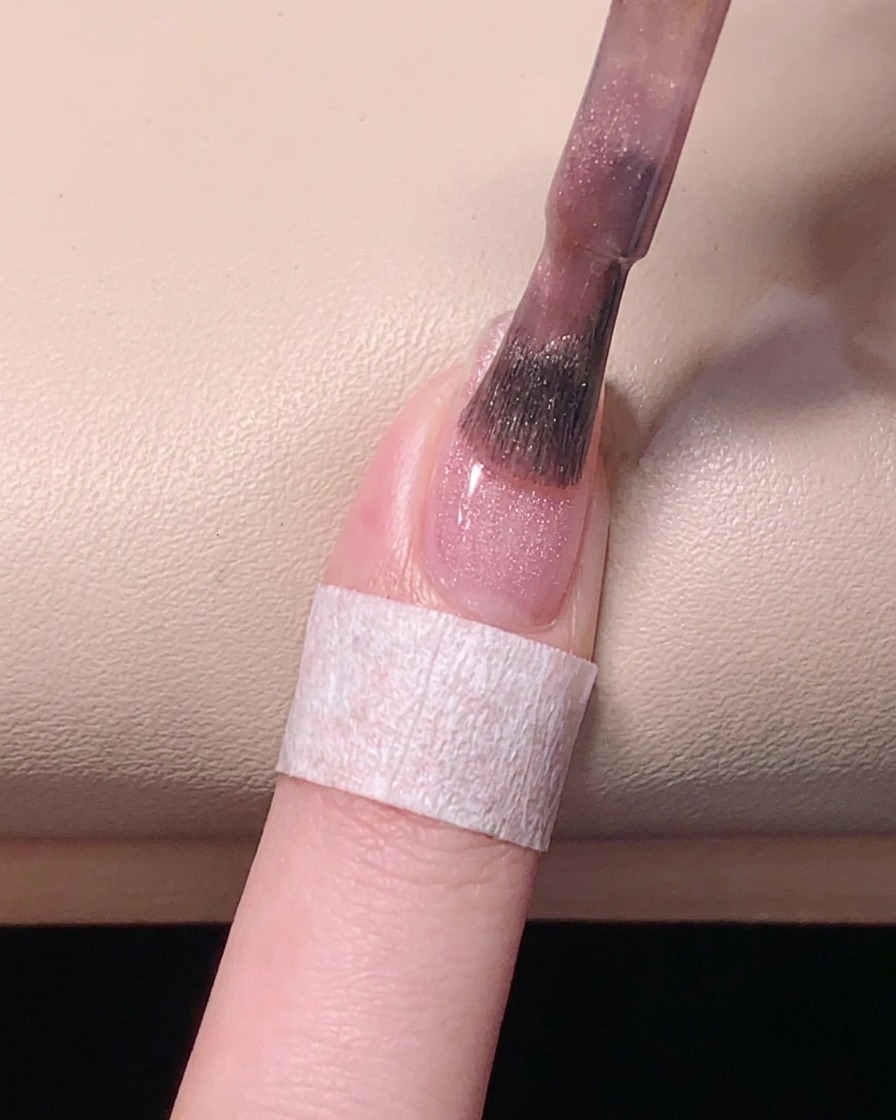
Use your brush to gently level out the gel polish, ensuring smooth coverage across the nail surface and edges. Ensure the gel is even before proceeding to curing to prevent streaks or bumps in the finish.
Tip: Light pressure with the brush helps to self-level the gel for a professional, streak-free look. - 3Cure the color base
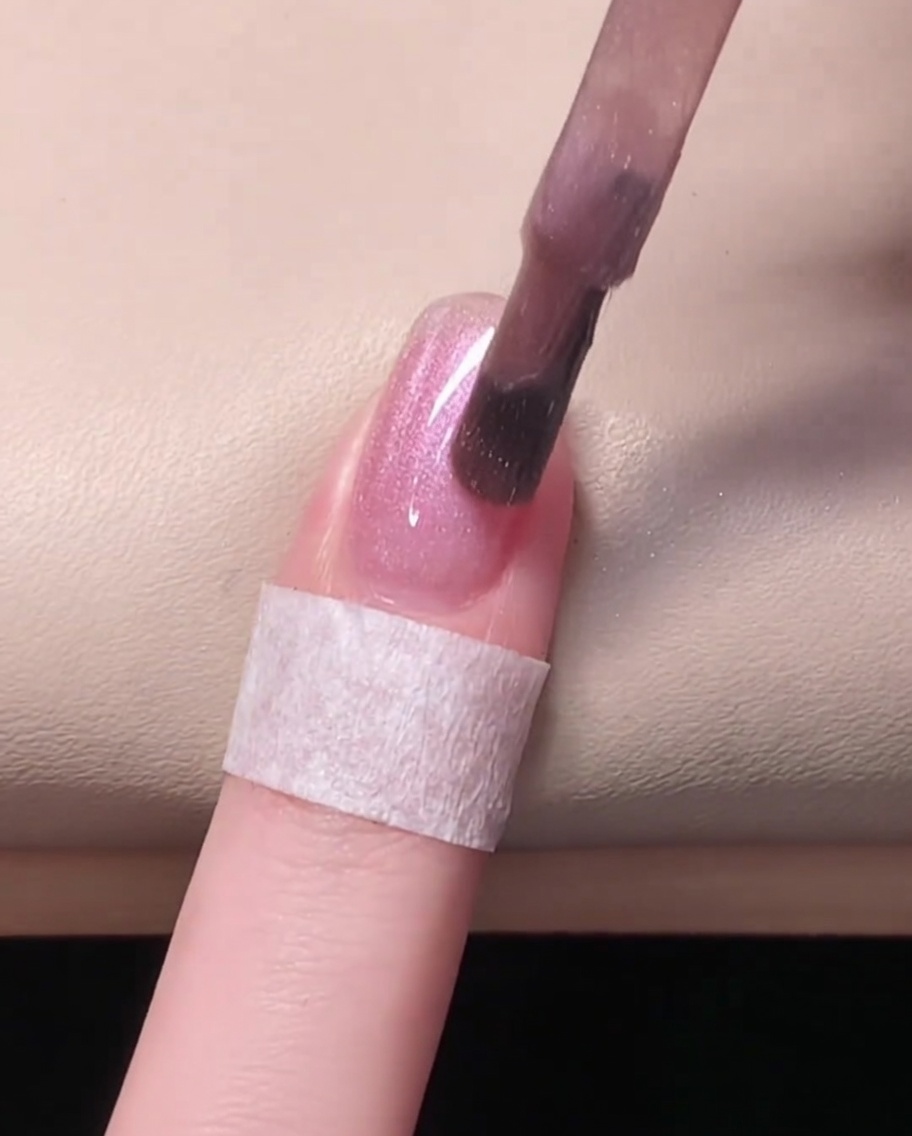
Place your hand into the UV/LED lamp and cure the first layer of pink cat eye gel according to the products recommended time. This step establishes a solid base color, ensuring a smooth foundation for the magnetic particles to react on in the subsequent layer.
Tip: Keep your fingers flat inside the lamp to ensure all areas, especially the sides, are fully exposed to the light. - 4Apply second coat
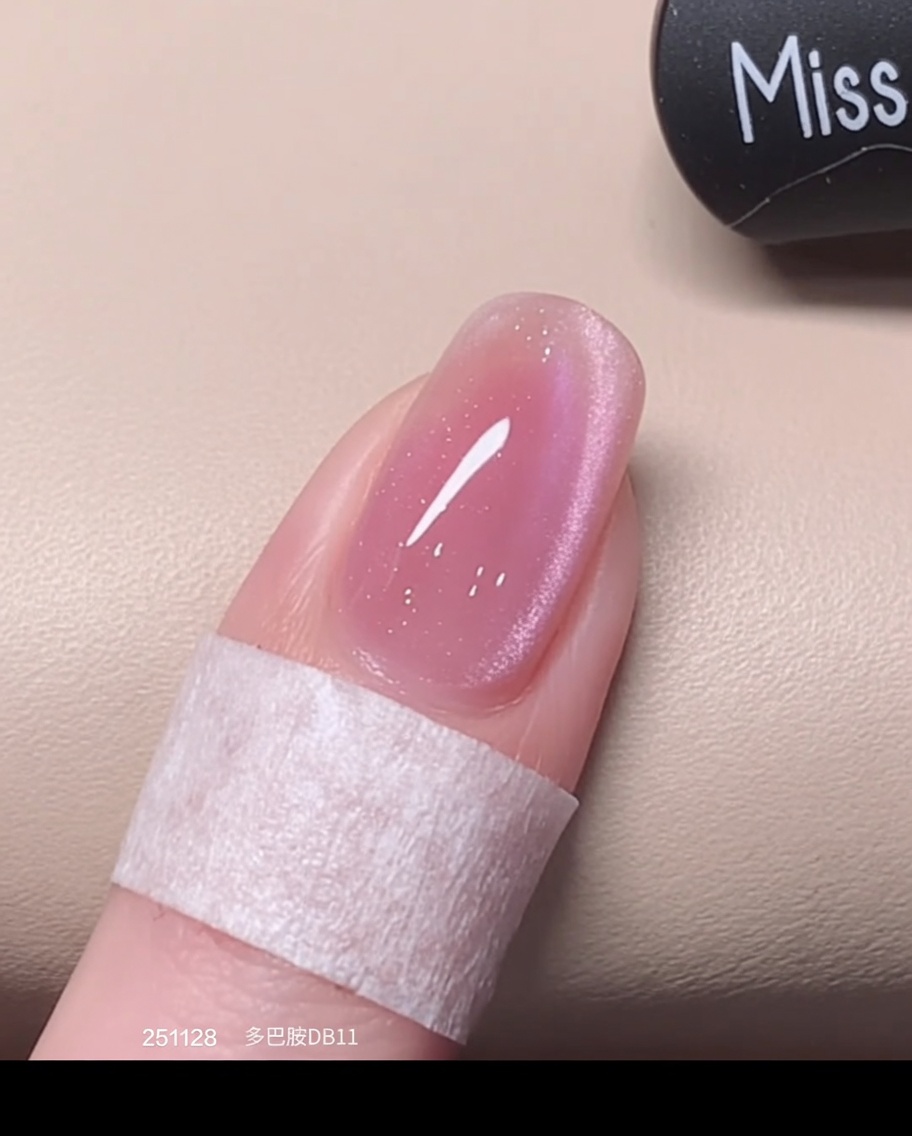
Apply a second, slightly more generous layer of the pink cat eye gel over the cured first coat. This second layer is necessary to provide enough product for the magnetic particles to react and create the shimmer effect.
Tip: Do not cure this layer immediately; it must remain wet for the magnetic tool to work. - 5Magnetize the shimmer
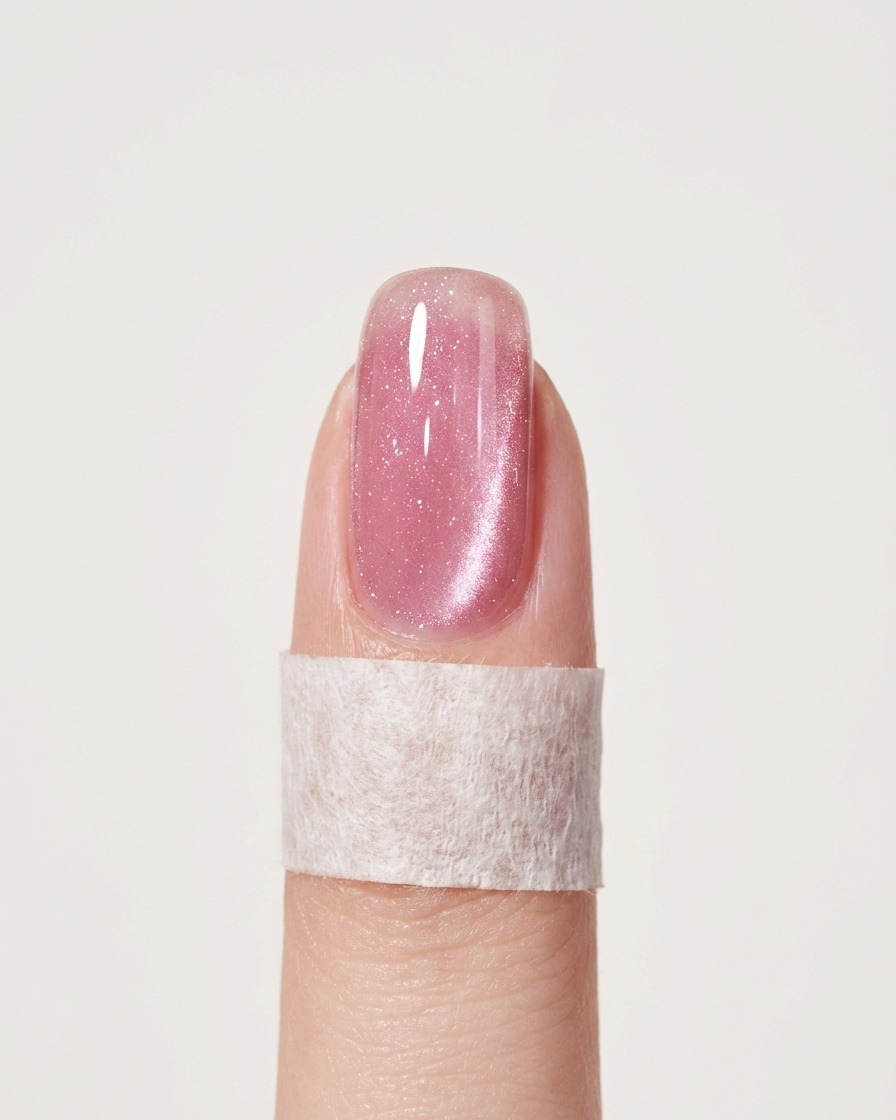
Immediately after applying the wet second coat, hold the magnetic tool close to the nail surface without making contact. Slowly move the magnet to align the metallic particles into the desired cat eye shimmer pattern. Once the line is sharp and positioned to your liking, hold the magnet steady for five seconds to set the design before moving to the lamp.
Tip: Experiment with different magnet angles to create varying depths and shapes for the shimmer. - 6Lock the design
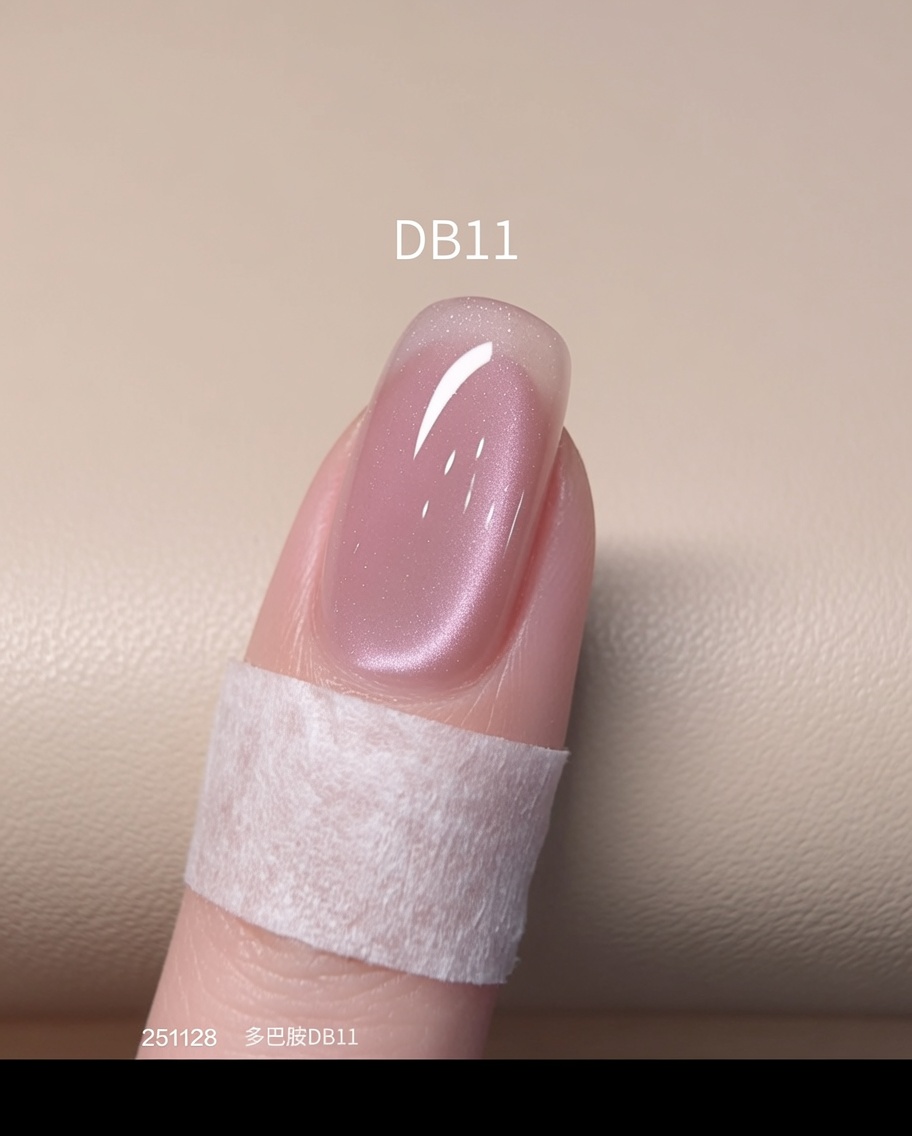
Carefully place the nail into the UV/LED lamp to cure the second layer. Curing immediately is critical to ensure the metallic particles stay locked in their precise magnetic alignment, preventing the design from fading or shifting before it hardens.
Tip: Be careful not to bump the nail before it enters the lamp, as the design can still shift until fully cured. - 7Apply top coat
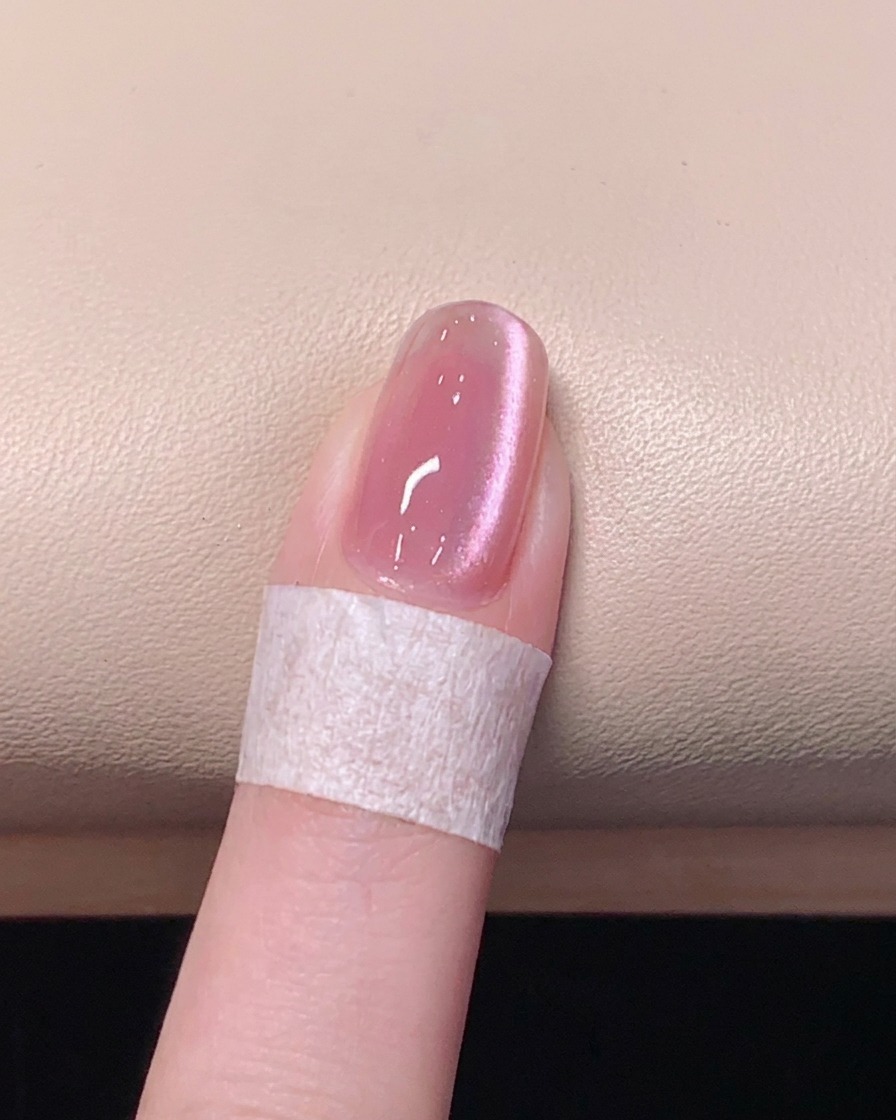
Apply a thin, even layer of clear top coat over your cured cat eye nails. Ensure you cap the free edge of the nail to seal the color and add protection. This step locks in your design, provides a high-gloss finish, and helps prevent chipping.
Tip: Be sure to apply the top coat smoothly to avoid streaking the magnetic effect you just created. - 8Cure the top coat
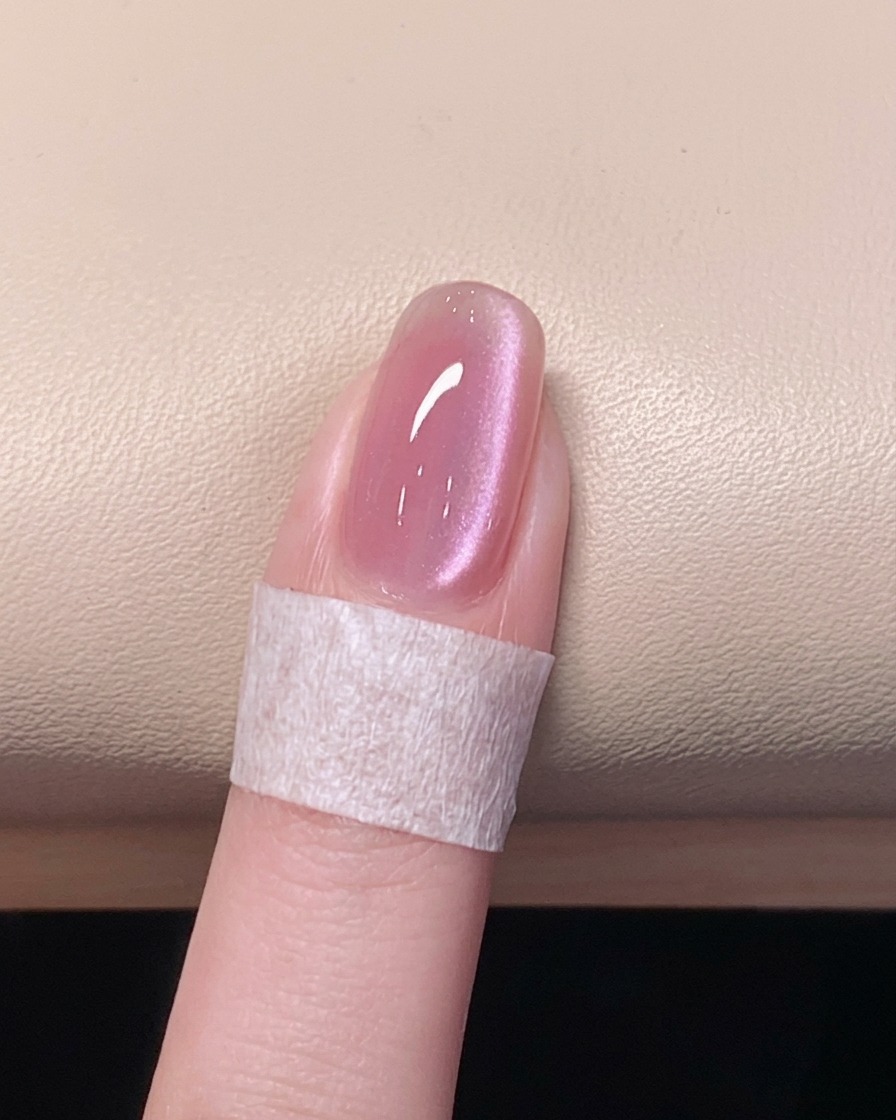
Place your hand into the UV/LED lamp and cure for the full time recommended by the product manufacturer. This final cure ensures the top coat is completely set, hard, and free of any sticky residue.
Tip: Keep your fingers flat and centered under the lamp lights for an even cure across all nails.