Pink Autumn/Winter Tweed Nail Art Tutorial
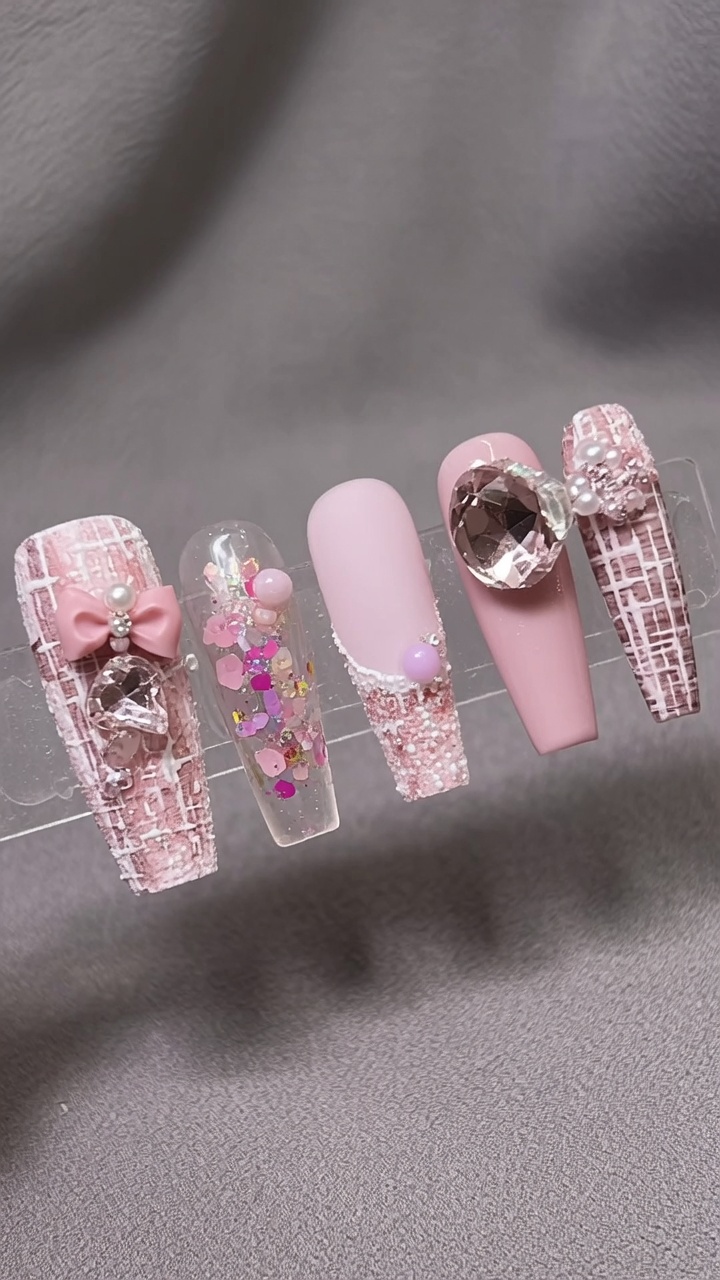
Create cozy, textured pink tweed nails with this detailed step-by-step tutorial. Featuring elegant plaid patterns, iridescent sequins, and 3D charm accents.
This sophisticated tweed nail design perfectly captures a soft, autumnal aesthetic with its blend of matte finishes, raised plaster textures, and delicate embellishments. By combining classic plaid techniques with trendy 3D charms and encapsulated glitter, this look offers a high-fashion, multi-textured finish that is ideal for the cooler seasons.
Steps
- 1Apply light pink base coat
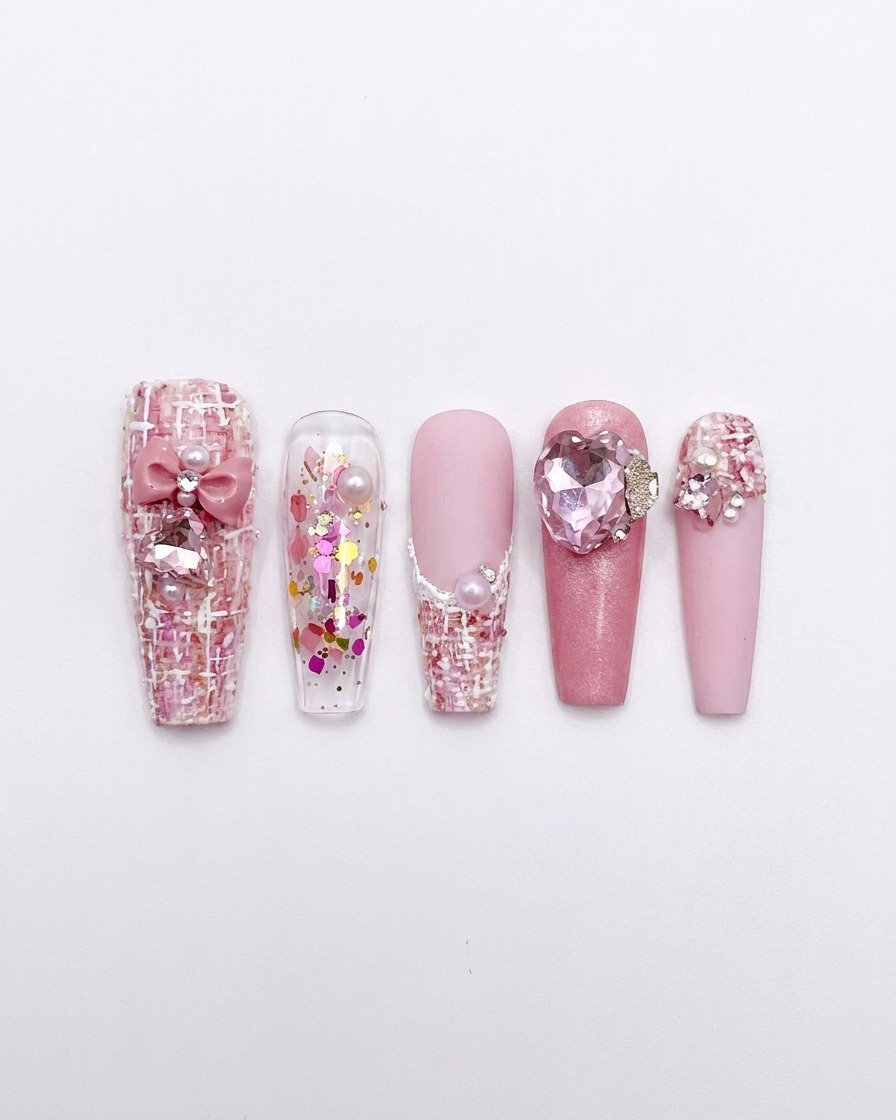
Apply a thin, even layer of light pink gel polish to the entire surface of the nail tip, ensuring full coverage from cuticle to free edge. Use controlled, light strokes to maintain a smooth, streak-free finish before curing in the UV/LED lamp.
Tip: Keep the layer thin to avoid pooling at the cuticles, which can cause the polish to lift later. - 2Even out the pink base
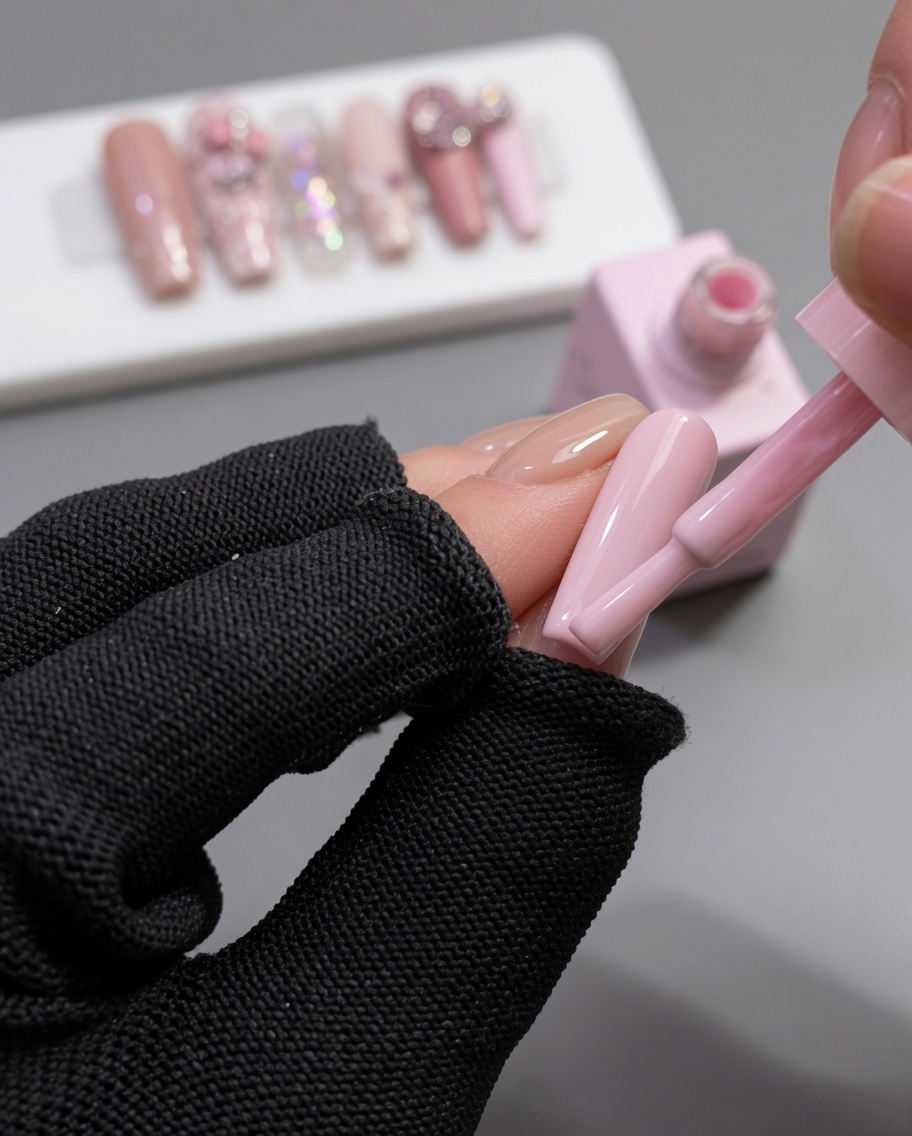
With the base layer still wet, gently guide the pink gel toward the free edge of the nail to ensure the color is saturated and uniform. This step ensures that the foundation of your nail art is flawless and completely opaque.
Tip: If you notice any streaks, let the gel self-level for a few seconds before curing. - 3Prepare palette for nail art
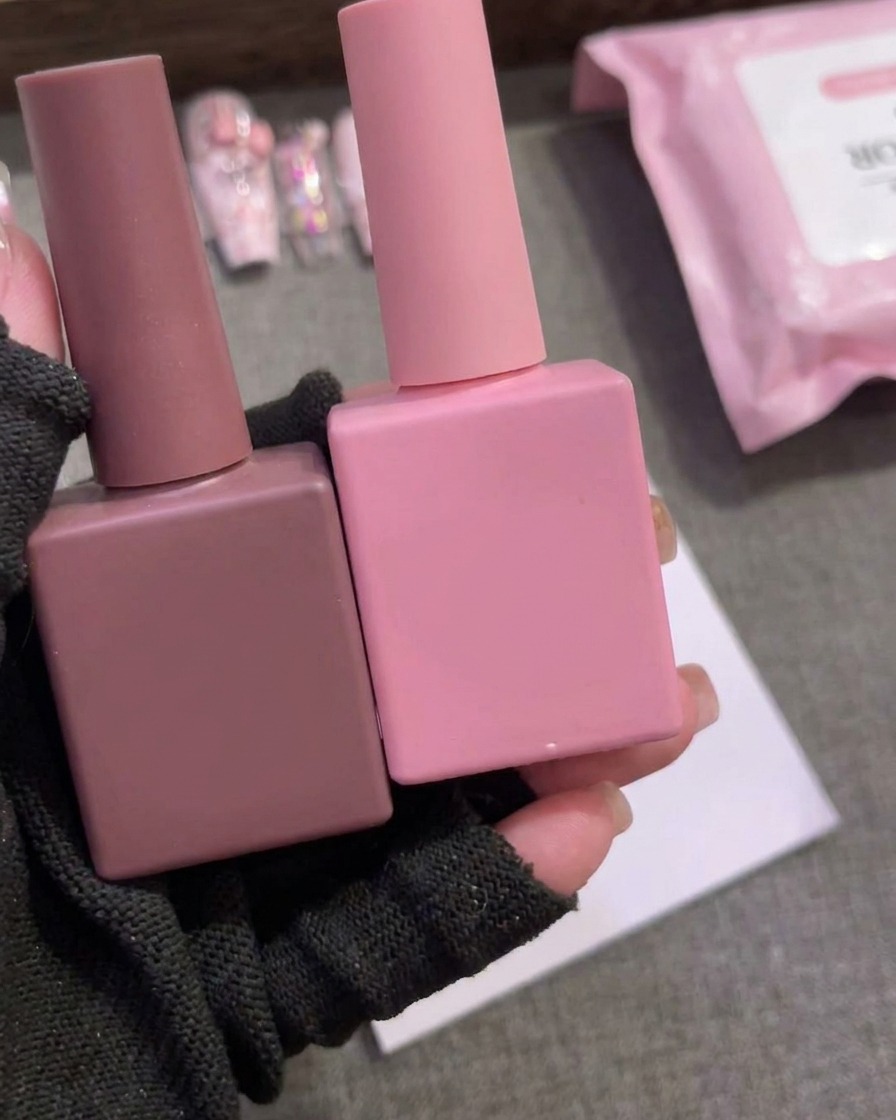
Dispense a small, controlled amount of brown gel polish onto a clean piece of palette paper. This preparation allows you to easily pick up the product with a detail brush during the intricate plaid-pattern drawing process.
Tip: Only dispense as much as you need to prevent the gel from curing under ambient light while you work. - 4Complete palette preparation
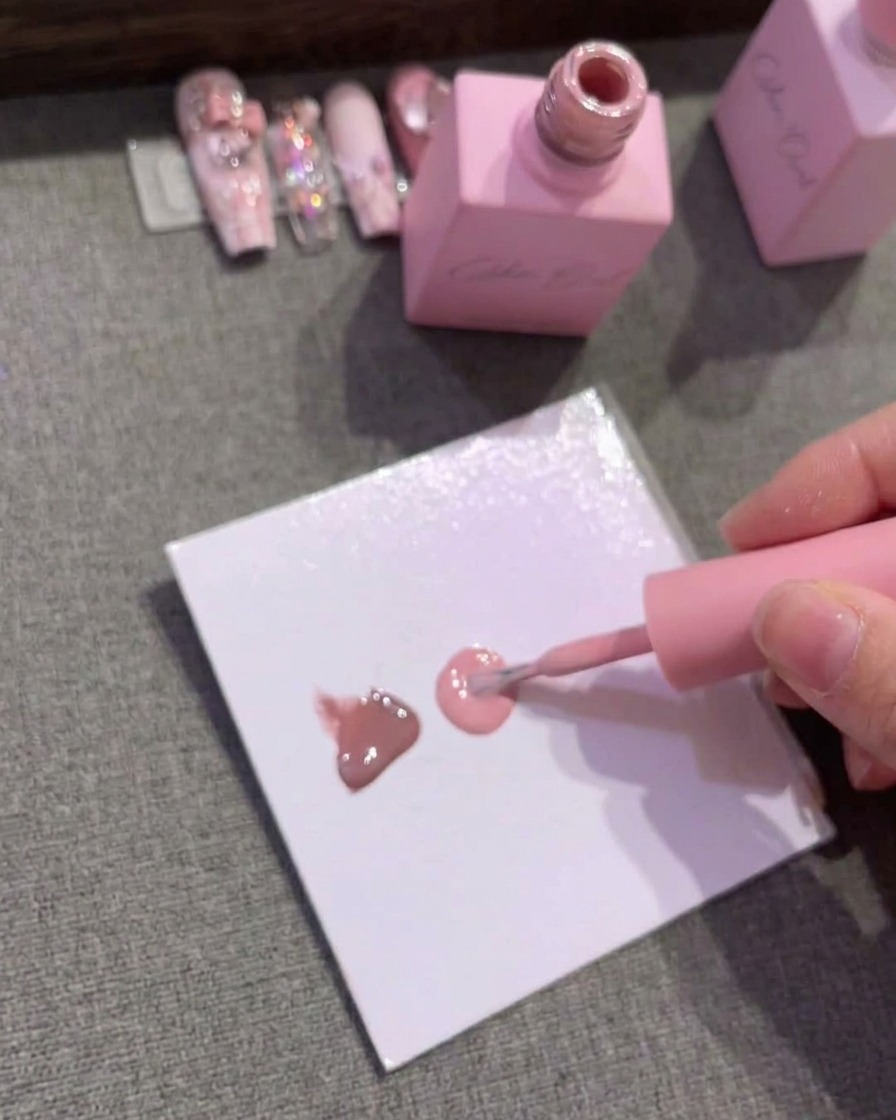
Add drops of medium and light pink gel polish next to the previously dispensed brown gel on your palette paper. Having all three colors ready allows you to switch between shades quickly when building the layered plaid design.
Tip: Use a clean brush or toothpick to keep the colors separate until you are ready to blend them. - 5Define the French smile line
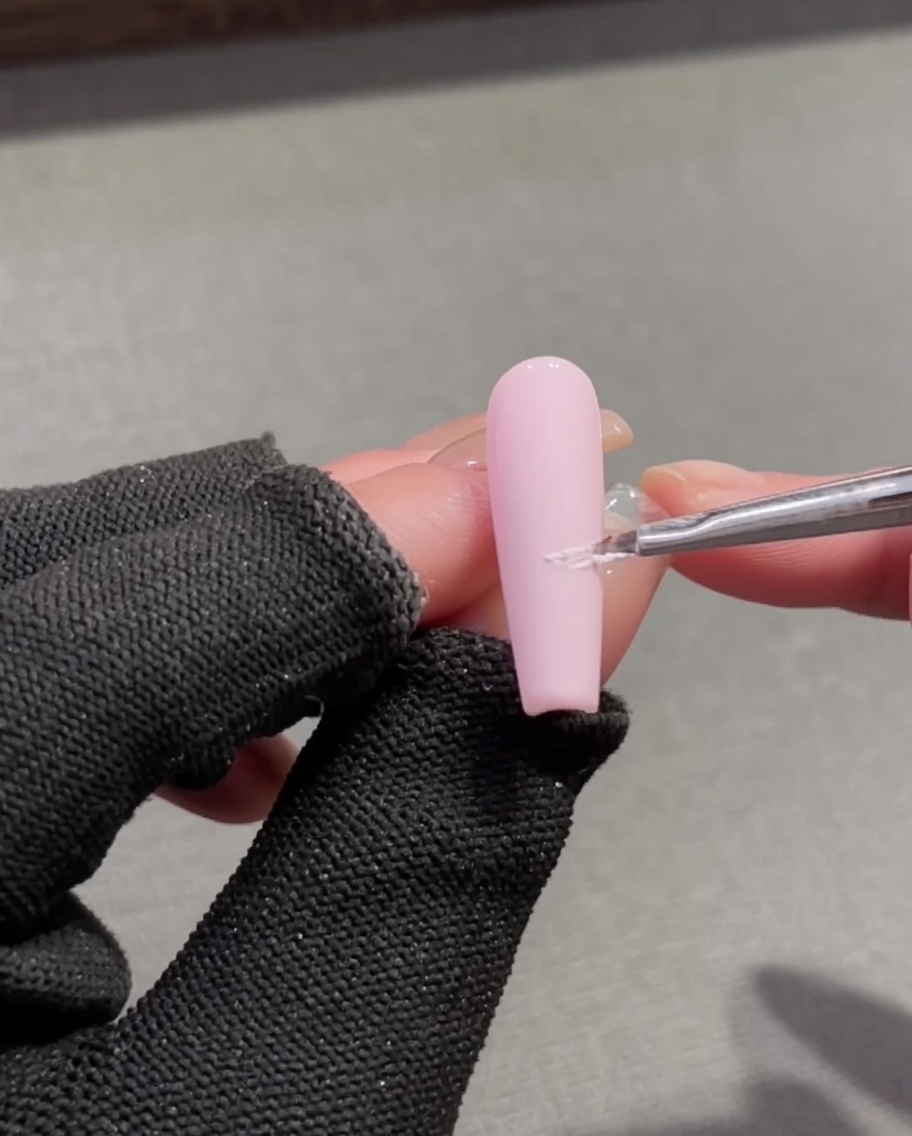
Using a fine detail brush, carefully apply the thick white plaster gel to create a crisp French smile line across the middle of the nail. This textured gel provides a solid, raised foundation for the French tip.
Tip: Hold the brush at a consistent angle to ensure the smile line is symmetrical on both sides. - 6Fill the French tip
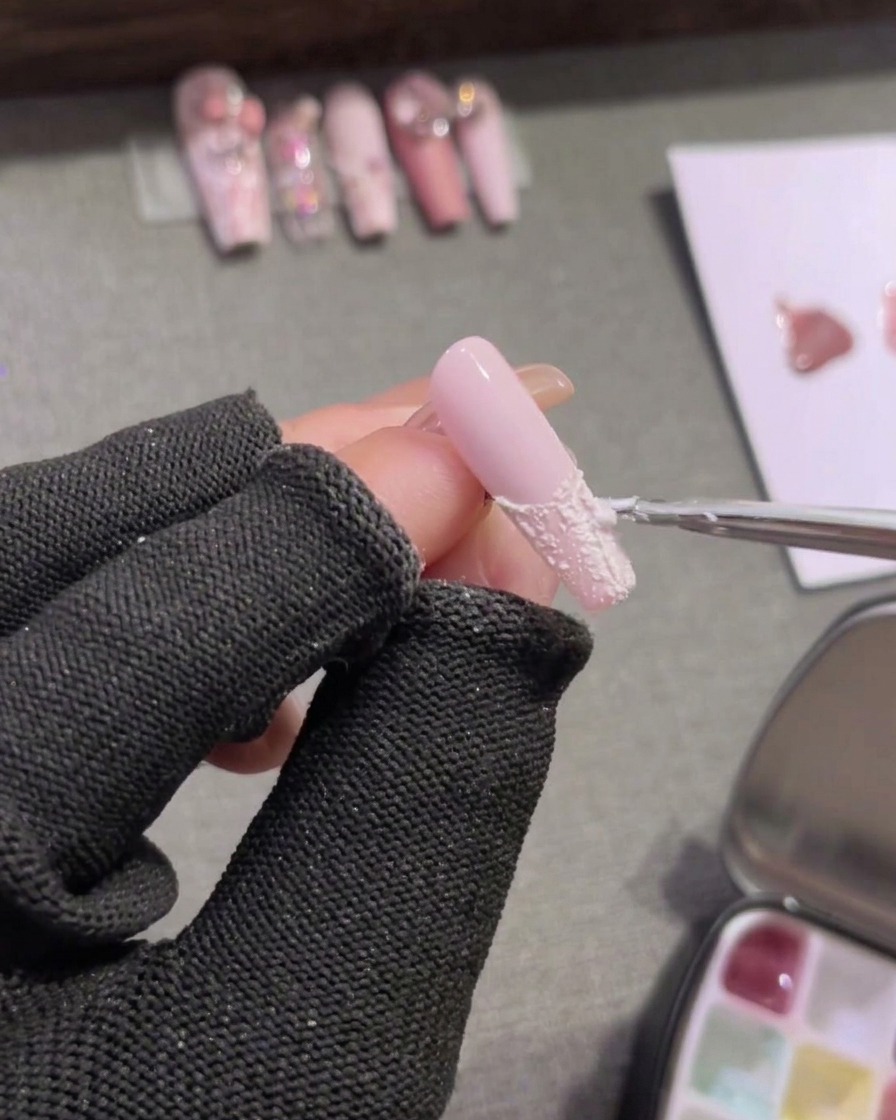
Use your detail brush to fill in the space from the smile line down to the free edge of the nail with the white plaster gel. Ensure the coverage is even and matches the thickness of the smile line.
Tip: Work in small sections to ensure the textured plaster gel is distributed evenly across the tip. - 7Apply matte top coat to the pink base
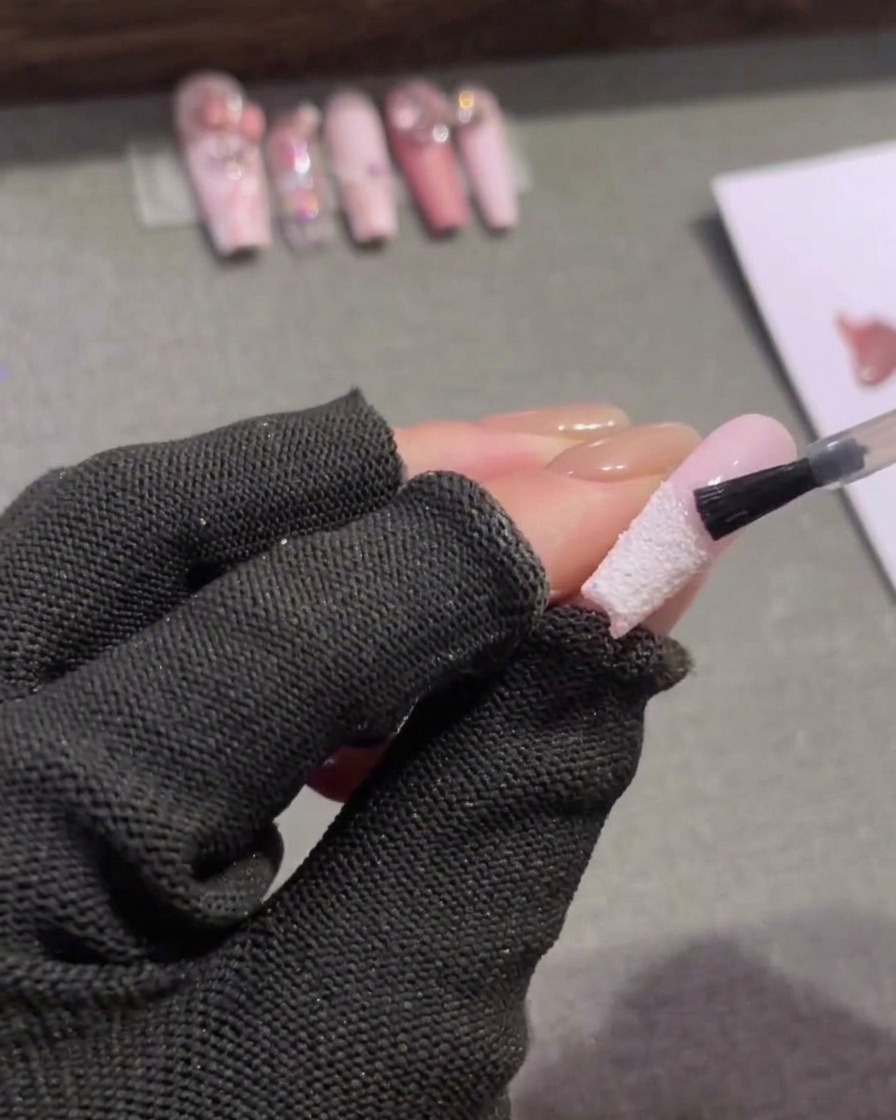
Apply a clear matte top coat exclusively over the pink base portion of the nail. Avoid covering the white plaster French tip, as preserving its natural, raw texture is crucial for the tweed pattern to appear authentic.
Tip: Using a matte top coat creates a soft, fabric-like background contrast that perfectly complements the cozy tweed design. - 8Paint vertical plaid lines
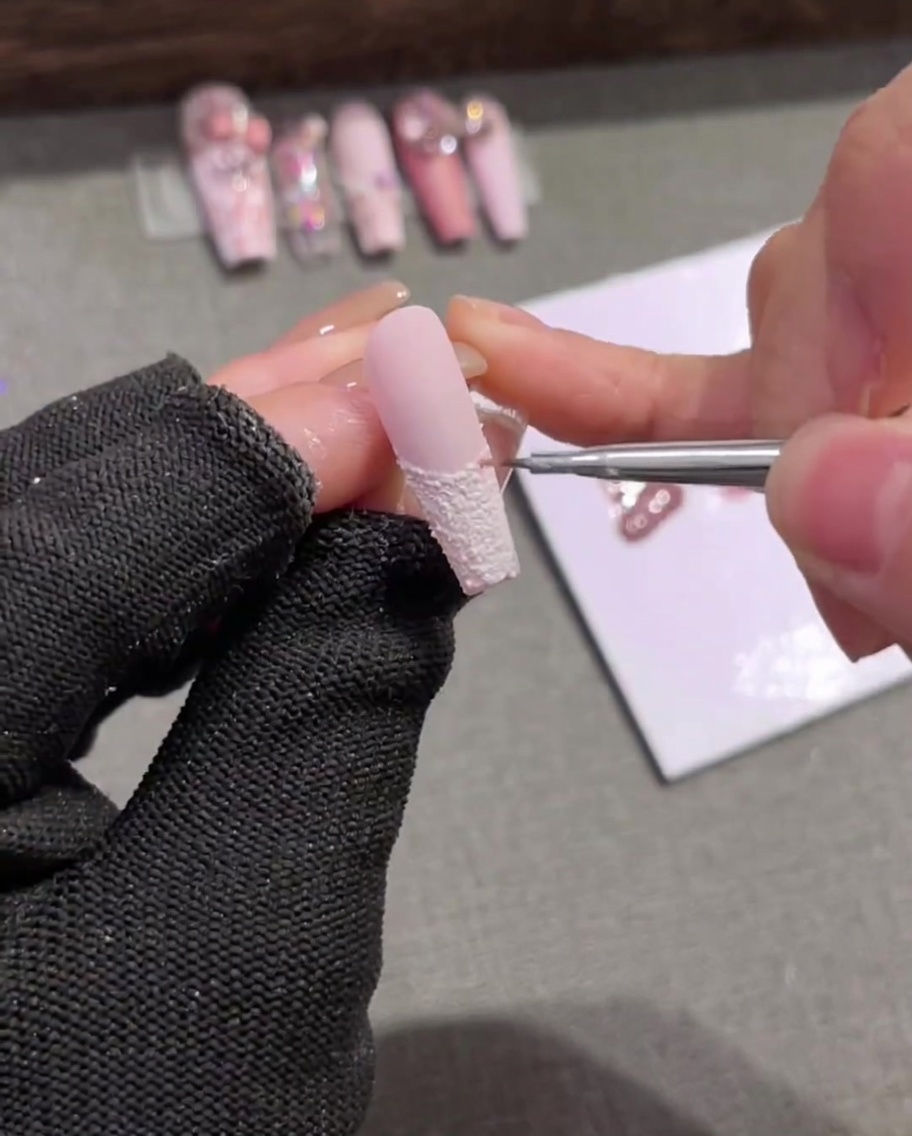
Using a fine liner brush and light pink gel, carefully paint thin, evenly spaced vertical lines over the textured white plaster French tip. Keep the lines consistent in width to build the foundation of the plaid pattern, ensuring they sit directly on top of the cured textured base.
Tip: Keep your hand steady and use light pressure to maintain consistent line thickness throughout. - 9Add horizontal pink lines
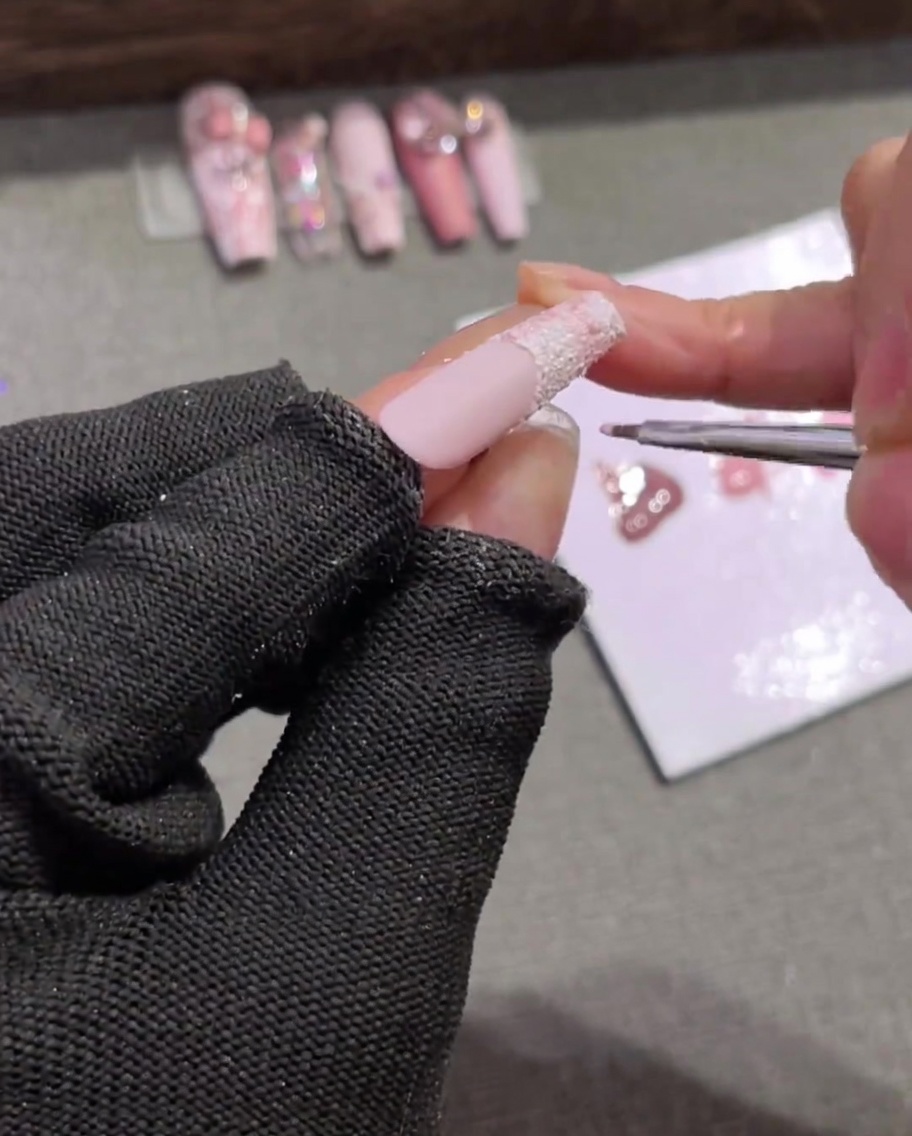
With the same fine liner brush and light pink gel, draw horizontal lines across the white tip. Intersect these with your previously painted vertical lines to begin forming the woven grid of the tweed pattern.
Tip: Dont worry if the lines arent perfectly straight; a slight irregularity adds to the realistic, cozy texture of tweed fabric. - 10Incorporate darker brown lines
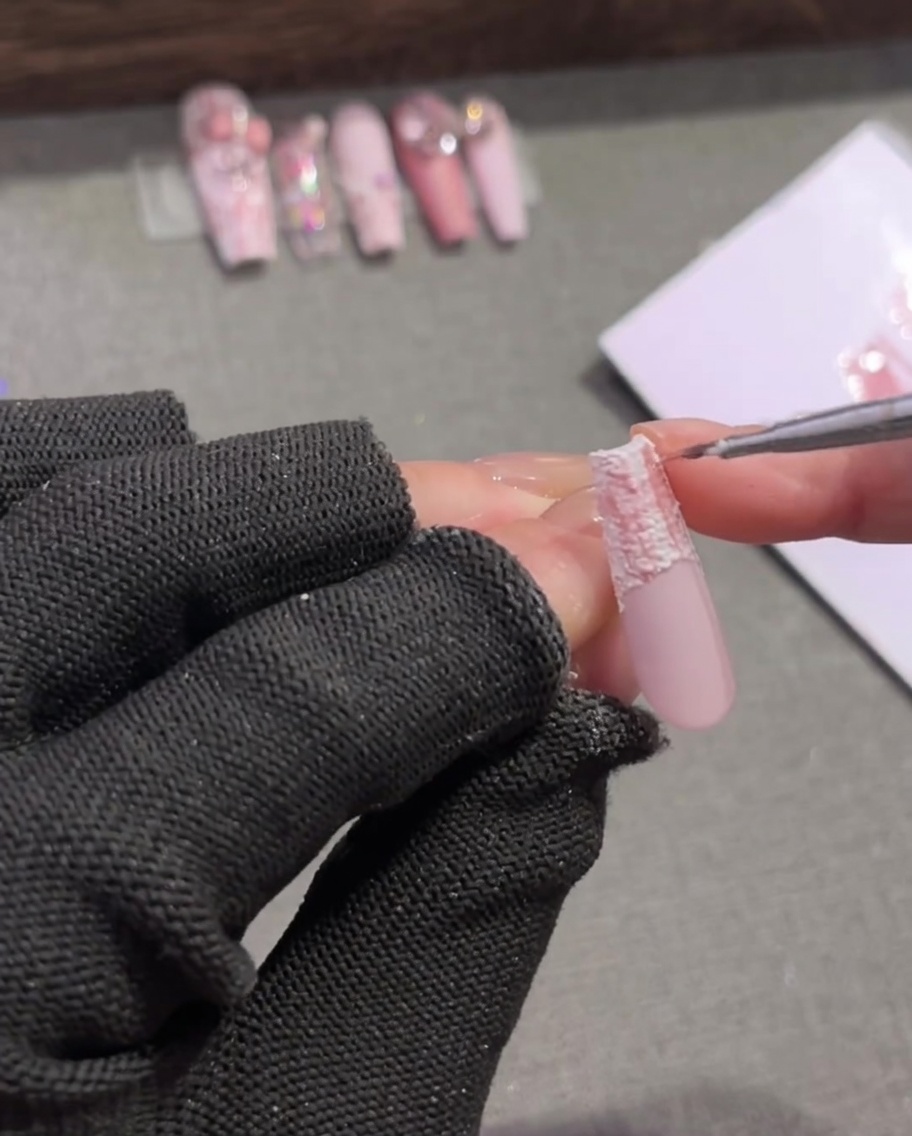
Clean your liner brush and pick up the darker brown gel color from your palette. Paint additional intersecting vertical and horizontal lines over the pink and white plaid pattern. This darker shade adds essential depth and dimension to the woven fabric look.
Tip: Use the dark brown sparingly to create contrast without overwhelming the softer lighter pink tones. - 11Blend with a transition color
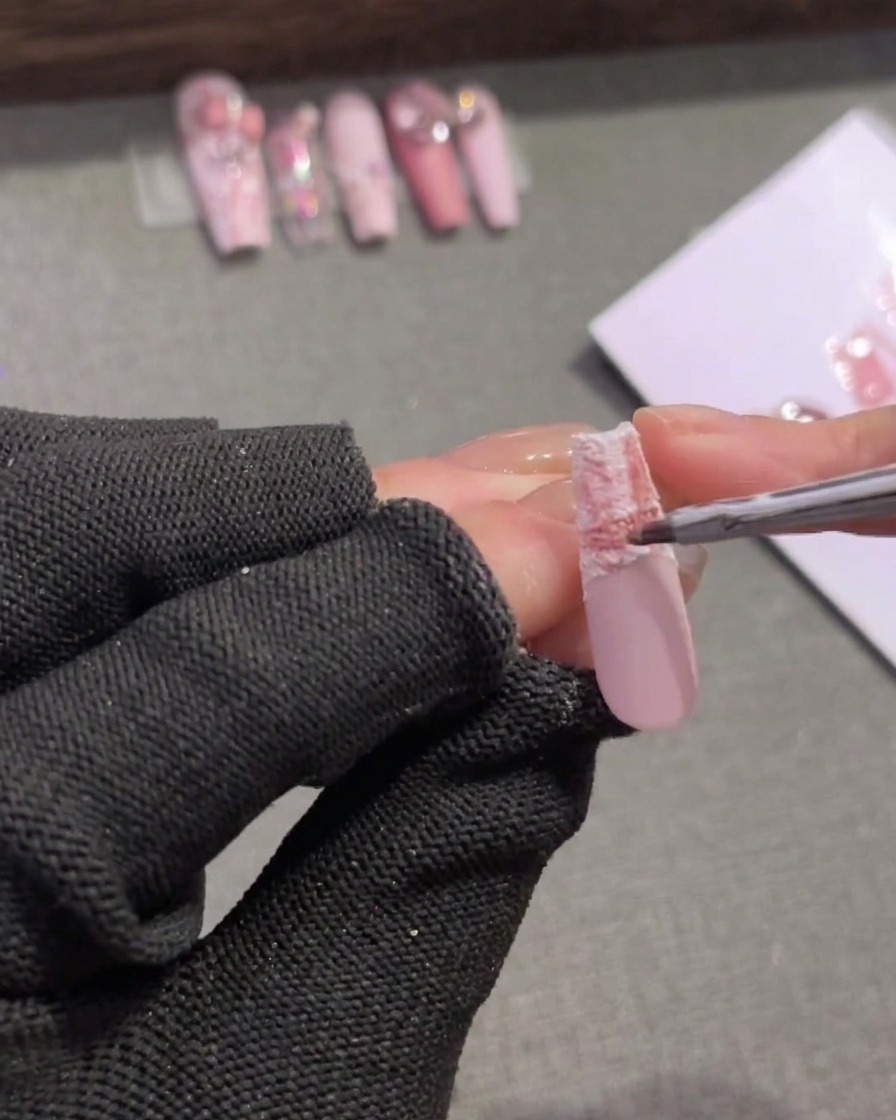
Take a mid-tone pink gel and carefully apply it around the upper edges where the plaid pattern meets the solid base color. Use this shade to softly transition and blend the harsh lines, giving the tweed a more cohesive, integrated appearance.
Tip: Lightly feather the transition color so it diffuses naturally into the pattern without blurring your crisp woven lines. - 12Draw random intersecting cross lines
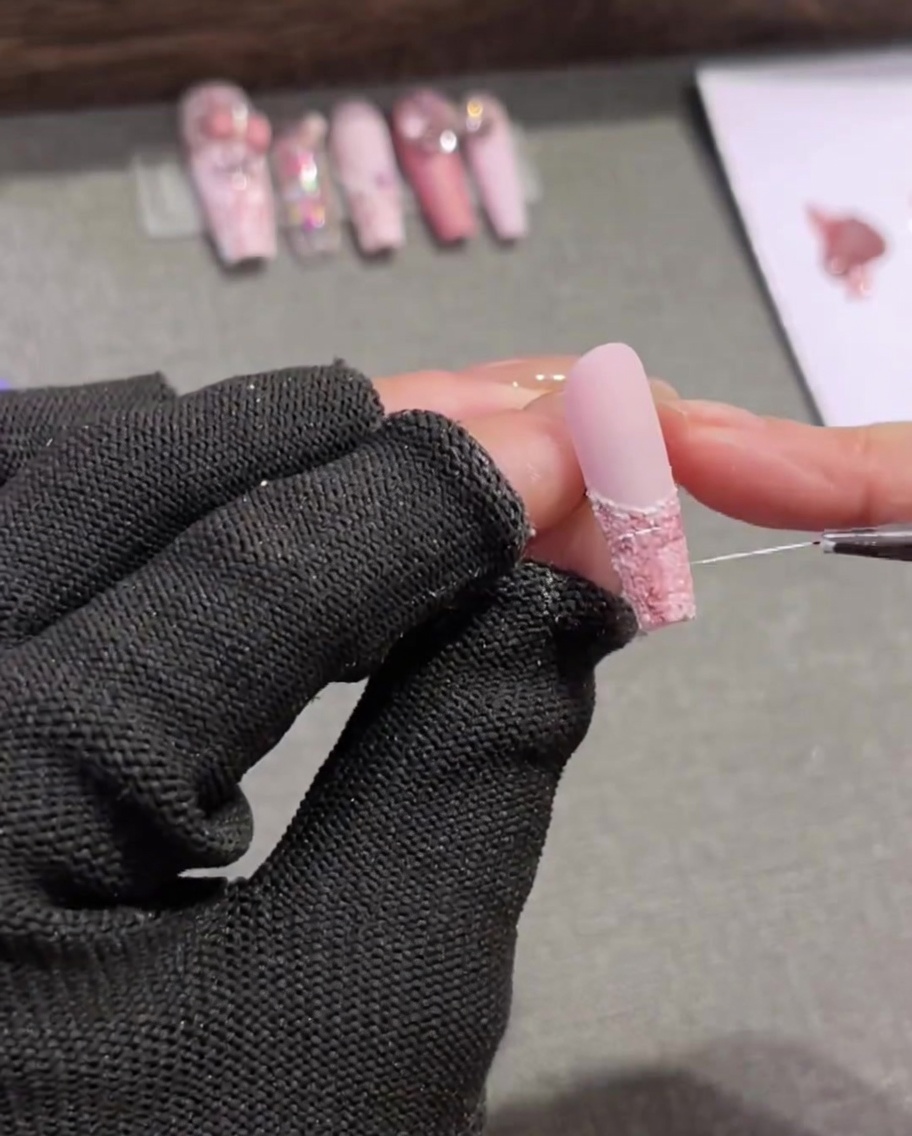
Dip a long, fine liner brush into white painting gel. Swiftly and lightly draw thin, random vertical and horizontal intersecting cross lines across the entire tweed pattern. The more random and delicate these strands are, the more it will resemble frayed, textured tweed fabric.
Tip: Painting gel is thicker and more pigmented than regular polish, making it perfect for drawing hair-like strokes that sit beautifully on top of the design without bleeding. - 13Add horizontal cross lines
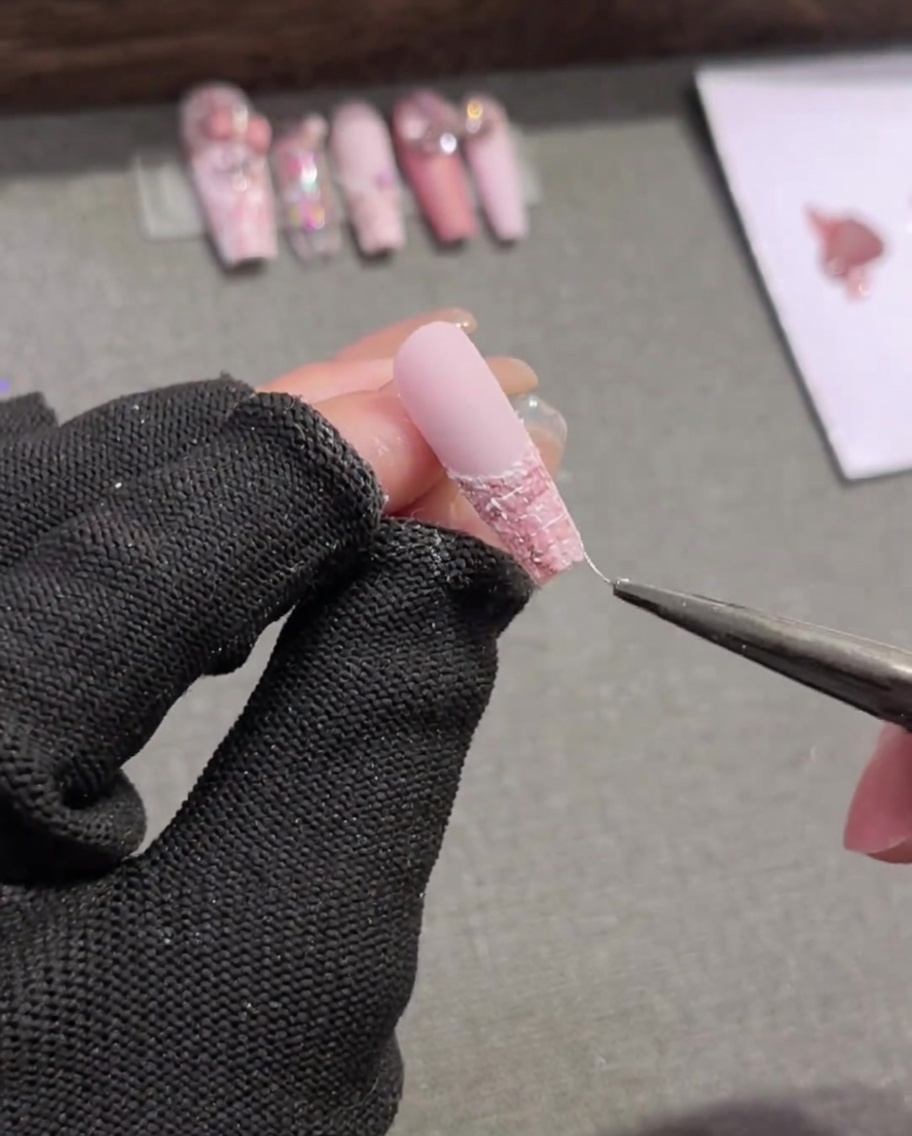
With a long, fine liner brush dipped in white painting gel, draw thin horizontal lines across your existing plaid pattern. Intersect these with your previous vertical lines to create a woven, fabric-like grid. The crisp white lines add dimension and clarity to the soft plaid design.
Tip: Varying the spacing slightly between horizontal lines can help create a more organic, authentic tweed fabric look. - 14Define the French smile line
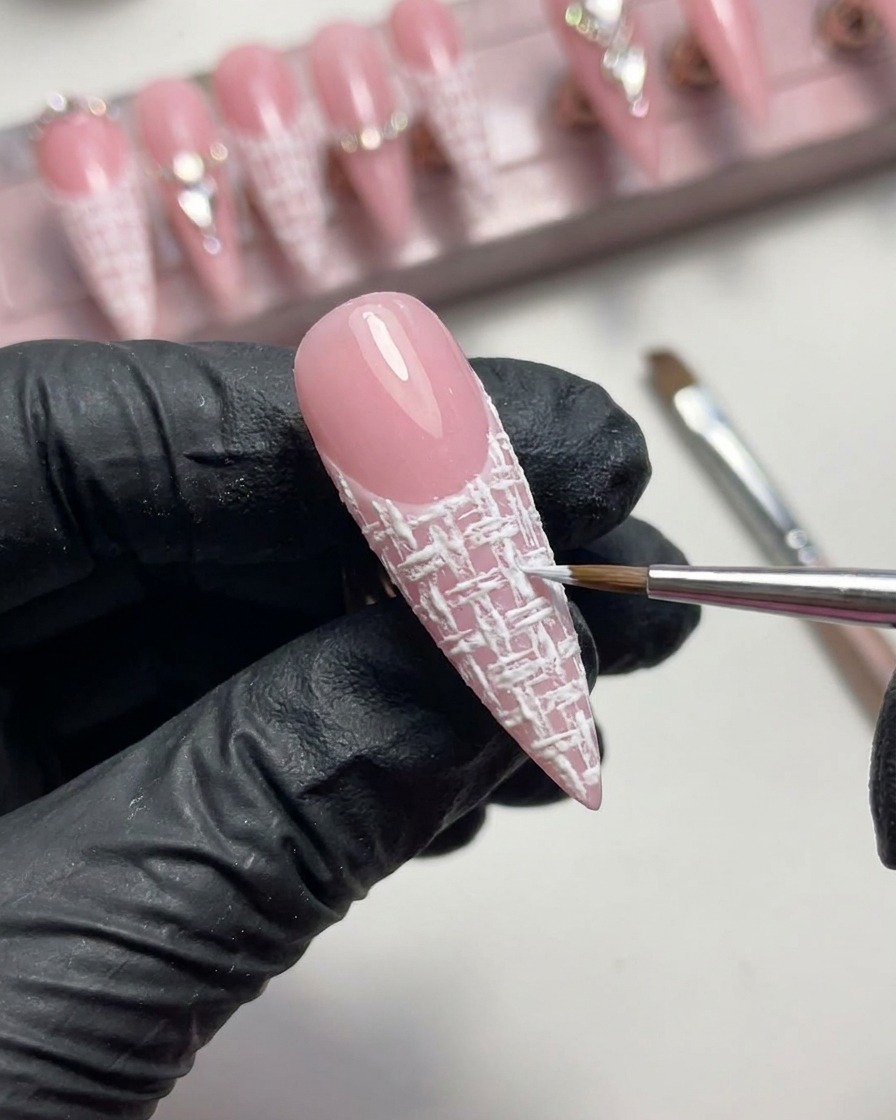
Using a liner brush, apply a crisp, raised line of white plaster gel directly along the border of the French smile line. This structure creates a clean separation between the nail bed and the tip, adding a refined 3D element to the design.
Tip: Apply the plaster gel slowly to ensure the line is uniform and has a consistent raised height. - 15Place pearl embellishment
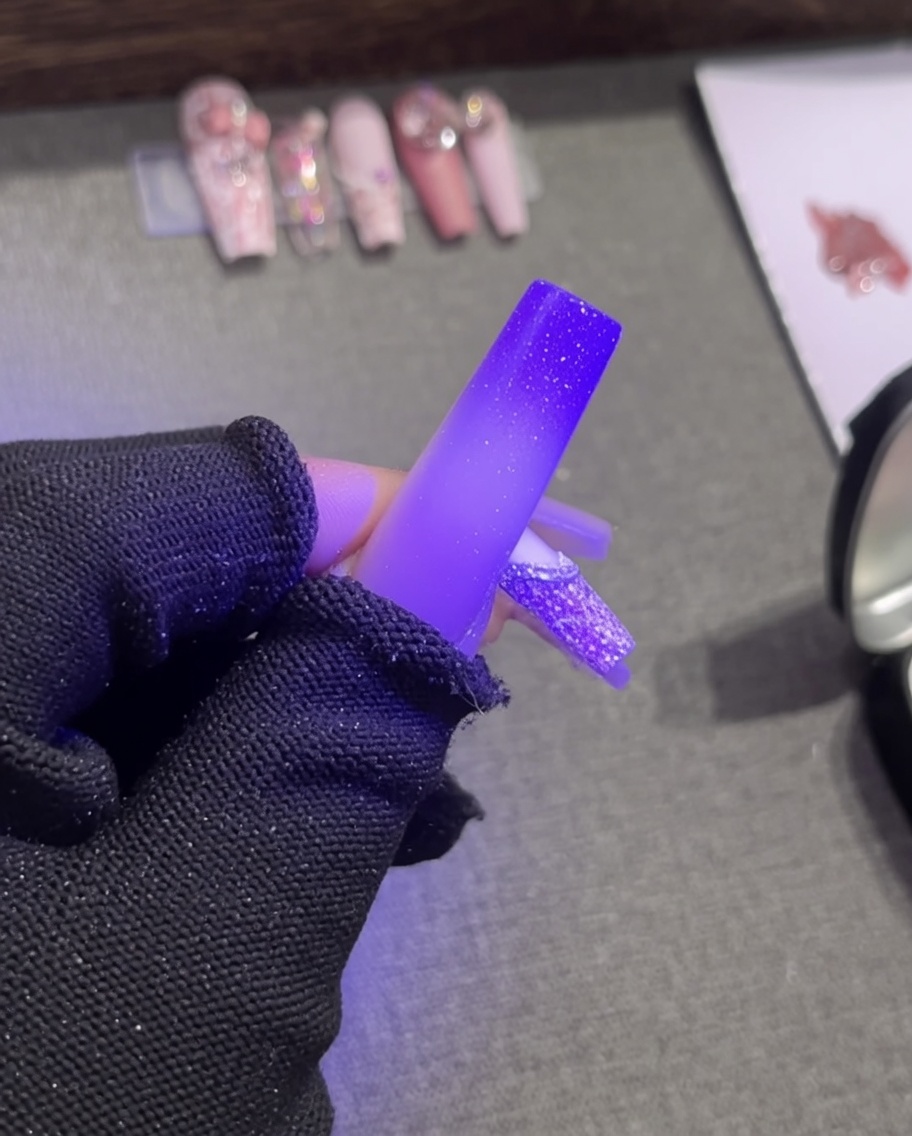
Using fine-tipped tweezers, pick up a small white pearl bead and press it gently into the wet plaster gel border you just created. Position it carefully to anchor it in place before curing, ensuring it remains centered and aligned with the French tip curve.
Tip: If the bead shifts, use the tip of your tweezers or a clean brush to nudge it back into the desired position while the gel is still wet. - 16Add final charms
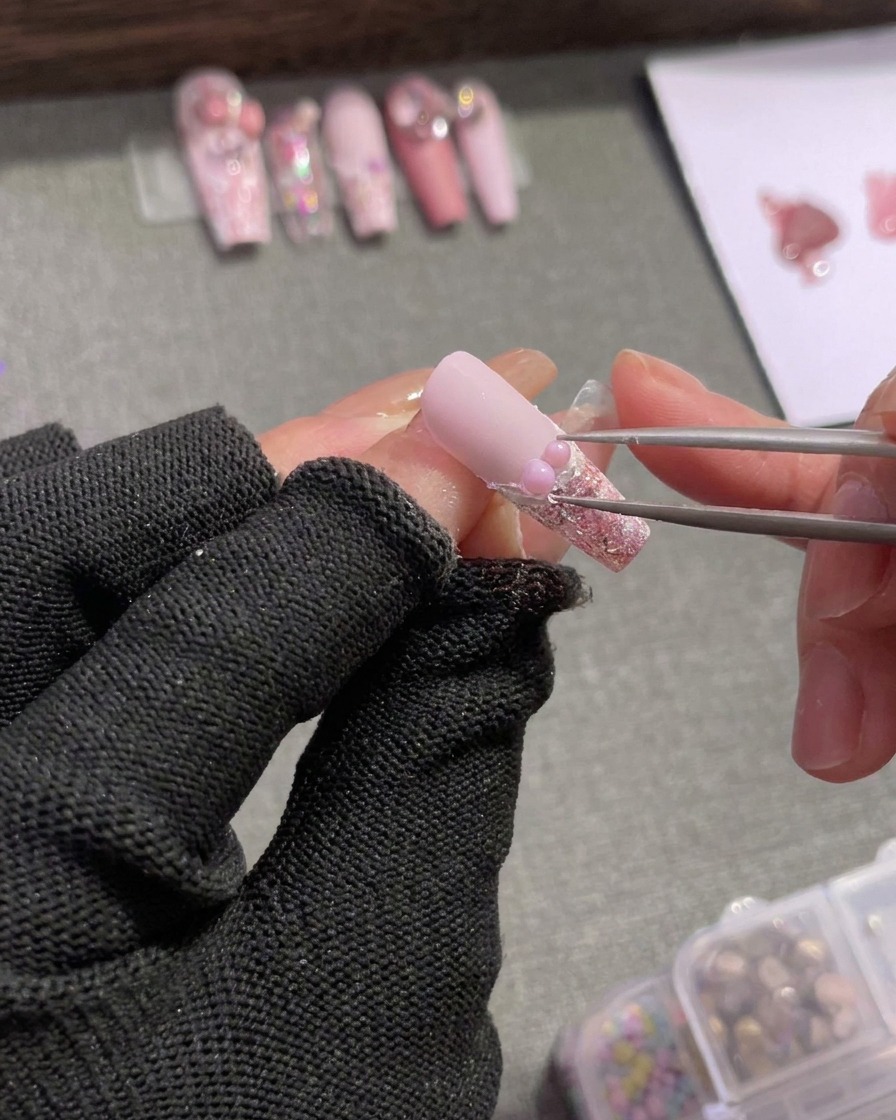
Continue decorating by placing small silver rhinestones and a delicate pink bow charm along the French smile line. Use your tweezers to arrange them symmetrically alongside the pearl for an elegant, embellished finish. Once satisfied with the placement, cure the nail to lock all decorations securely in place.
Tip: Apply a tiny dot of clear builder gel under each charm before placing it to ensure they stay firmly attached for longer wear. - 17Prepare next tip with plaster
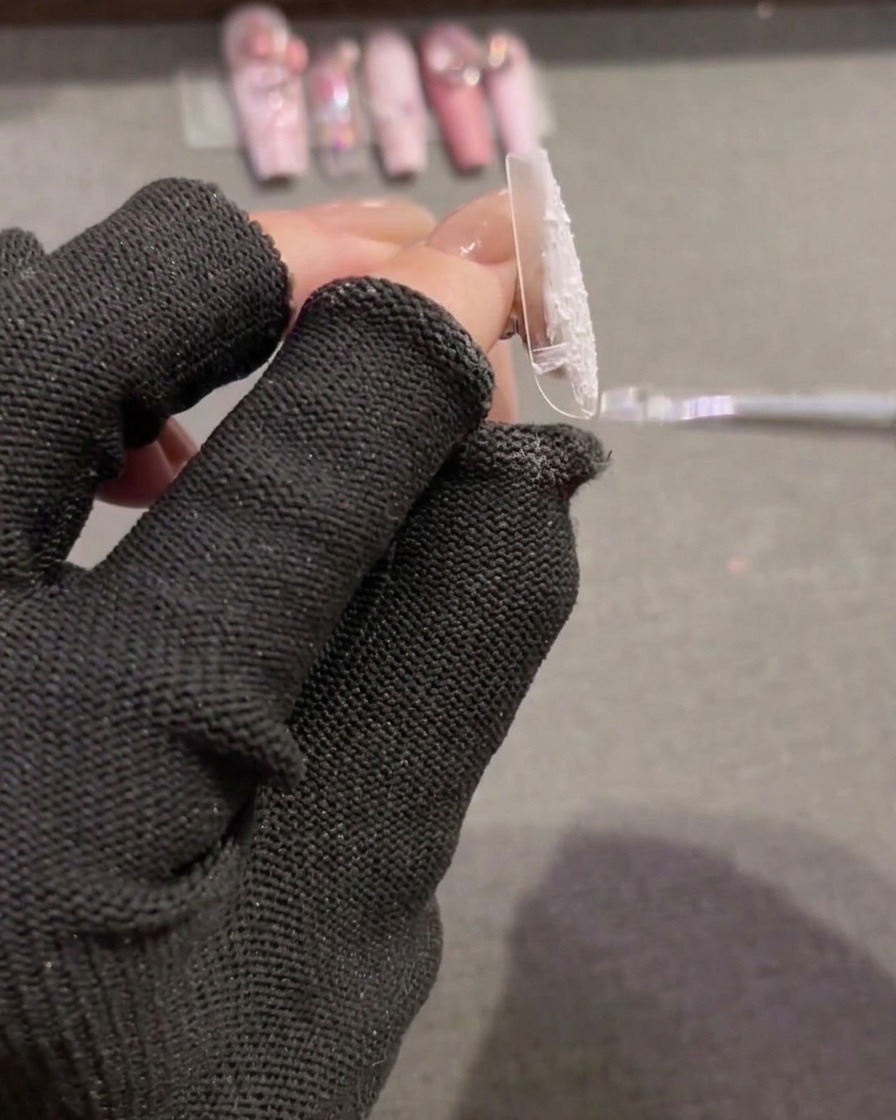
Select a new clear nail tip and use a flat gel brush to apply a smooth, uniform coat of textured white plaster gel over the entire surface. This serves as the base for the full-nail plaid design, providing the signature gritty, textured finish required for this specific nail look.
Tip: Ensure the plaster gel is spread evenly to the edges of the tip, maintaining a consistent texture across the entire nail surface. - 18Draw vertical plaid lines
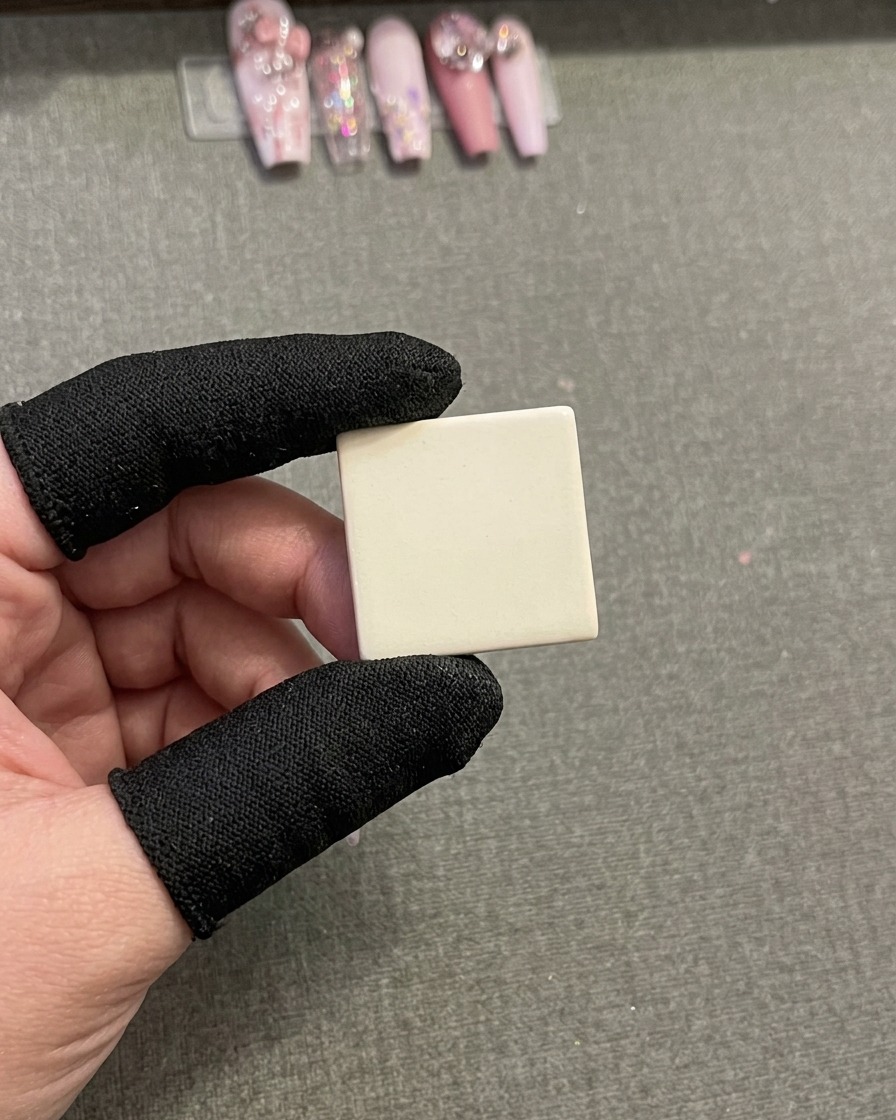
Using the fine liner brush, draw thick vertical lines in pink and brown down the full-nail plaster base. Keep the lines spaced evenly to create the foundational structure for the plaid pattern.
Tip: Keep your hand steady for straight lines; you can use the edge of the nail as a guide. - 19Add horizontal plaid lines
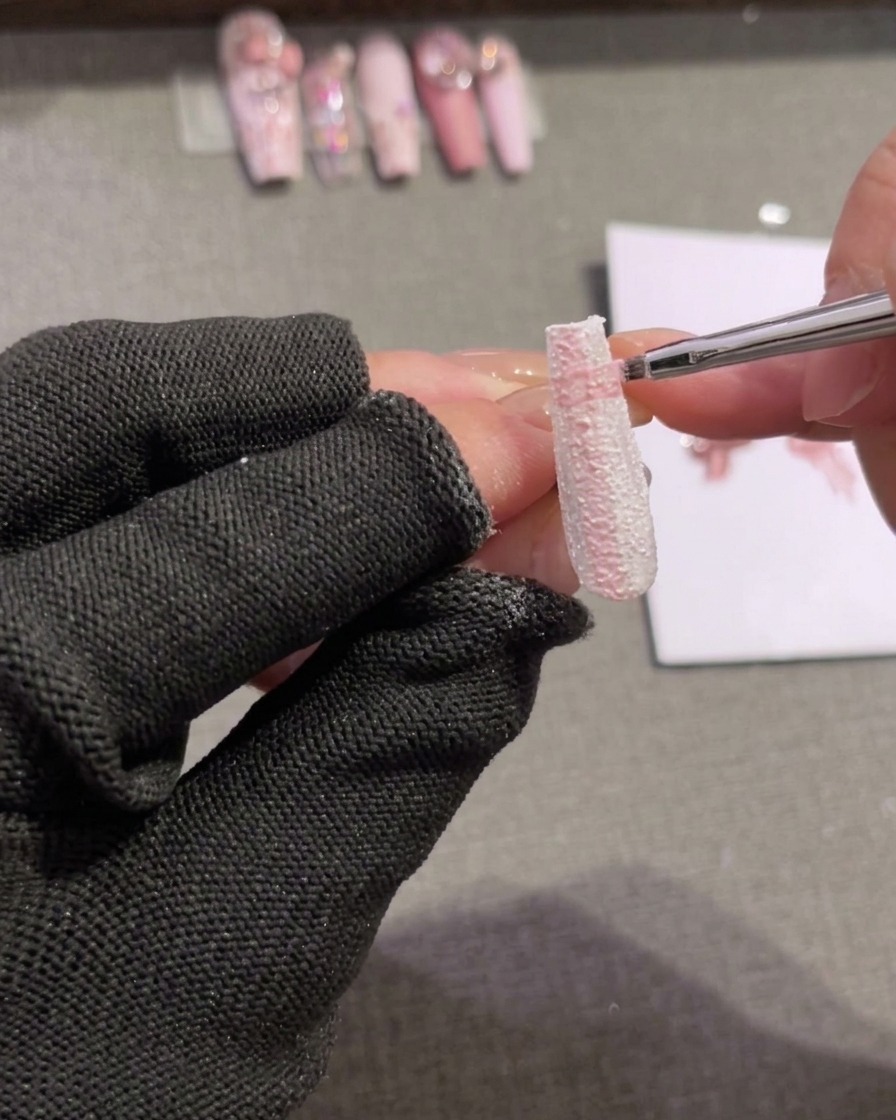
Create the plaid effect by drawing horizontal lines in pink and brown that intersect your vertical ones. This grid will form the base of your tweed pattern.
Tip: Vary the pressure slightly to create a more organic, textured look characteristic of tweed. - 20Paint fine white accent lines
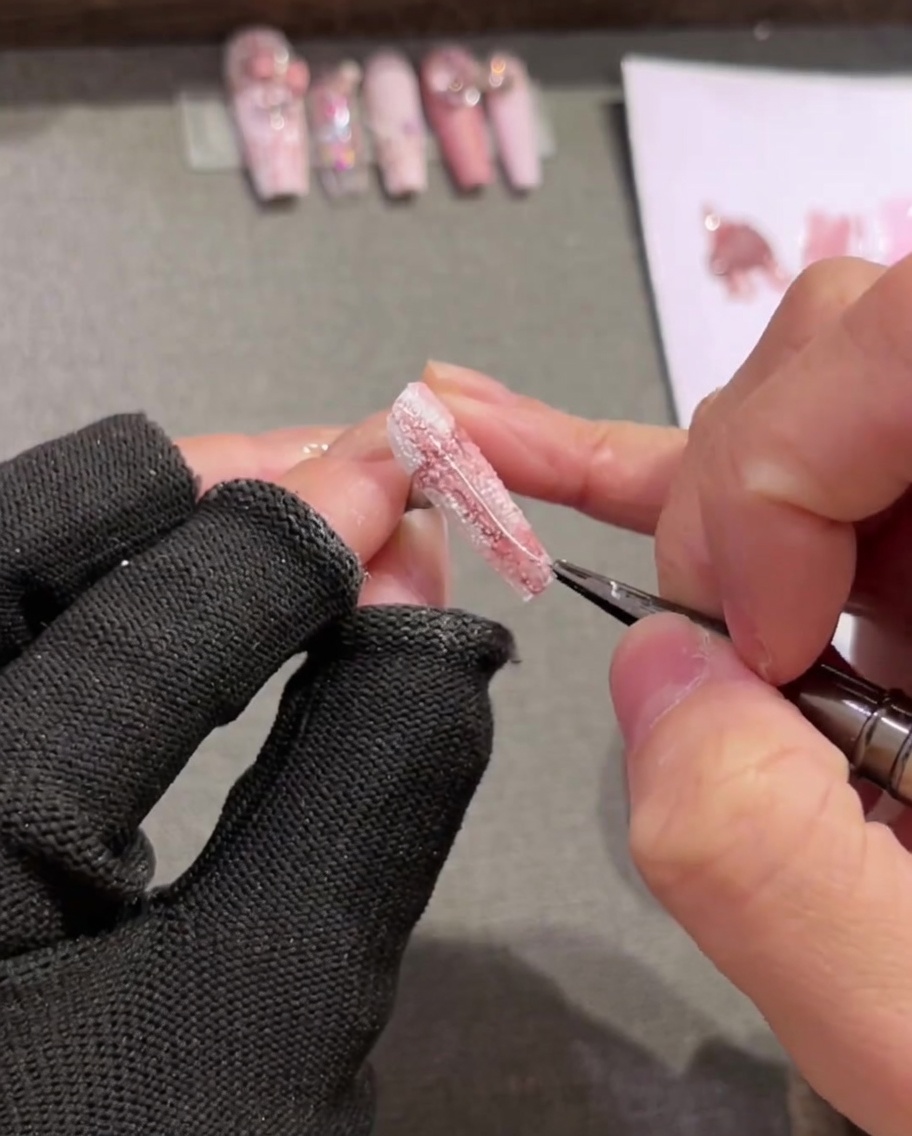
Dip a long liner brush into white painting gel and draw thin, random lines that intersect across your plaid pattern. These highlights add depth and simulate the threads of tweed fabric.
Tip: The more random and delicate these lines are, the more realistic the tweed effect will appear. - 21Embellish with rhinestones
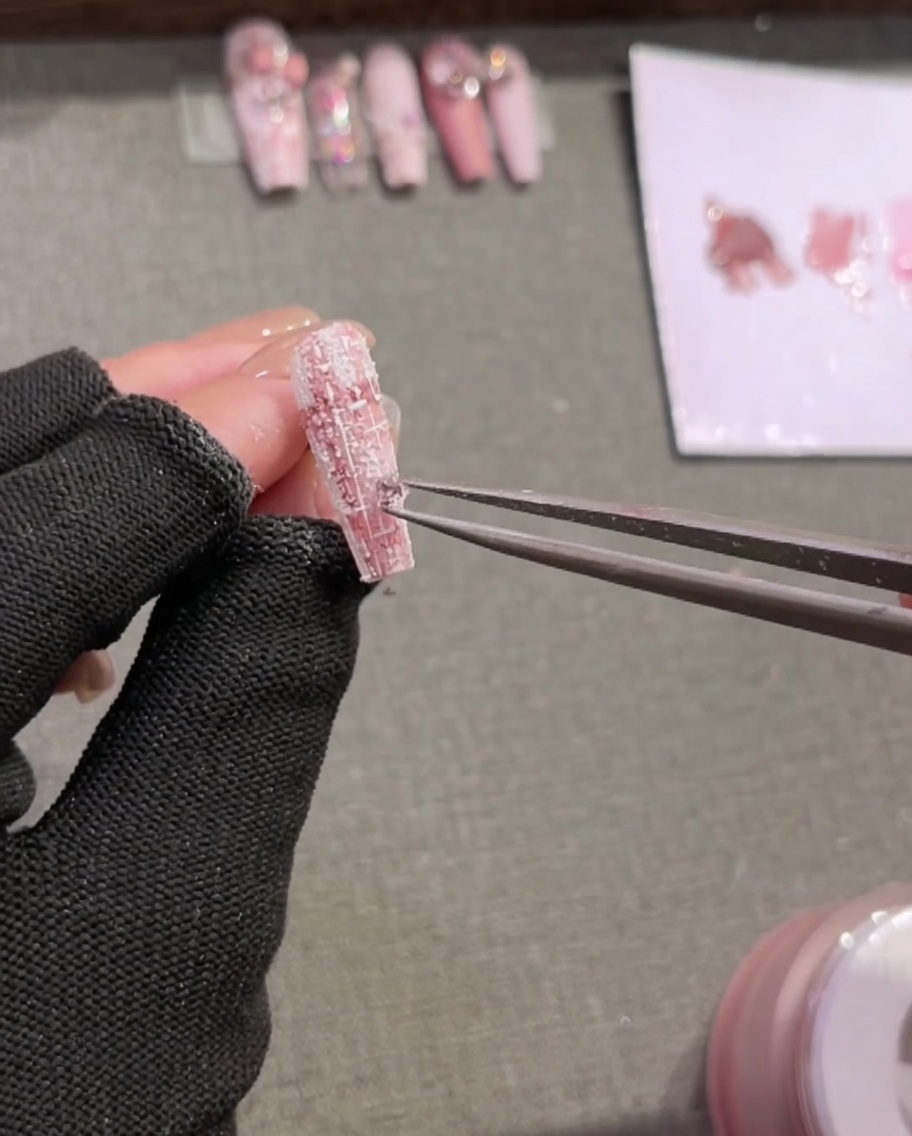
While the gel is still wet, use tweezers to carefully place tiny rhinestones and pearls onto the nail surface. Press them lightly into the gel to ensure they are set in place before curing.
Tip: Work one nail at a time so the gel doesnt cure before youve finished placing your embellishments. - 22Apply clear base gel
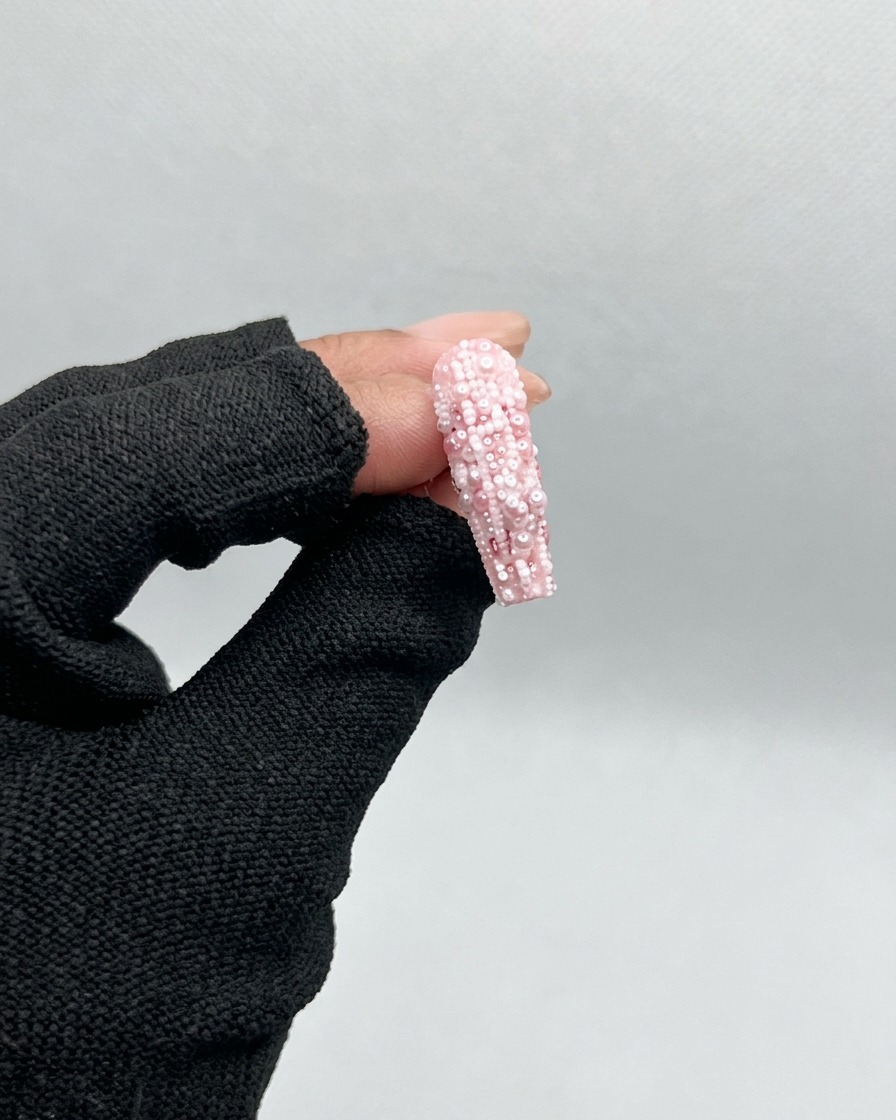
Apply a thin, even layer of clear base gel to the entire surface of the third nail tip. Do not cure this layer yet, as it will act as the adhesive base for the sequins.
Tip: Ensure the layer is thin and covers the nail completely to prevent the sequins from shifting. - 23Apply iridescent sequins
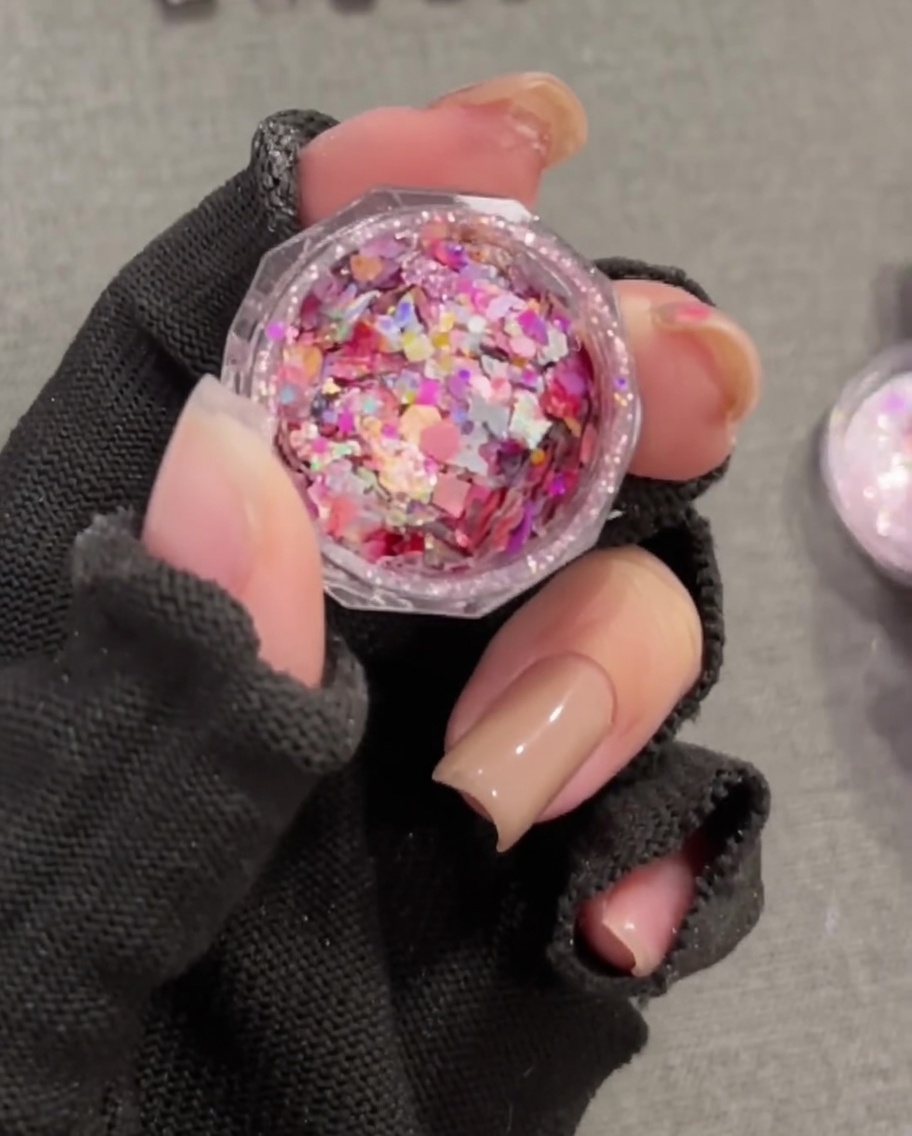
Using a flat gel brush, pick up a generous amount of chunky iridescent pink and gold sequins from their container. Gently pat them onto the uncured base gel on the nail until the surface is evenly covered.
Tip: Use the flat side of the brush to press the sequins into the gel so they lay flat against the nail. - 24Embed chunky sequins
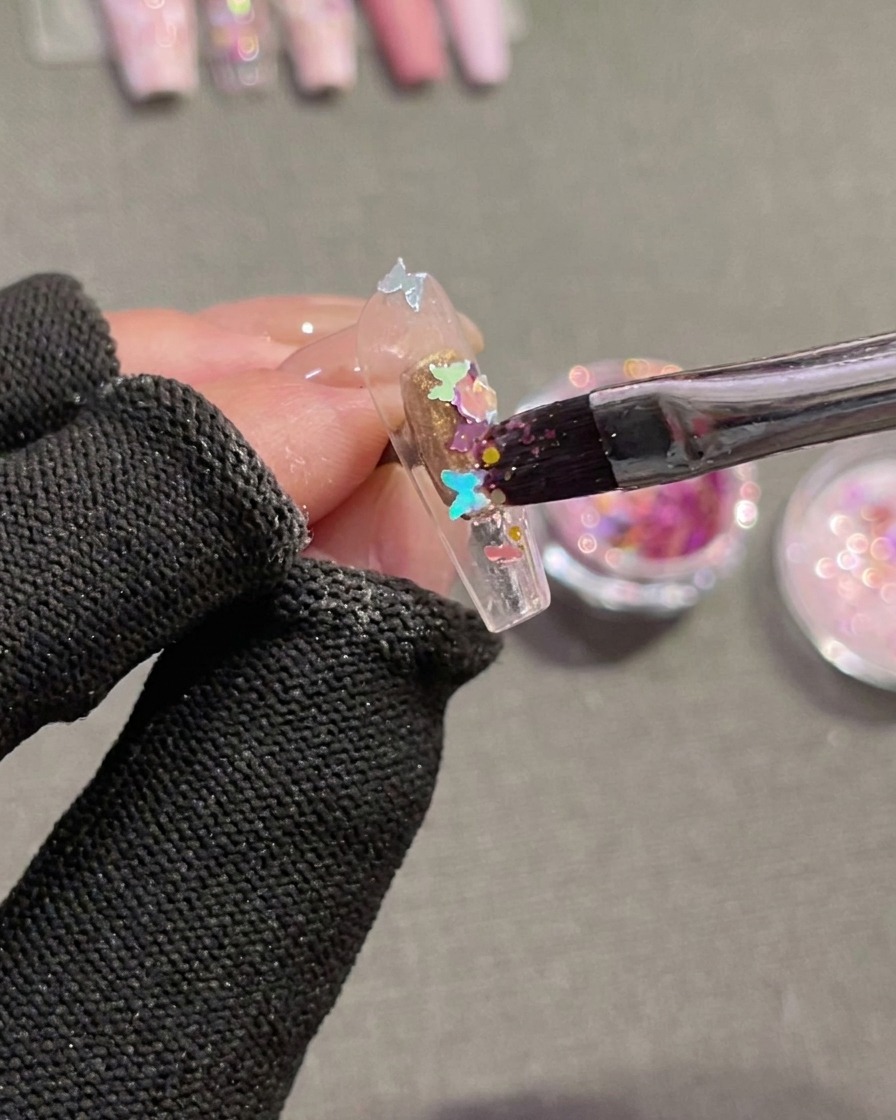
Apply a clear base gel to the nail tip without curing. While the gel is still wet and tacky, pick up the chunky butterfly-shaped sequins and press them evenly across the nail surface. Distribute the sequins to create your desired density and coverage, ensuring they lay flat within the wet gel layer.
Tip: If the sequins are overlapping too much, use the tip of your brush to nudge them into place before curing. - 25Encapsulate with builder gel
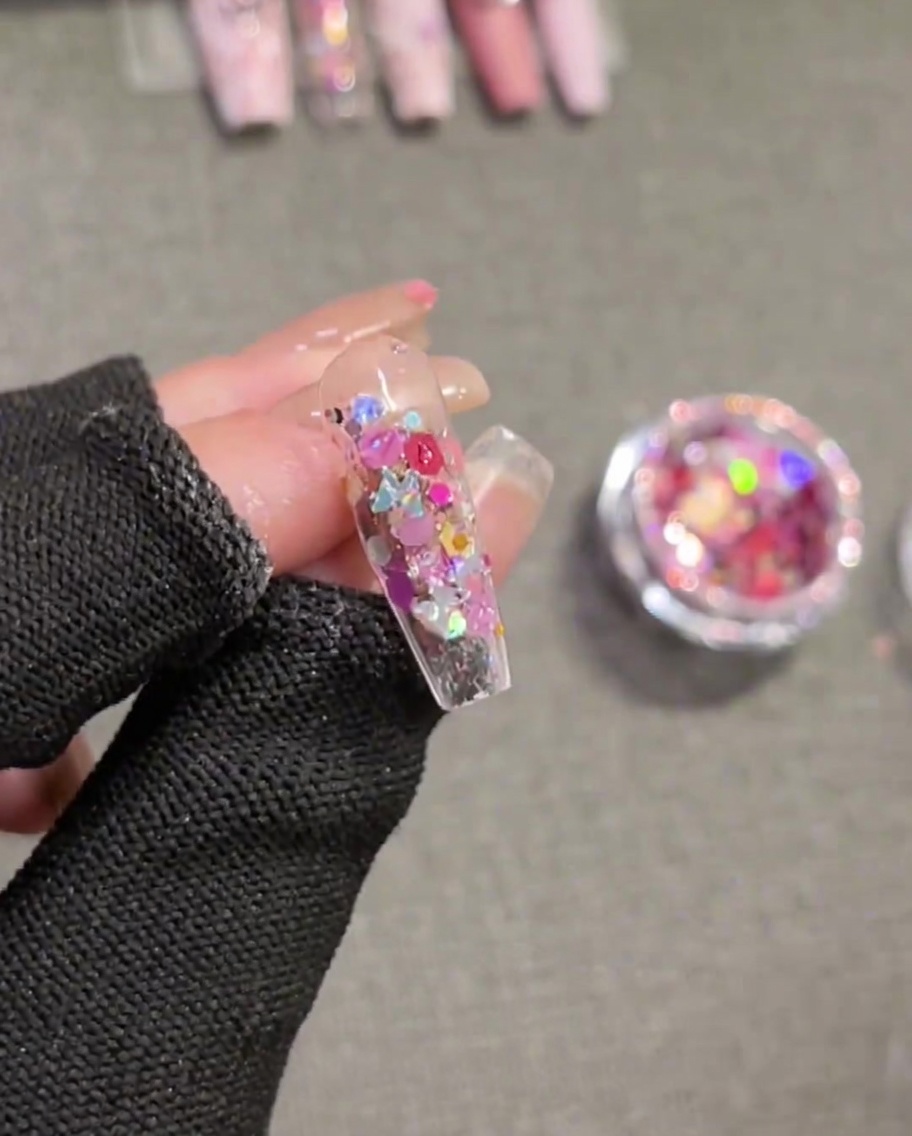
Apply a generous layer of clear builder gel over the entire nail surface, covering the embedded sequins. The builder gel will fill in the gaps between the sequins and create a smooth, leveled surface, effectively encapsulating the design to protect it.
Tip: Turn the finger upside down for a few seconds before curing to help the builder gel self-level toward the center, creating a perfect apex. - 26Secure the 3D bow charm
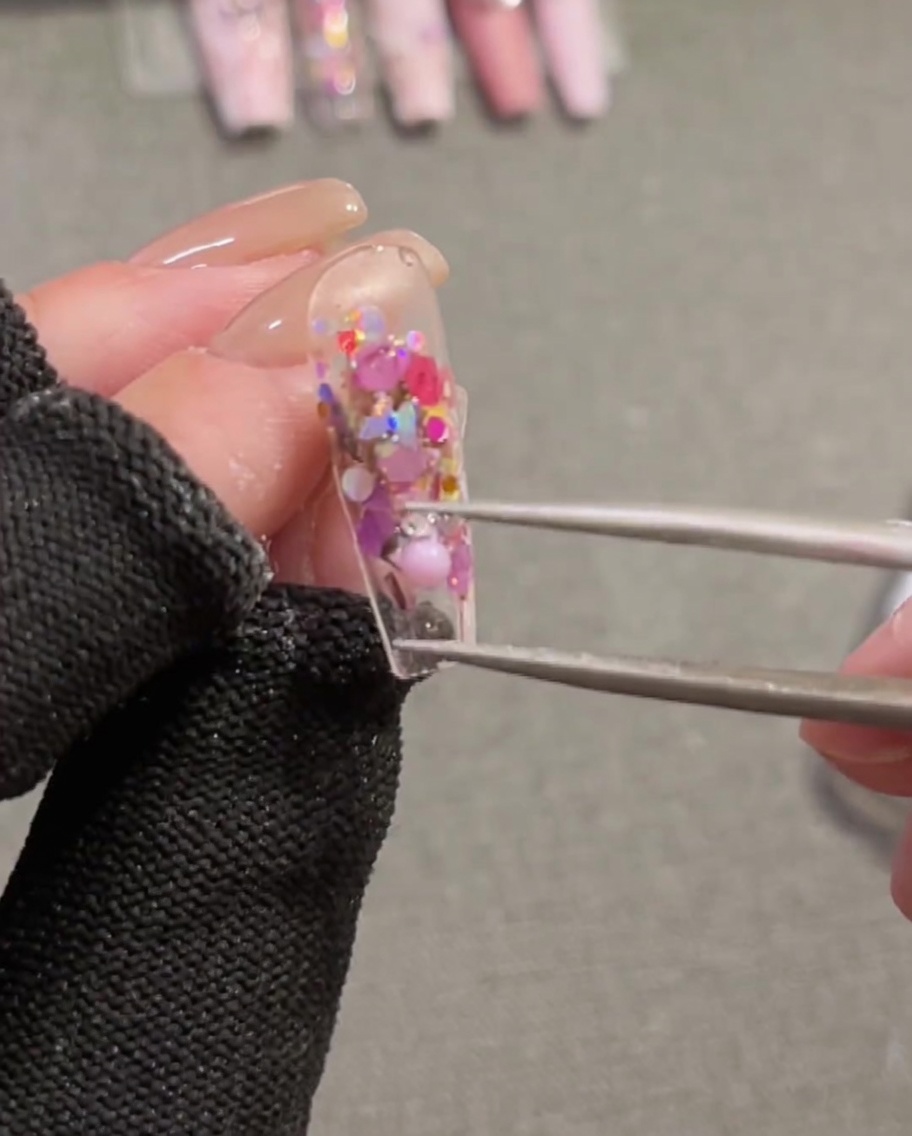
While the builder gel is still wet, carefully position the large pink 3D ribbon bow charm near the cuticle. Gently press it into the gel to secure it, then verify its alignment from multiple angles before curing.
Tip: Check the alignment of the charm from different angles to ensure it is perfectly centered before placing the hand into the lamp to cure. - 27Seal with glossy top coat
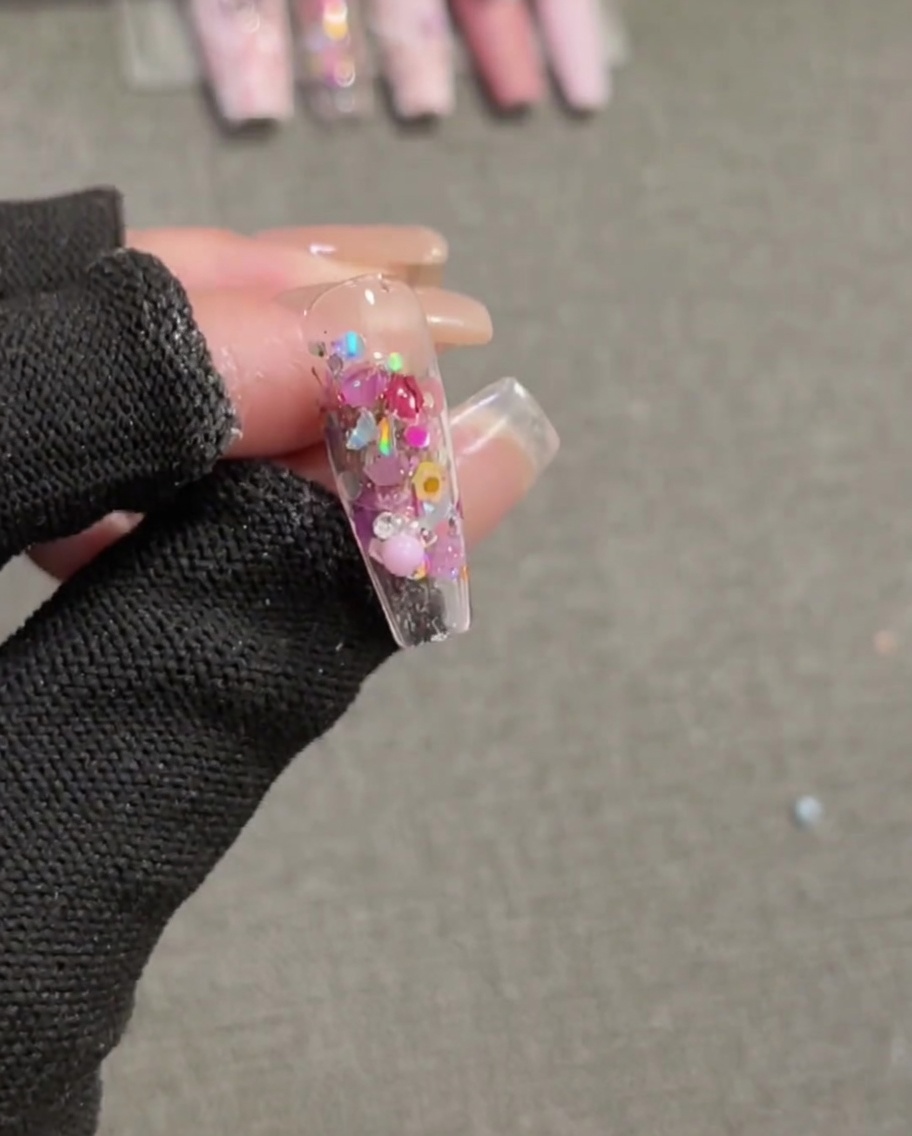
Once the base, design, and charms are cured, apply a final layer of glossy top coat over the entire nail, including around the edges of the 3D charm. This seals the design, prevents the sequins from snagging, and provides a durable, high-shine finish.
Tip: Ensure the top coat fully coats the sides and base of the 3D charm to prevent dust and hair from getting trapped.