3D Embossed Ribbon Bow Pink Gel Nail Art Tutorial
Create delicate 3D embossed ribbon bow nail art with soft skin pink gel polish and builder gel for an elegant porcelain effect.
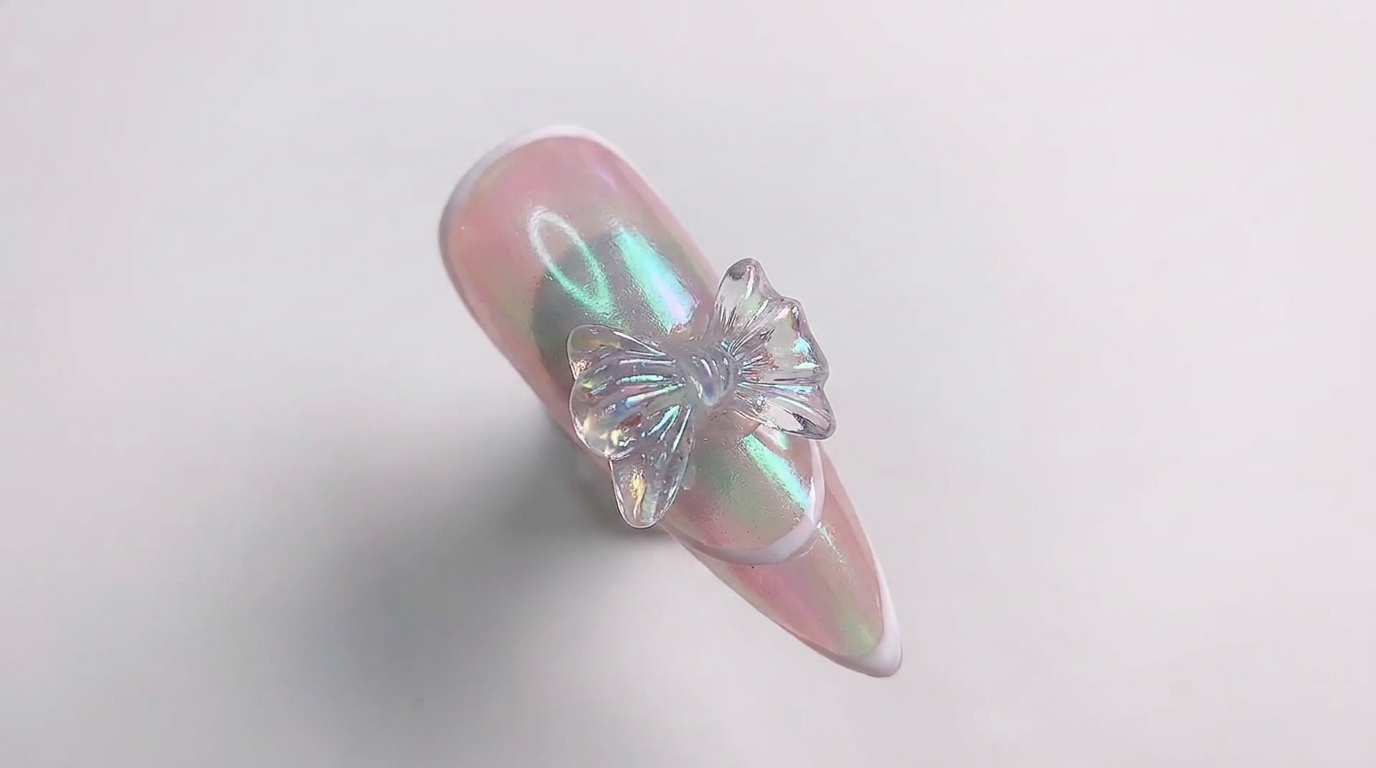
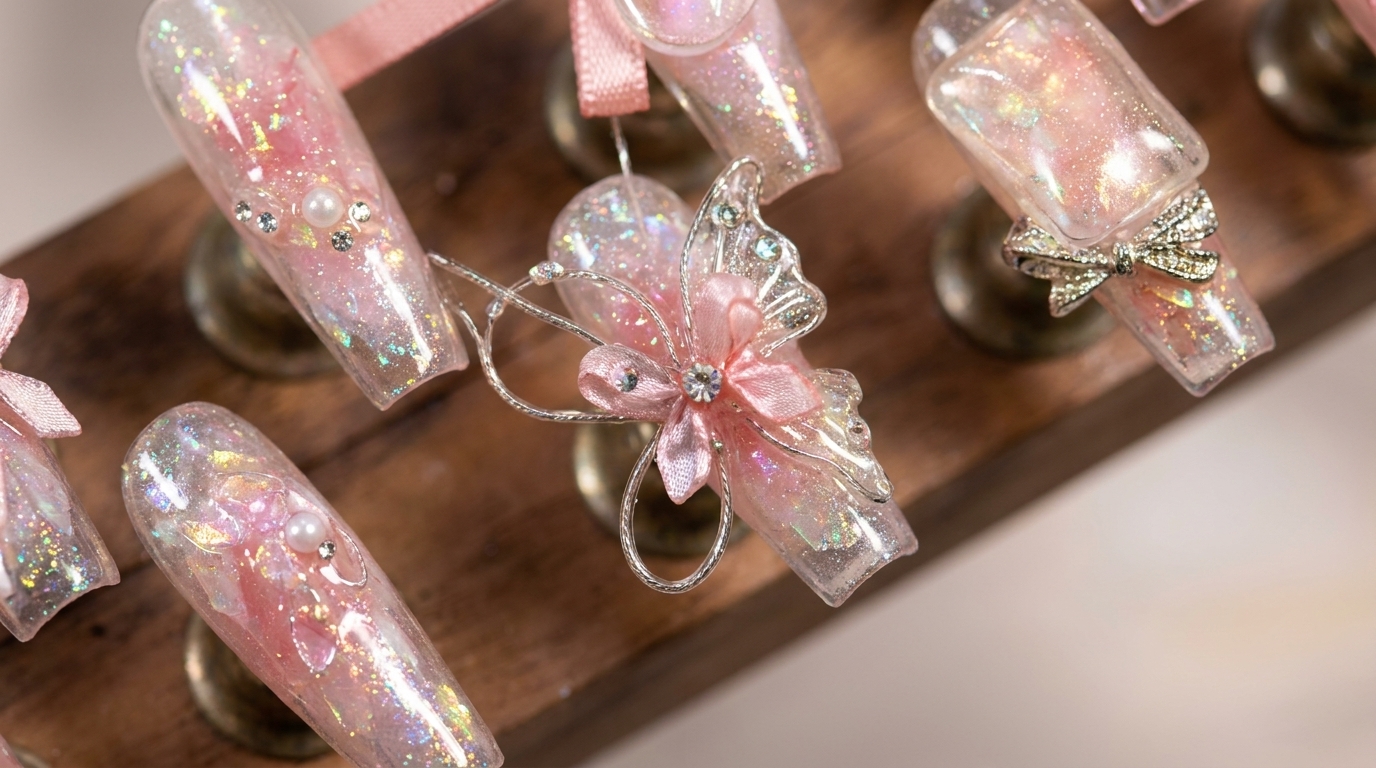
Embossed 3D nail art is having a major moment, bringing tactile elegance and a charming porcelain finish to everyday manicures. This gorgeous pink ribbon bow design looks intricate, but with the right builder gel technique and a steady hand, it is entirely achievable at home.
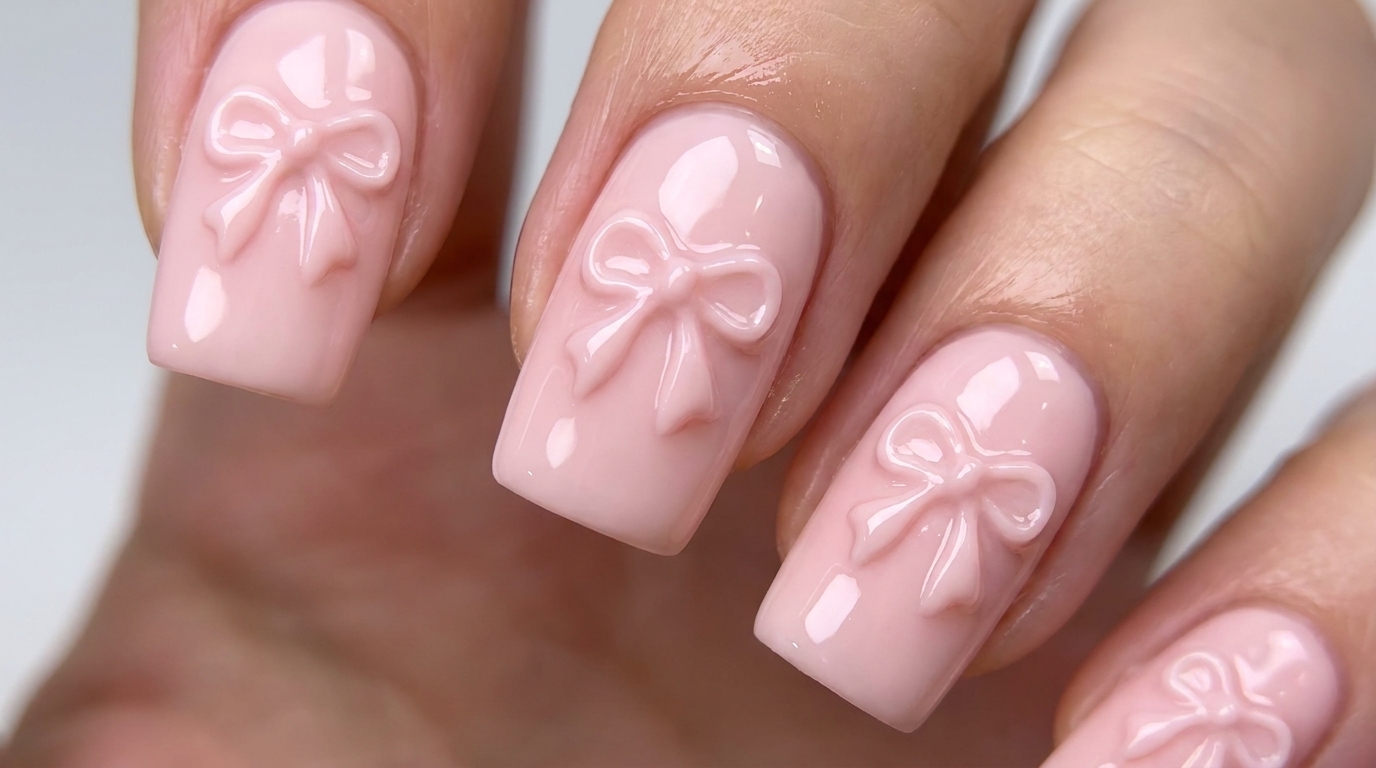
Steps
- 1Apply skin pink gel polish
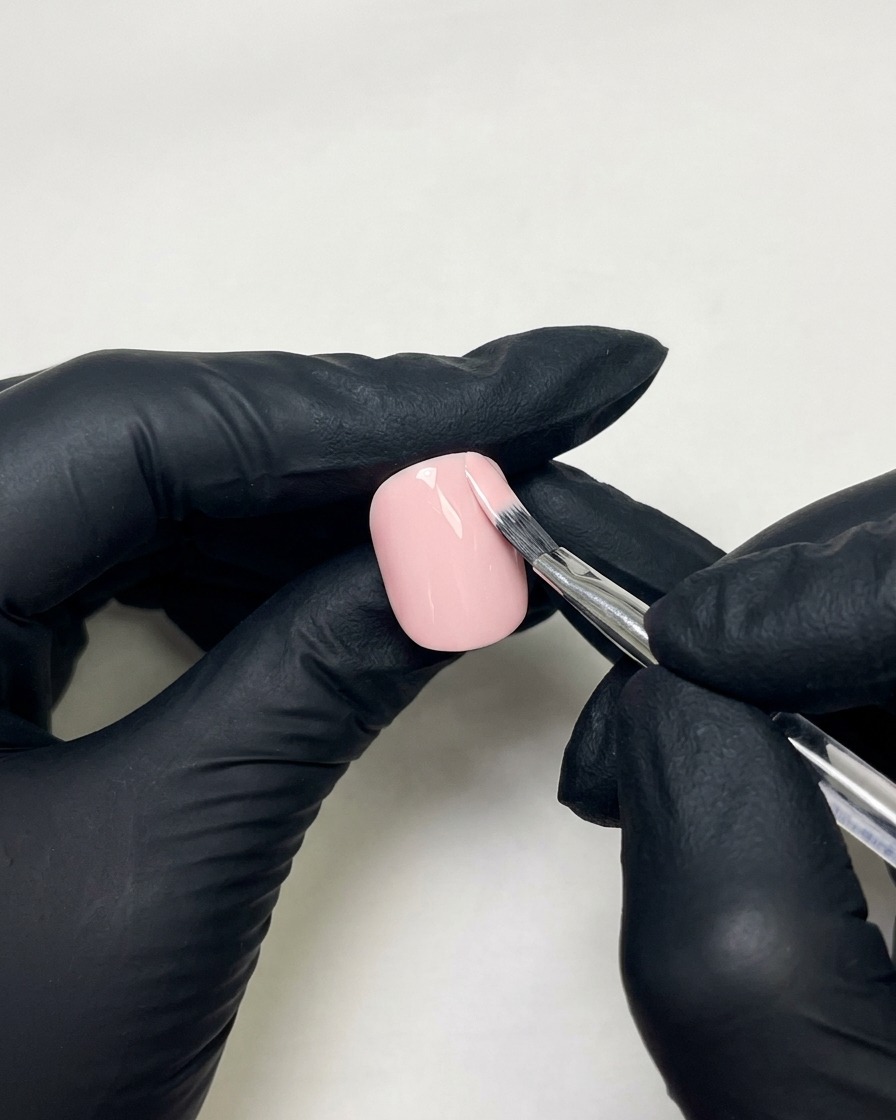
Using a flat gel brush, apply a smooth and even coat of skin pink gel polish to the entire nail plate. Work carefully around the cuticle area and cap the free edge to ensure long-lasting wear. Apply a second coat to build up full, even opacity.
Tip: Apply the gel polish in thin layers. Thick layers can lead to wrinkling or incomplete curing under the UV lamp. - 2Mark the center of the bow
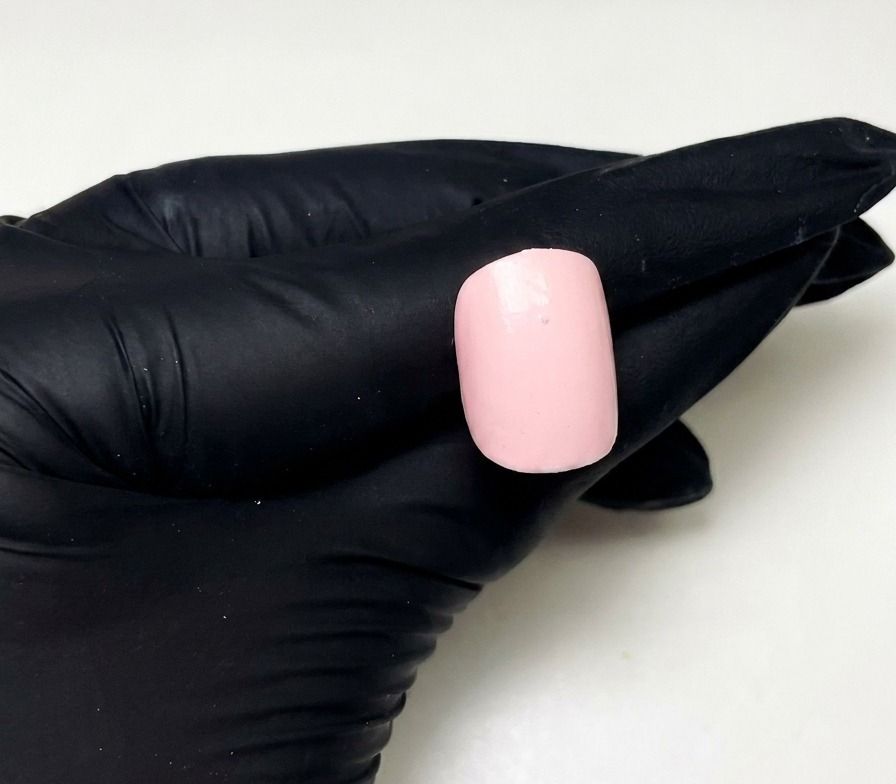
Locate the center point on the nail where you want your bow to sit. Using a skin pink builder gel, place a small dot in that spot. This center point acts as a guide and helps give the 3D bow its dimensional look.
Tip: Using a builder gel instead of standard polish allows you to create a raised, sculpted texture that wont easily flatten out before curing. - 3Outline the first bow loop
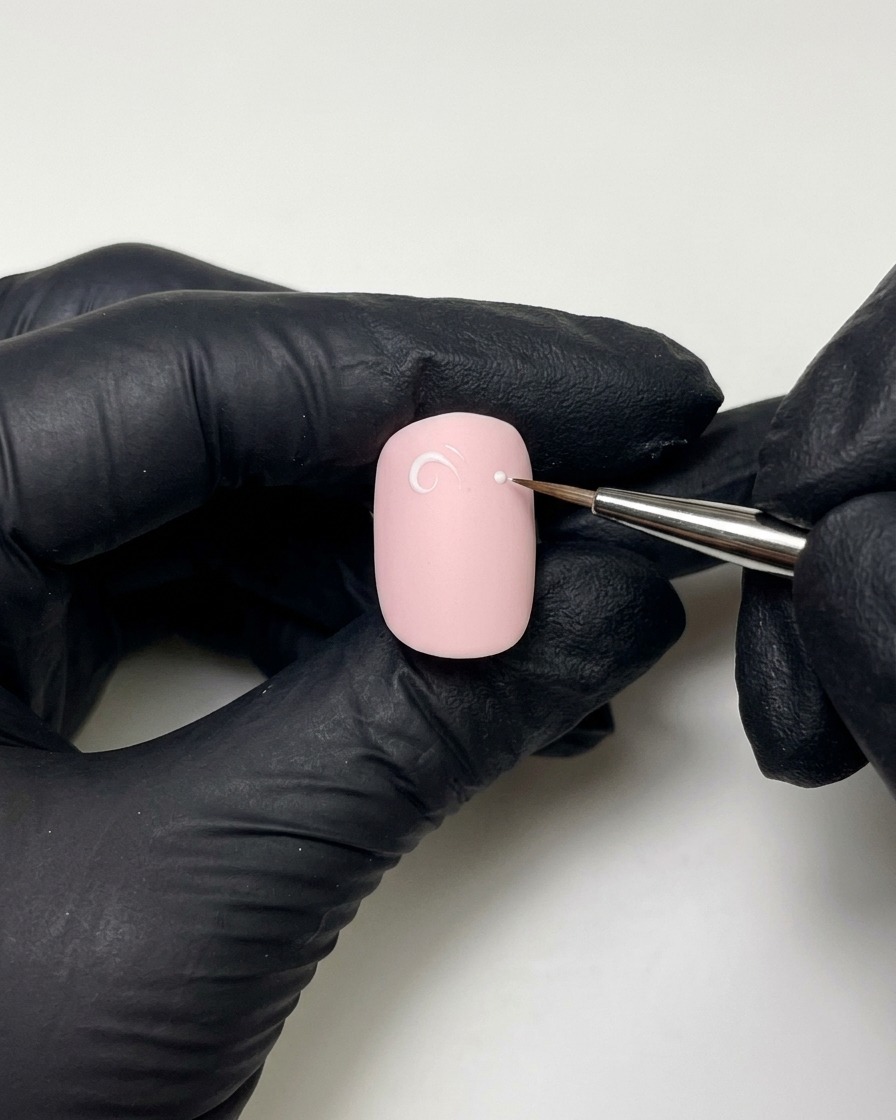
Locate the center point of where you want the bow to sit on the nail. Using a fine liner brush and skin pink builder gel, draw the center dot and carefully sketch out the first loop of the ribbon outline on one side.
Tip: Keep a steady hand and use just the very tip of your fine liner brush for maximum control over the builder gel. - 4Draw the second loop
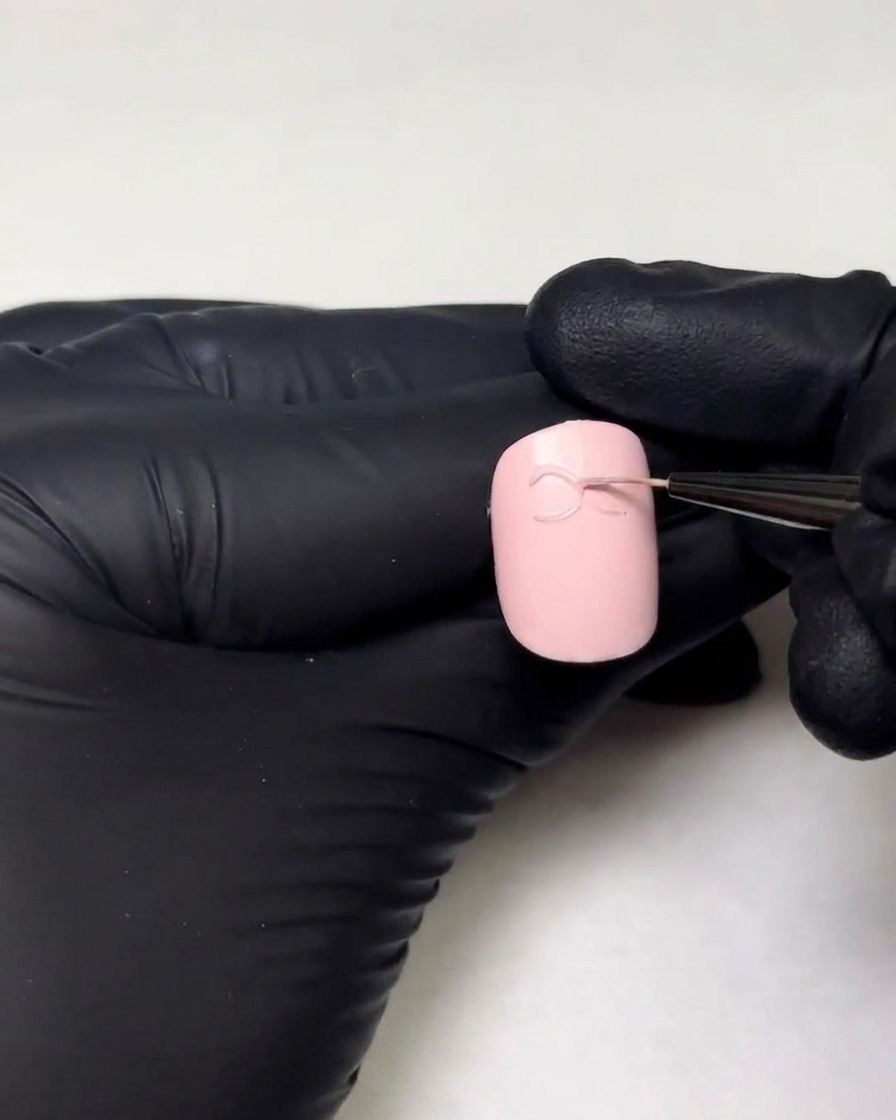
Continue with the fine liner brush to draw the second loop on the opposite side of the center dot. Try to make this loop symmetrical to the first one in both size and placement to form a balanced bow shape.
Tip: Flash curing for a few seconds between drawing each loop will freeze the gel in place and prevent the shapes from merging or losing their crisp edges. - 5Build up the 3D dimension
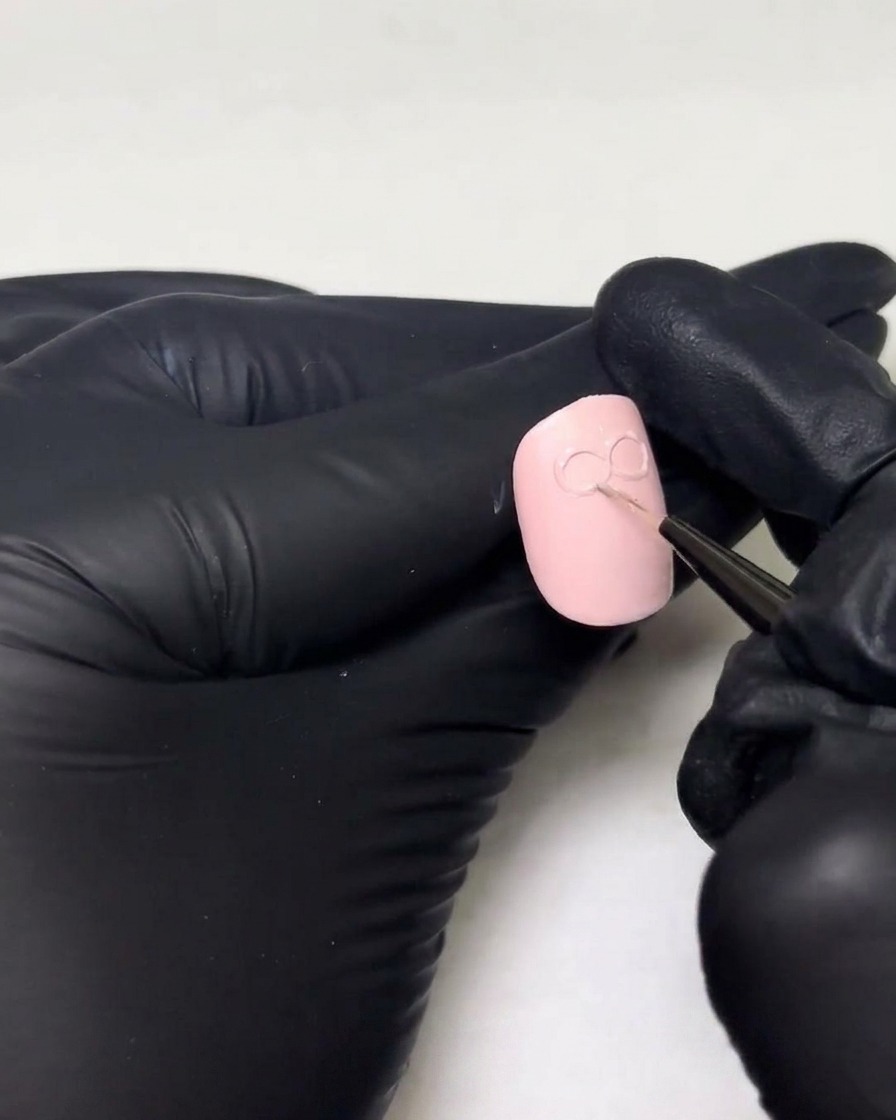
To make the bow look truly three-dimensional, you will need to add more volume to the outlines. Go over the loops with additional layers of the skin pink builder gel. It is best to apply the gel in small amounts multiple times, adjusting it until you reach your desired thickness.
Tip: Layering the builder gel slowly rather than applying one massive glob ensures the bow retains a defined shape without running into the center. - 6Draw the ribbons and loops
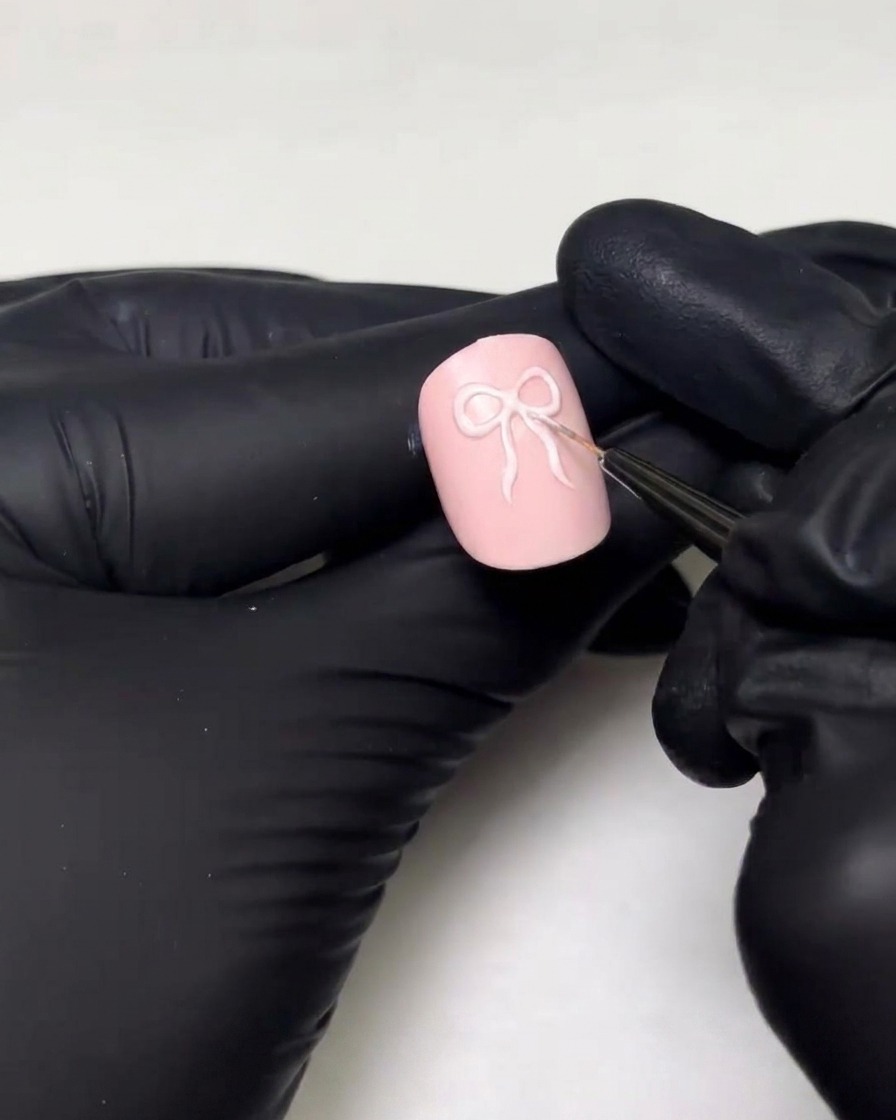
Continue with the skin pink builder gel to form the loops of the bow, and then draw two hanging ribbon tails extending downward from the center. If you feel the 3D thickness is not quite enough, layer the gel a few more times. It is best to apply the gel in small amounts multiple times to build the perfect shape.
Tip: If the gel starts to pool or lose its shape while you are drawing, you can flash cure the nail for a few seconds to freeze the design in place before adding more layers. - 7Cure the 3D gel design
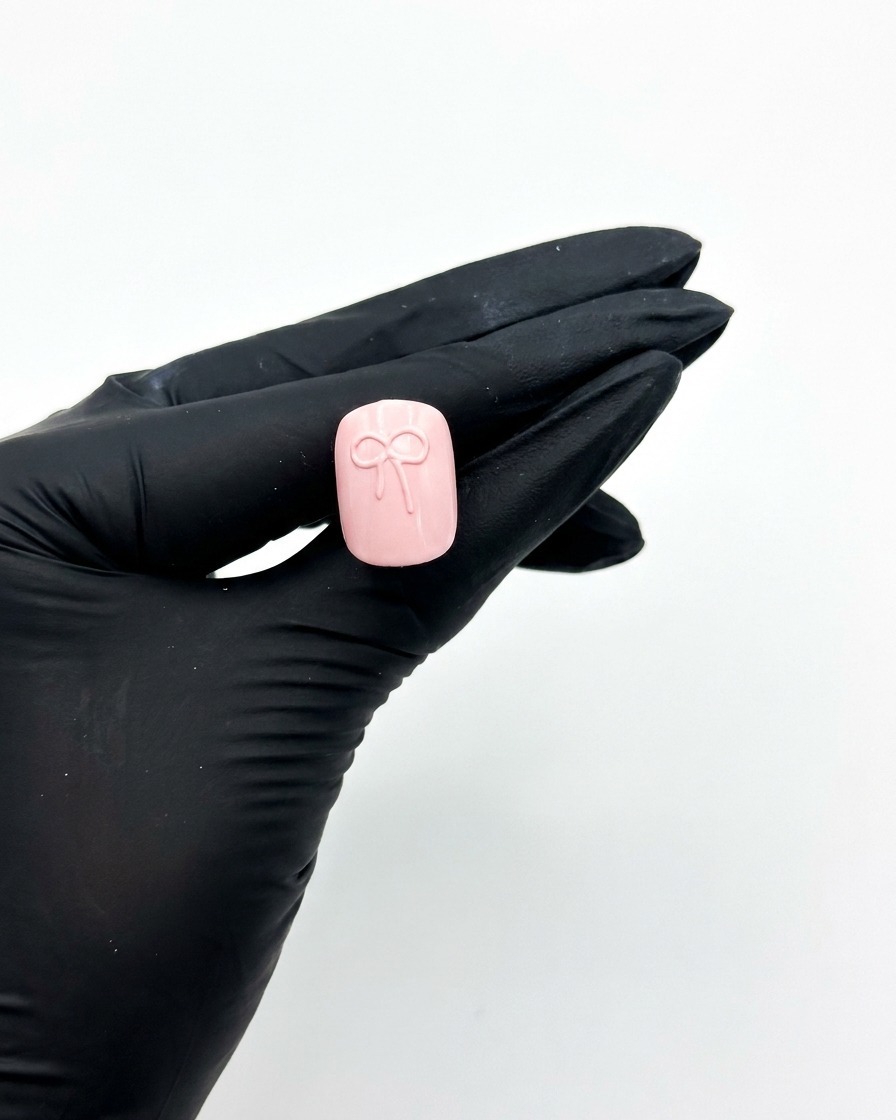
Place the nail under the UV lamp to cure the freshly drawn 3D gel design. Curing hardens the material so it holds its shape securely and prepares the surface for the final top coat application.
Tip: Make sure the gel is fully cured under the lamp to prevent any soft spots or shifting of the 3D elements.