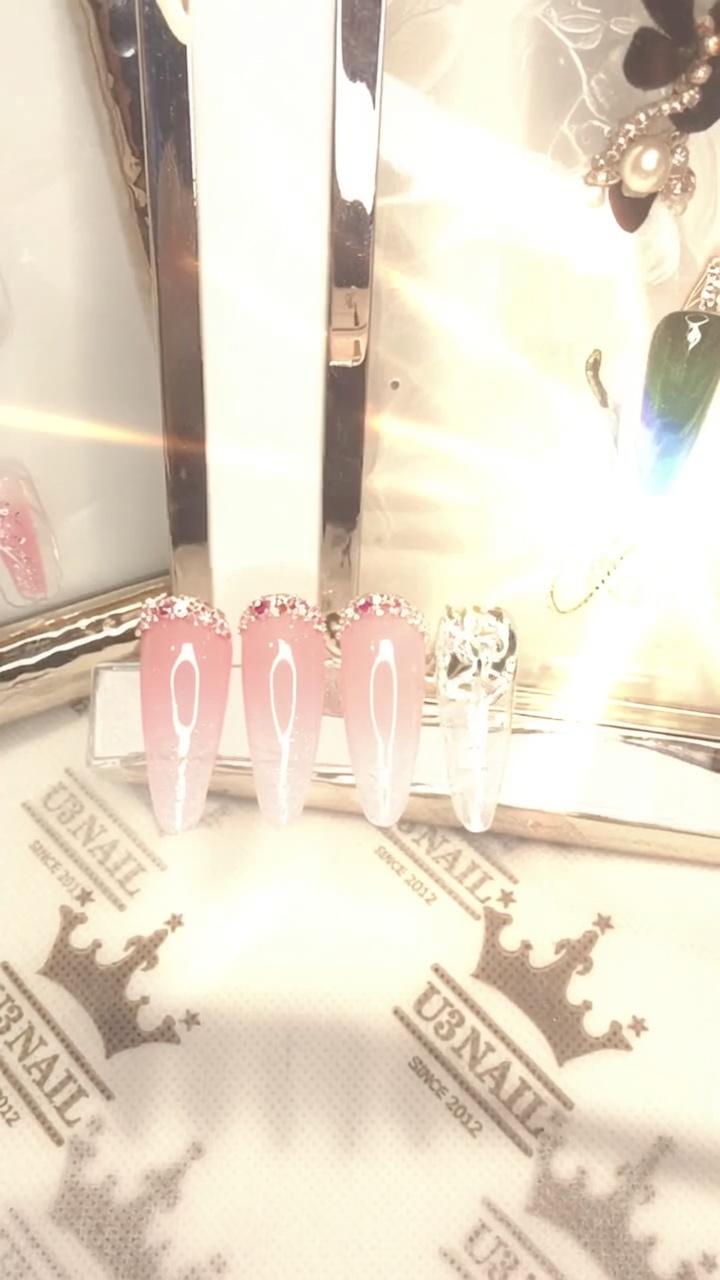
Light Luxury Pink and White Gradient Nails
Rhinestone Cluster — Step-by-Step Tutorial
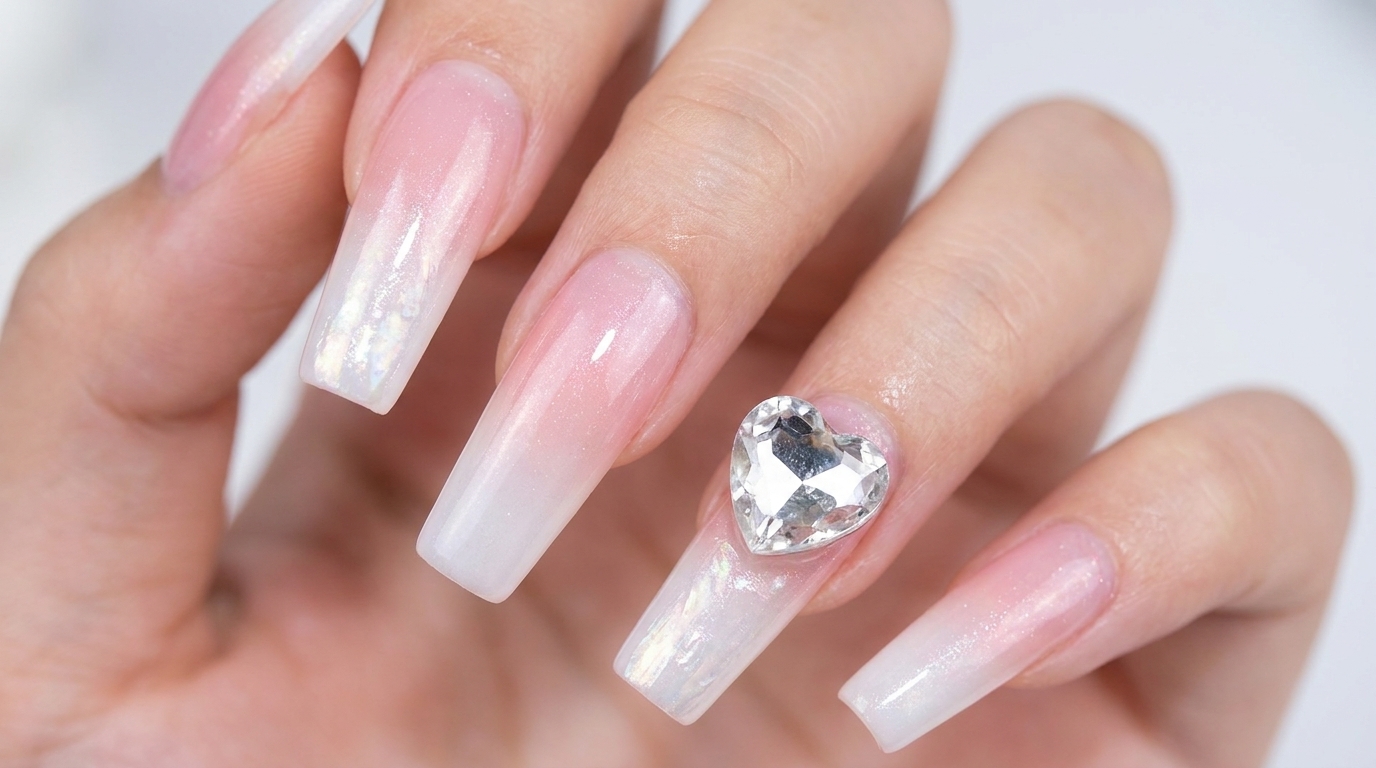
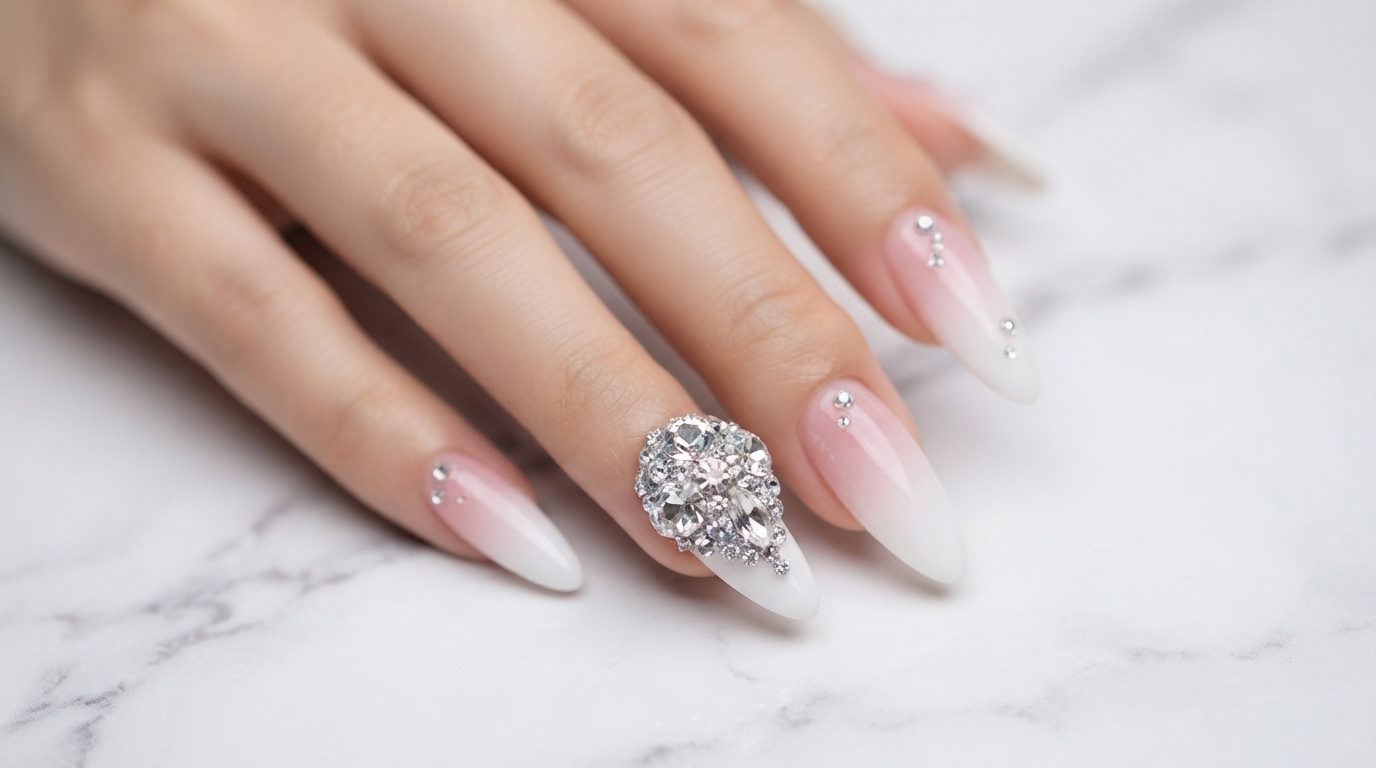
Create a stunning light luxury pink and white ombre gradient featuring a dazzling 3D rhinestone cluster for an elegant, high-end finish.
The light luxury pink and white two-color gradient paired with an intricate rhinestone cluster brings salon-quality sophistication straight to your fingertips. By mastering the seamless blend of pink and white gel shades and anchoring heavy crystals with solid rhinestone glue, you can achieve a truly dazzling statement look.
Steps
- 1Apply first layer of pink gel
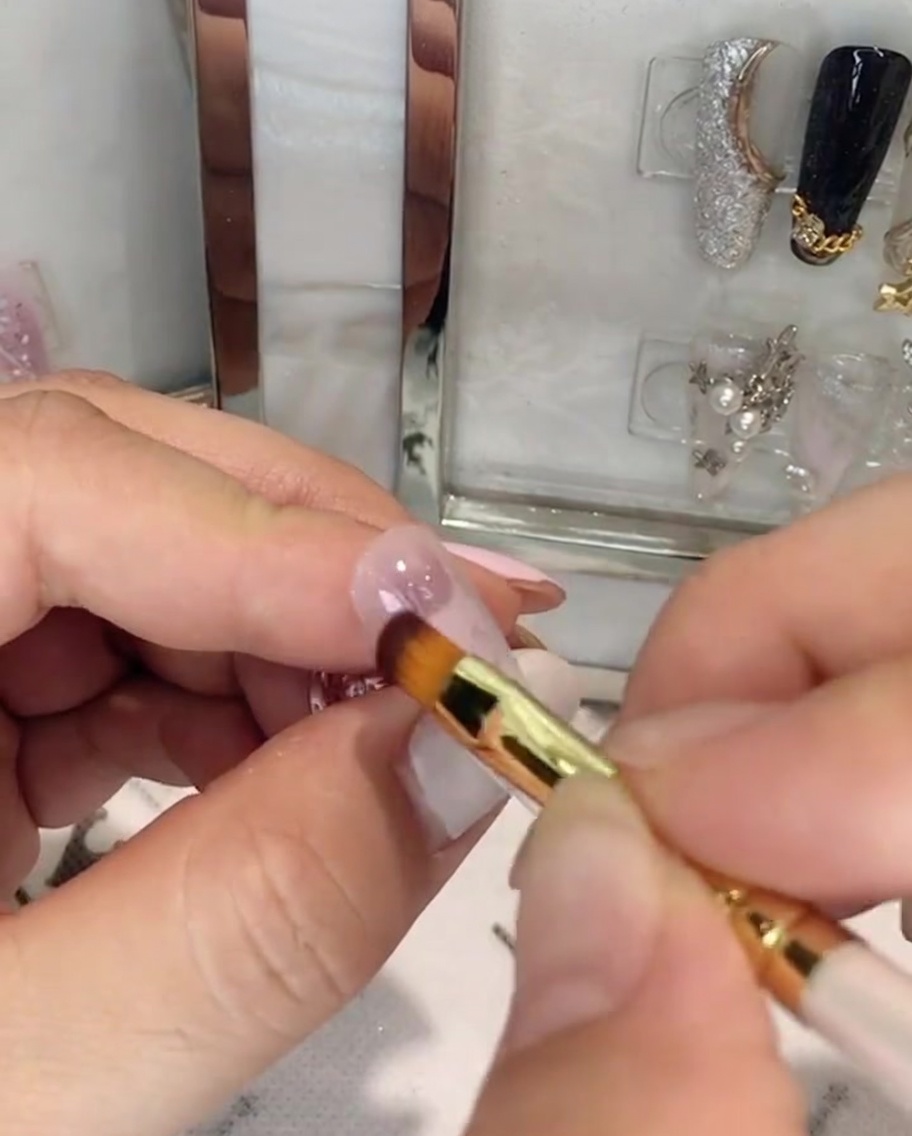
Start your light luxury two-color gradient by applying the first shade, MD134, to the upper half of the nail plate. Use your brush to place the color near the cuticle area and pull it slightly downwards.
Tip: Keep the application thin near the cuticle to ensure a natural look and prevent the product from pooling. - 2Blend the pink gel
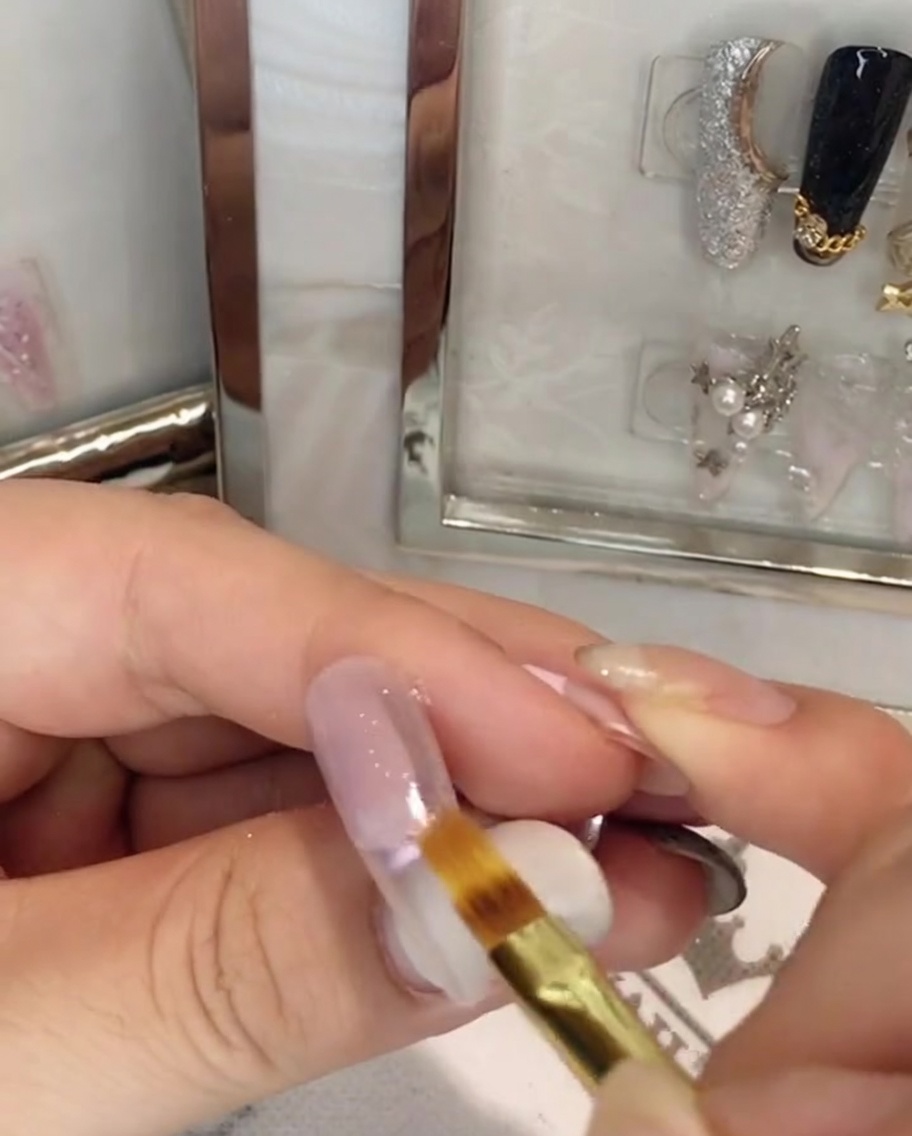
Using a flat brush, gently brush out the pink gel downwards towards the middle of the nail. This will help create a natural, faded transition that prepares the nail base for the second color.
Tip: Use a light hand when brushing downwards so you do not remove too much of the color. - 3Apply first layer of white gel
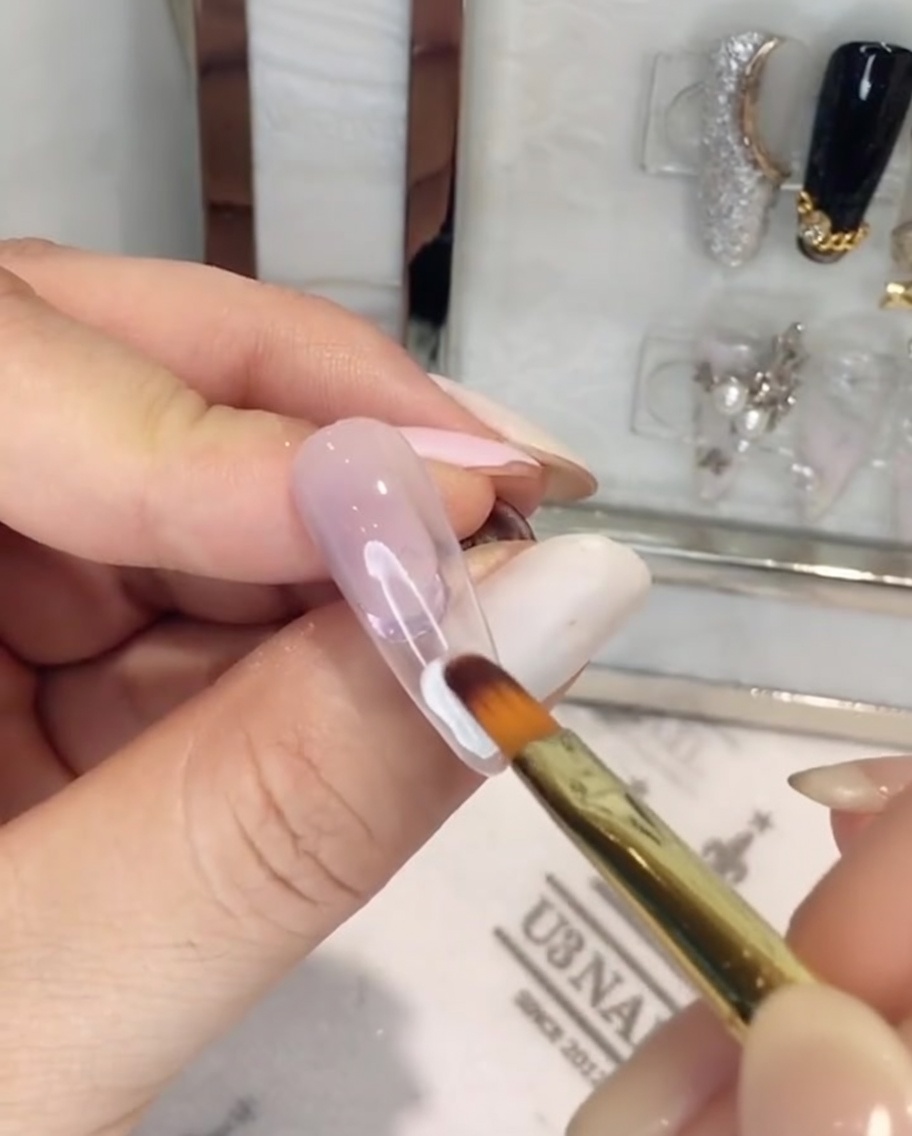
Take your second shade, BOW110, and apply it to the lower half of the nail plate. Place the color near the free edge, ensuring it meets the faded edge of the pink gel.
Tip: Make sure you cover the tip completely to create a solid base for the gradient. - 4Blend the white gel upwards
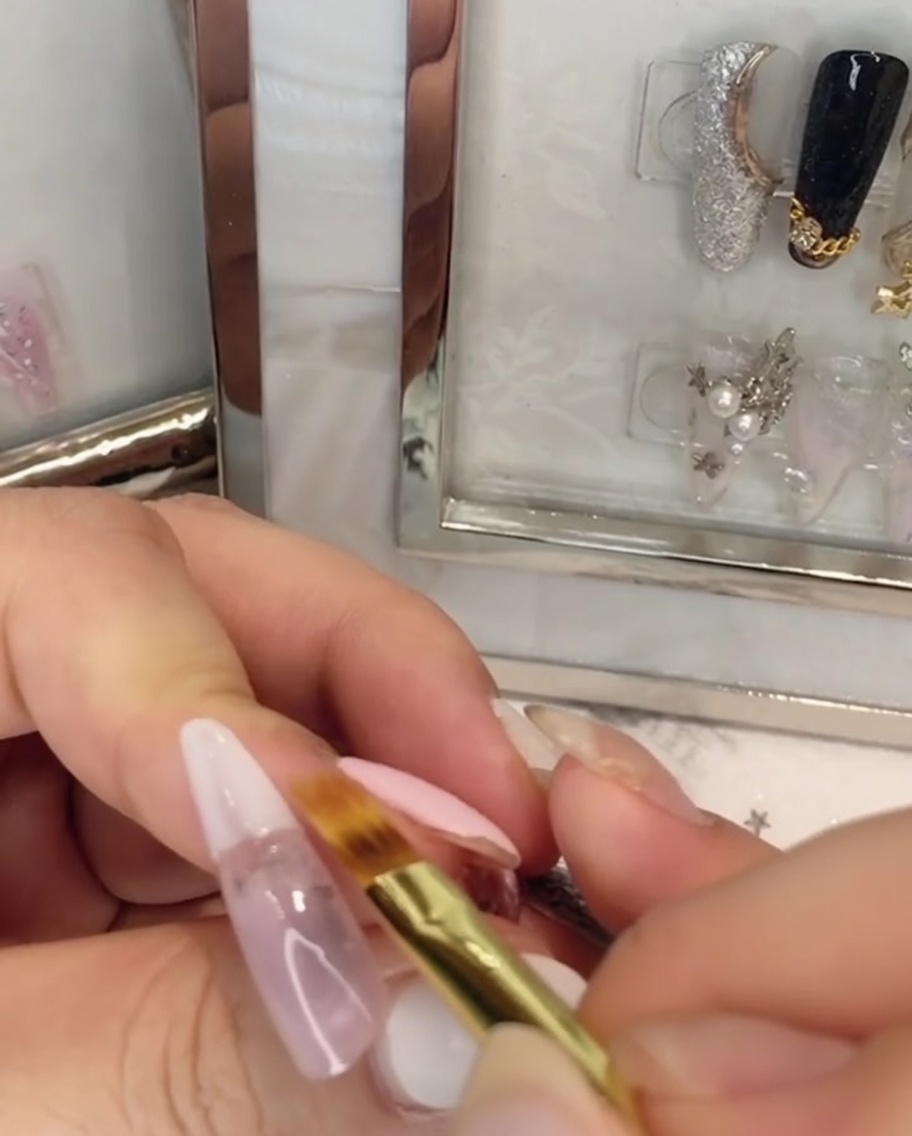
With your flat brush, gently blend the white gel upwards to meet and mix with the pink gel. Brush it out carefully to create a smooth, seamless ombre transition between the two colors.
Tip: Clean your blending brush frequently to avoid muddying the gradient. - 5Apply second coat of pink gel
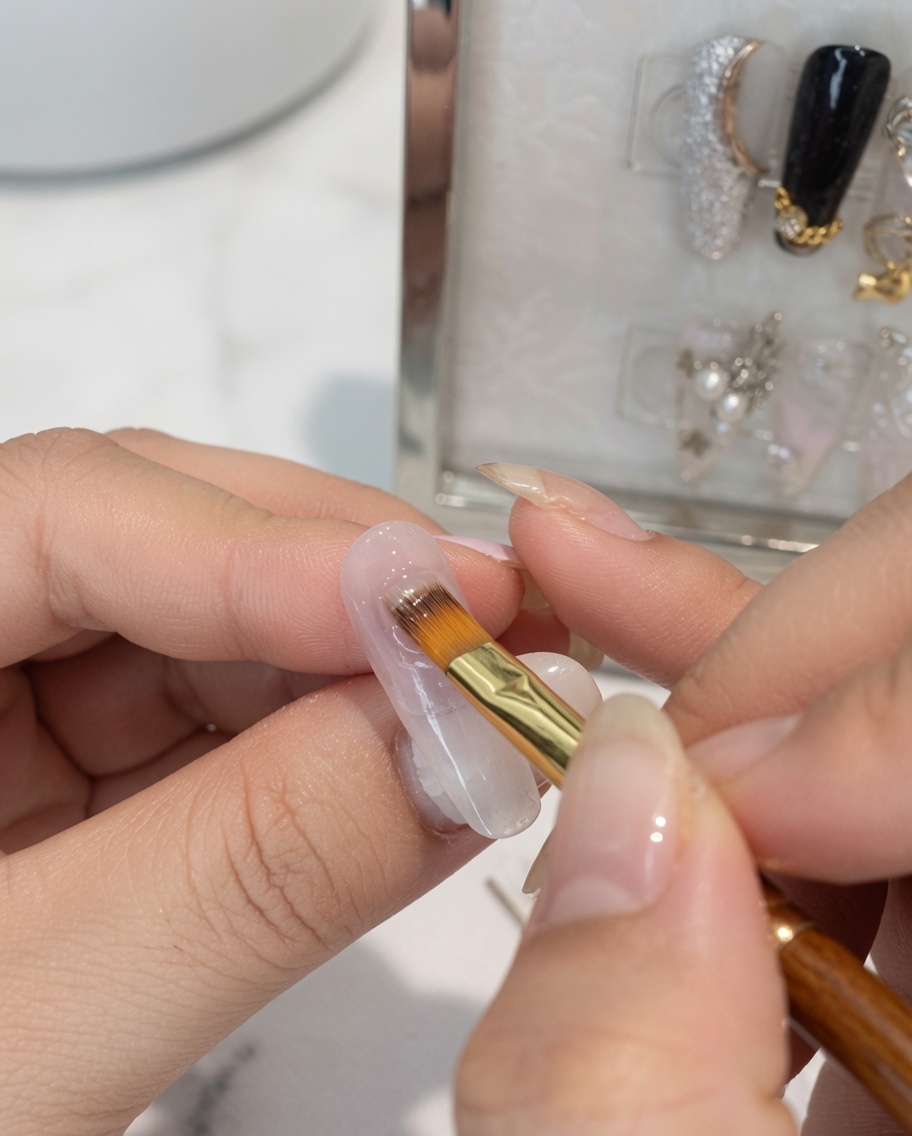
Apply a second layer of pink gel polish to the upper half of the nail to build up color intensity. Use your gel brush to gently blend the color downwards, ensuring a natural and seamless transition for the gradient effect.
Tip: Keep a light hand while brushing out the color to avoid wiping away too much product. - 6Apply second coat of gradient color
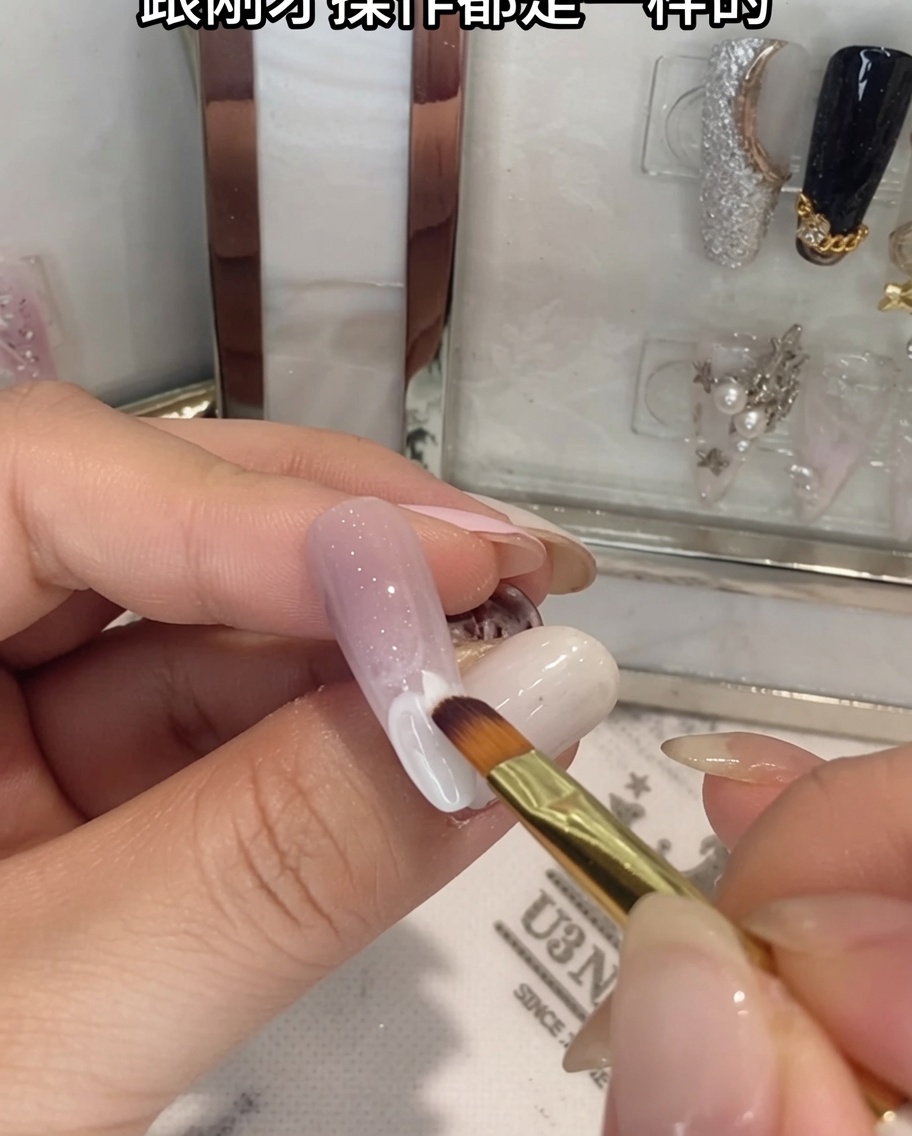
Apply a second coat of white gel to the lower half of the nail and gently blend the boundary with the upper color to ensure a seamless and natural transition.
Tip: Keep strokes light during the second blend to avoid muddying the gradient layers. - 7Apply top coat
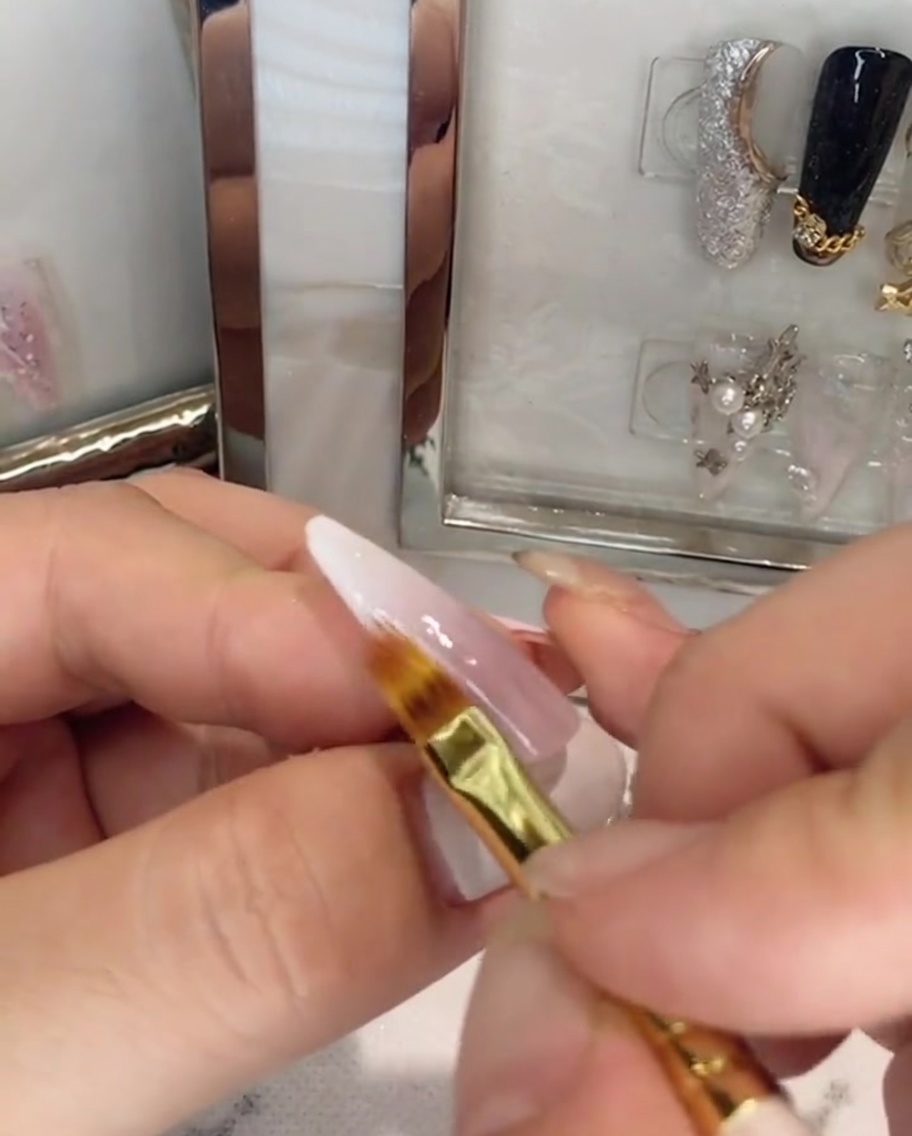
Apply a layer of clear top coat over the entire nail to seal in the beautiful gradient design and prepare the surface for the rhinestone application.
Tip: Make sure the gradient is fully cured before applying the top coat to prevent the colors from smudging. - 8Apply solid rhinestone glue
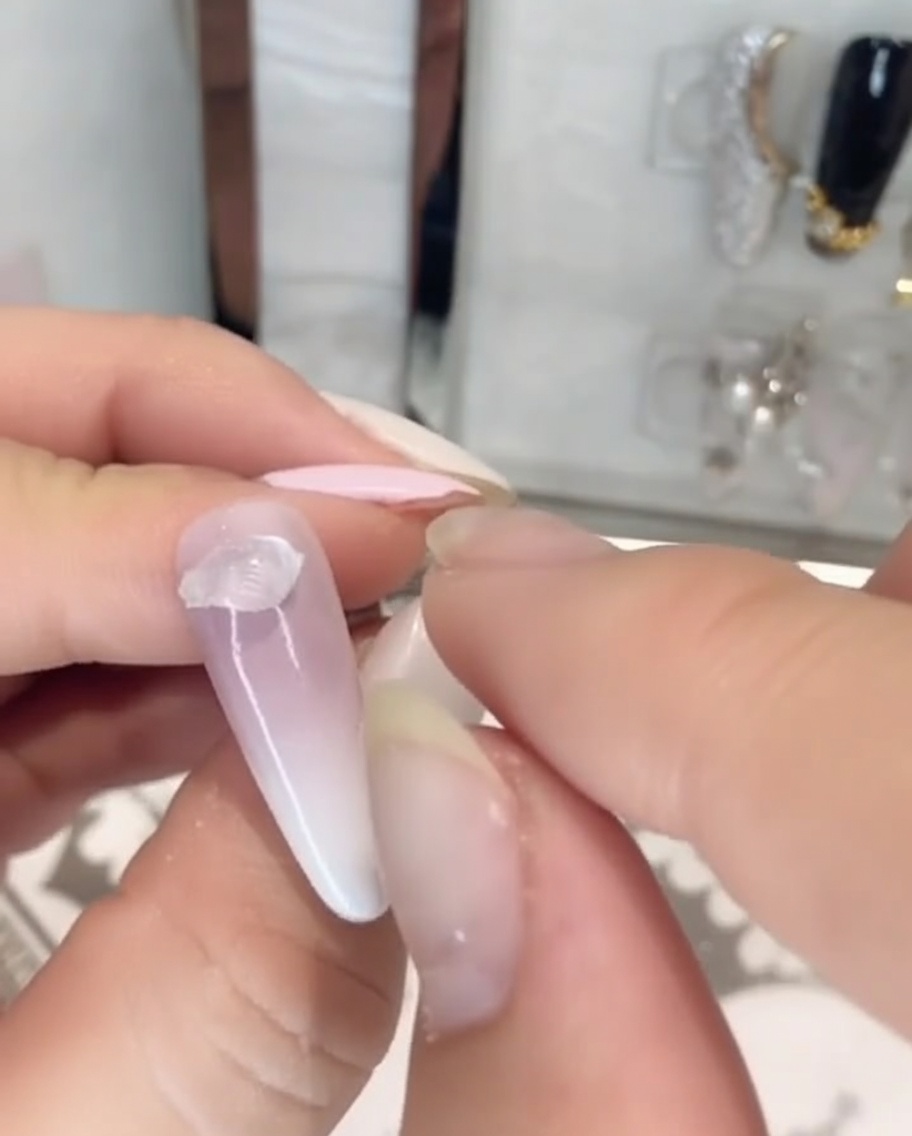
Take a dollop of thick solid rhinestone glue and place it securely on the nail near the cuticle area. This firm gel will act as the strong foundation for your 3D diamond cluster.
Tip: Solid rhinestone glue is much easier to work with for heavy charms as it wont run or flatten out. - 9Place first large rhinestone
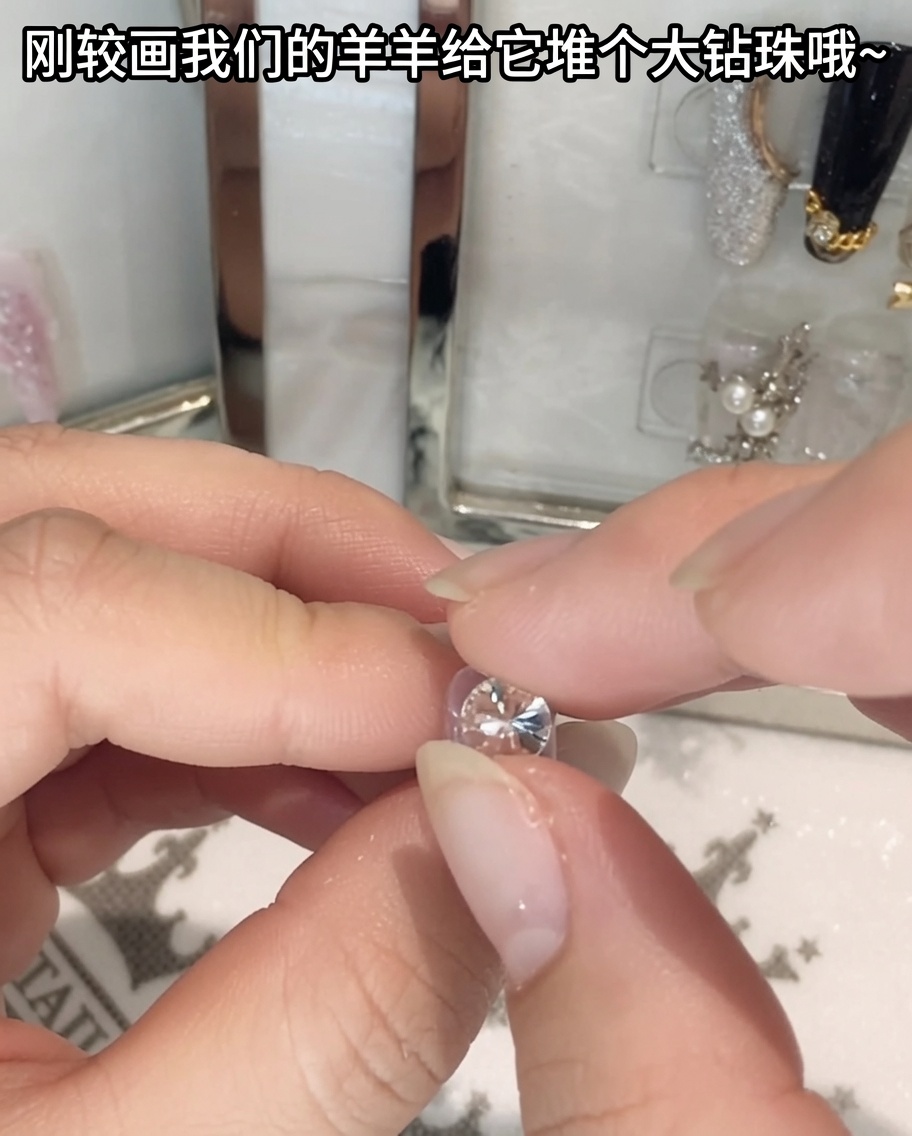
Take a pair of pointed tweezers to carefully pick up the first large rhinestone and press it firmly into the previously placed dollop of solid rhinestone glue.
Tip: Double-check the placement angle before pressing down to ensure proper alignment for the overall cluster. - 10Build the diamond ball
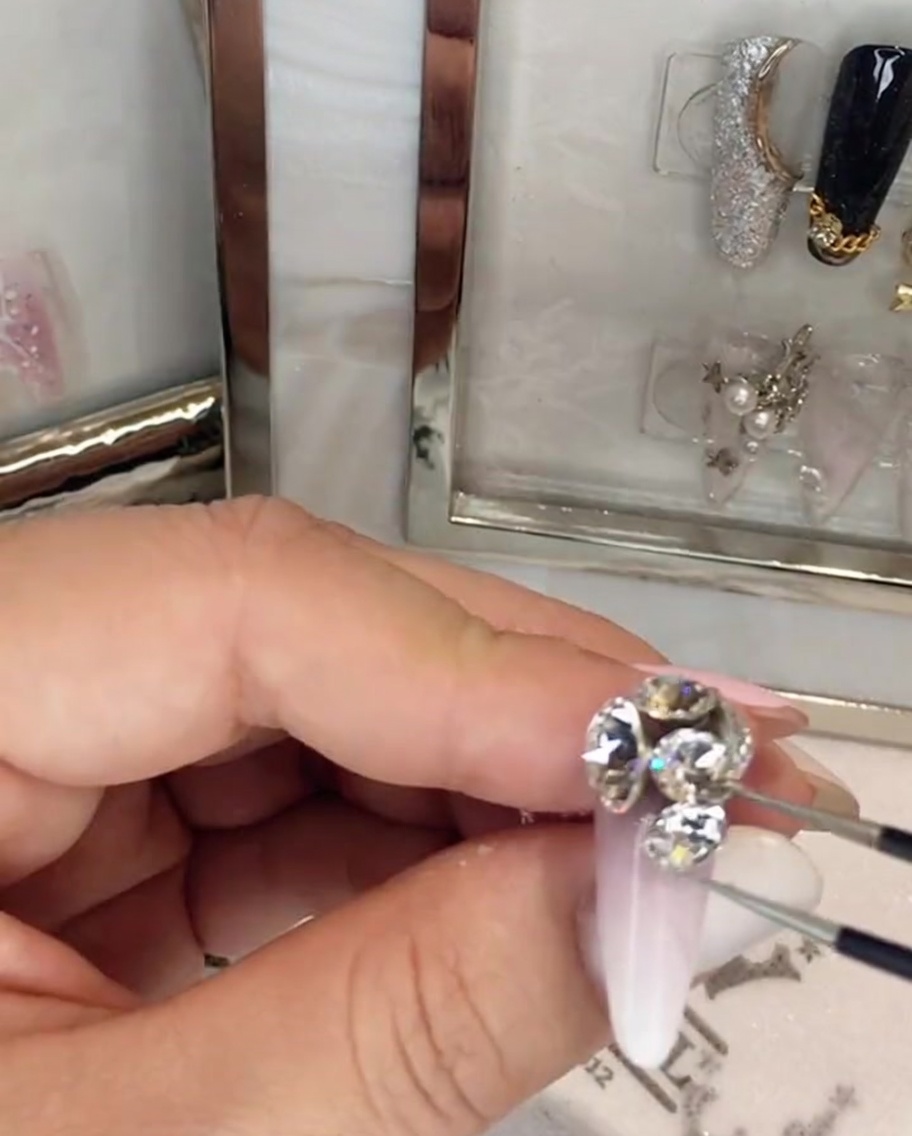
Continue using your tweezers to add smaller rhinestones around the main center stone. Carefully pile them up to build a stunning 3D diamond ball cluster, adjusting the position as needed before curing.
Tip: Building large clusters can be tricky; slightly adjust the stones to nestle them tightly together. - 11Adjust rhinestone cluster positioning
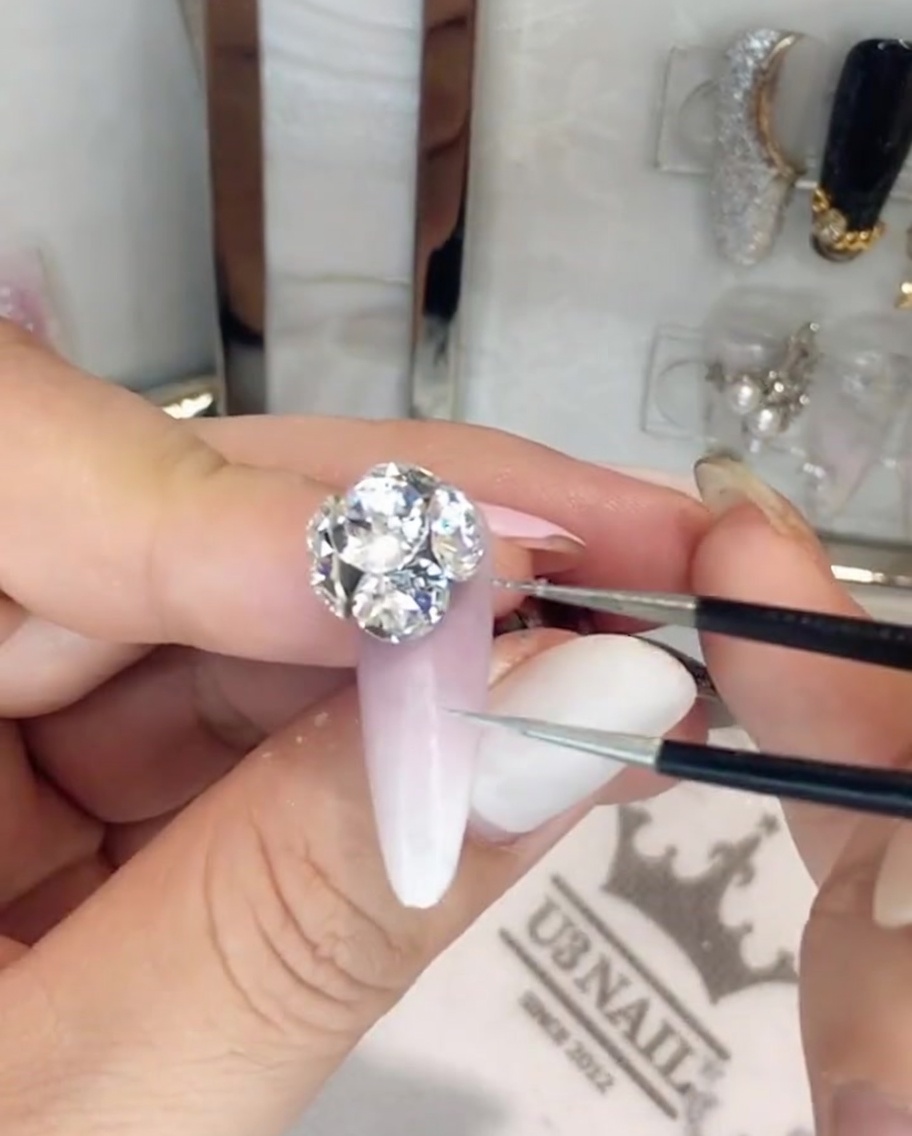
Inspect the assembled diamond ball cluster and use tweezers to make any final adjustments to the individual rhinestone positions before curing the adhesive.
Tip: Make sure all stones are tightly nested together and securely embedded in the solid glue to prevent snagging later.