White Peach Moonlight Rhinestone
Chain Nail Art Tutorial
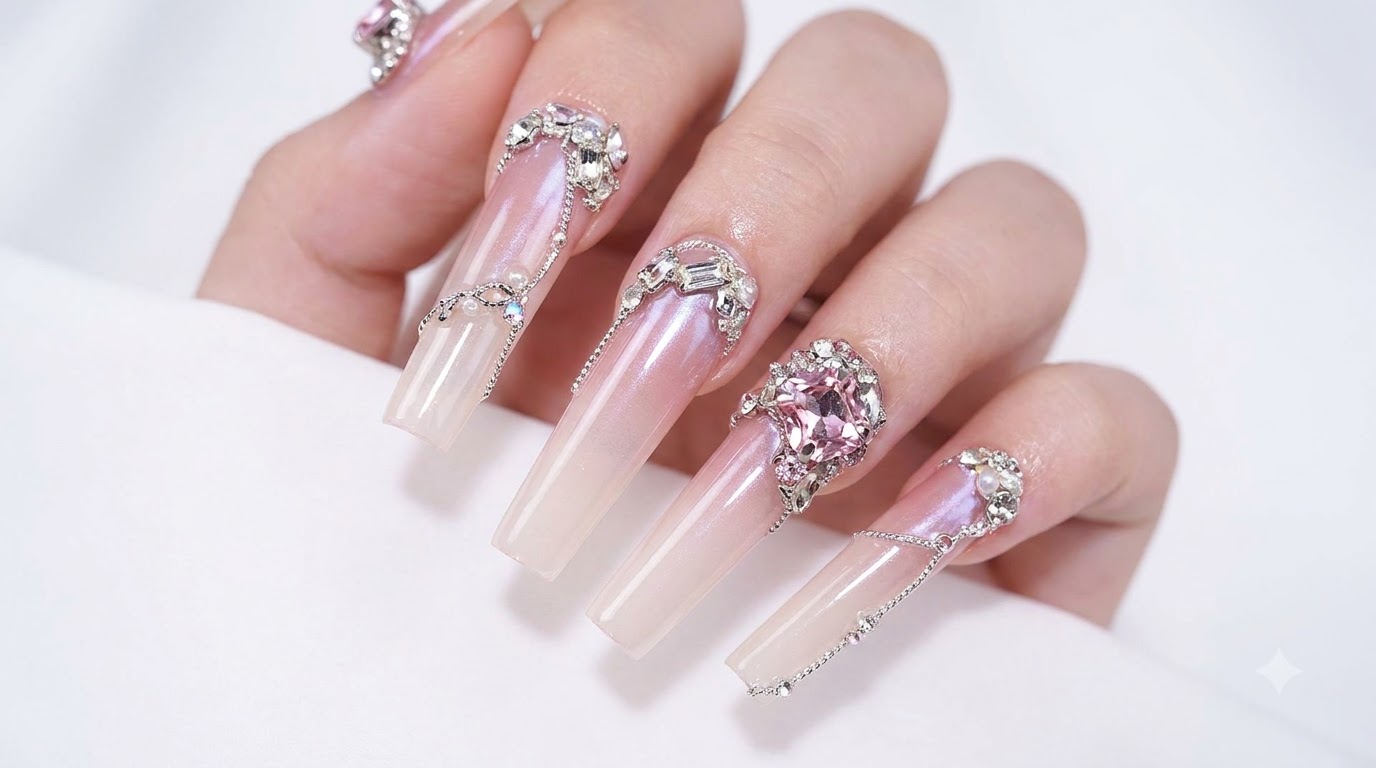
Discover how to create glamorous white peach moonlight rhinestone and chain nail art with extended square nails, shimmering gradient effects, and 3D crystal jewelry clusters.
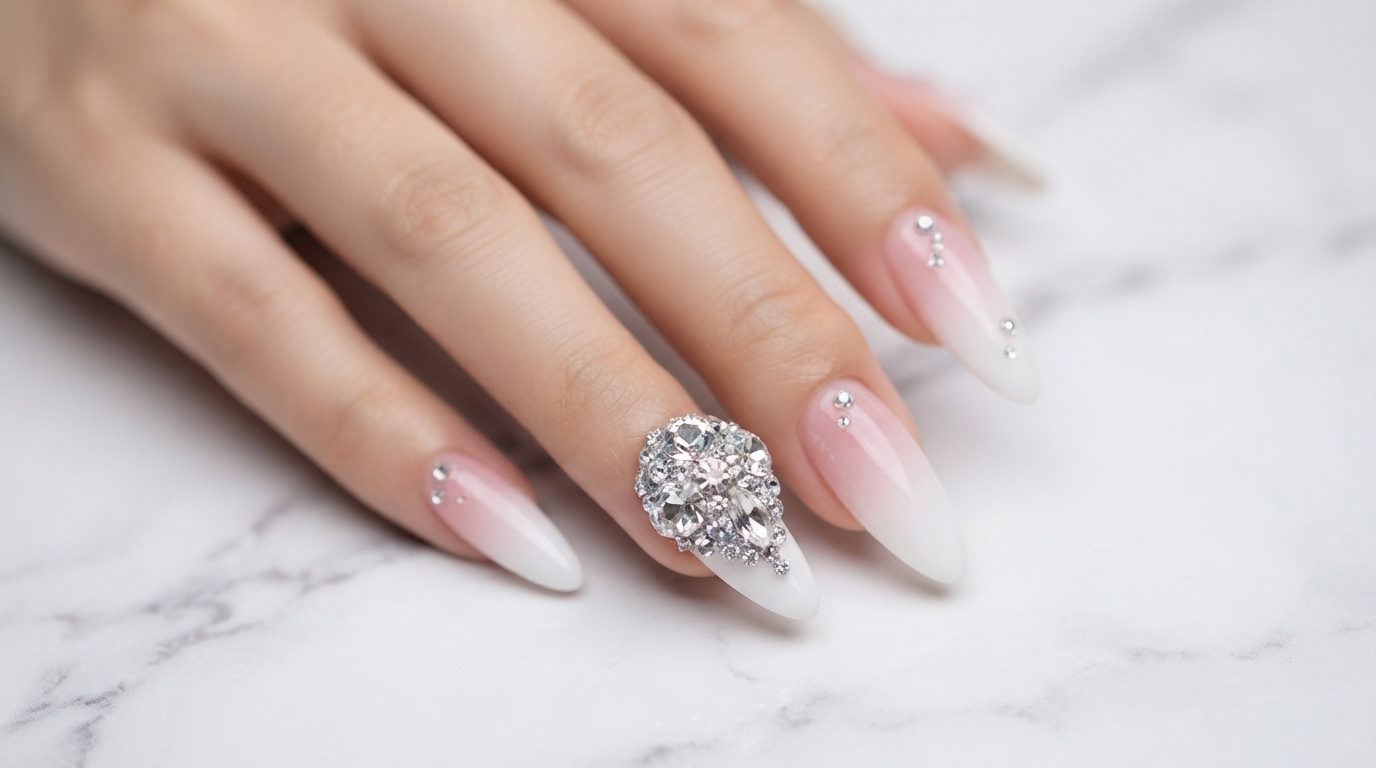
This ultra-glamorous nail design combines a soft pink and white ombre gradient with luminous moonlight powder effects, detailed silver linework, and intricate 3D rhinestone and chain embellishments. Designed for those who love high-shine, statement-making manicures, this tutorial walks you through every step to achieve professional salon-quality results.
Steps
- 1Plan rhinestone placement
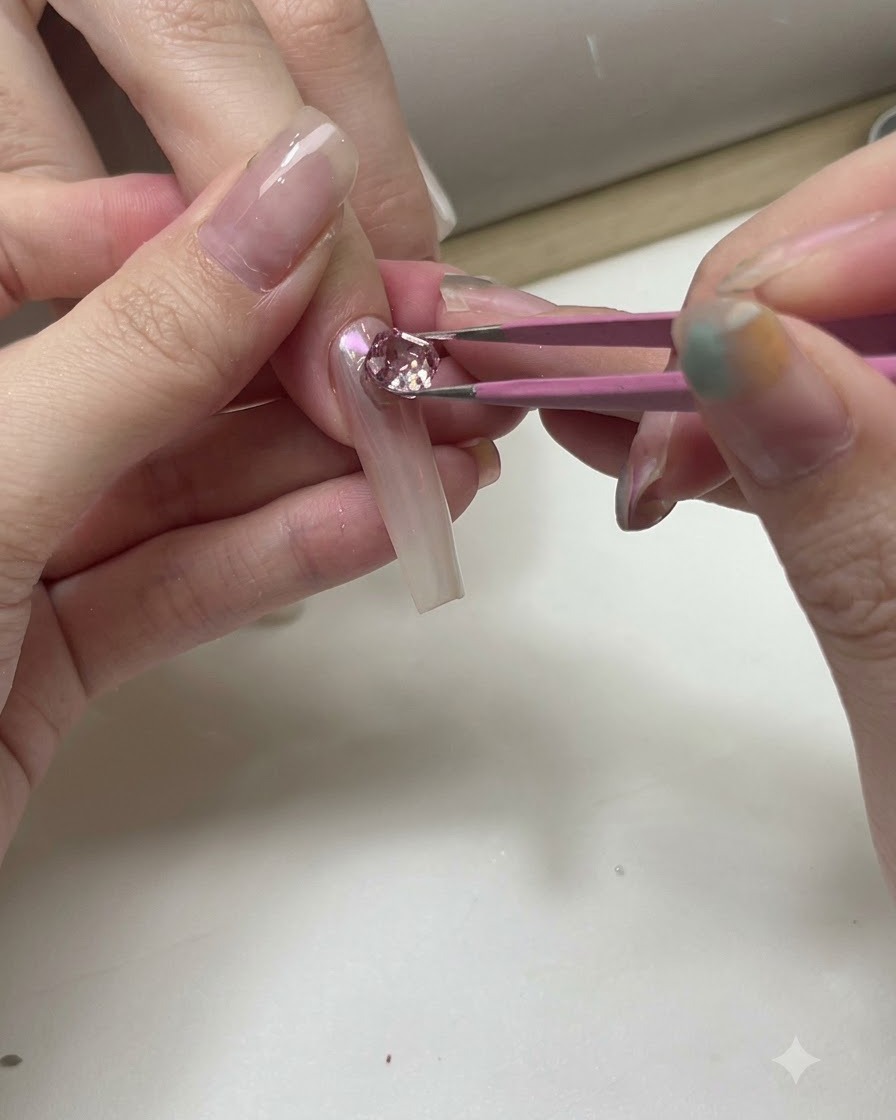
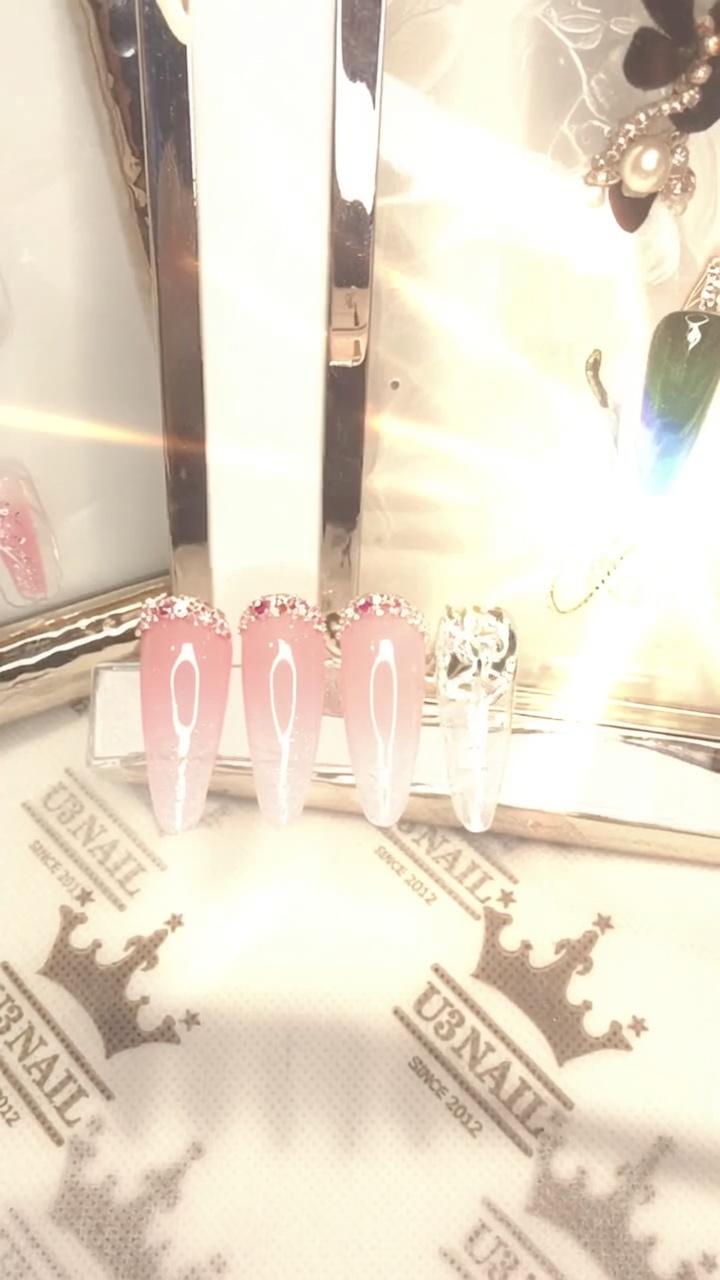
Using precision tweezers, carefully select and place large pink and clear rhinestones onto a clear practice nail extension to plan out the arrangement for your design. This initial layout helps you visualize the balance, sizing, and overall composition before applying gems directly to the clients hands.
Tip: Always map out complex 3D rhinestone designs on a practice stand or extension first to ensure a harmonious arrangement. - 2Draw decorative silver details
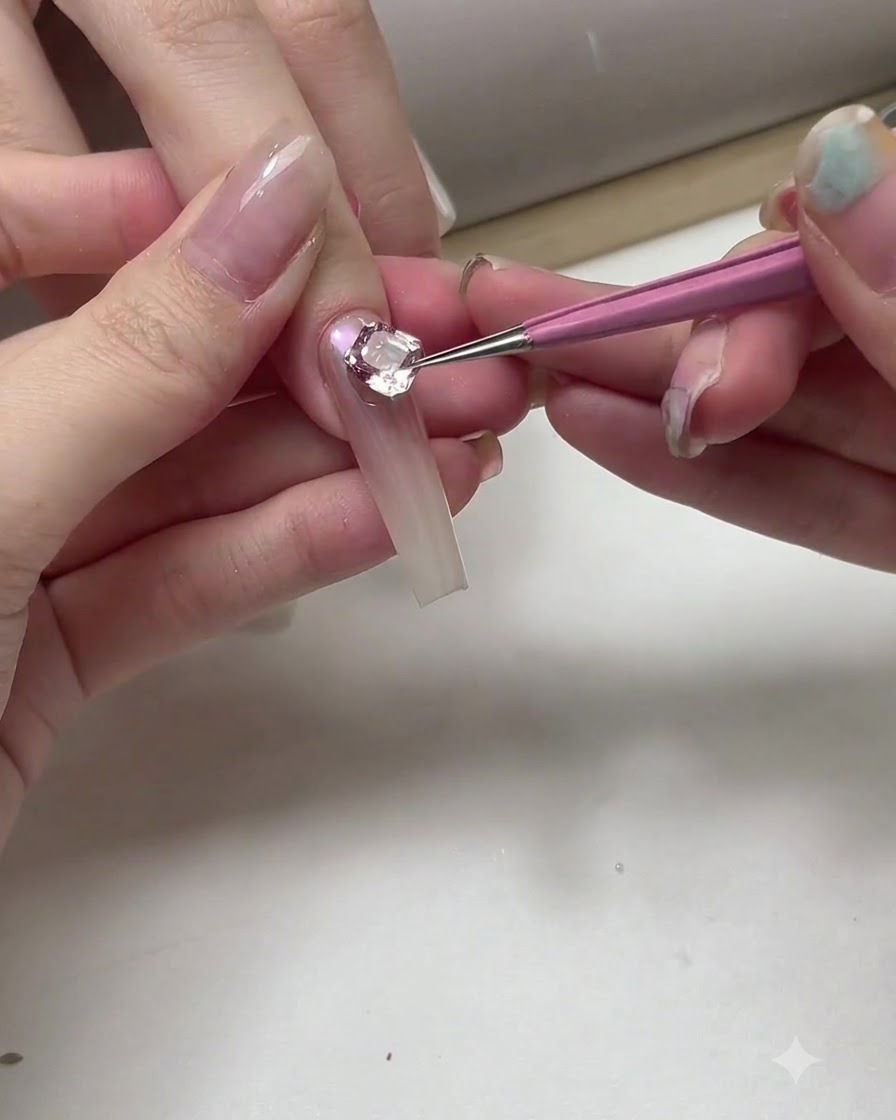
Using a fine nail liner brush dipped in silver gel, carefully paint delicate curved lines and framing details around the rhinestones on the nail. These hand-drawn accents enhance the dimensional look and seamlessly tie the crystals into the overall design.
Tip: Keep your hand steady and use only the tip of the liner brush to create crisp, thin, elegant metallic lines. - 3Apply nail extension forms
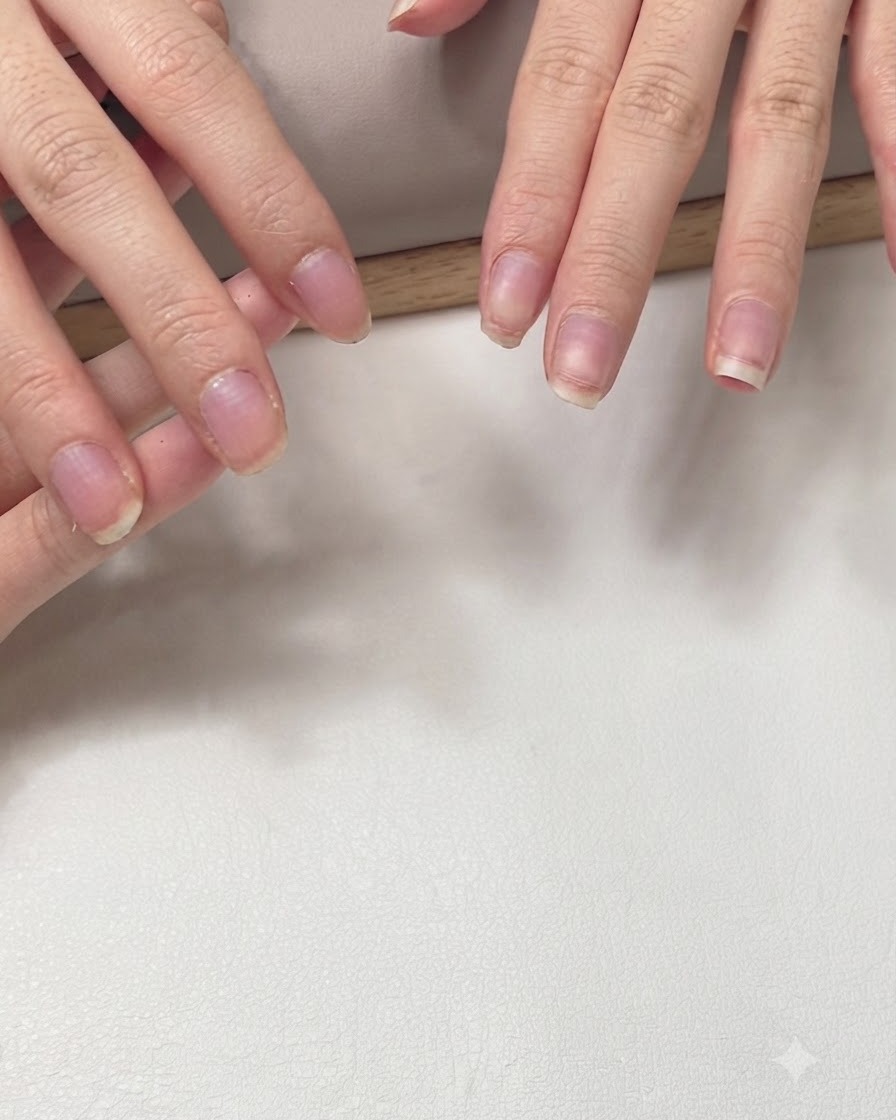
Apply clear acrylic or gel extension forms securely onto the natural short nails to prepare for lengthening. Ensure the forms fit snugly under the free edge without any gaps to achieve a smooth, properly structured extension base.
Tip: Check that the form is aligned straight with the center of the finger to prevent crooked nail extensions. - 4Apply pink and white base gel
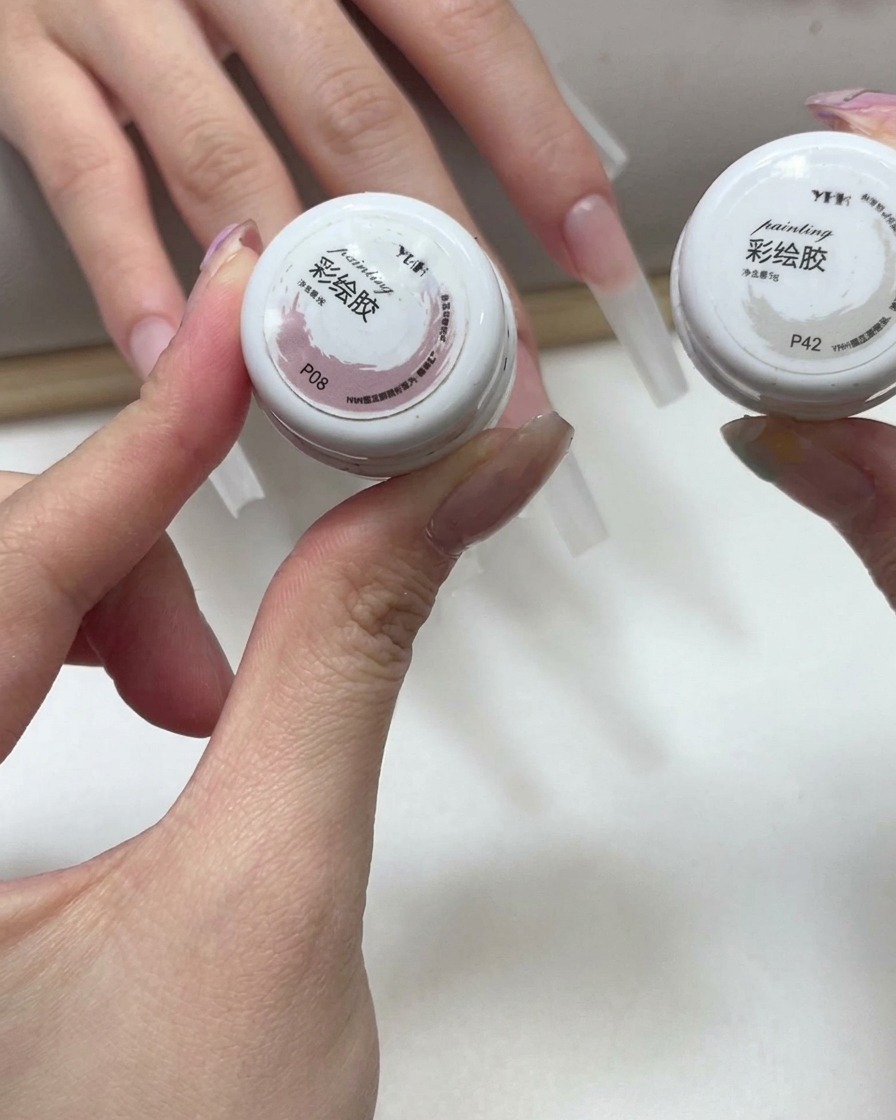
Apply pink and white colored gel as a base coat evenly across the extended nail surface to build a smooth gradient foundation. Work smoothly from the back edge to the tip to establish the desired color transition before curing.
Tip: Maintain a gentle touch with your brush to keep the boundary between the pink and white tones soft and blended. - 5Blend the ombre gradient
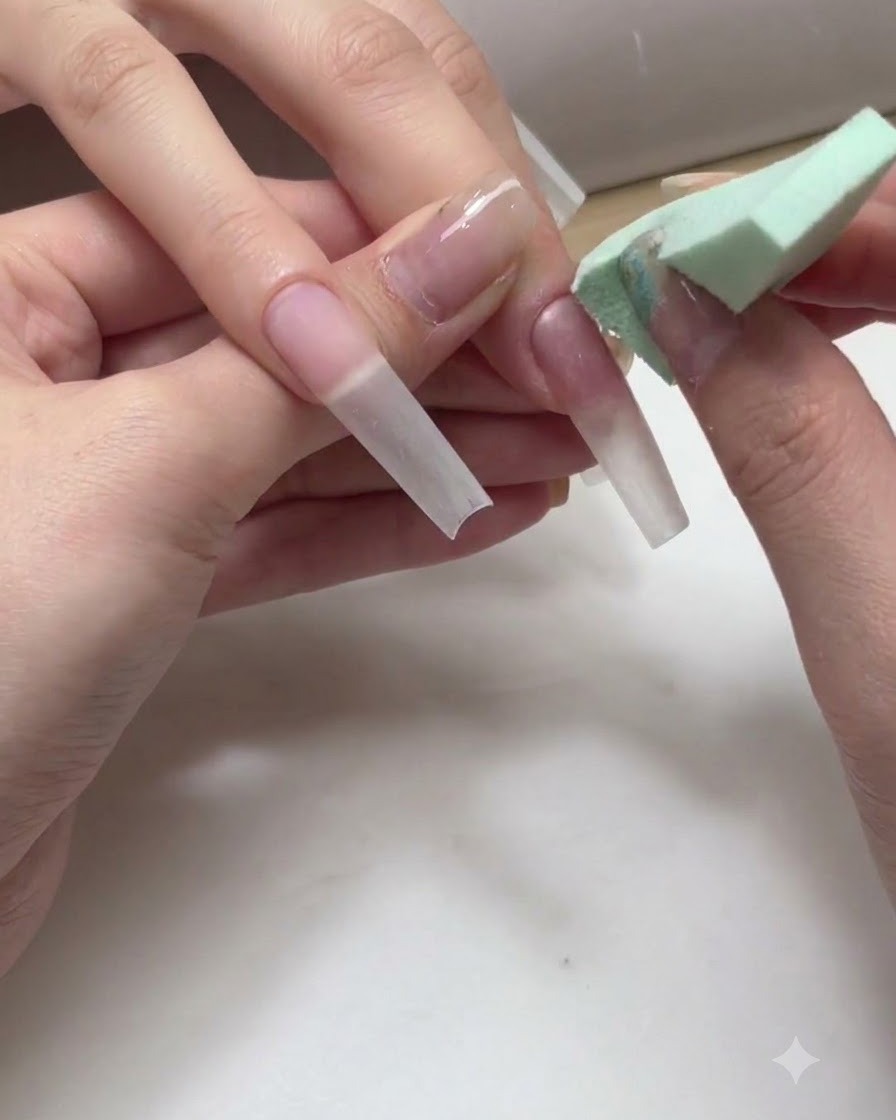
Using a makeup sponge, gently dab and blend the pinkish-white gel at the back edge into the champagne milky white gel at the free edge. Work in light, overlapping tapping motions to create a seamless gradient transition.
Tip: If the gradient looks patchy, cure the first layer and apply a second thin layer using the same sponging technique to build opacity. - 6Apply shimmering powder
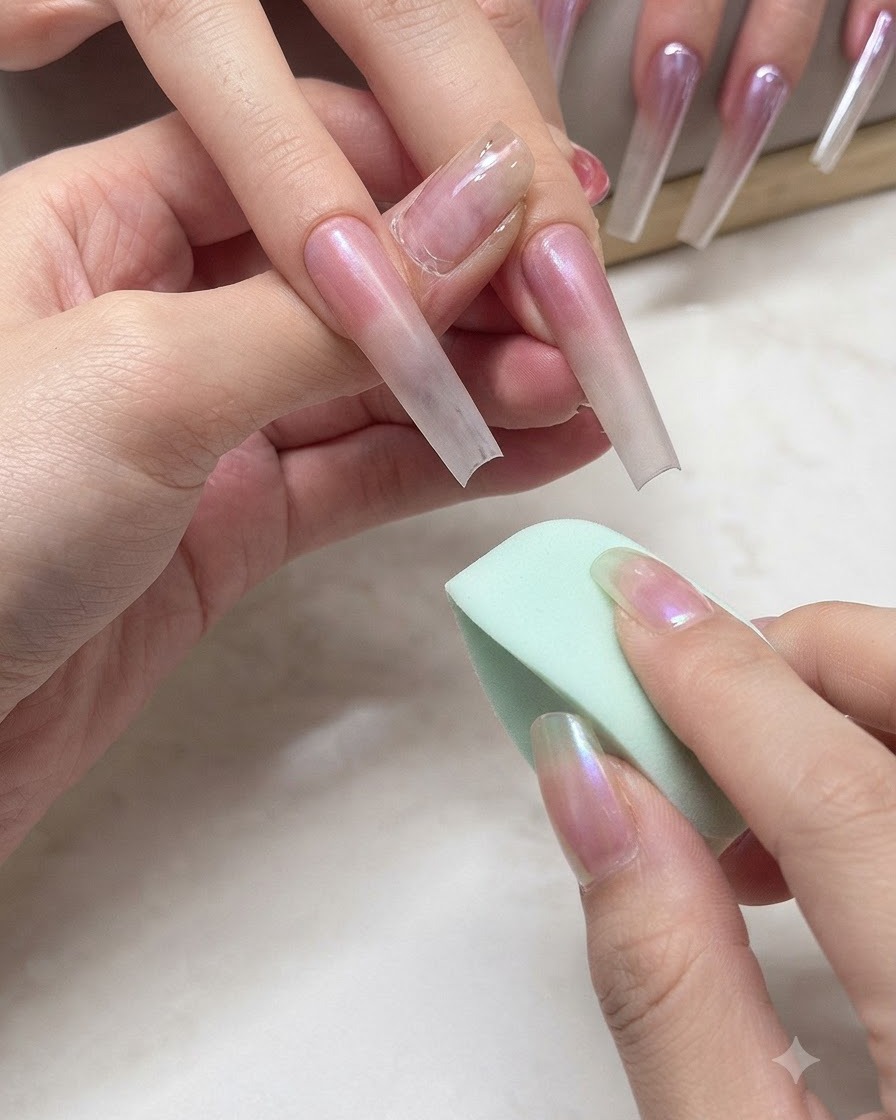
Use an applicator sponge to firmly rub a double layer of fine pink shimmering powder over the cured nail surface. Burnish the powder evenly across the entire gradient to achieve a smooth, glowing moonlight effect.
Tip: Make sure to dust off any excess powder with a soft fluffy brush before applying your top coat to avoid a grainy finish. - 7Apply moonlight effect powder
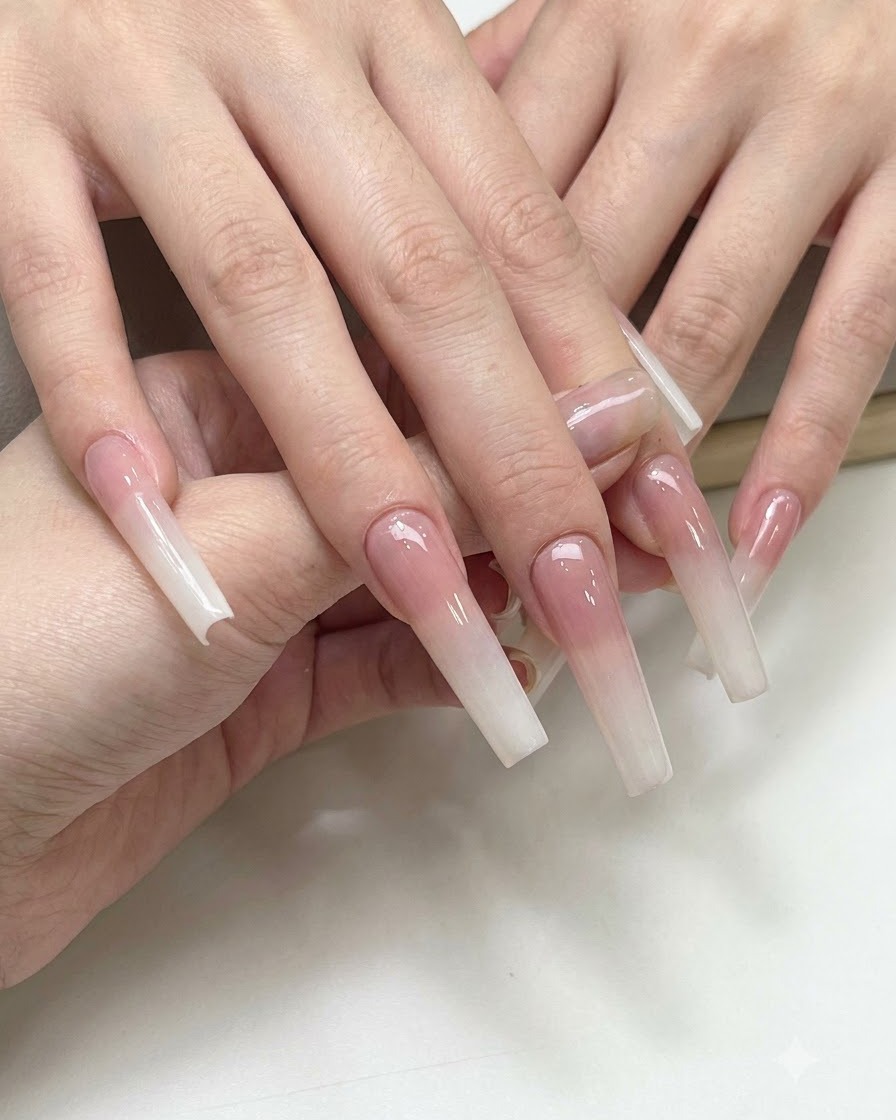
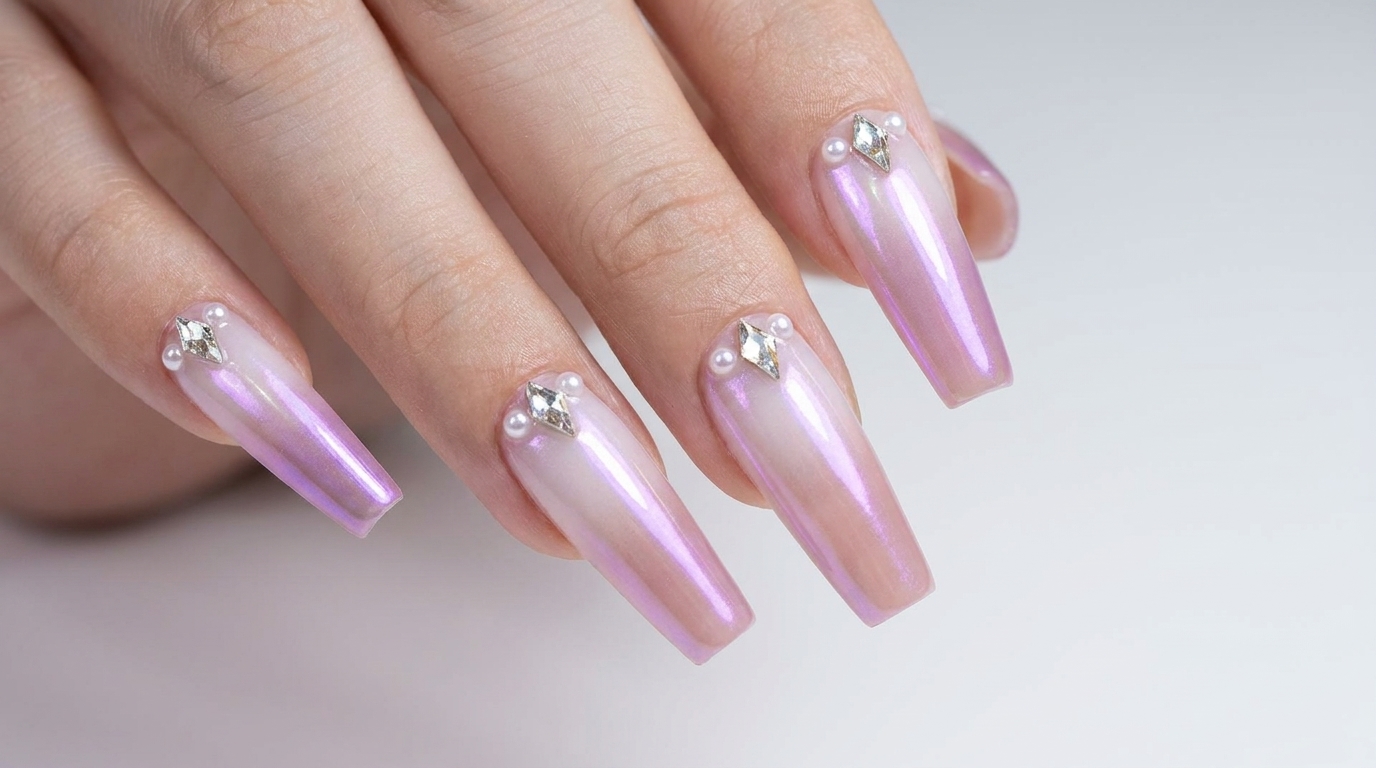
Gently apply the Moonlight effect powder onto the cured nail surface to impart a luminous pearlescent sheen. Buff the powder smoothly over the pinkish-white gradient to achieve an ethereal, glowing multi-dimensional finish.
Tip: Buff the powder lightly using a silicone tool or clean applicator finger for an ultra-smooth, mirror-like pearl effect. - 8Apply white peach shimmering powder
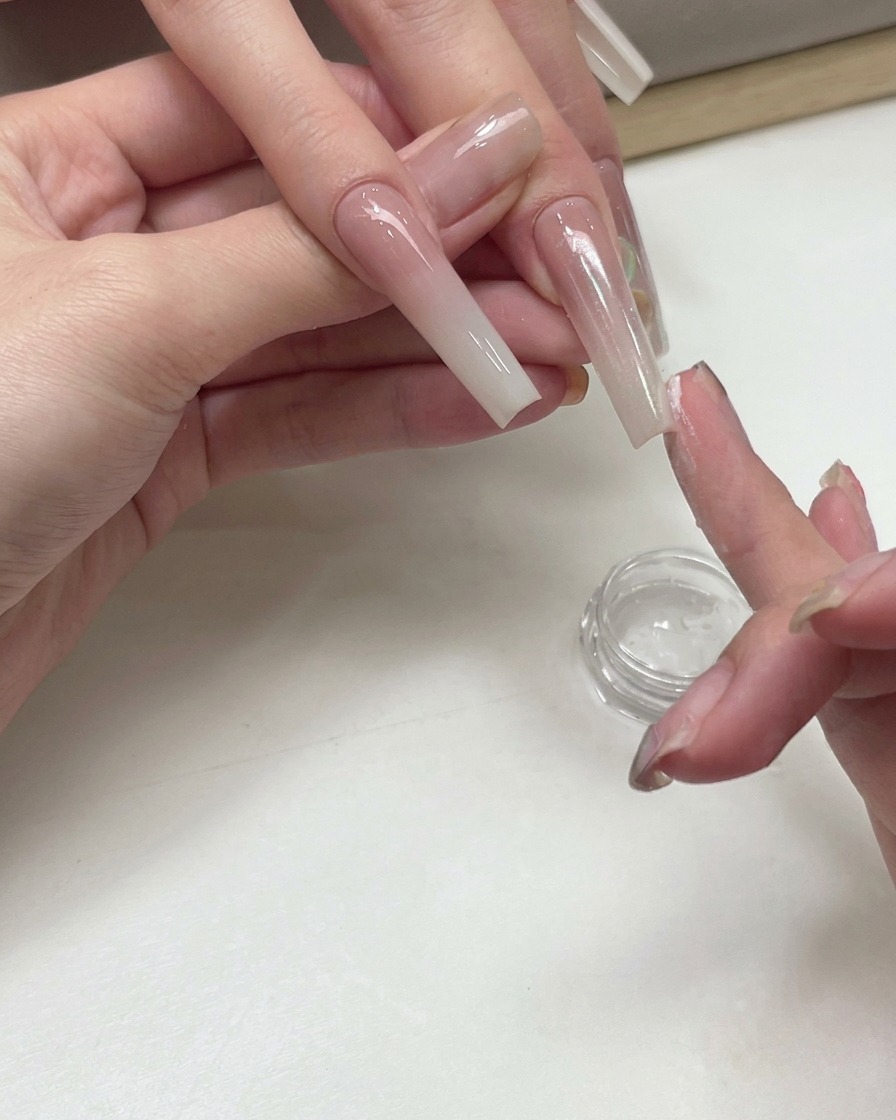
Using a clean finger or sponge applicator, gently dab the White Peach Sparkling Wine shimmering pigment powder onto the nail surface. This adds a delicate, sparkling champagne-pink tint that enhances the depth and brilliance of the color gradient.
Tip: Tap off any excess powder lightly before application to ensure an even, glittering distribution without clumping. - 9Apply top coat over the entire hand
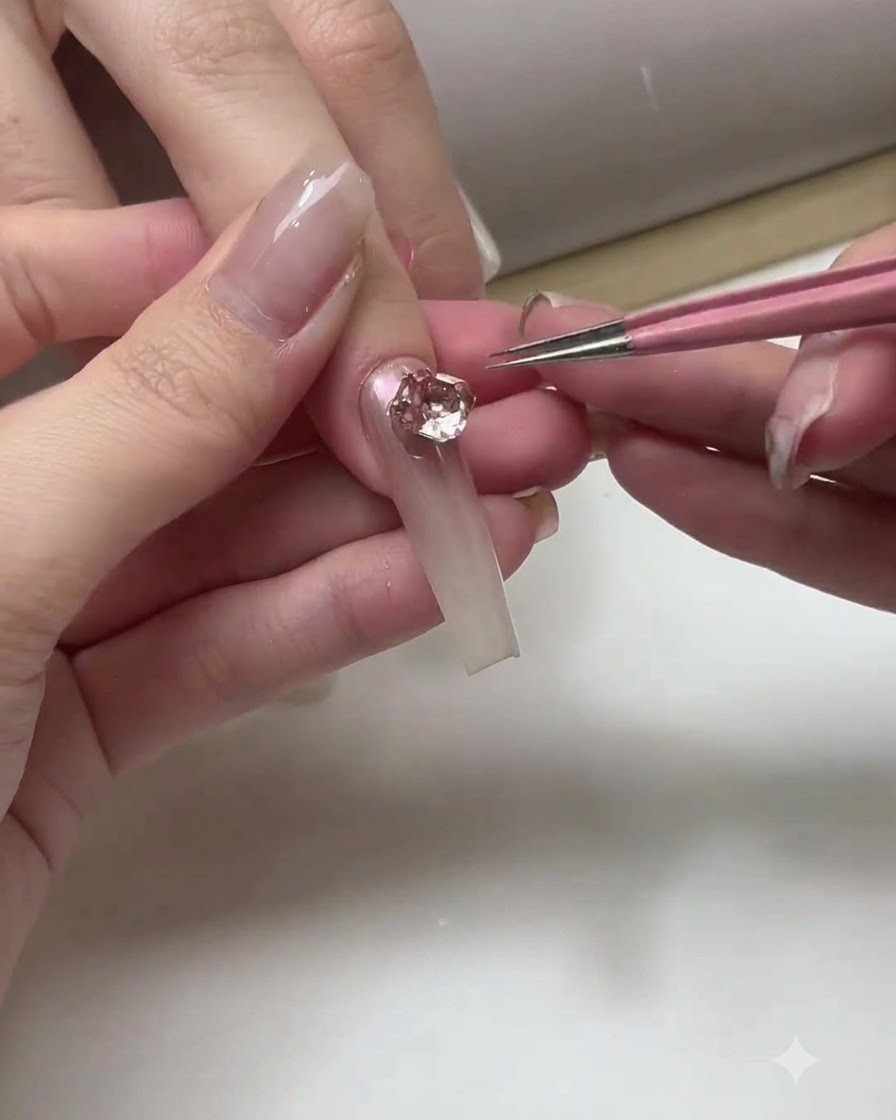
Apply a gloss top coat across the entire hand of completed ombre nails to seal the surface and protect the gradient design. Ensure even coverage over every nail before proceeding to place any 3D embellishments or rhinestones onto the tacky or wet layer.
Tip: Make sure the top coat covers the entire nail smoothly to create a solid foundation for the subsequent rhinestone placement. - 10Place large pink crystal rhinestone
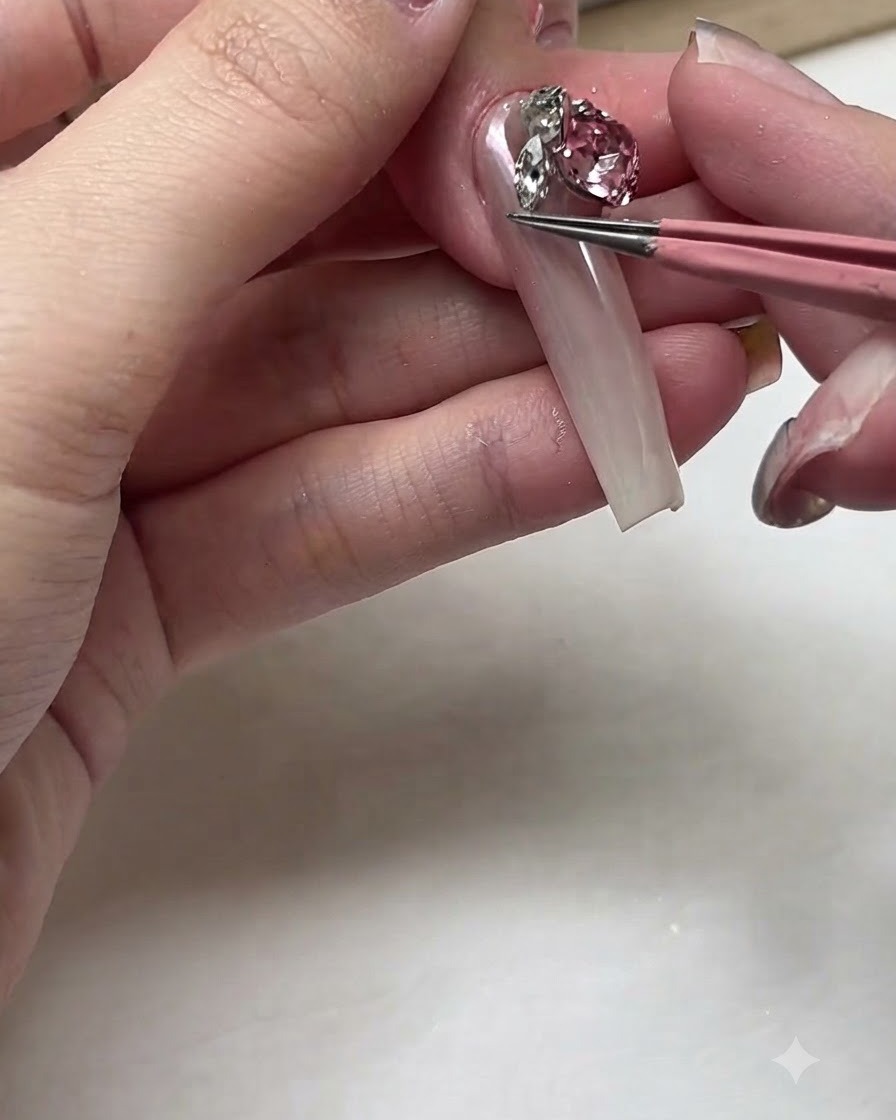
Using precision tweezers, pick up a large three-dimensional pink crystal rhinestone and carefully position it onto the prepared nail bed near the cuticle area. Arrange surrounding smaller gems around the main stone to compose an elaborate, sparkling jewelry cluster design.
Tip: Gently press each rhinestone into the gel base or top coat layer to secure it firmly before curing. - 11Cure main rhinestone and surrounding gems
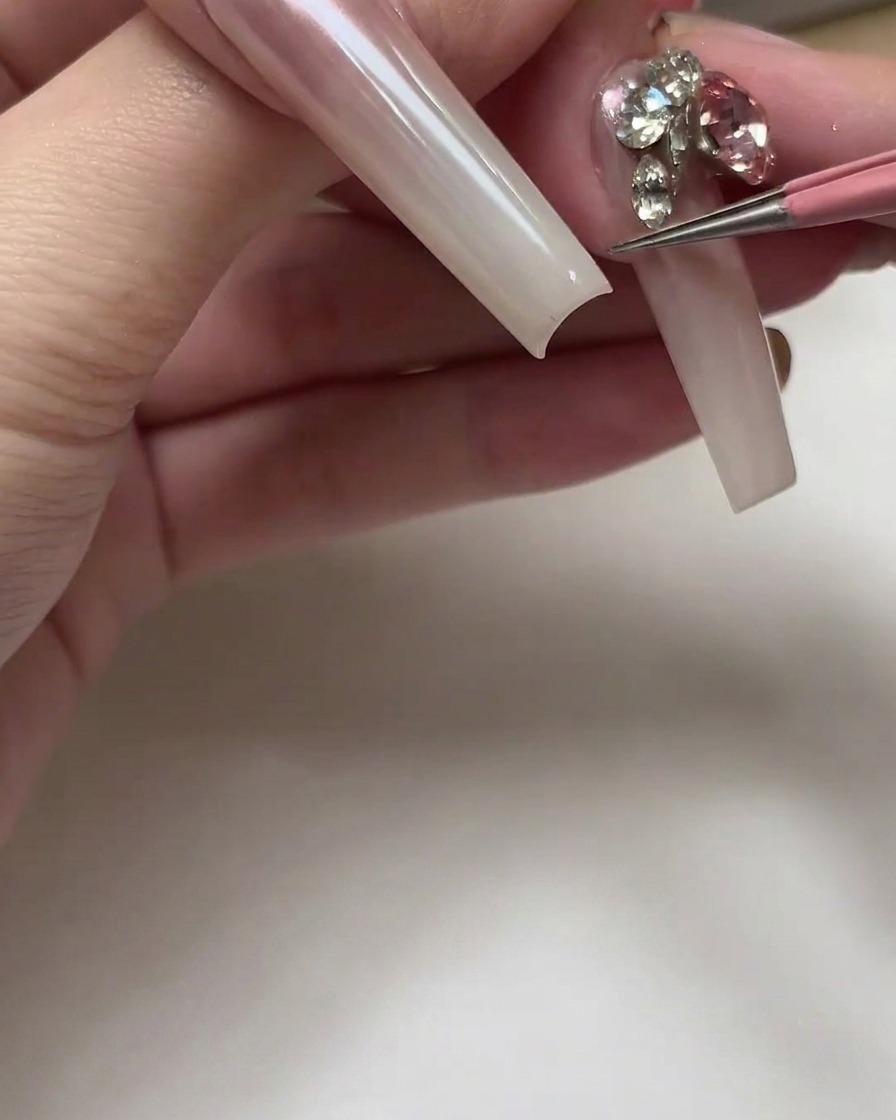
Use a portable UV or LED flashlight lamp directly over the decorated area to instantly cure and flash-cure the adhesive holding the main rhinestone and surrounding smaller gems in place. This prevents the heavy 3D elements from shifting out of position before a full cure.
Tip: Hold the portable mini lamp close to the nail for a few seconds to lock the heavy rhinestones securely. - 12Add silver rhinestones and metal studs
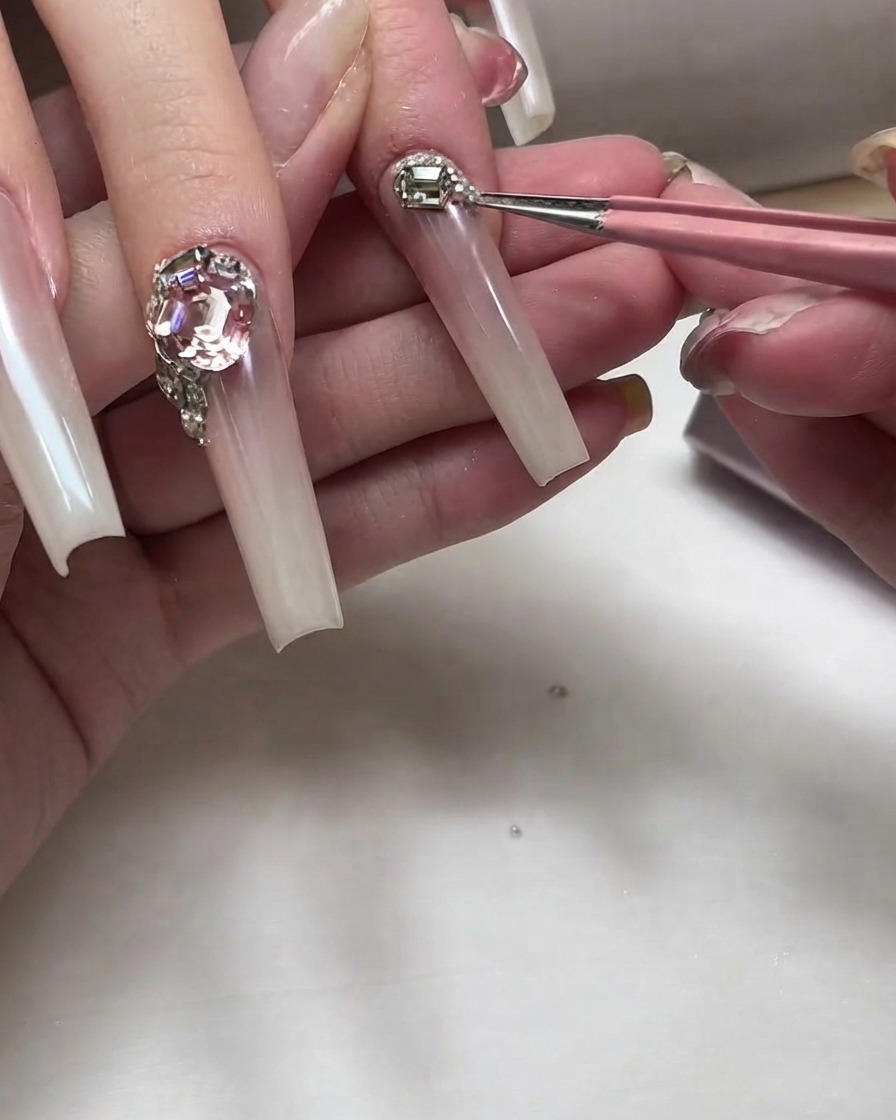
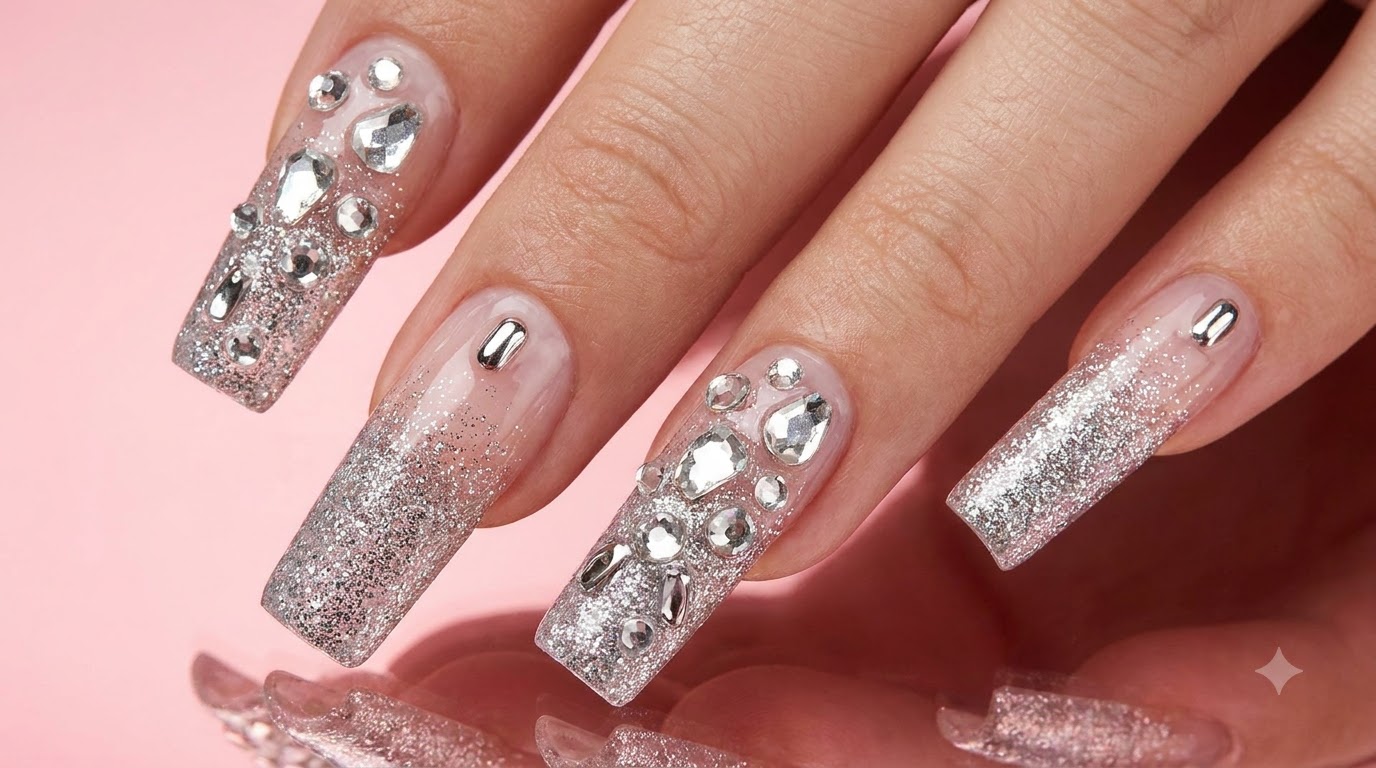
Using precision tweezers, pick up smaller silver rhinestones and tiny metal studs, placing them meticulously around the base and edges of the primary gemstone. Continue building up the dense, luxurious rhinestone arrangement along the cuticle line.
Tip: Work with small amounts of placement gel at a time so the tiny metal studs do not slide around. - 13Place small crystal gem on adjacent nail
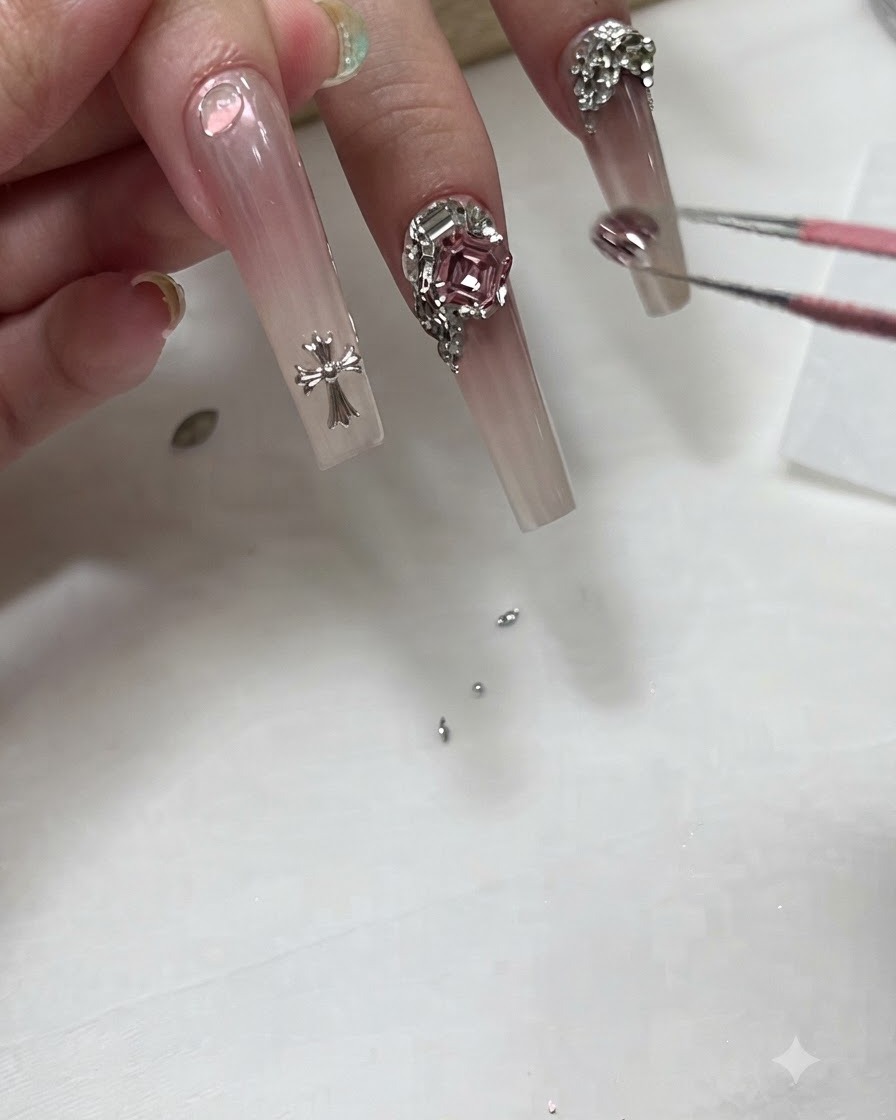
Using tweezers, pick up a small crystal gem or metallic charm and place it near the cuticle or lower nail bed of an adjacent nail to continue the cohesive all-hand rhinestone design theme. Ensure the placement complements the overall look without overcrowding.
Tip: Vary the sizes of rhinestones across different fingers to maintain visual interest and balance. - 14Paint delicate silver chains
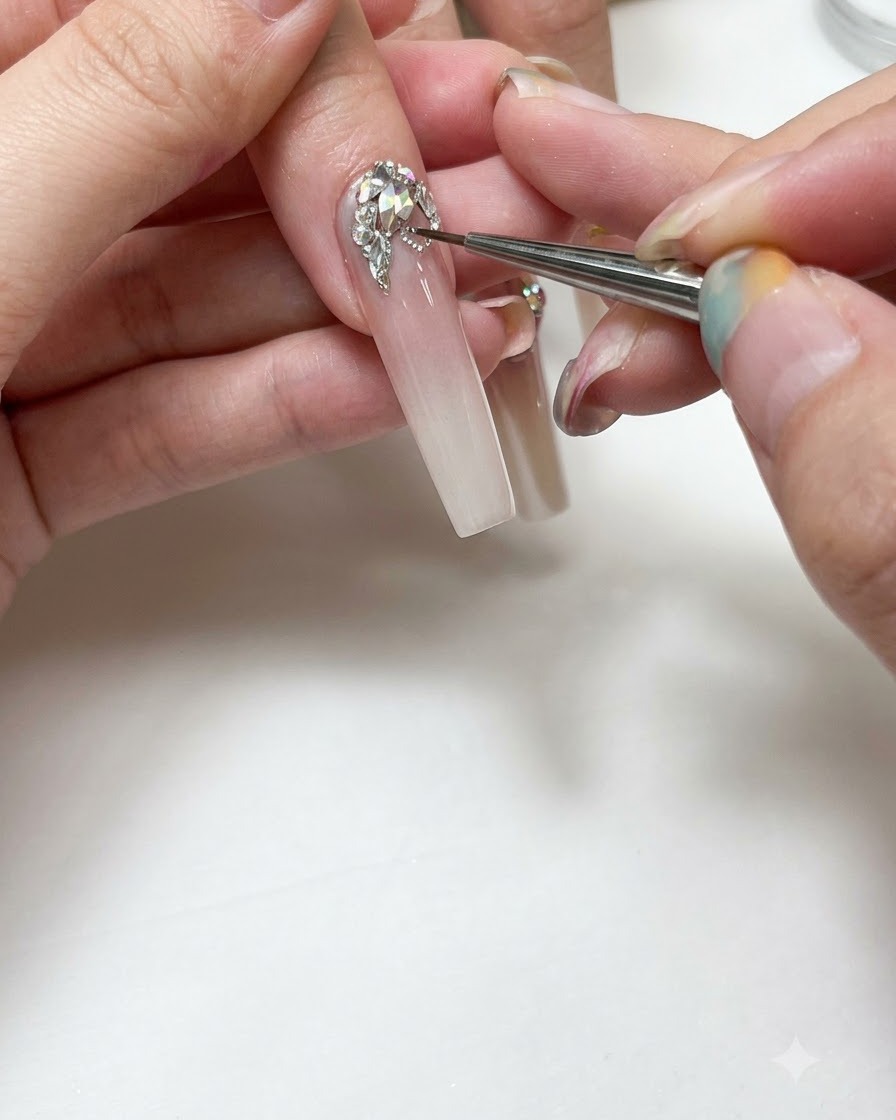
Using a fine liner brush and metallic silver gel, carefully paint delicate curved lines and chain link details around the base of the rhinestones. This intricate linework connects the gems and adds a glamorous, jewelry-like finish to the design. Ensure the lines are clean and precise before moving on to the final cure.
Tip: Wipe off excess gel from your liner brush before painting to keep the lines ultra-thin and crisp. - 15Cure silver gel lines and gems
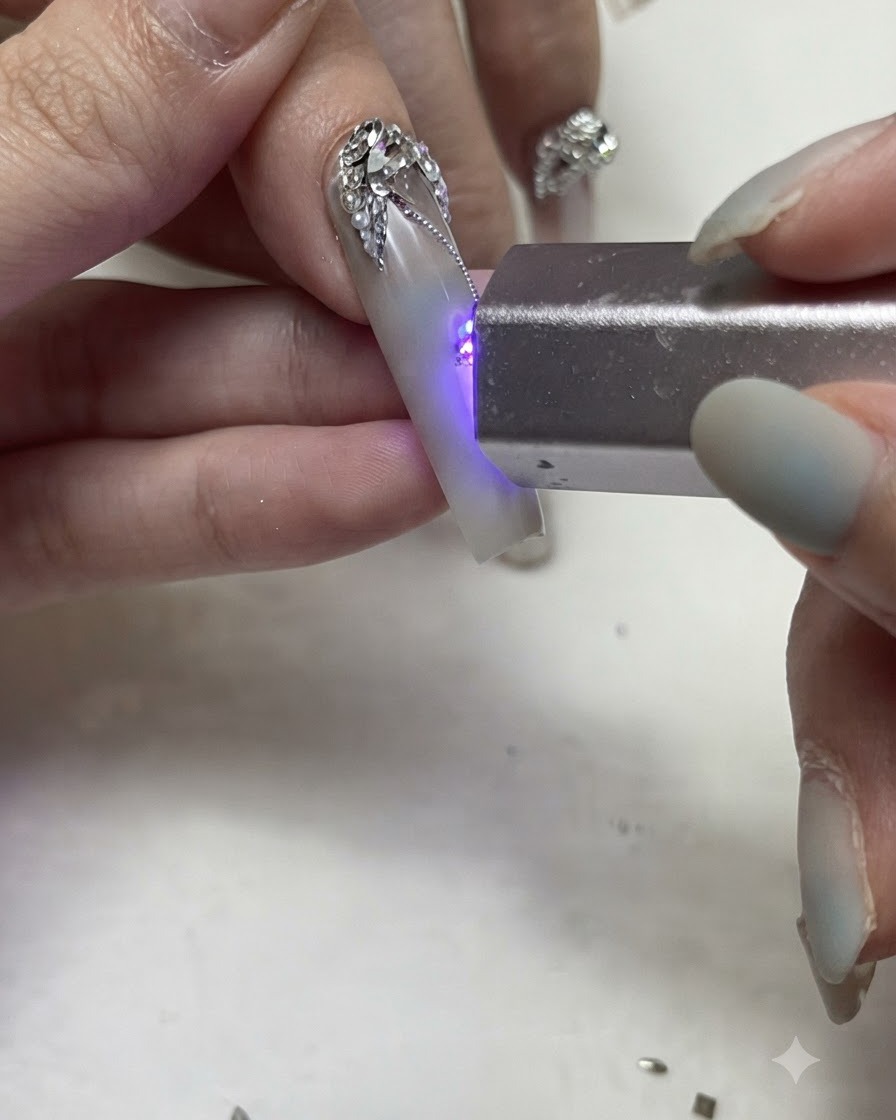
Position the portable UV or LED lamp over the newly added silver gel lines, chains, and gems to cure them thoroughly. Flash cure each detailed section to lock the delicate silver elements and micro-beads permanently into place.
Tip: Check that all chains and tiny stones are completely encapsulated or firmly glued down before moving on. - 16Place charm and cure
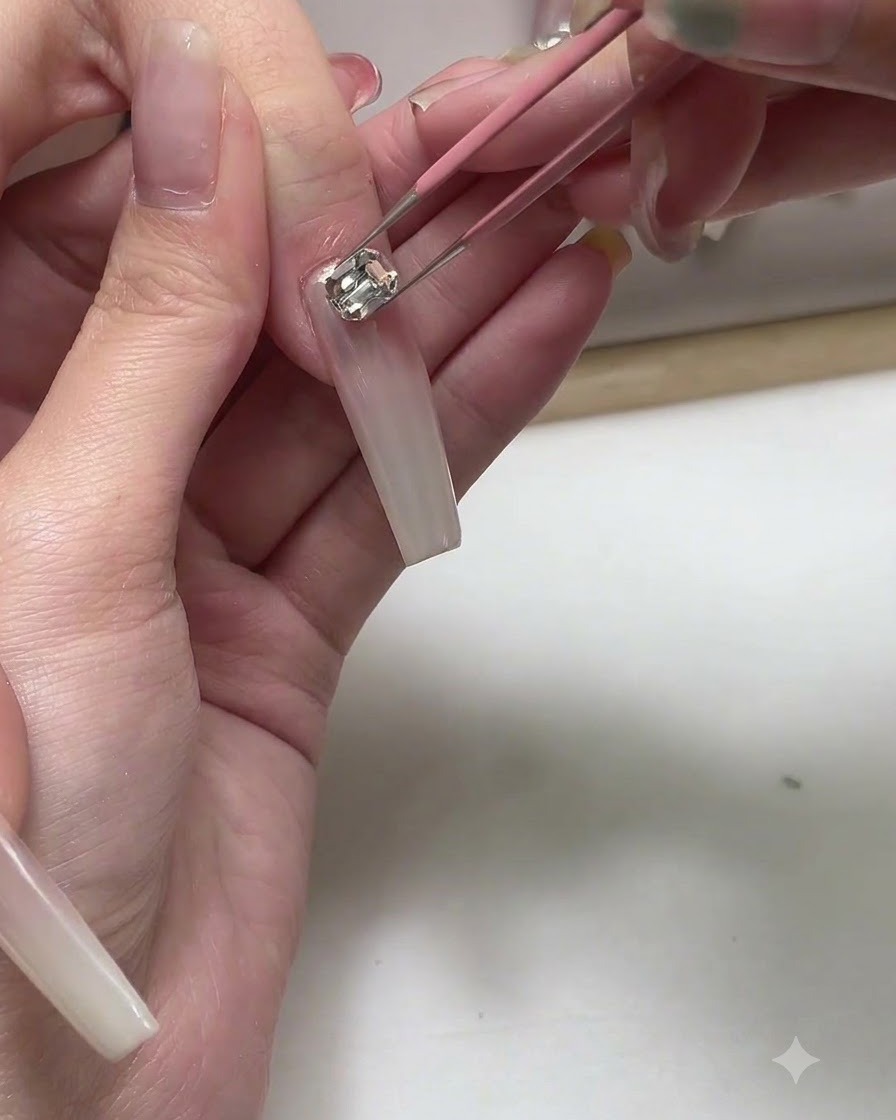
Carefully pick up a small decorative charm element using fine tweezers and place it onto the nail surface over the wet gel adhesive. Adjust its position precisely before placing the hand under the UV or LED lamp to cure and lock the charm securely in place.
Tip: Check the alignment from multiple angles before curing to ensure the charm sits flush and straight. - 17Refine rhinestone placements
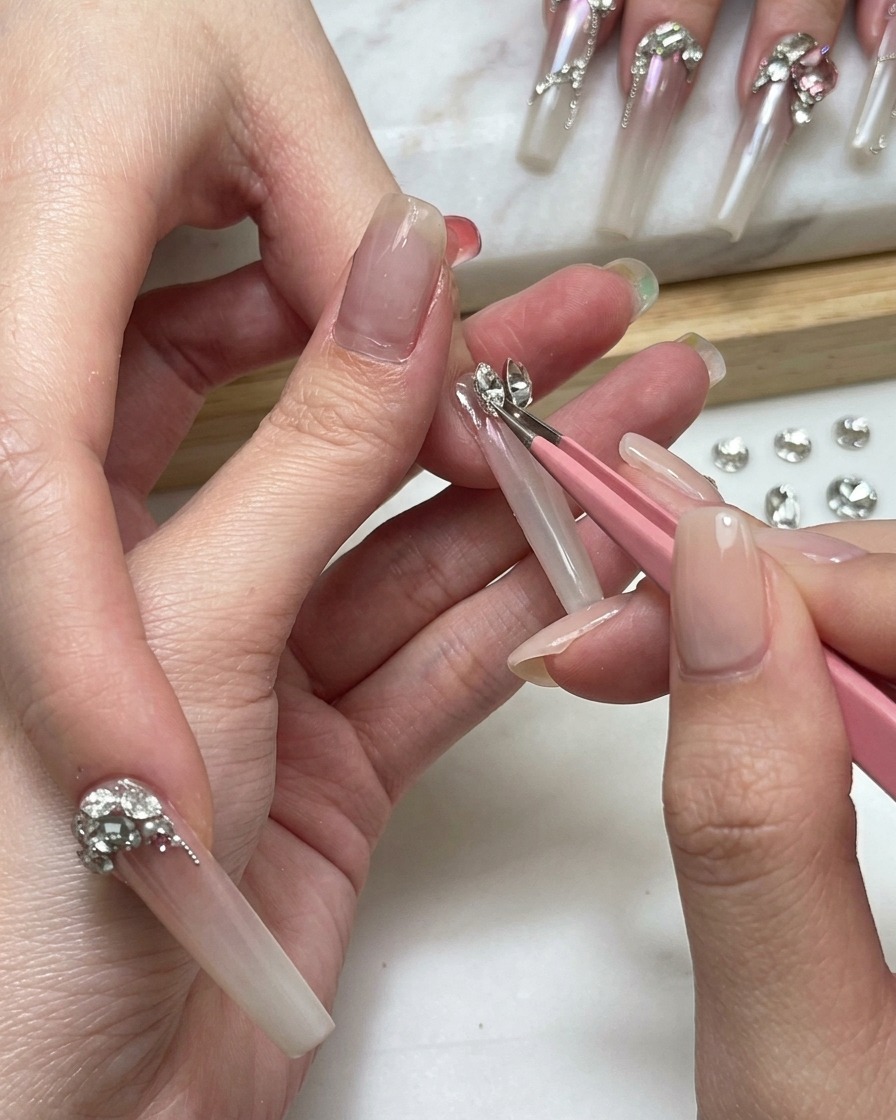
Using a detailing tool or fine-tipped tweezers, carefully adjust and nudge any misaligned rhinestones or silver chains into their exact desired positions before final curingcite: 1. Ensure each gem is securely bedded into the placement gel and neatly arranged along the nail contourcite: 1.
Tip: Make minor adjustments quickly before the gel cures, as placement gel can shift or self-level over time if left uncorrected.