Two-Tone Ombre Nails
Aurora Chrome and Rhinestones Tutorial
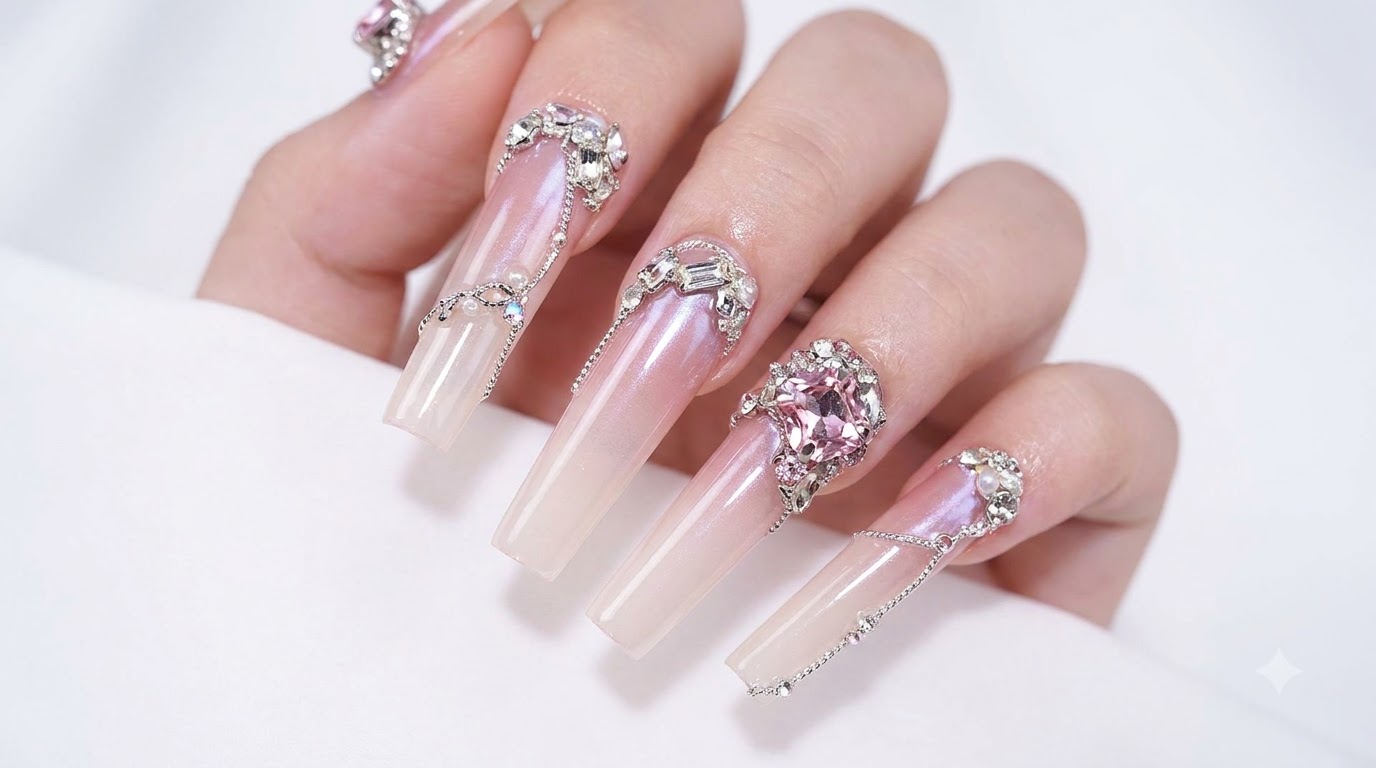
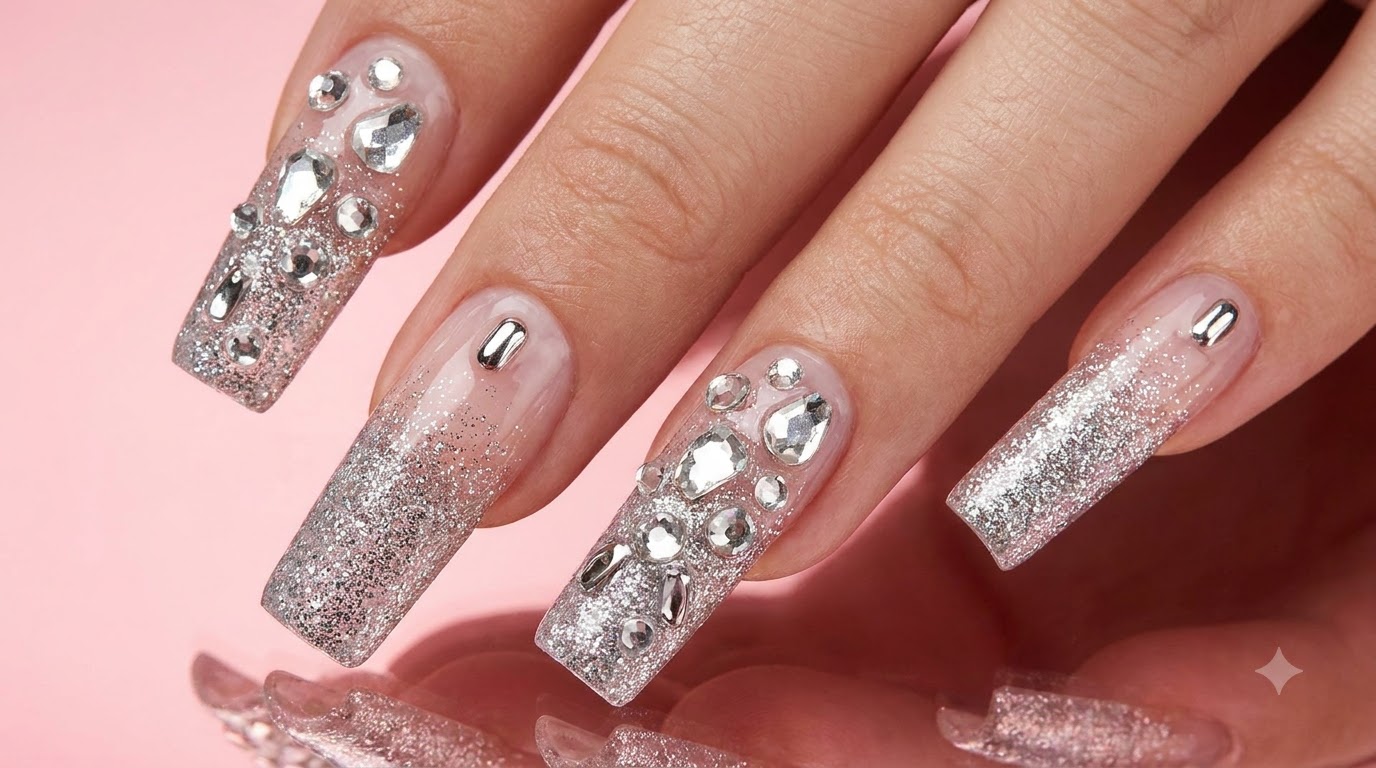
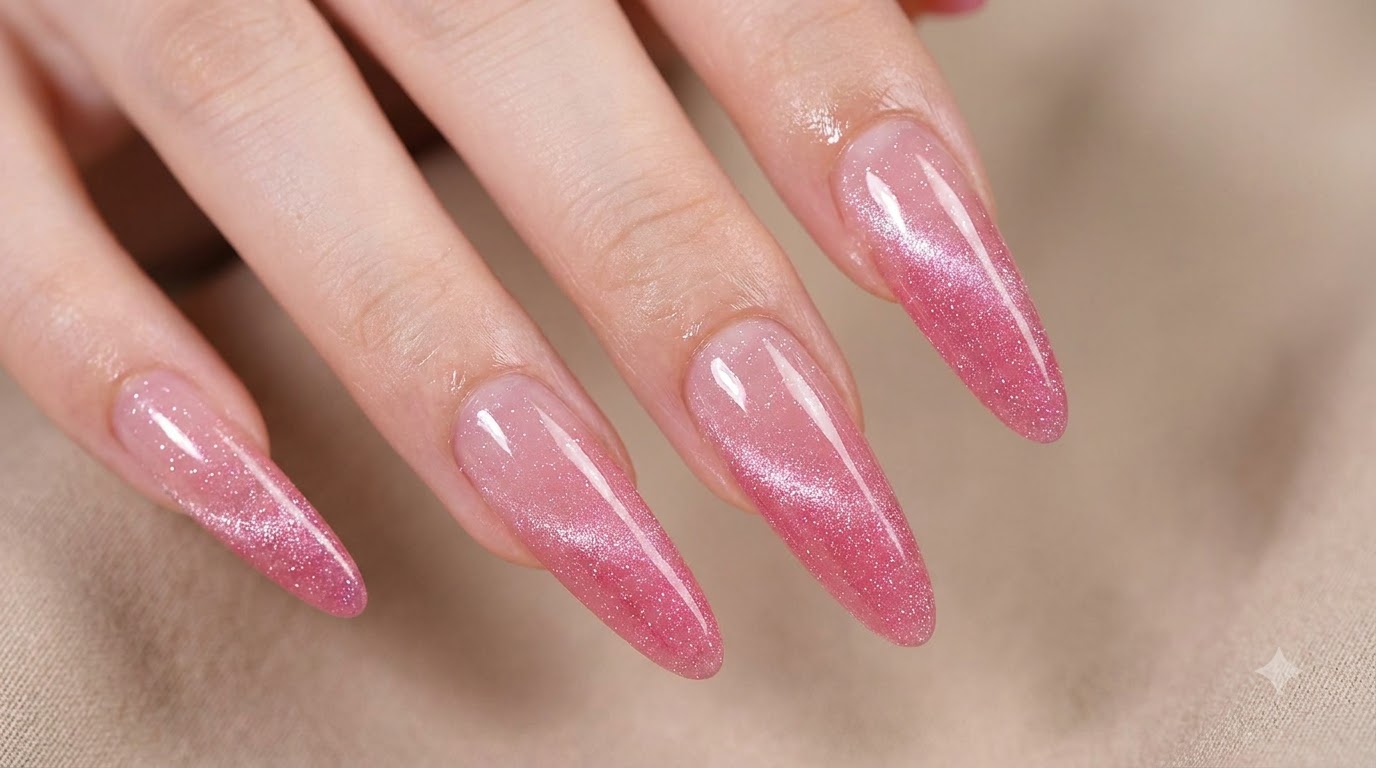
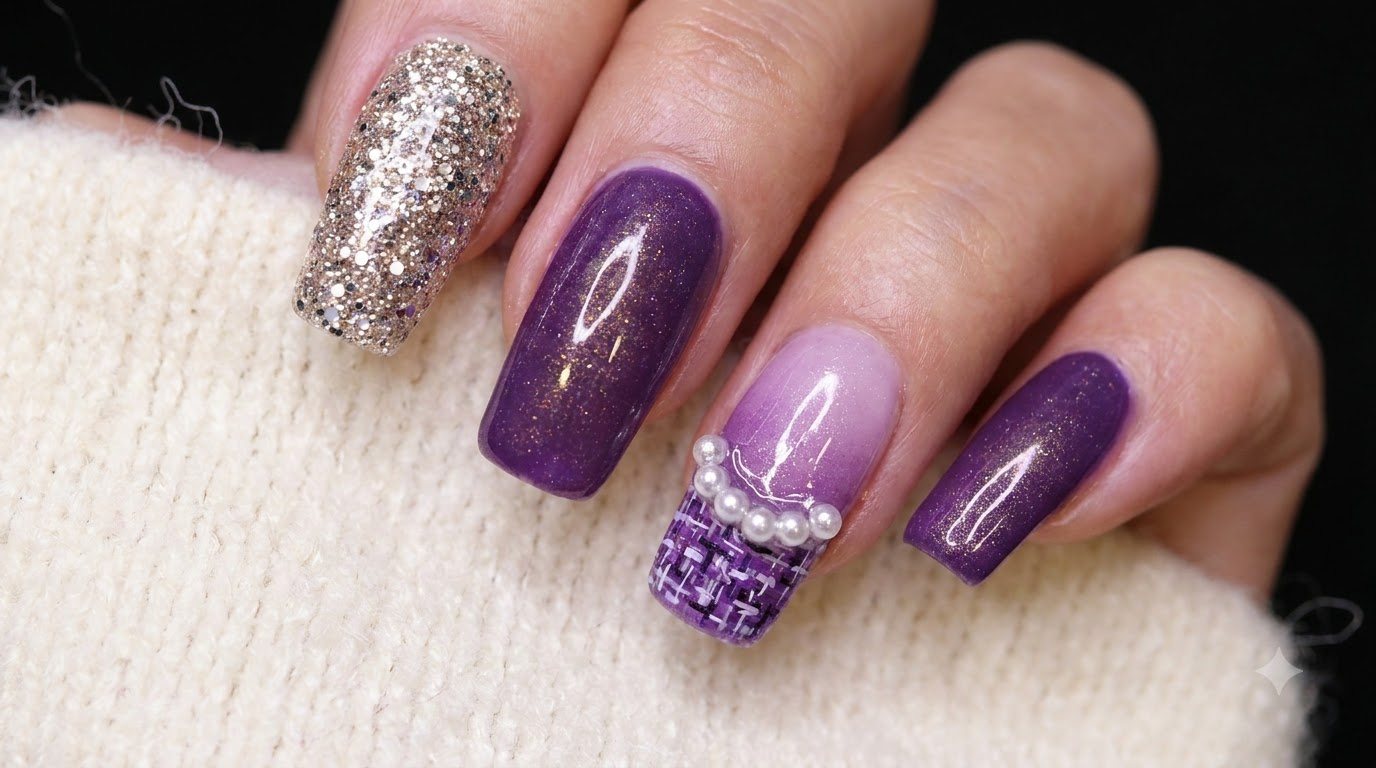
Create a dreamy pink and white gel gradient with a soft aurora chrome finish, sparkling diamond rhinestones, and delicate pearls.
Blending a smooth two-tone gel gradient is effortless when using a sponge applicator instead of traditional brushes. Layering a translucent sheer pink over a crisp white base creates a clean, soft ombre fade that serves as the perfect canvas for iridescence. Finished with light purple aurora chrome powder and secure jewel embellishments, this look delivers salon-quality glamour with a romantic, high-end feel.
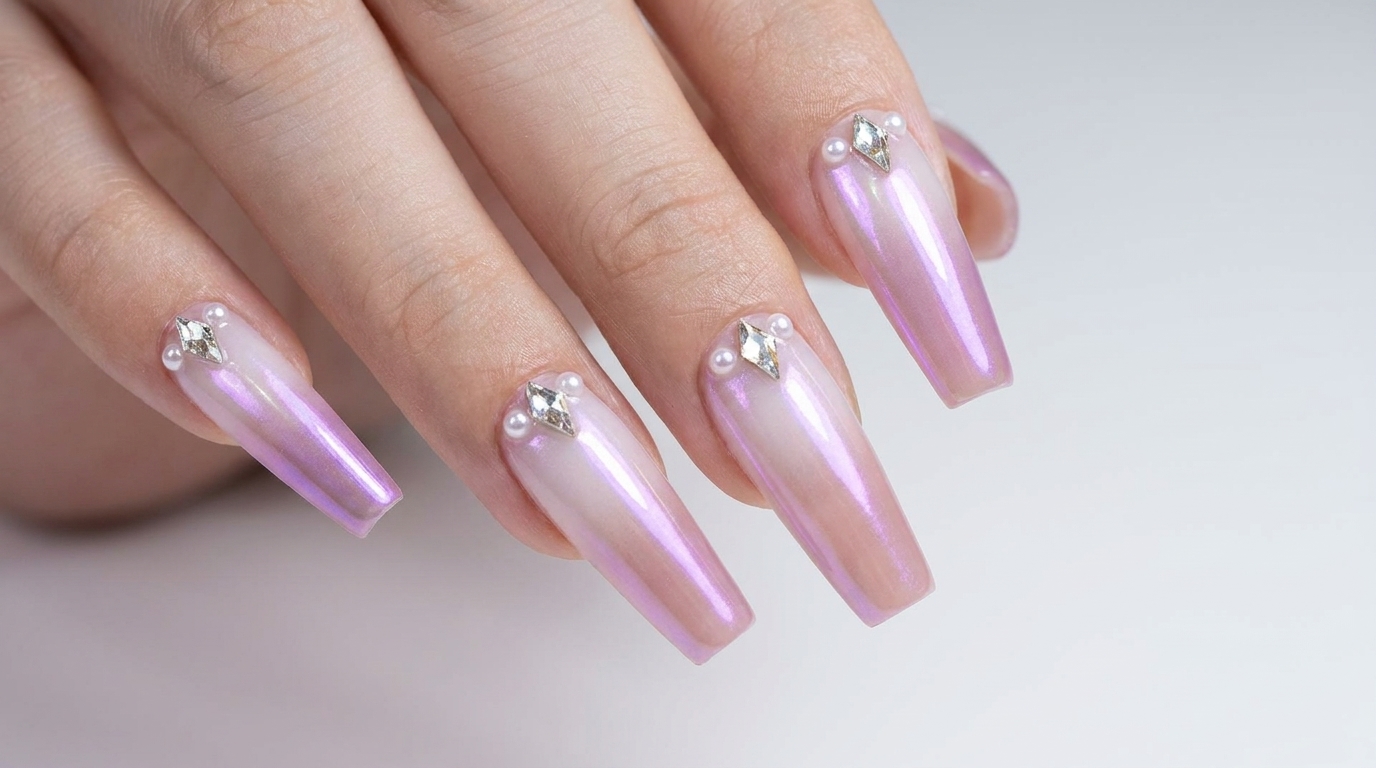
Steps
- 1Apply white gel to the nail tip
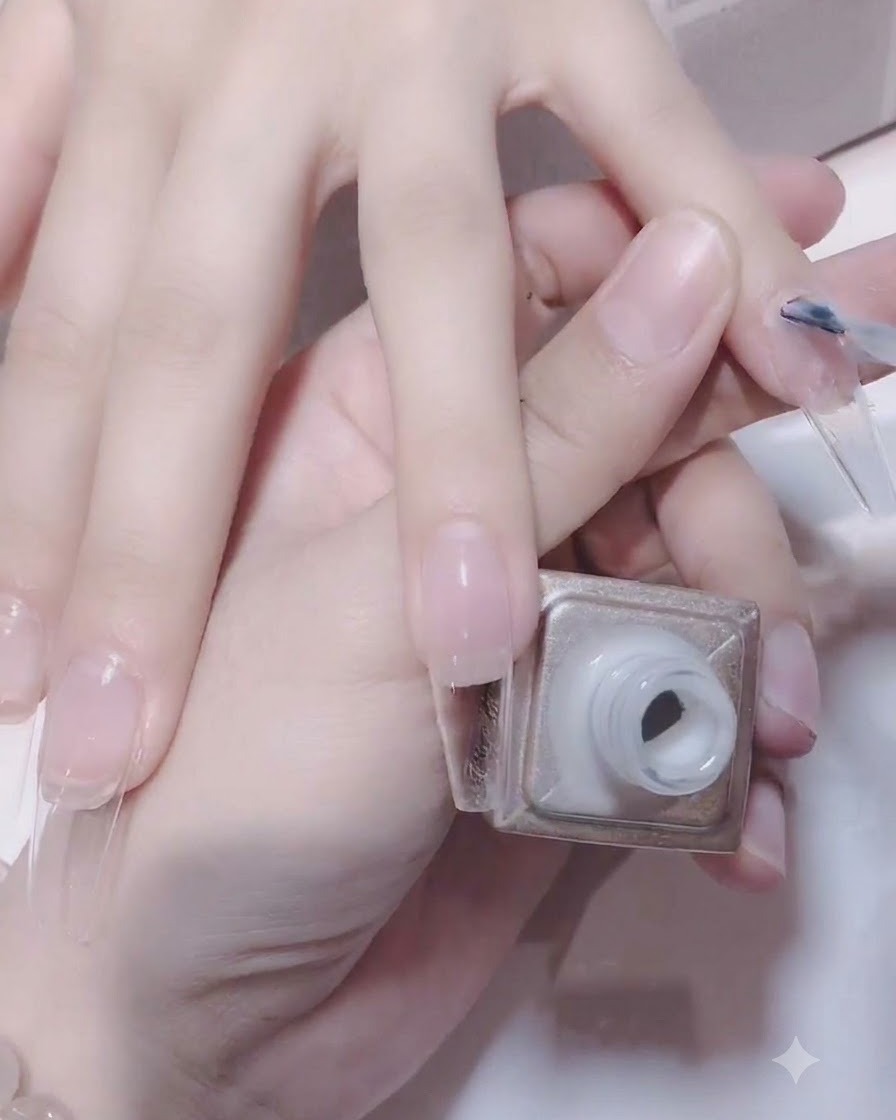
Brush white gel polish onto the tip area of the clear extension nail to begin the gradient.
Tip: Apply a thin layer to ensure the gradient blends smoothly. - 2Blend the white gel with a sponge brush
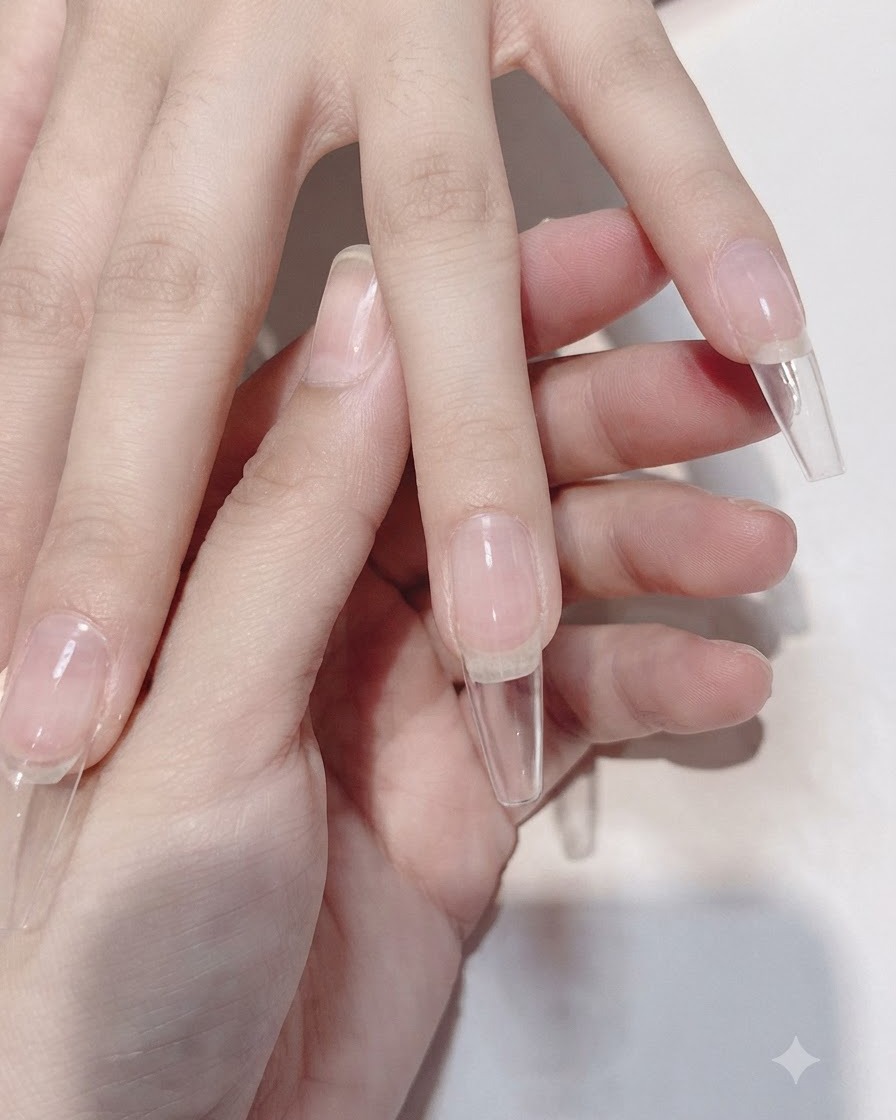
Use a sponge brush to blend the white gel on the nail tip for a smooth gradient effect.
Tip: Dabbing lightly with the sponge helps eliminate harsh lines. - 3Cure the first white gradient layer
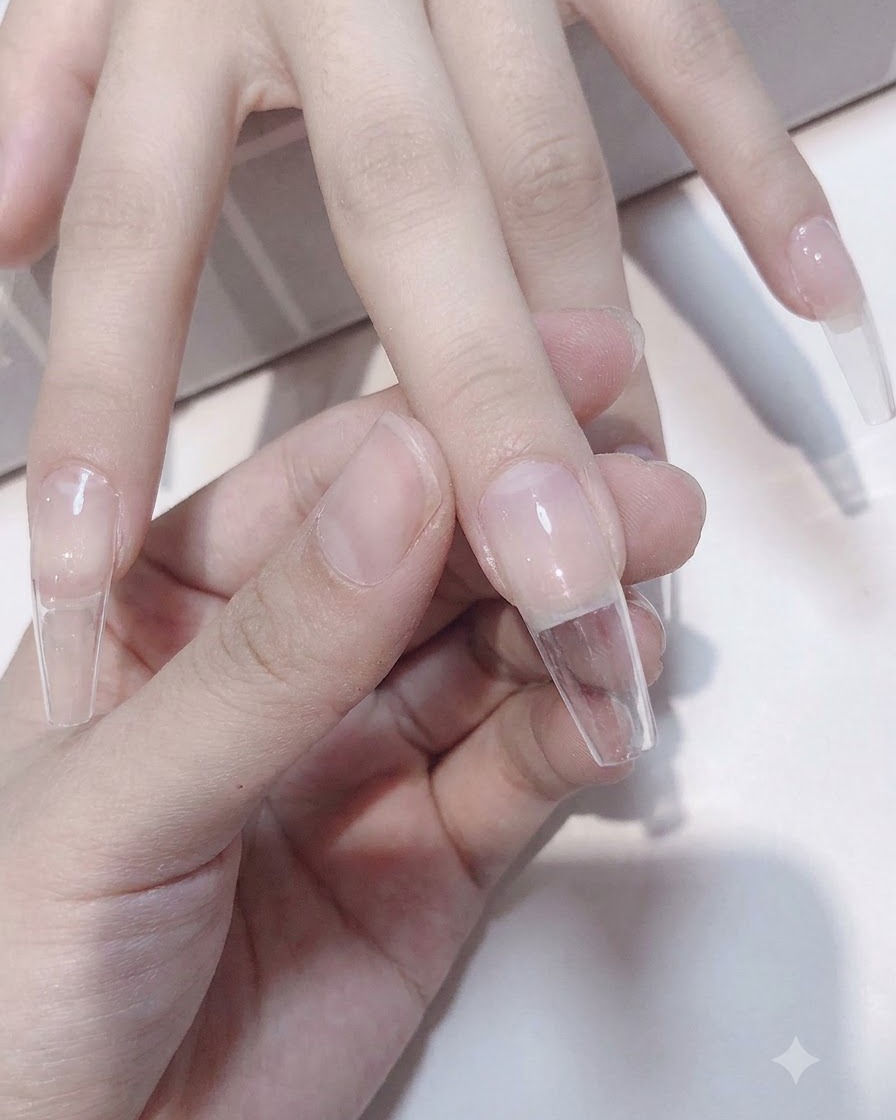
Place the hand under the UV/LED lamp to cure the first white gradient layer.
Tip: Ensure the hand is fully positioned under the lamp for even curing. - 4Apply a second layer of white gel
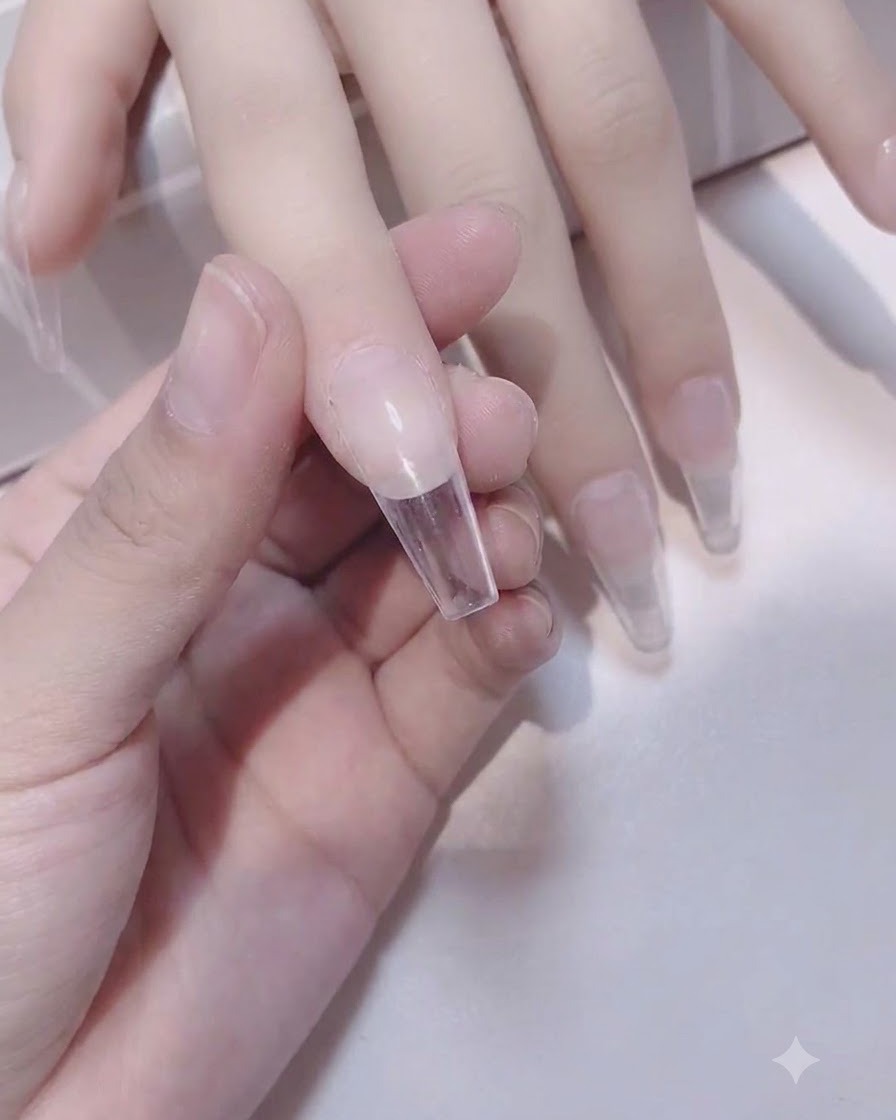
Apply a second layer of white gel using the sponge brush to increase opacity.
Tip: Keep layers thin to prevent bubbling during curing. - 5Cure the second white gradient layer
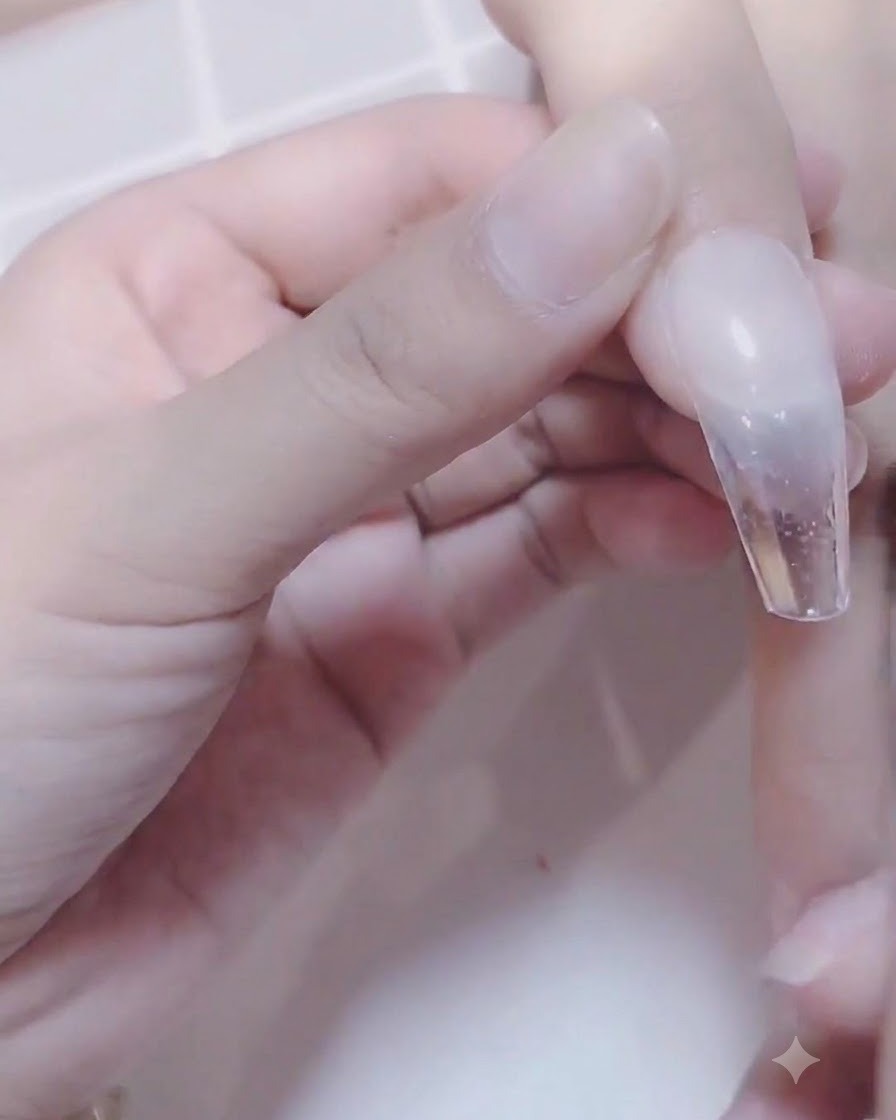
Cure the second layer under the UV/LED lamp.
Tip: Follow standard curing times for your specific gel brand. - 6Apply sheer pink gel for the gradient base
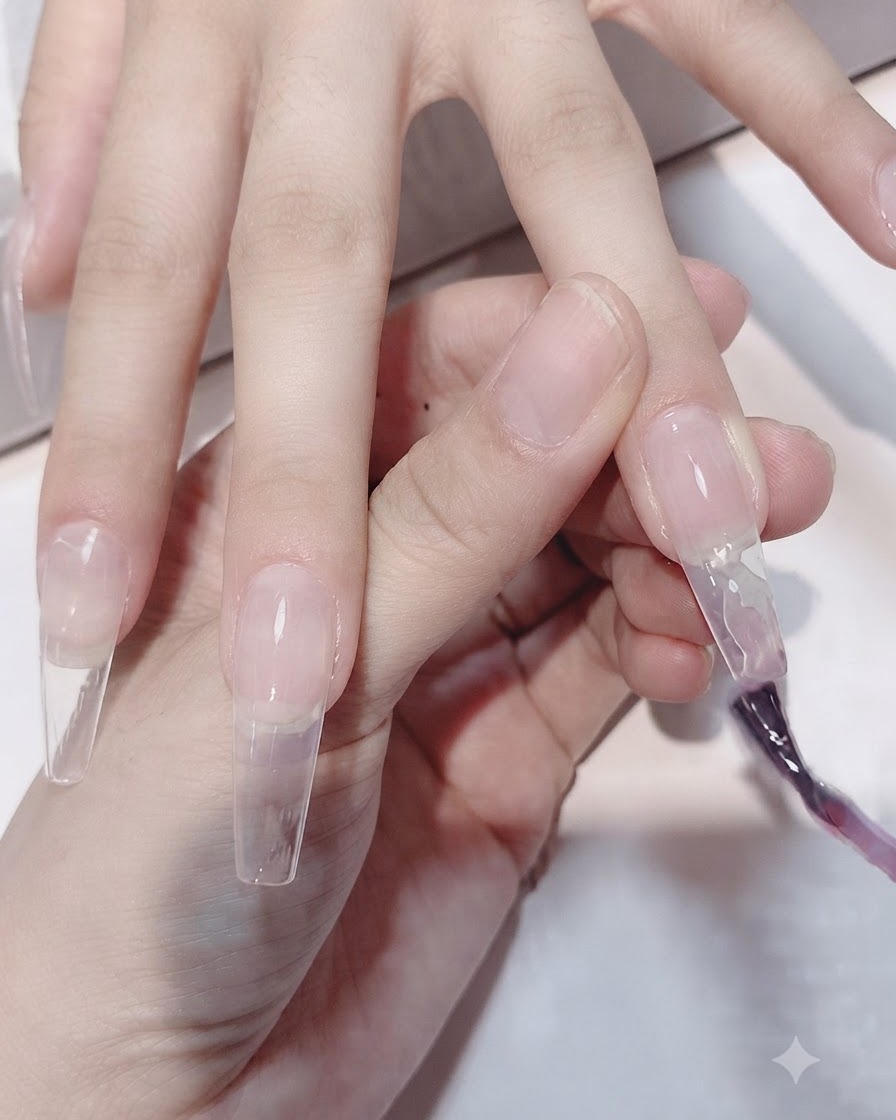
Apply Lomayfu No. 2 sheer pink gel onto the upper portion of the nail to create the base of the two-tone gradient.
Tip: Blend gently where the pink meets the white to create a seamless transition. - 7Blend the first sheer pink layer
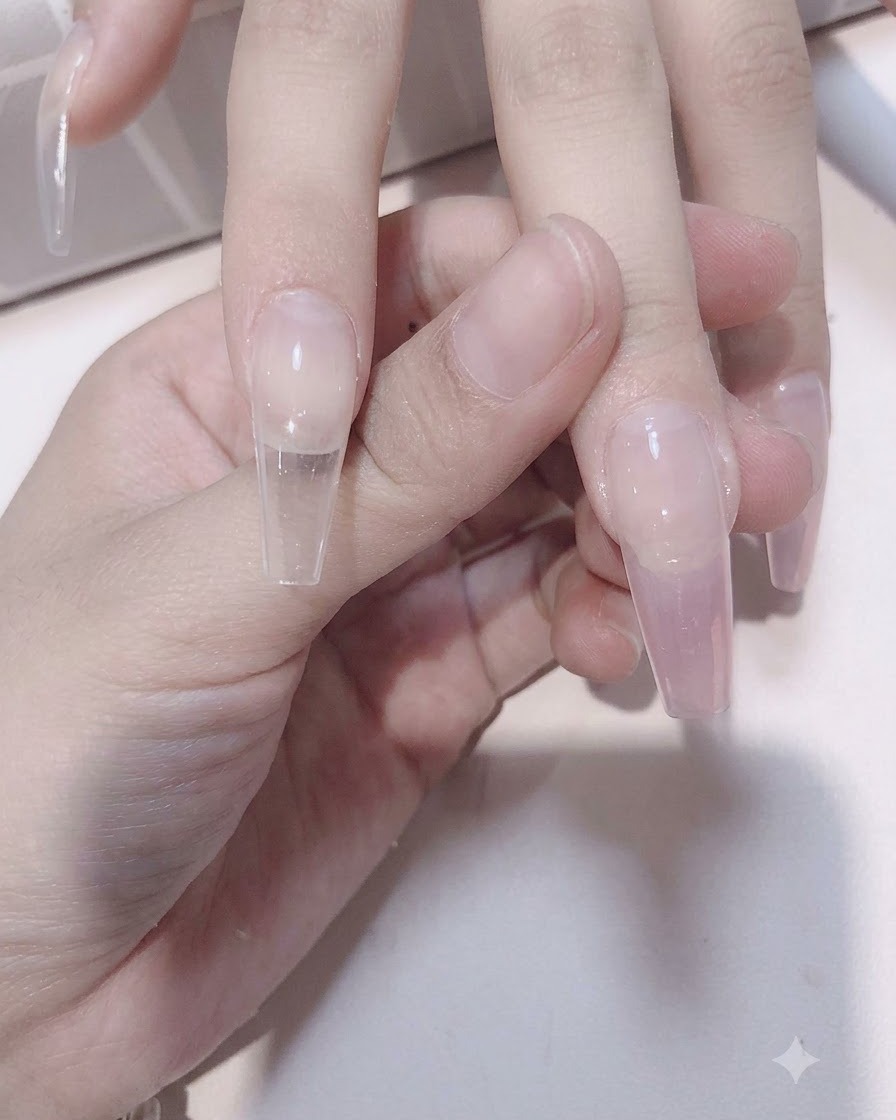
Gently blend the sheer pink gel downward from the upper nail area to merge seamlessly with the white tip below, creating the foundation of your first pink gradient layer.
Tip: Use soft, sweeping brush strokes to ensure a smooth color transition without harsh lines. - 8Apply the second sheer pink layer
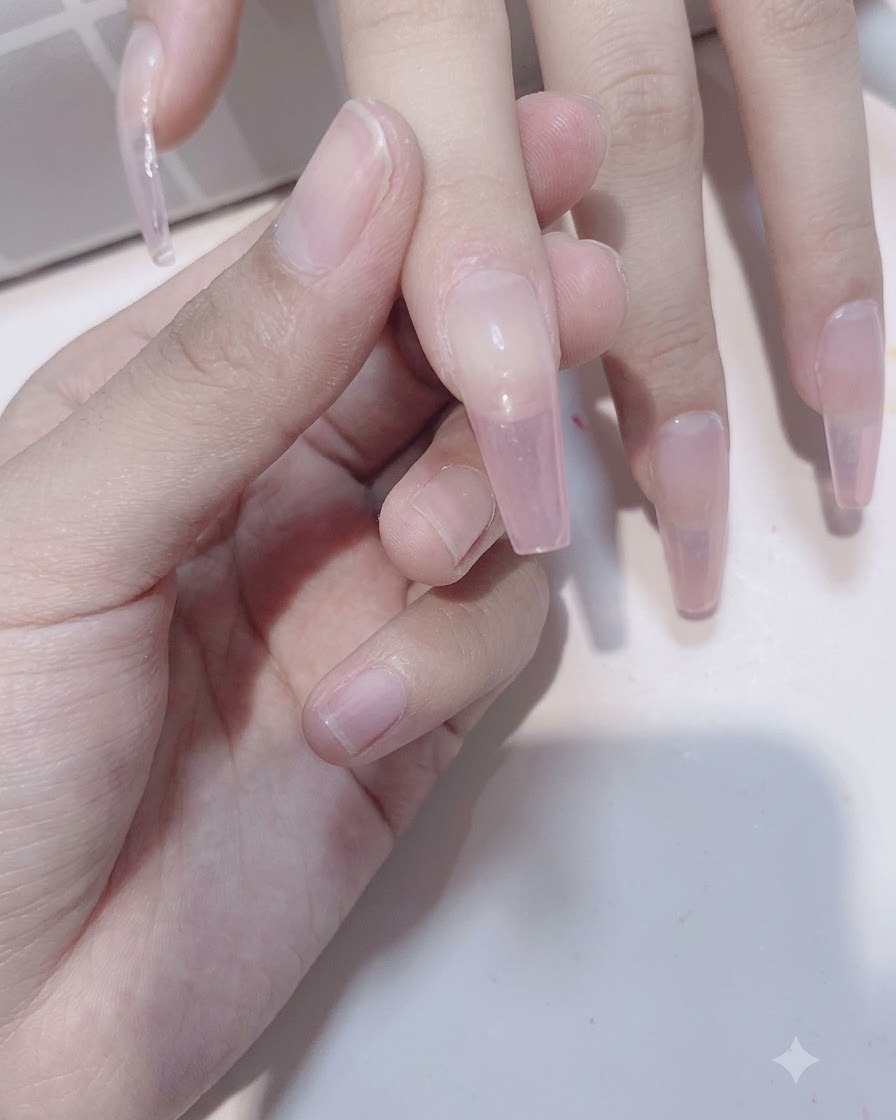
Apply a second layer of sheer pink gel over the gradient area to enhance the color depth and build up a richer opacity for the ombre design.
Tip: Keep this second layer thin and controlled to avoid making the nail look bulky. - 9Apply the third sheer pink layer
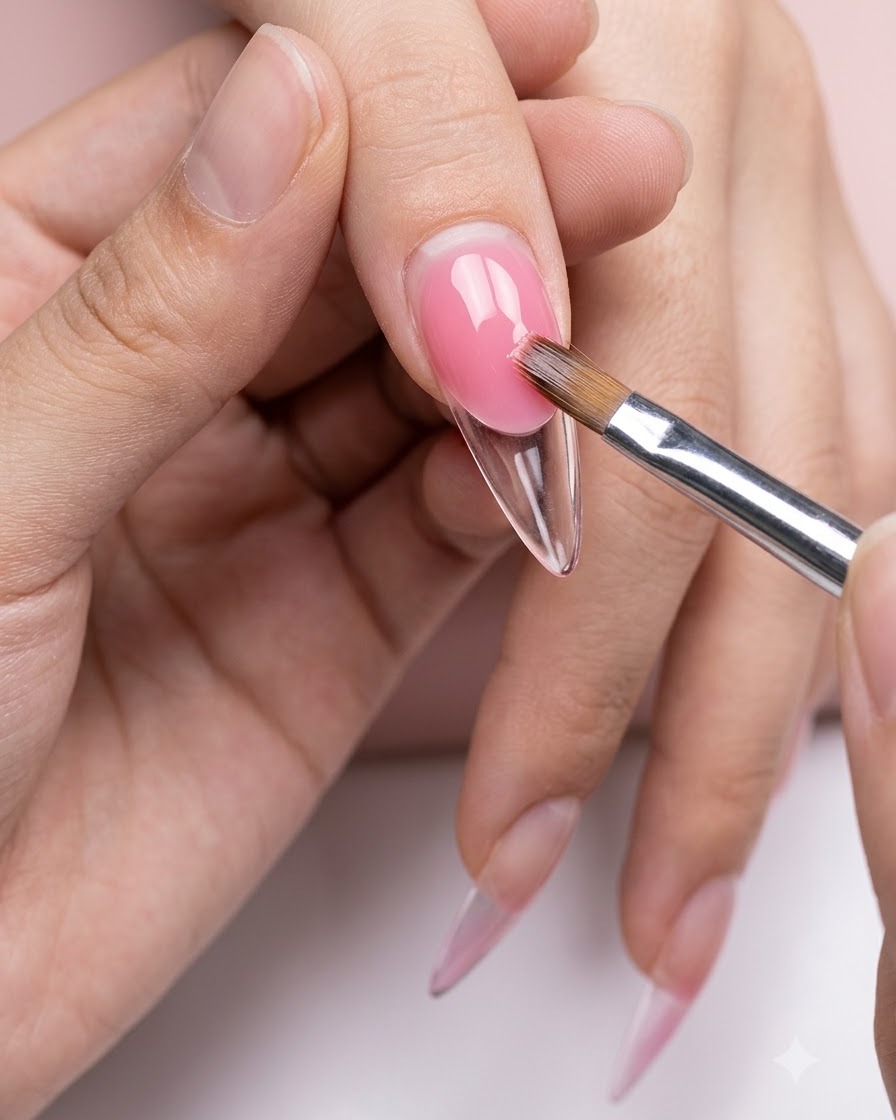
Apply a third layer of sheer pink gel to achieve a completely smooth, natural dual-color gradient transition from the pink base to the white tip.
Tip: Take your time feathering the edges to ensure a flawless and soft-looking gradient fade. - 10Apply top coat and cure
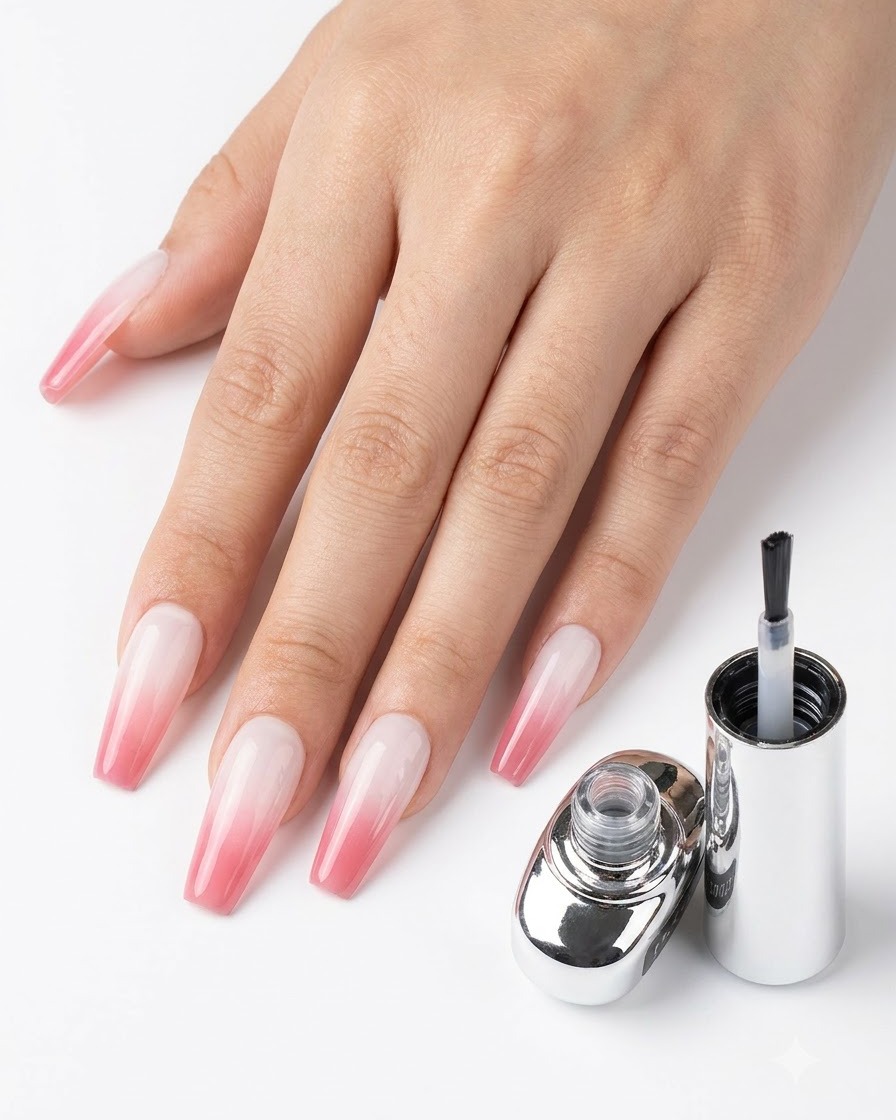
Apply a protective top coat over the completed dual-color gradient nails and cure them under a UV or LED lamp for 30 seconds to lock in the design.
Tip: Make sure to seal the free edge completely with top coat to prevent chipping. - 11Apply light purple aurora powder
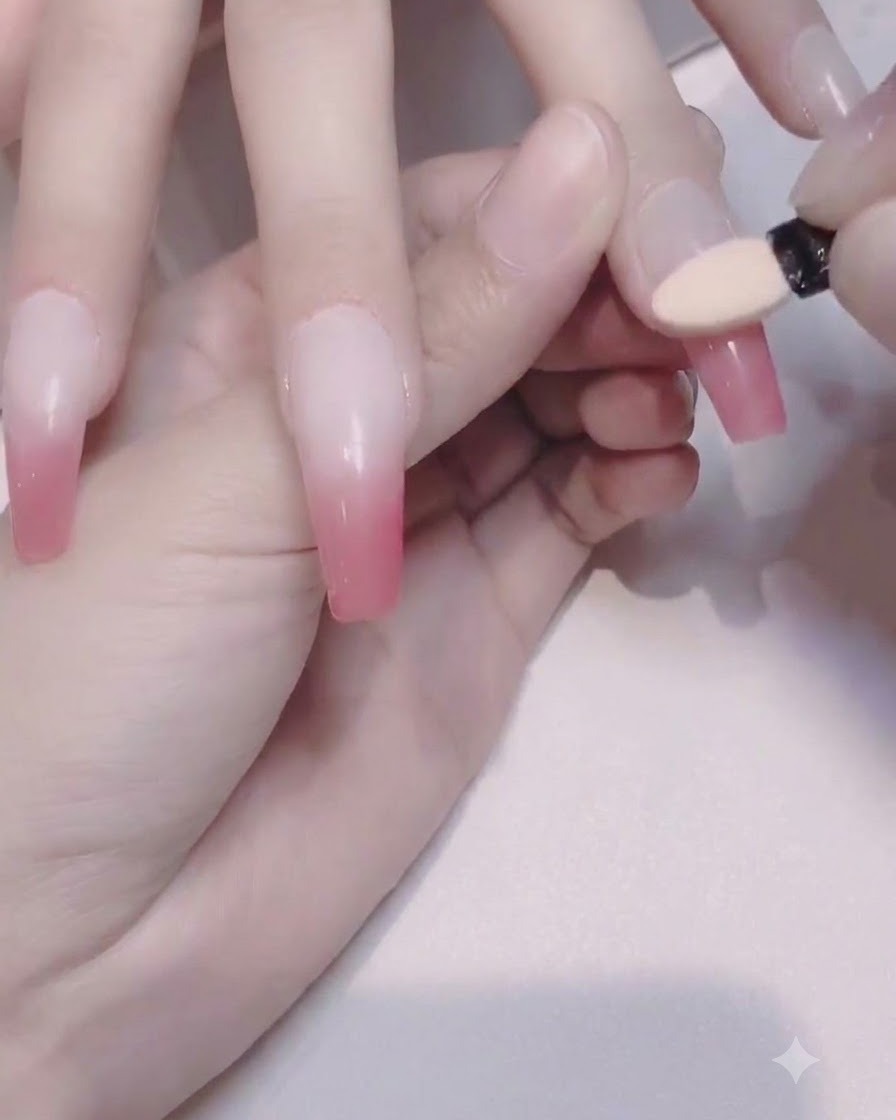
Take a sponge eyeshadow applicator and gently rub light purple aurora powder onto the cured nail surface until it achieves an iridescent sheen.
Tip: Buff the powder gently into the tacky layer or cured top coat surface to get an even, mirror-like chrome finish. - 12Apply reinforcing top coat
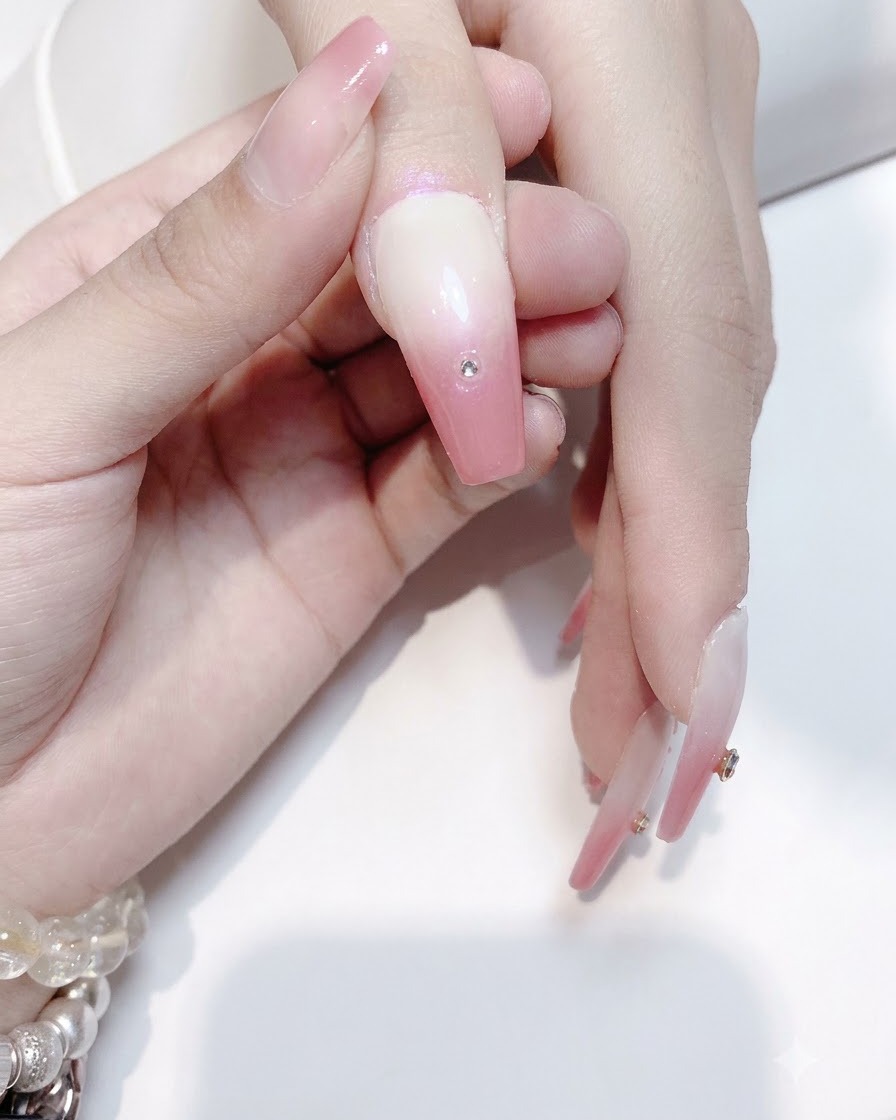
Apply a reinforcing top coat gel over the aurora powder layer to secure the chrome effect, then use a grinding head to buff a small hole, attaching rhinestones and pearls with solid adhesive gel.
Tip: Be sure to encapsulate the edges of the powder thoroughly so the chrome finish does not wear off. - 13Cure reinforcing gel
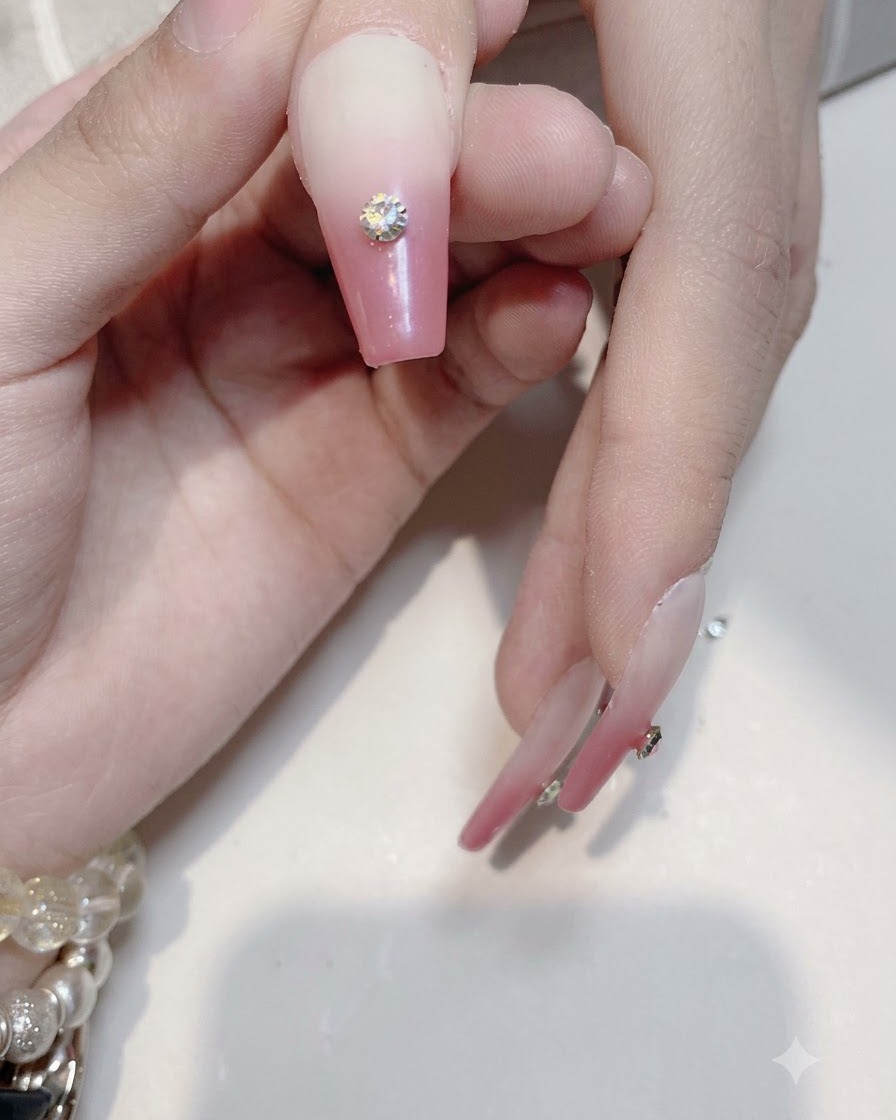
Place the hand under the UV/LED lamp to cure the reinforcing gel securely. Ensure the light covers the entire nail surface to lock the layer in place before moving on to the next design step.
Tip: Keep your hand flat inside the lamp to prevent any gel from shifting while curing. - 14Carve indentation hole
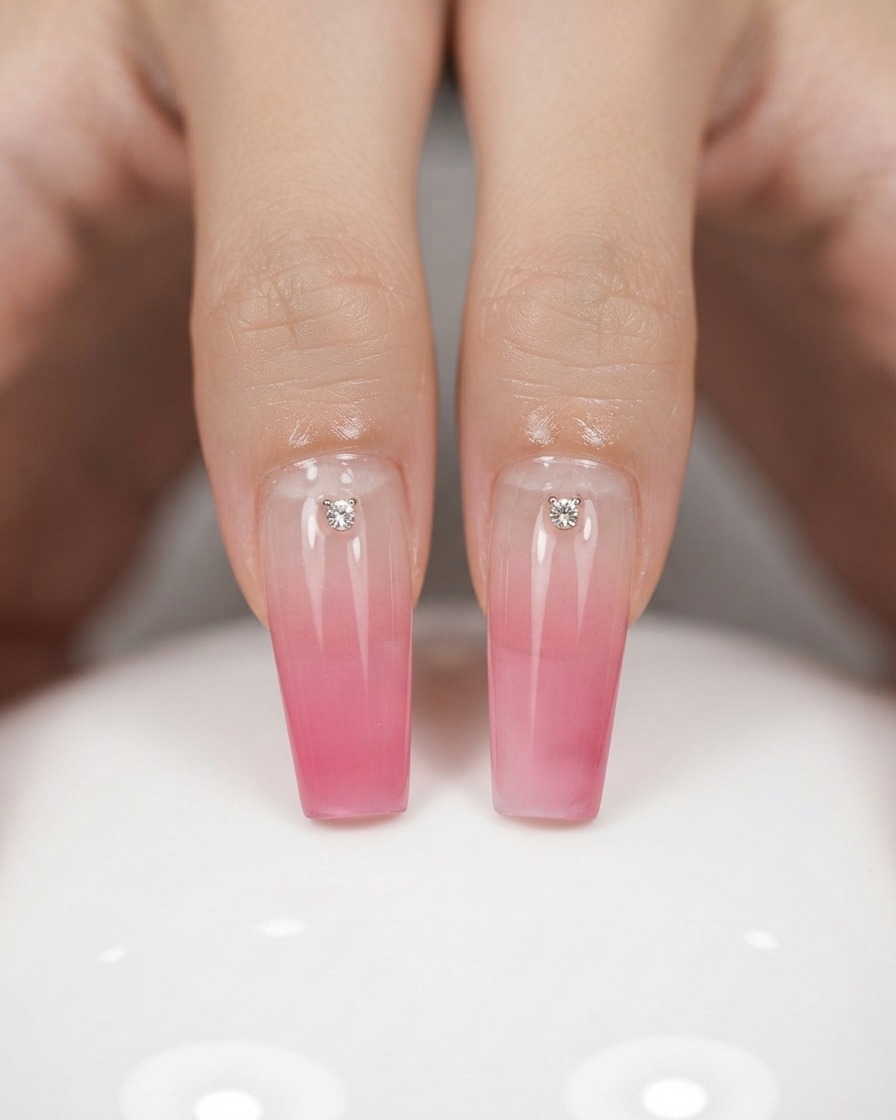
Using a fine grinding drill bit, gently carve a small indentation hole on the lower third of the nail surface. This specialized pocket provides a secure recessed space to nestle and hold decorative rhinestones firmly in place.
Tip: Apply very light pressure with the drill bit so you only carve into the top gel layers without damaging the natural nail or extension structure. - 15Apply rhinestone adhesive
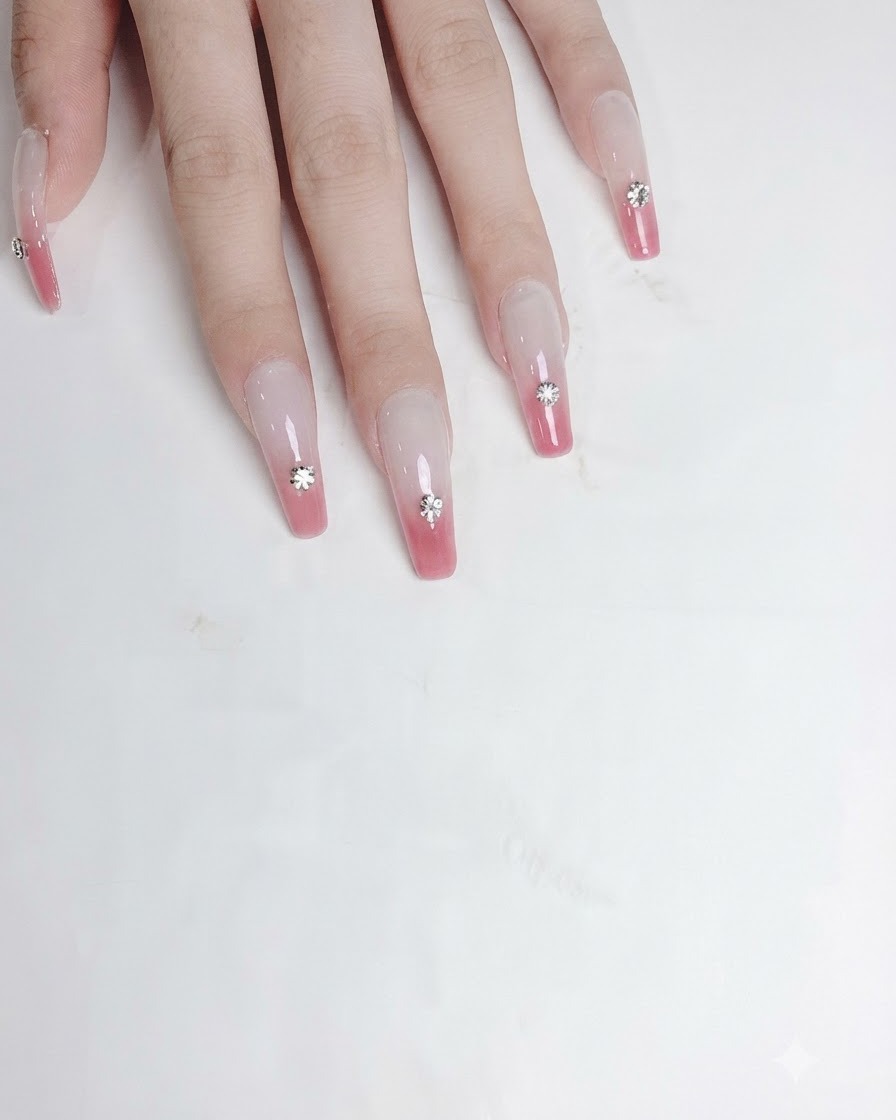
Apply a small amount of solid rhinestone adhesive gel directly into the carved indentation hole on the nail surface. This thick, sturdy gel acts as a strong foundation to keep embellishments securely anchored.
Tip: A little adhesive goes a long way; using too much can cause the gel to overflow around the rhinestone edges. - 16Place rhinestone
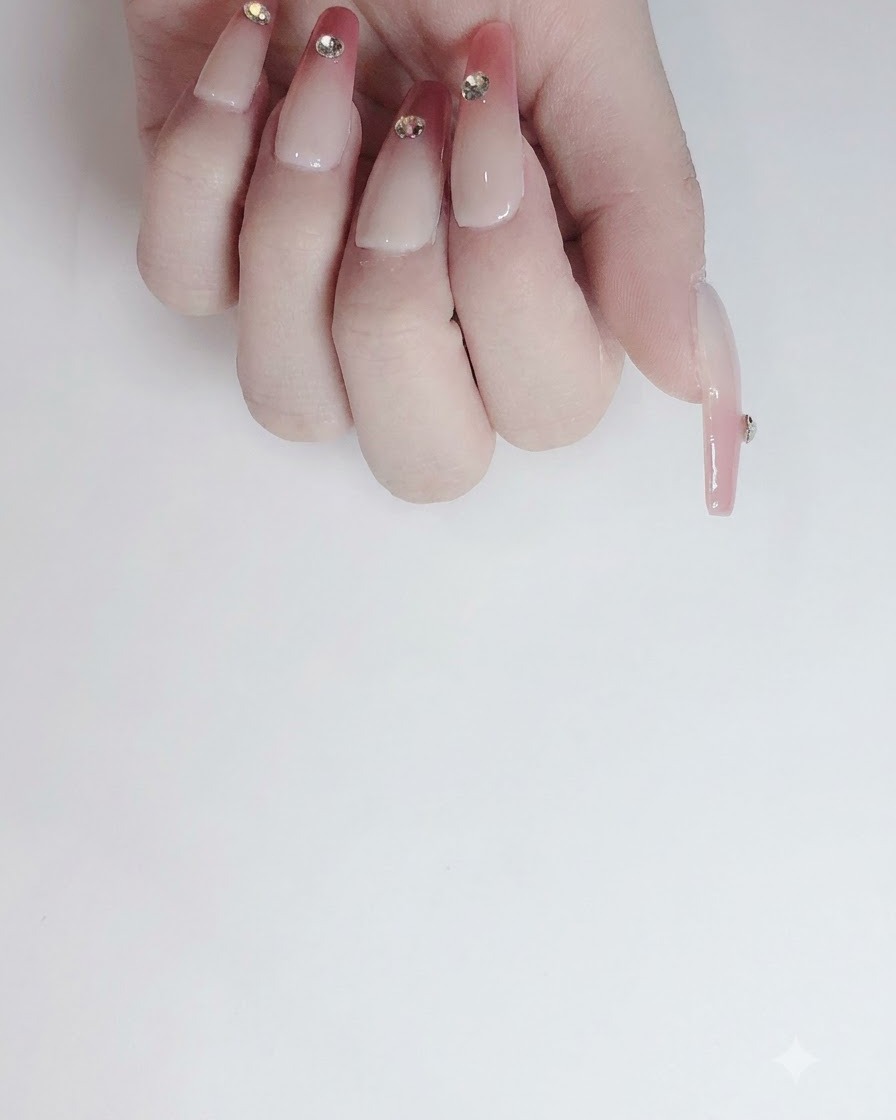
Using precision tweezers, pick up a sparkling pointed diamond rhinestone and gently press it into the adhesive gel within the carved indentation. Adjust its placement so it sits centered and level before curing.
Tip: Gently press down on the rhinestone so the adhesive rises slightly around its base for maximum hold.