Luxury Rhinestone Nude Coffin Press-On Nails — Glam Showcase
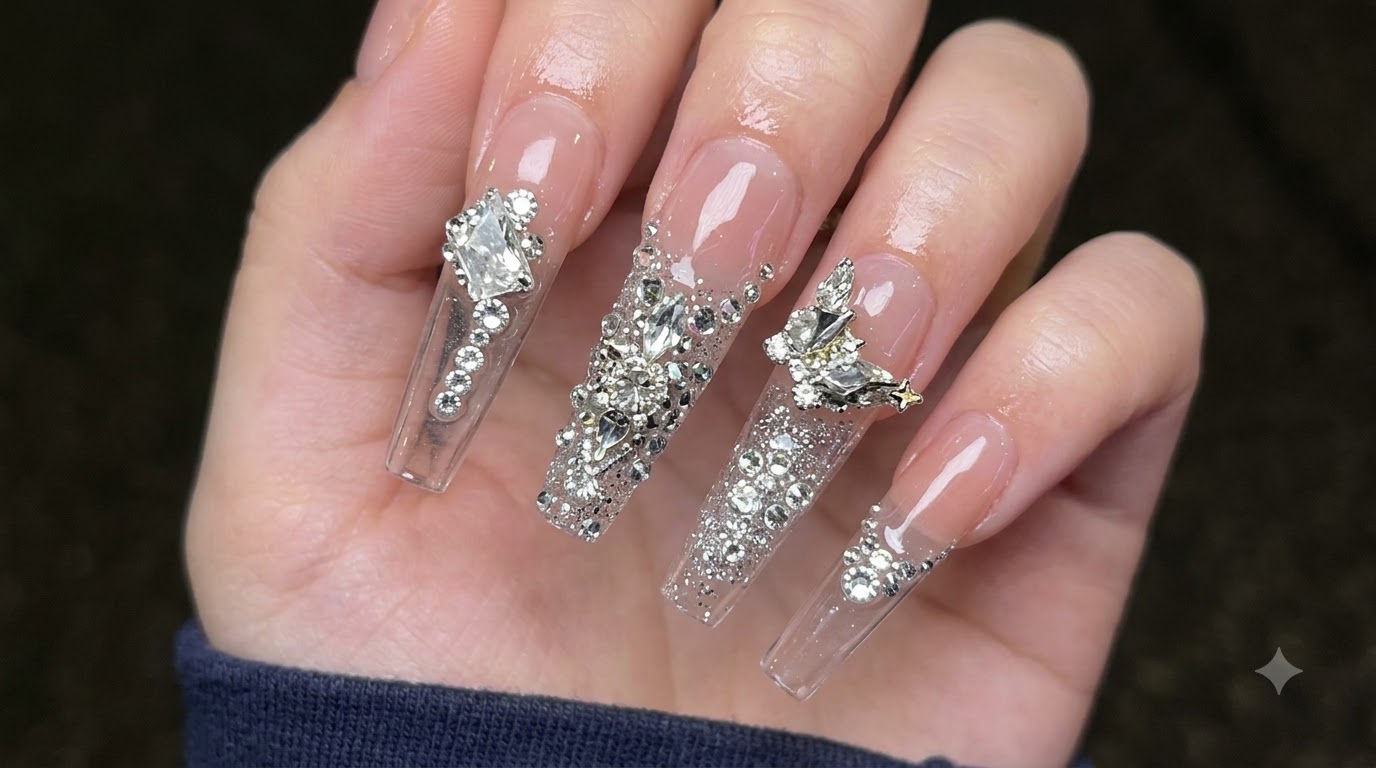
Achieve ultimate glam with these long nude coffin press-on nails. Featuring elaborate silver crystals, scattered glitter, and 3D charms for a flawless finish.
Embellished press-on nails are the perfect way to achieve salon-quality luxury in minutes. This stunning set combines a sheer nude base with heavy silver rhinestones, scattered glitter, and statement 3D charms. The long coffin shape provides an elegant canvas for maximum sparkle, proving that press-ons can deliver serious drama and structural integrity without a trip to the salon.
Steps
- 1Display side profile and length
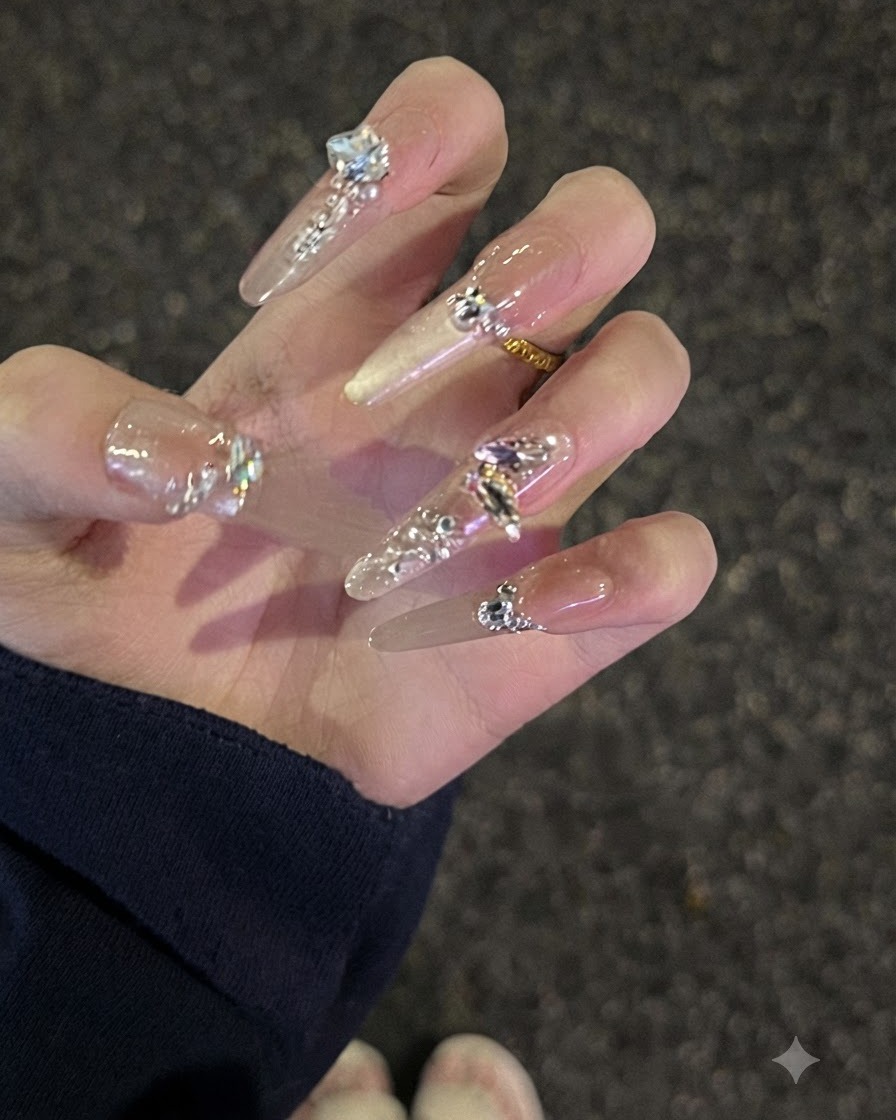
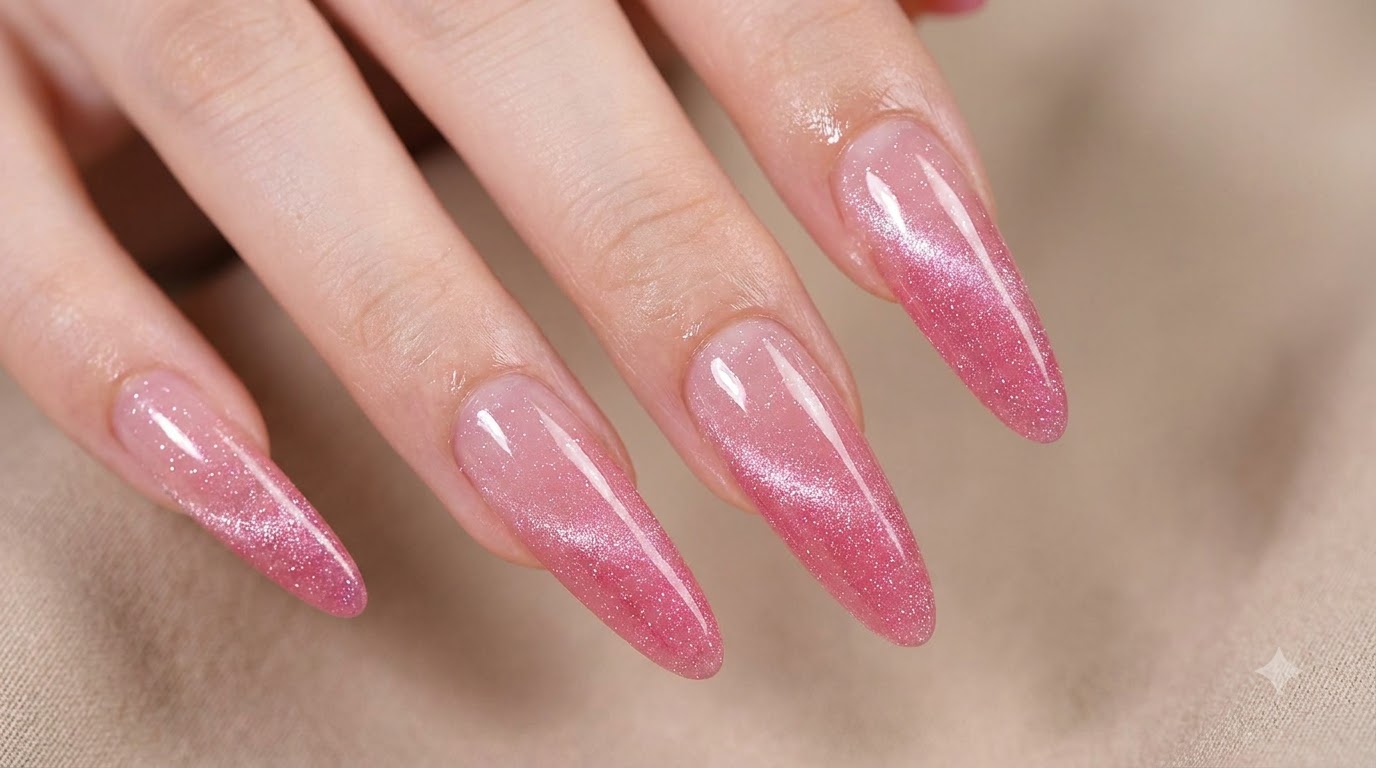
Curve the fingers slightly to highlight the side profile and full length of the glossy nude rhinestone-studded nail extensions. This angle showcases the structural arch and the placement of the dimensional embellishments along the length of each nail. Maintain a natural hand position to emphasize the elegant shape and clean execution of the luxury set.
Tip: Showing the side profile helps verify that the nail apex is correctly built for structural strength without looking overly bulky. - 2Showcase top surface glitter and crystals
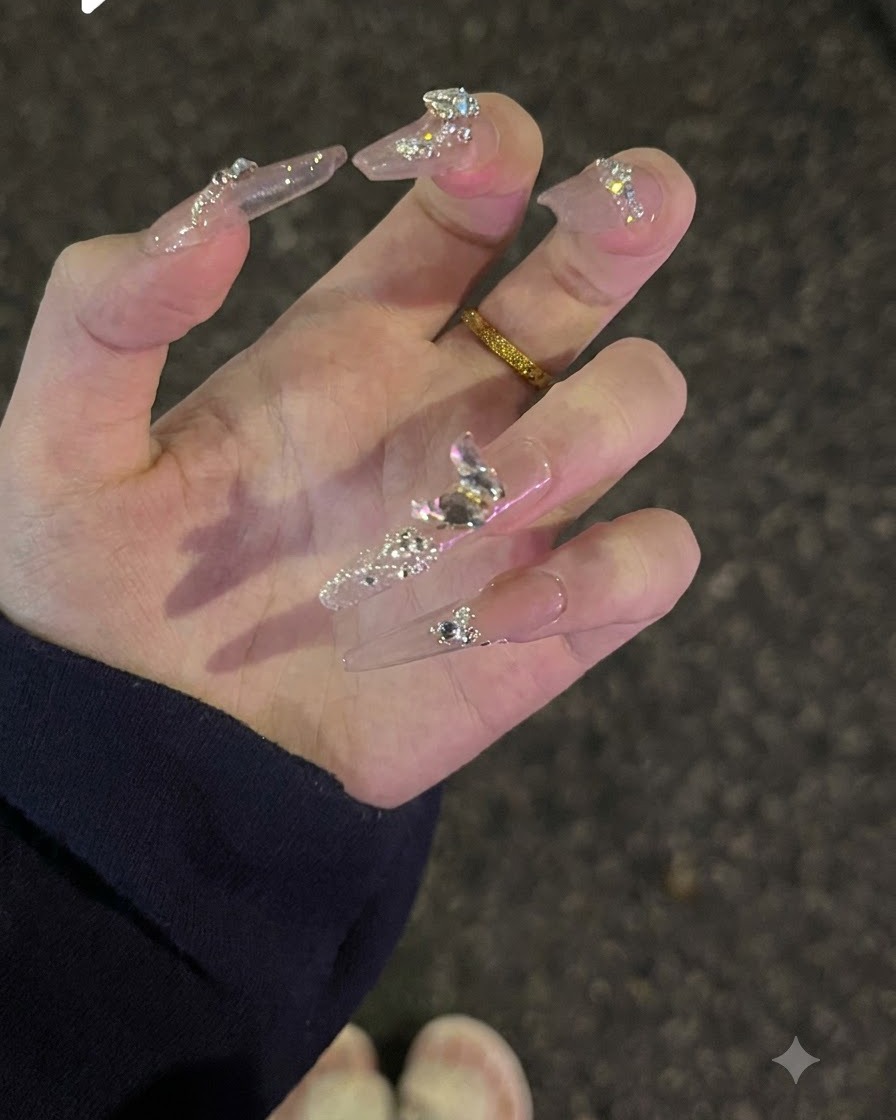
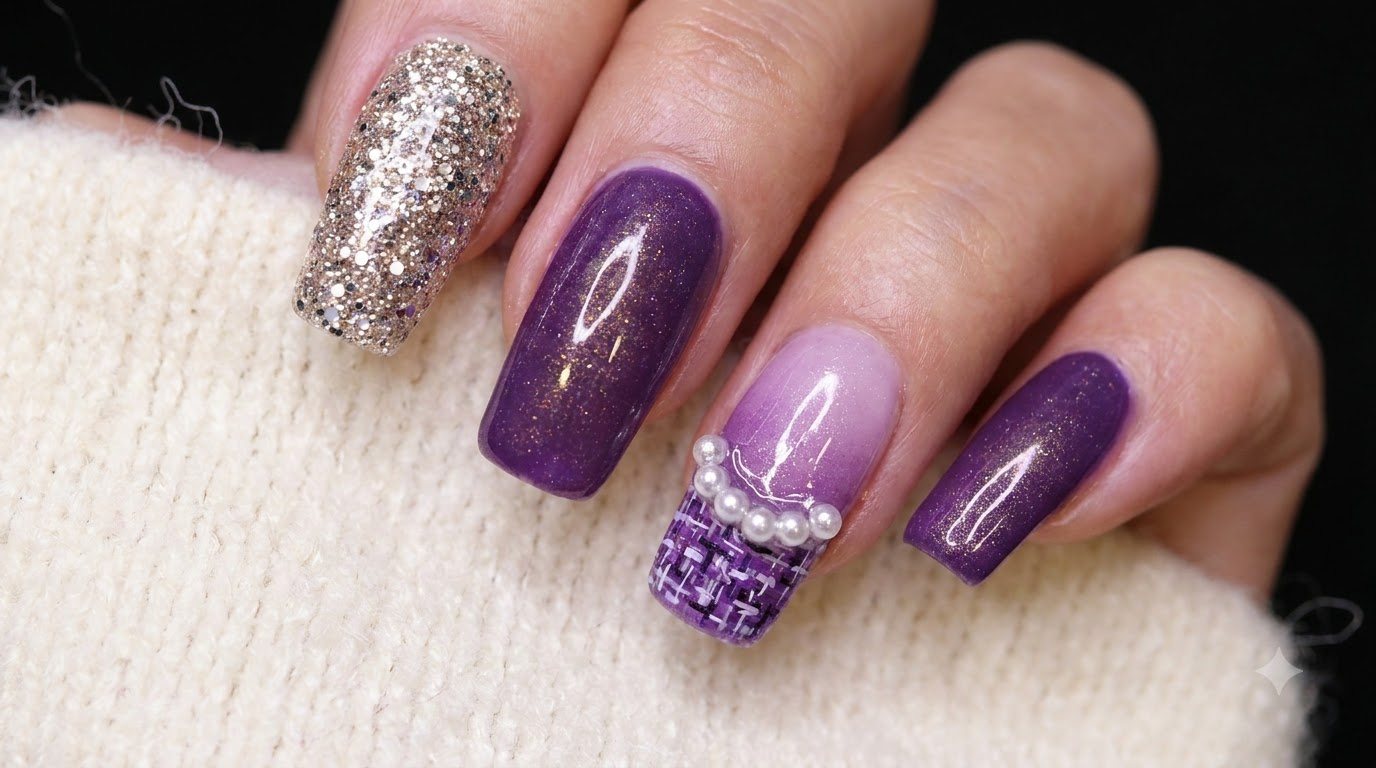
Turn the hand back to present the top surface of the nails under ambient lighting, emphasizing the shimmering glitter and precise diamond crystal placement. Ensure the lighting catches the multi-faceted sparkle of the embellishments against the nude base. This view highlights the intricate detailing and artistry of the final design.
Tip: Positioning the hand toward the light source maximizes the refraction and sparkle of individual crystals. - 3Form a square shape with fingers
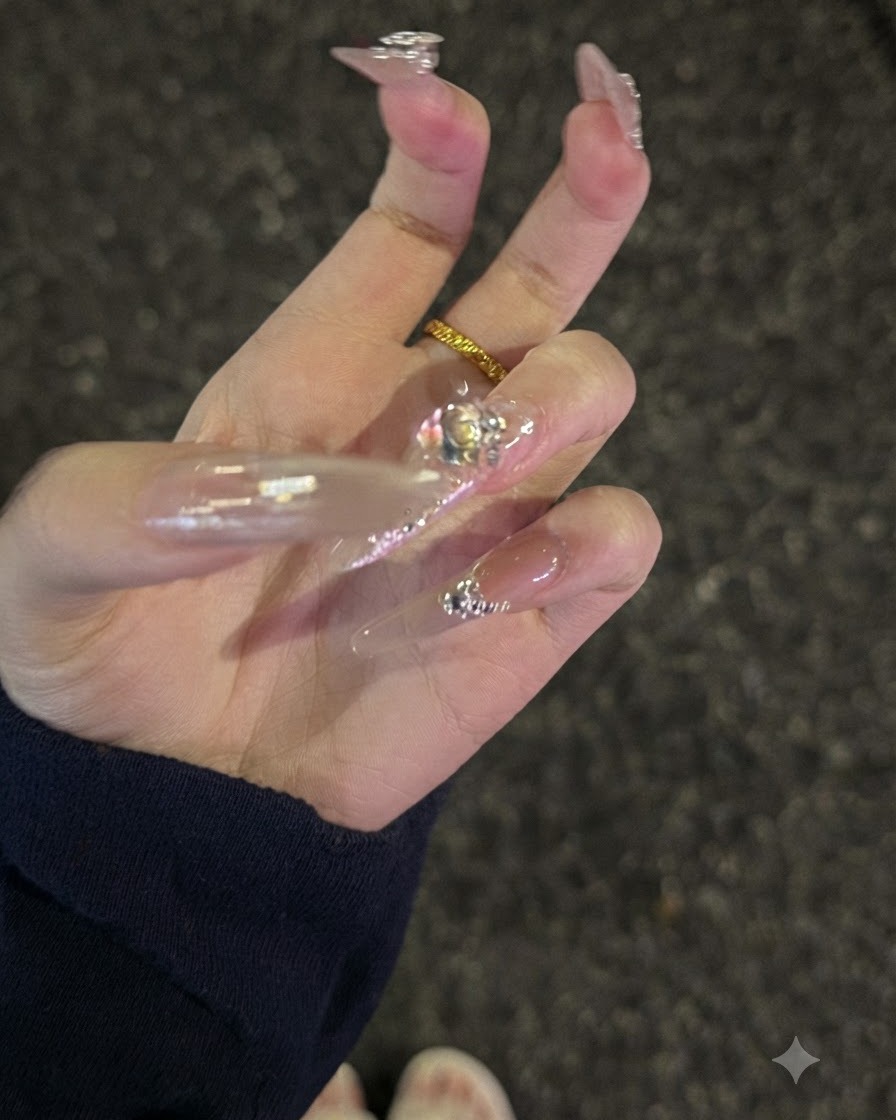
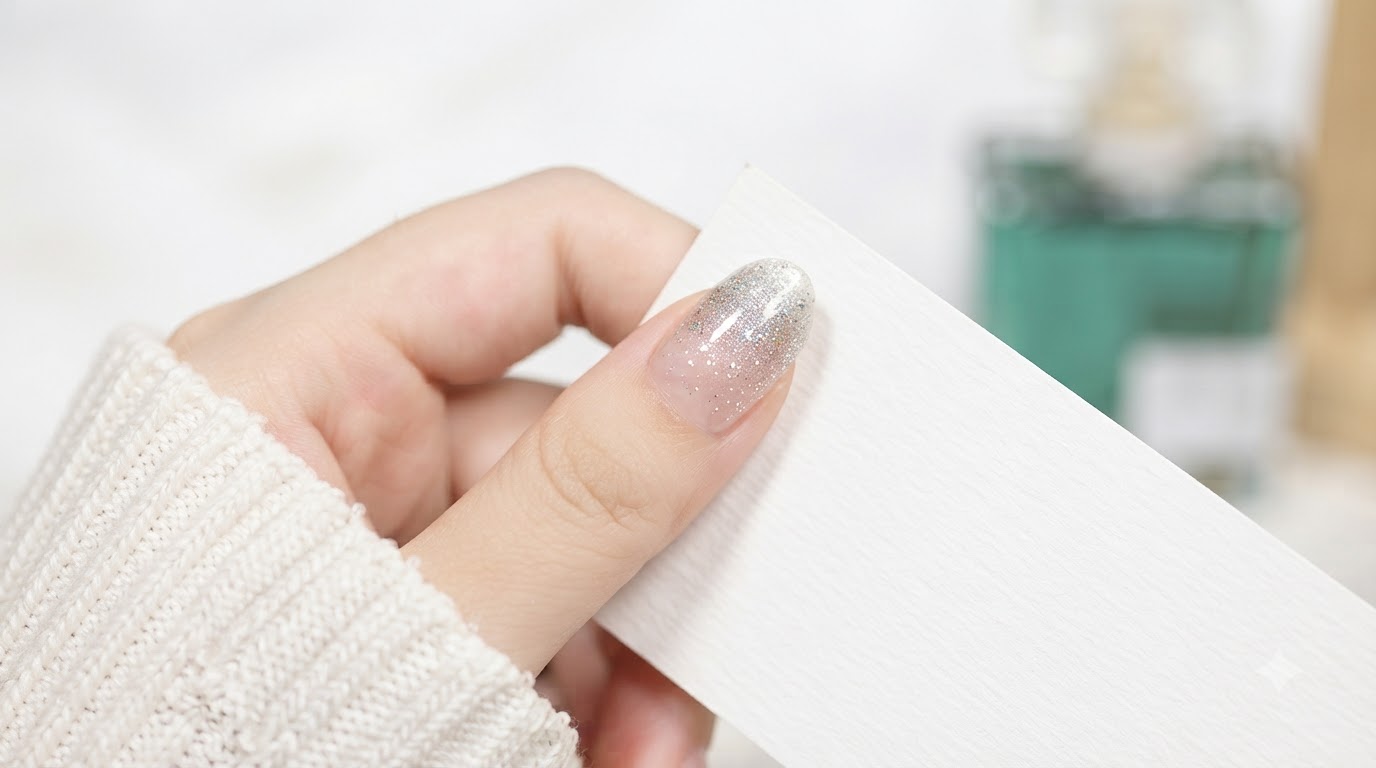
Bring the fingers together to form a geometric square composition, demonstrating the uniform length, consistent shape, and detailed 3D crystal charms across the set. This framing allows viewers to appreciate the symmetry and balanced design choices incorporated into the manicure. Check that each charm is securely anchored and visually balanced.
Tip: Grouping the fingers together creates a cohesive focal point that emphasizes uniformity across all nail lengths and styles. - 4Highlight glossy finish and light reflection
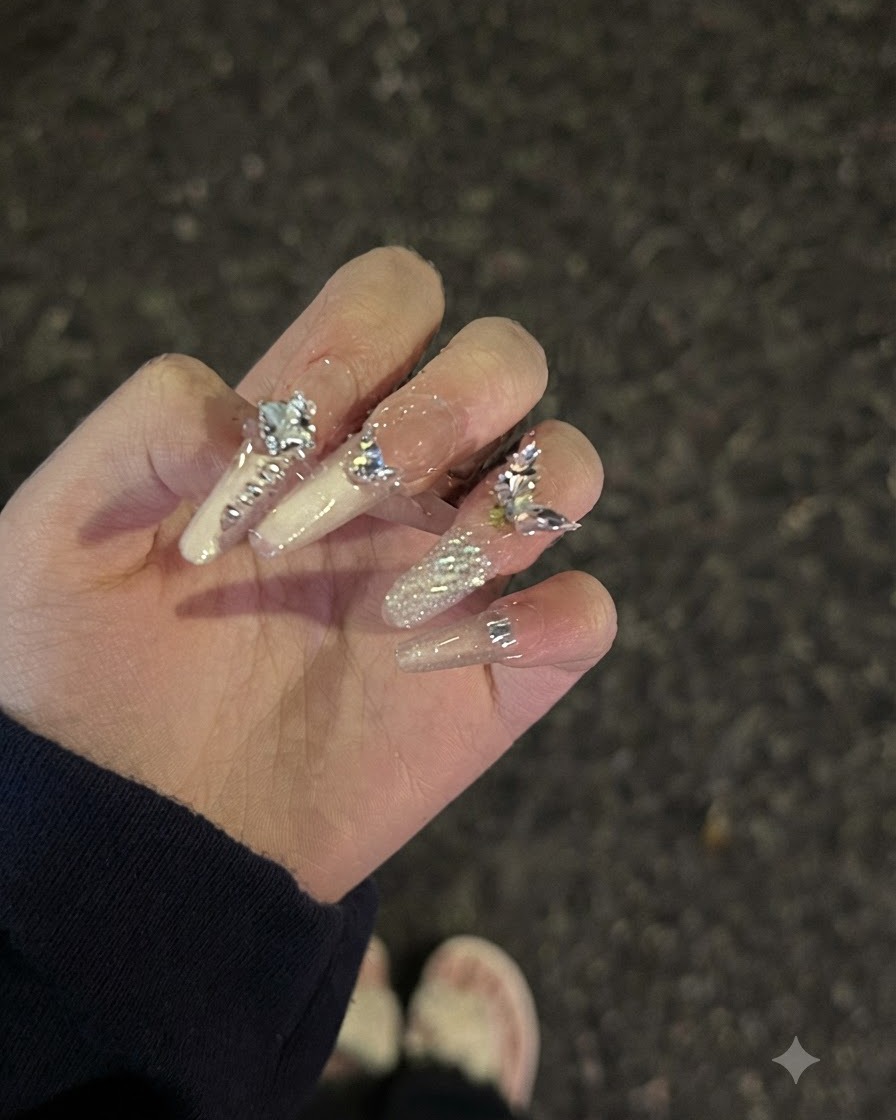
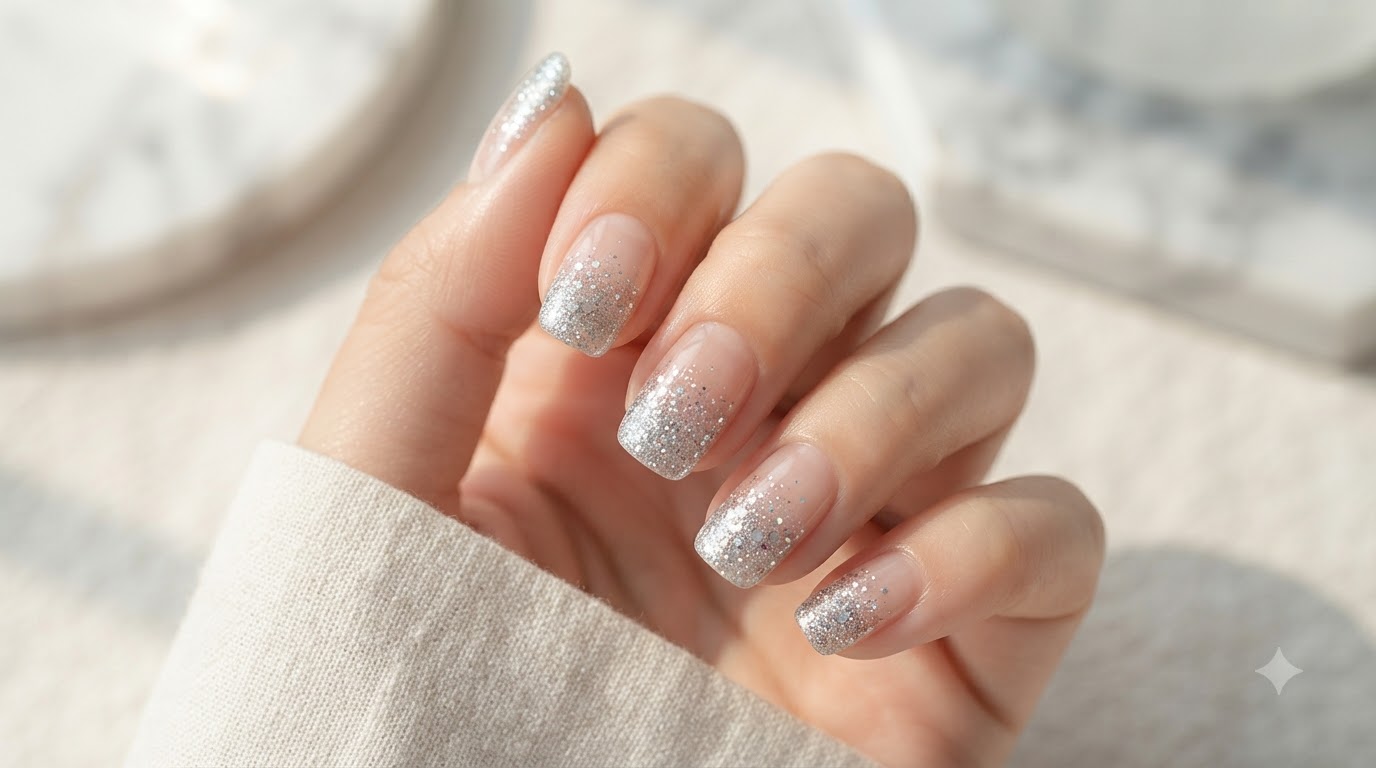
Adjust the hand pose slightly to catch specular highlights across the glossy top coat and faceted rhinestones. This minor movement accentuates the mirror-like shine of the surface finish and the brilliant sparkle of the stones. Ensure the fingers remain relaxed and the focus stays sharp on the dimensional details.
Tip: Subtle shifts in hand angle capture dynamic light reflections that prove the quality of the high-gloss top coat.