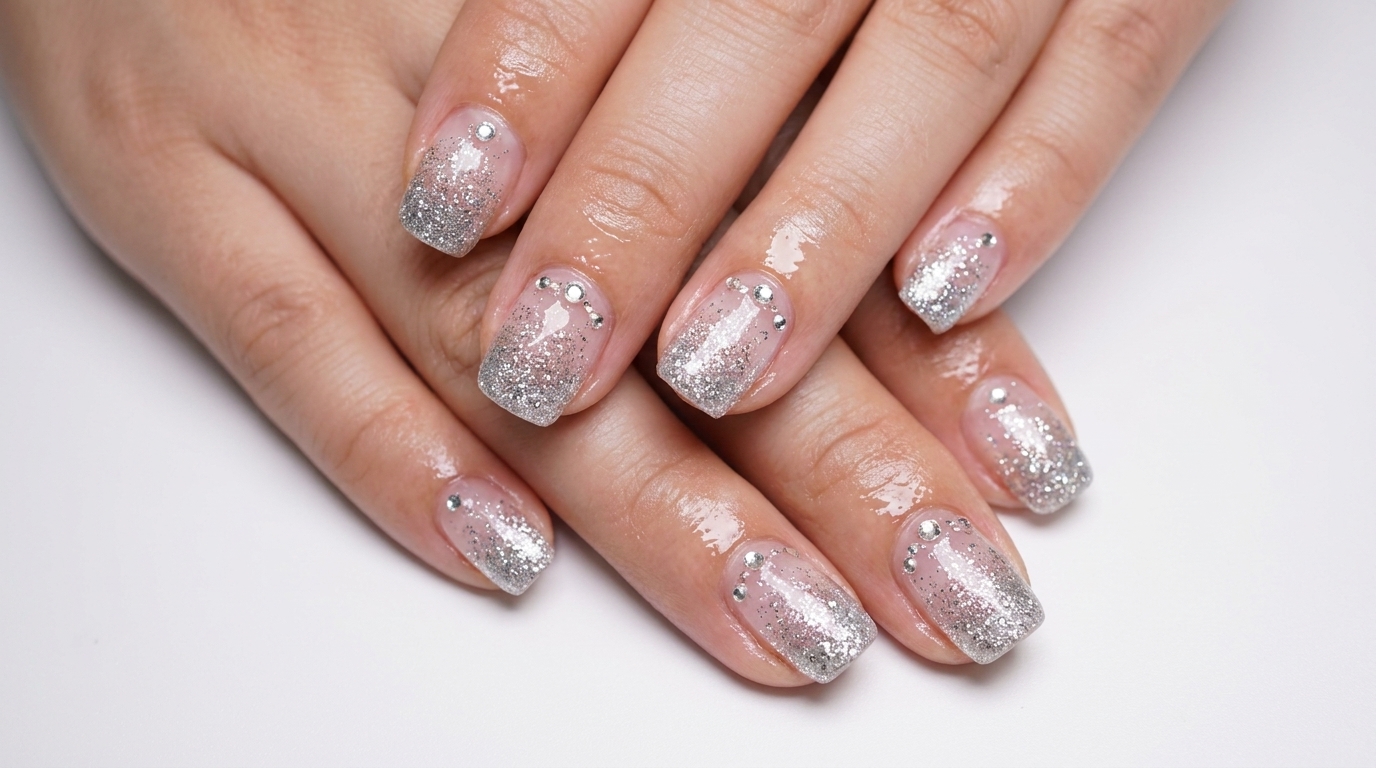
Silver Glitter Gradient Nails — Sparkling Fairy-Like Step-by-Step Tutorial
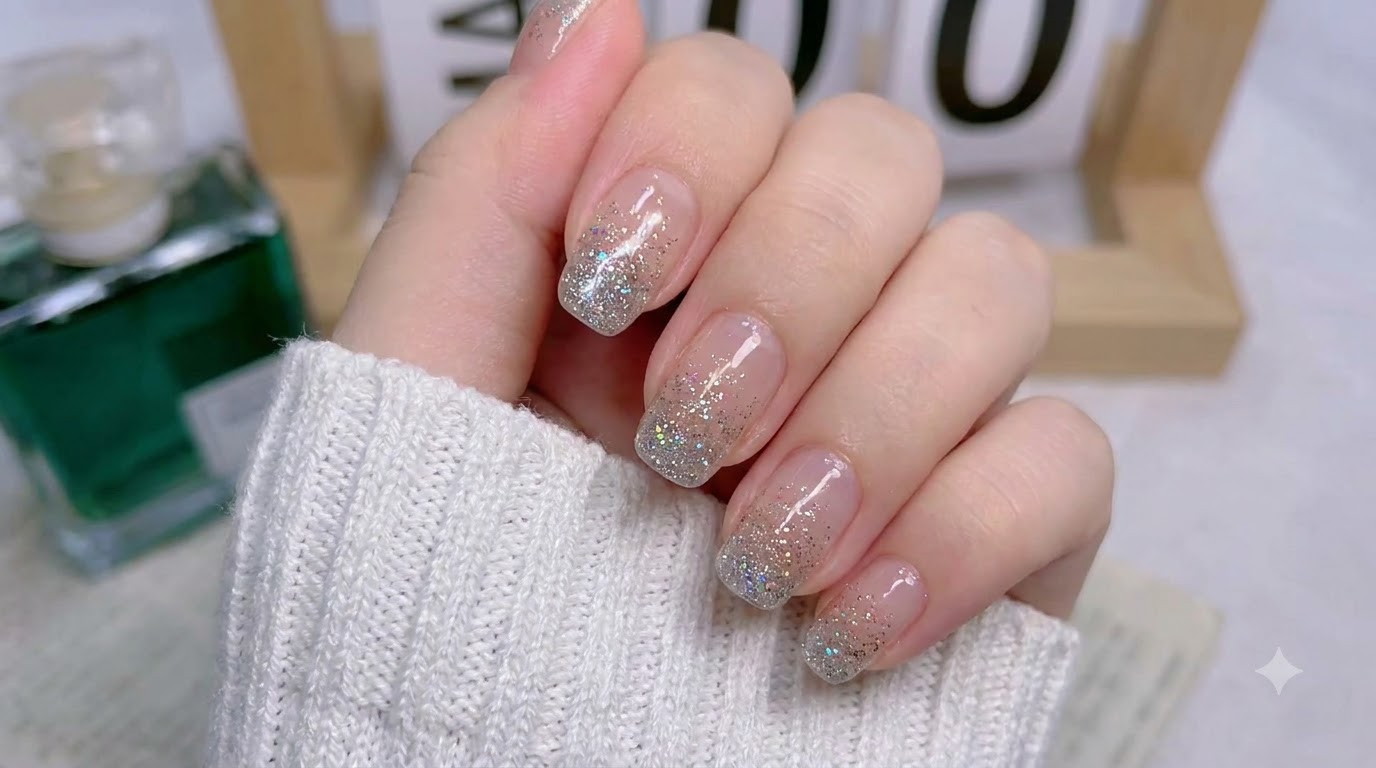
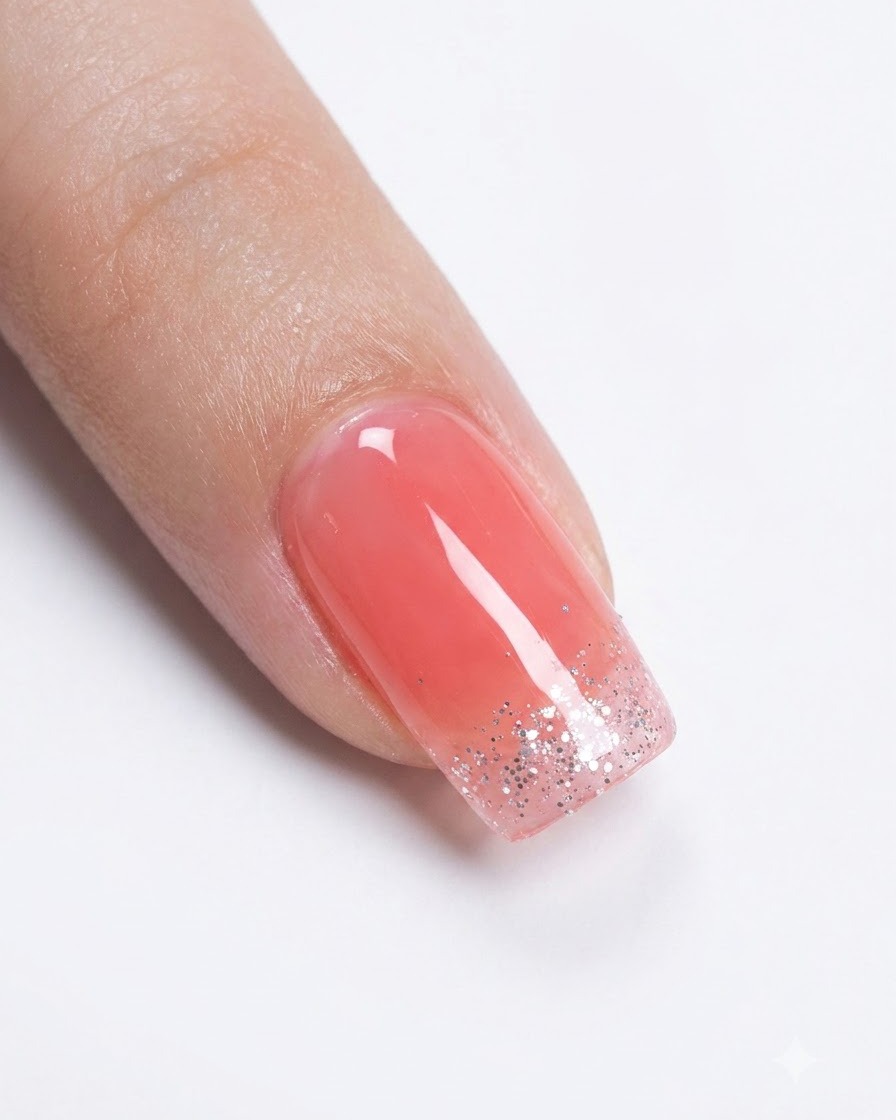
Create a magical fairy-like look with this shimmering silver glitter gradient fading effortlessly over a translucent pink jelly base.
Glitter gradients bring an ethereal, sparkling charm to any manicure without feeling overwhelming. By concentrating fine holographic and silver glitters at the free edge and fading them backward, you achieve a delicate ombré effect that looks sophisticated and catches the light from every angle.

Steps
- 1Prepare the pink base
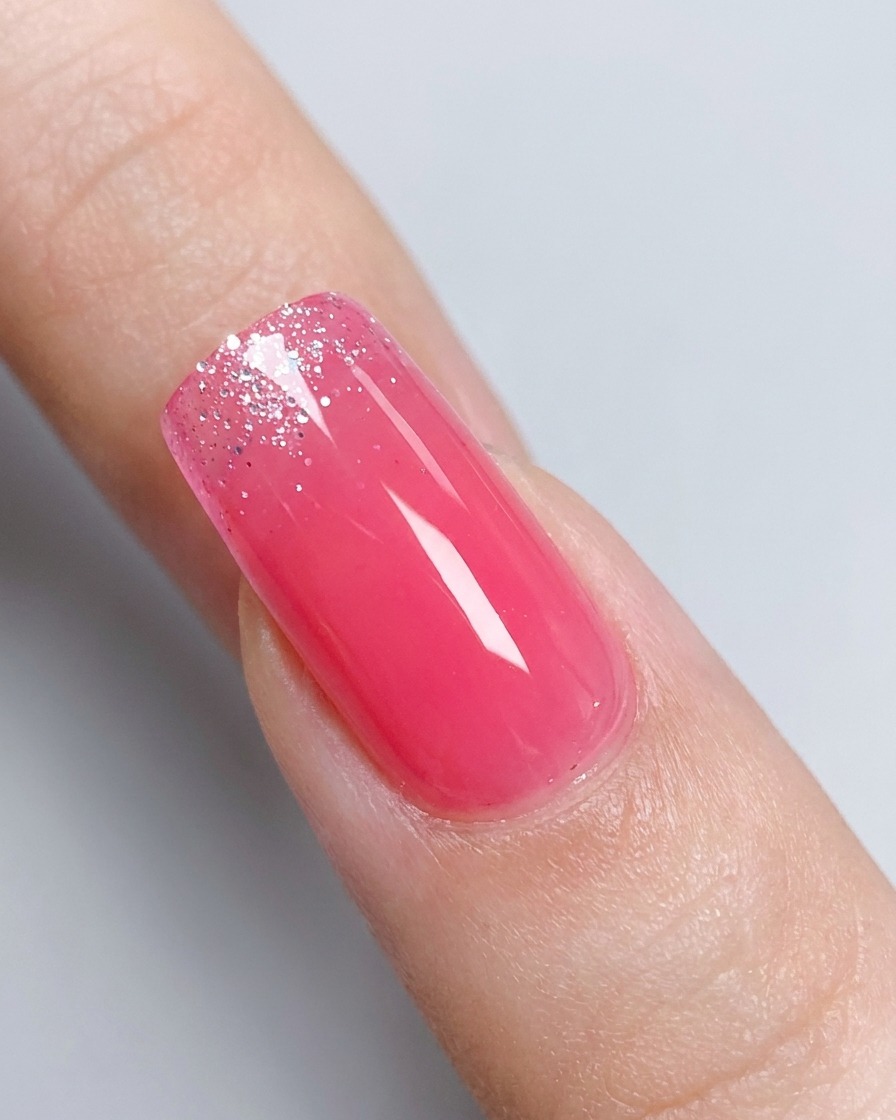
Begin by observing the beautifully blended pink gradient base on the natural nail. Ensure that the nail surface is entirely smooth, cured, and prepped before introducing any glitter product to the design.
Tip: A perfectly smooth pink gradient base prevents the final encapsulated glitter layers from looking bulky or uneven. - 2Dip brush into silver glitter gel
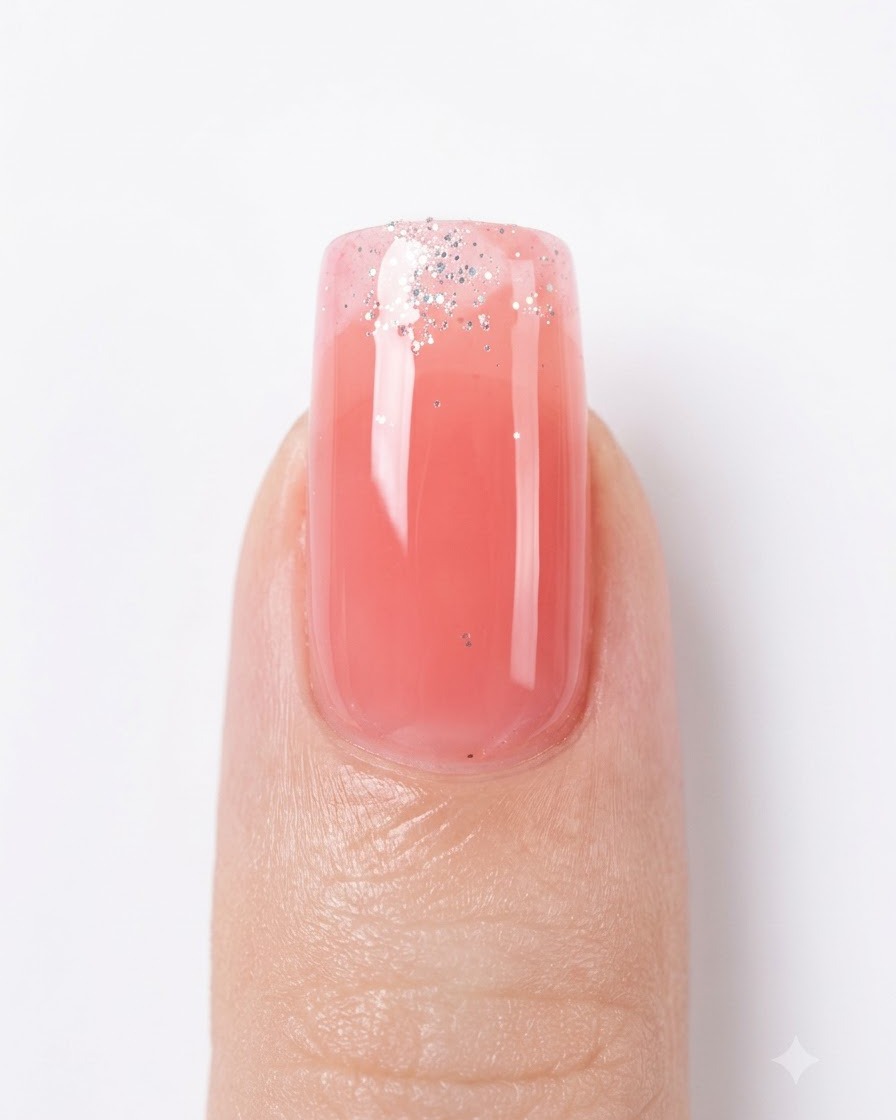
Dip a fine nail art brush gently into the silver glitter gel container. Pick up a controlled amount of glitter particles on the tip of the brush to ensure precise application without clumping.
Tip: Load only a small amount of glitter onto the brush at a time to prevent excess gel pooling on the nail. - 3Apply silver glitter gradient
Take your silver glitter polish and gently apply it starting from the free edge and tip of the nail, sweeping slightly downward to create a soft fading effect. Build up the concentration of sparkles at the very tip for a sparkling, ethereal look.
Tip: Wipe most of the excess glitter off the brush on the neck of the bottle before application to keep the gradient light and controllable. - 4Create glitter gradient effect
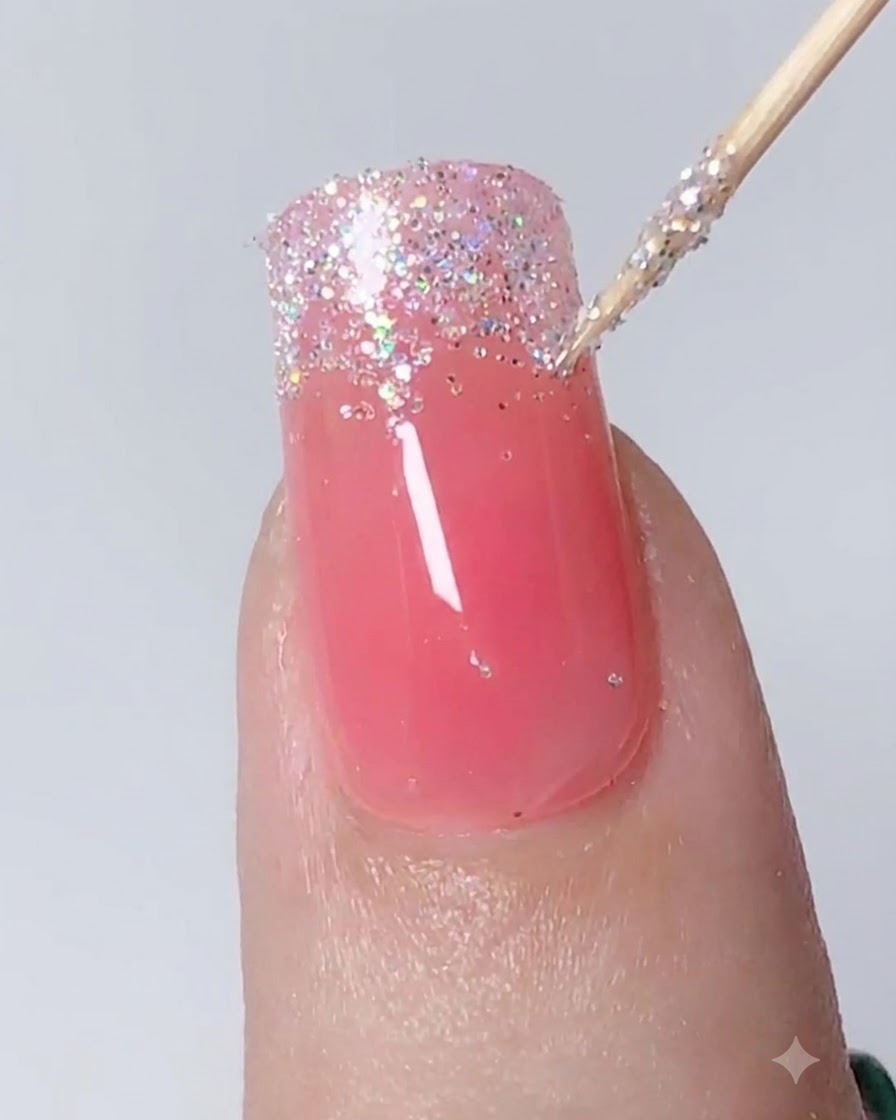
Using a tool or brush, dab and pat the glitter particles slightly downward toward the center of the nail. This fades the glitter density out, creating a seamless gradient effect that transitions from the tip inward.
Tip: Spread individual larger glitter pieces further down for an organic, fairy-like scattered look. - 5Refine glitter transition zone
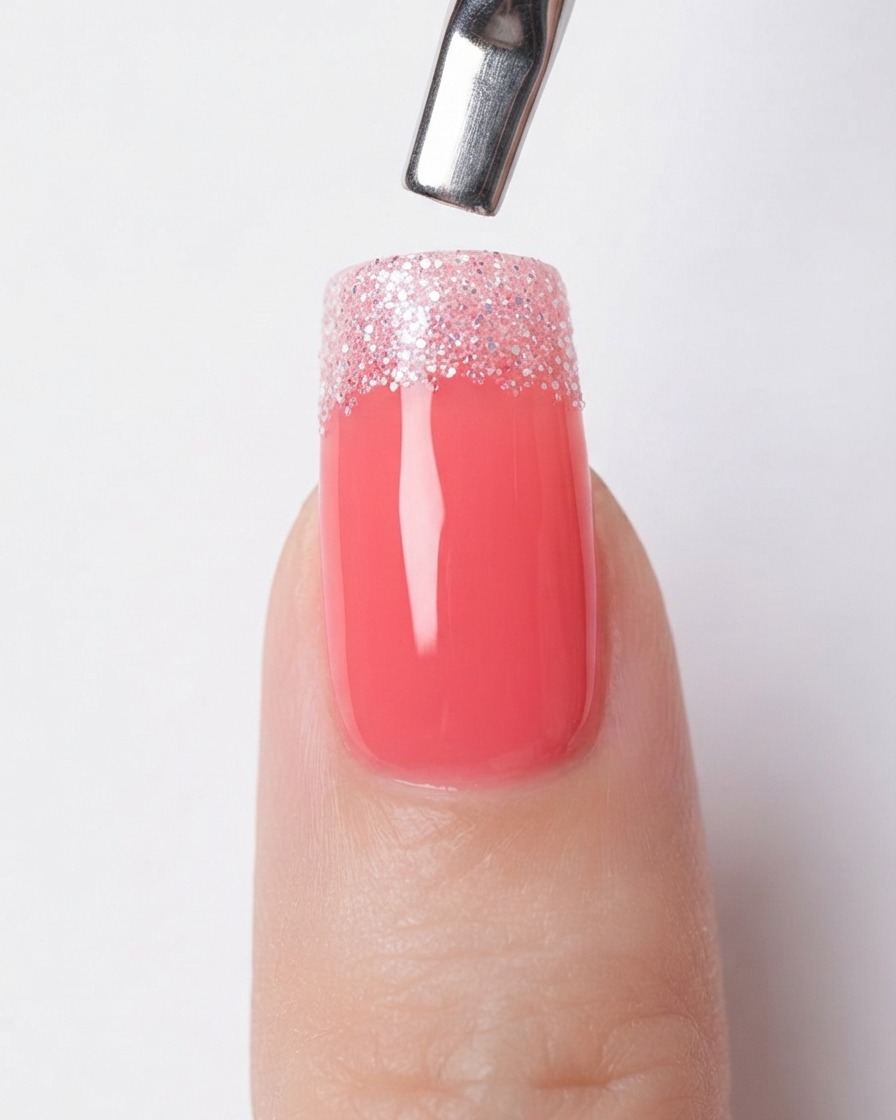
Carefully inspect and refine the glitter distribution near the upper transition zone where the glitter fades out. Ensure there are no harsh lines, creating a smooth and professional gradient fade.
Tip: Wipe your brush clean if you need to sweep away stray glitter flecks that went too far down the nail. - 6Seal with clear top coat
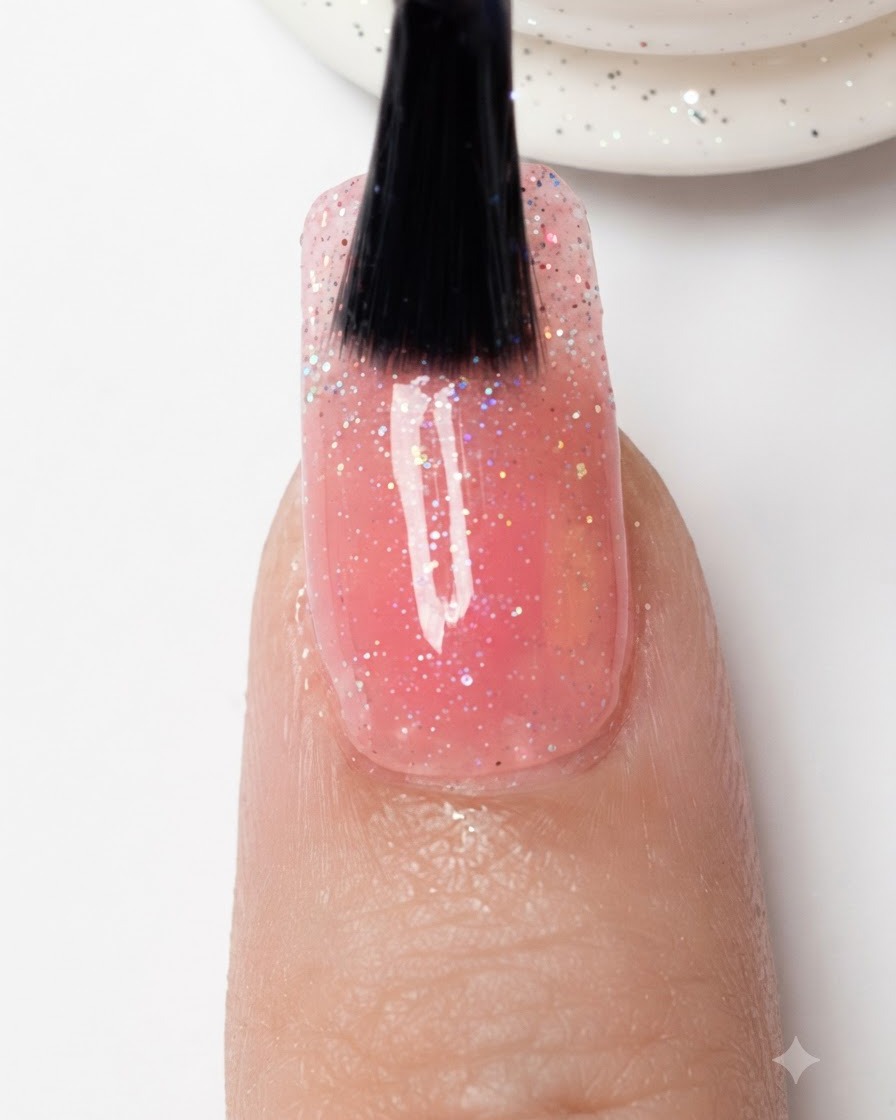
Apply an even layer of clear top coat over the entire nail surface to lock in the glitter and smooth out any texture. Cap the free edge to protect the design from chipping and give it a high-gloss finish.
Tip: Make sure the top coat layer is thick enough to level over the textured glitter particles for a glass-like finish.