Spring Peach Watercolor Gradient
Cat Eye Nail Art — Step-by-Step Tutorial
Create an ethereal spring peach watercolor manicure featuring translucent pink and yellow gradient layers accented with shimmering gold cat eye details.
Watercolor nails bring a soft, dreamy artistic expression to your fingertips, capturing the breezy essence of spring. By blending translucent layers of yellow and pink with delicate white strokes and radiant gold cat eye highlights, this design achieves a multidimensional, luminous finish that feels both modern and romantic.

Steps
- 1Apply translucent yellow base layer
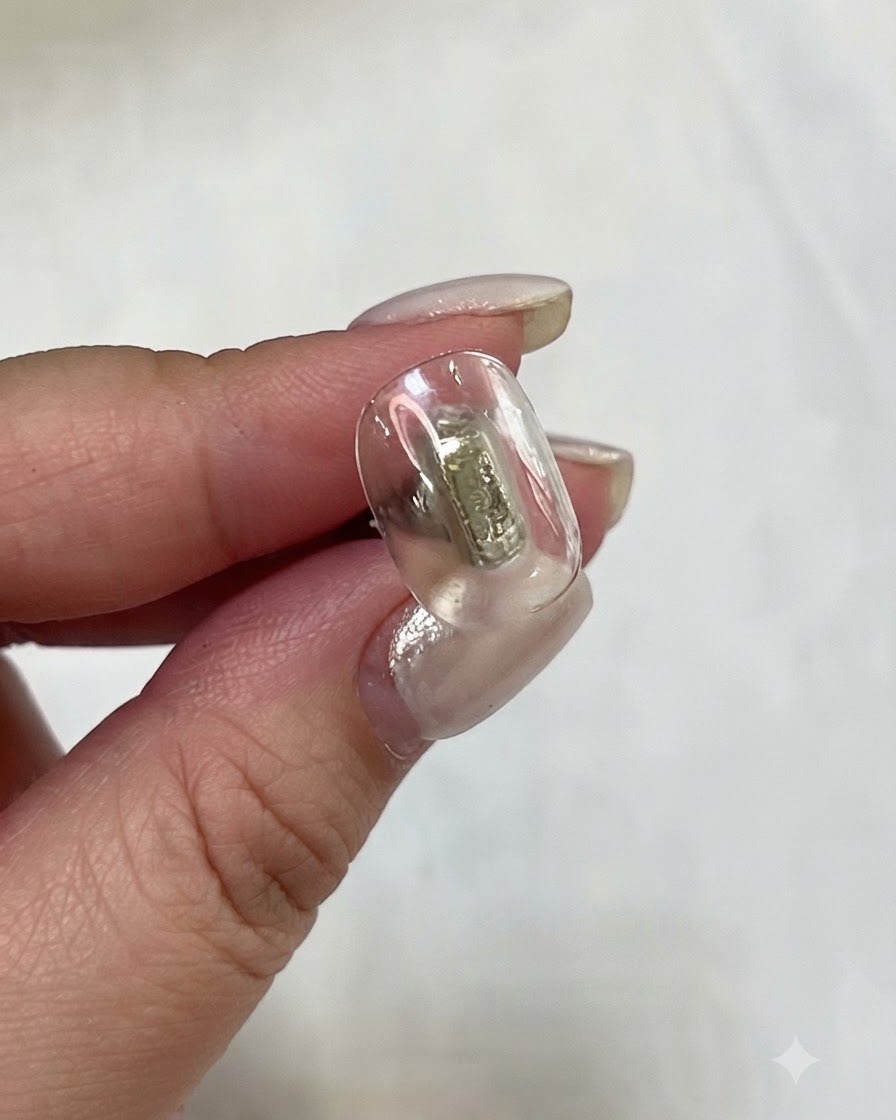
Apply a base layer of translucent yellow gel onto the nail plate using a flat gel brush to establish the warm foundation for the watercolor gradient look.
Tip: Keep the layer thin and evenly distributed for a smooth gradient base. - 2Cure the yellow gel layer
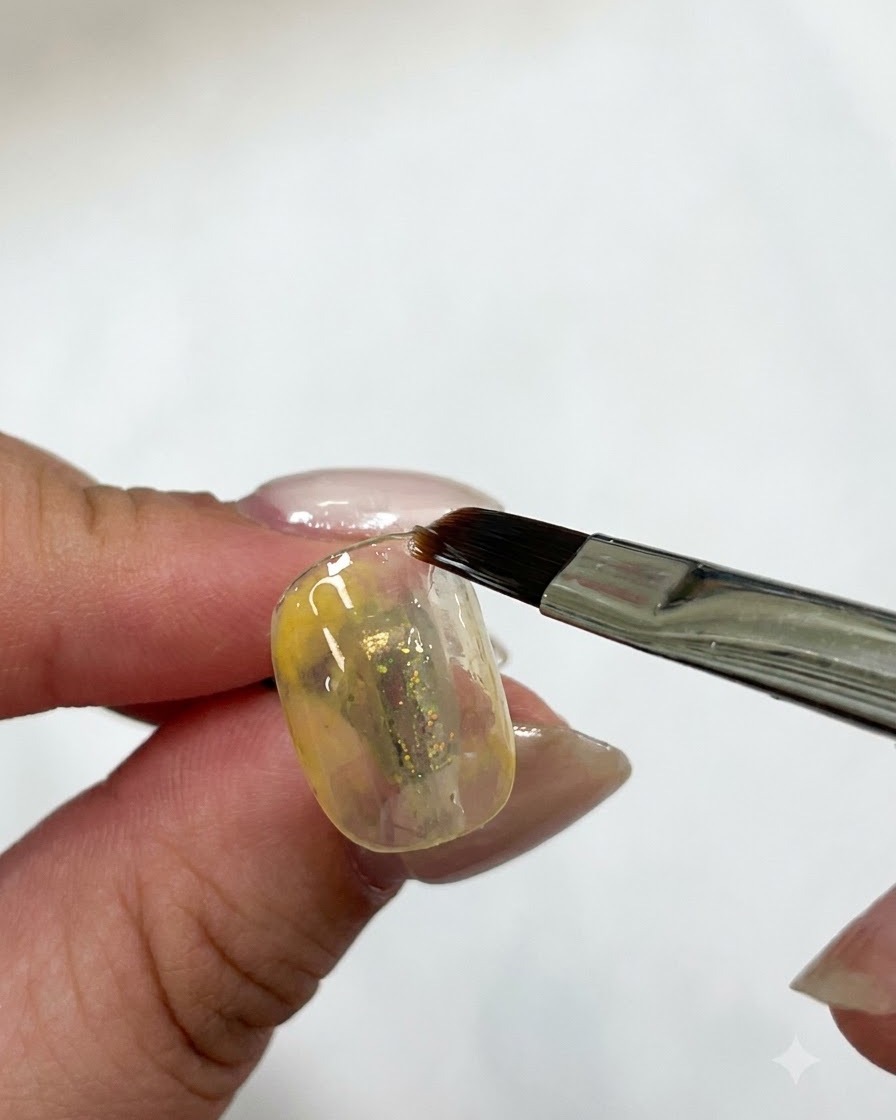
Place the nail under the UV/LED nail lamp to fully cure the translucent yellow gel layer before adding subsequent color layers.
Tip: Ensure proper curing time to prevent shifting of the base layer. - 3Apply light pink gel accent
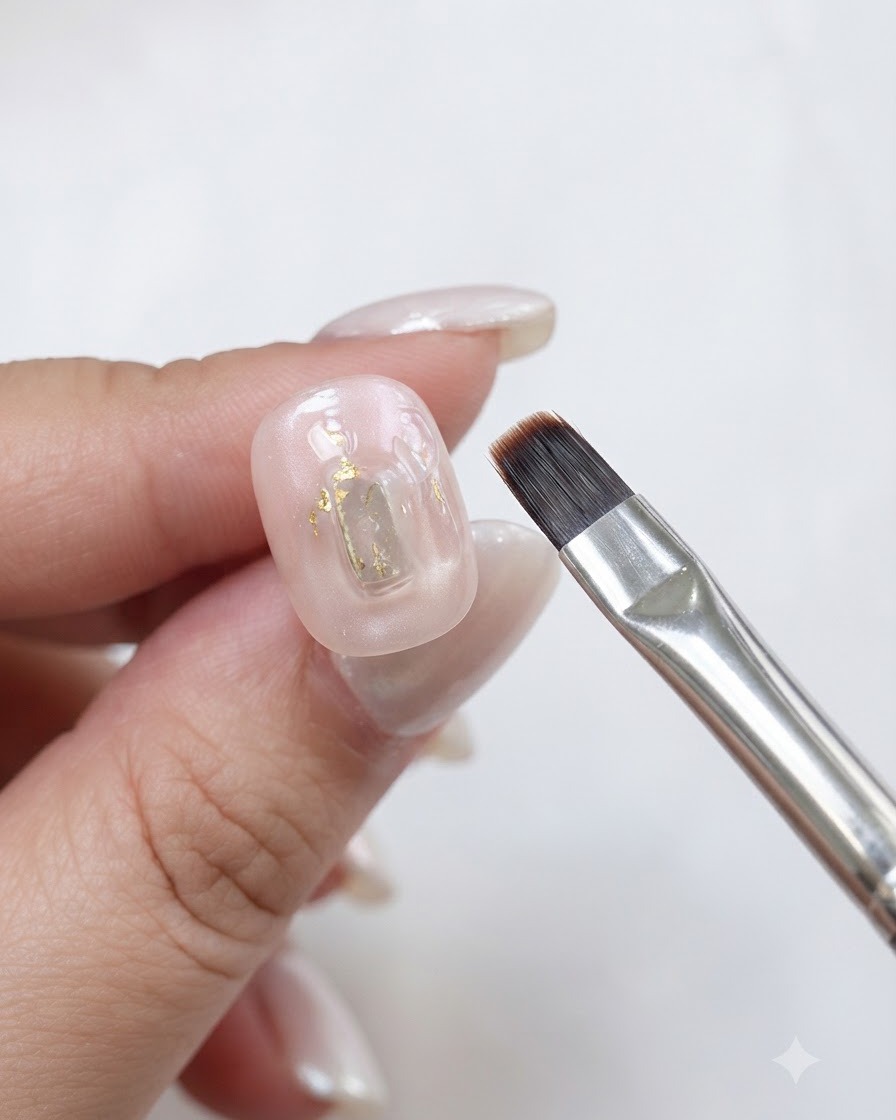
Apply light pink gel specifically to the upper right corner of the nail to begin building the watercolor gradient effect.
Tip: Focus the product tightly in the corner to create depth. - 4Apply a deeper shade of pink
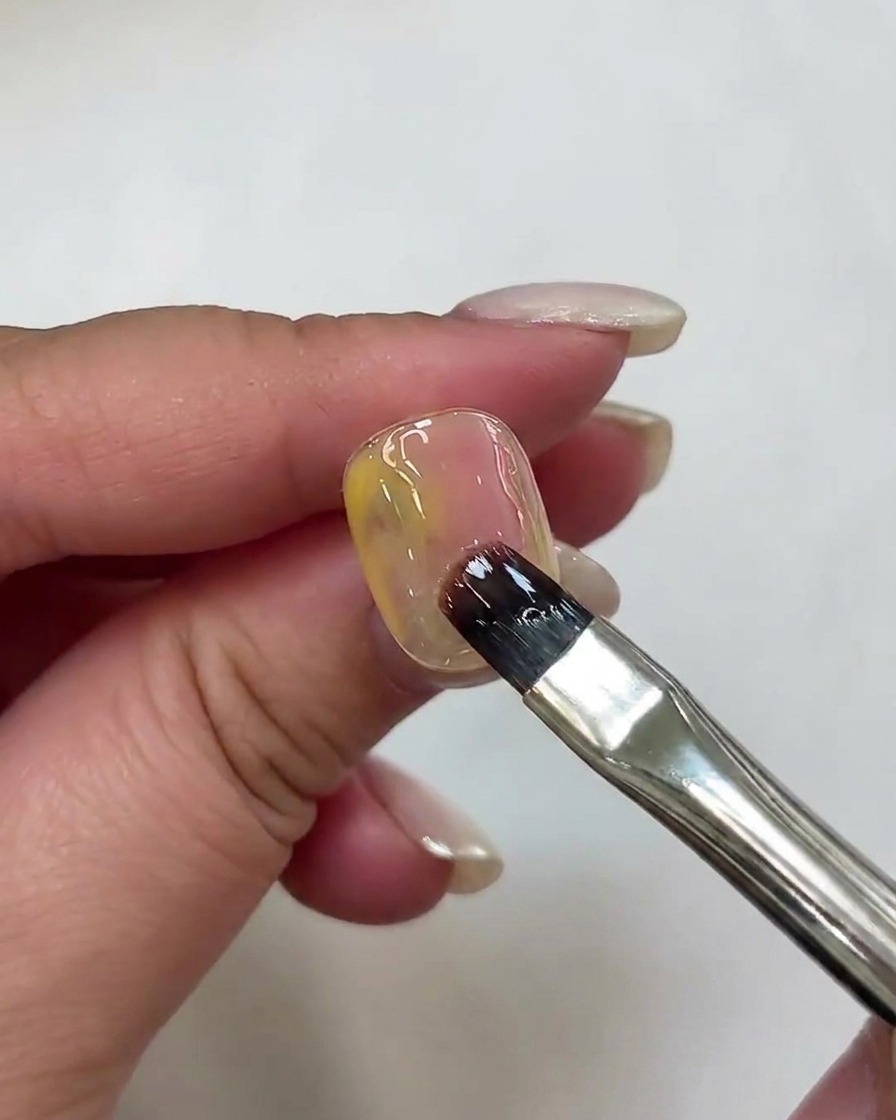
Layer a deeper shade of pink gel over the previous pink area to build the watercolor gradient effect.
Tip: Keep gel amounts small and build up the color gradually. - 5Intensify pink watercolor layer
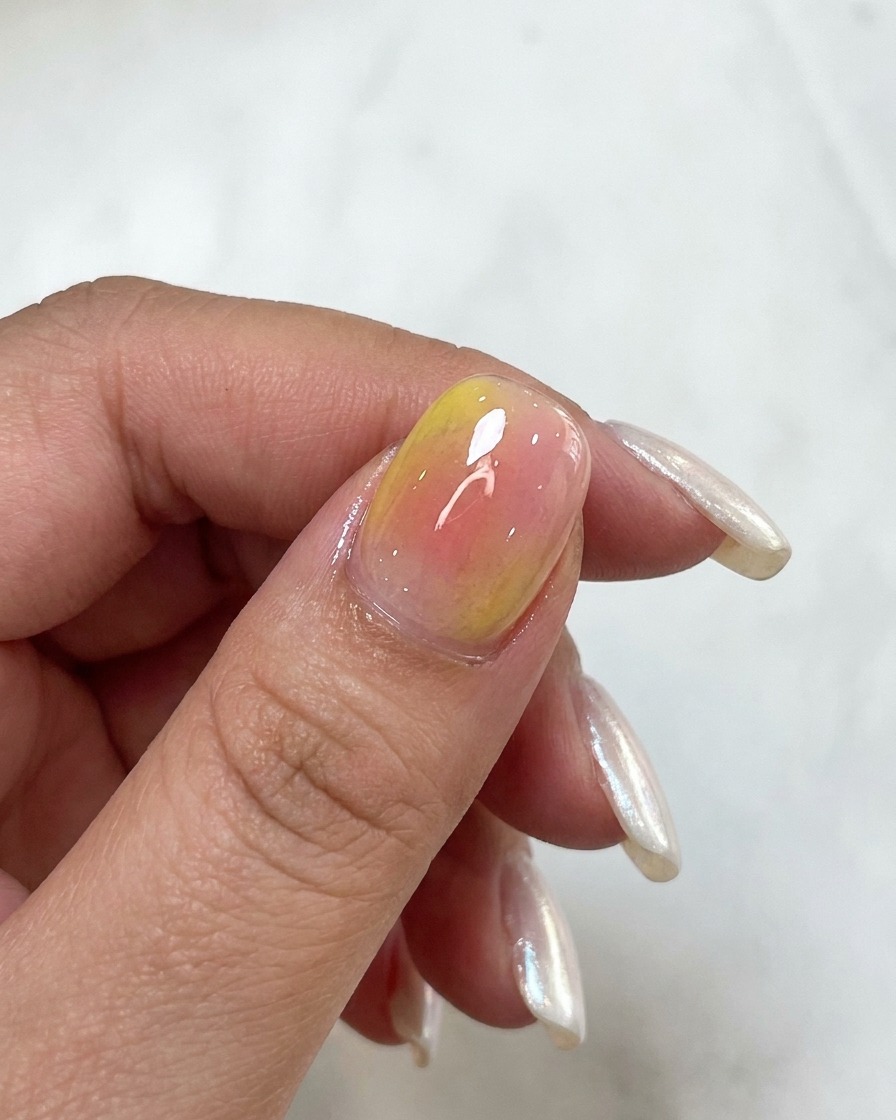
Apply another layer of pink gel to intensify the watercolor color depth and blend the transition softly.
Tip: Lightly sweep the edges for a more natural transition. - 6Cure the pink and yellow layers
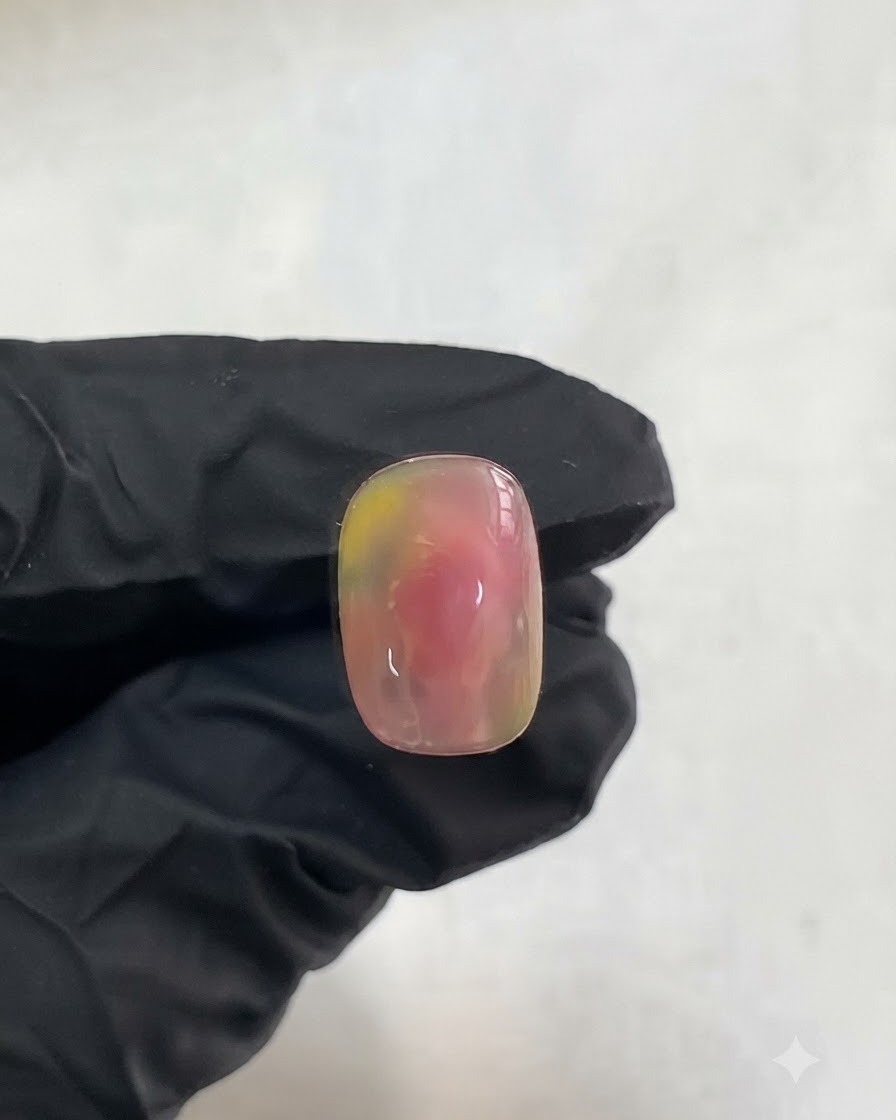
Cure the layered pink and yellow gel under the UV/LED lamp to set the gradient design securely.
Tip: Check that the colors are fully set before proceeding to the next artistic steps. - 7Blend edges for watercolor effect
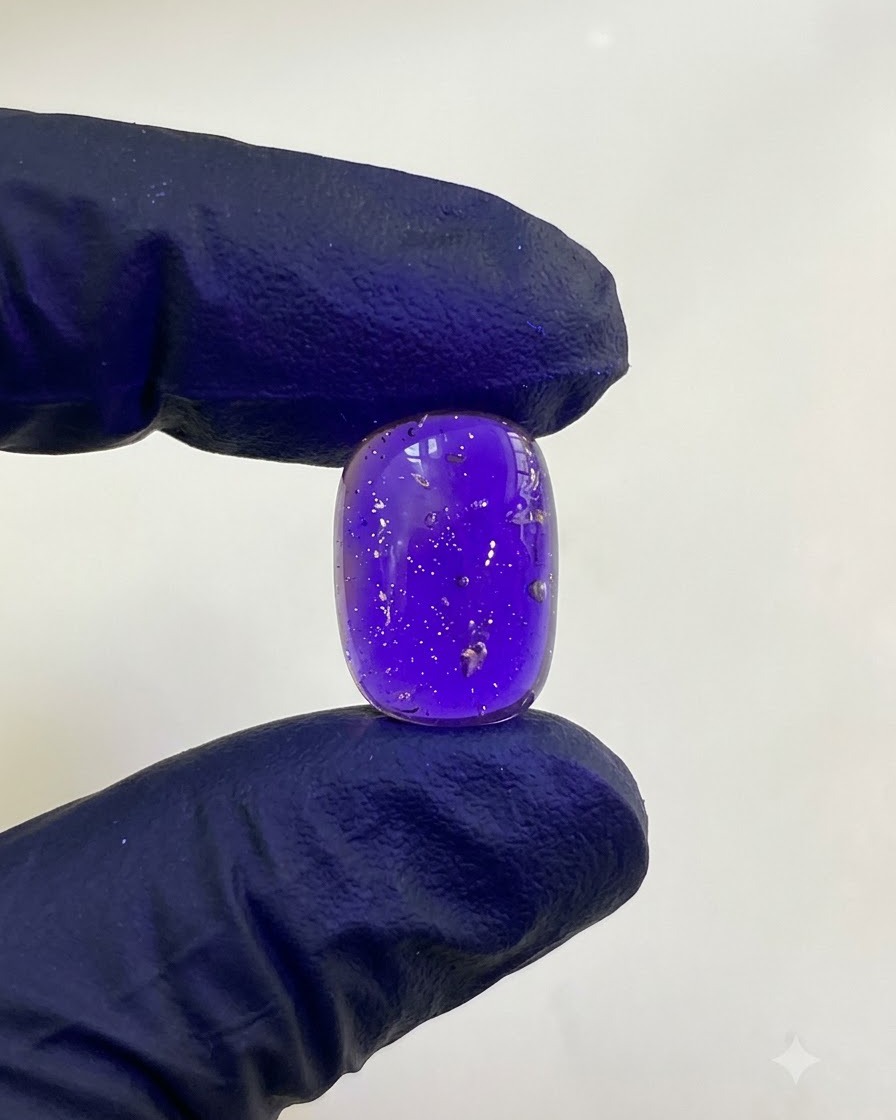
Lightly sweep and blend the edges with a clean brush for a softer, more natural watercolor transition.
Tip: Use a light touch to avoid removing too much product. - 8Cure the gradient layer
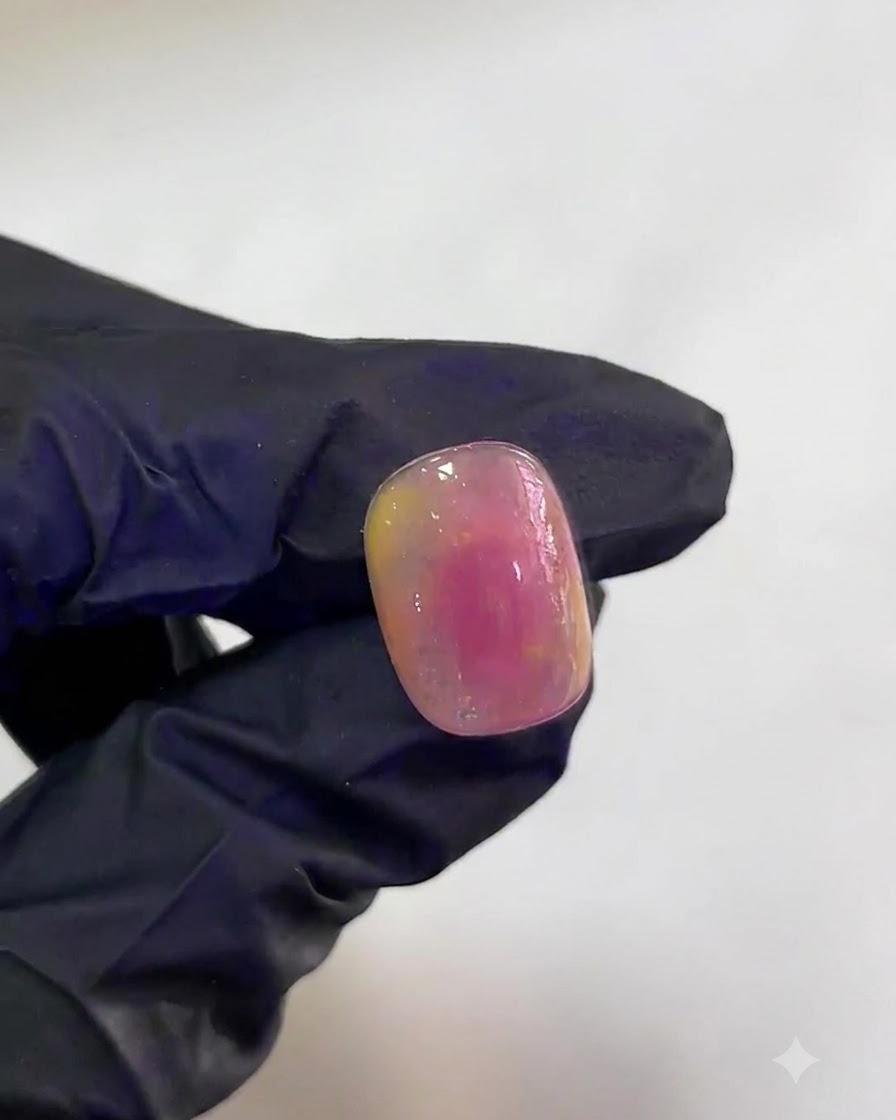
Place the nail under the UV or LED lamp to cure the blended gradient design. Ensure the lamp is fully working and cure according to your gel systems standard timing to lock in the watercolor effect before moving on to the next color layer.
Tip: Always cure between layers to prevent the wet gel colors from muddying into each other unintentionally. - 9Apply translucent white gel
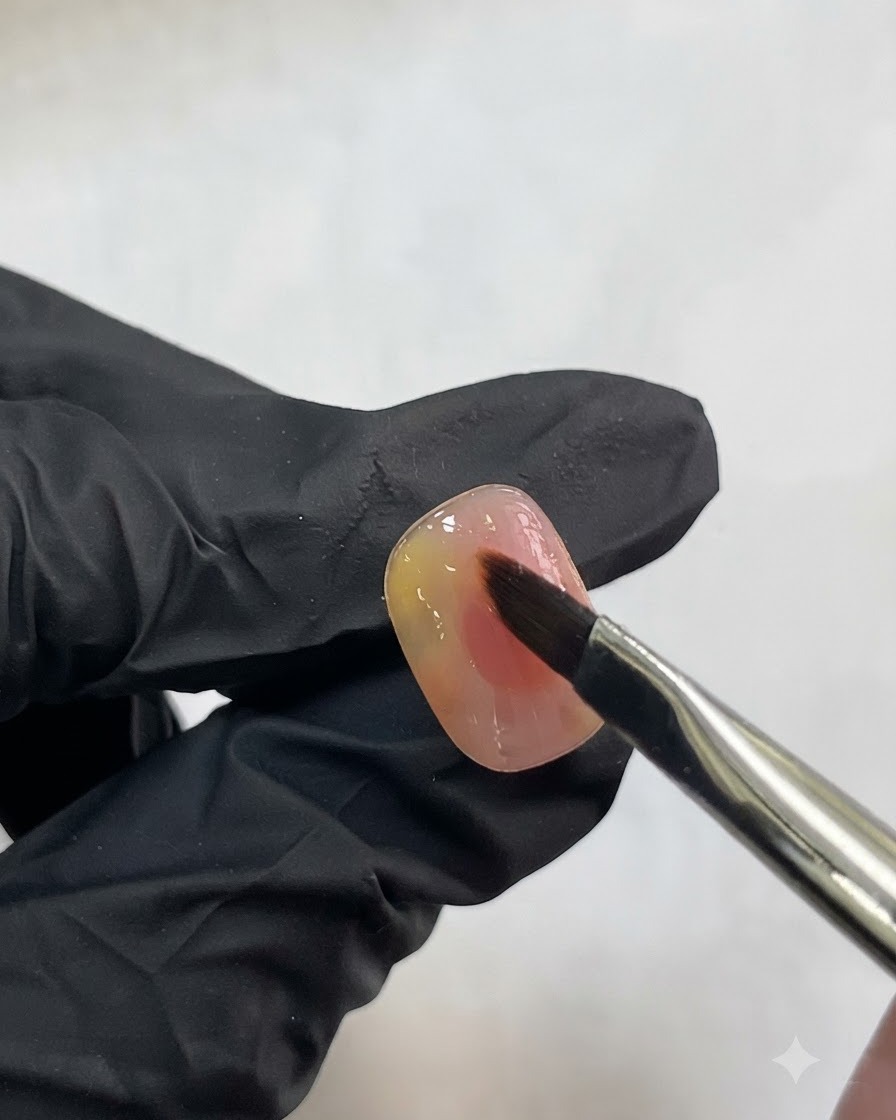
Using a fine brush, apply translucent white gel in small amounts multiple times across the nail. Swipe and drag the gel freely according to your artistic preference, making sure to keep the amount of gel small each time to maintain a delicate, translucent watercolor look.
Tip: Working with very small amounts of product prevents pooling and keeps the layered texture airy. - 10Cure the translucent white layer
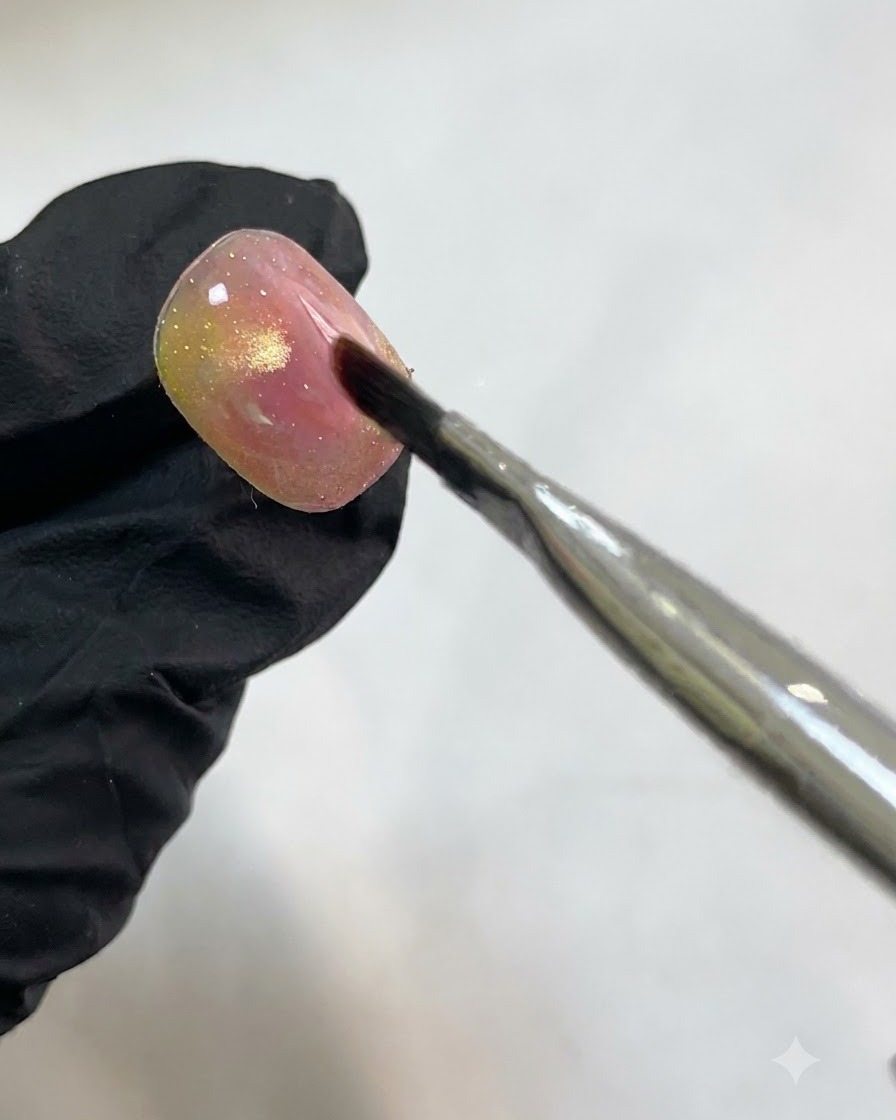
Place the nail back into the UV or LED lamp to cure the newly added translucent white watercolor layer. Curing secures the fine details and prevents them from shifting during subsequent steps.
Tip: Partial or incomplete curing can cause subsequent layers to wrinkle or slide. - 11Apply gold cat eye gel
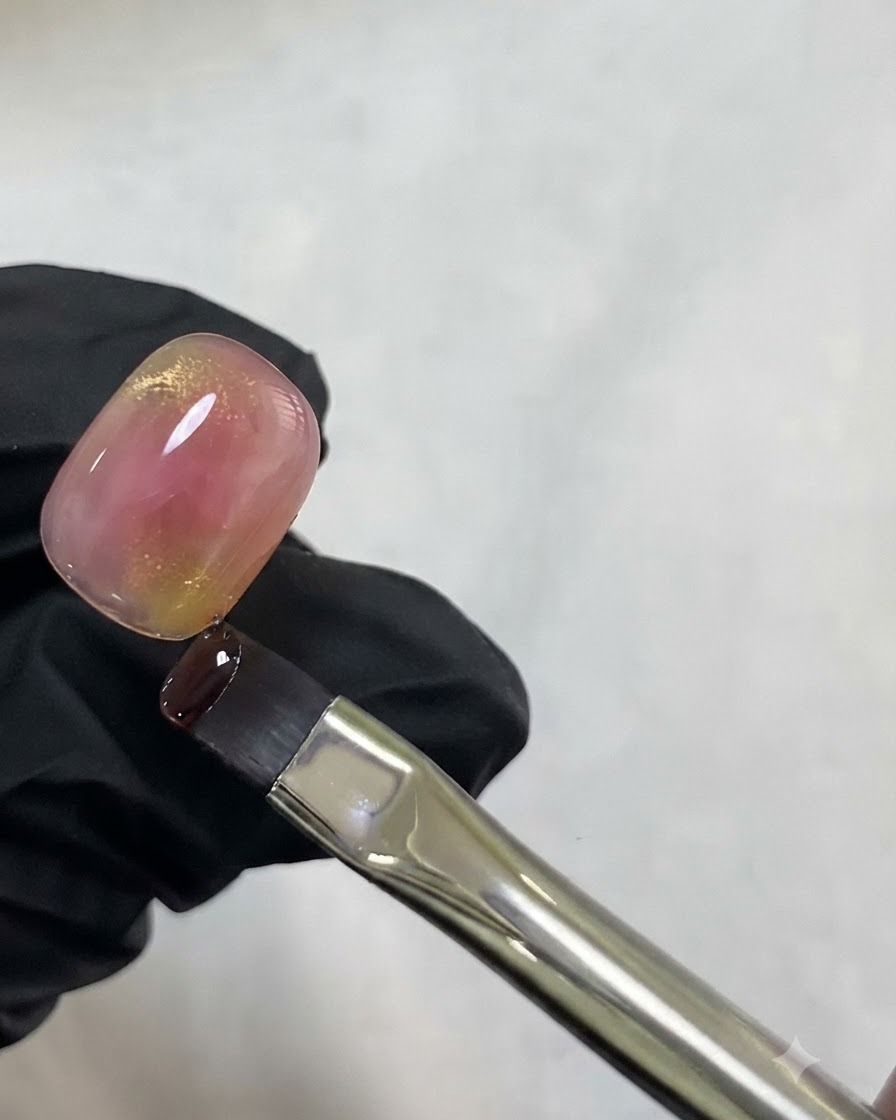
Take a fine liner brush and pick up gold cat eye gel, then apply it onto the nail surface in delicate accents. This adds a shimmering metallic dimension to the watercolor design.
Tip: Wipe excess gel off the brush bristles to maintain crisp, fine lines when applying cat eye gel. - 12Clean up gel edges
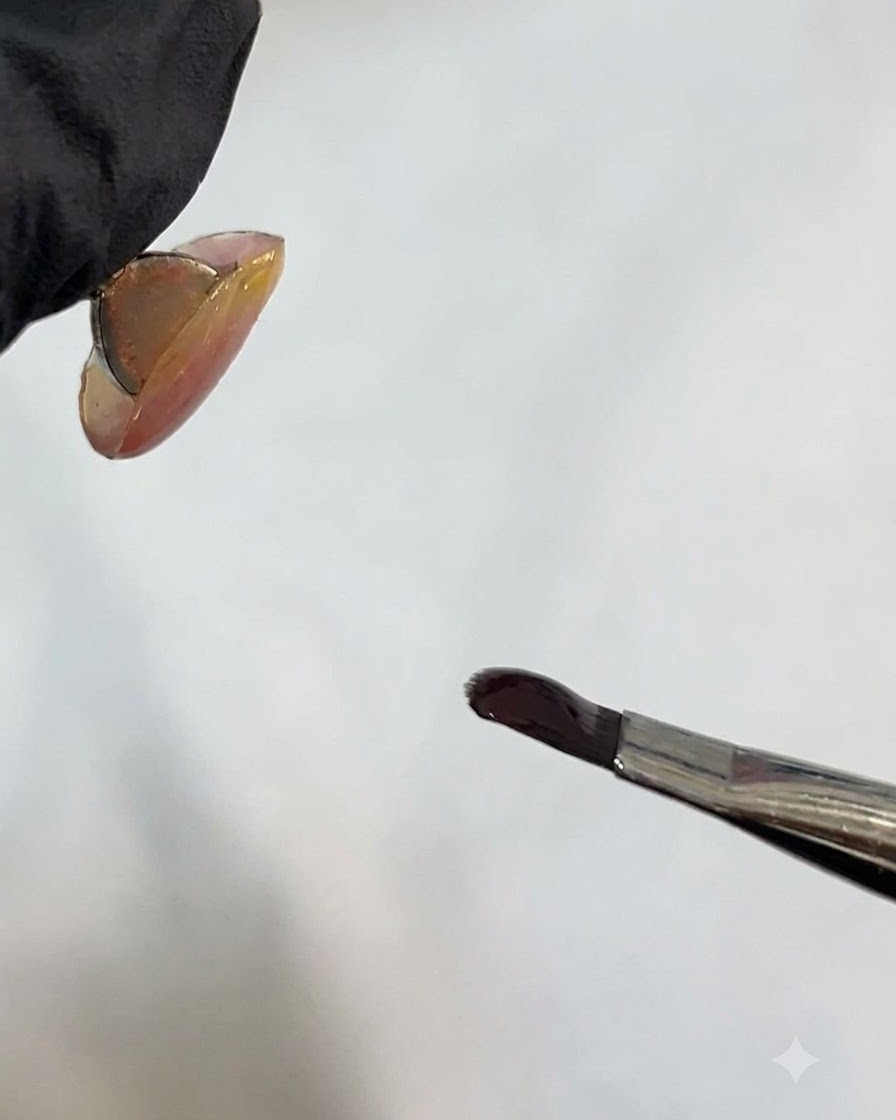
Lightly sweep the edges of the gold cat eye gel with a brush to clean up the lines.
Tip: Ensure your cleanup brush is clean and slightly damp if needed. - 13Activate cat eye effect
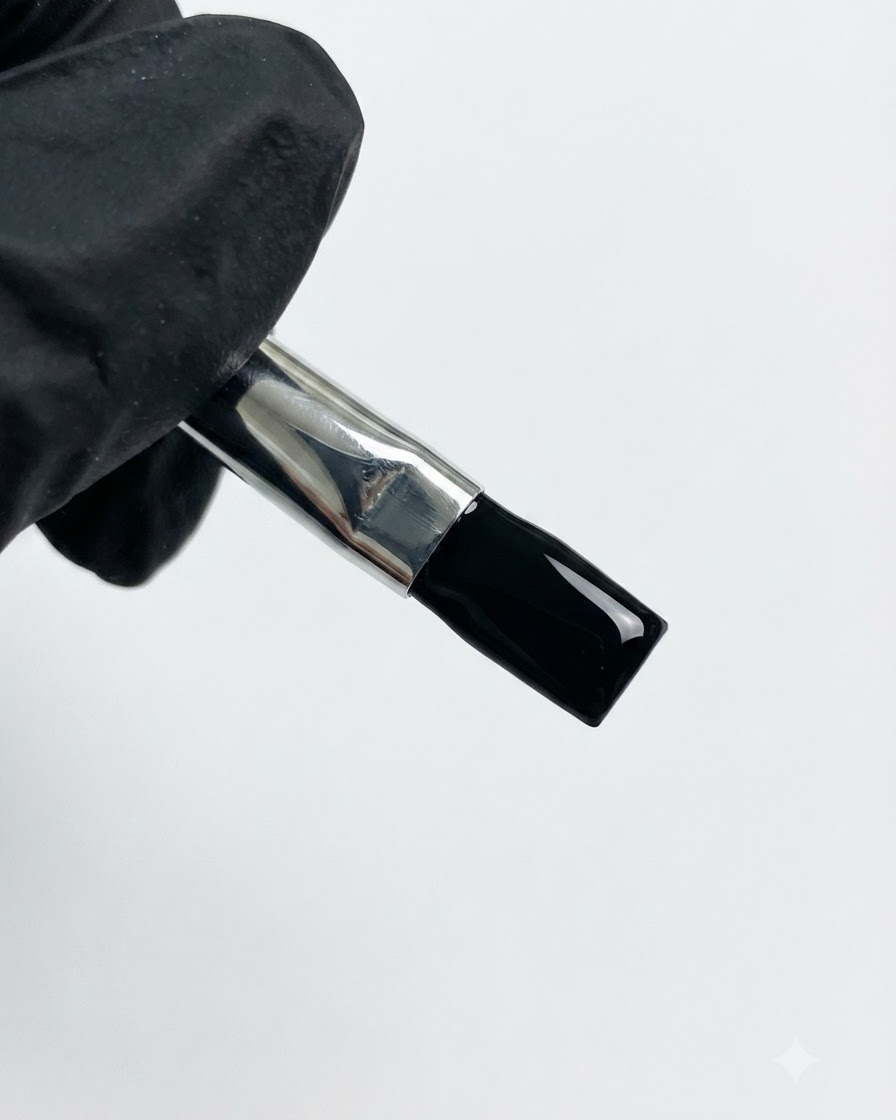
Use a magnetic wand tool to draw out and activate the cat eye light reflection.
Tip: Hold the magnet close to the gel without touching the surface. - 14Cure under the lamp
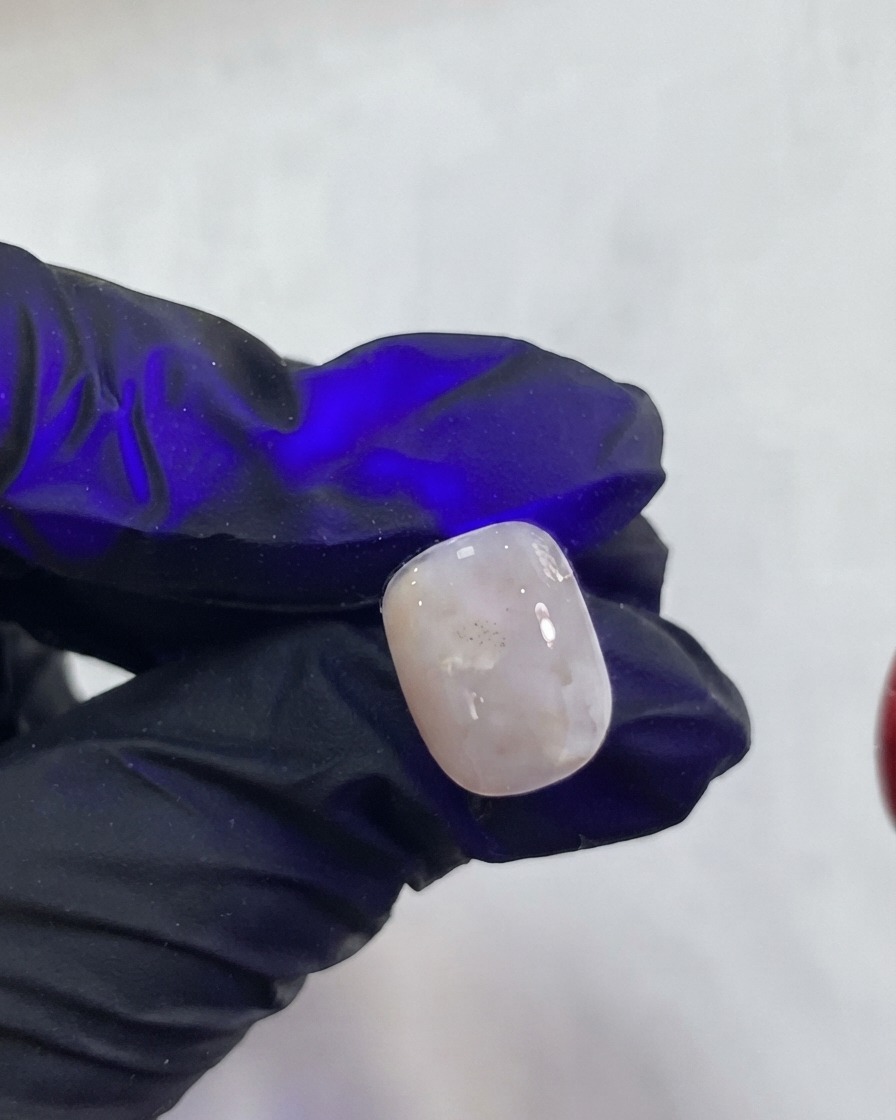
Cure the gold cat eye effect under the UV/LED lamp.
Tip: Make sure the hand is placed evenly under the light.


