Watercolor Blooming Flower
Snake Skin Nail Art Tutorial
Master two stunning watercolor blooming techniques using blooming gel, featuring a delicate five-petal floral design and a textured snake skin gradient pattern.
Watercolor blooming gel creates effortlessly organic designs by allowing wet colors to expand and soften naturally on the nail surface. This versatile technique opens up endless possibilities for creating intricate-looking nail art with minimal effort. Whether you are aiming for a classic floral motif or an edgy snake skin gradient, mastering the blooming gel technique will instantly elevate your DIY nail game.

Steps
- 1Apply a thin layer of blooming gel
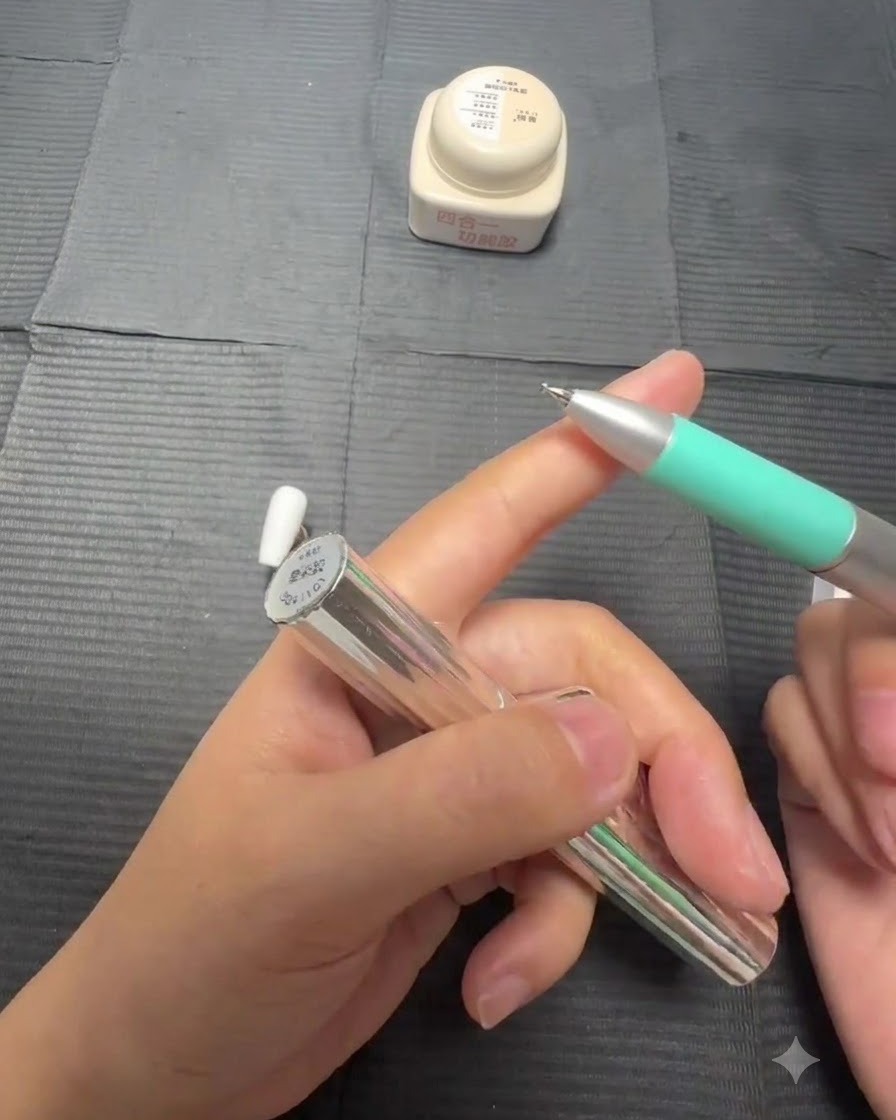
Take out a bottle of blooming gel and apply a thin layer onto the white nail surface. Make sure to apply it thinly, and do not cure under the lamp yet.
Tip: Applying the blooming gel too thickly can cause the design to spread too much and lose its defined shape. - 2Place the initial dot with colored gel
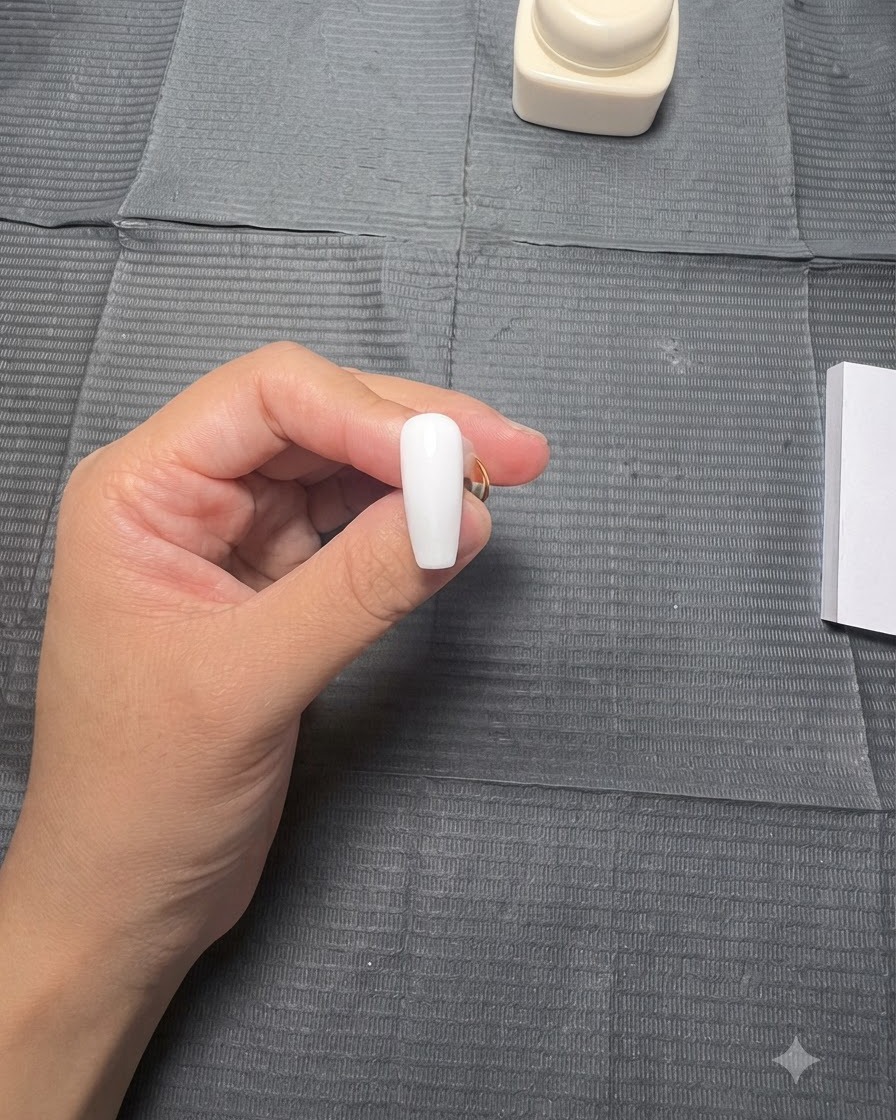
Use a dotting pen to pick up highly pigmented colored gel and place the first dot on the nail surface to begin creating the floral blooming pattern.
Tip: Control the size of your dots carefully to ensure proper proportions in the final design. - 3Place surrounding dots
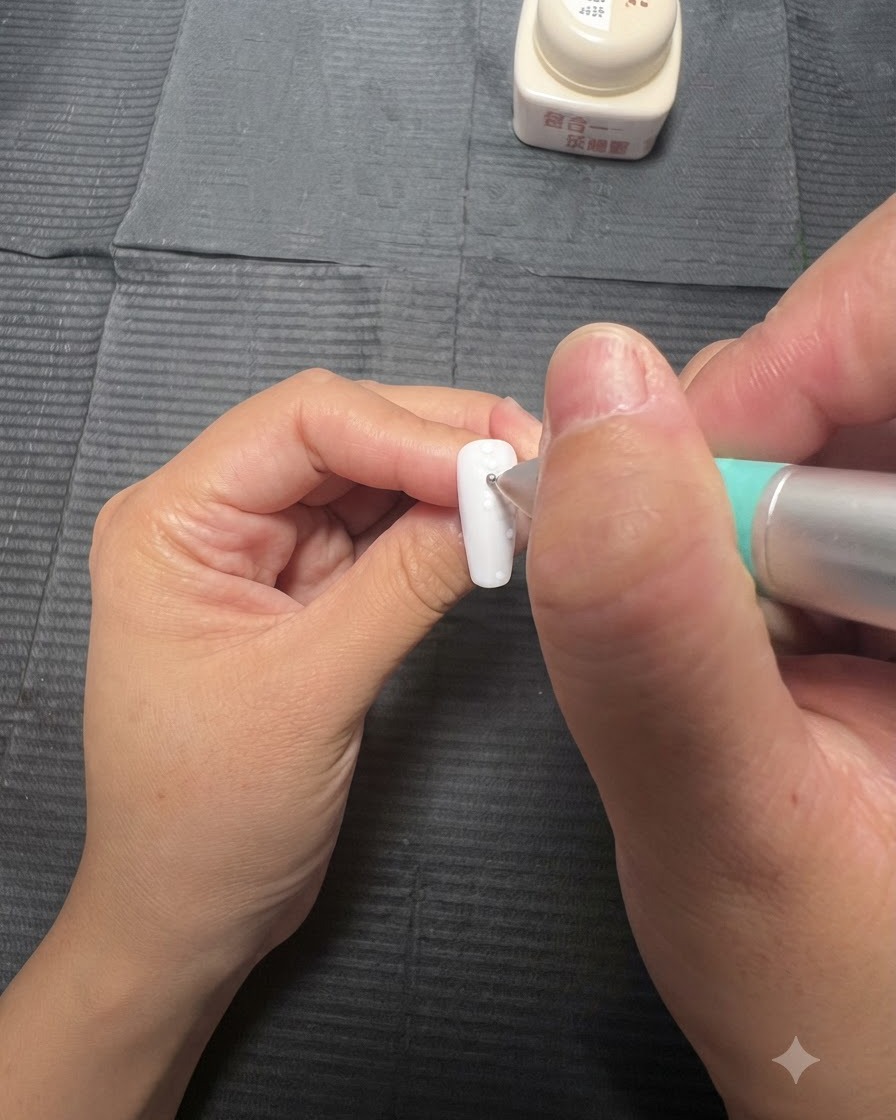
Using the dotting pen, place additional dots around the center dot. Keep a little bit of distance between the 5 dots and control their sizes.
Tip: Maintain consistent spacing to allow the gel to bloom evenly into a flower shape. - 4Let the design bloom
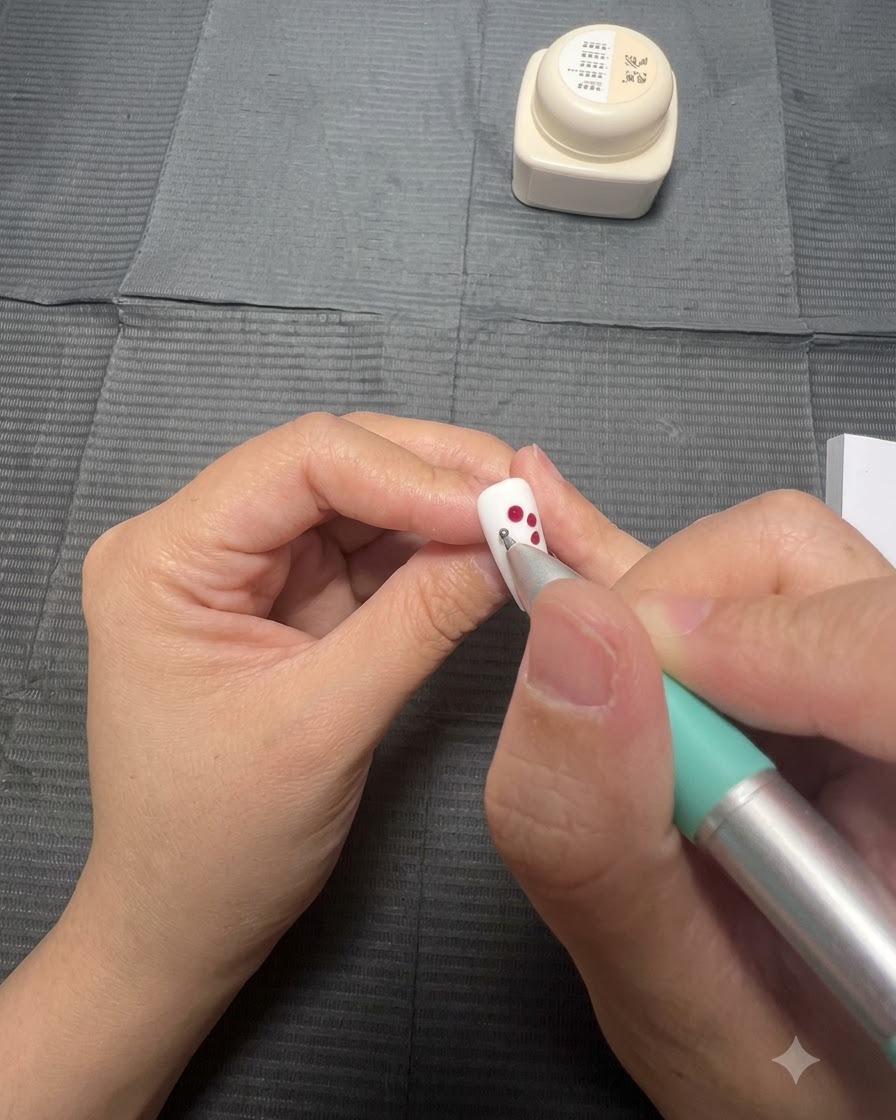
After placing your five dots, leave the nail completely untouched. Give the blooming gel a few moments to naturally expand the colored dots into delicate petal shapes.
Tip: Do not rush the blooming process; let the gel expand naturally before curing. - 5Cure the floral design
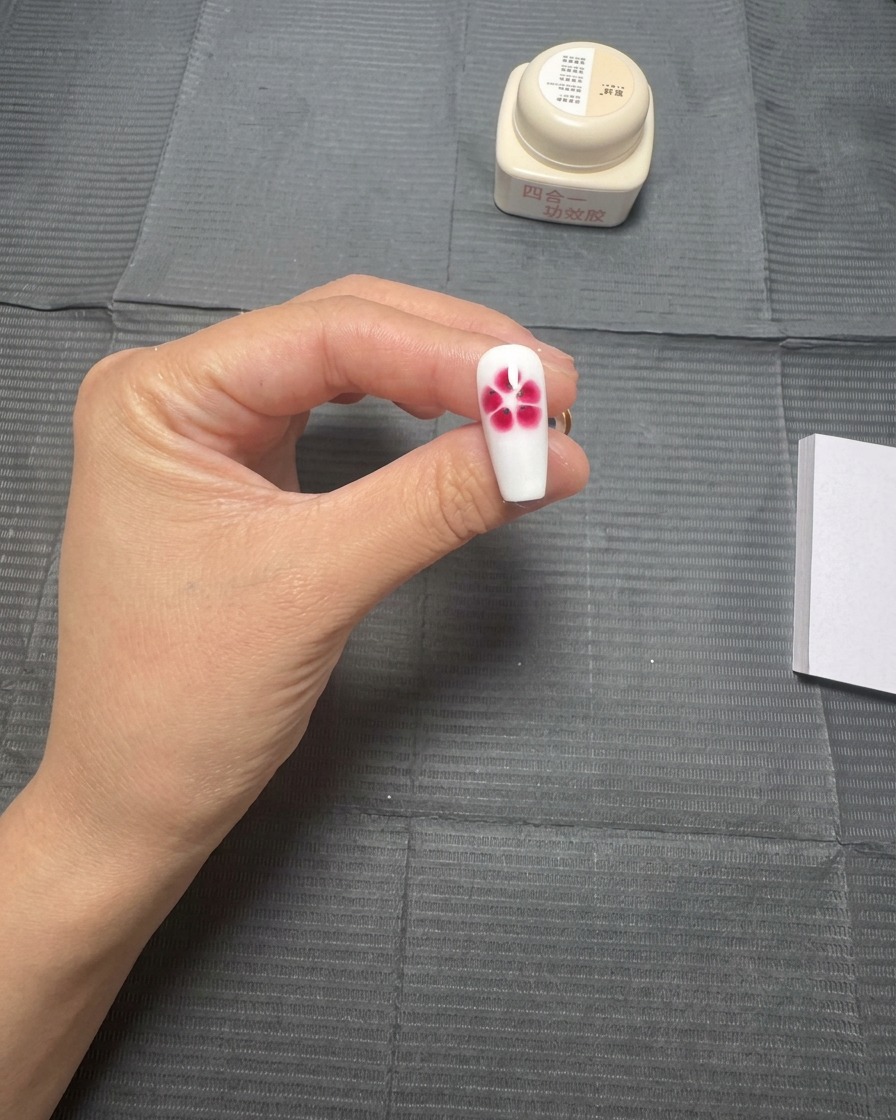
Let the nail sit completely untouched for a few moments to allow the dots to bloom and spread outward naturally. Watch as the dots expand into soft, organic petal shapes. Once the design reaches your desired look, cure it immediately under your UV/LED lamp to lock it in place.
Tip: If the design blooms too quickly and loses its shape, the layer of blooming gel underneath was likely applied too thickly. - 6Apply blooming gel for the second technique
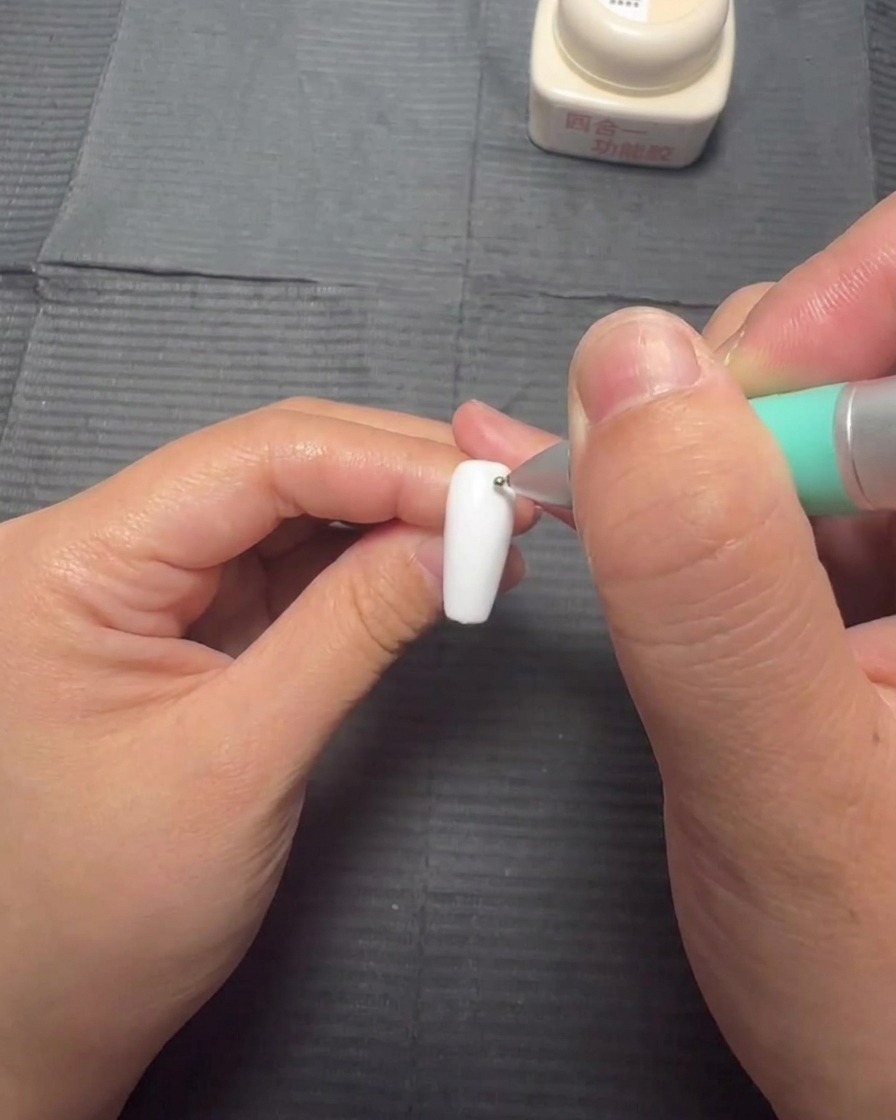
For the snake skin pattern, apply another thin layer of blooming gel over the nail surface without curing it under the lamp.
Tip: Ensure the layer is smooth and even to provide the proper base for the second design. - 7Create descending dots for snake skin pattern
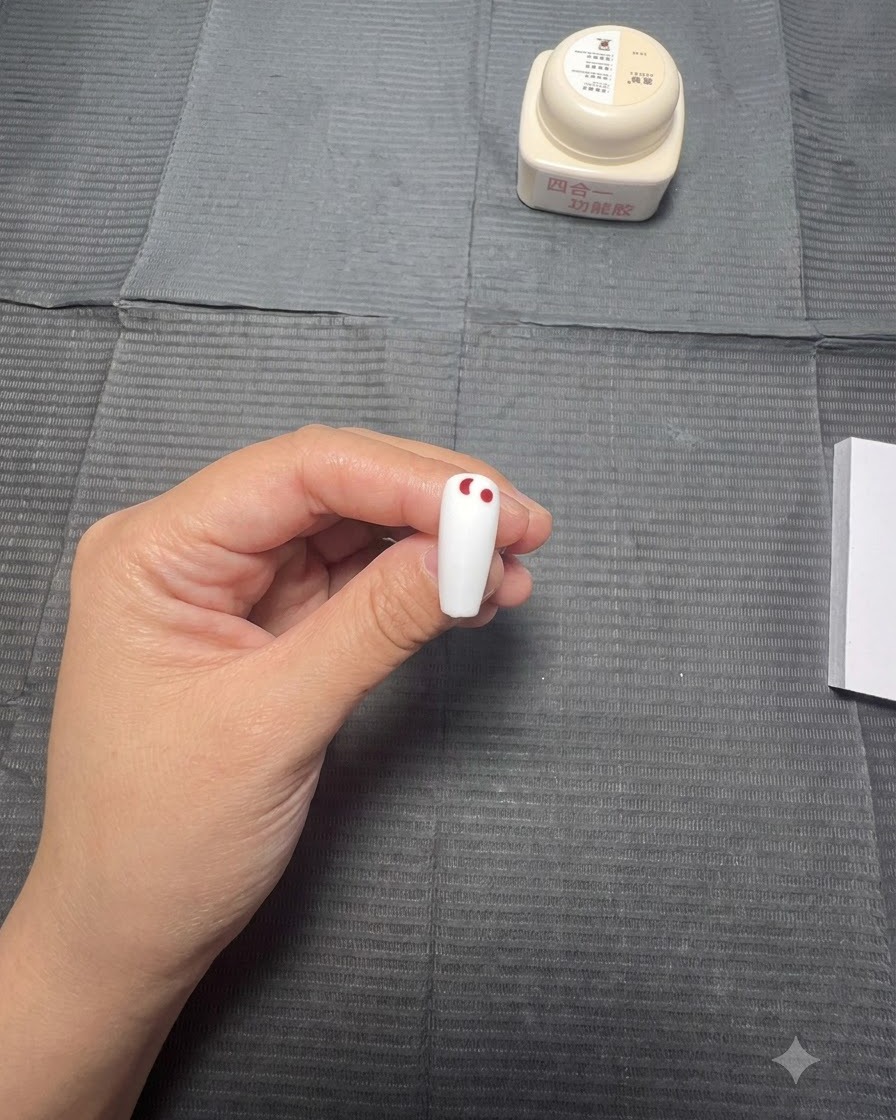
Use the dotting pen with colored gel to put some dots on the nail surface. Make the first dot slightly larger, and make the subsequent dots smaller and smaller as you move downward.
Tip: Gradually decreasing the size of the dots creates the realistic texture of a snake skin pattern. - 8Continue dotting the snake skin pattern
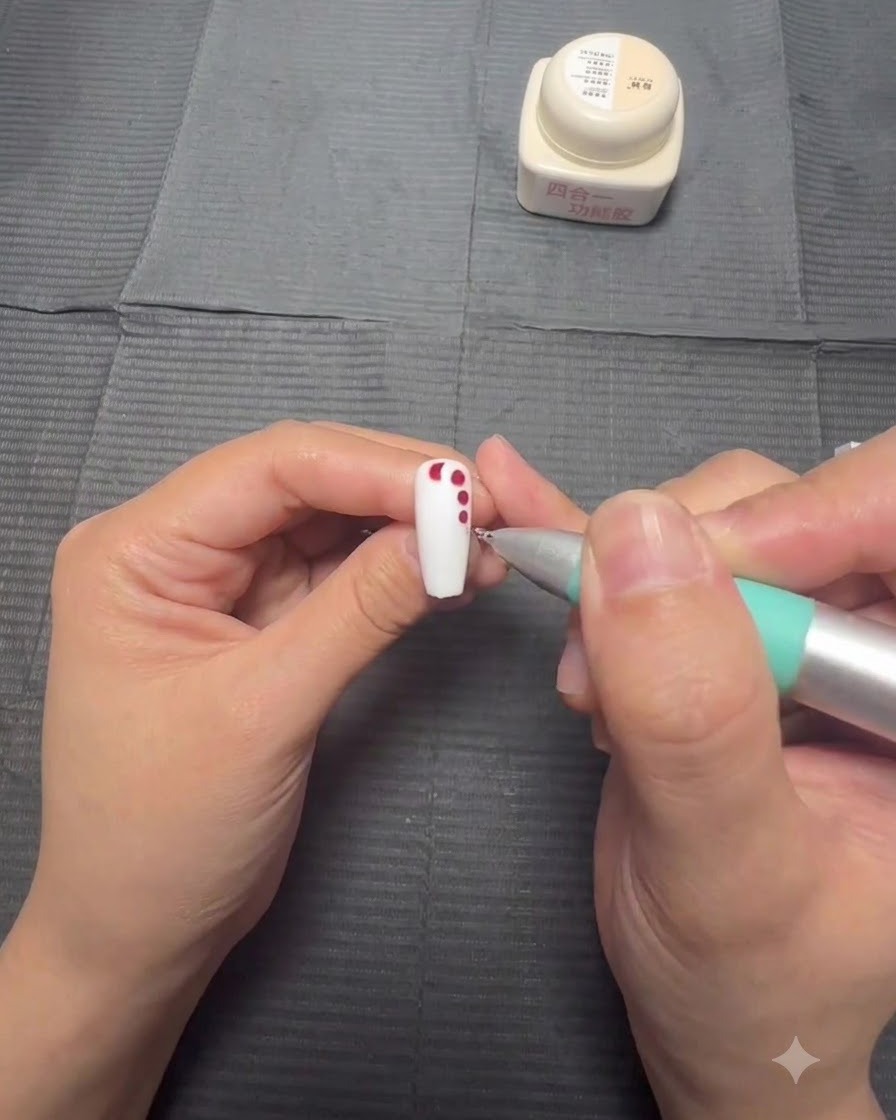
Using your dotting pen, continue placing colored gel dots down the length of the nail. Make each subsequent dot slightly smaller than the previous one to create a tapered look. As you reach the bottom of the nail, gently angle the line of dots inward towards the center.
Tip: Controlling the amount of gel on your dotting pen is key to achieving perfectly decreasing dot sizes. - 9Allow the pattern to bloom
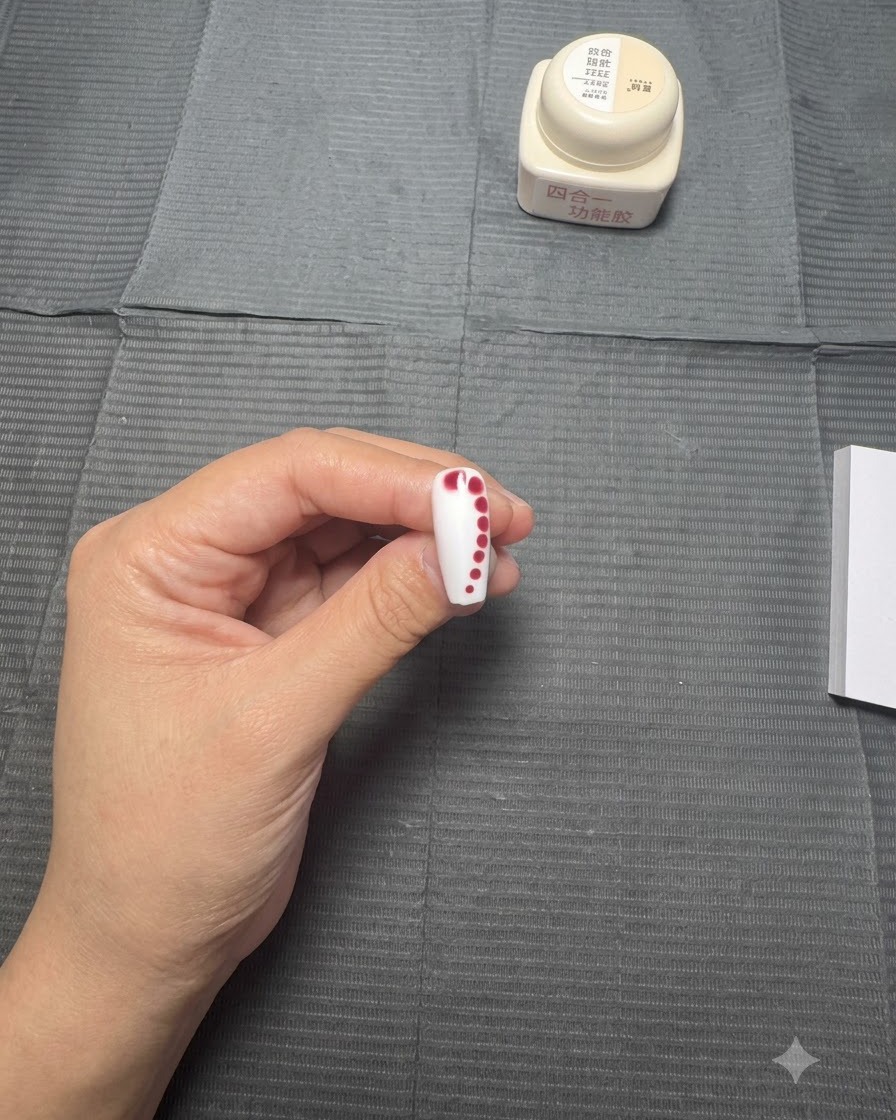
Once all your dots are placed, simply remove your tools and let the nail sit untouched. The wet blooming gel underneath will naturally cause the colored dots to spread outwards, softening the edges and creating that characteristic snake skin effect.
Tip: Do not manually blend or touch the dots once they are placed; let the blooming gel do the work for an organic look. - 10Cure the snake skin pattern
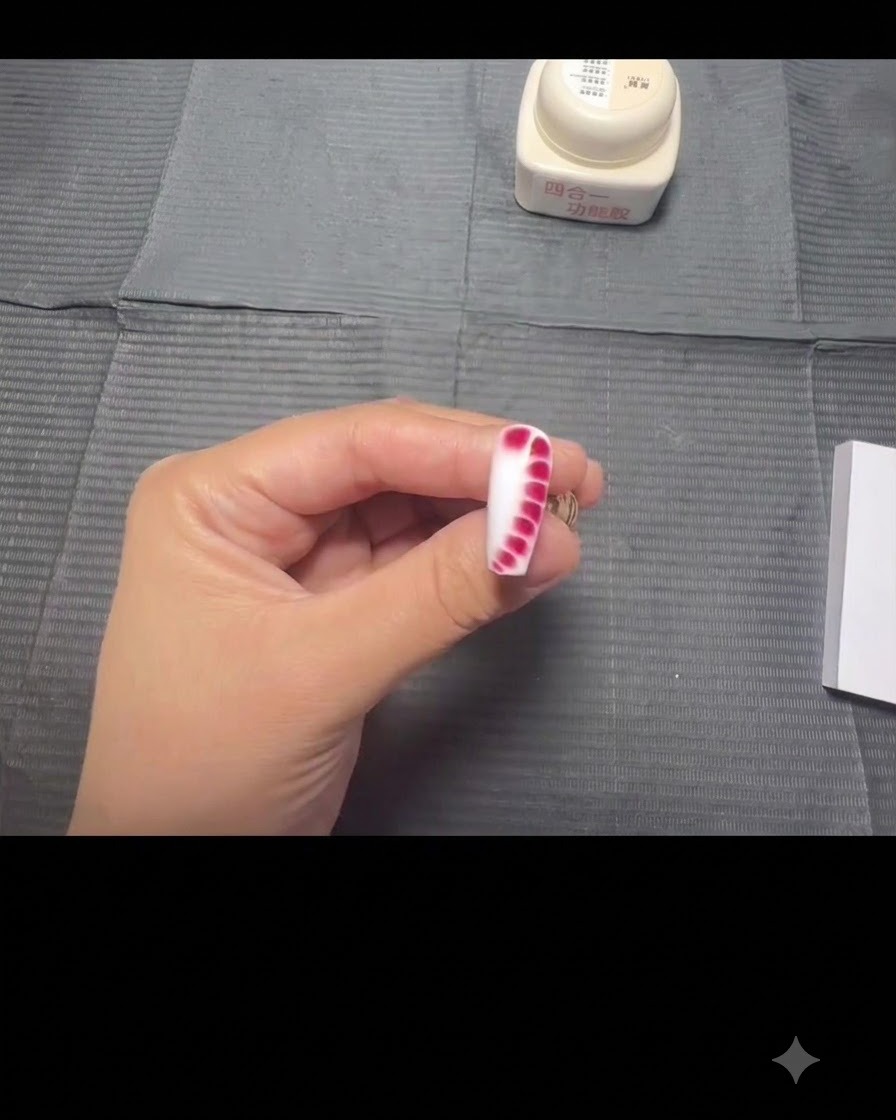
Keep an eye on the blooming progress as the gel continues to spread. Wait until the snake skin pattern has expanded and bloomed into the exact shape and softness you desire. Once the effect looks perfect, carefully cure the nail under your lamp to lock the design in place.
Tip: Curing immediately stops the blooming process, so only place the hand in the lamp when you are completely satisfied with the shape.


