Blue-Purple Cat-Eye Ombre Nails — Professional Gradient Tutorial
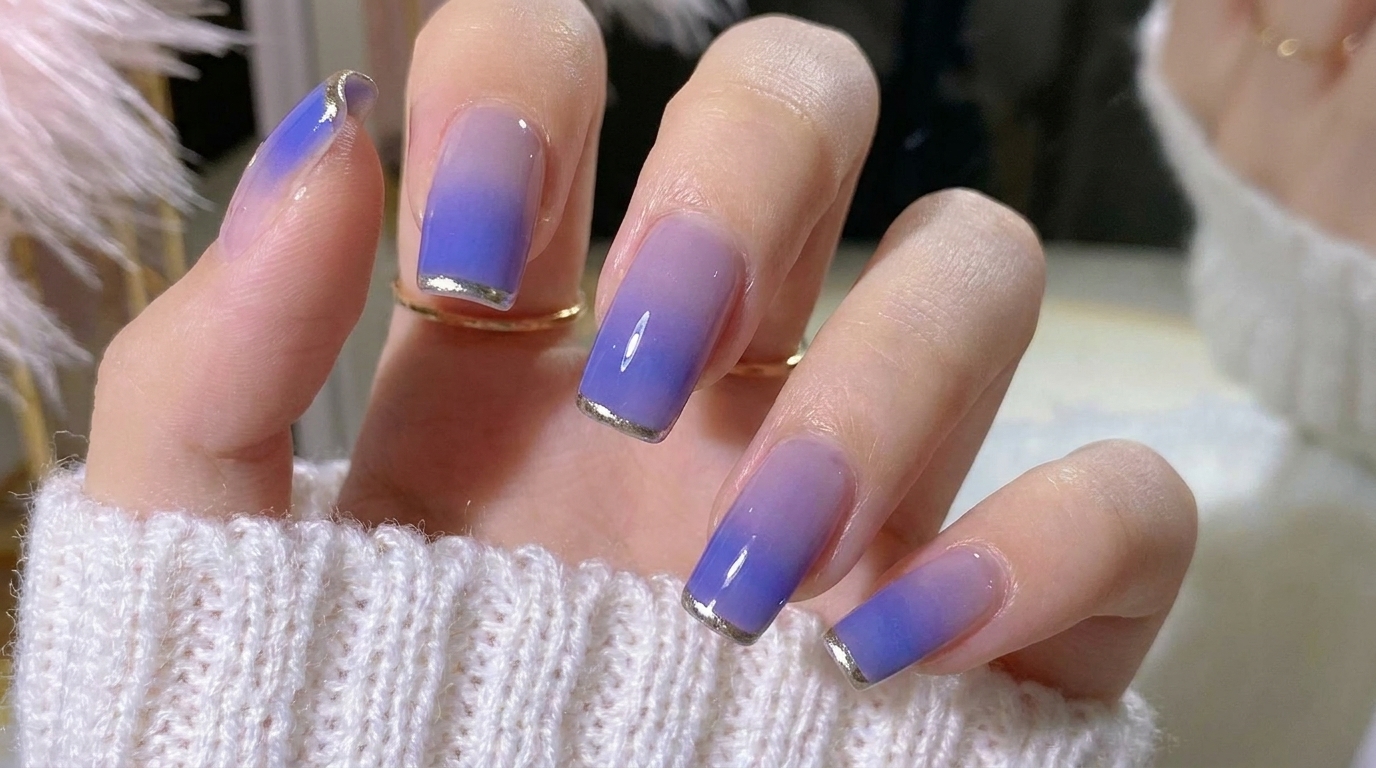
Create a mesmerizing, celestial-inspired gradient with this blue-purple cat-eye nail art tutorial, perfect for a high-shine, dimensional finish.
The cat-eye effect continues to be a favorite for its depth and shifting metallic shimmer. This tutorial walks you through achieving a smooth, professional-grade blue-to-purple gradient that captures light beautifully. It is a stunning, sophisticated look that brings a touch of magic to your fingertips.
Steps
- 1Apply base coat
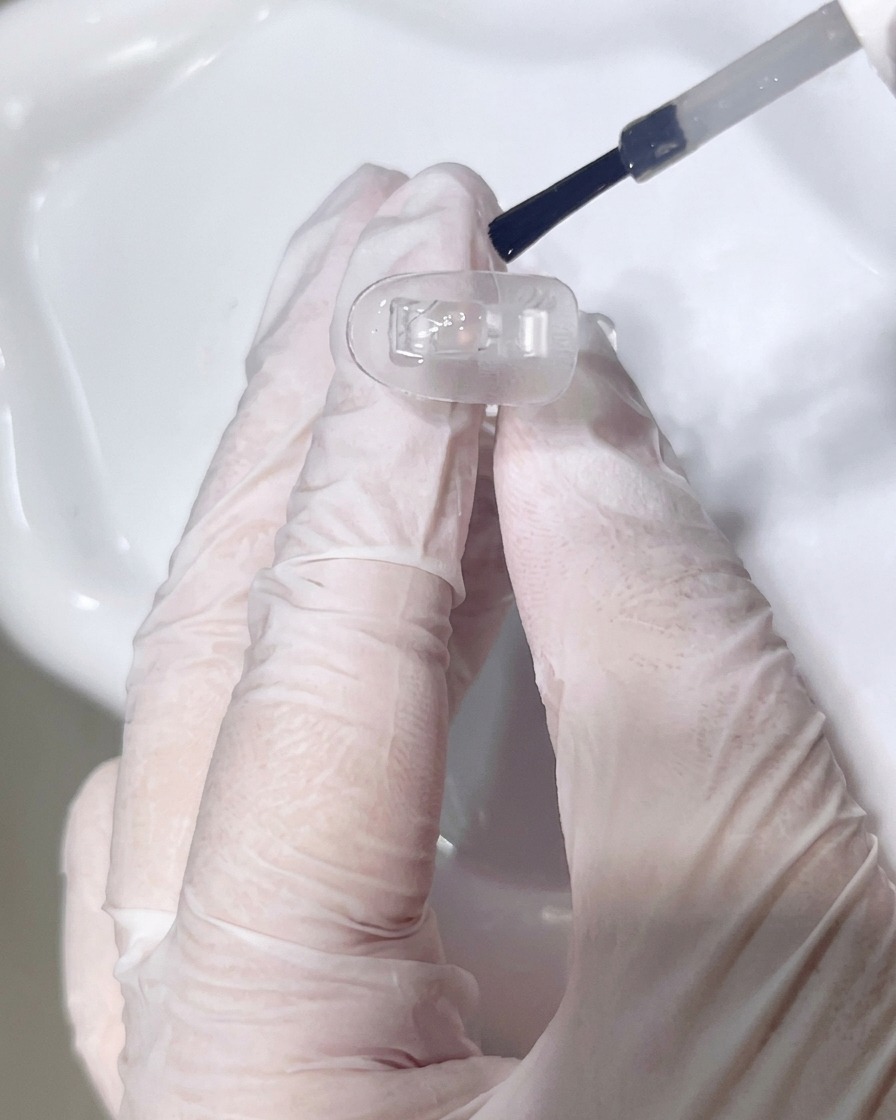
Apply a thin, even layer of base coat to the nail tip to ensure proper adhesion of the subsequent gel layers. Cure under a UV or LED lamp for the duration recommended by the product manufacturer to create a stable foundation for your nail art.
Tip: Ensure the base coat is applied thinly and evenly to avoid any uneven texture or pooling at the edges of the nail tip. - 2Apply nude base color
Apply a coat of nude-colored base gel over the cured base coat. This creates a clean, neutral canvas for the cat-eye effect. Cure the layer completely in the lamp to prepare the surface for the next step.
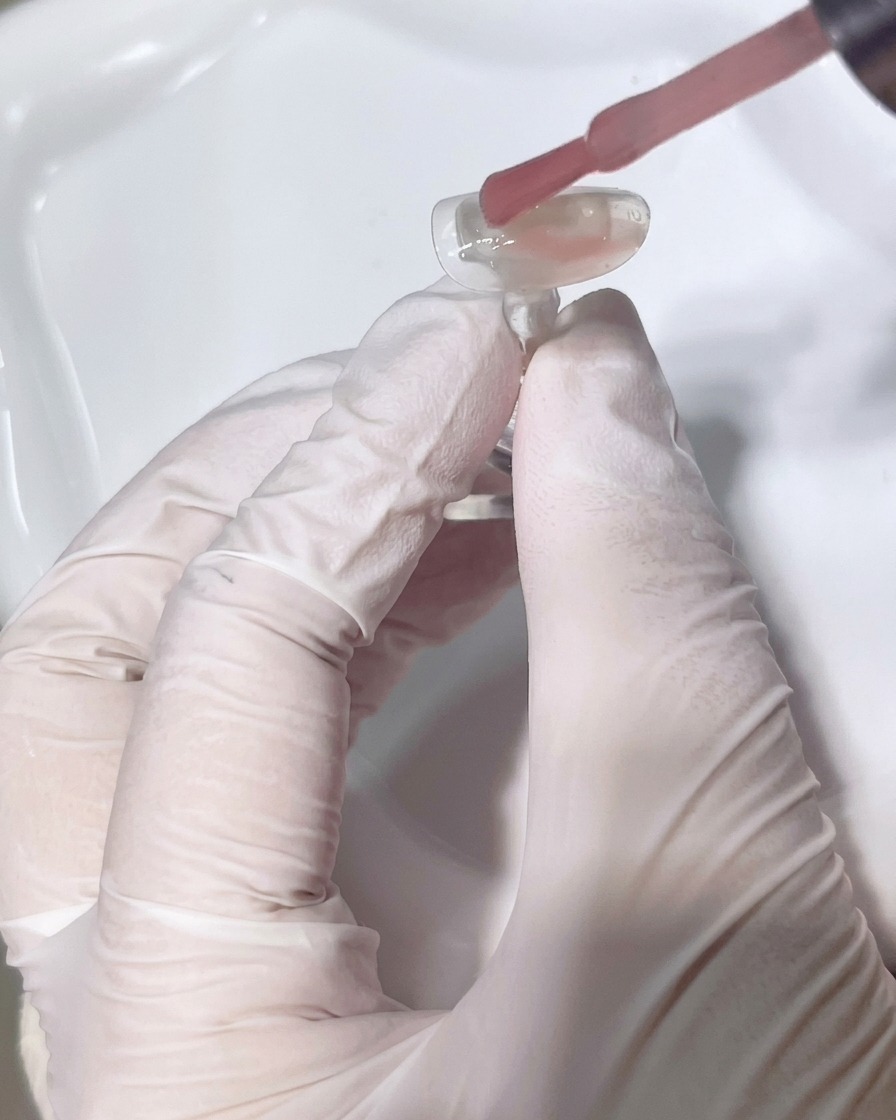
Tip: Use light, sweeping strokes to ensure the nude color is opaque and free of streaks. - 3Create cat-eye effect
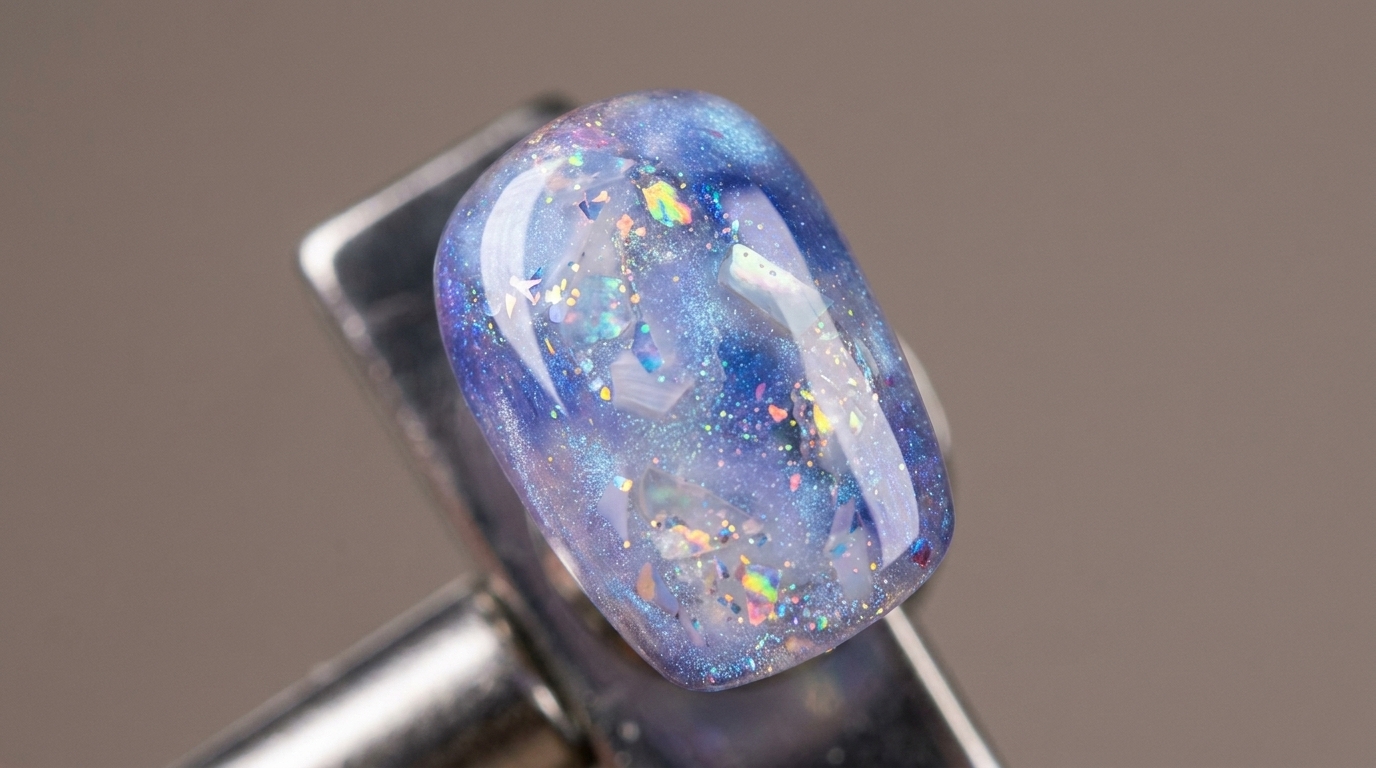
Apply the blue-purple cat-eye gel, then hold a magnetic tool near the nail to draw the metallic particles toward the tip, creating a high-contrast magnetic shimmer. Keep the magnet steady for a few seconds to set the design before curing.
Tip: You can experiment with the angle of the magnet to create different light-reflective patterns and depth within the polish. - 4Blend for gradient
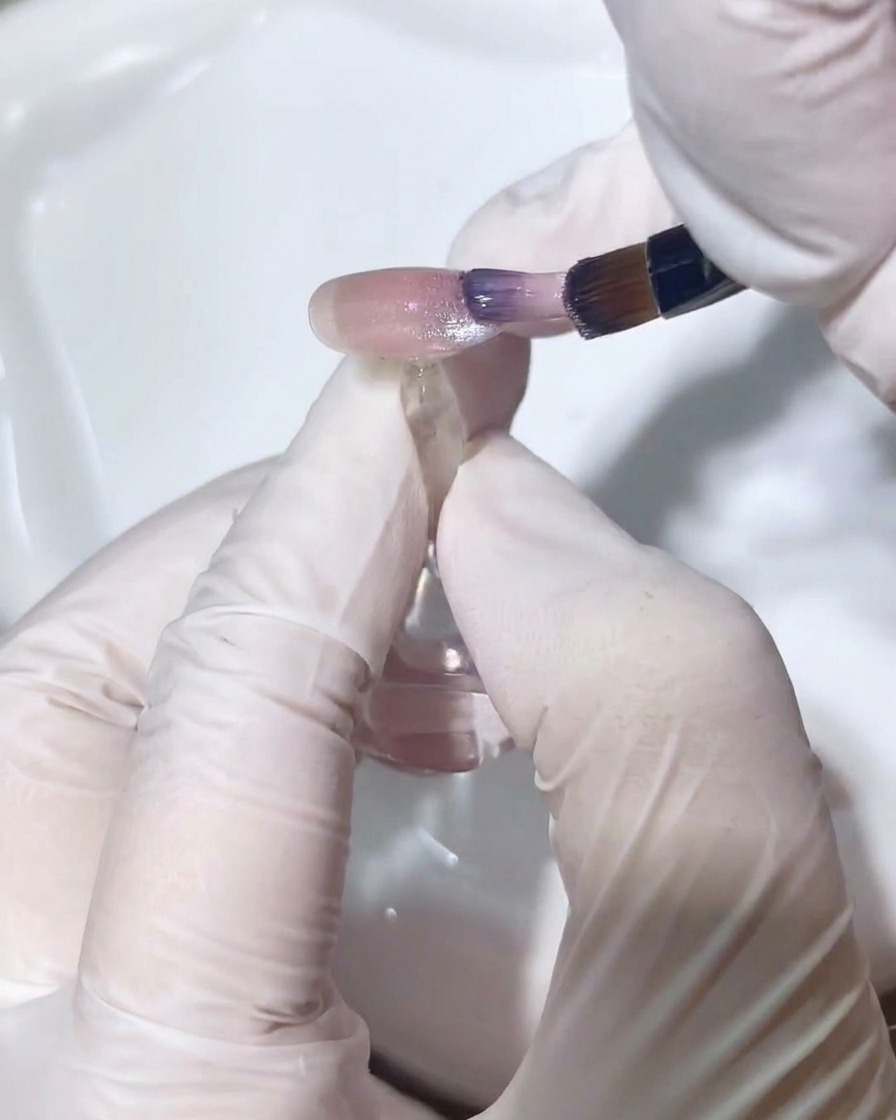
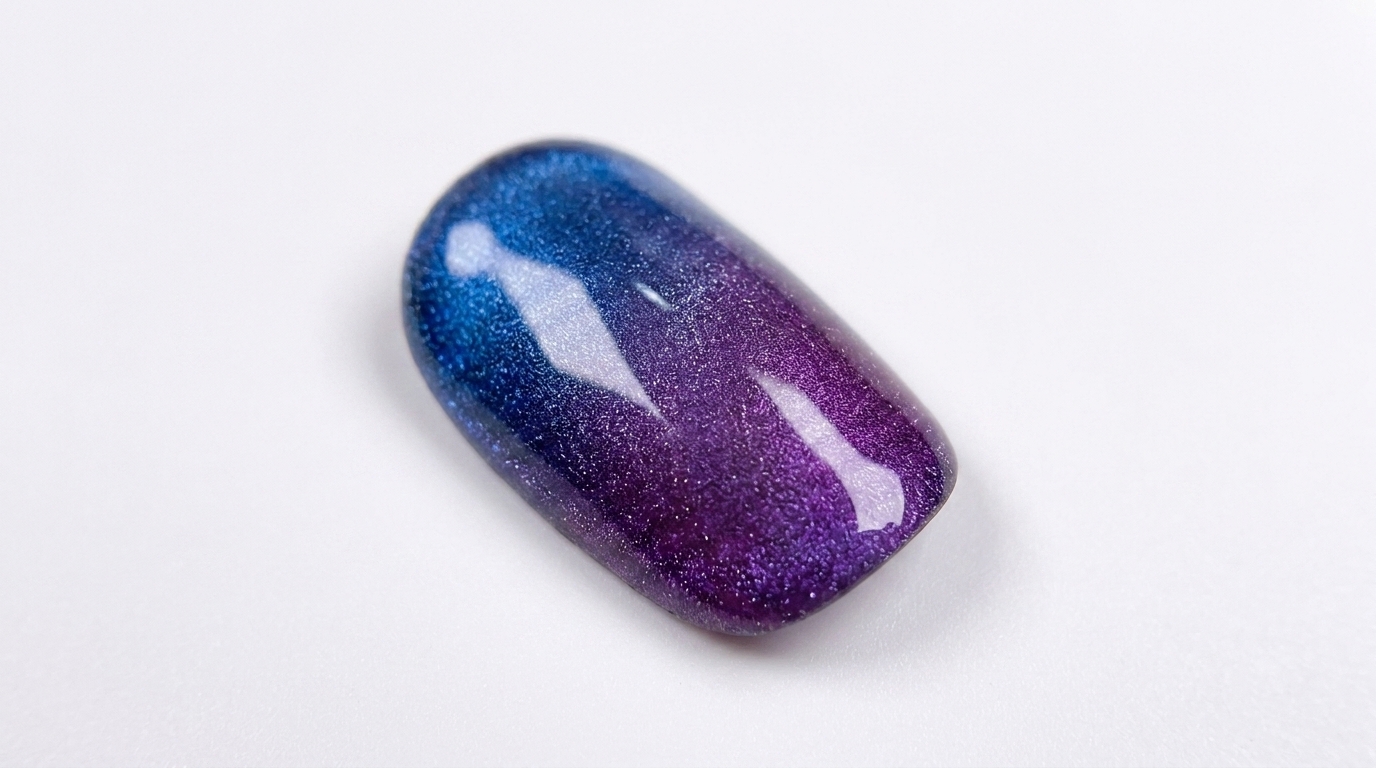
Using a clean detail brush, gently blend the cat-eye gel to soften the magnetic effect and create a smooth gradient transition toward the base. This step adds dimension and a more natural-looking light effect to the nail.
Tip: Work with a light touch to avoid removing too much pigment while blending the cat-eye effect. - 5Refine gradient with second layer
Apply a second, thin layer of cat-eye gel to deepen the color and further smooth the gradient transition. This ensures the cat-eye effect appears seamless and natural before the final cure.
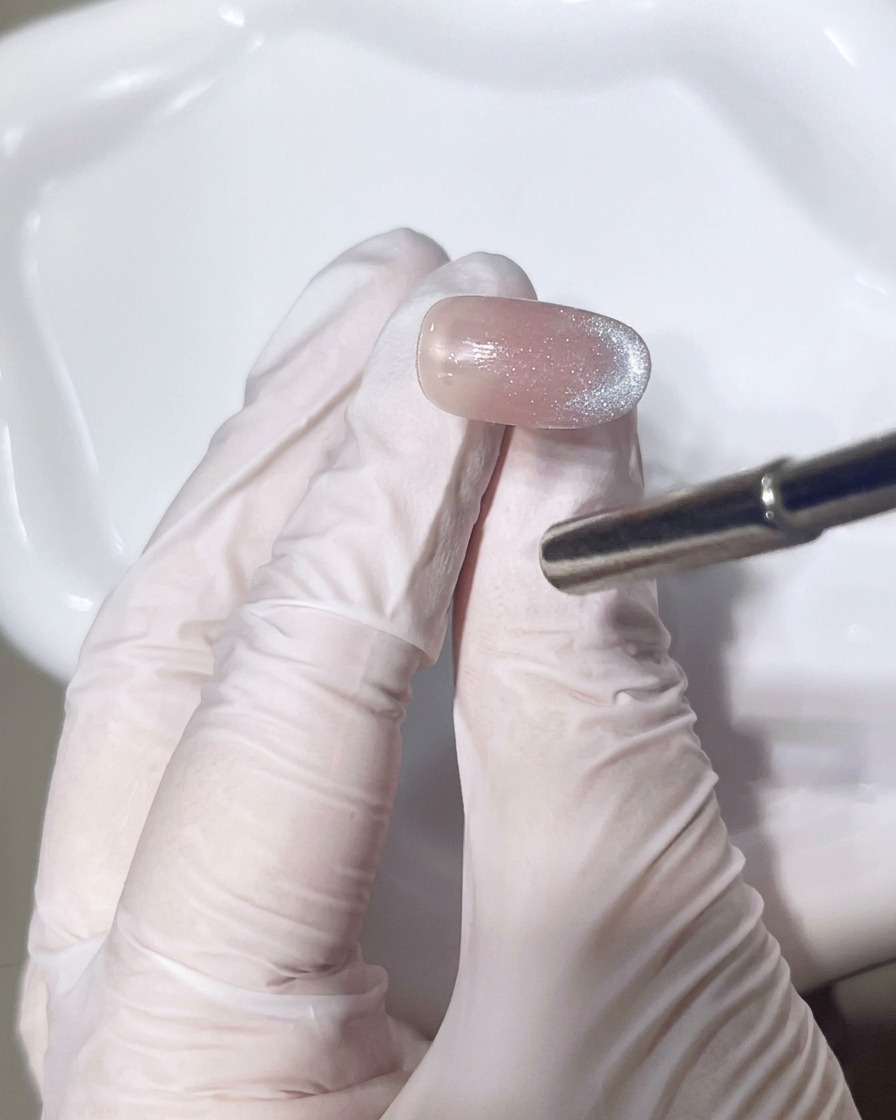
Tip: This layer helps fill in any light patches and balances the intensity of the blue-purple shimmer. - 6Clean the dispersion layer
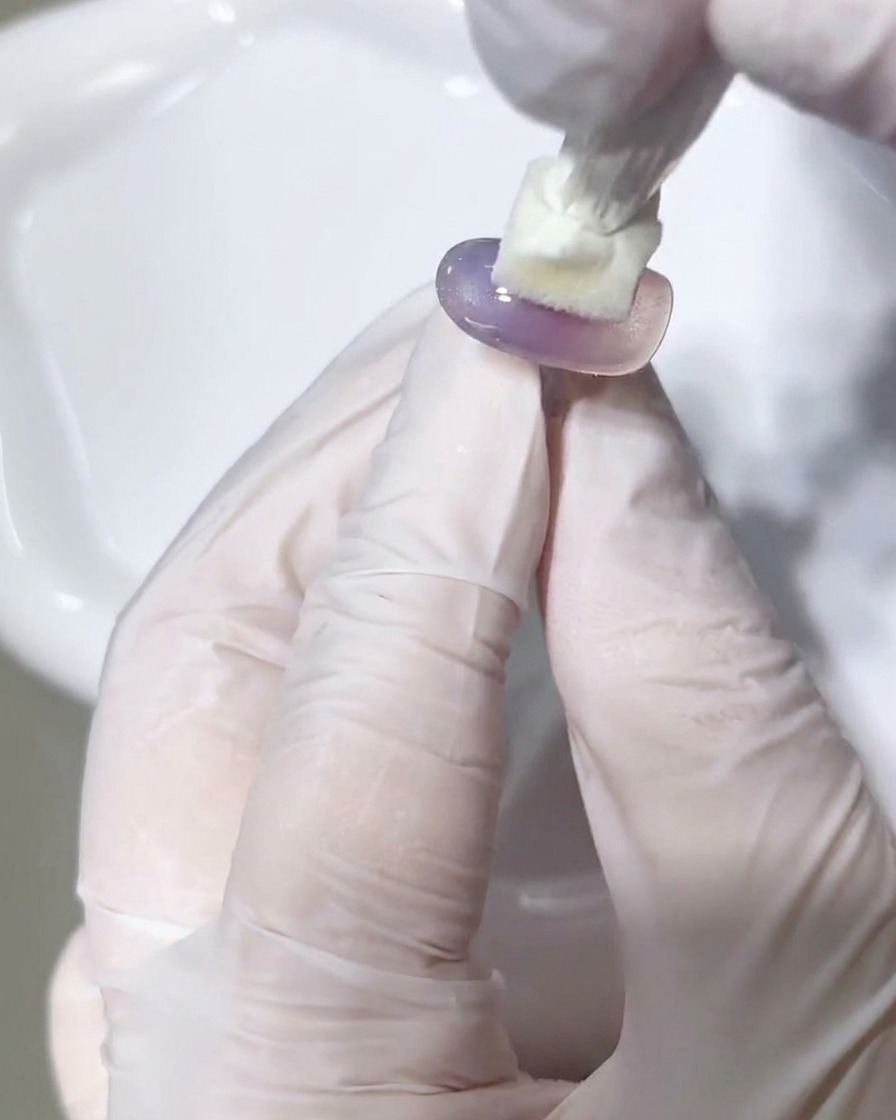
After curing the final gel layers, use a lint-free wipe saturated with cleanser to remove the sticky dispersion layer. This leaves a clean, smooth surface ready for the top coat or 3D gel application.
Tip: Use a fresh section of the lint-free wipe for each nail to prevent transferring any residue back onto the nail surface. - 7Apply glossy top coat

Apply a generous, even layer of high-gloss top coat over the entire nail surface, ensuring you cap the free edge to protect the nail art and extend the manicures longevity. This step seals the design, adds a brilliant shine, and creates a smooth, durable finish.
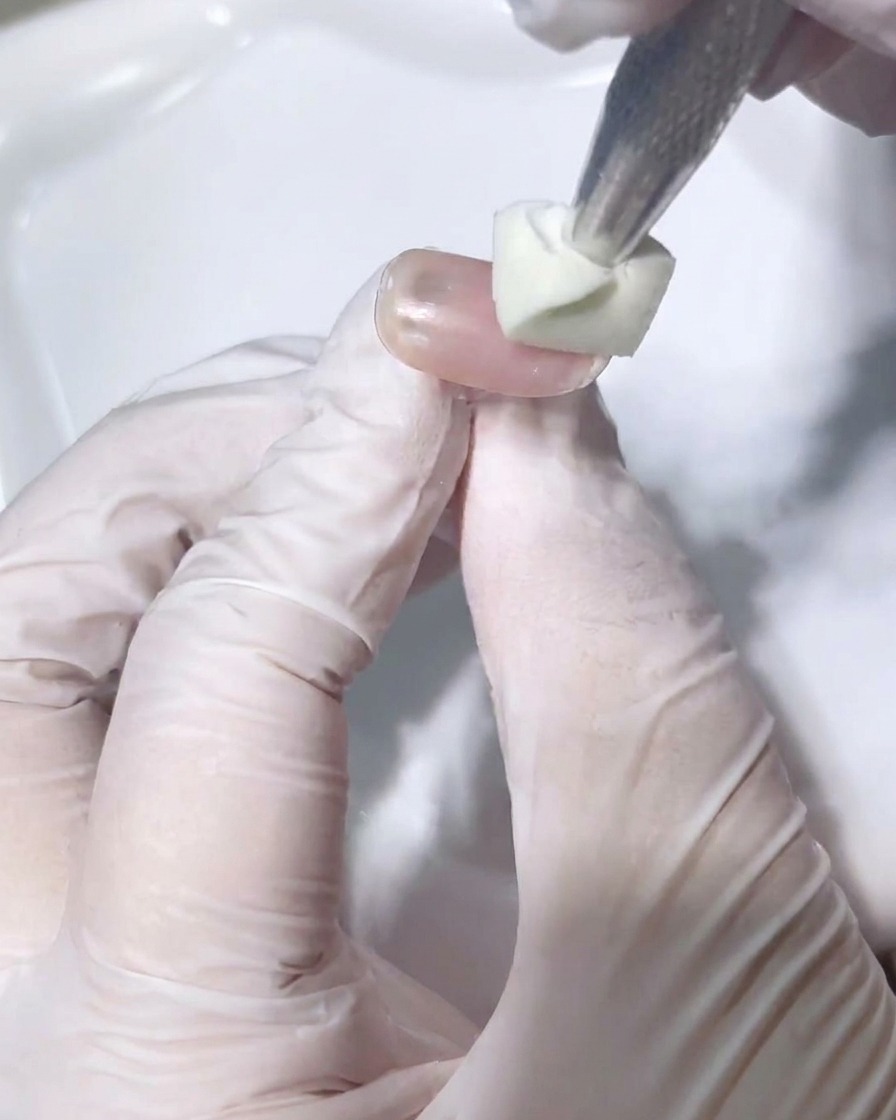
Tip: Check the surface for any uneven areas or bubbles before curing to ensure a perfect, glass-like finish. - 8Create 3D gel accent
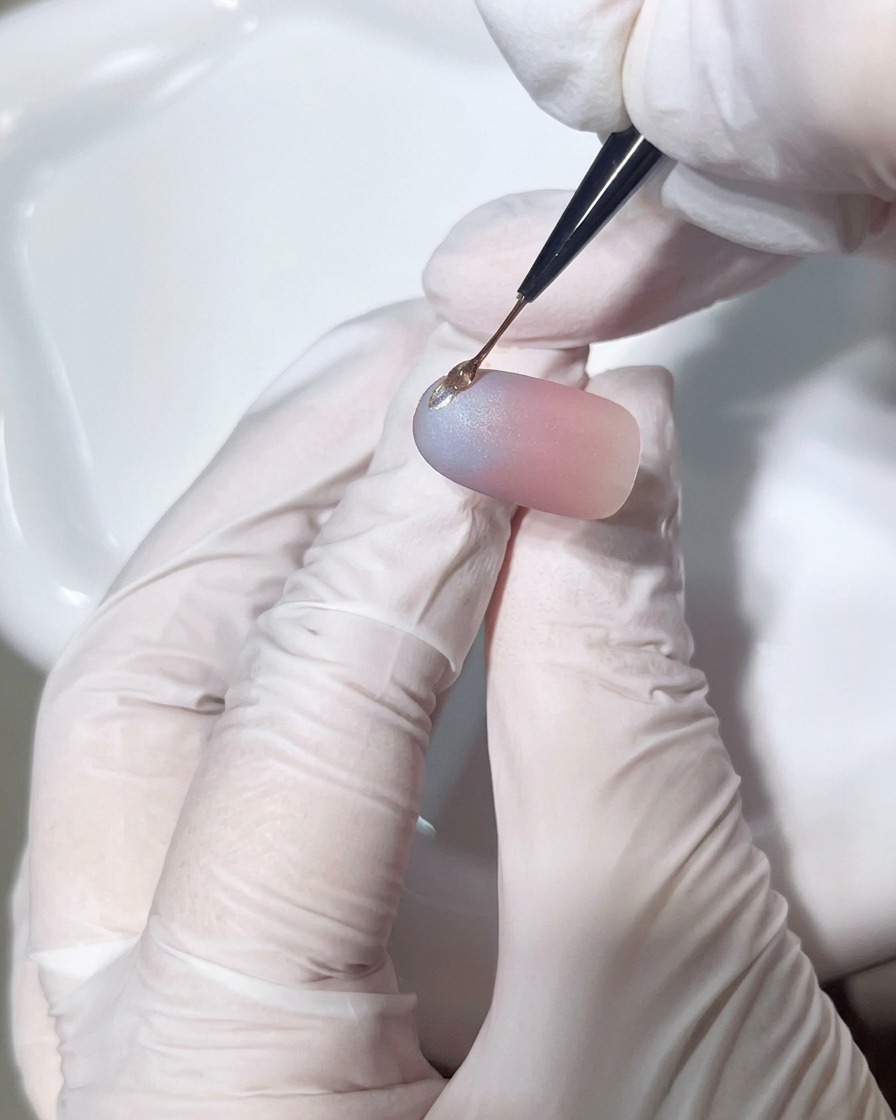
Using a fine detail brush and a thick-consistency hard gel, carefully place and shape a small drop onto the surface of the nail to create a 3D effect. The gel will maintain its shape during application, allowing for precise sculpting before it is cured to lock the design in place.
Tip: Work with a small amount of product at a time to maintain control and prevent the gel from running before it is cured.