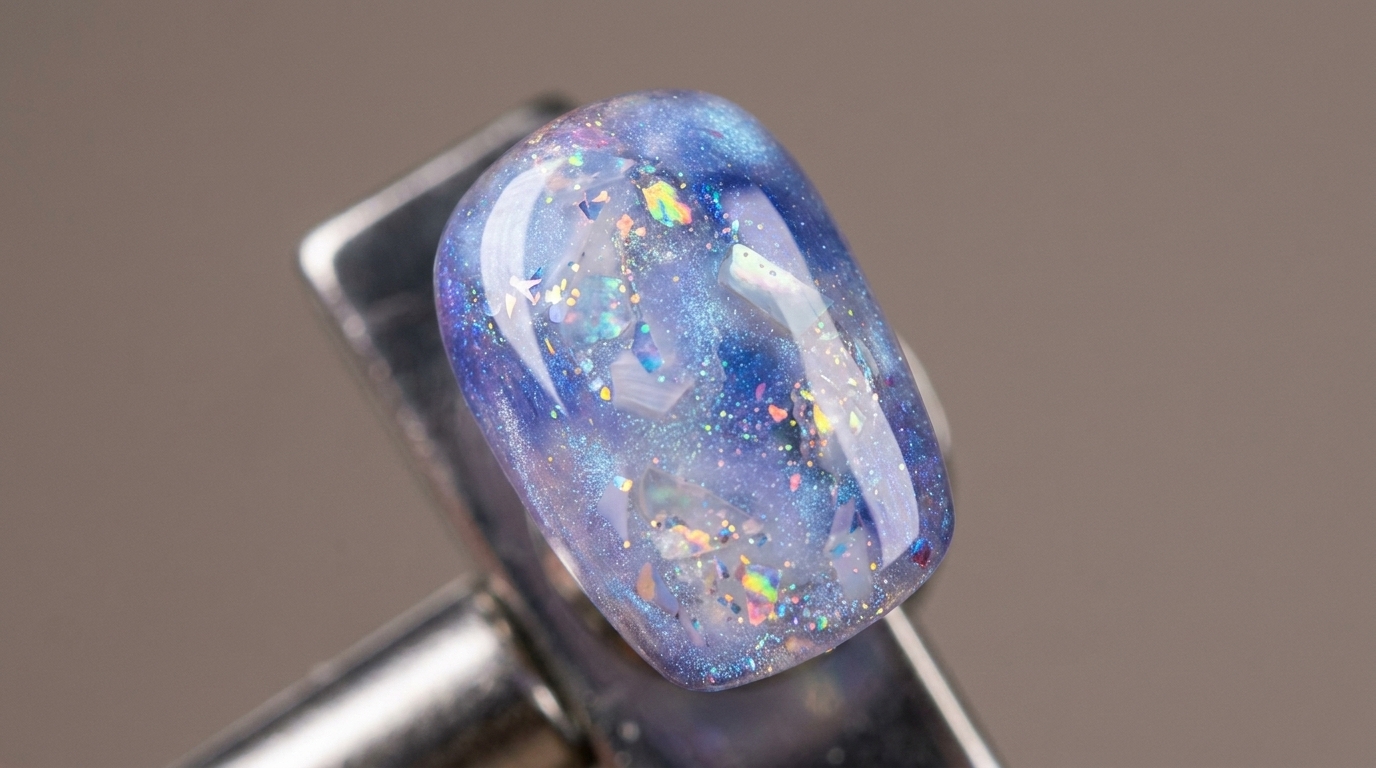
Icy Blue and Purple Cat-Eye Shell Nail Tutorial
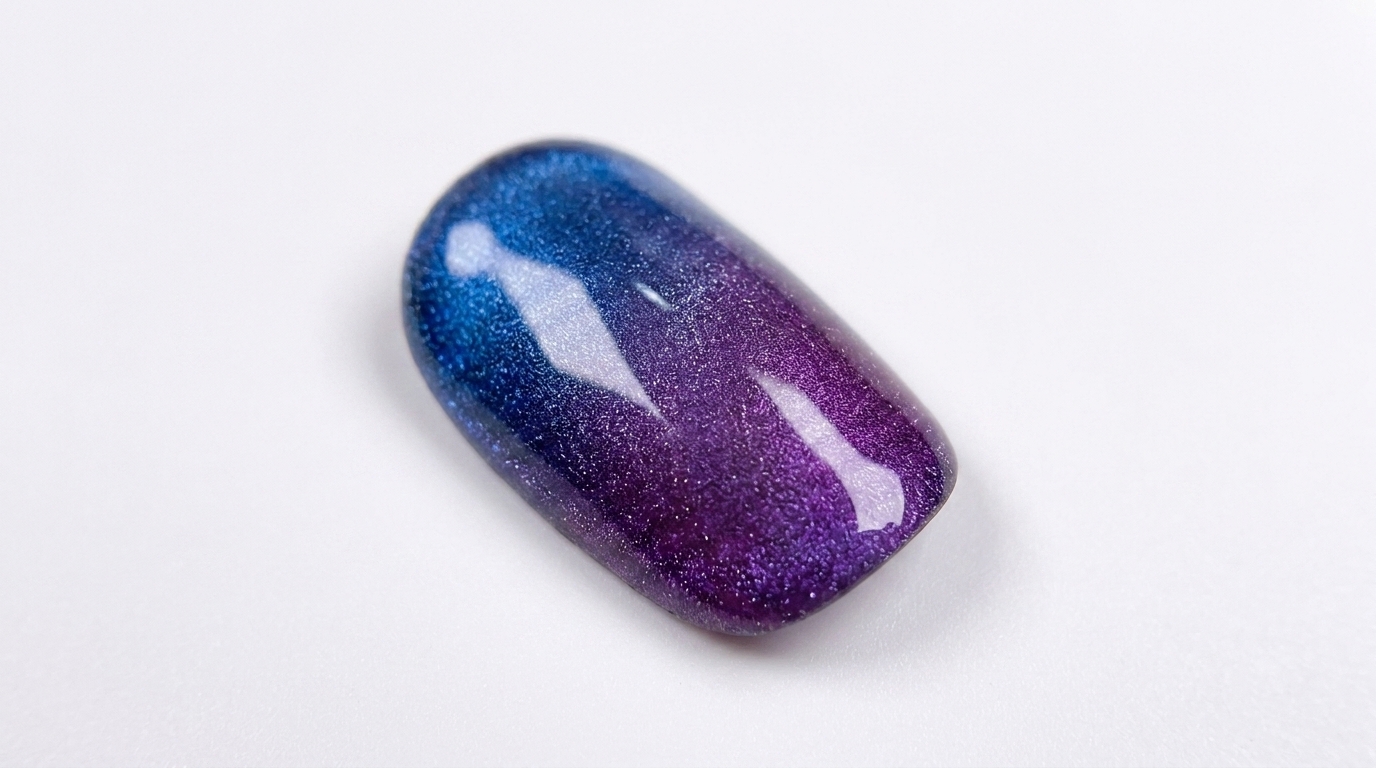
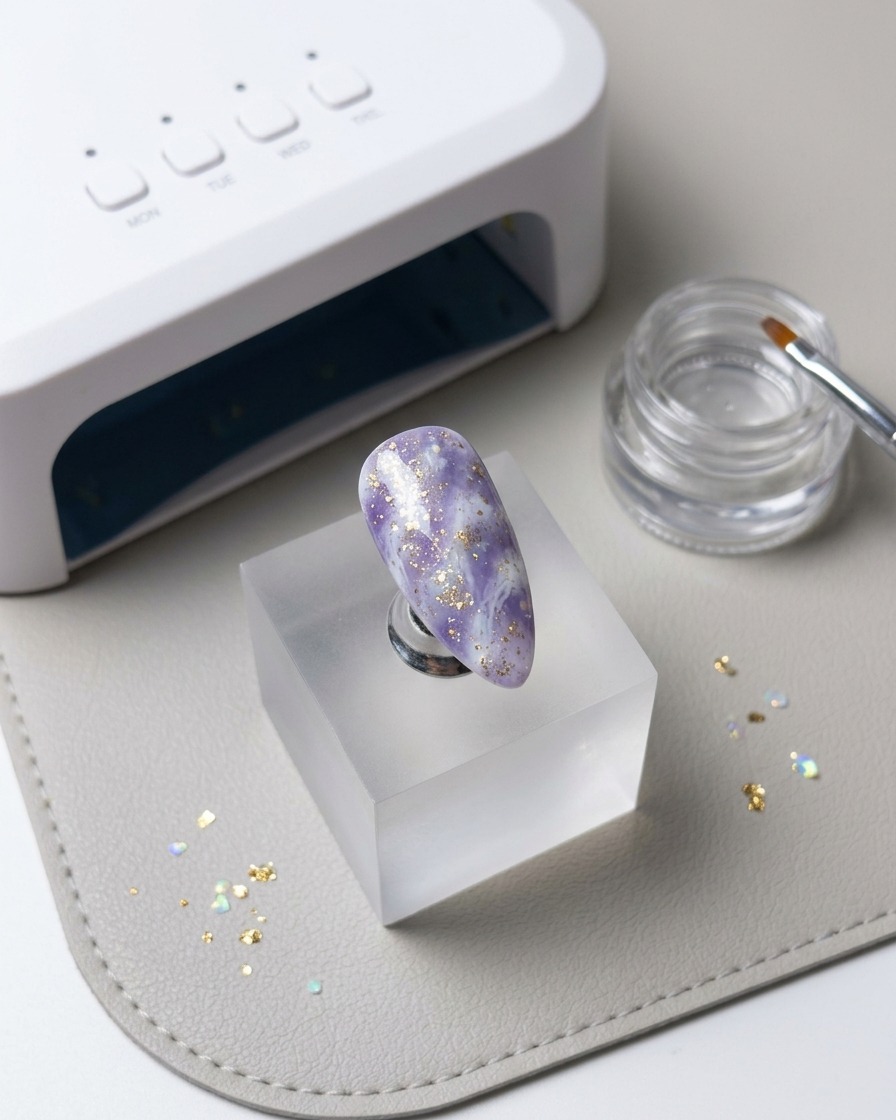
Create a stunning multi-dimensional manicure with this icy blue and purple cat-eye design, layered with iridescent shell fragments and opal flakes.
This ethereal nail look combines the magnetic depth of cat-eye polish with the textured charm of crushed shell fragments. The result is a dreamy, high-gloss finish that shifts with light, making it perfect for those who love artistic, layered designs. By building up color and texture in deliberate stages, you can achieve a professional, salon-quality effect right at home.
Steps
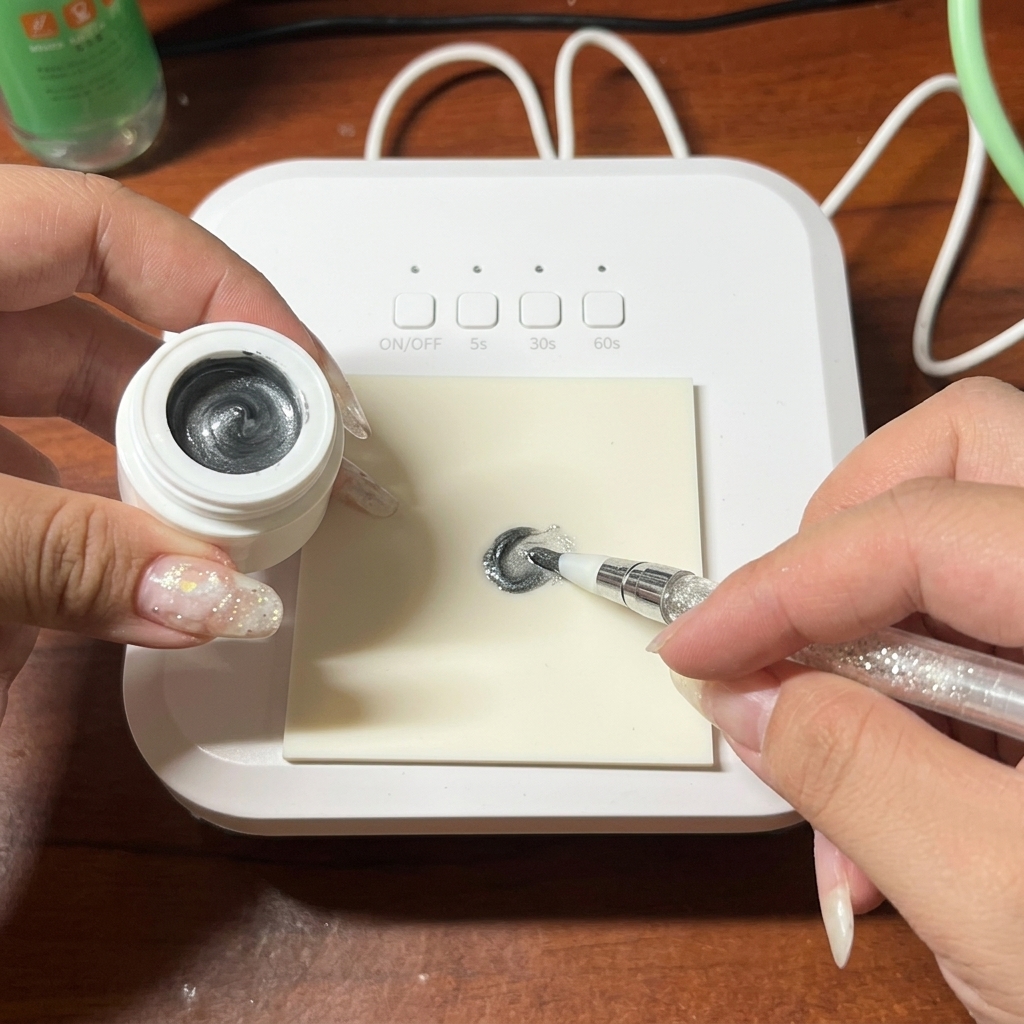
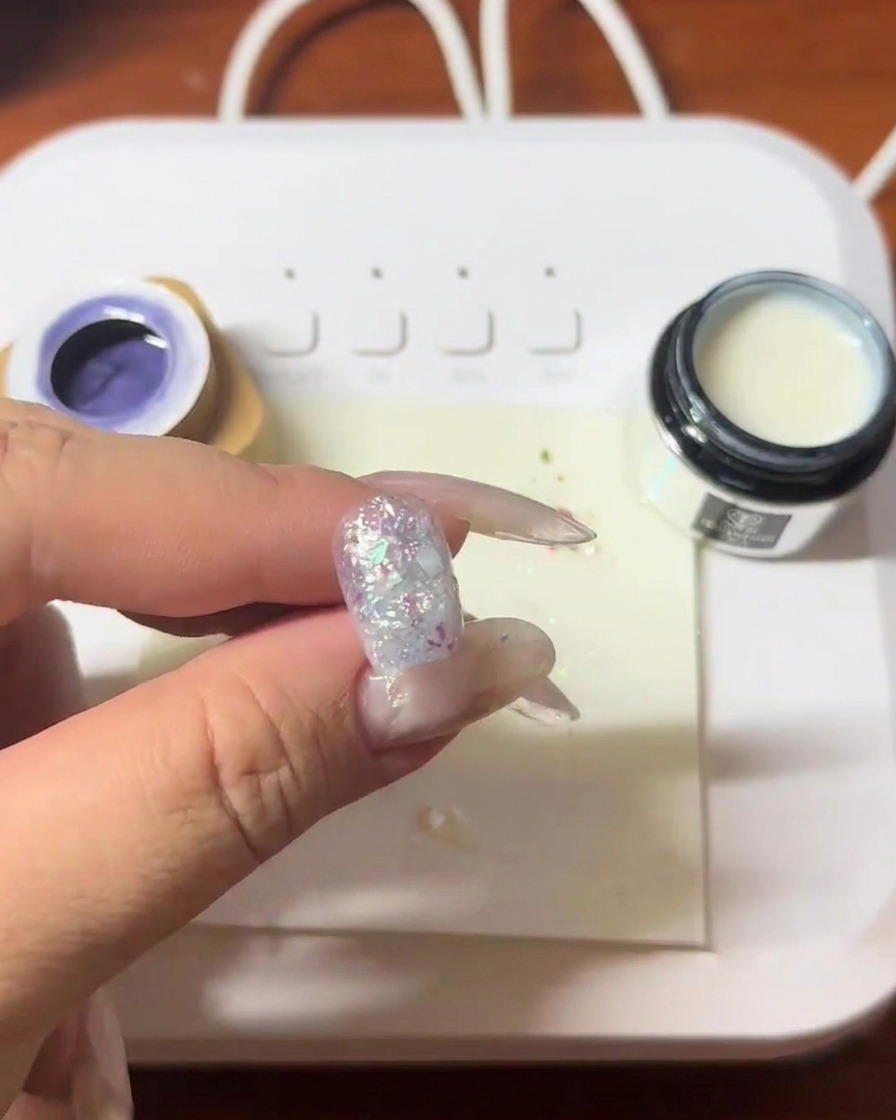
- 1Create a gradient effect
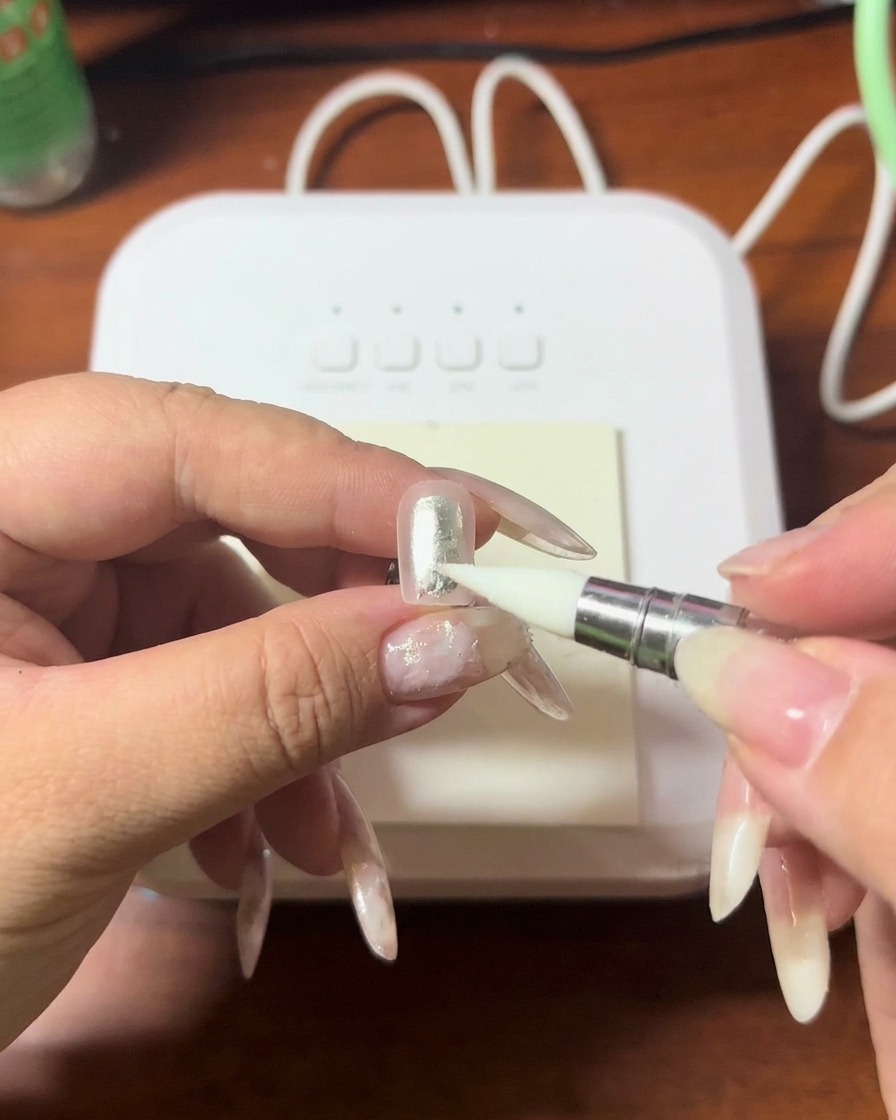
Gently push down on the nail tip using a silicone or rubber-tipped tool. This technique helps to manipulate the gel and create a subtle gradient effect, adding depth and dimension to the base layer.
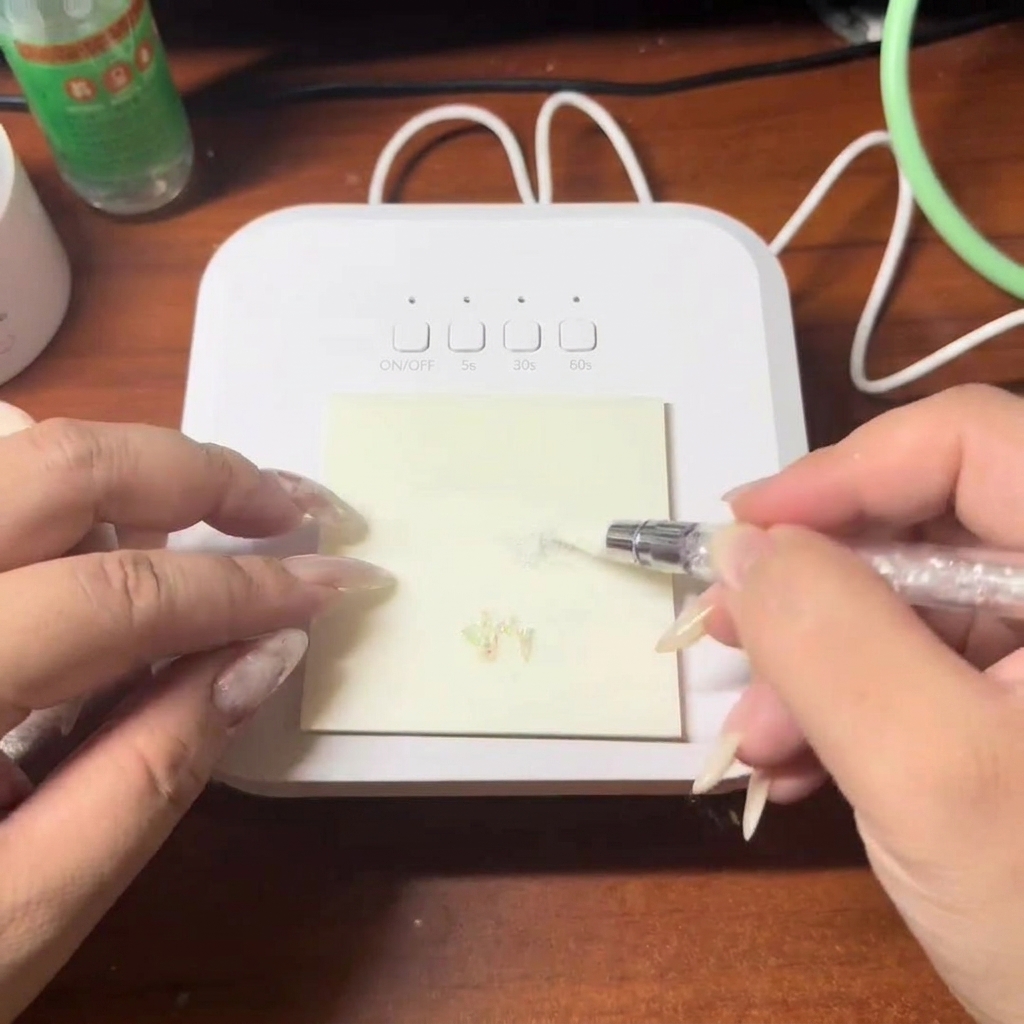
Tip: Apply light pressure to avoid displacing too much product; the goal is a gentle blend rather than an aggressive indentation. - 2Prepare shell fragments
Take your decorative shell pieces and break them down into smaller, manageable fragments. Smaller pieces are easier to arrange on the nail surface for a more intricate and natural-looking design.
Tip: Use a pair of tweezers to break the shell pieces safely and precisely without scattering them. - 3Mix gels
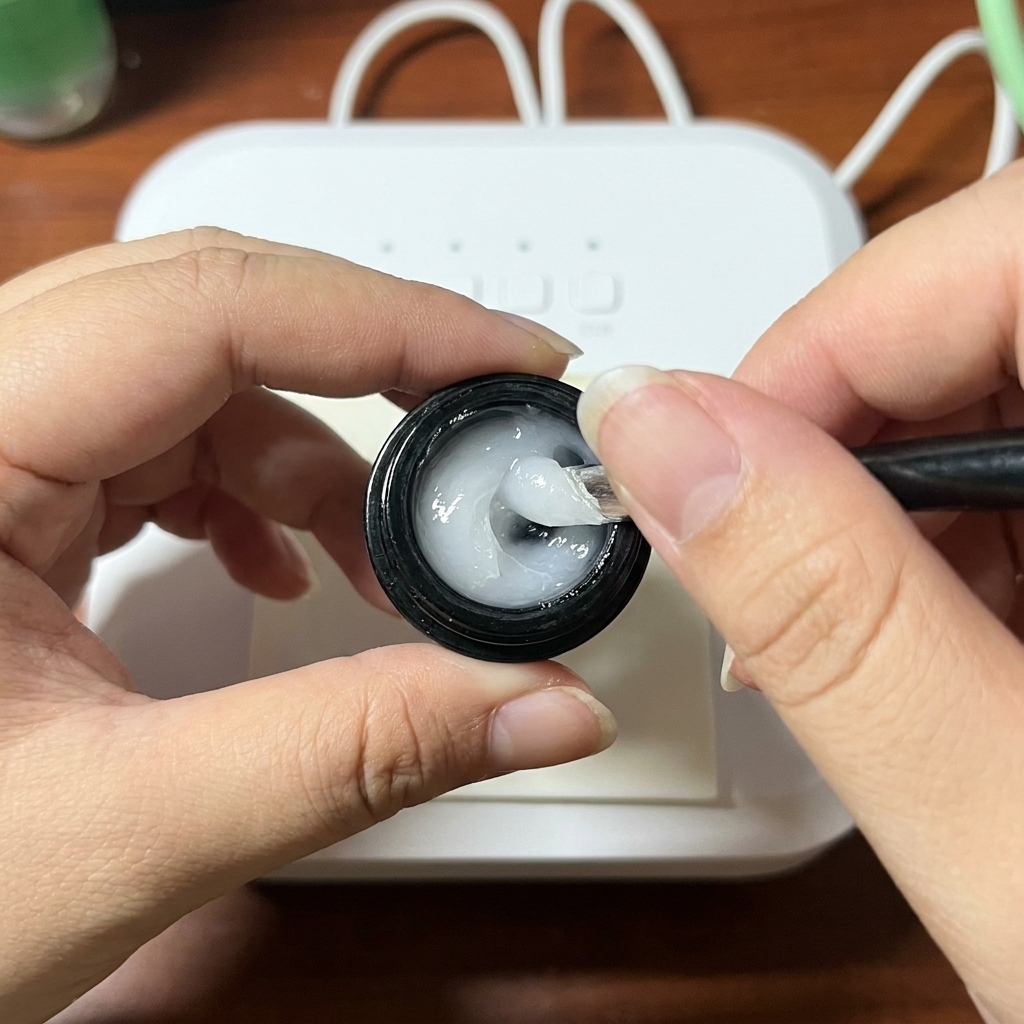
Combine a small amount of builder gel and blooming gel on your palette. Use a fine-tipped brush to blend them thoroughly until you achieve a smooth, consistent, fairy-powder paste texture.
Tip: Keep the consistency workable but not too runny to ensure the shell pieces stay in place during application. - 4Pick up shell fragments
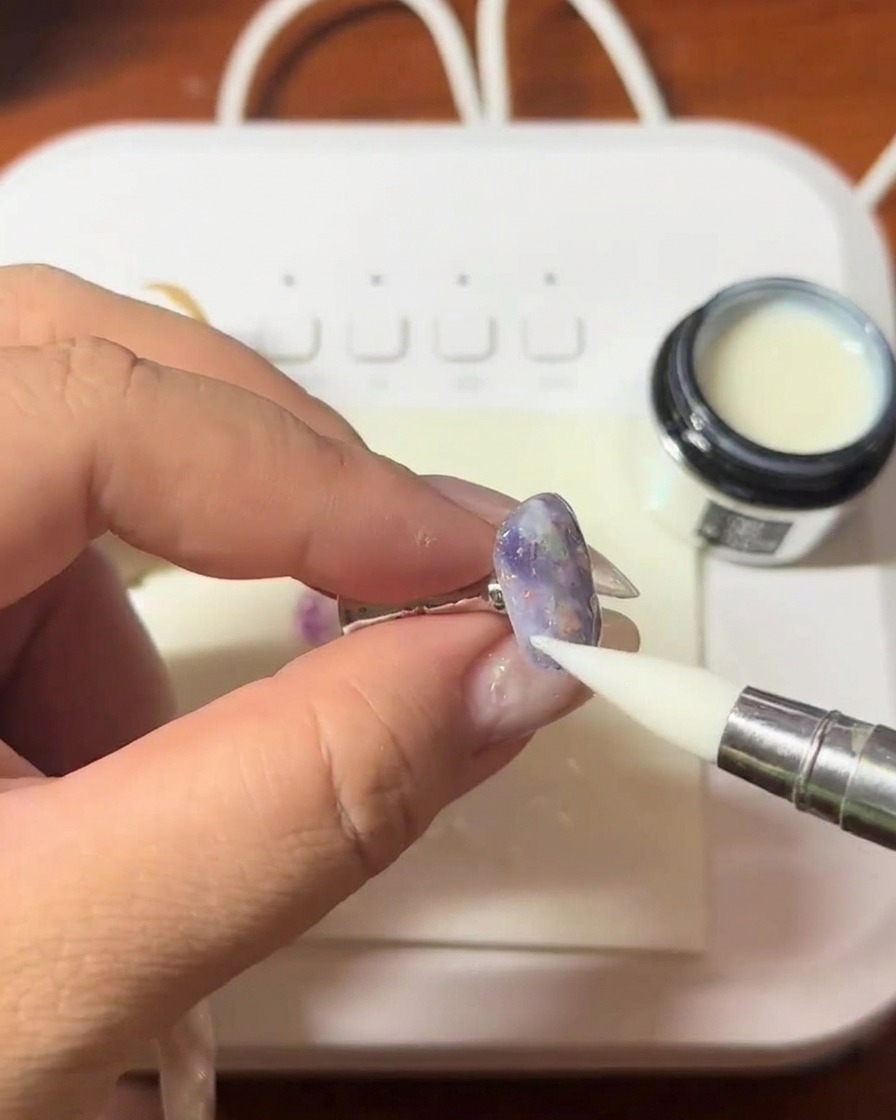
Using a precision tool or tweezers, carefully pick up the pre-broken shell fragments. Ensure you have a secure grip on each piece before transferring it to the nail.
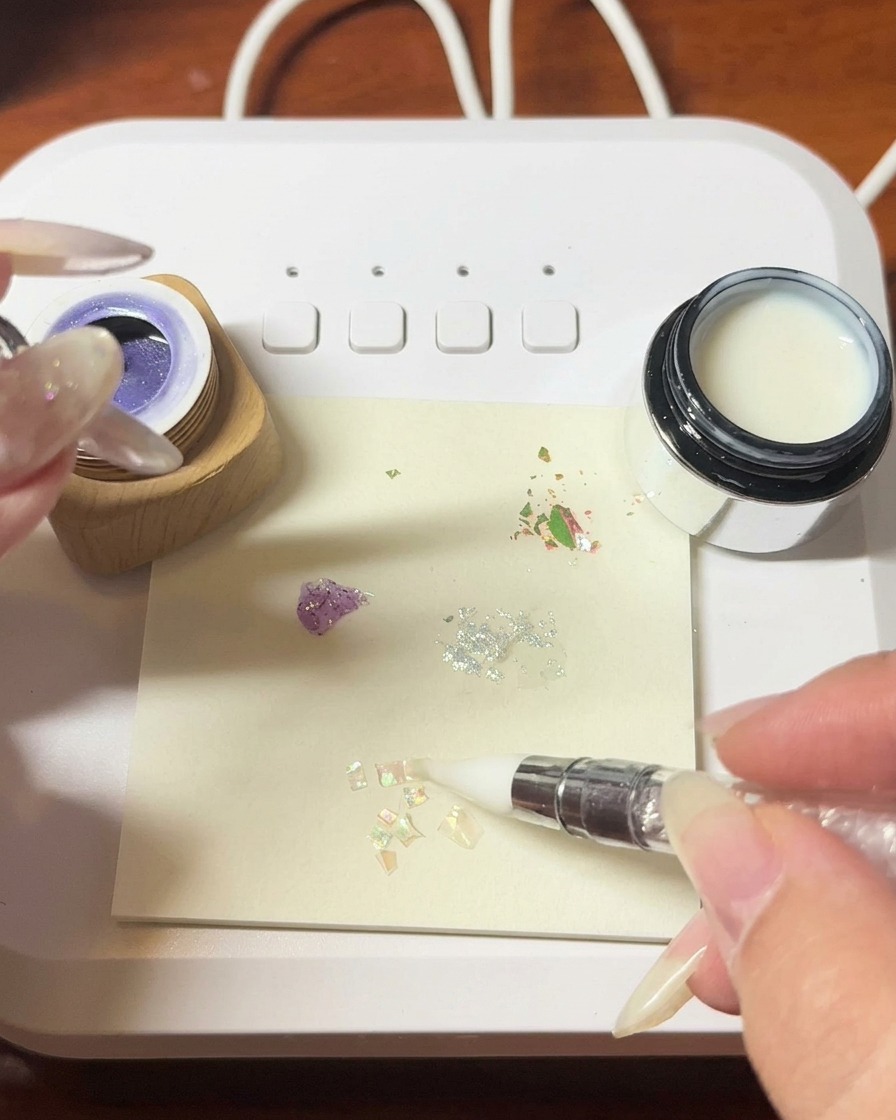
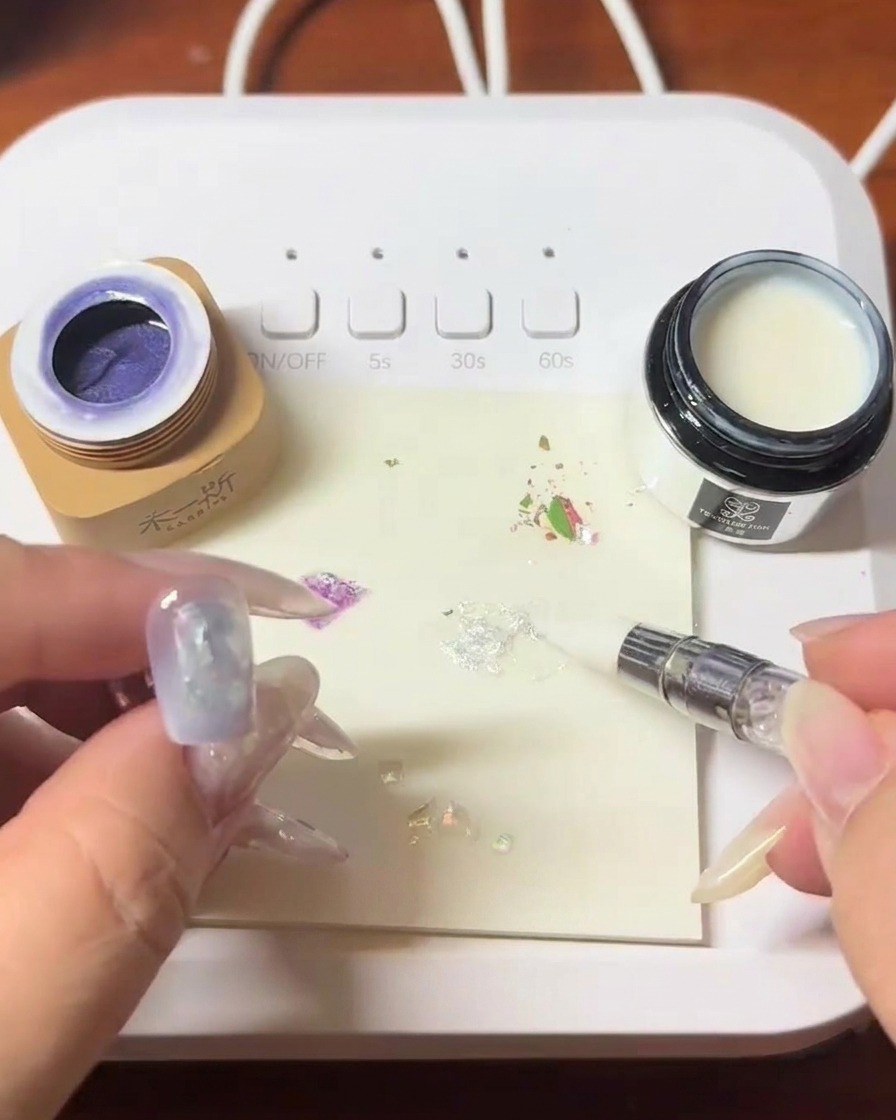
Tip: Use a slightly sticky tool or the tip of your brush to make picking up small fragments easier. - 5Prepare glitter and opal flakes
Collect your glitter pieces and opal flakes using a tool. Having these items organized and ready will make the application process much smoother as you transition between design elements.
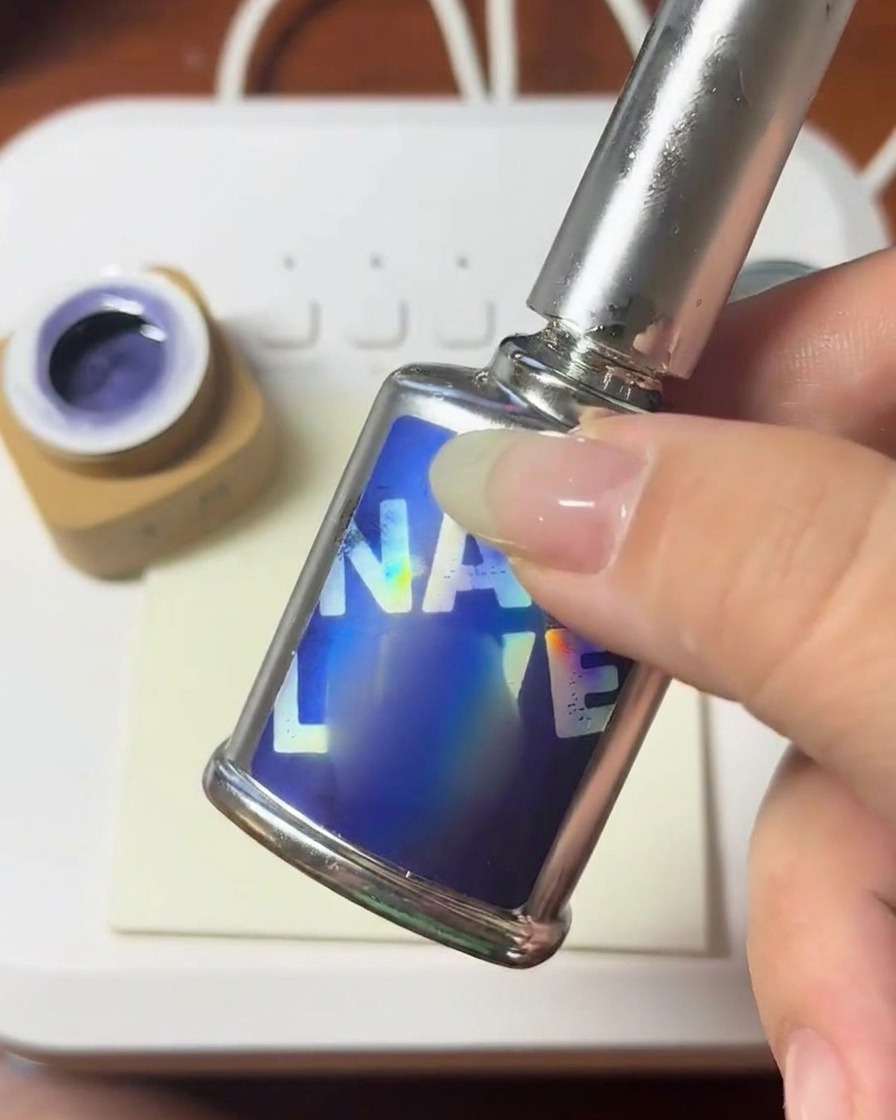
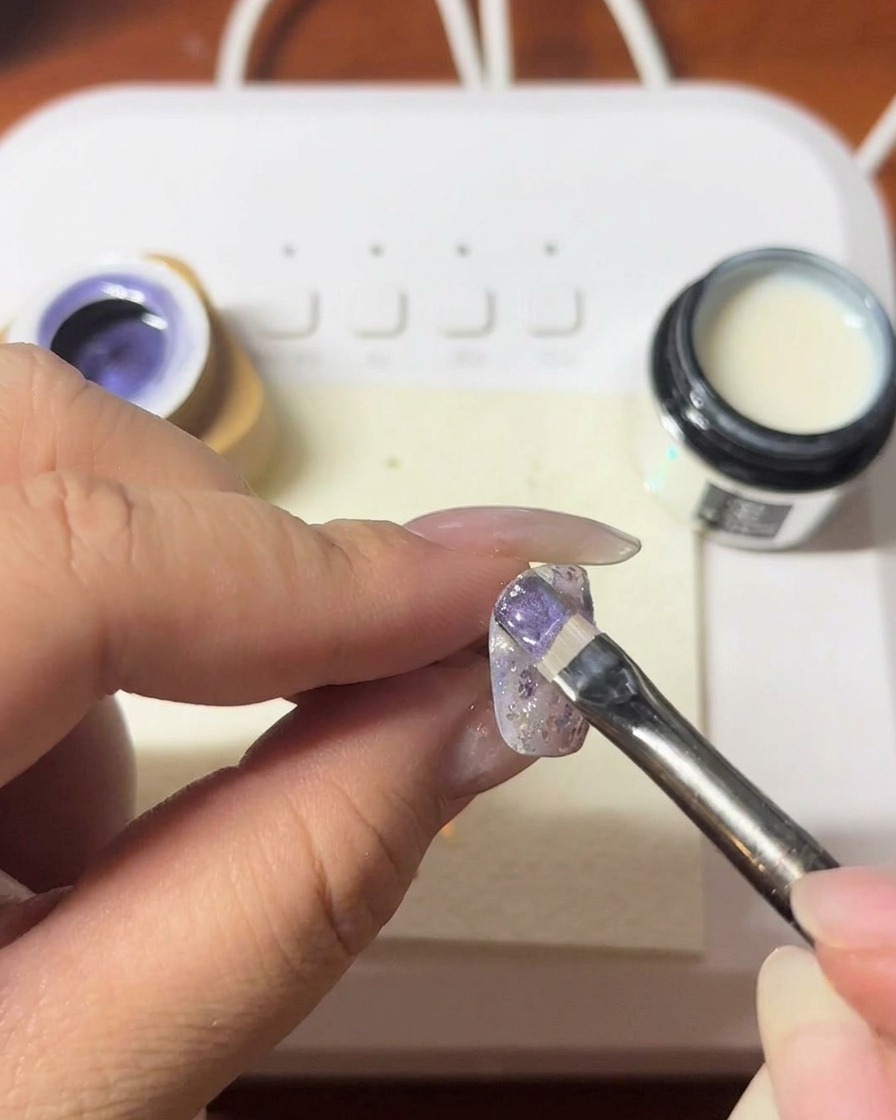
Tip: Place the glitter and flakes on a clean surface so they are easy to grab individually. - 6Apply purple cat-eye gel
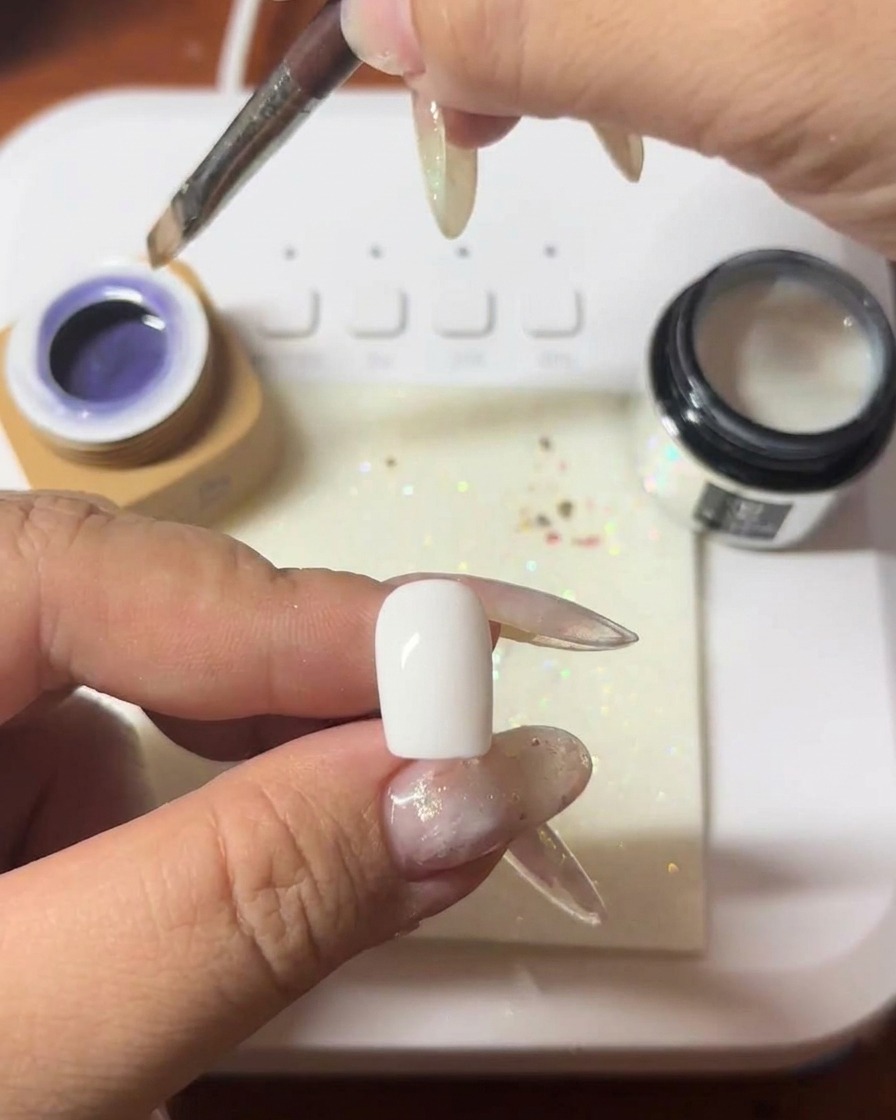
Apply a smooth, even layer of purple cat-eye gel to the nail surface. Before curing, use your magnet tool to manipulate the cat-eye particles to create your desired light effect, then cure under the lamp.
Tip: Hold the magnet close to the nail for a sharper, more defined cat-eye line. - 7Activate cat-eye magnetic pigment
Hover your magnet over the uncured purple cat-eye gel to manipulate the magnetic particles into your desired light-block design. Once the cat-eye effect is positioned to your liking, place the nail into the UV or LED lamp to fully cure and set the design.
Tip: Hold the magnet steady for a few seconds to let the particles fully align before curing; even a slight movement can disrupt the design. - 8Apply builder gel layer
Apply a small bead of builder gel to the center of the nail. Using your brush, gently spread the gel toward the edges to create a smooth, structural layer, ensuring you leave a thin margin around the cuticle and sidewalls.
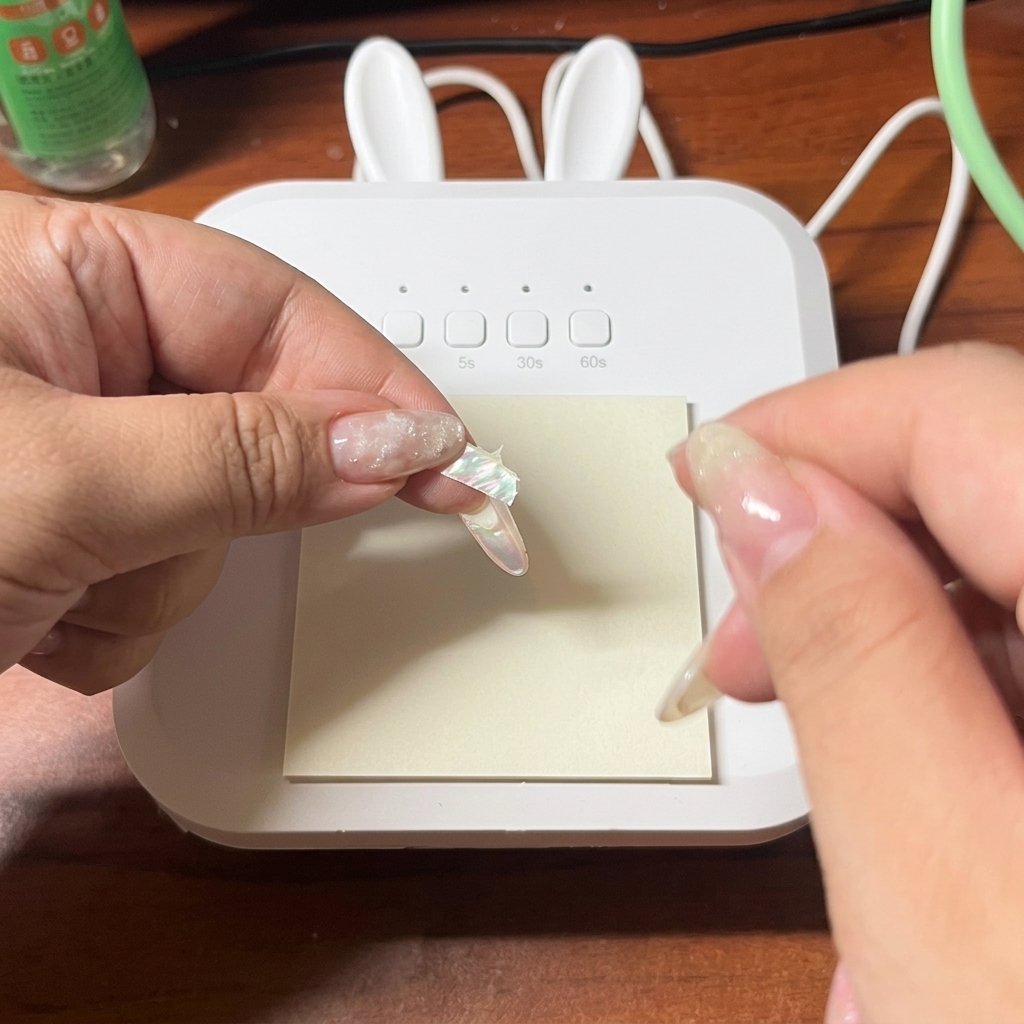
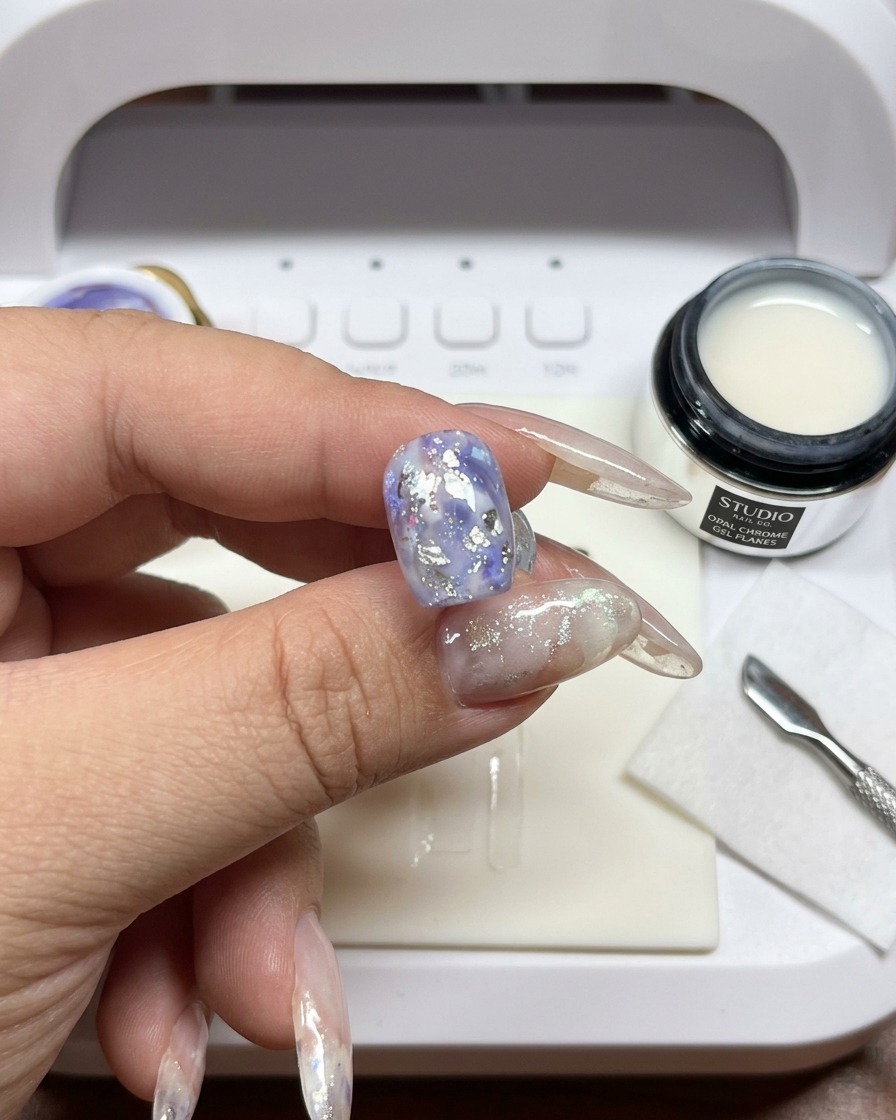
Tip: Using a thin layer of builder gel at this stage helps provide a sticky surface for shell pieces without adding excessive bulk to the nail. - 9Place shell fragments
Using a pair of tweezers or a silicone tool, carefully pick up your prepared shell fragments and place them onto the uncured builder gel. Once you are satisfied with the arrangement, place the nail into the lamp to cure, locking the shell pieces in place.
Tip: Place the shell pieces slightly away from the very edges of the nail to ensure they are fully encapsulated by subsequent layers, preventing sharp edges. - 10Apply blooming gel
Apply a thin, even layer of blooming gel over the shell-decorated nail surface. The blooming gel will act as a medium to soften the edges of the shell pieces and allow for easier blending of additional design elements.
Tip: Apply the blooming gel gently to avoid moving the shell pieces you have already placed. - 11Set and cure shell pieces
Gently press down on the shell pieces with a clean tool to ensure they are fully embedded into the gel layer. Once they are lying flat and securely set, place the nail into the lamp for a full cure to solidify the foundation of the design.
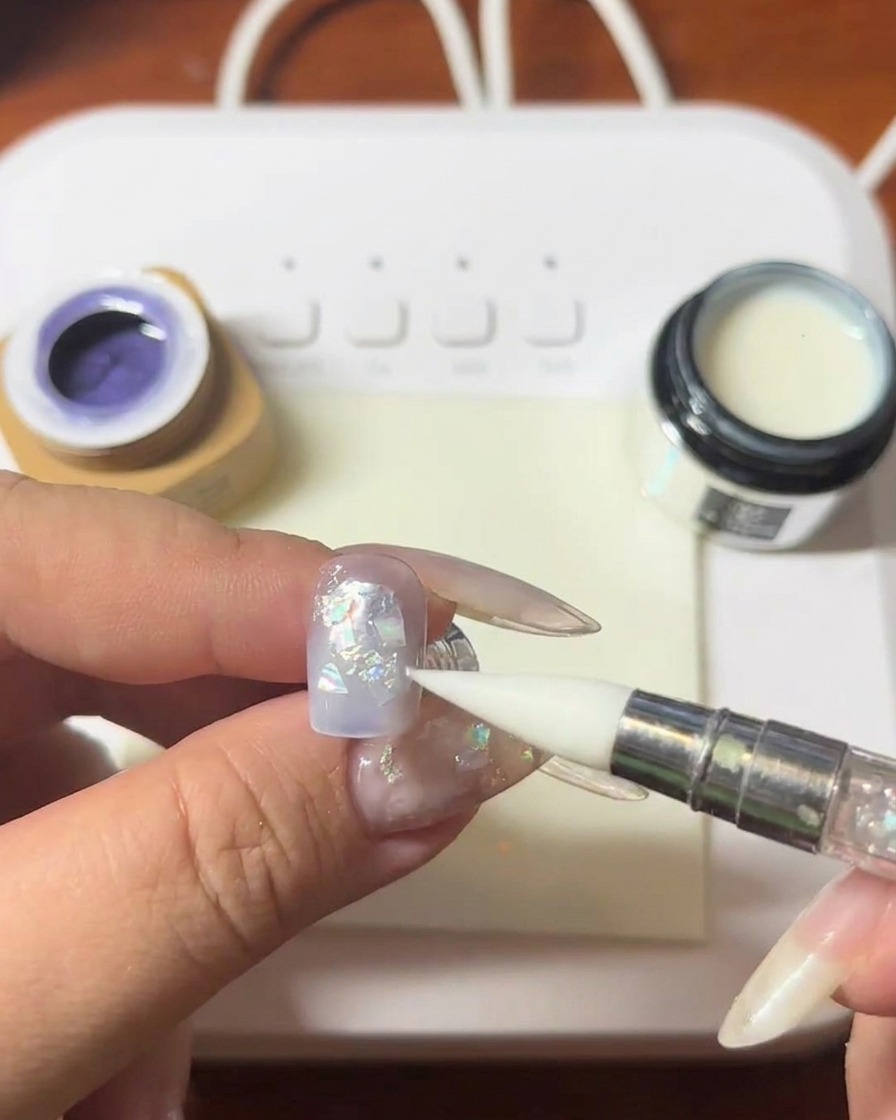
Tip: Ensuring the shell pieces are perfectly flat prevents them from snagging later. - 12Fill gaps with glitter and flakes
Using a fine liner brush, pick up small amounts of glitter and opal flakes and carefully place them into the gaps between the larger shell pieces. This adds depth, sparkle, and fills any negative space in the design.
Tip: Work in small sections to ensure the glitter and flakes are evenly distributed across the nail surface. - 13Cure the shell design
Place the nail under the UV/LED lamp to cure the gel and set the embedded shell pieces. Ensure the hand is positioned so the shell pieces remain exposed and textured, rather than being fully submerged or covered by too much top layer, to maintain the intended depth of the design.
Tip: Check that the shell fragments havent shifted before starting the cure. - 14Apply purple cat-eye gel

Apply a fresh, thin layer of purple cat-eye gel over the existing nail art. This layer will provide the base for the magnetic effect to interact with, creating more depth and dimension within the design.
Tip: Keep the layer thin to prevent the cat-eye effect from becoming muddy. - 15Create cat-eye effect
Hold the magnet over the uncured purple cat-eye gel to manipulate the magnetic particles into a focused light reflection. Once you are satisfied with the position and intensity of the cat-eye line, place the nail into the lamp to cure and lock the effect in place.
Tip: Hold the magnet steady for a few seconds to let the particles fully align. - 16Apply builder gel
Apply a layer of self-leveling builder gel over the nail to add structure and smooth out the surface. The gel will naturally settle to create a uniform base, then cure the nail under the lamp to harden the structure.
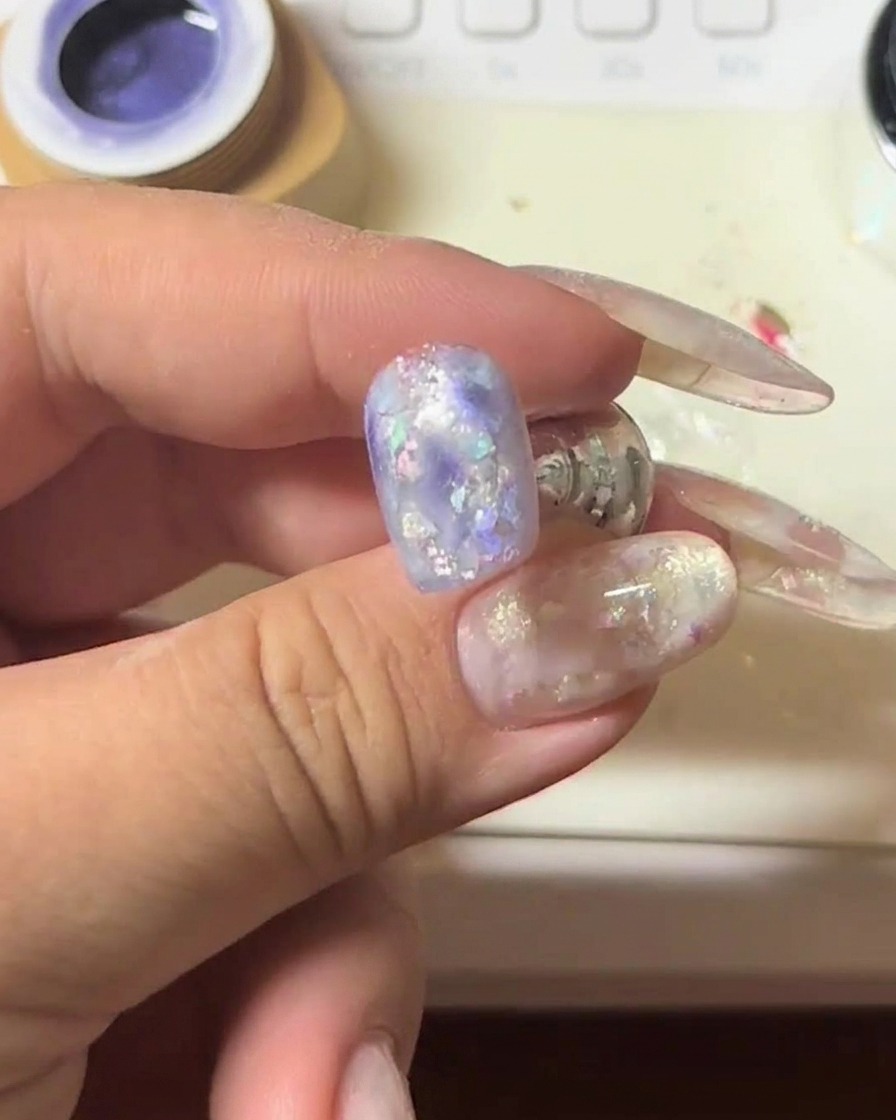
Tip: Turn the finger upside down for a few seconds before curing to help the gel self-level to the center. - 17Apply white blooming gel
Apply a layer of white blooming gel over the cured builder gel. Do not cure this layer; the blooming gel is designed to remain wet so that subsequent additions can blend into it to create soft, ethereal transitions.
Tip: Use a light touch to avoid moving the underlying layers too much. - 18Blur edges and cure
Using a brush dipped in base gel, gently work into the edges of the applied white blooming gel to blur and soften them. Once you achieve a natural, diffused look, cure the nail under the lamp to set the soft transitions.
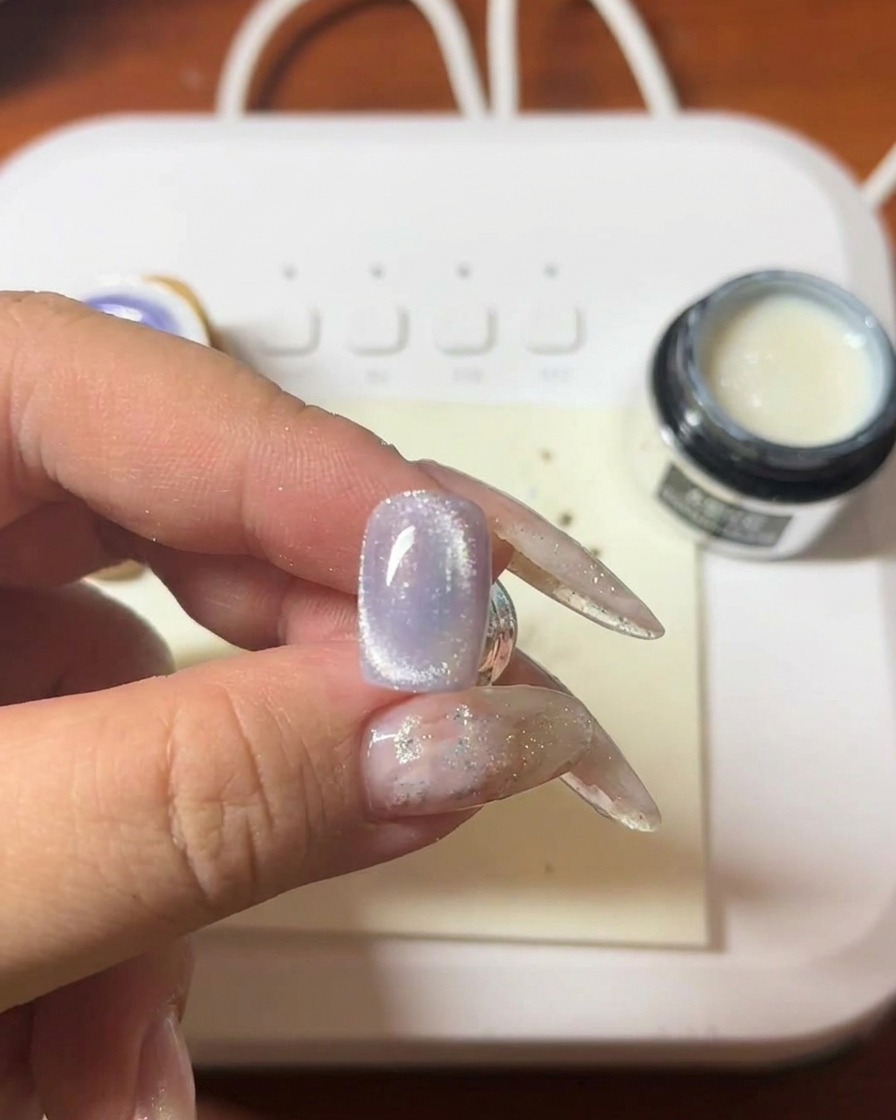
Tip: Clean your brush on a lint-free wipe frequently to ensure you are blurring the gel rather than just moving it around. - 19Deepen the cat-eye effect
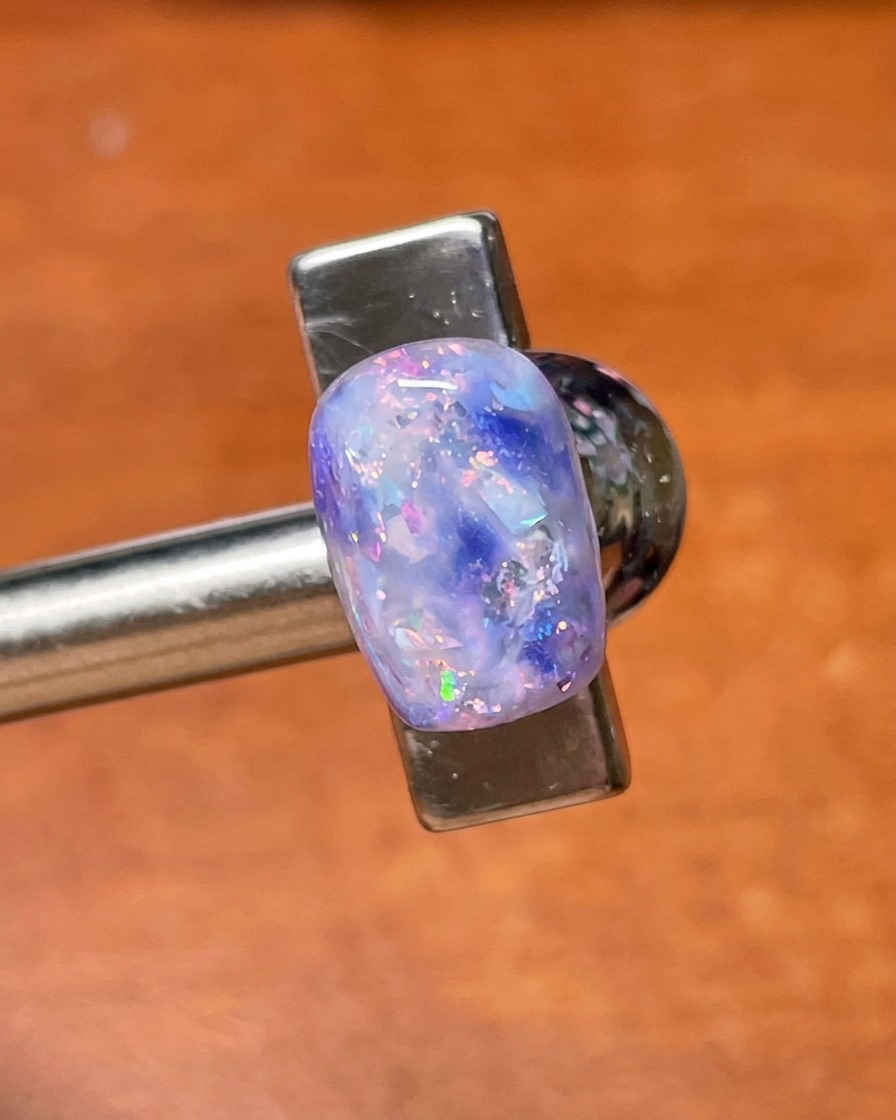
Apply a final layer of purple cat-eye gel over the existing design. Before curing, hold your magnet over the nail to concentrate the magnetic particles, enhancing the depth and intensity of the cat-eye light reflection. Once the desired effect is achieved, cure under your UV or LED lamp.
Tip: For the best result, keep the magnet steady for a few seconds to let the particles settle into the sharpest line possible. - 20Blur and soften edges

Dip a clean liner brush into your base gel. Gently stroke the edges of your shell pieces and glitter placement to soften any harsh transitions. This blending process helps the elements sit more naturally within the gel, creating a seamless, dimensional finish before the final top coat application.
Tip: Use a very light touch; you only want to blur the edges, not move the pieces entirely out of place. - 21Seal with top coat
Apply a smooth, even layer of high-quality top coat over the entire nail to protect the design and provide a brilliant shine. Ensure you cap the free edge for maximum longevity. Cure thoroughly under your UV or LED lamp to finish the manicure.
Tip: A good top coat will also help smooth out any remaining texture from the shell pieces, leaving a perfectly glass-like finish.