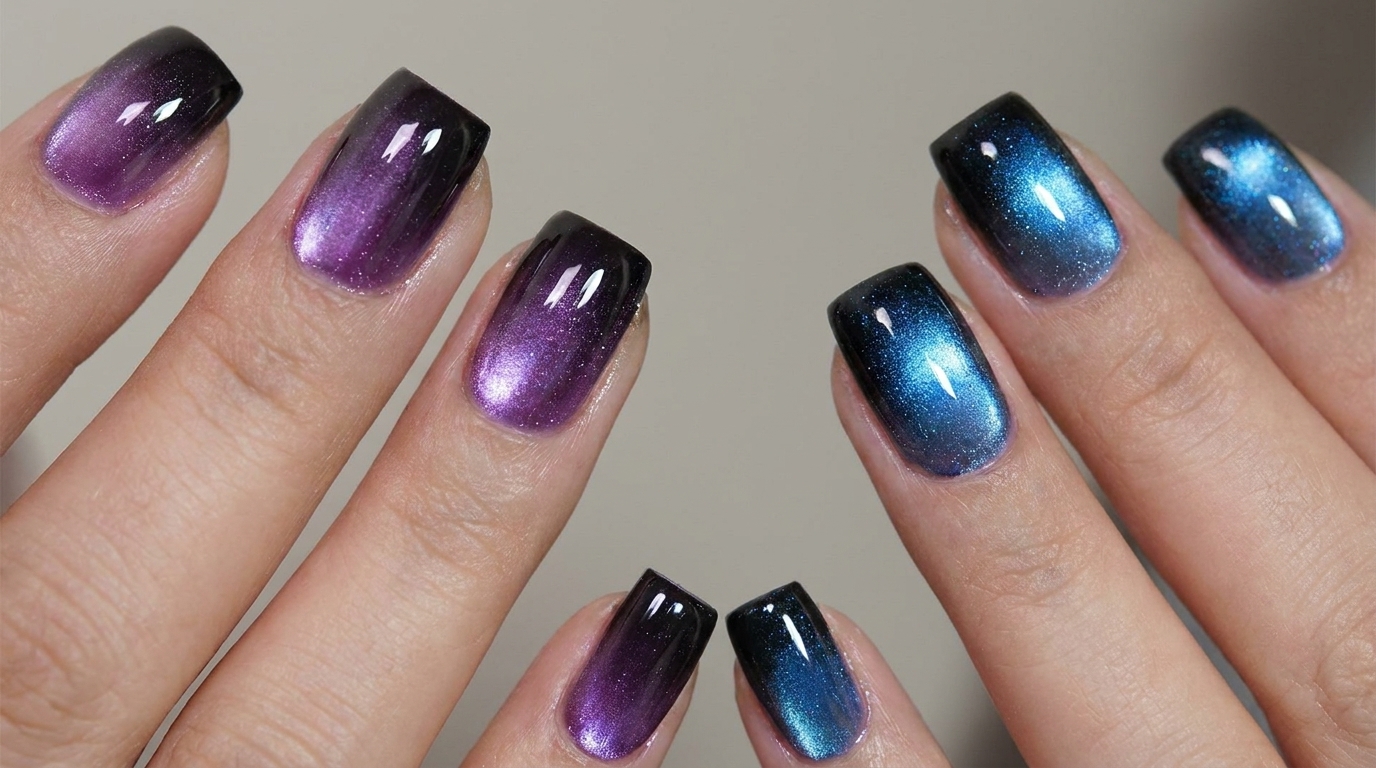
Blue and Black Galaxy Cat-Eye Nails — Step-by-Step Tutorial
Create a stunning galaxy-inspired manicure with this blue and black cat-eye gradient tutorial, featuring delicate butterfly accents.
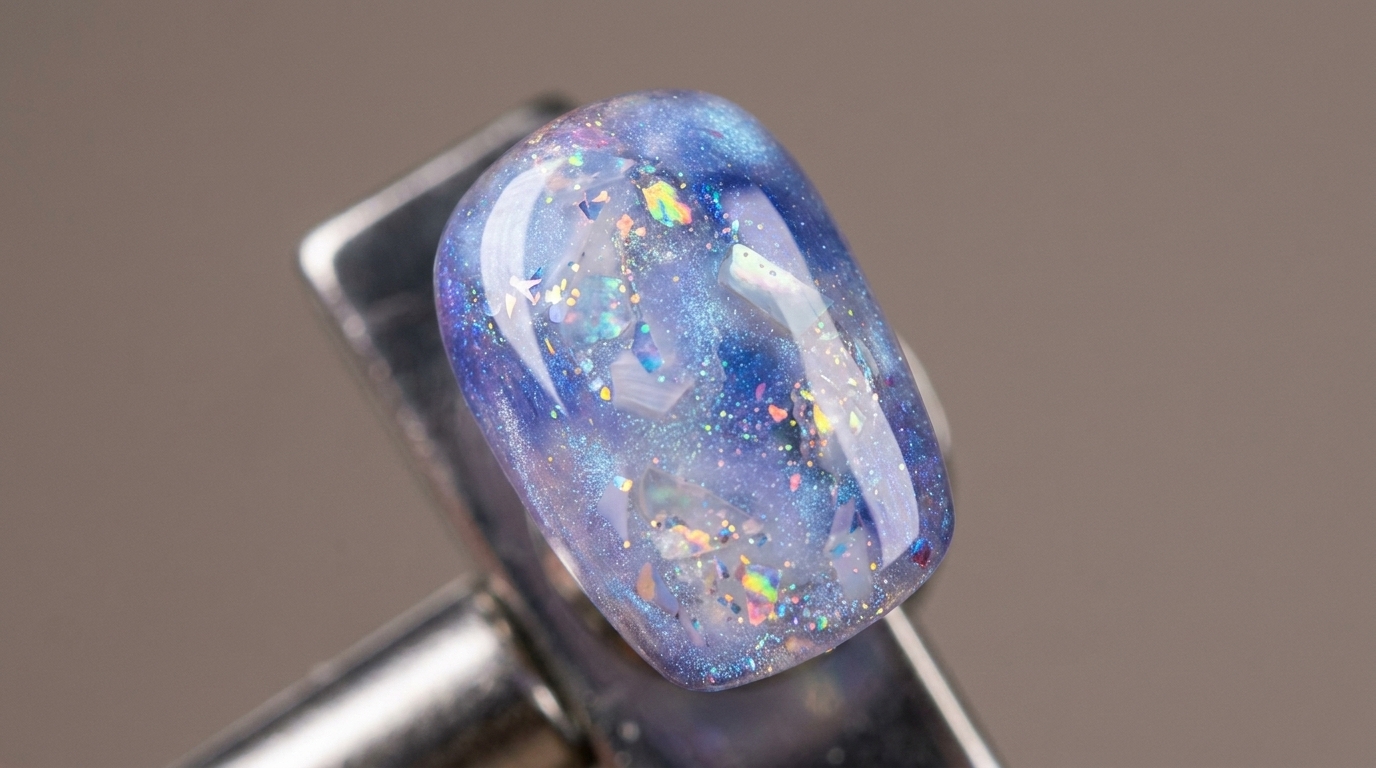
This deep, moody gradient look brings the mystery of the night sky right to your fingertips. By combining a rich black base with magnetic cat-eye polish, you can achieve a sophisticated shimmer that shifts beautifully with the light. The addition of a hollow butterfly sticker adds a touch of whimsical charm, making this look perfect for those who love bold, atmospheric nail art.
Steps
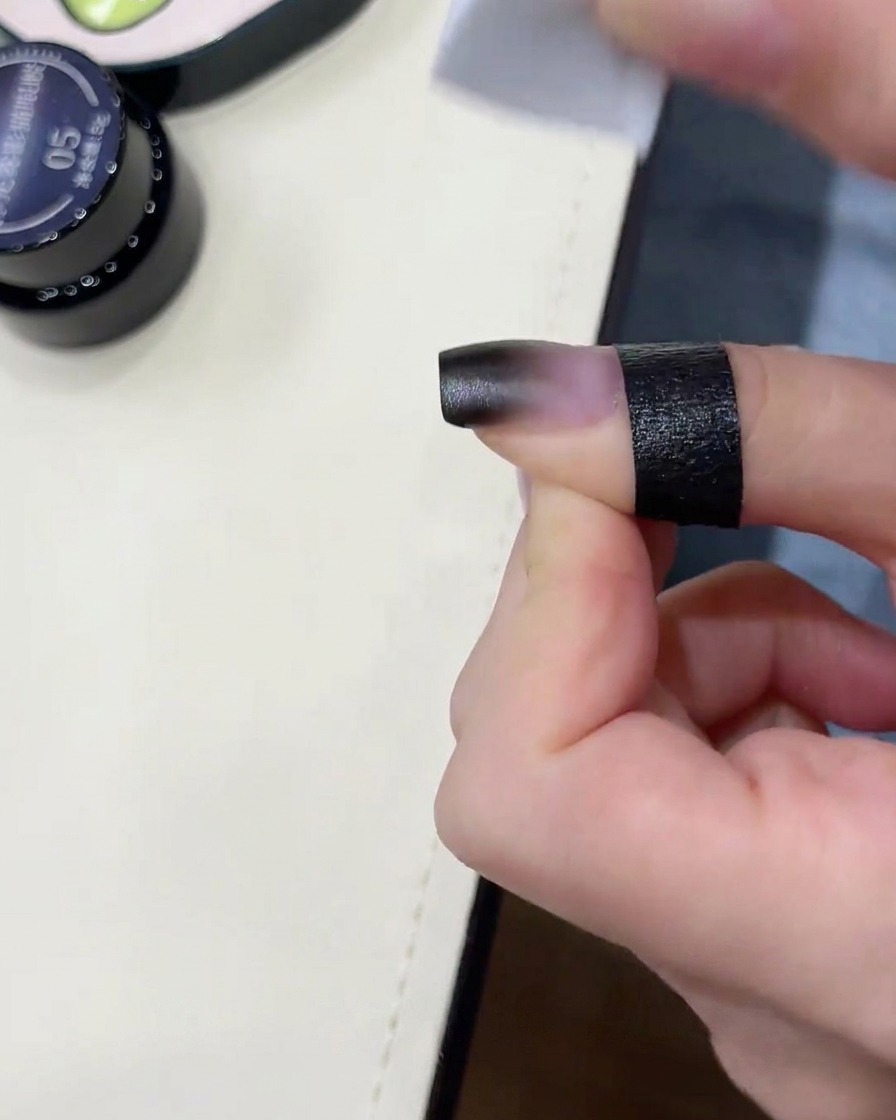
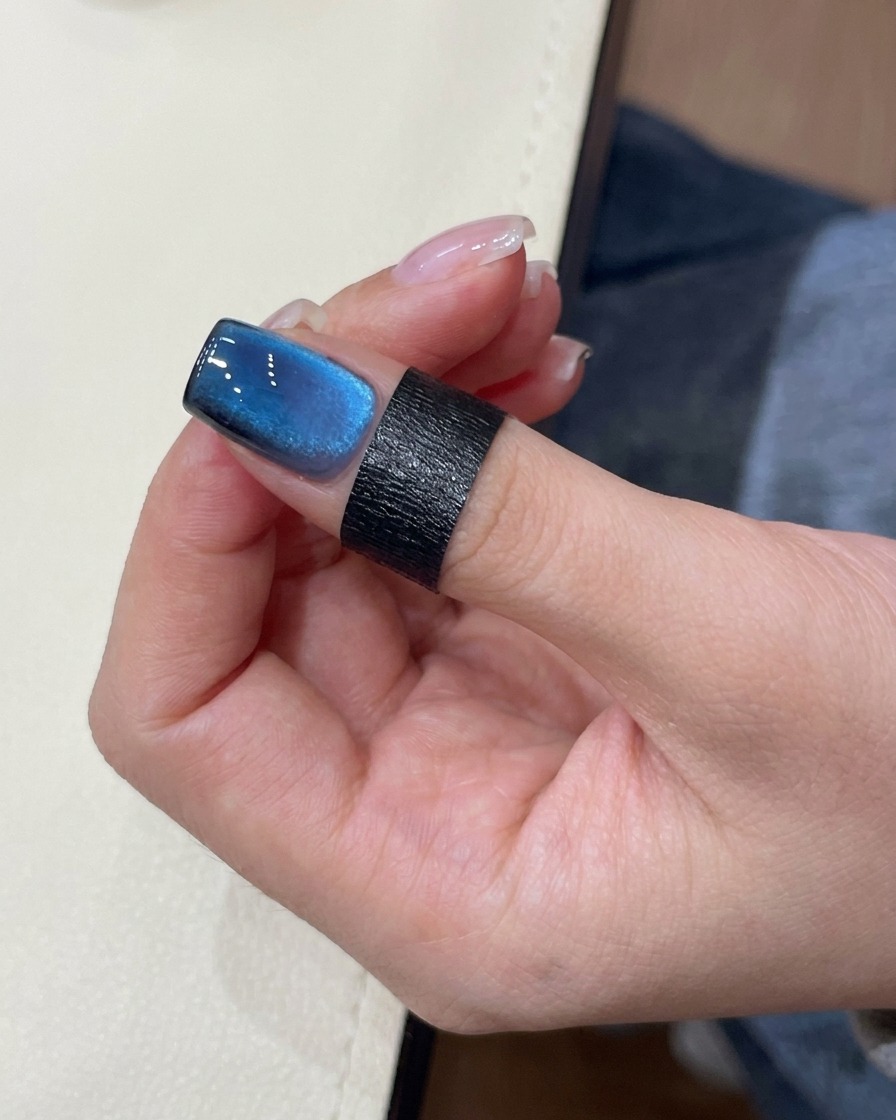
- 1Dab black gel for gradient
Using a small brush, carefully dab black gel onto the tip of the nail. This initial application forms the base of your deep, galaxy-inspired gradient effect.
Tip: Work in small amounts to maintain control over the gradient transition. - 2Blend the gradient
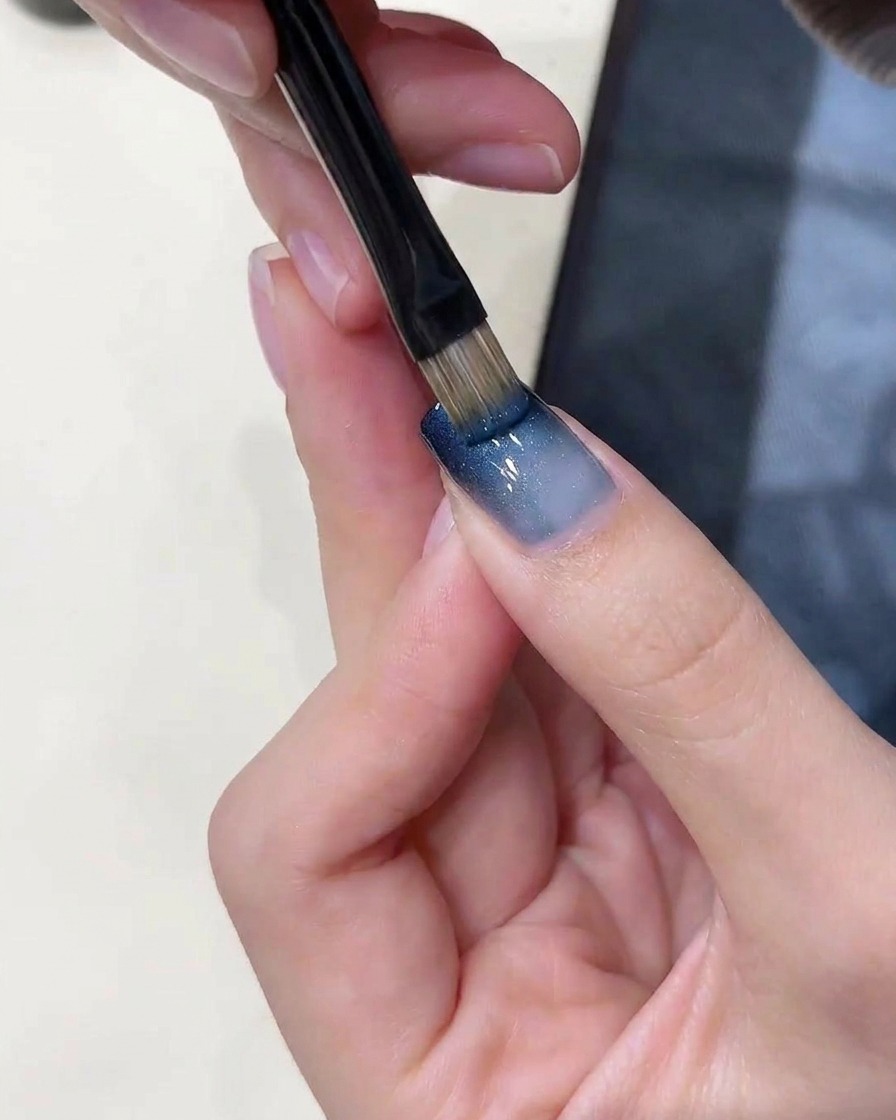
Take a white sponge applicator and gently pat the black gel towards the center of the nail. This technique softens the transition, creating a smooth and seamless gradient effect.
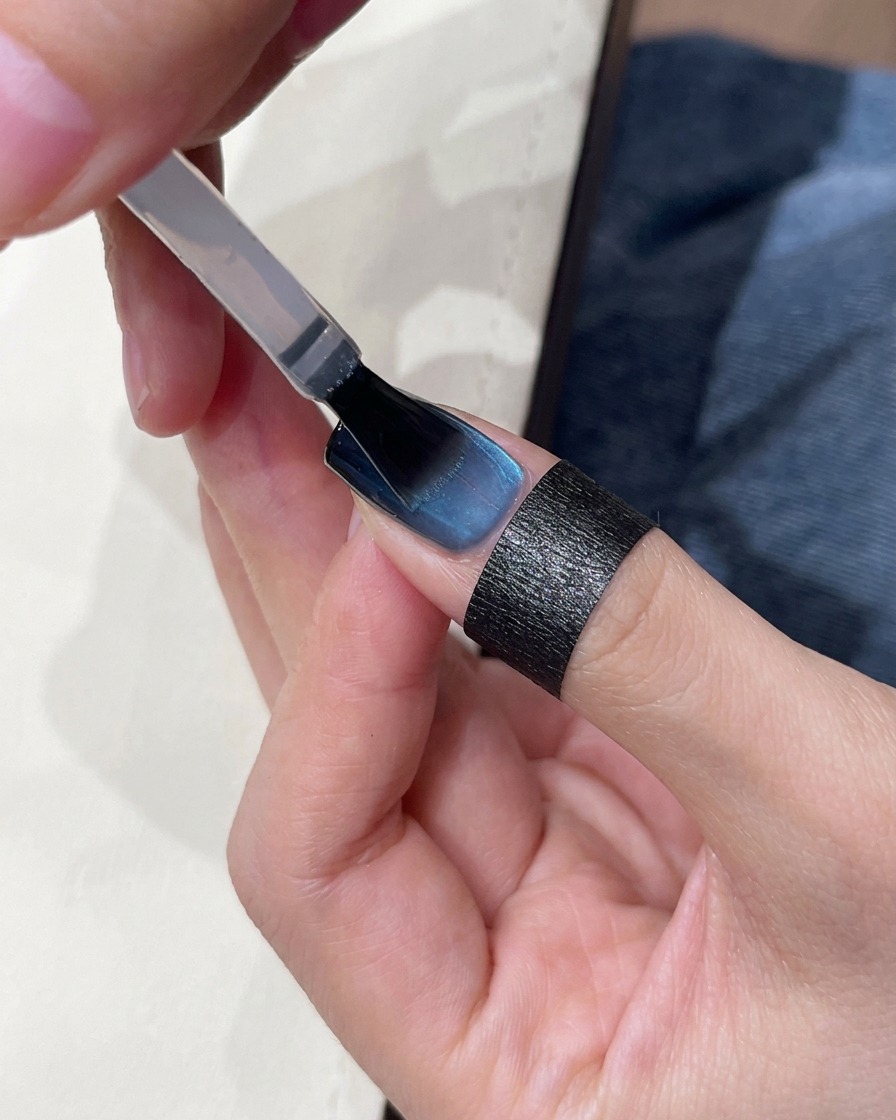
Tip: Light, consistent tapping motions yield the best-blended result. - 3Apply cat-eye gel

Apply an even coat of the number 05 cat-eye gel across the entire surface of the nail, covering the black gradient base completely.
Tip: Ensure an even application for a uniform cat-eye shimmer. - 4Create wide light effect
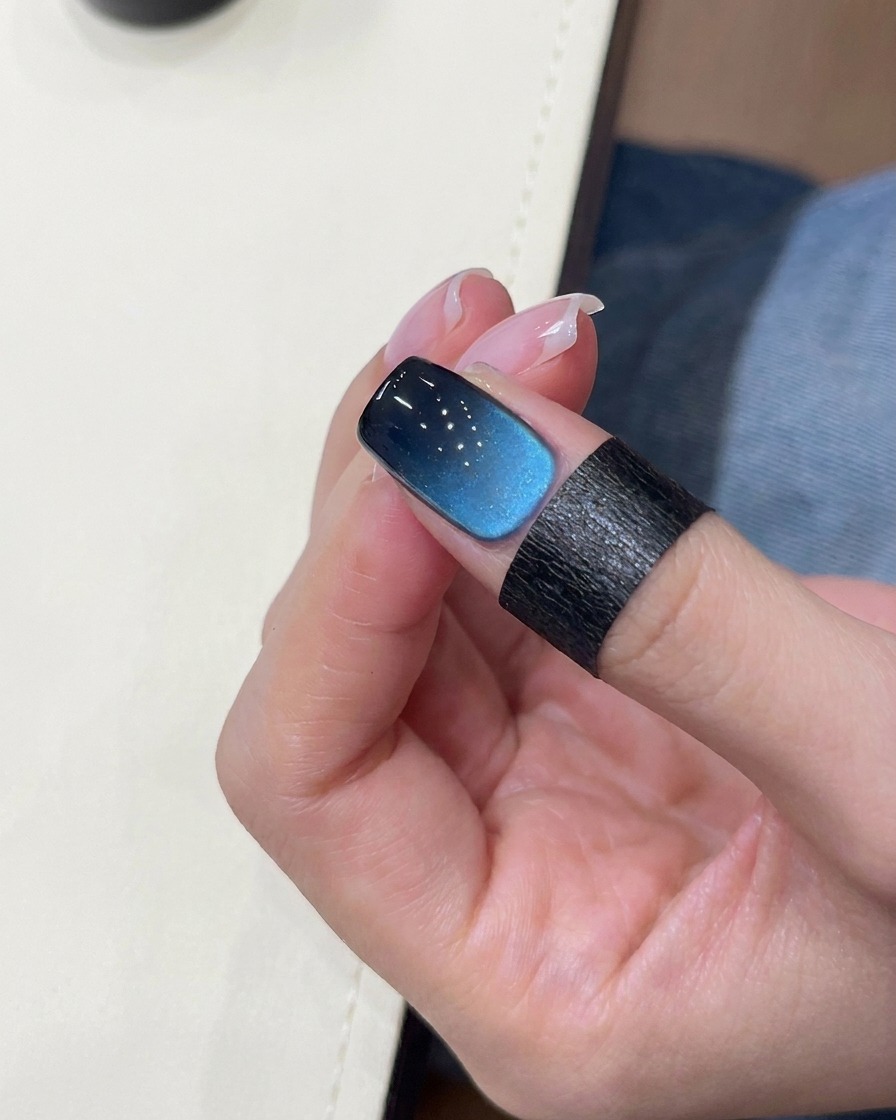
Hold your magnet along both sides of the nail. The magnetic particles will respond, creating a wide, bright shimmer across the nail surface.
Tip: Keep the magnet close to the nail without touching the wet gel. - 5Form cat-eye arc
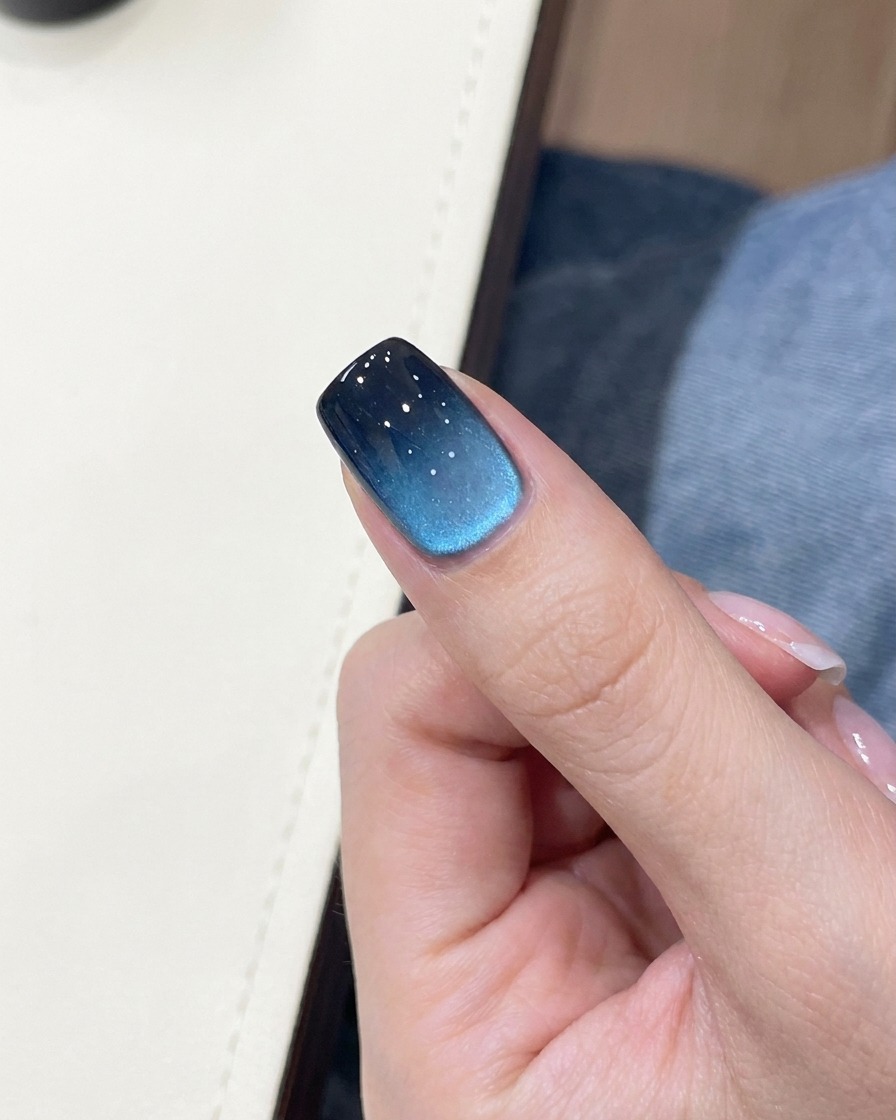
Using the edge of the magnet, push forward from the back of the nail. This movement concentrates the magnetic particles into a refined, gradient arc for a stunning cat-eye look.
Tip: Use steady, deliberate strokes to achieve the perfect arc shape. - 6Apply high-gloss top coat
Seal your design by applying a layer of clear, high-gloss top gel over the nail. This adds depth, protects your manicure, and provides a brilliant, galaxy-like shine.
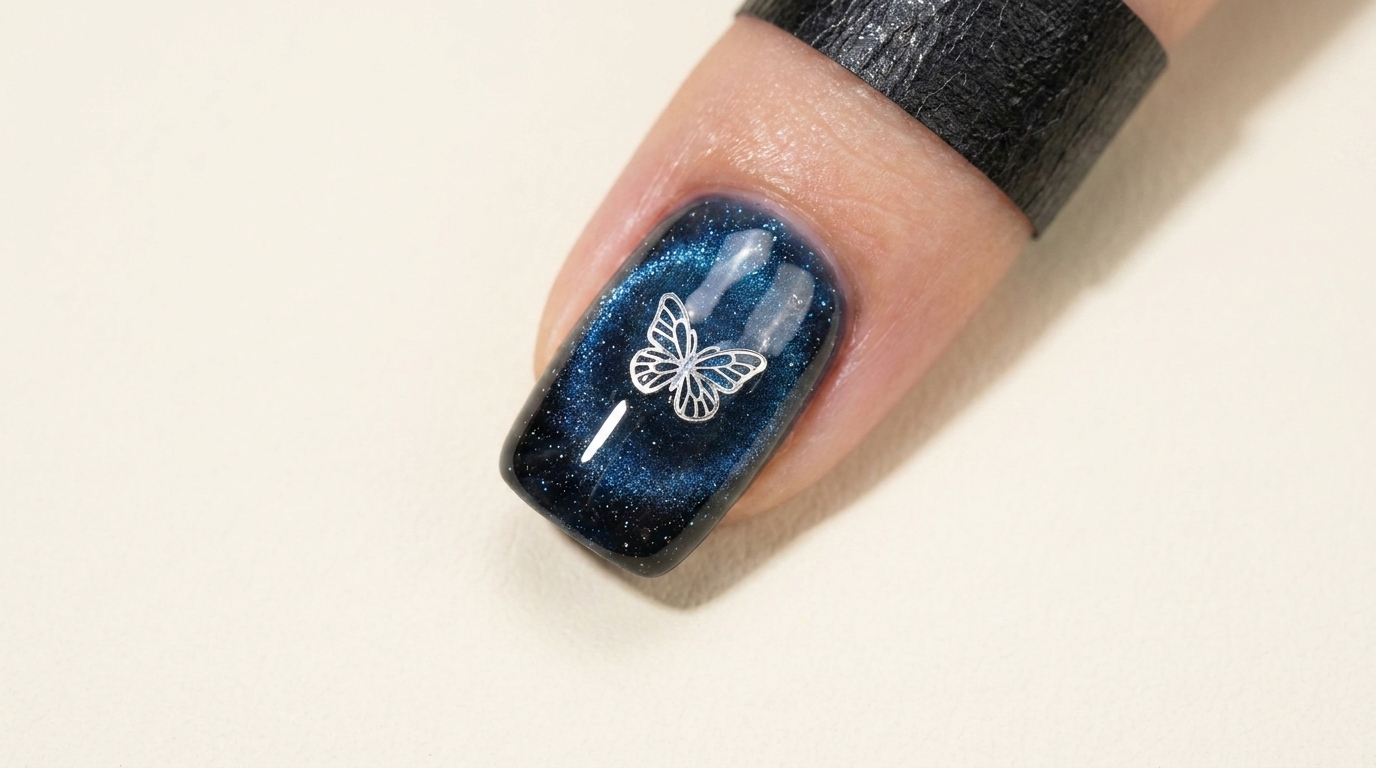
Tip: Cap the free edge to ensure long-lasting wear and prevent chipping. - 7Add butterfly nail sticker
Carefully place a hollow butterfly-shaped nail sticker onto the center of the nail once the top coat has been applied and cured. This adds a delicate, atmospheric detail that elevates the galaxy-inspired gradient look. Press it down firmly to ensure the edges are flat against the nail surface.
Tip: Use a pair of precision tweezers to position the sticker accurately without smudging the glossy surface.