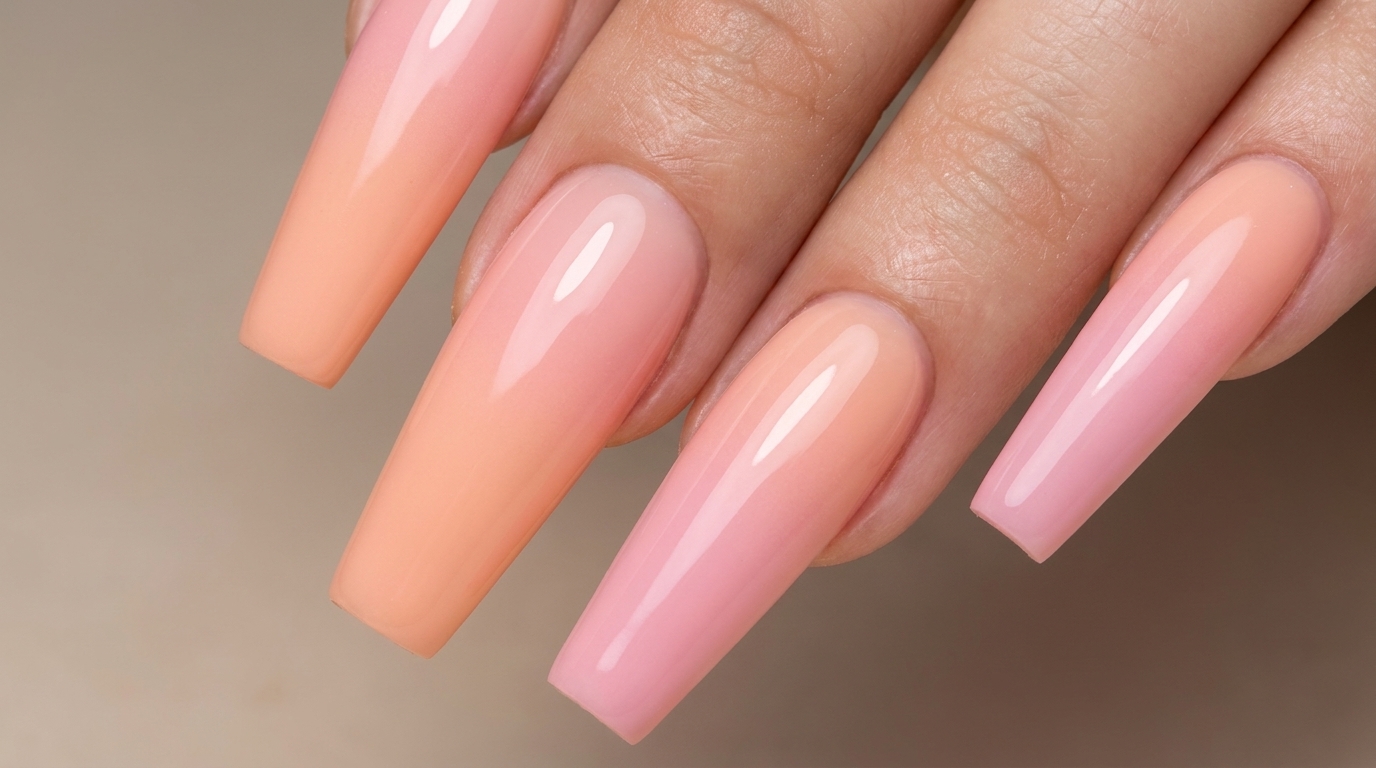
Airbrush Gradient Peach Nails — Professional Ombre Tutorial
Master the art of the perfect peach-to-pink gradient using an airbrush tool. This tutorial breaks down airbrushing gel for a seamless, soft-focus finish.
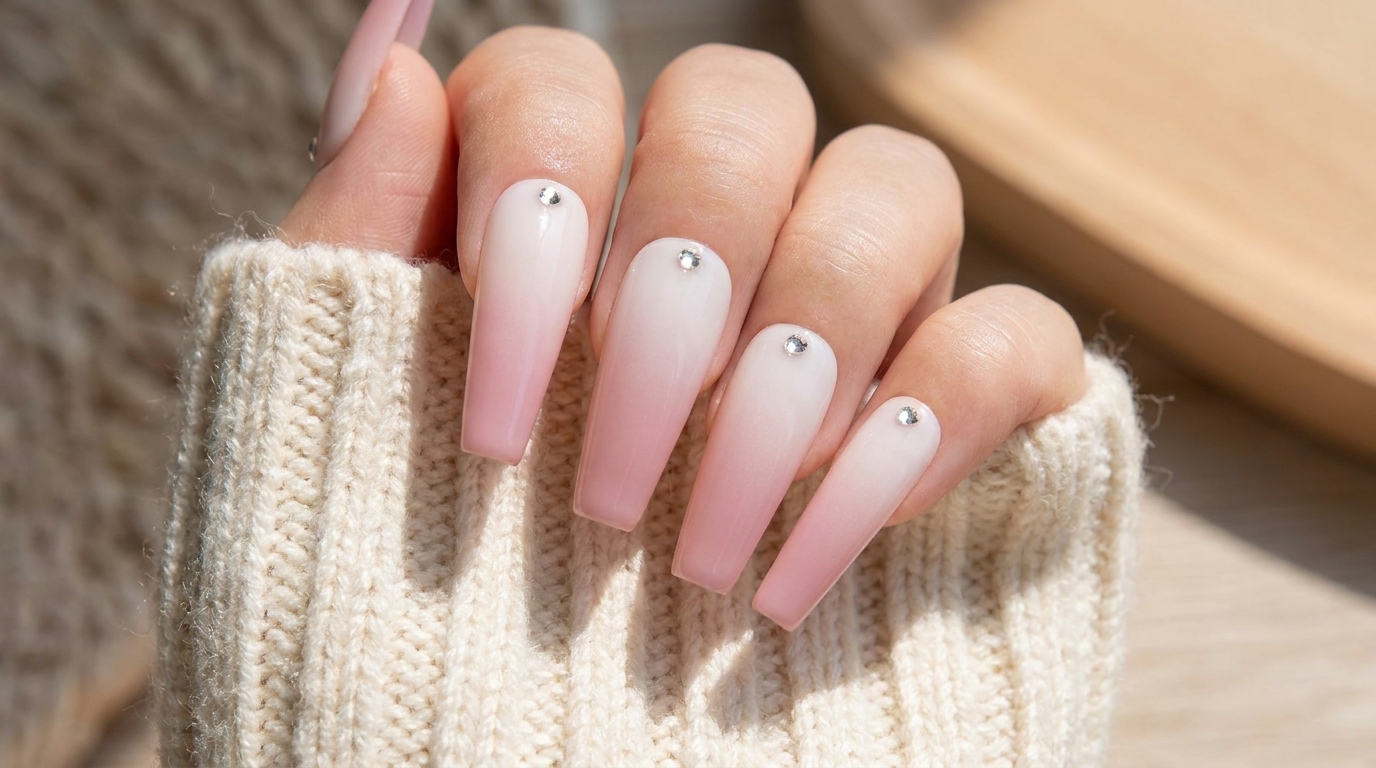
Summer is here, and it is the perfect time to embrace the peach girl aesthetic. This airbrushed gradient look creates a sophisticated, seamless transition that is incredibly difficult to achieve with traditional sponges. By using an airbrush, you gain total control over pigment density, resulting in a soft, dreamy finish that looks professionally done.
Steps
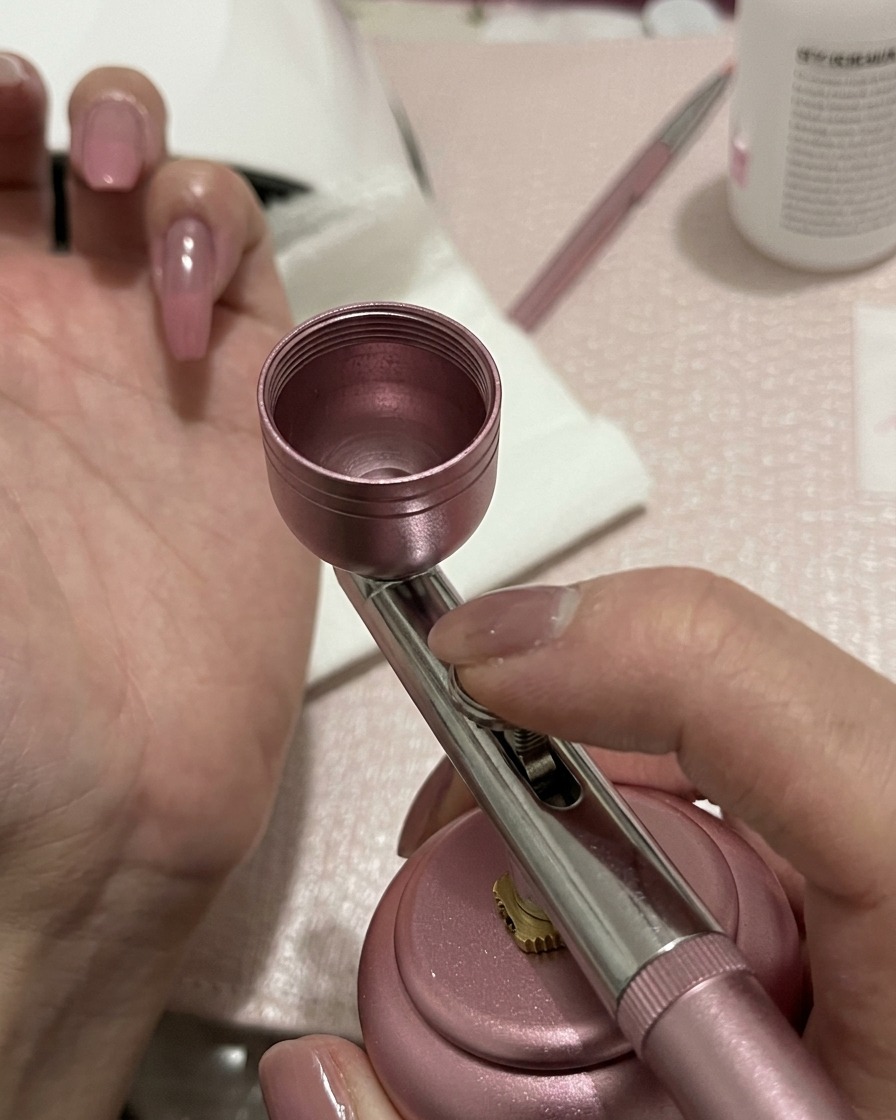
- 1Prepare the airbrush color
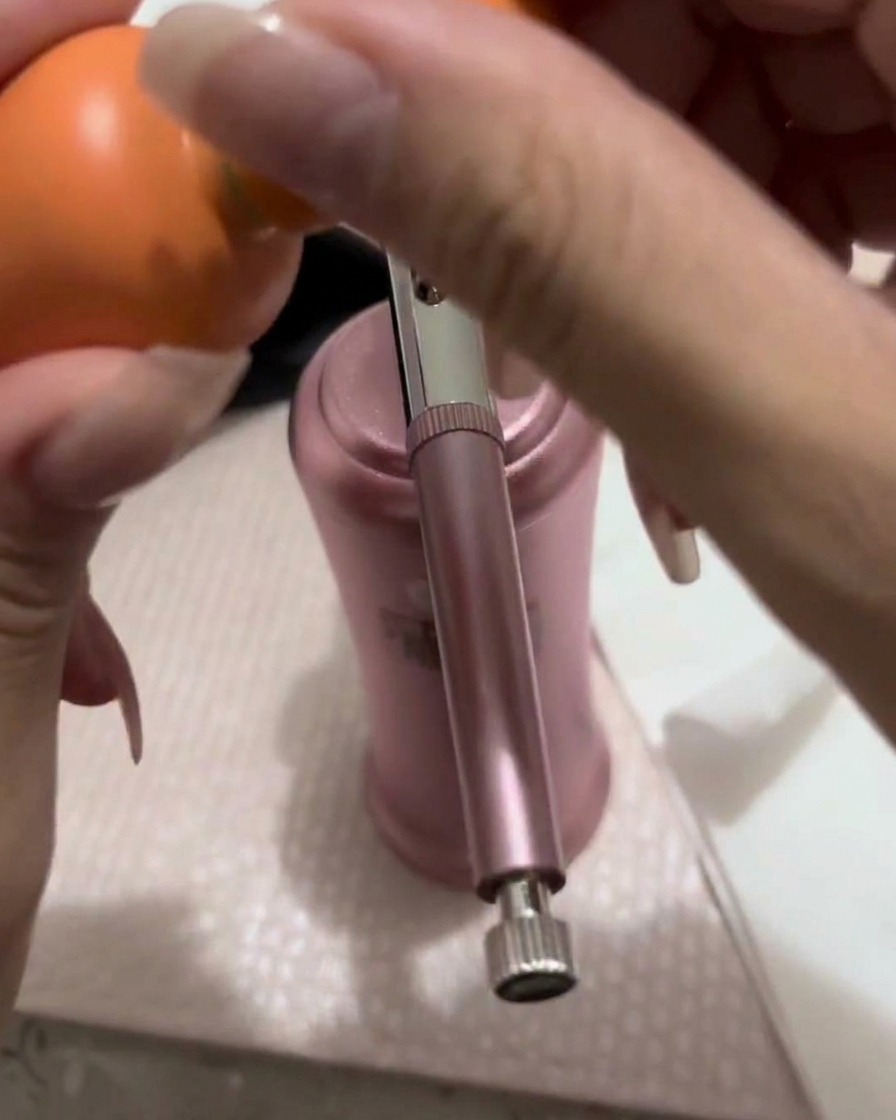
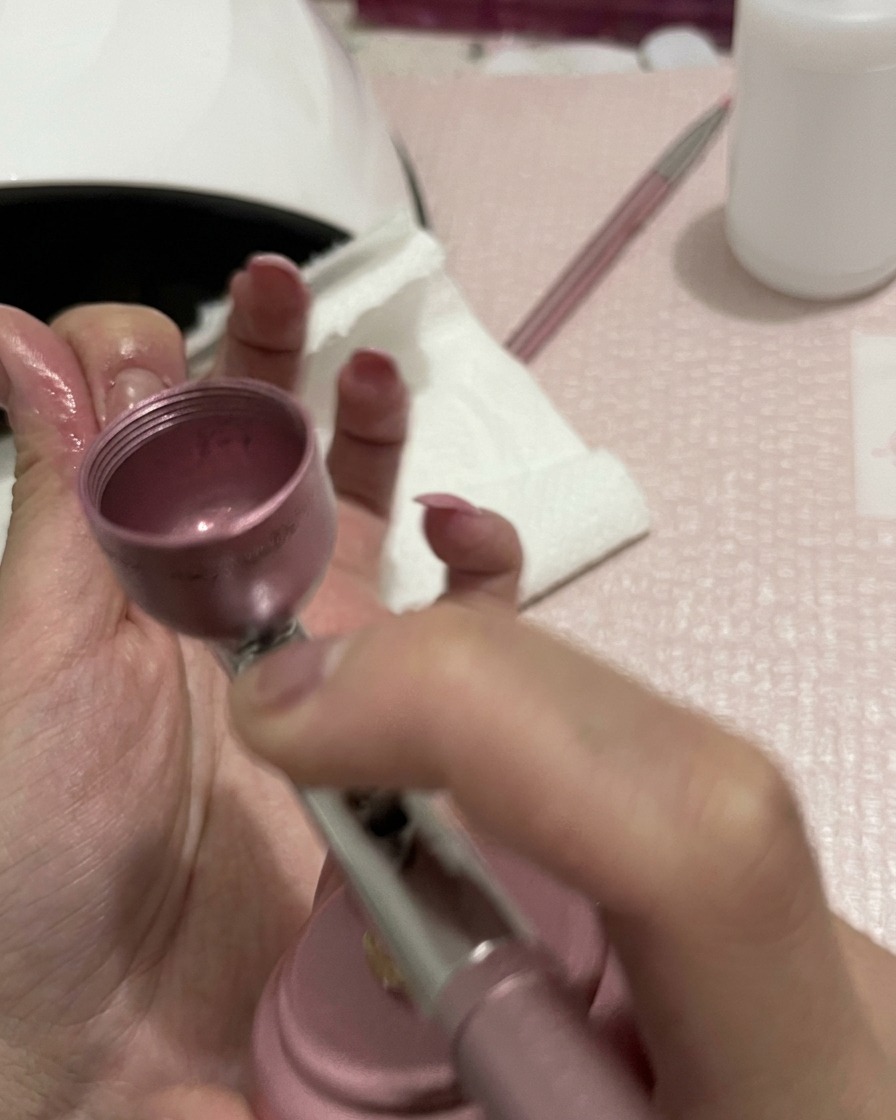
Carefully transfer a small amount of your chosen peach-pink gel color into the airbrush cup using a clean mixing brush. Do not overfill the cup, as this helps maintain proper airflow and prevents clumping during the spray process.
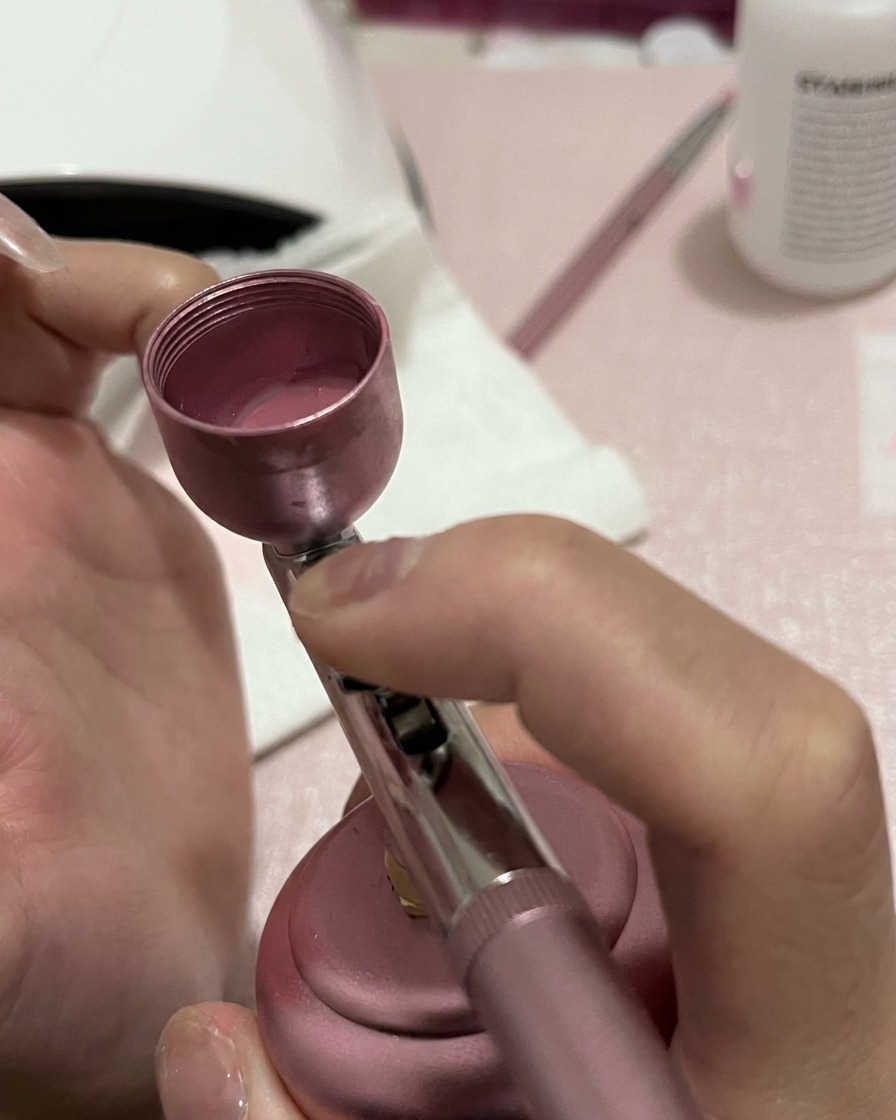
Tip: Keep the gel viscosity thin; if its too thick, add a drop of airbrush thinner or clear base to help it atomize better. - 2Mix the gel thoroughly
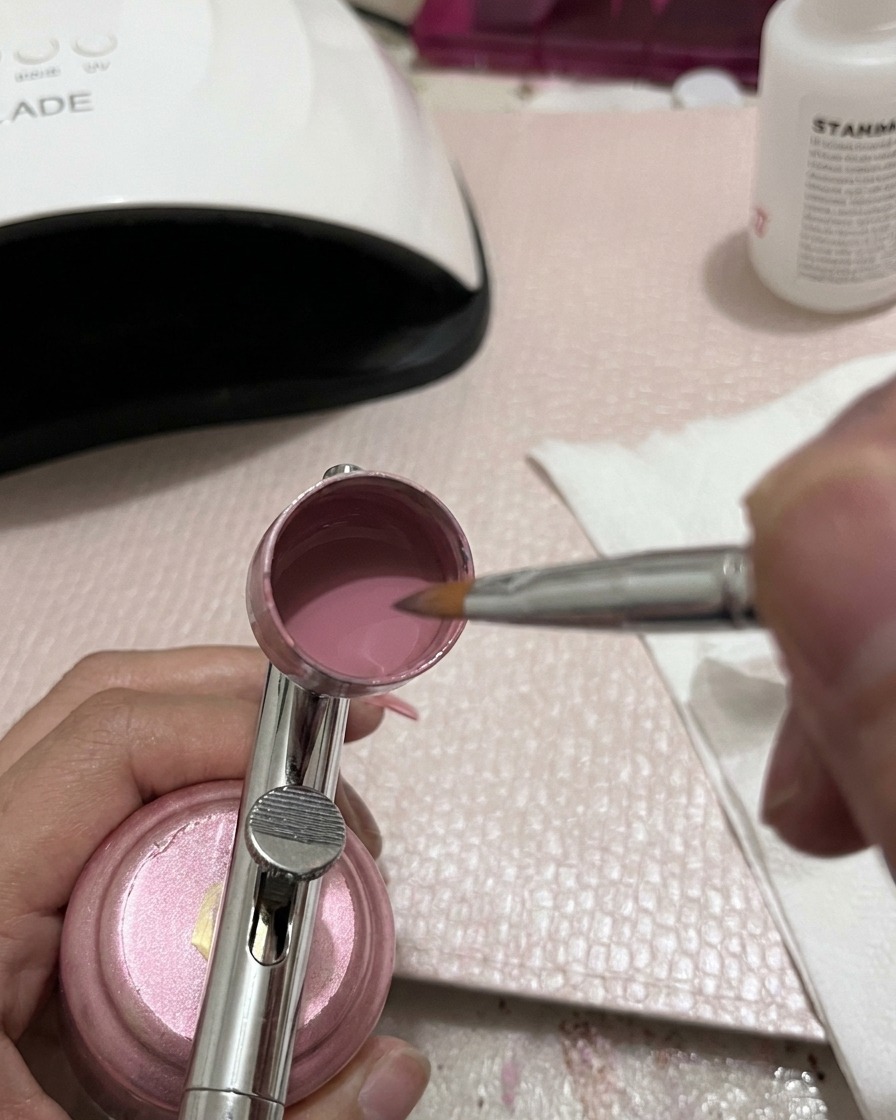
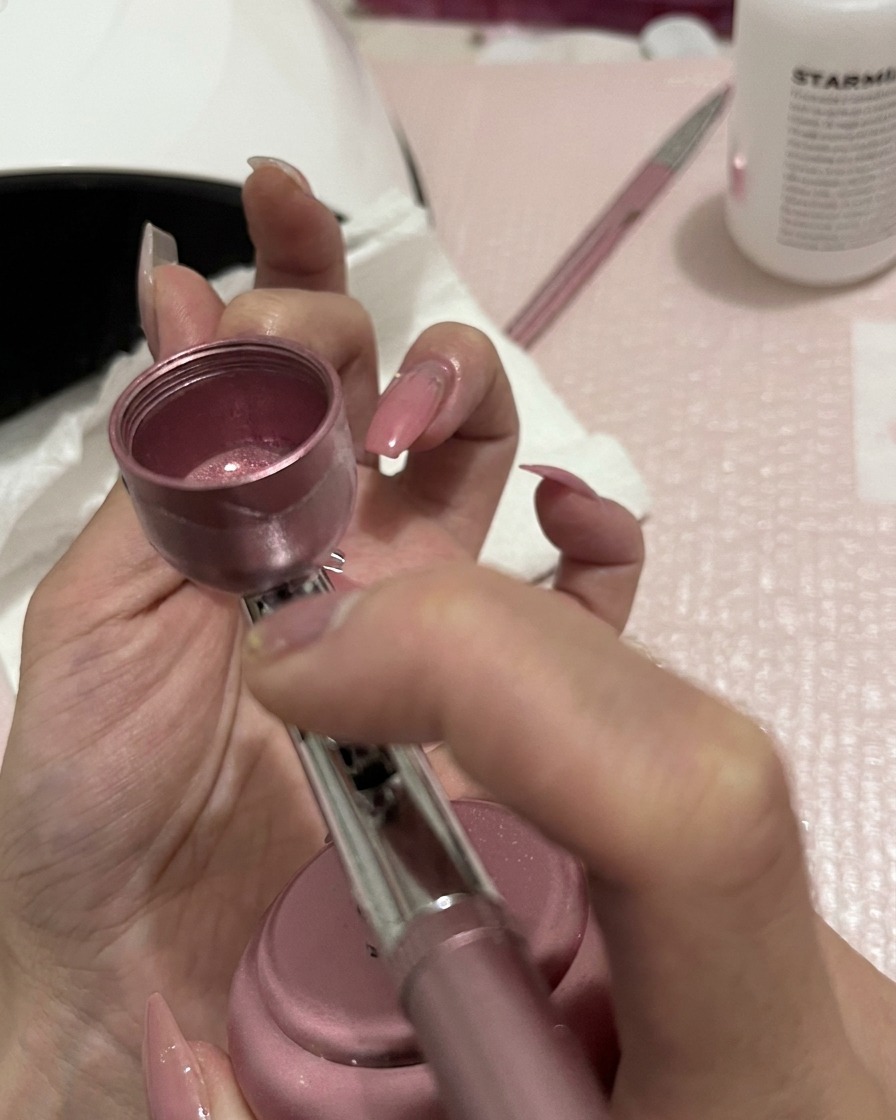
Use a clean mixing tool to gently stir the gel inside the cup until the color and consistency are perfectly uniform. Proper mixing is essential to prevent clogged nozzles or uneven pigment distribution.
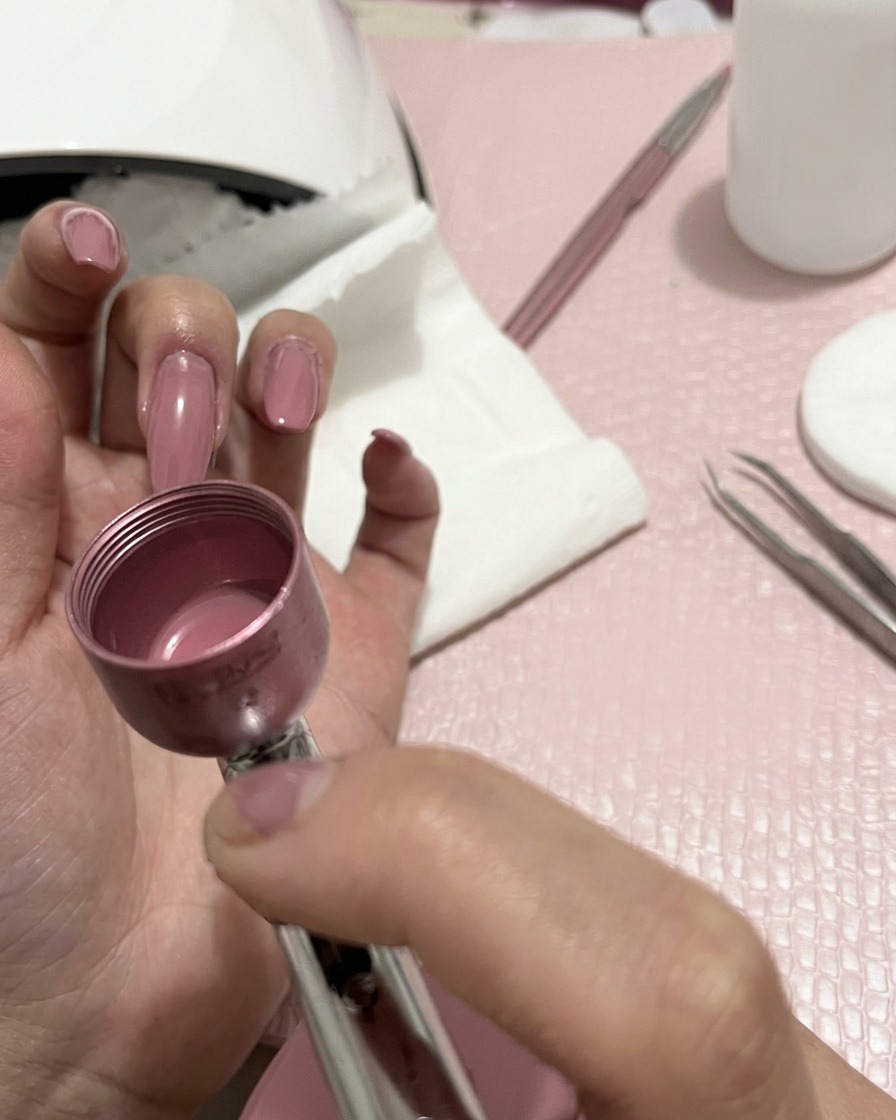
Tip: Be careful not to scrape the sides of the metal cup too aggressively to avoid introducing metal shavings or air bubbles into the mix. - 3Test the airbrush spray
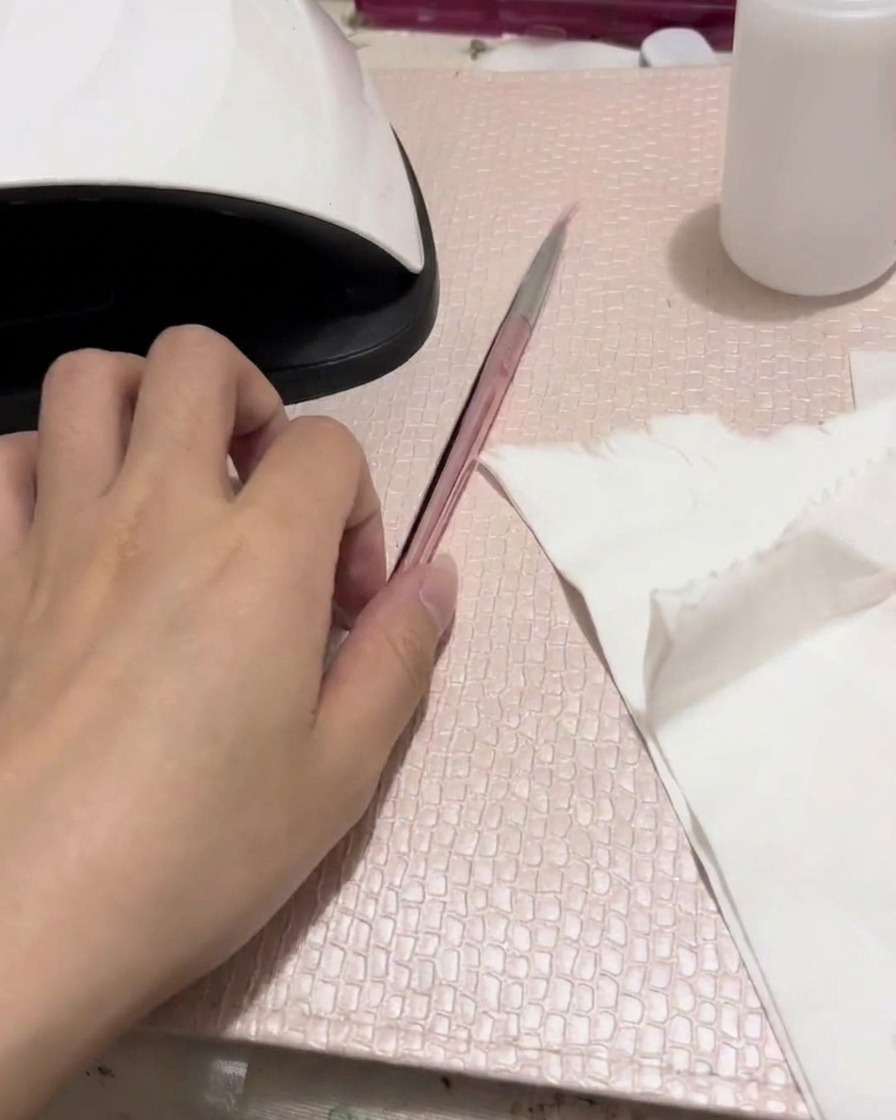
Before applying color to the nails, spray the airbrush onto a piece of white tissue to check the flow and pigment density. Adjust the air pressure or color mix until you achieve a consistent, fine mist.
Tip: Always test on tissue first to avoid spraying too much product onto the nail at once. - 4Apply the first gradient layer
Begin the gradient by gently spraying the peach-pink gel onto the center of the nail. Keep the airbrush in constant motion, moving back and forth to ensure a soft, diffused transition that avoids harsh lines.
Tip: Hold the airbrush about 3–5 inches away from the nail for the softest, most even application. - 5Deepen the gradient
Shift your focus to the lower section of the nail, increasing the spray density to build up the color saturation. Use light, overlapping passes to deepen the gradient while maintaining a smooth blend.
Tip: Build color slowly with several light layers to prevent the gel from pooling or running on the nail surface. - 6Refine the gradient transition
Perform a final, light pass with the airbrush to perfect the gradient transition toward the nail tip. This step blends the color into the natural nail tone, ensuring a seamless fade.
Tip: Use a very light touch on the airbrush trigger during this final pass for maximum control and a soft, diffused look. - 7Apply peach airbrush gradient
Continue building the peach intensity by applying consistent layers. Maintain a steady distance from the nail surface and keep the airbrush moving in smooth, controlled motions to create a seamless fade toward the free edge.
Tip: Keep the airbrush motion constant to prevent color pooling and ensure a smooth, professional-looking gradient. - 8Perfect the gradient blend
Perform final adjustments to your airbrush technique to ensure the peach gradient is perfectly blended across every nail. Focus on softening any harsh transitions to achieve a smooth, professional finish that complements the overall look.
Tip: Check for color consistency across all fingers, ensuring a uniform gradient intensity before proceeding to the top coat.