Airbrush Gradient Press-on Nails — Easy Ombre Tutorial
Master the perfect airbrush gradient with this step-by-step tutorial. Create soft, professional pink-to-white ombre press-on nails from the comfort of home.
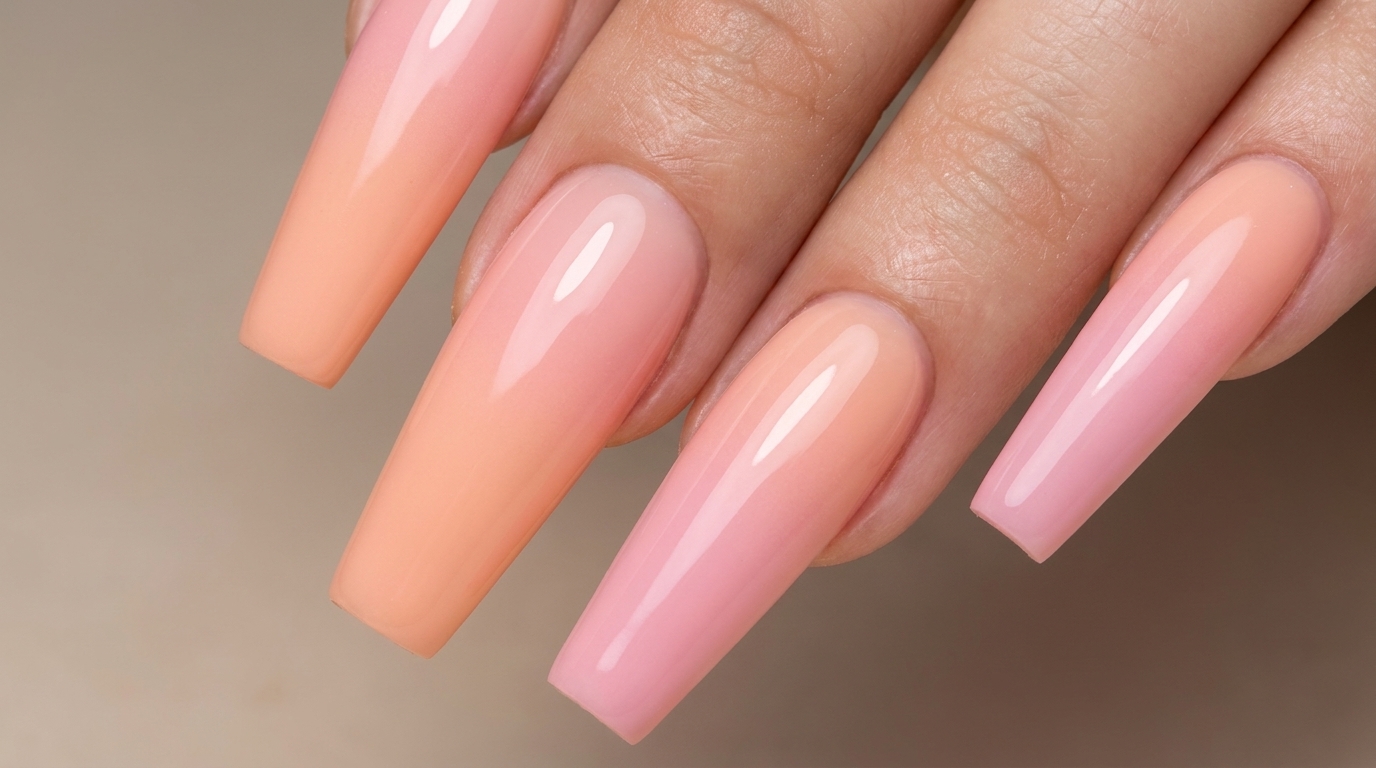
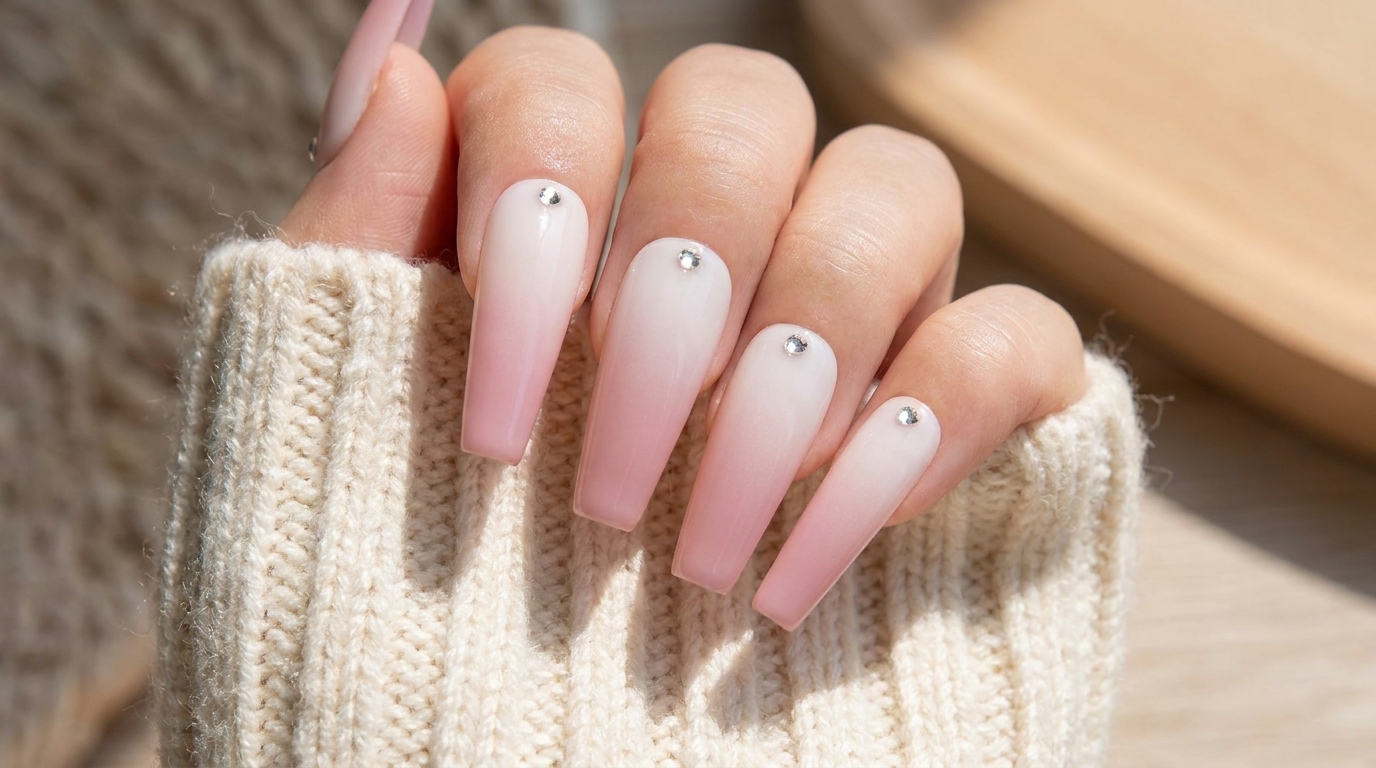
The airbrush gradient look is a timeless favorite that offers a seamless transition between soft colors. This tutorial breaks down how to achieve that signature dreamy fade on press-on nails, adding a touch of elegance with subtle crystal embellishments. It is a fantastic technique to master for achieving high-end results with ease.
Steps
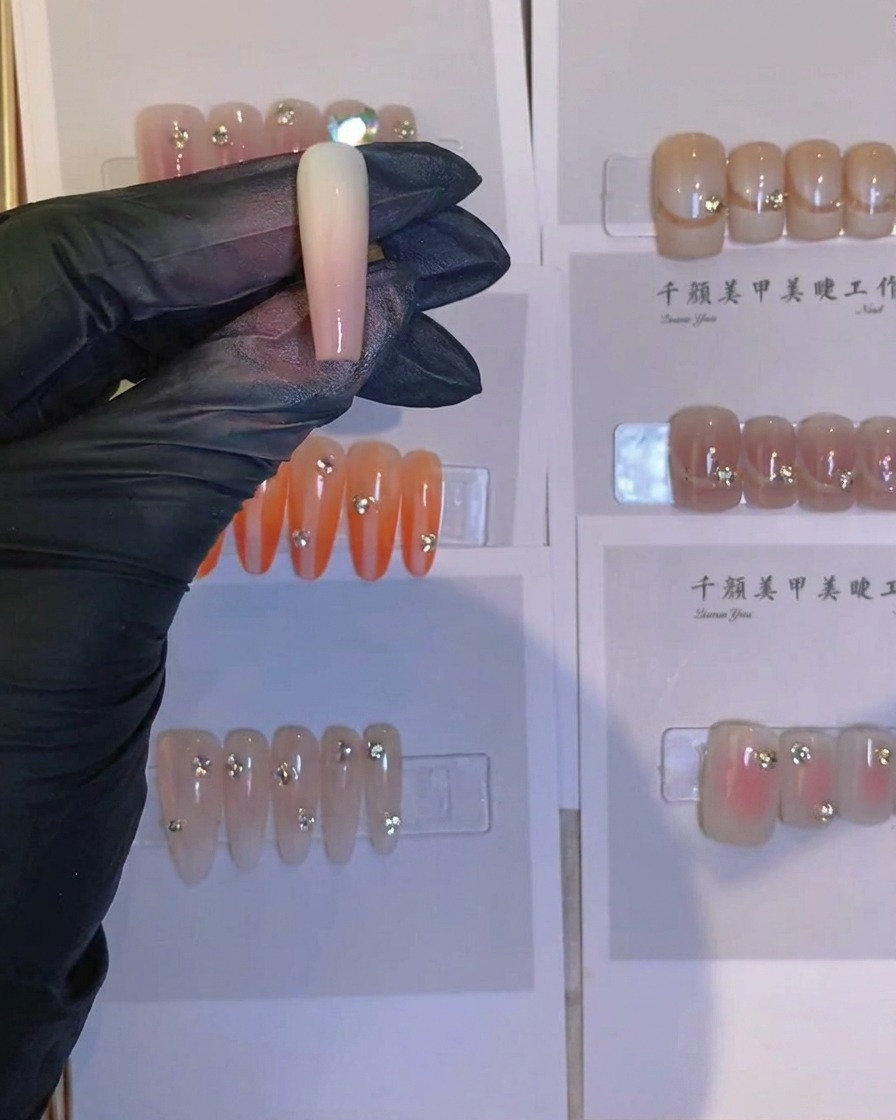
- 1Prepare the nail tip
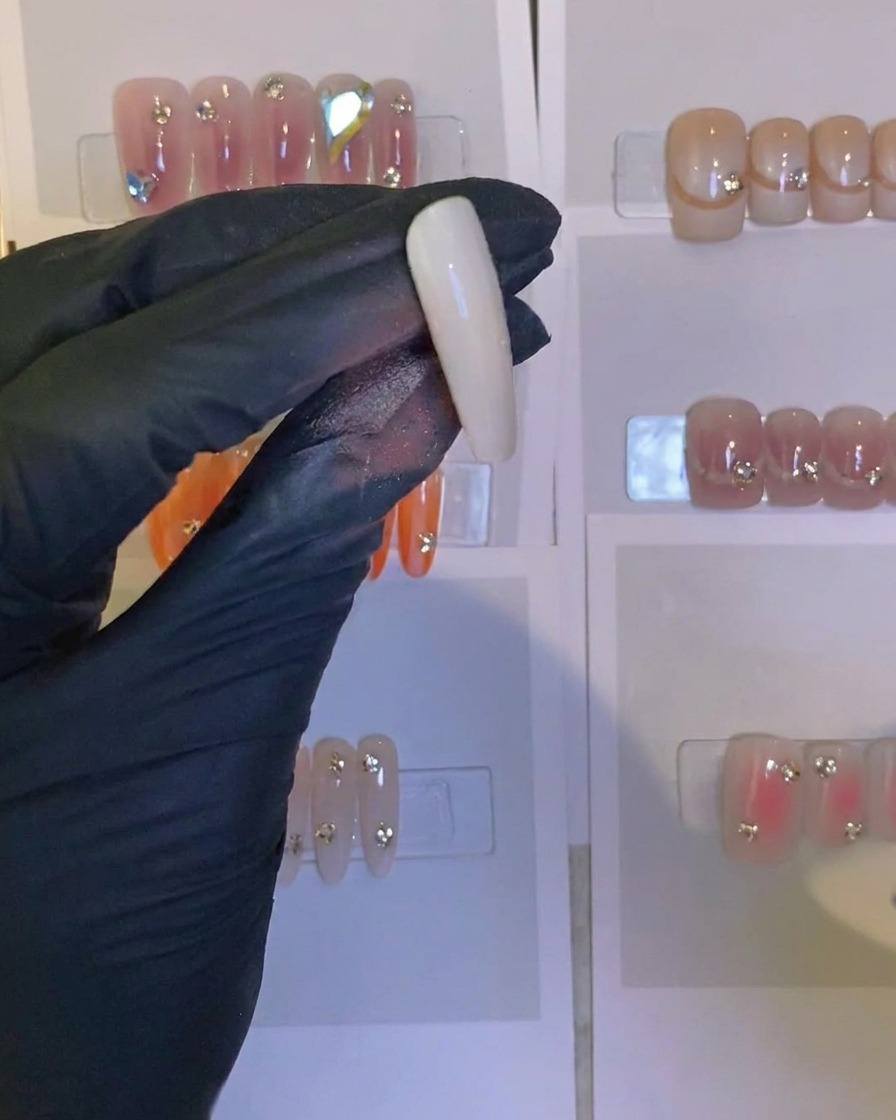
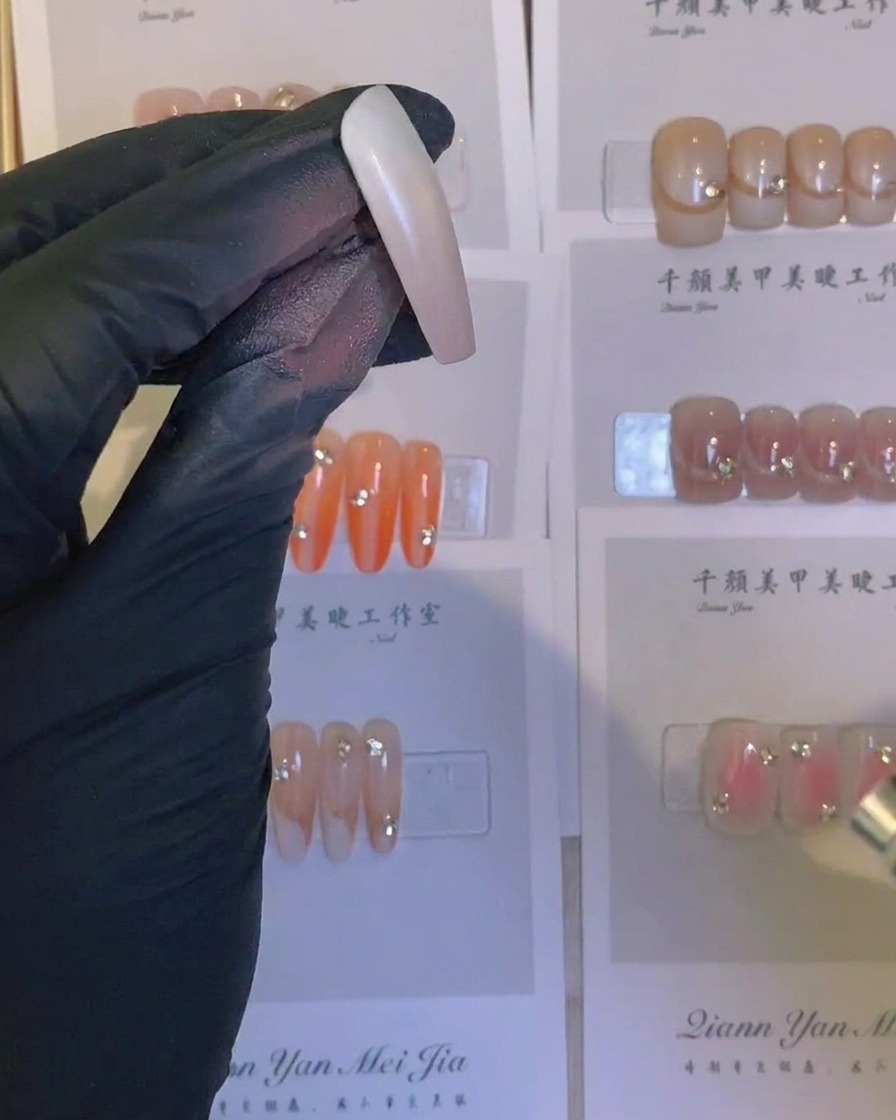
Secure a plain, unpainted nail tip using a pair of tweezers. Holding it firmly allows for precise control during the airbrushing process, ensuring an even application of color.
Tip: Make sure your tweezers have a strong grip so the nail doesnt slip while you are applying paint. - 2Apply white airbrush base
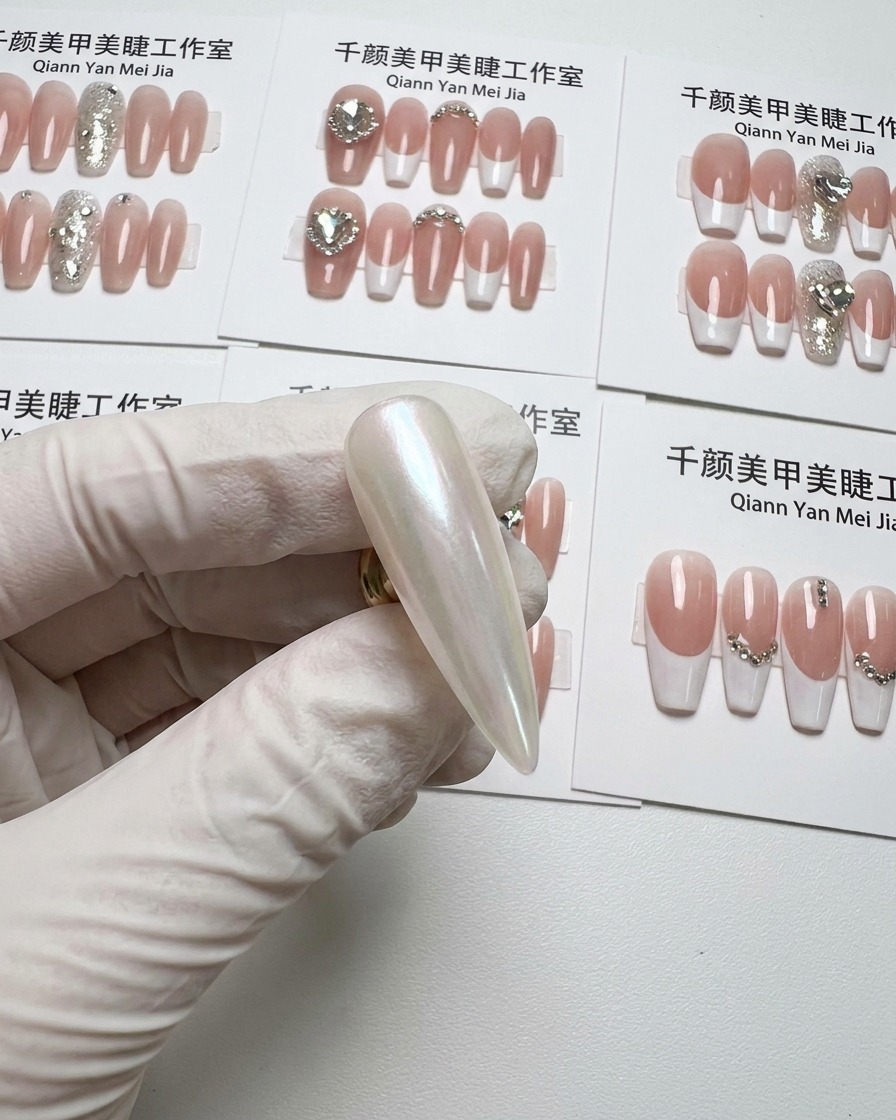
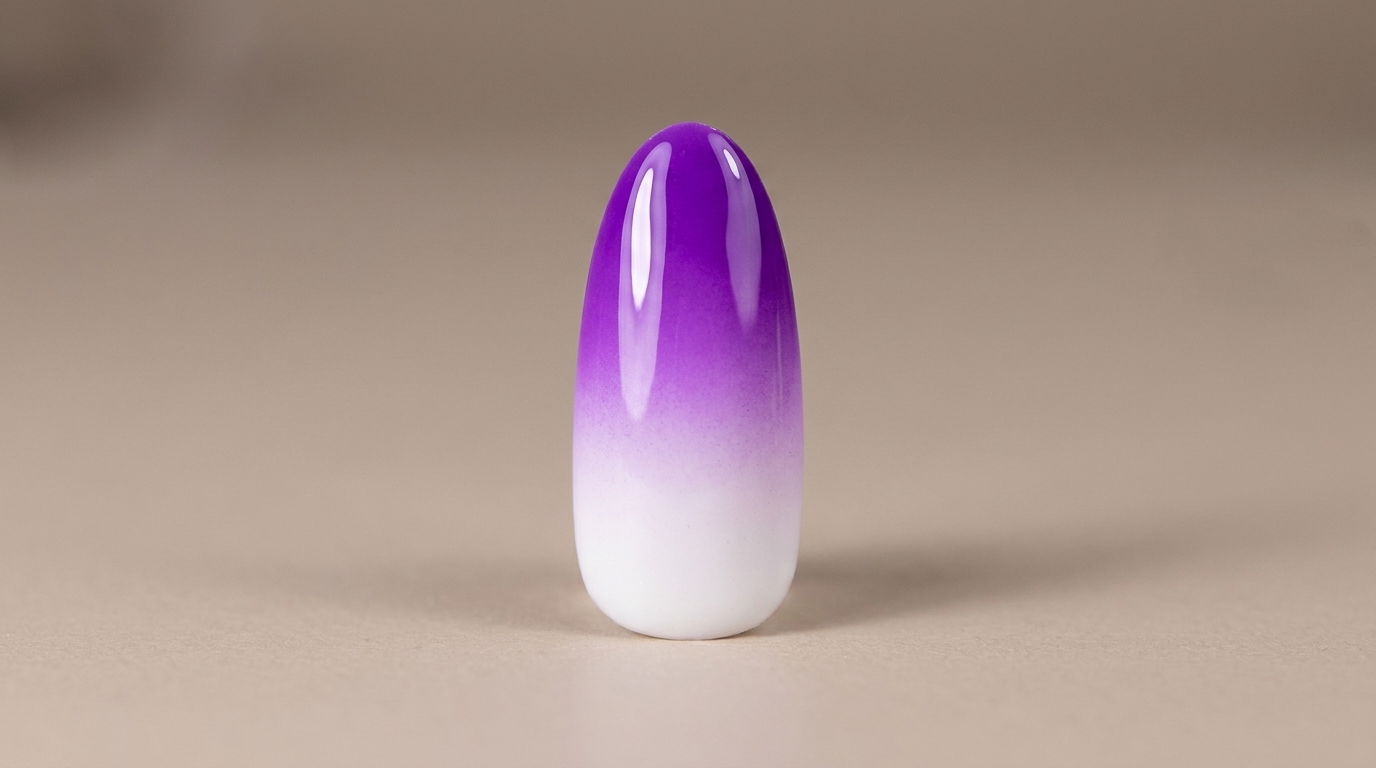
Begin your gradient by gently airbrushing a white color onto the base area of the nail tip. Build up the color slowly to achieve a smooth, soft transition.
Tip: Keep the airbrush moving constantly to prevent color pooling and ensure a soft, seamless gradient effect. - 3Blend pink gradient
Continue building the gradient by airbrushing a pink color, blending it seamlessly from the middle towards the tip of the nail. The overlapping colors will create a beautiful transition.
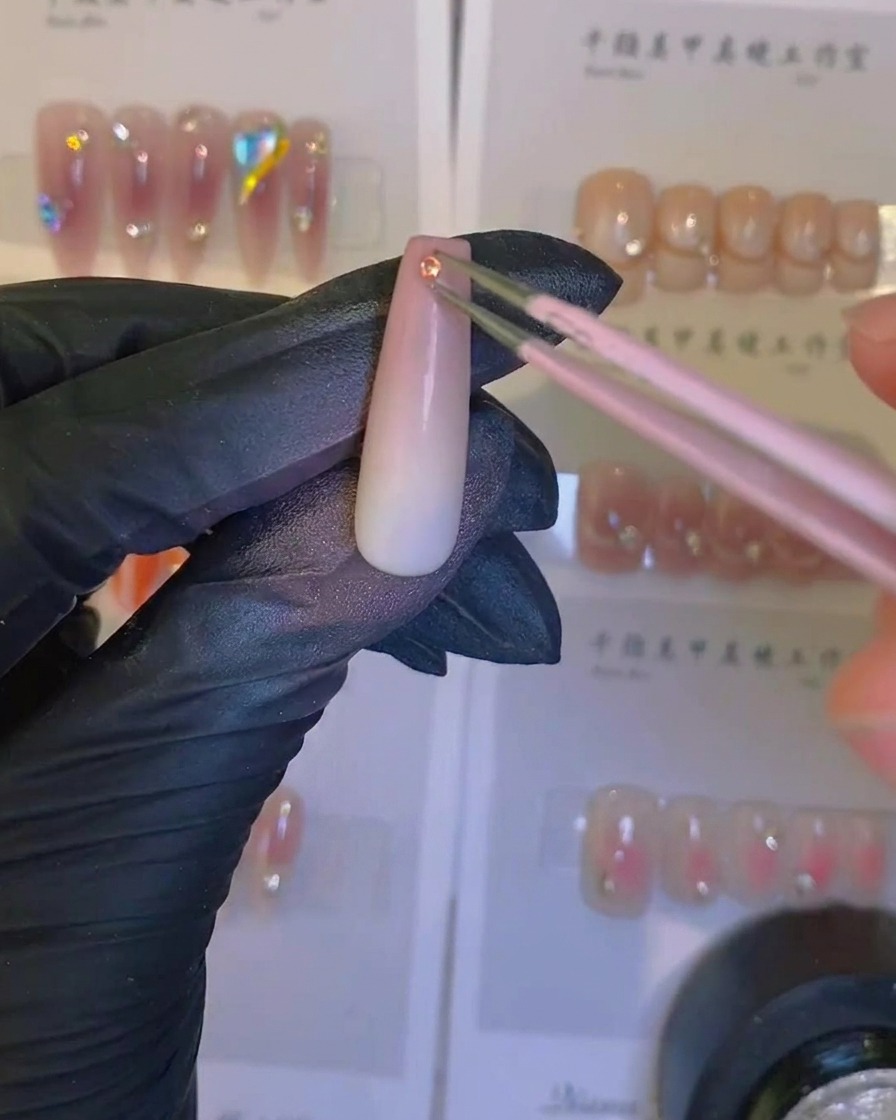
Tip: Layer the pink lightly over the white to create a soft, natural ombre effect. - 4Add decorative crystal
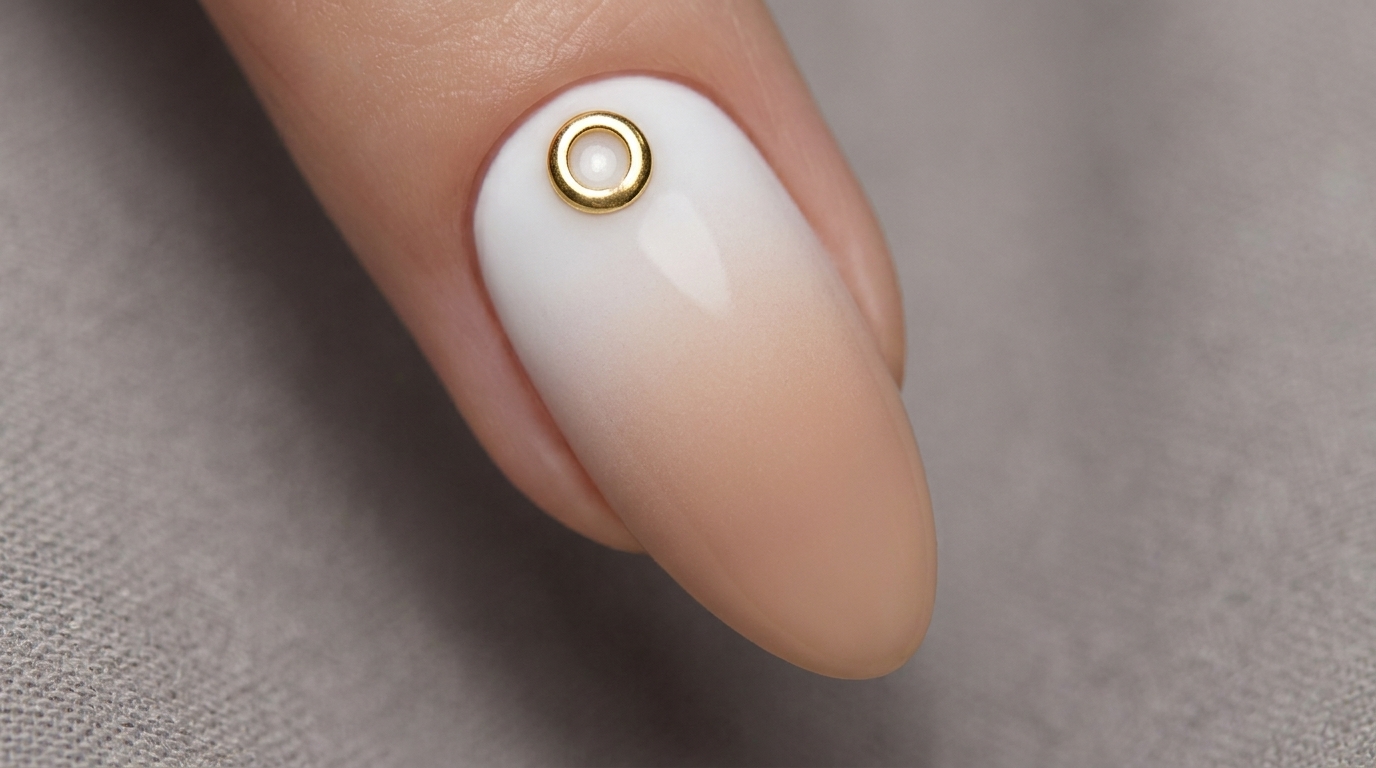
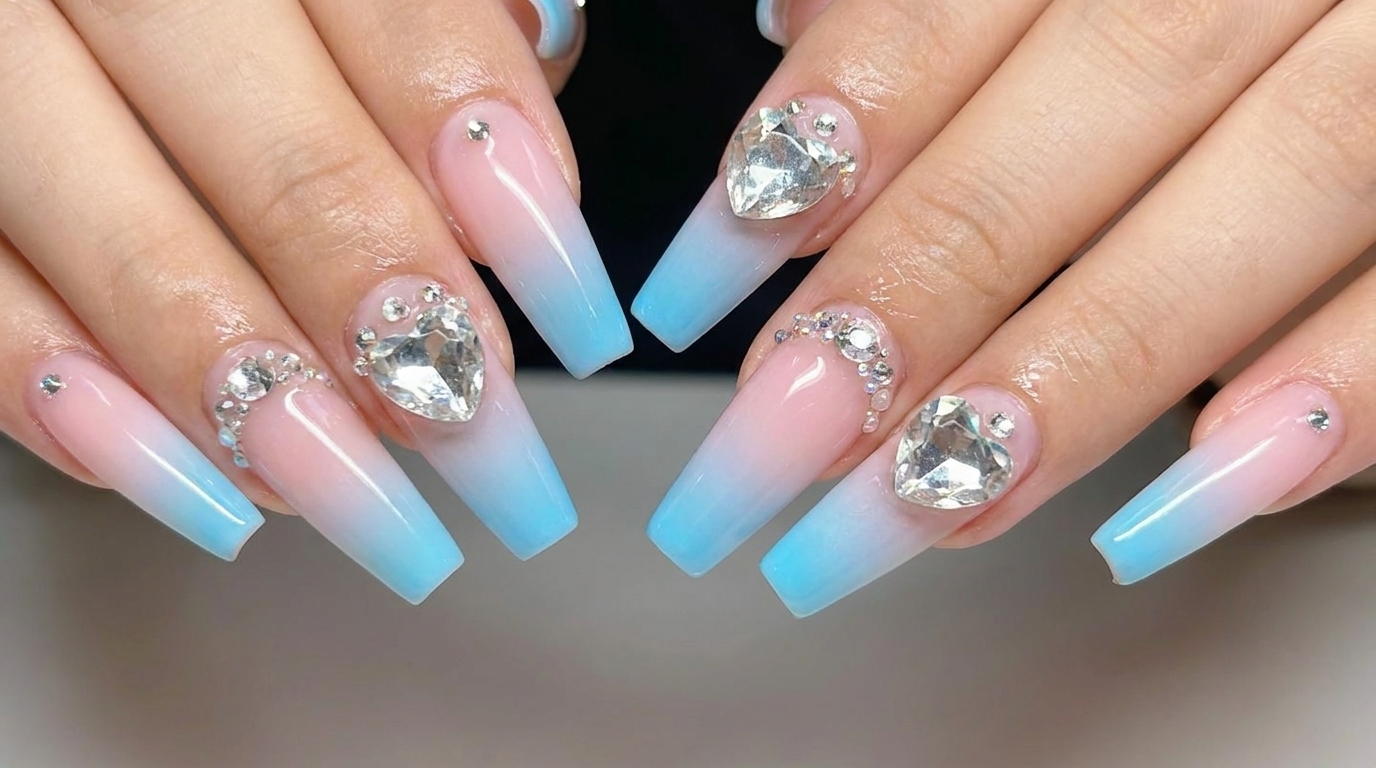
Using precision tweezers, carefully place a small decorative crystal onto the base of the nail near the cuticle area. This adds a subtle, elegant touch to the completed design.
Tip: Apply a tiny dot of nail glue or clear base coat before placing the crystal to ensure it stays securely in place. - 5Apply top coat
Apply a generous layer of top coat over the entire nail surface using a brush. This seals the airbrushed design and secures the crystal, giving the nail a smooth, glossy finish.
Tip: Ensure you cap the free edge with the top coat to prevent chipping and extend the wear of your design.