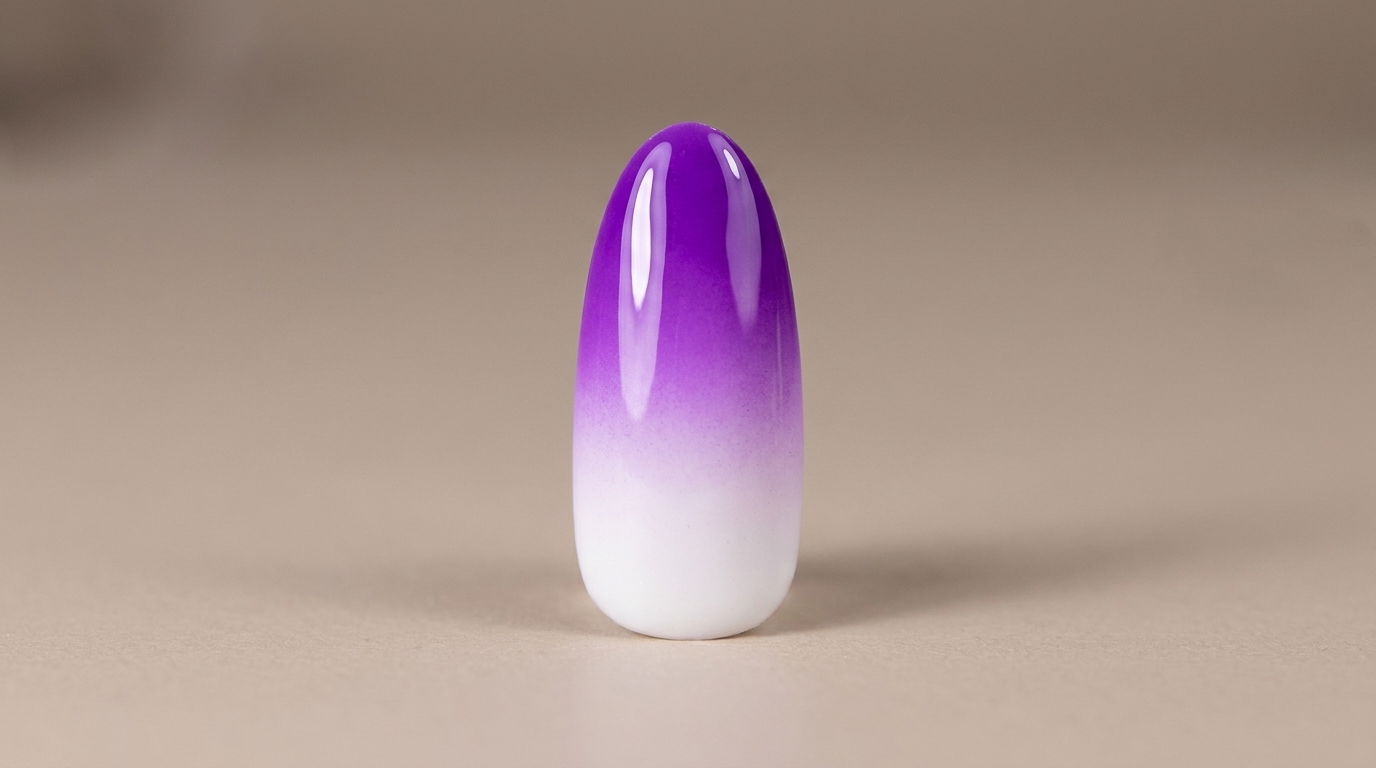
Two-Color Airbrush Gradient Nails — Professional Ombre Tutorial
Master the smooth, salon-quality airbrush gradient with this two-tone white and purple tutorial. Achieve a flawless, seamless blend easily.
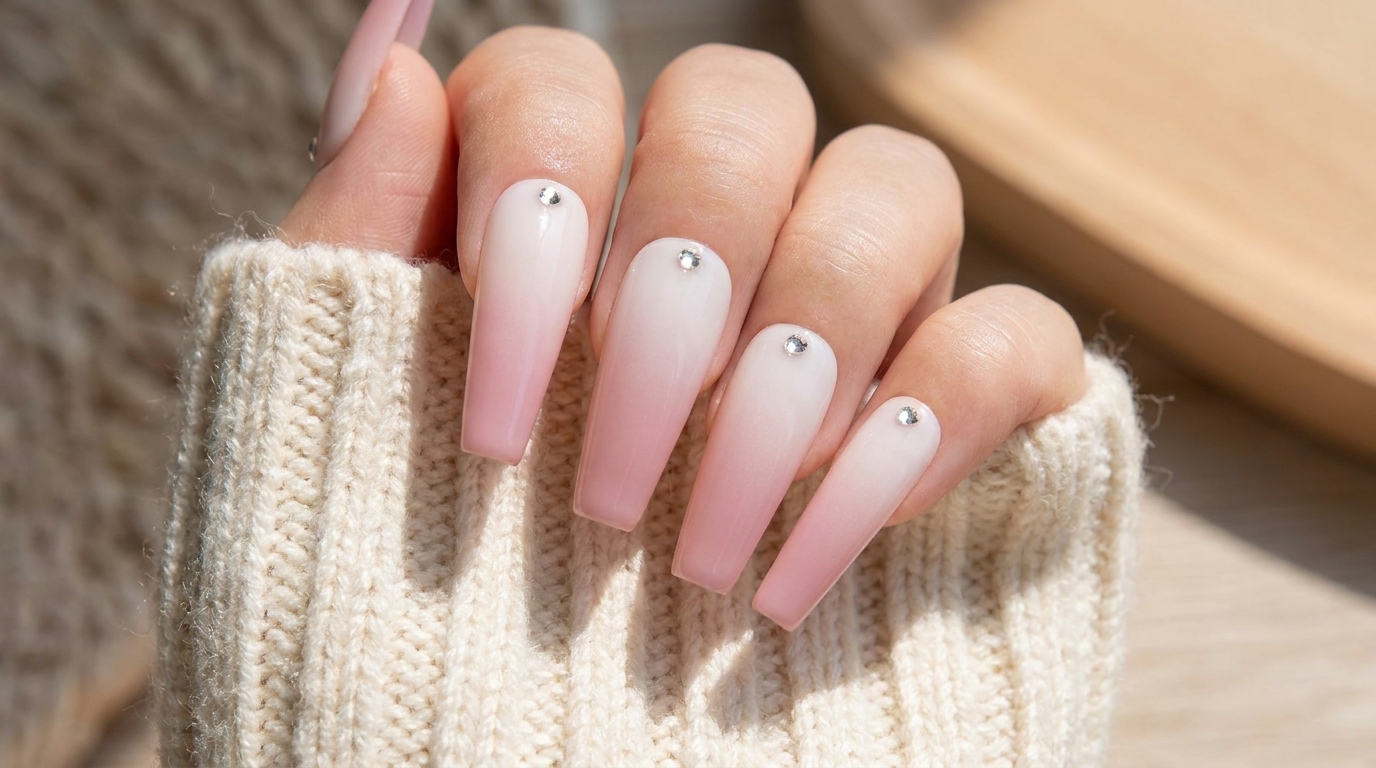
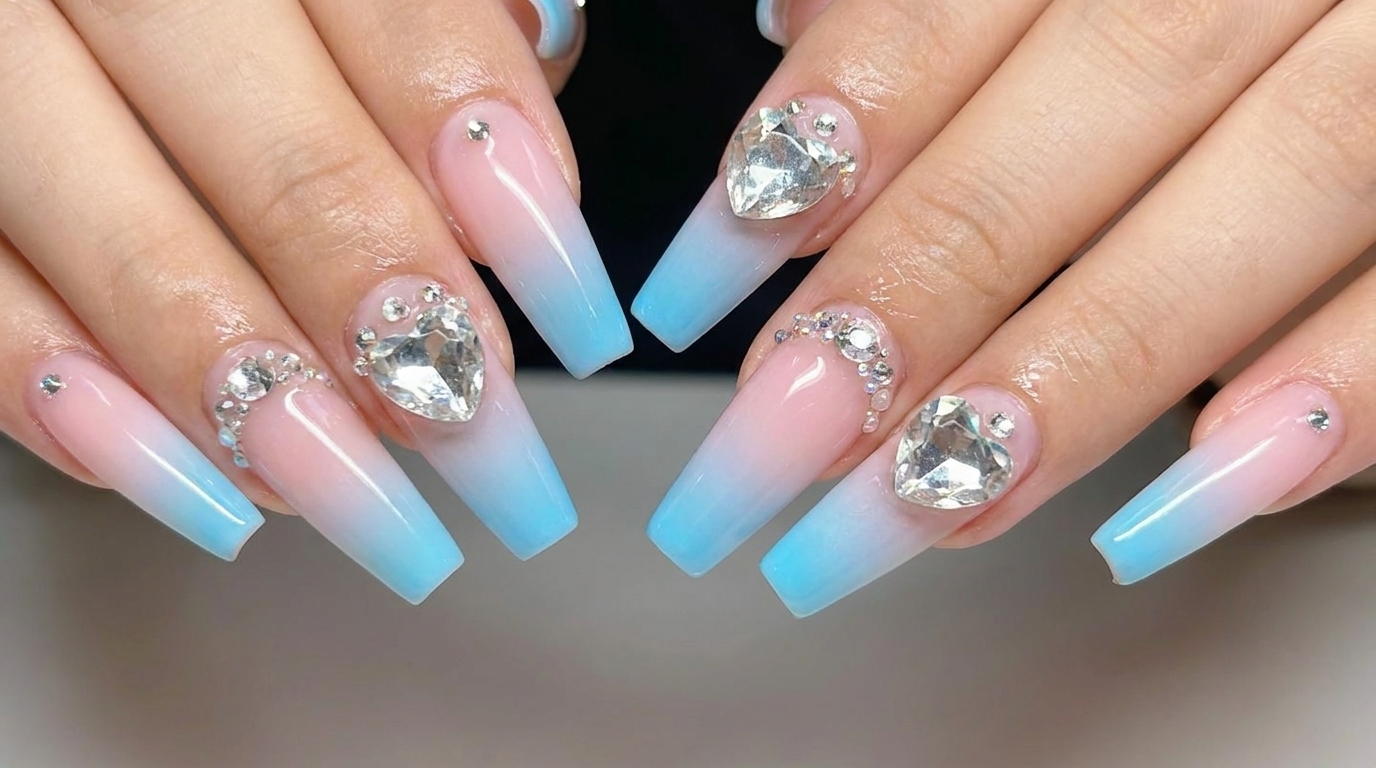
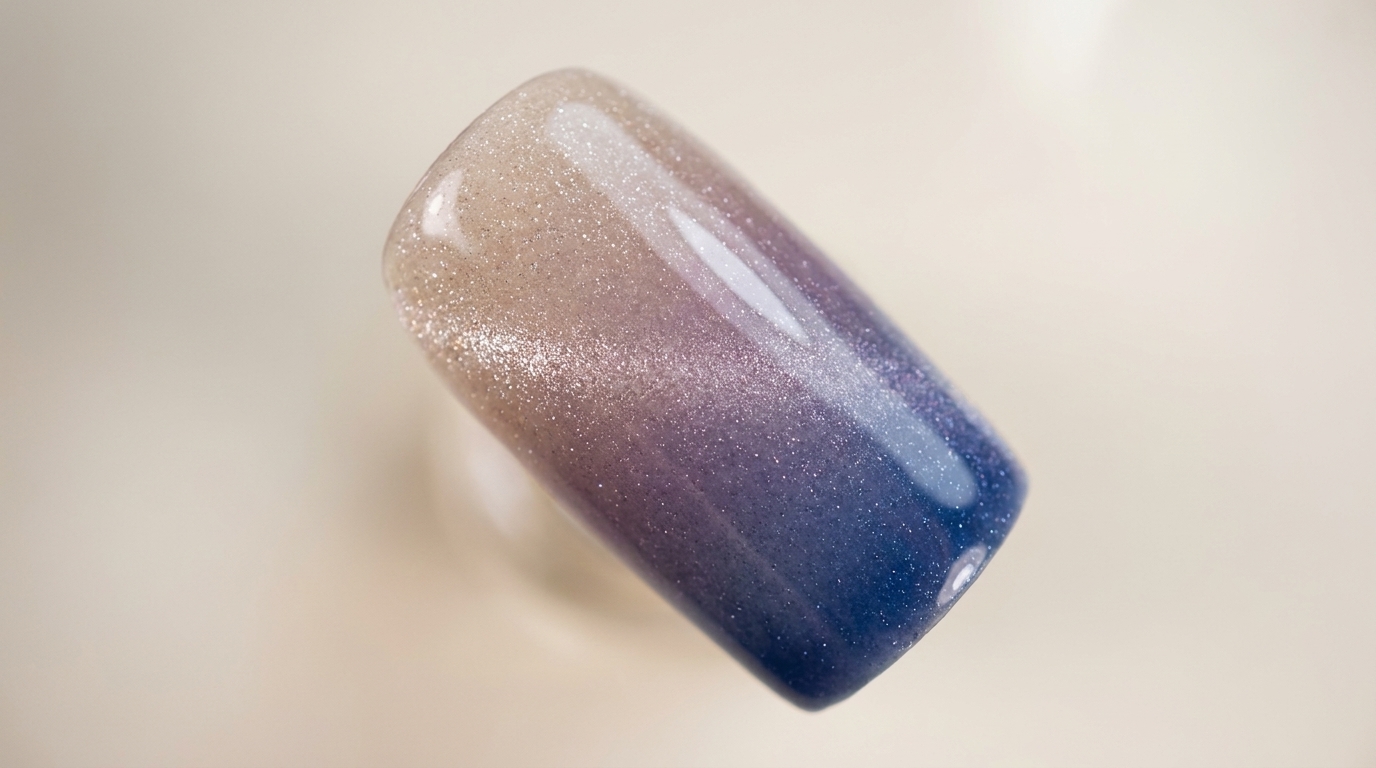
Airbrushing is the secret weapon for achieving that perfectly seamless color transition that traditional sponge methods sometimes struggle to match. This two-color white and purple gradient design offers a modern, chic look that works beautifully on any nail shape. By mastering the consistency of your airbrush mixture, you can create professional-grade ombre effects right at home.
Steps
- 1Mount the nail tips
Mount your clean white nail tips securely onto a stand or clear strip. This stability is essential for controlling the airbrush during the gradient application.
Tip: Ensure the nail tips are free of any dust or debris before starting the airbrush application to achieve a smooth finish. - 2Prepare airbrush thinner
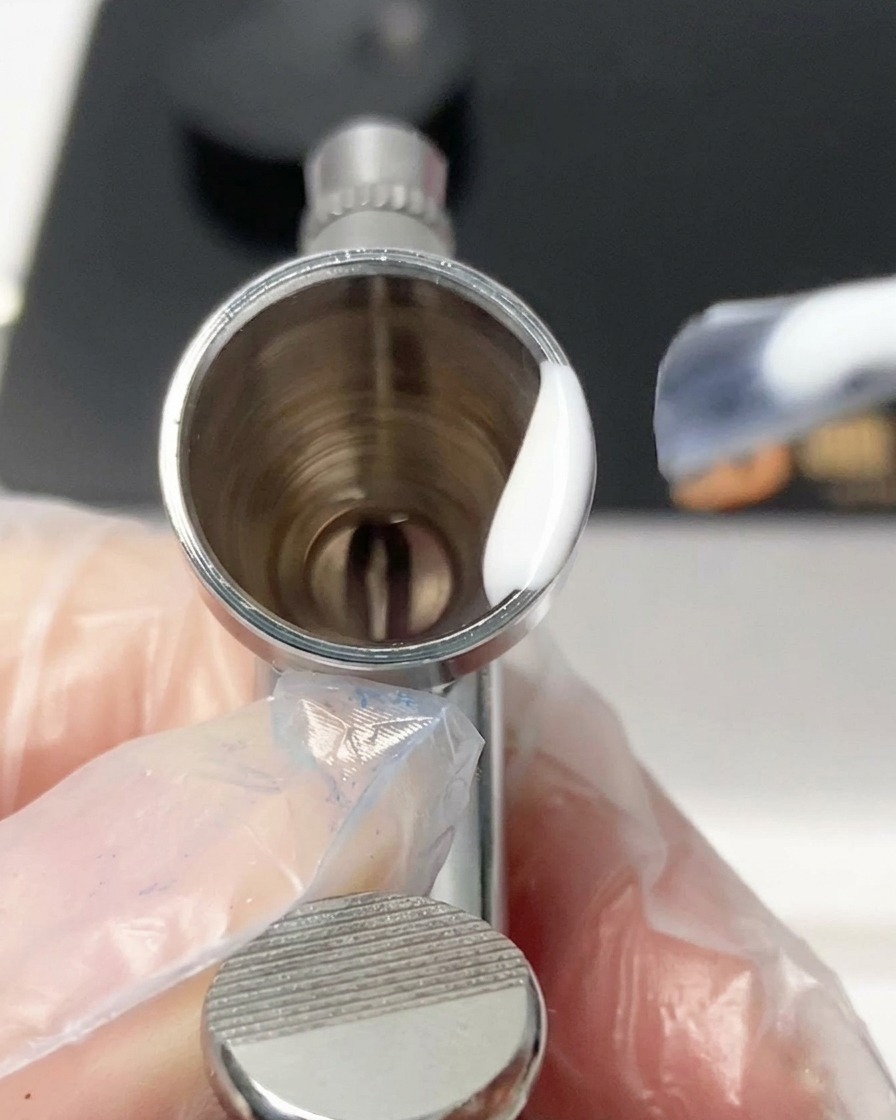
Add a few drops of airbrush thinner to the metal cup of your airbrush gun. This ensures the gel reaches the ideal viscosity for a fine, even mist.
Tip: Only add a small amount of thinner at a time to maintain control over the viscosity of your mixture. - 3Add white gel polish
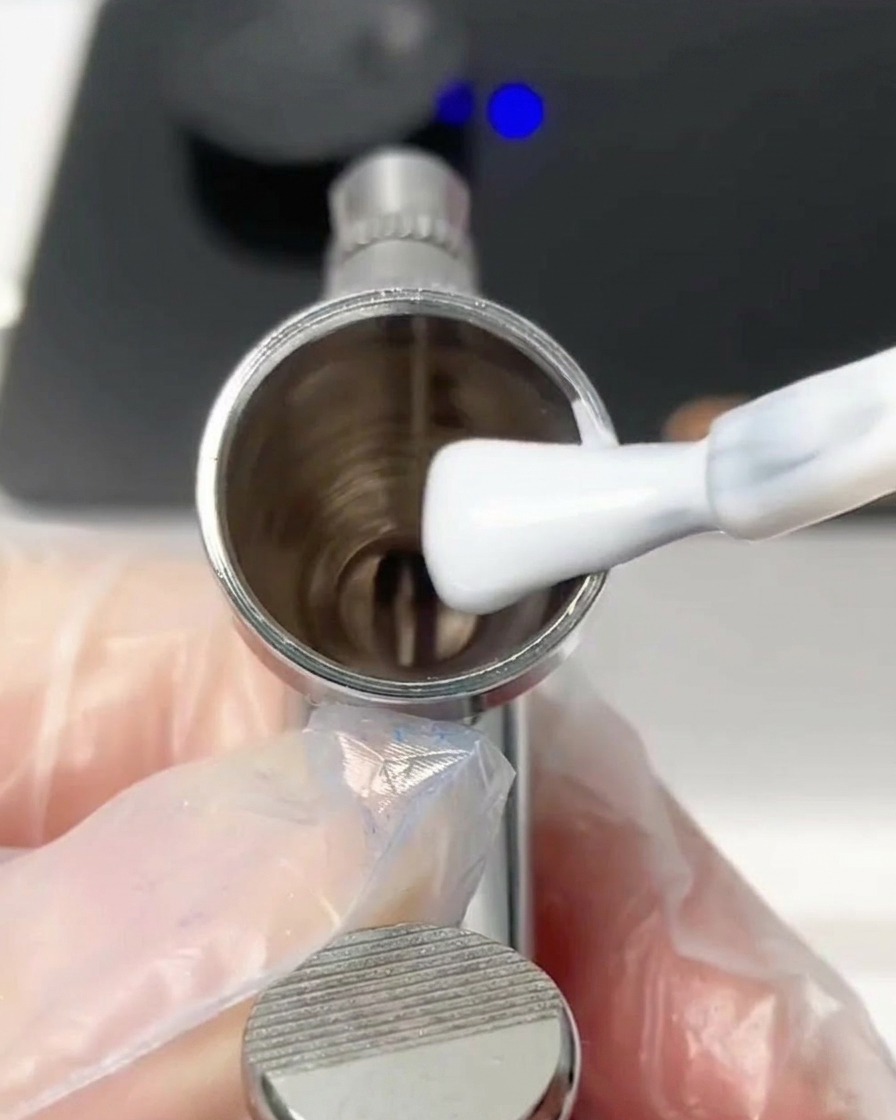
Add the desired amount of white color gel into the airbrush cup containing the thinner. This mixture will create the first part of your gradient design.
Tip: Use a clean spatula or brush to transfer the gel into the cup to avoid contamination. - 4Mix the solution
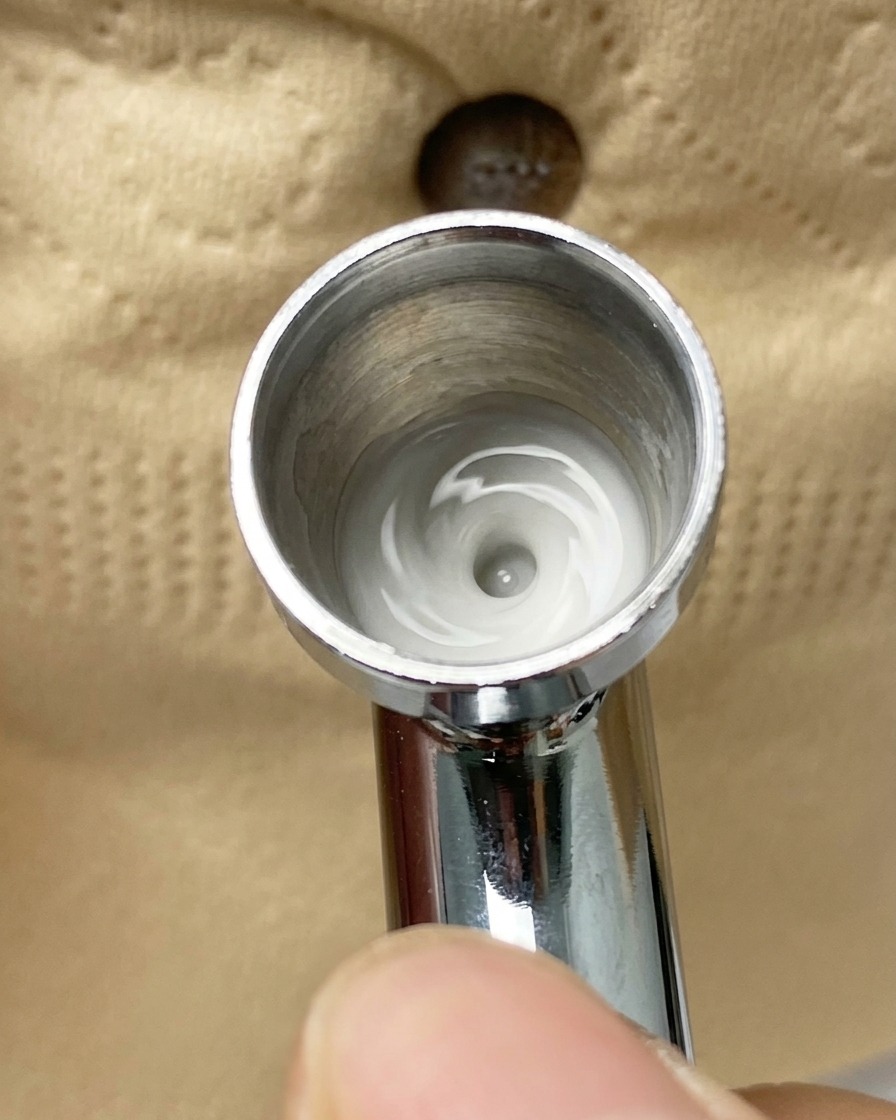
Use a small mixing tool to thoroughly stir the thinner and white color gel inside the airbrush cup until you achieve a consistent, smooth texture.
Tip: Ensure no lumps remain in the mixture to prevent the airbrush from clogging during application. - 5Spray the white gradient
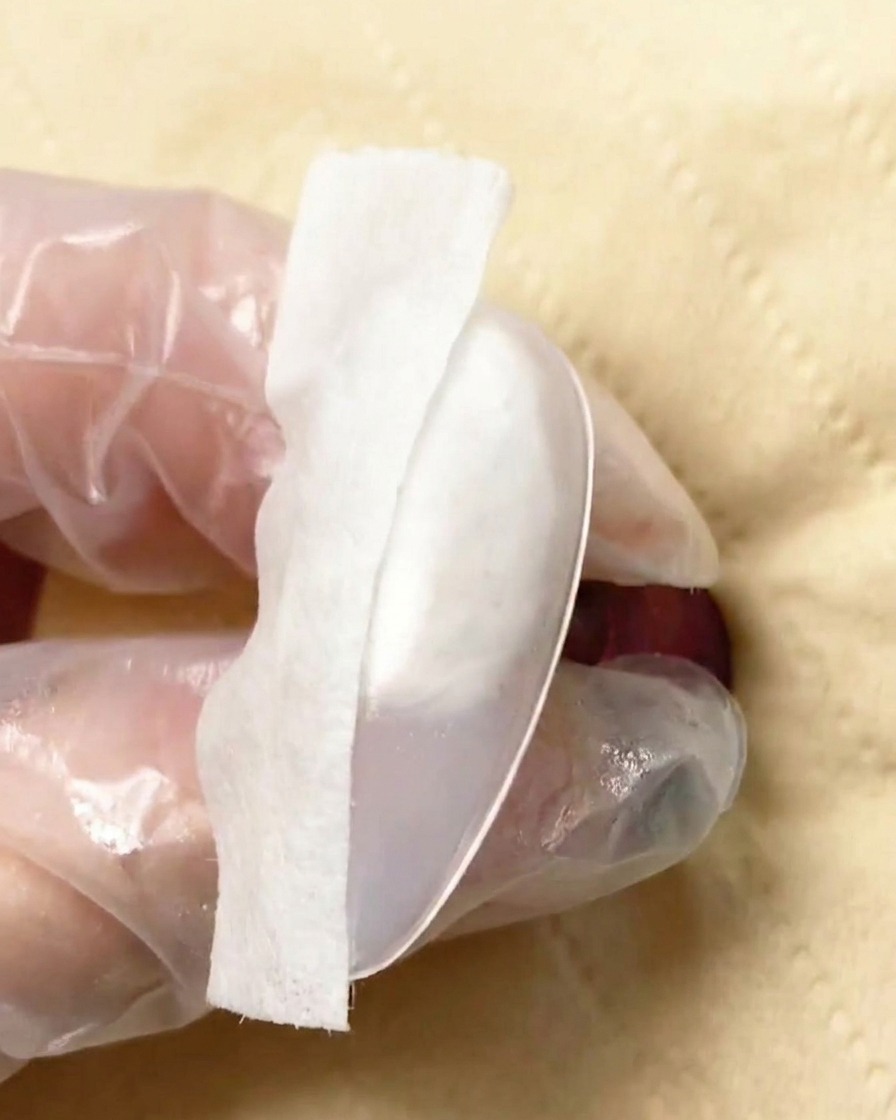
Apply masking tape to cover half of the nail. Use the airbrush to apply a light, soft layer of white gel to the exposed half, ensuring the finish is smooth and even.
Tip: Keep the airbrush at a consistent distance from the nail to ensure an even distribution of color. - 6Cure the gradient
Place the nail tips under a UV lamp to cure the freshly applied white gradient layer. This sets the gel and prepares it for the next color application.
Tip: Refer to the gel polish manufacturers instructions for the specific curing time required. - 7Apply purple gradient
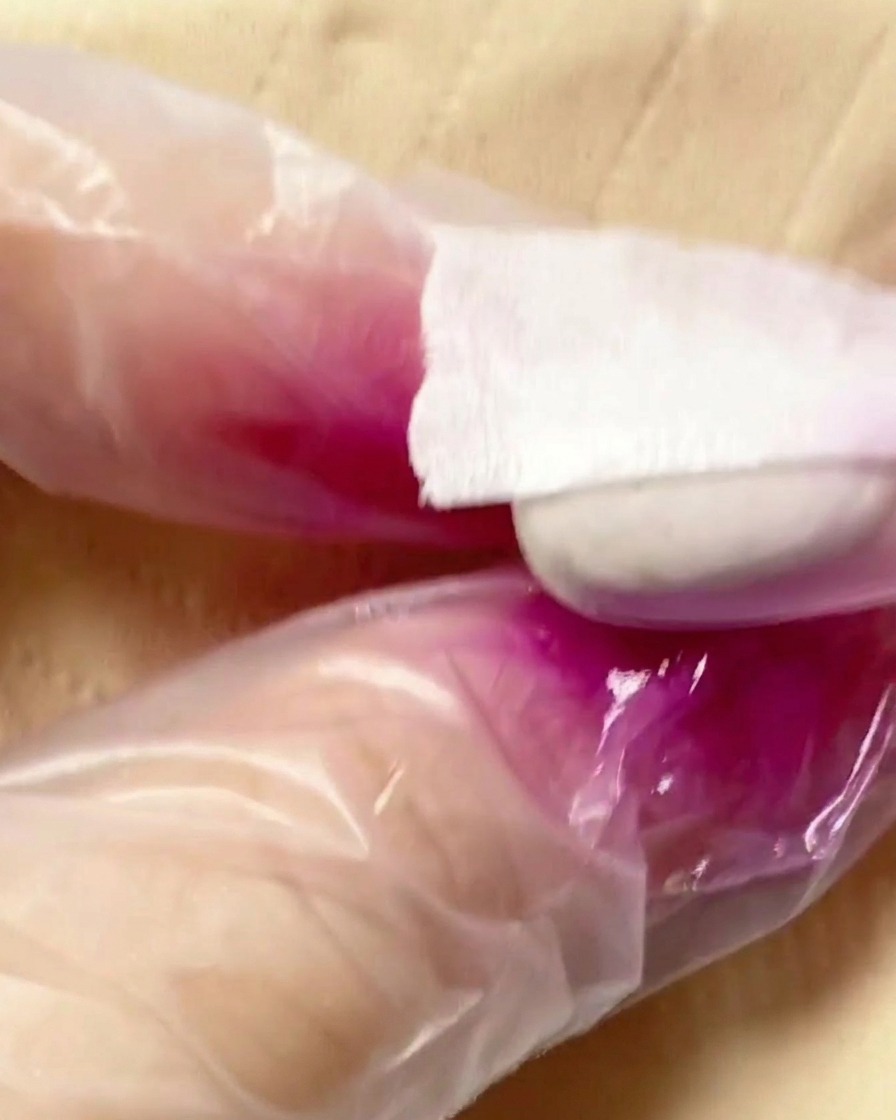
Remove the tape and carefully spray the purple gel mixture onto the other half of the nail. Focus on blending the area where the two colors meet to achieve a seamless, soft gradient transition.
Tip: Keep the airbrush moving to avoid pooling or concentrated spots of color. - 8Reveal the clean edge
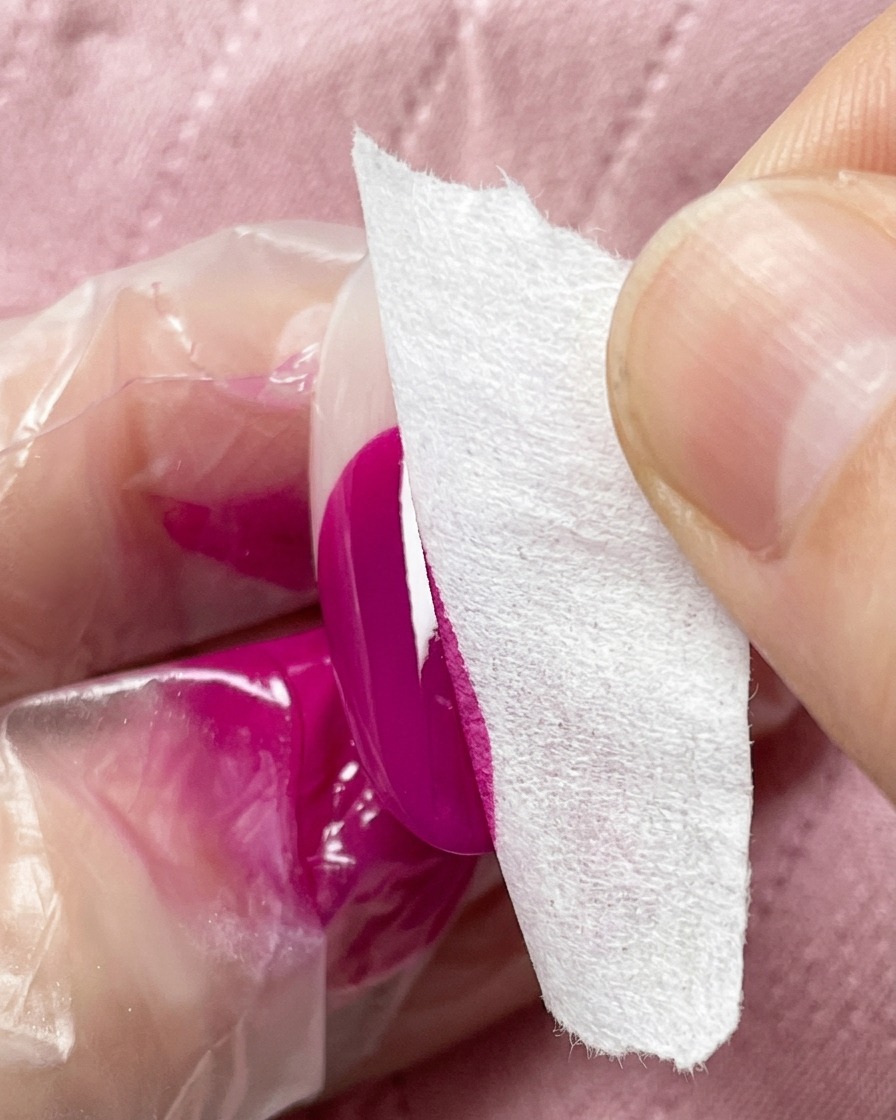
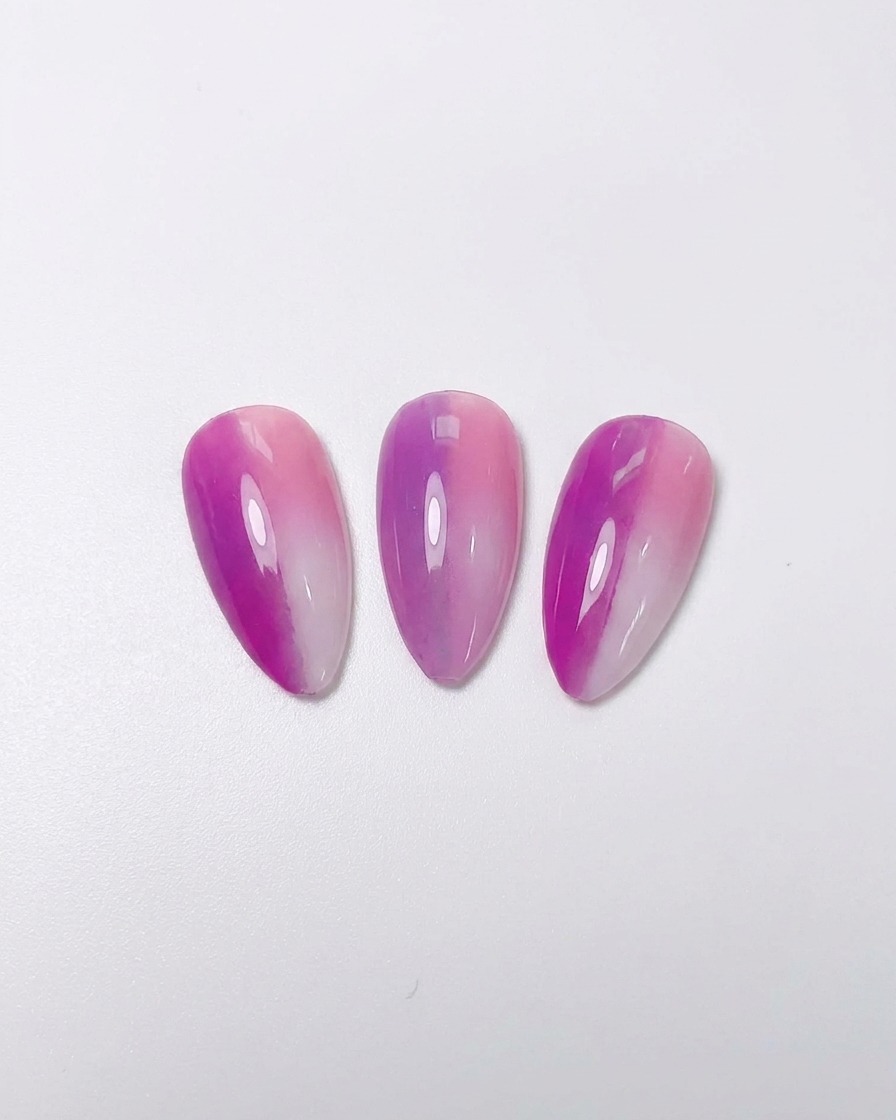
Once fully cured, carefully peel away the masking tape at a 45-degree angle. This final step reveals a sharp, professional contrast between your airbrushed gradient and the rest of the nail.
Tip: Peel the tape slowly at a 45-degree angle to get the cleanest edge.