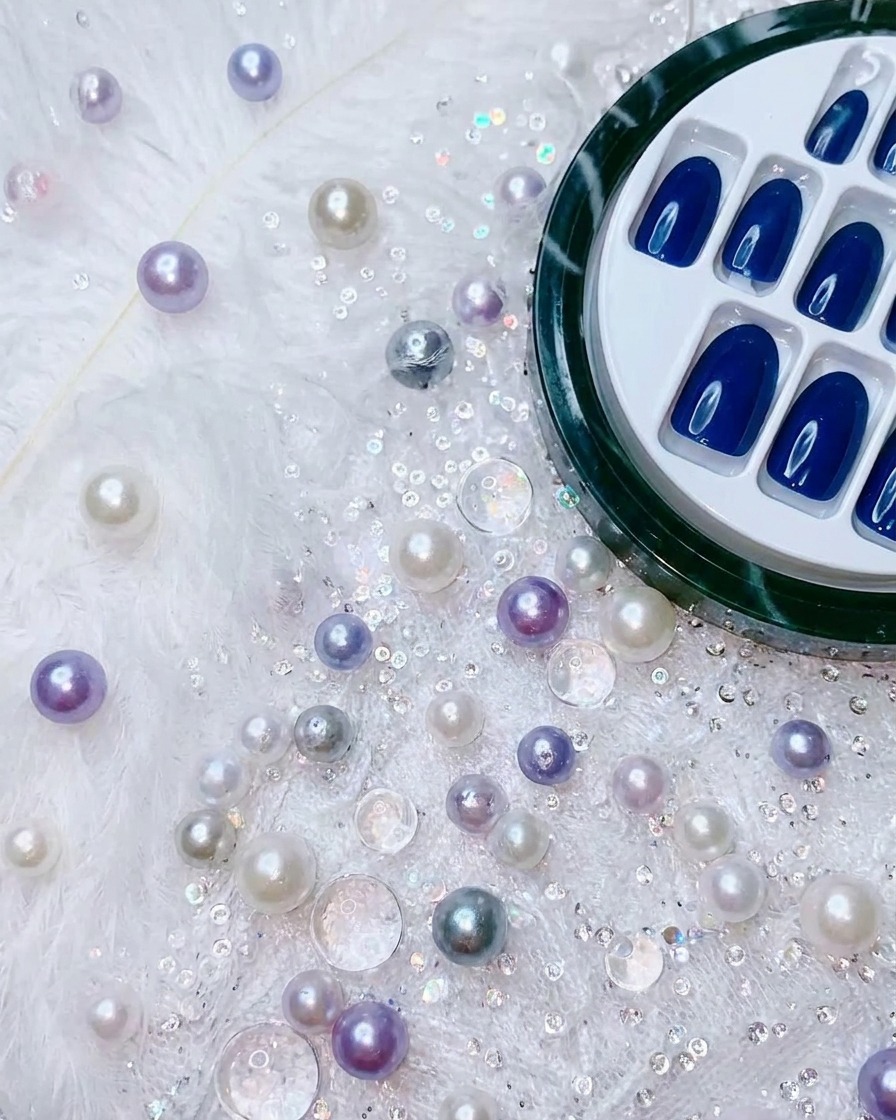
Electric Blue Press-On Nails
Star Accents — Easy Application Tutorial
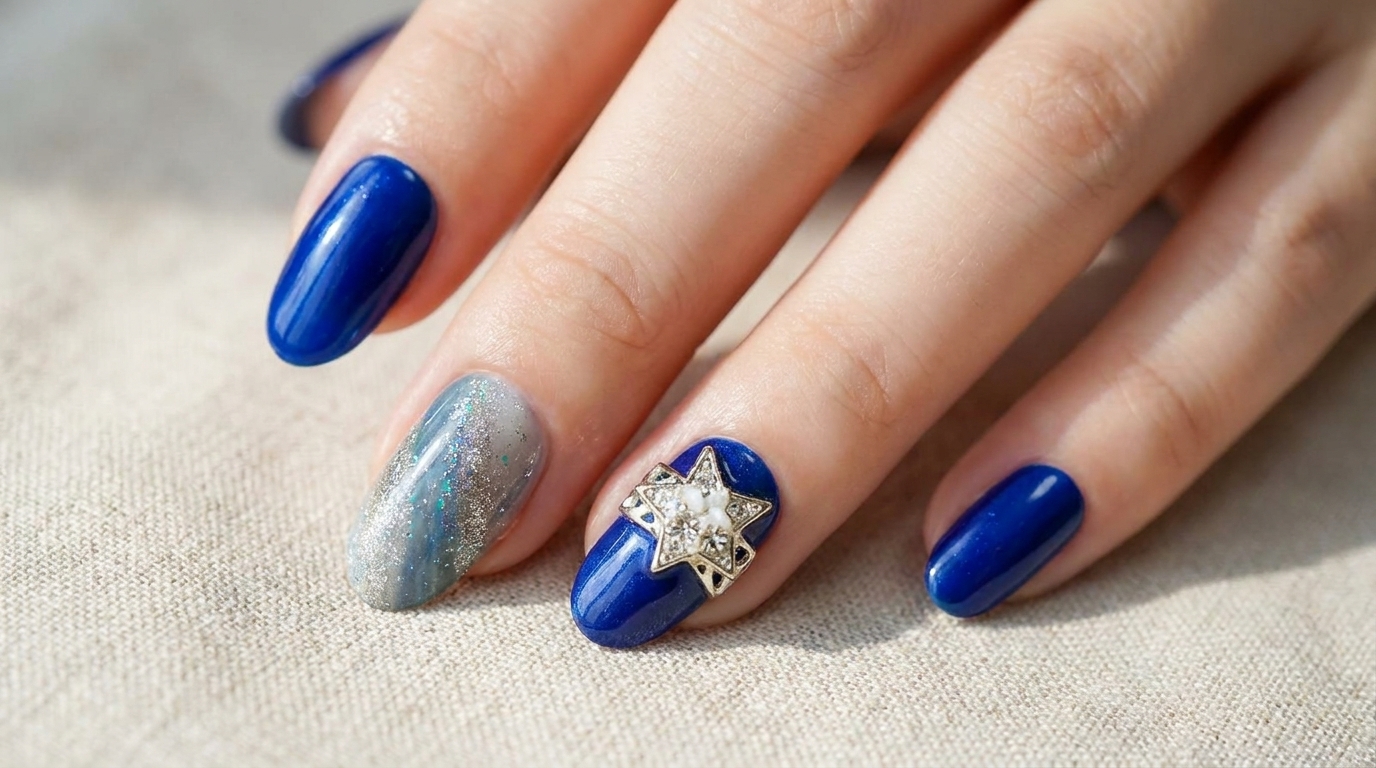
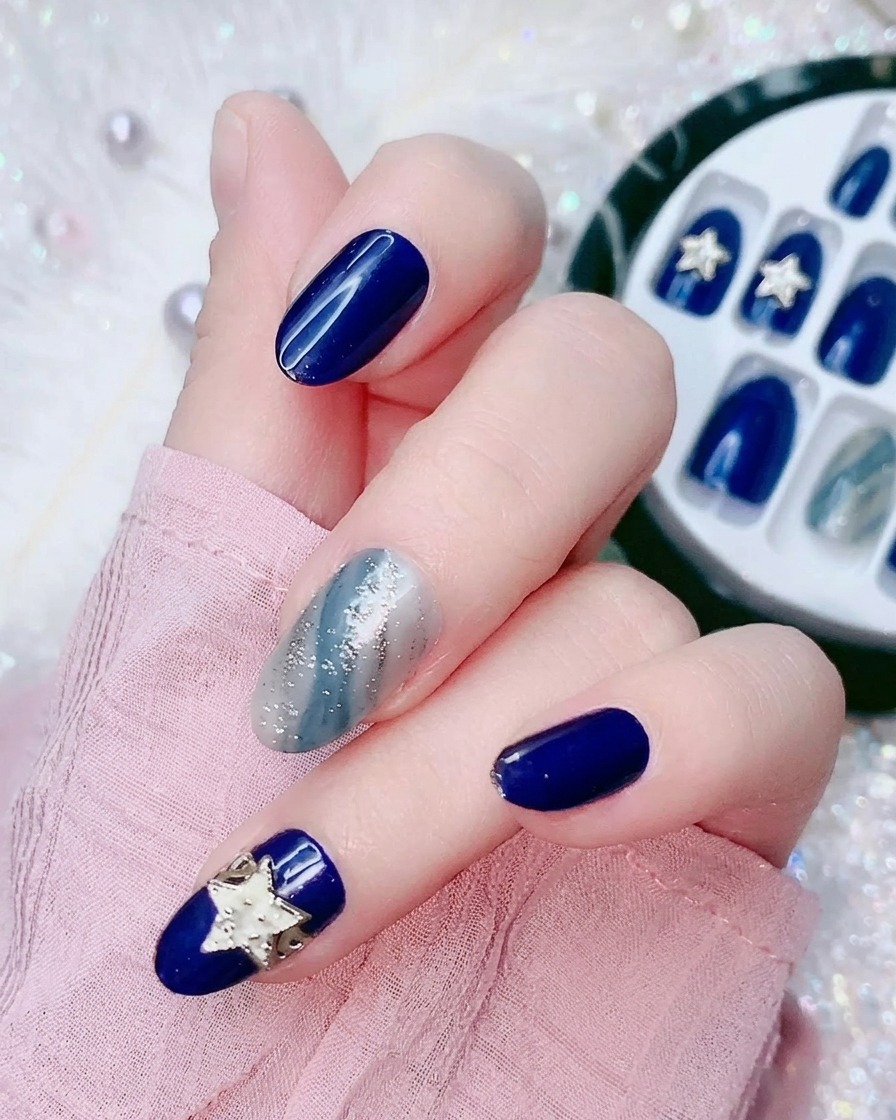
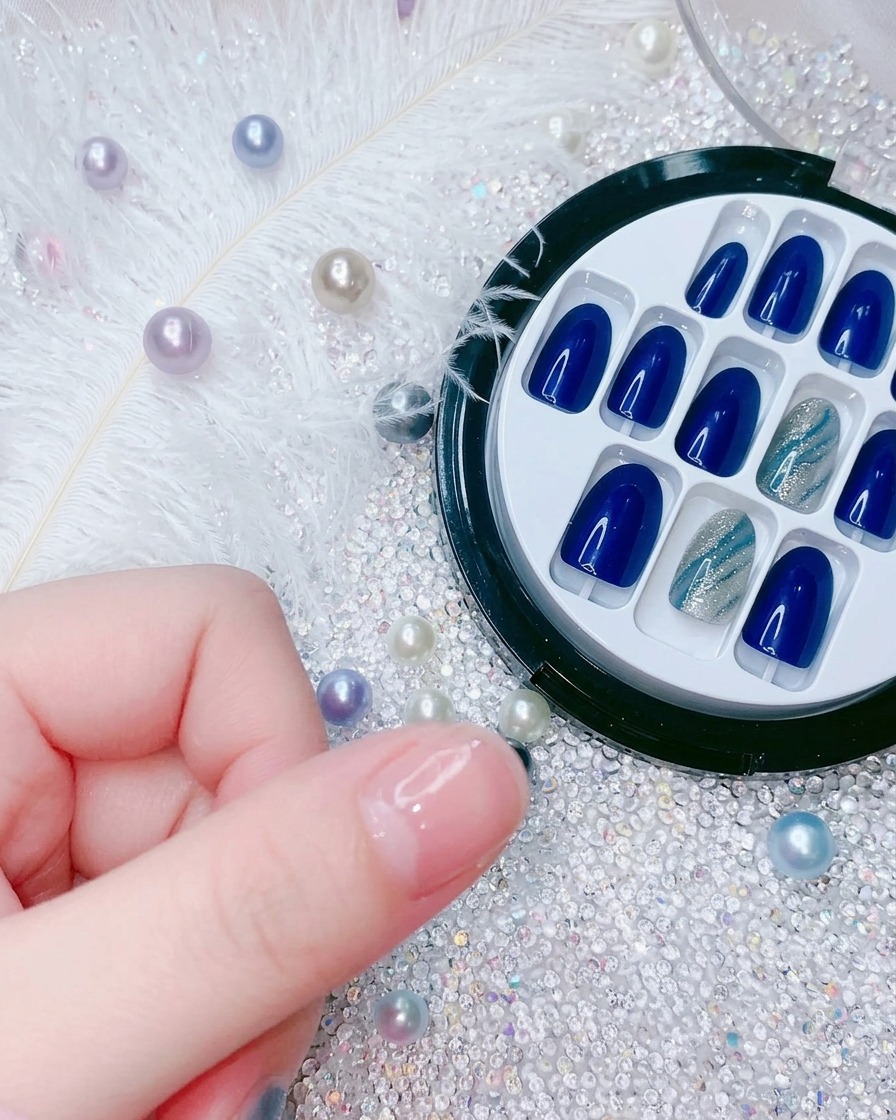
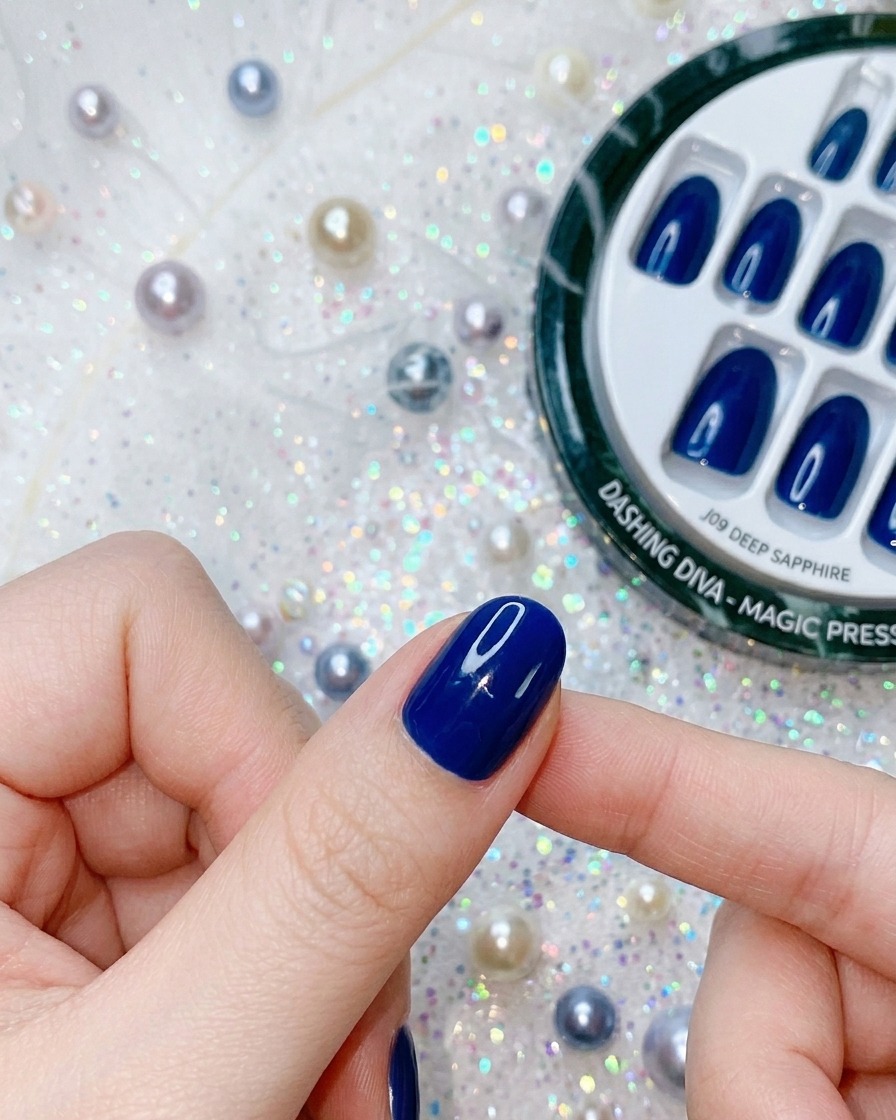
Achieve a bold, salon-quality look in minutes with these electric blue press-on nails featuring a striking star charm and silver glitter gradient.
Elevate your manicure game with these stunning electric blue press-on nails. This look perfectly balances vibrant solid color with intricate accents, including a dazzling silver glitter gradient and a statement star charm on the ring finger, offering a high-fashion aesthetic without the salon time.
Steps
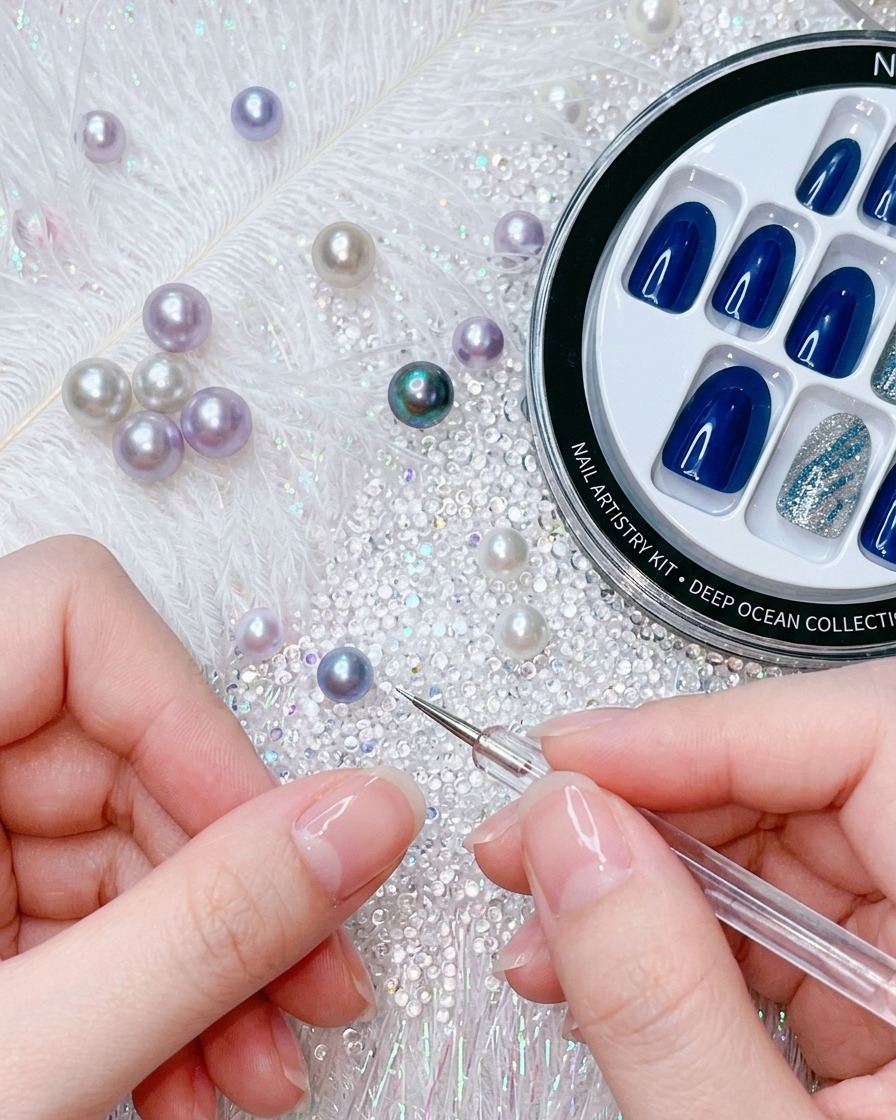
- 1Prepare the press-on nail
Locate the correct size press-on nail for your finger and carefully peel off the protective film from the adhesive sticker on the back of the nail tip. Ensure the adhesive is clean and free of debris for the best hold.
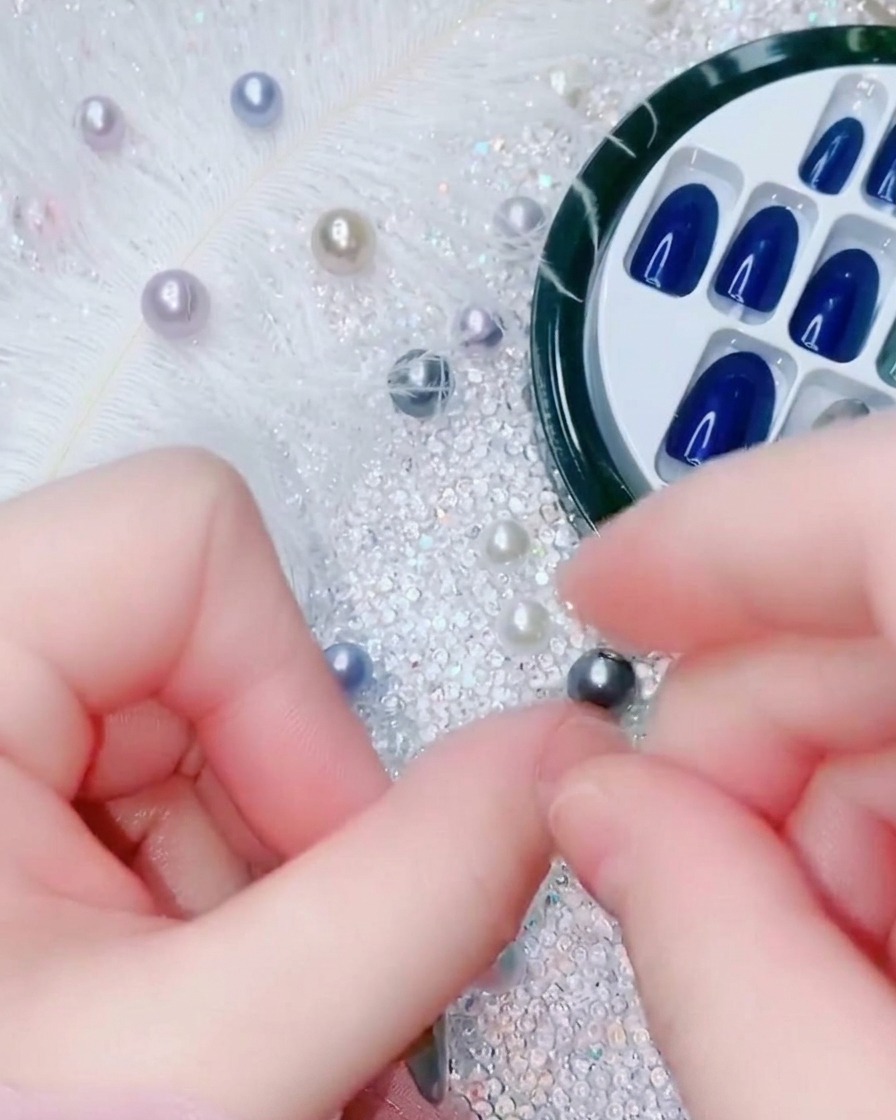
Tip: Avoid touching the adhesive surface with your skin to keep it as sticky as possible. - 2Align the nail tip
Carefully position the press-on nail over your natural nail, lining the bottom edge of the press-on up with your cuticle line. Take your time to ensure it is centered and straight before making contact with the nail bed.
Tip: Place the cuticle end down first at a slight angle, then lay the rest of the nail down. - 3Initiate adhesion
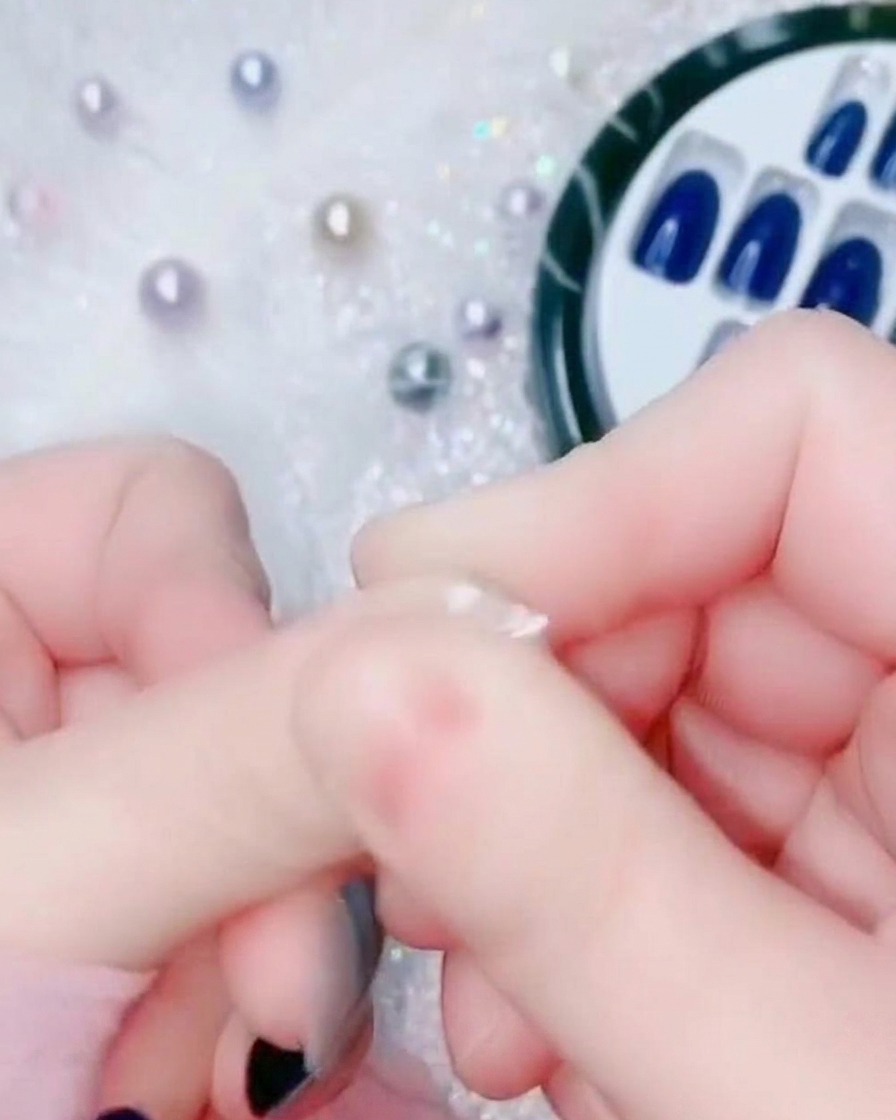
Once perfectly aligned, press firmly down on the base of the press-on nail near the cuticle area. This initial pressure helps the adhesive grab onto the natural nail surface, preventing the tip from shifting.
Tip: Hold the base in place for a few seconds before pressing the rest of the nail down. - 4Secure the press-on nail
After securing the base, firmly press down from the center of the nail towards the free edge, moving across the entire surface. Apply consistent pressure for several seconds to ensure the adhesive is fully bonded to your natural nail.
Tip: Apply firm, even pressure across the entire nail to remove any potential air bubbles. - 5Apply the next nail
Move on to the next nail and repeat the alignment and application process. Position the press-on nail tip over the index finger, ensuring it fits correctly before pressing it down firmly to secure it.
Tip: Check for correct size alignment on each finger to ensure a comfortable and natural fit. - 6Bond the nail tip
Firmly press the pre-sized press-on nail tip onto your natural nail plate, starting from the cuticle area and moving toward the free edge. Ensure there are no air bubbles trapped underneath, as these can weaken the bond and lead to early lifting.
Tip: Maintain pressure for at least 10–15 seconds to ensure the adhesive fully activates and creates a secure, long-lasting bond. - 7Apply final pressure
Apply firm, consistent pressure across the entire surface of the press-on nail, especially along the sides and the free edge, to guarantee a seamless fit. This final step ensures the adhesive is evenly distributed and the nail is fully sealed against the nail bed.
Tip: Avoid touching the underside of the press-on nail or the adhesive surface while applying pressure to prevent skin oils from compromising the bond.